In June 2021 I bought a 1993 Suzuki GS500 to restore and give to my brother as a present.
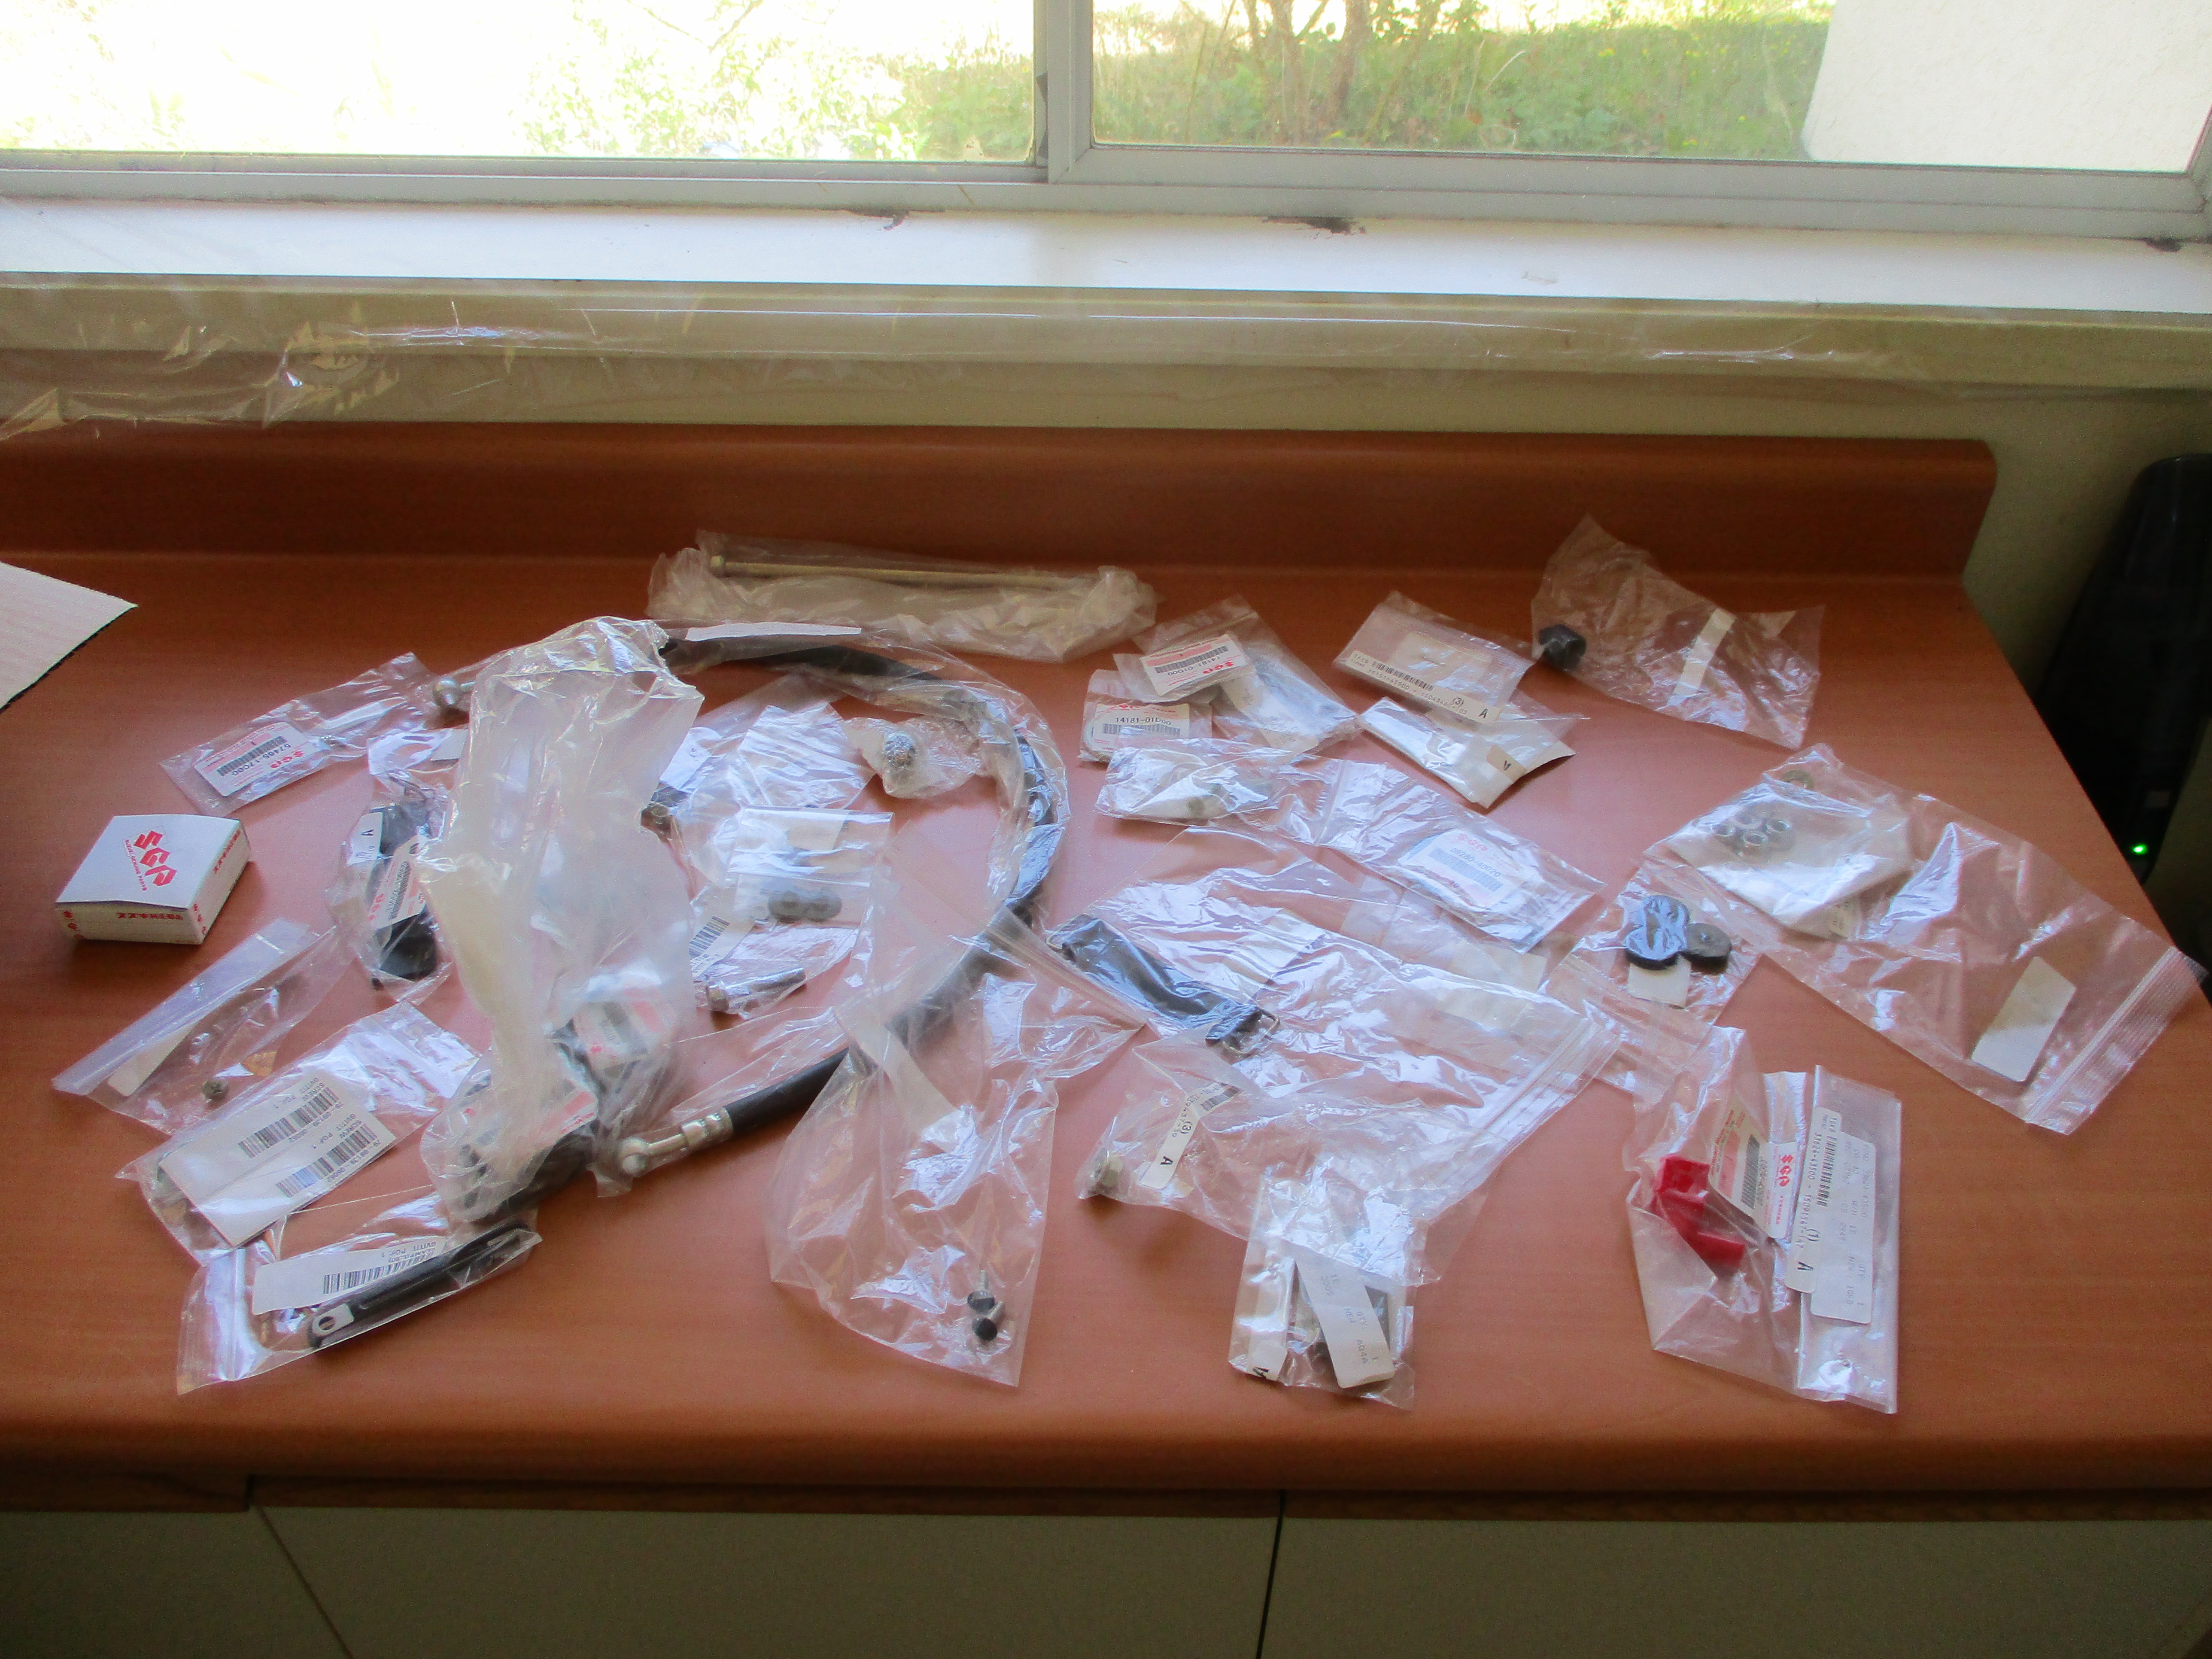
In June 2021 I bought a non running 1993 Suzuki GS500 for $500. It was relatively complete and came with extra:
I used one of my BCAA membership free tows to get the motorcycle from Esquimalt to my house. Apparently you are not able to tow vehicles without registration and insurance but we only figured that out once the motorcycle was at my house. The tow truck driver waved it off, saying he may not get paid for this one. We had some trouble loading the motorcycle on the rollback tow truck as the clutch was slipping and would not stop the motorcycle from rolling backwards on the platform.
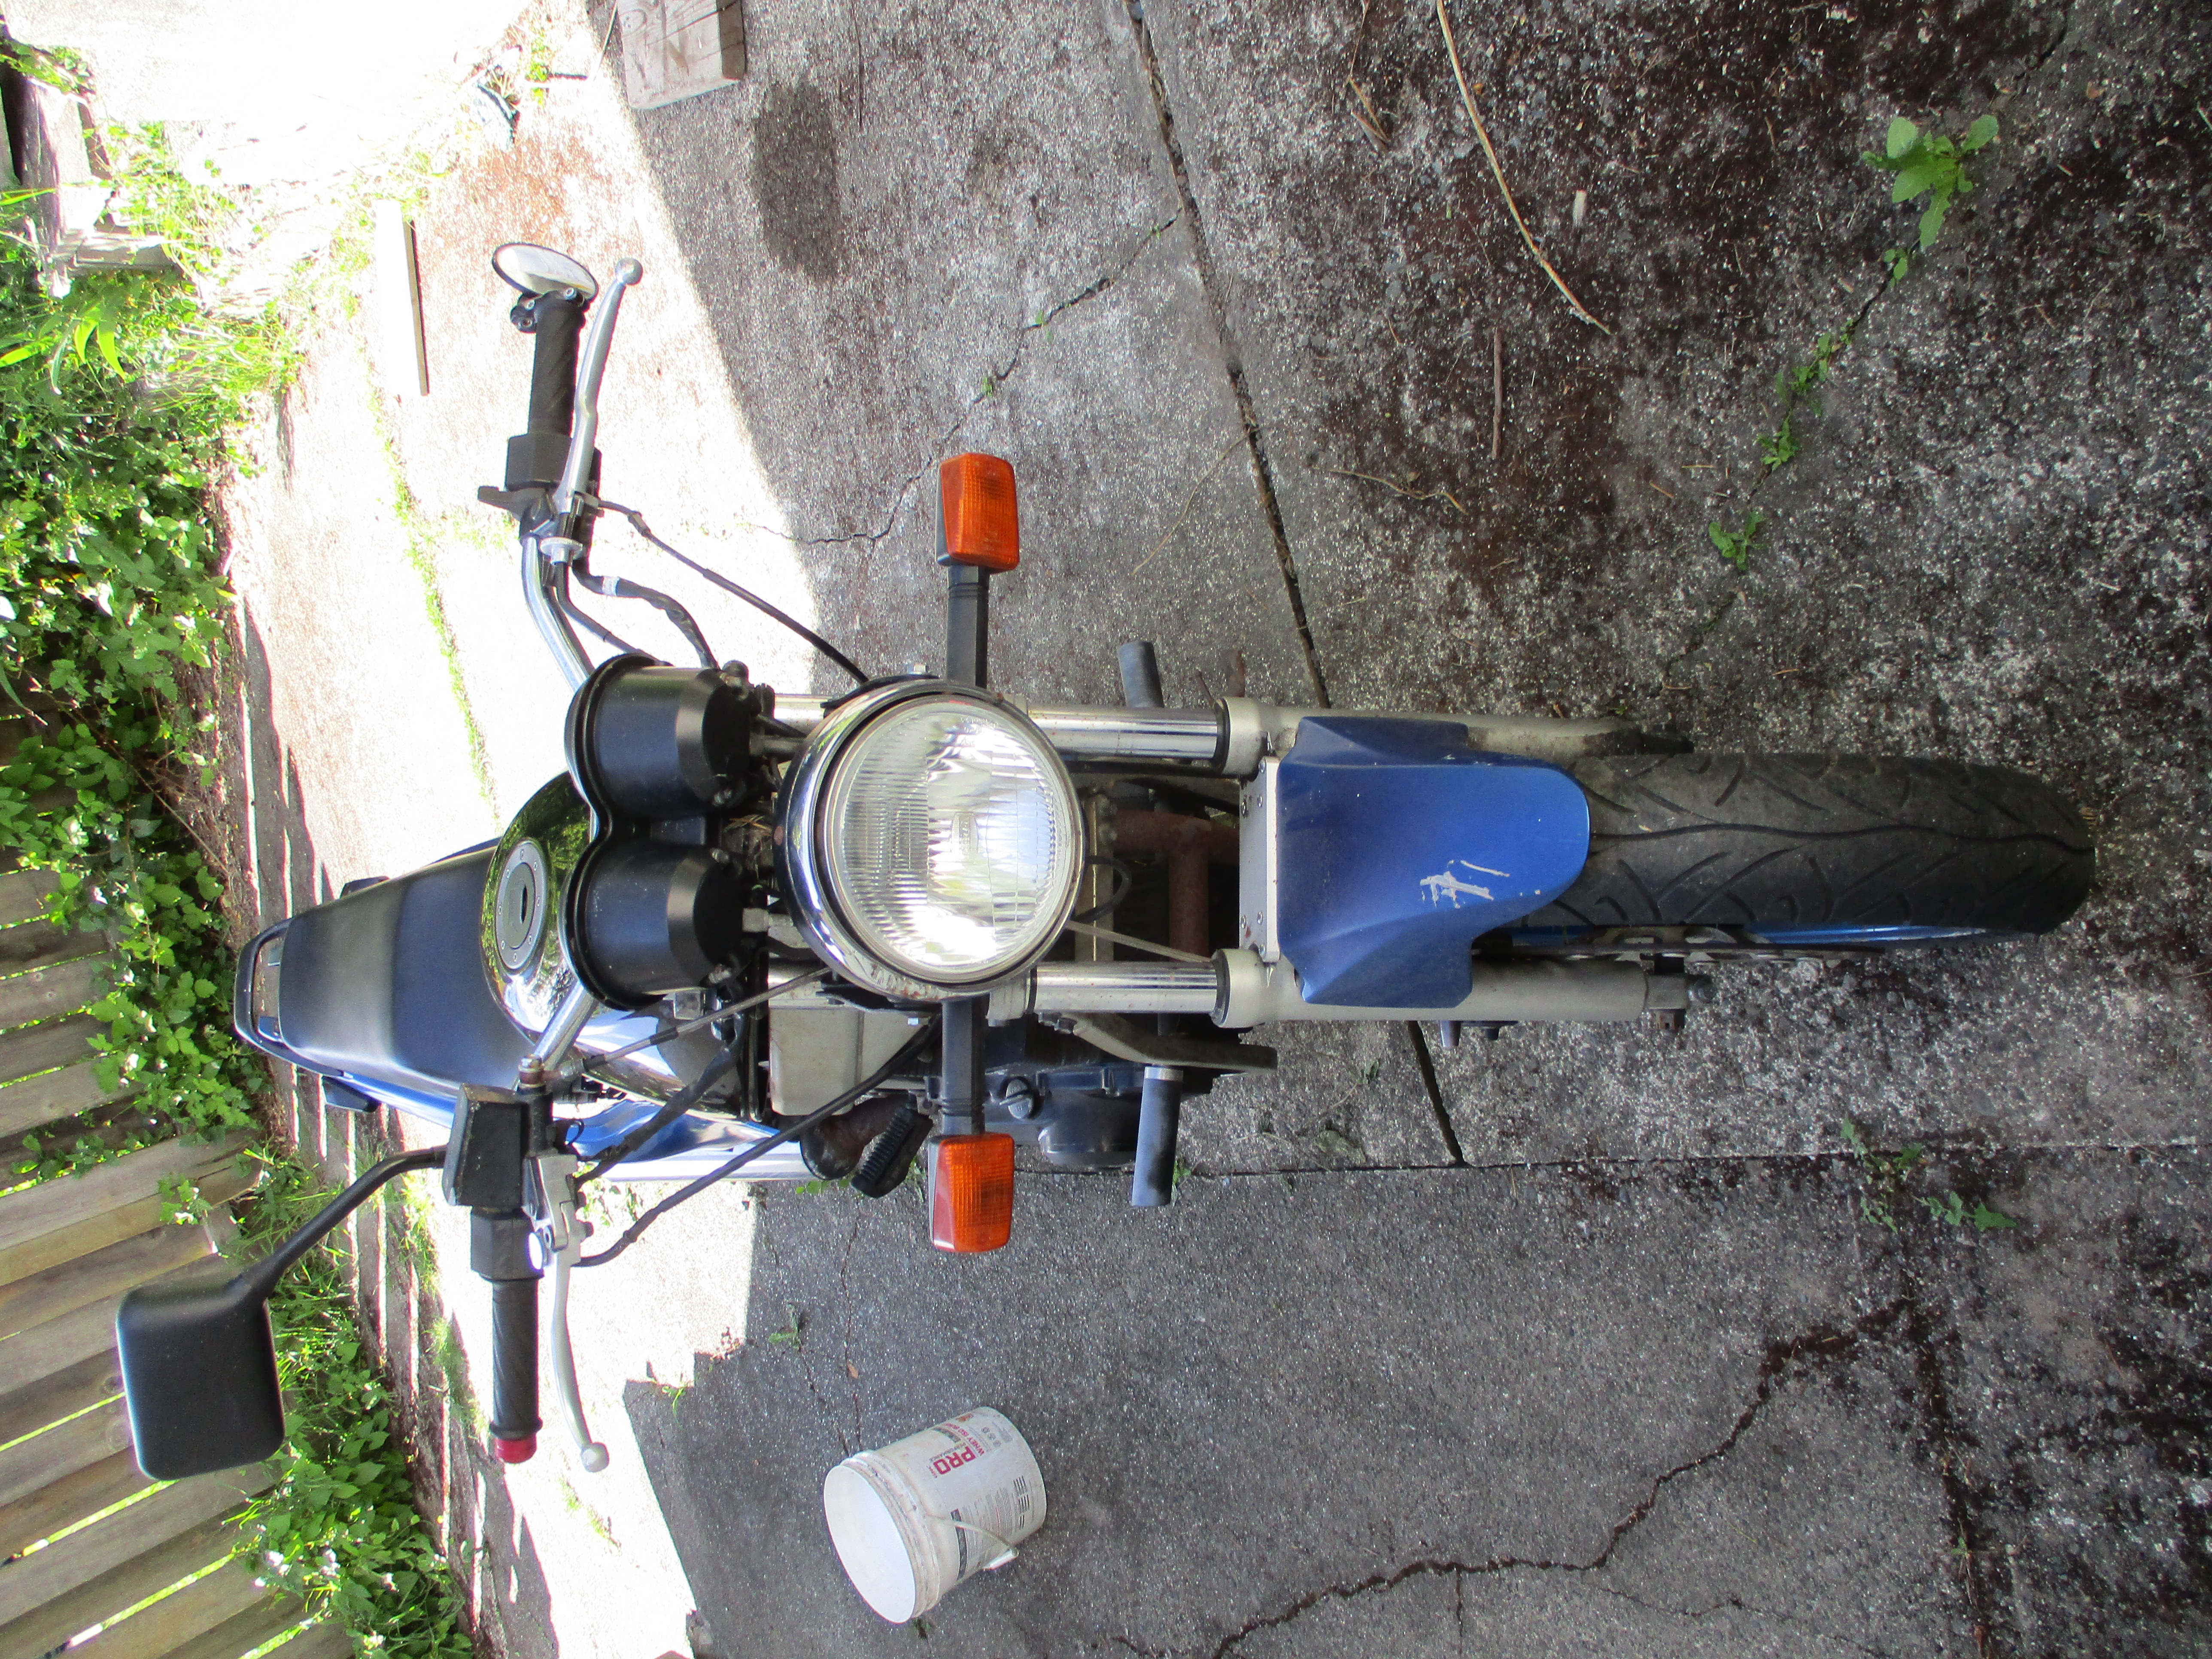
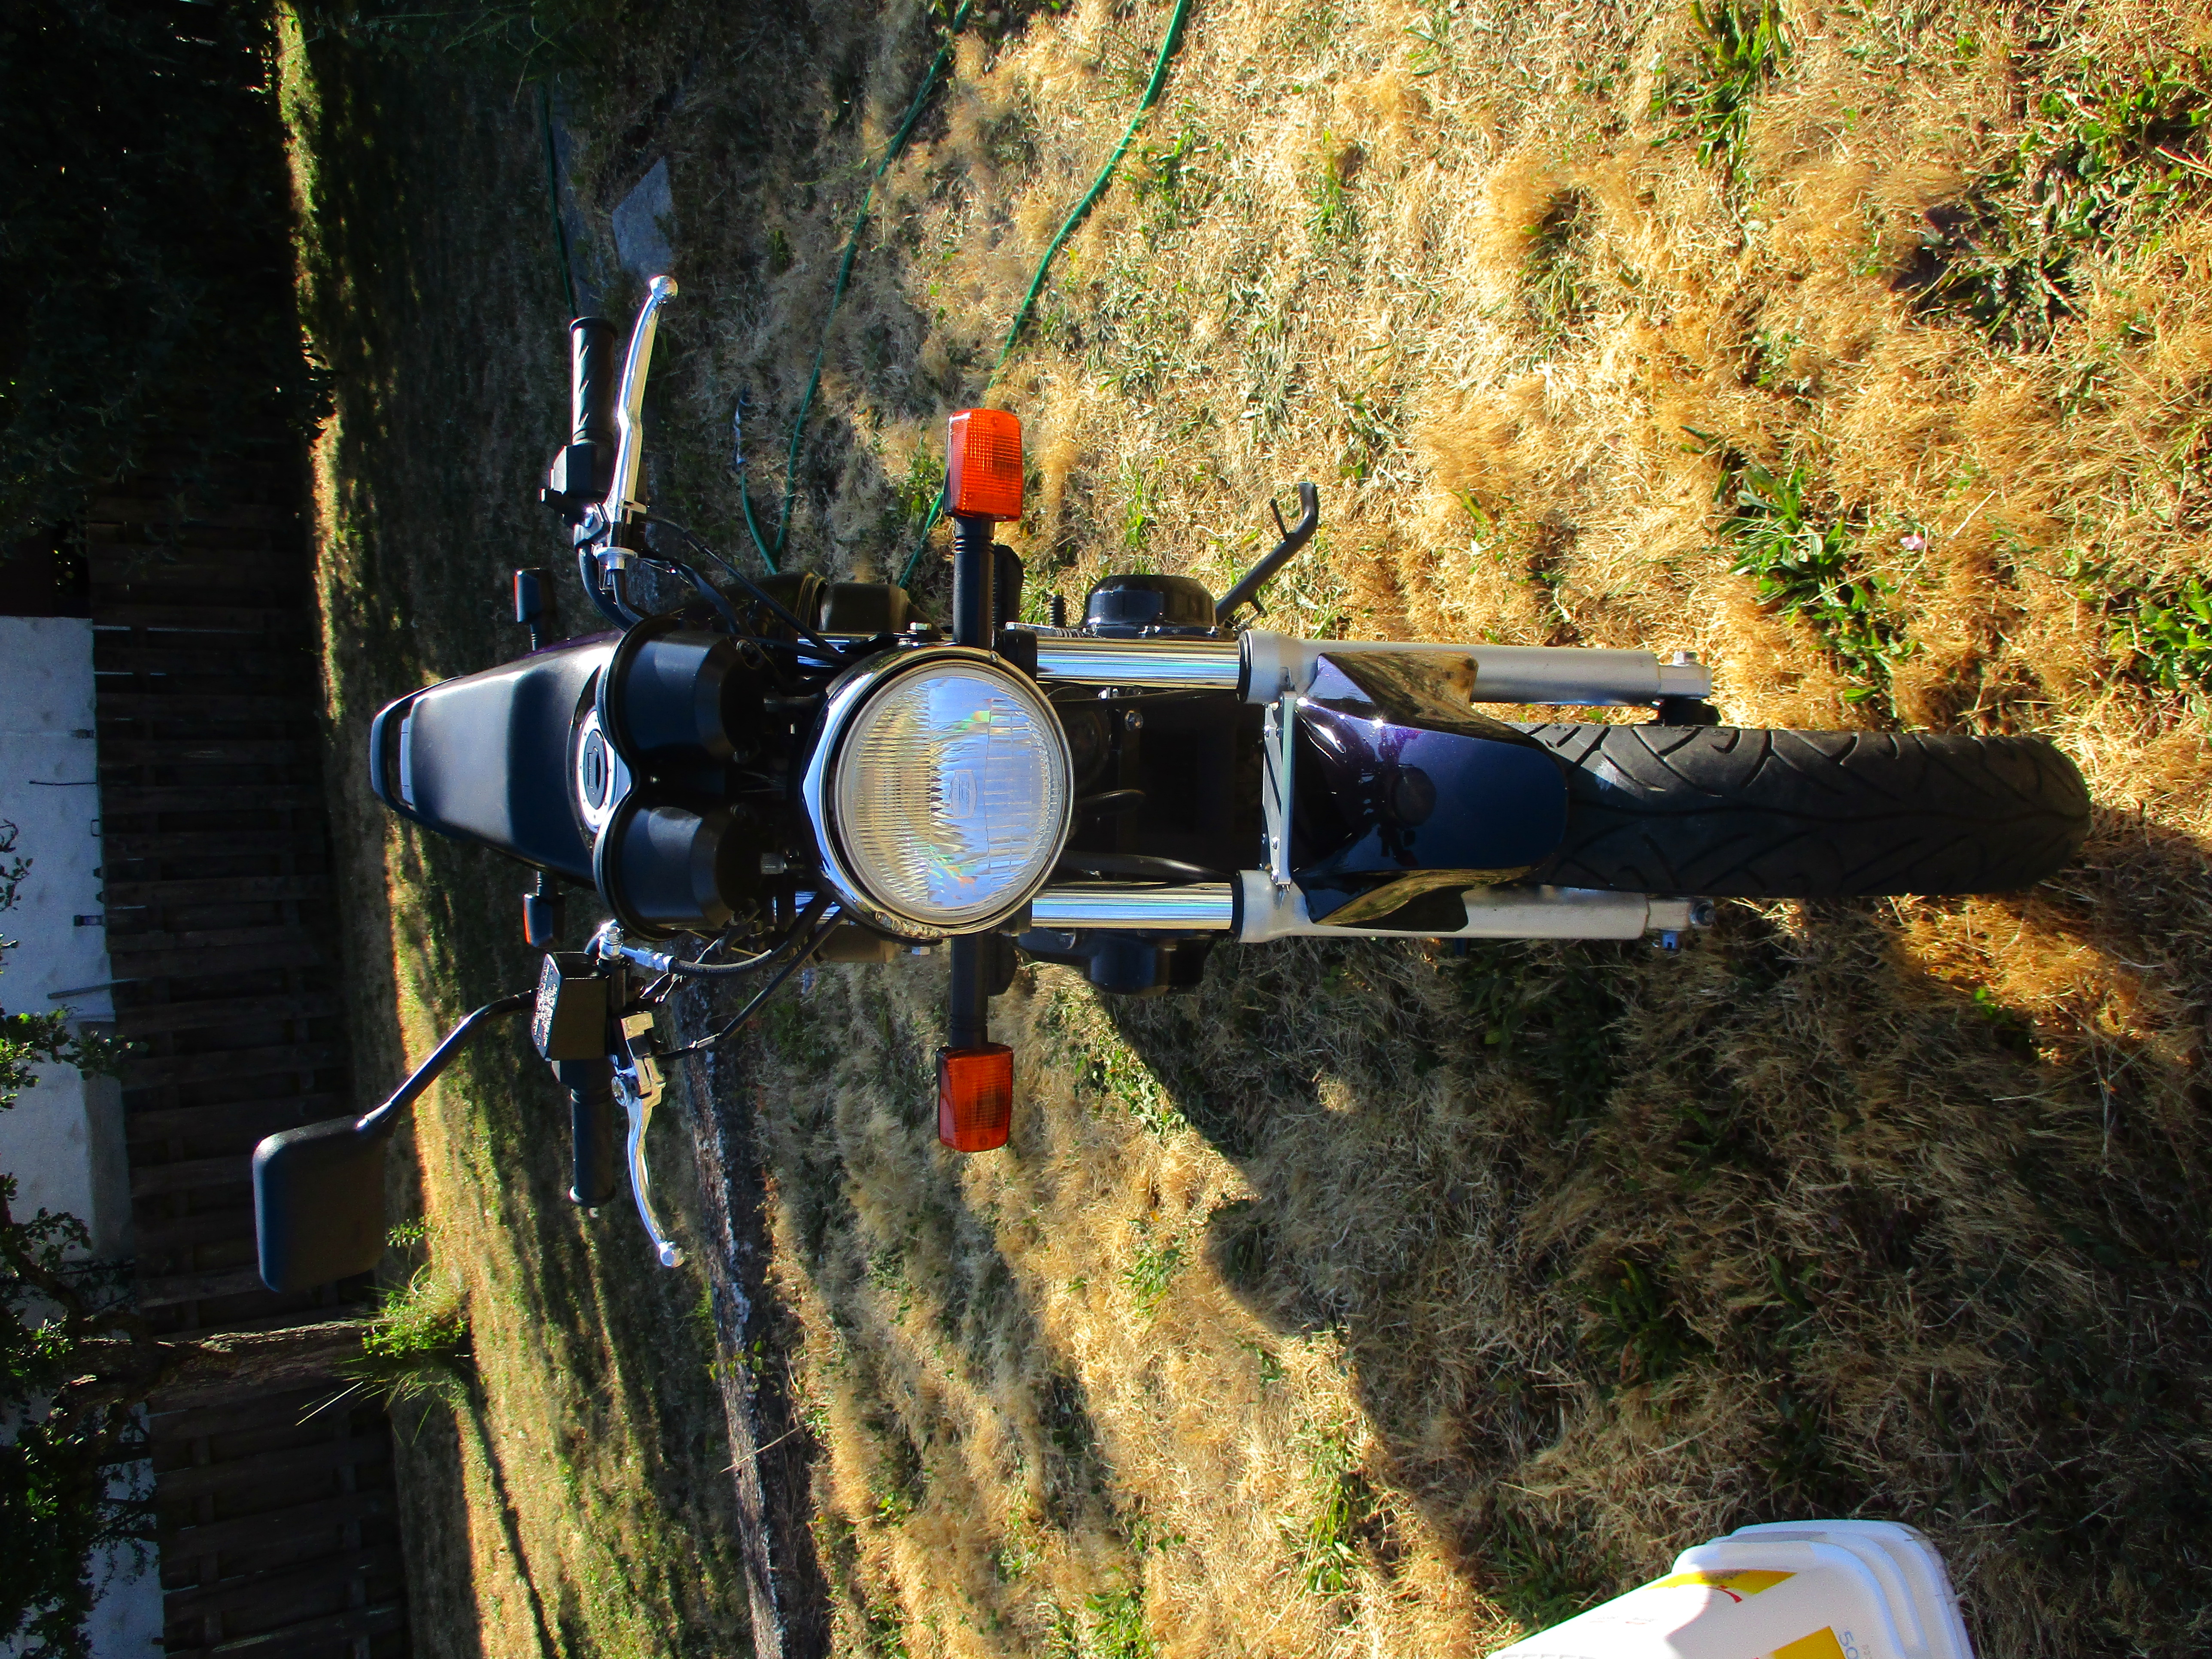
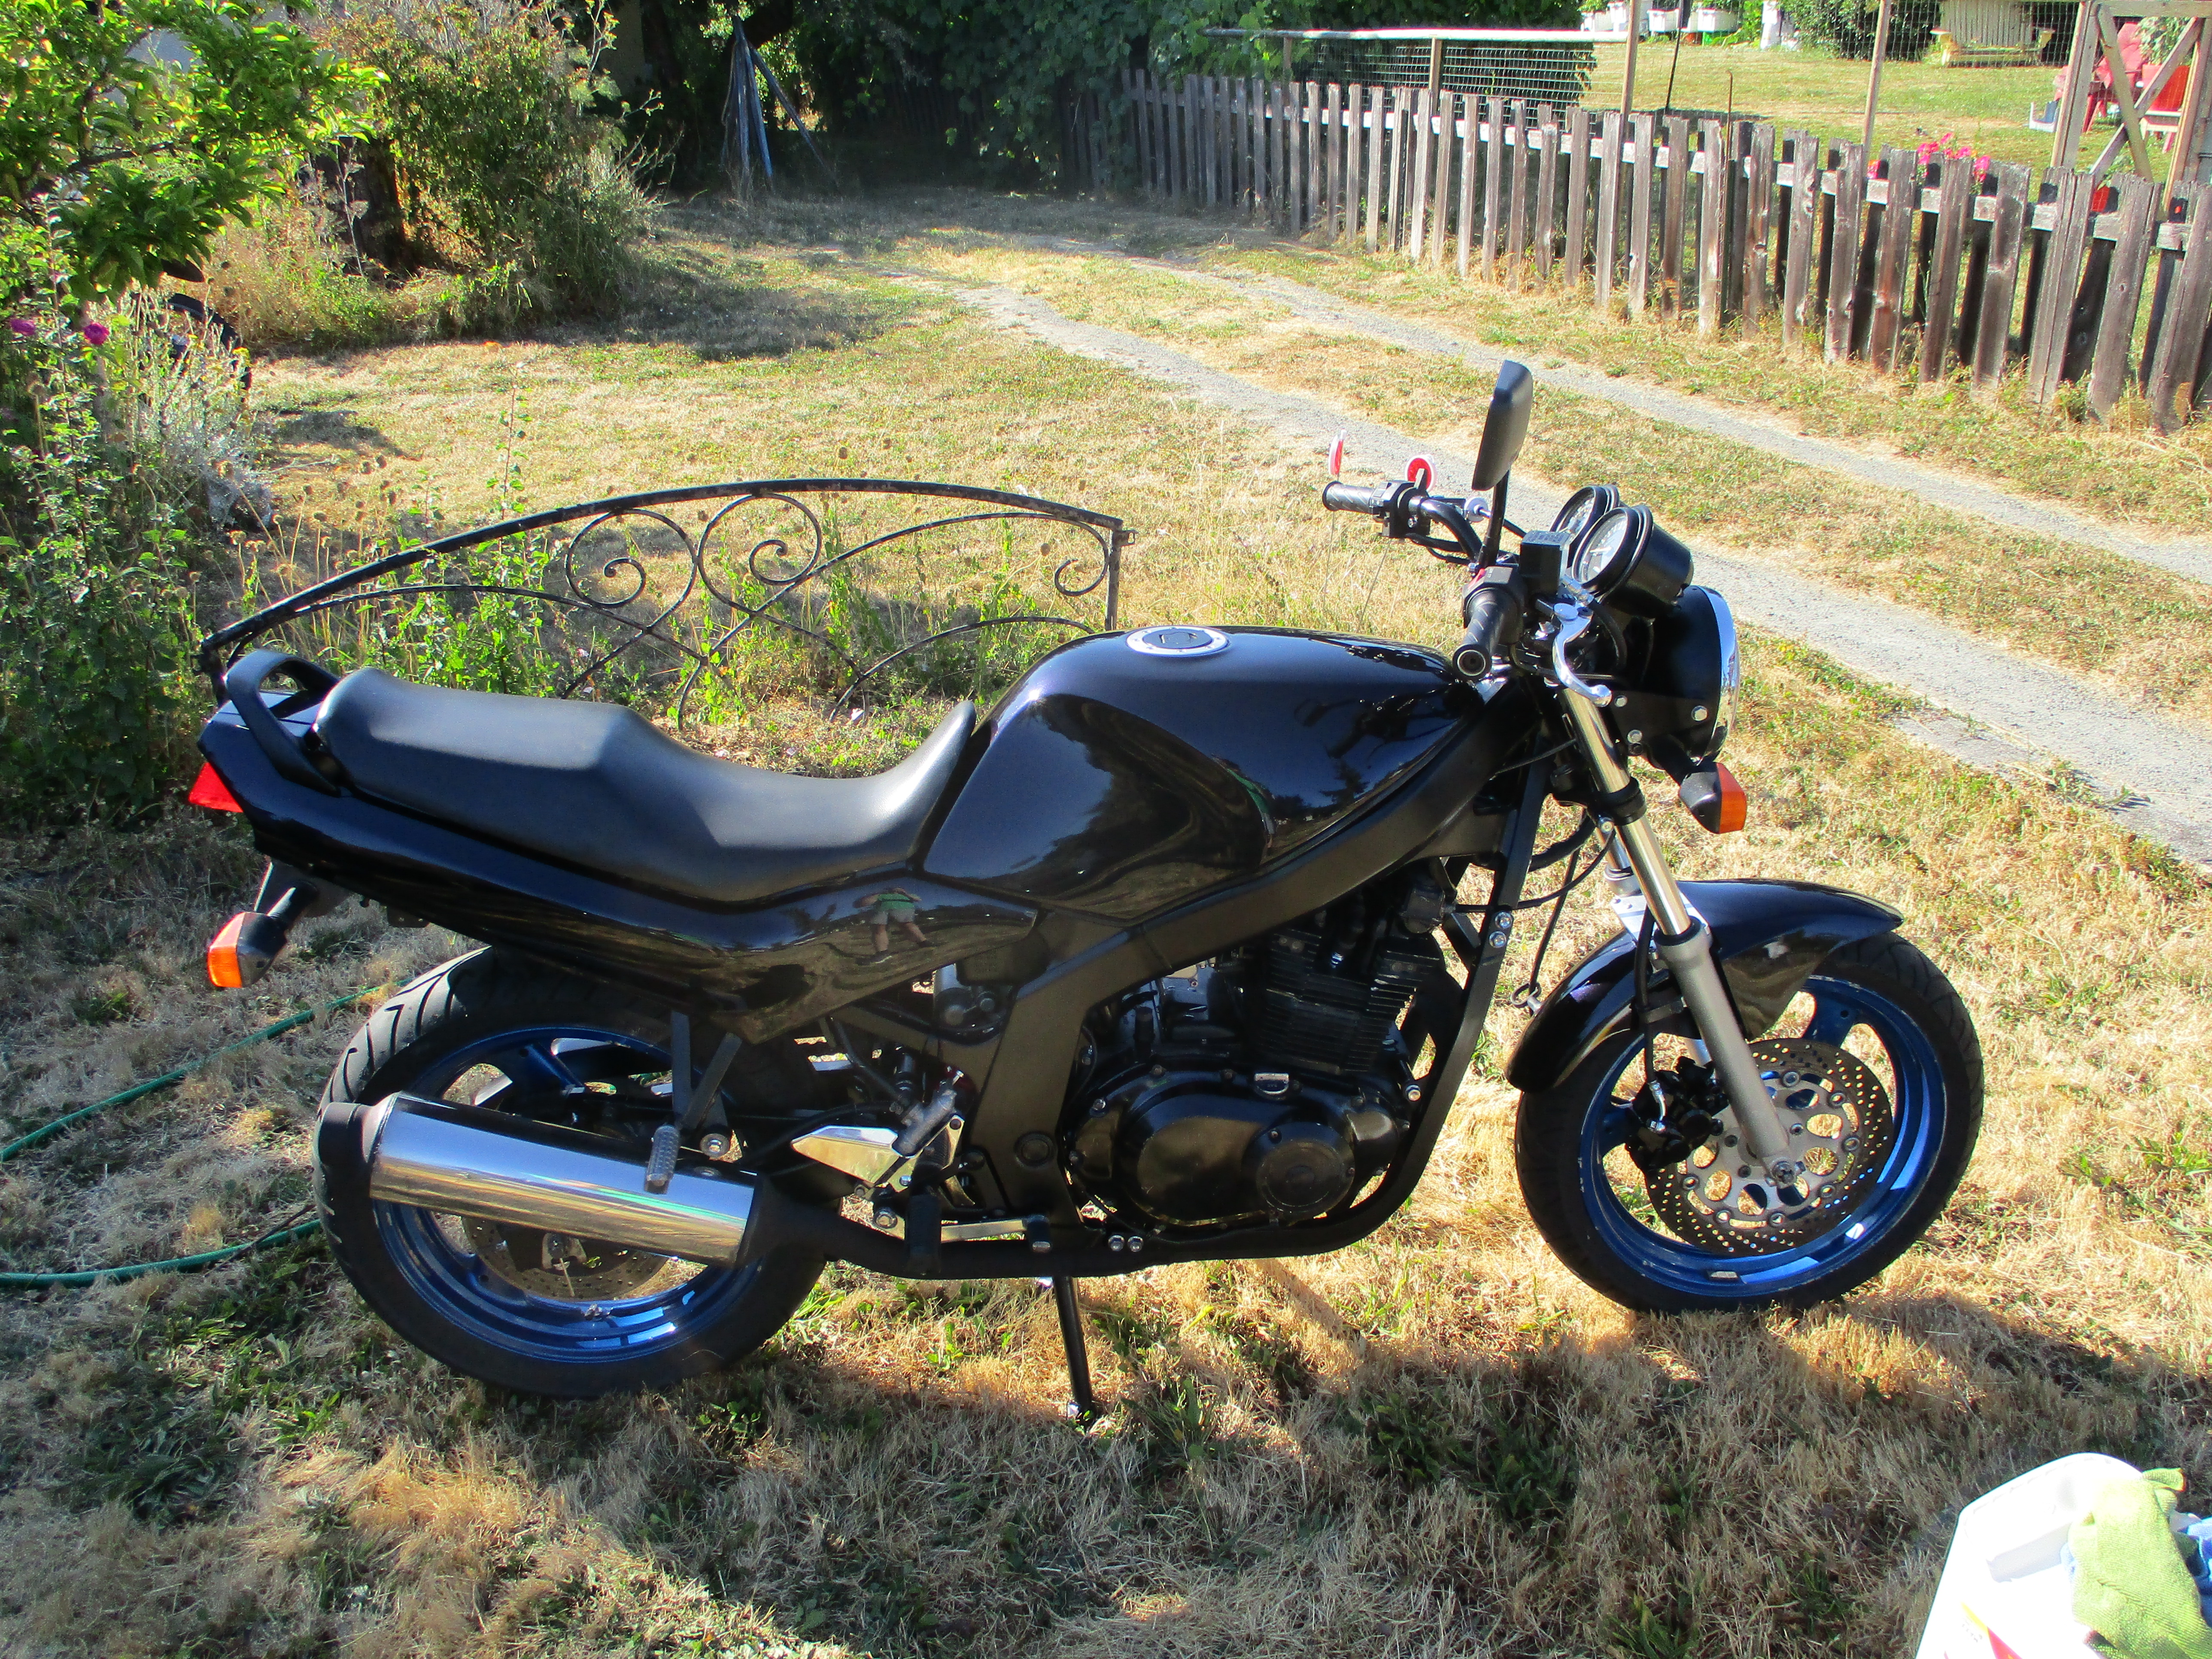
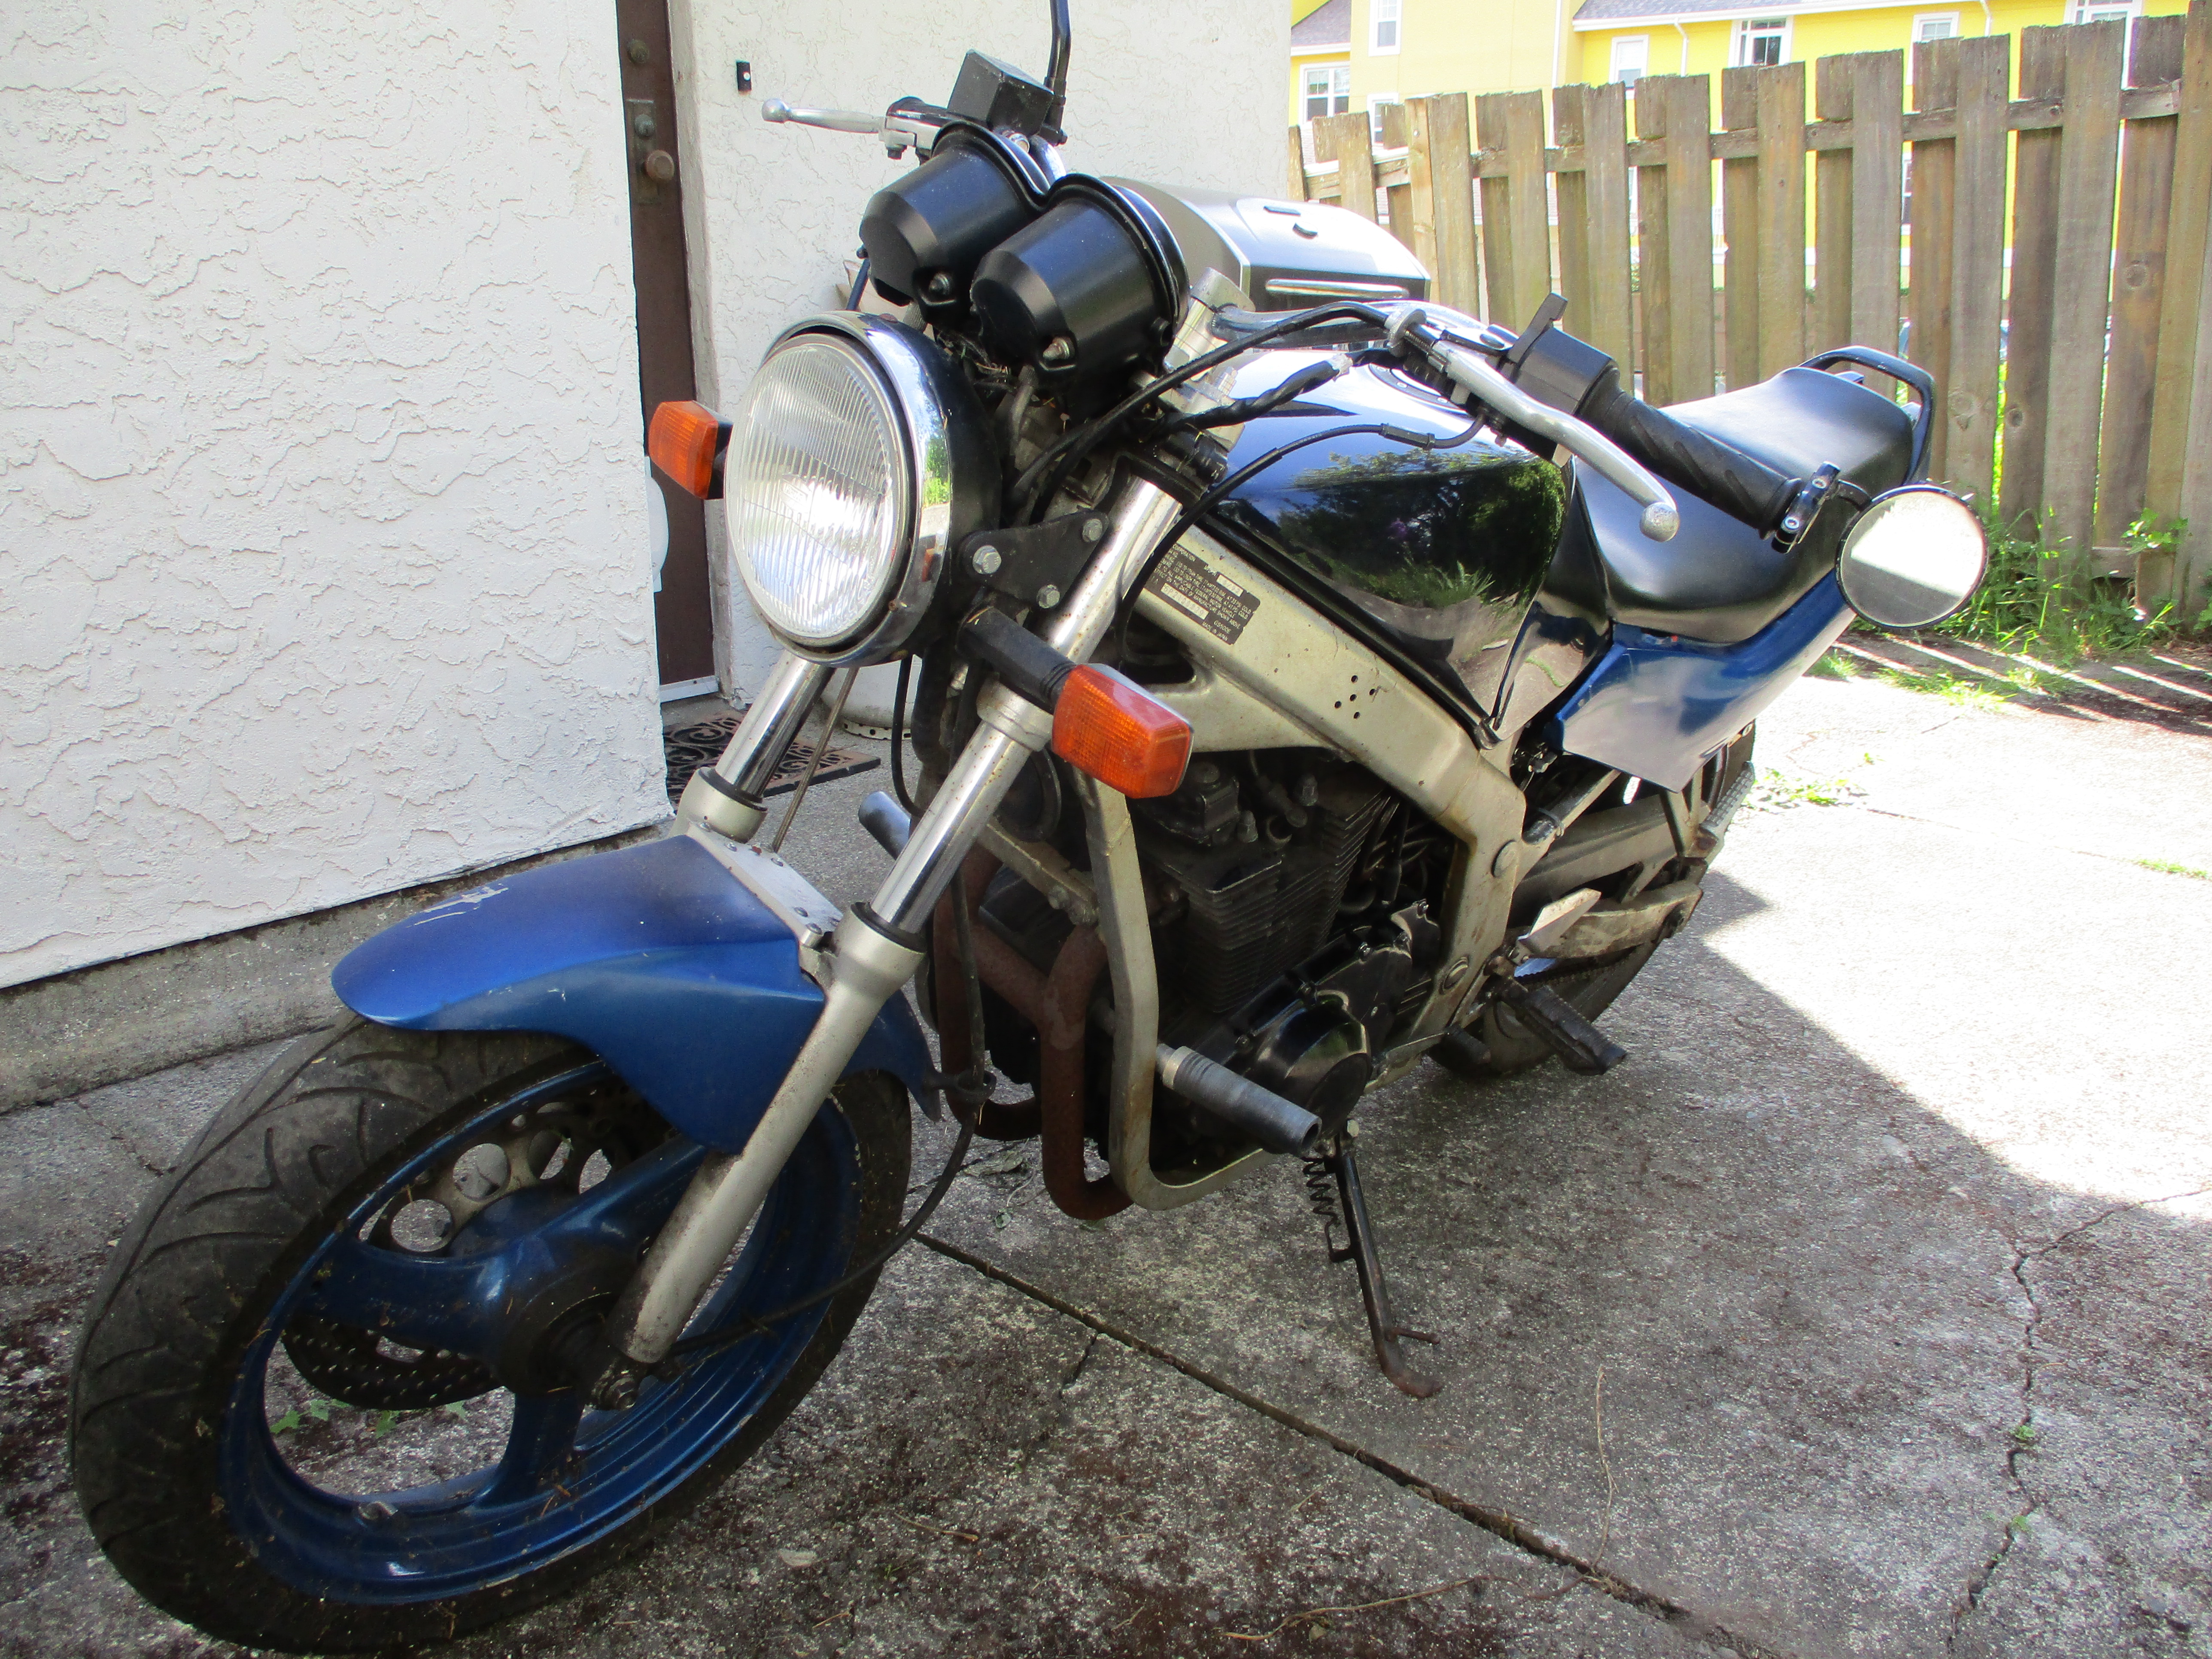
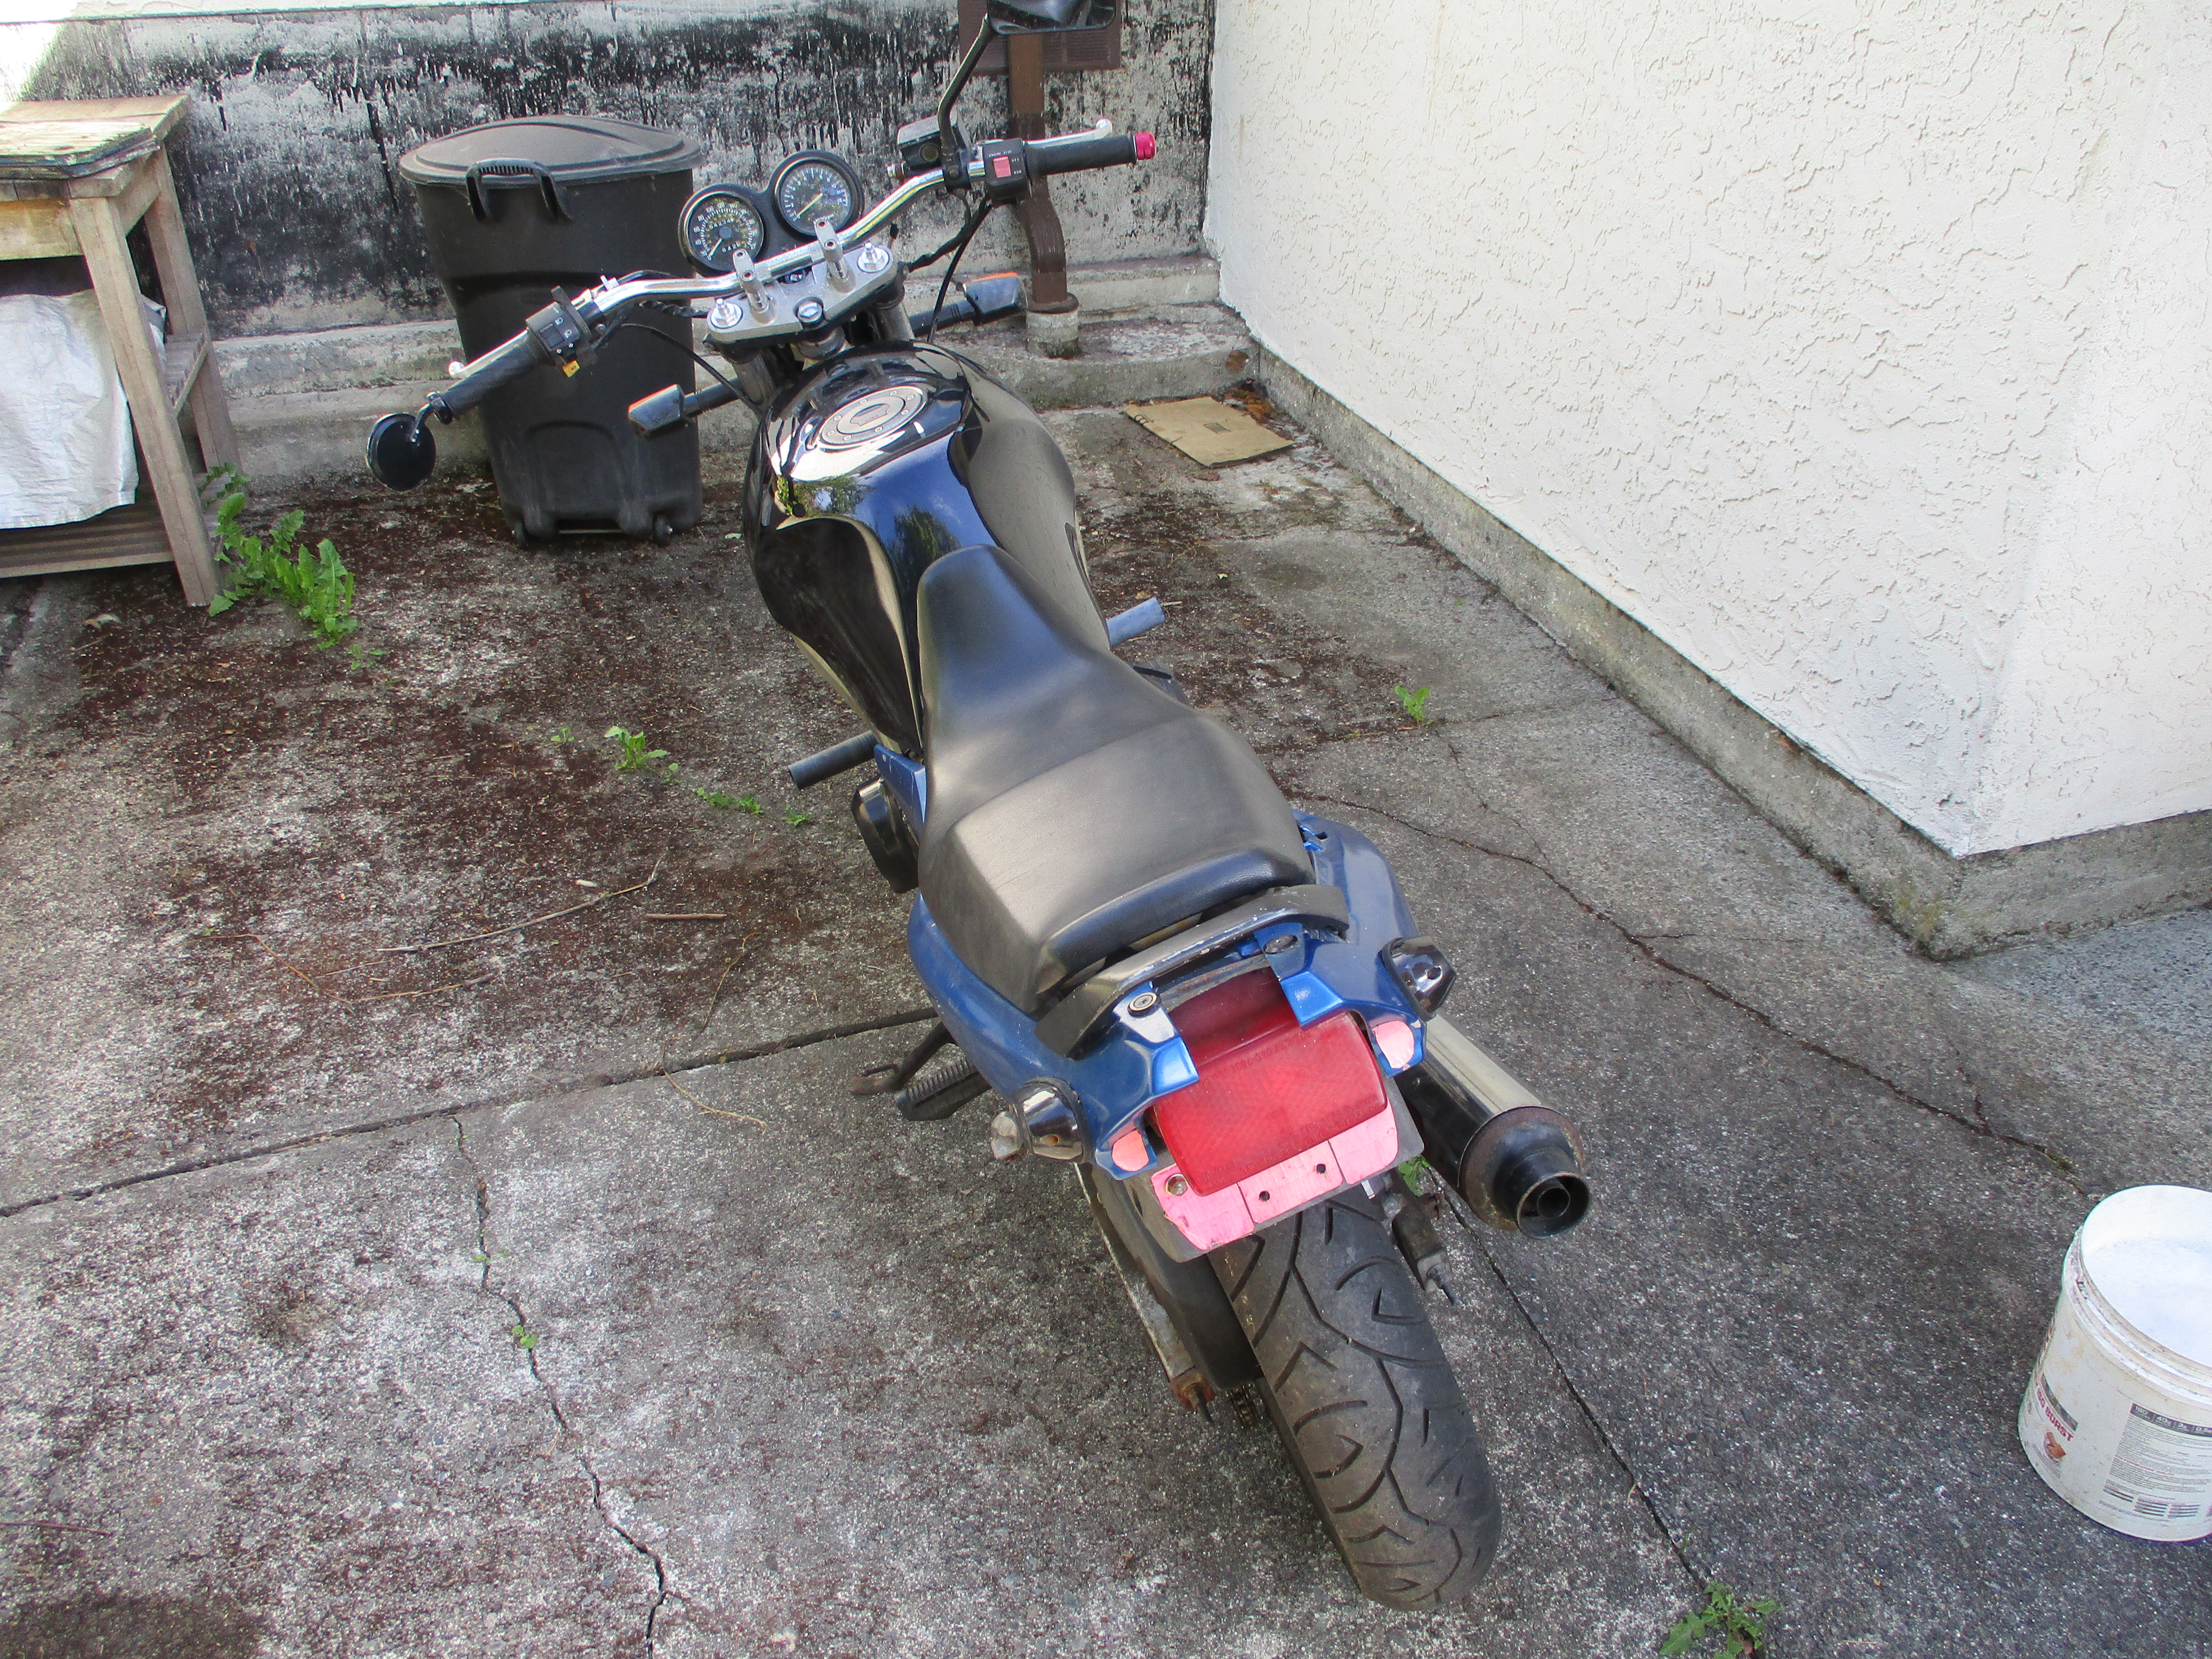
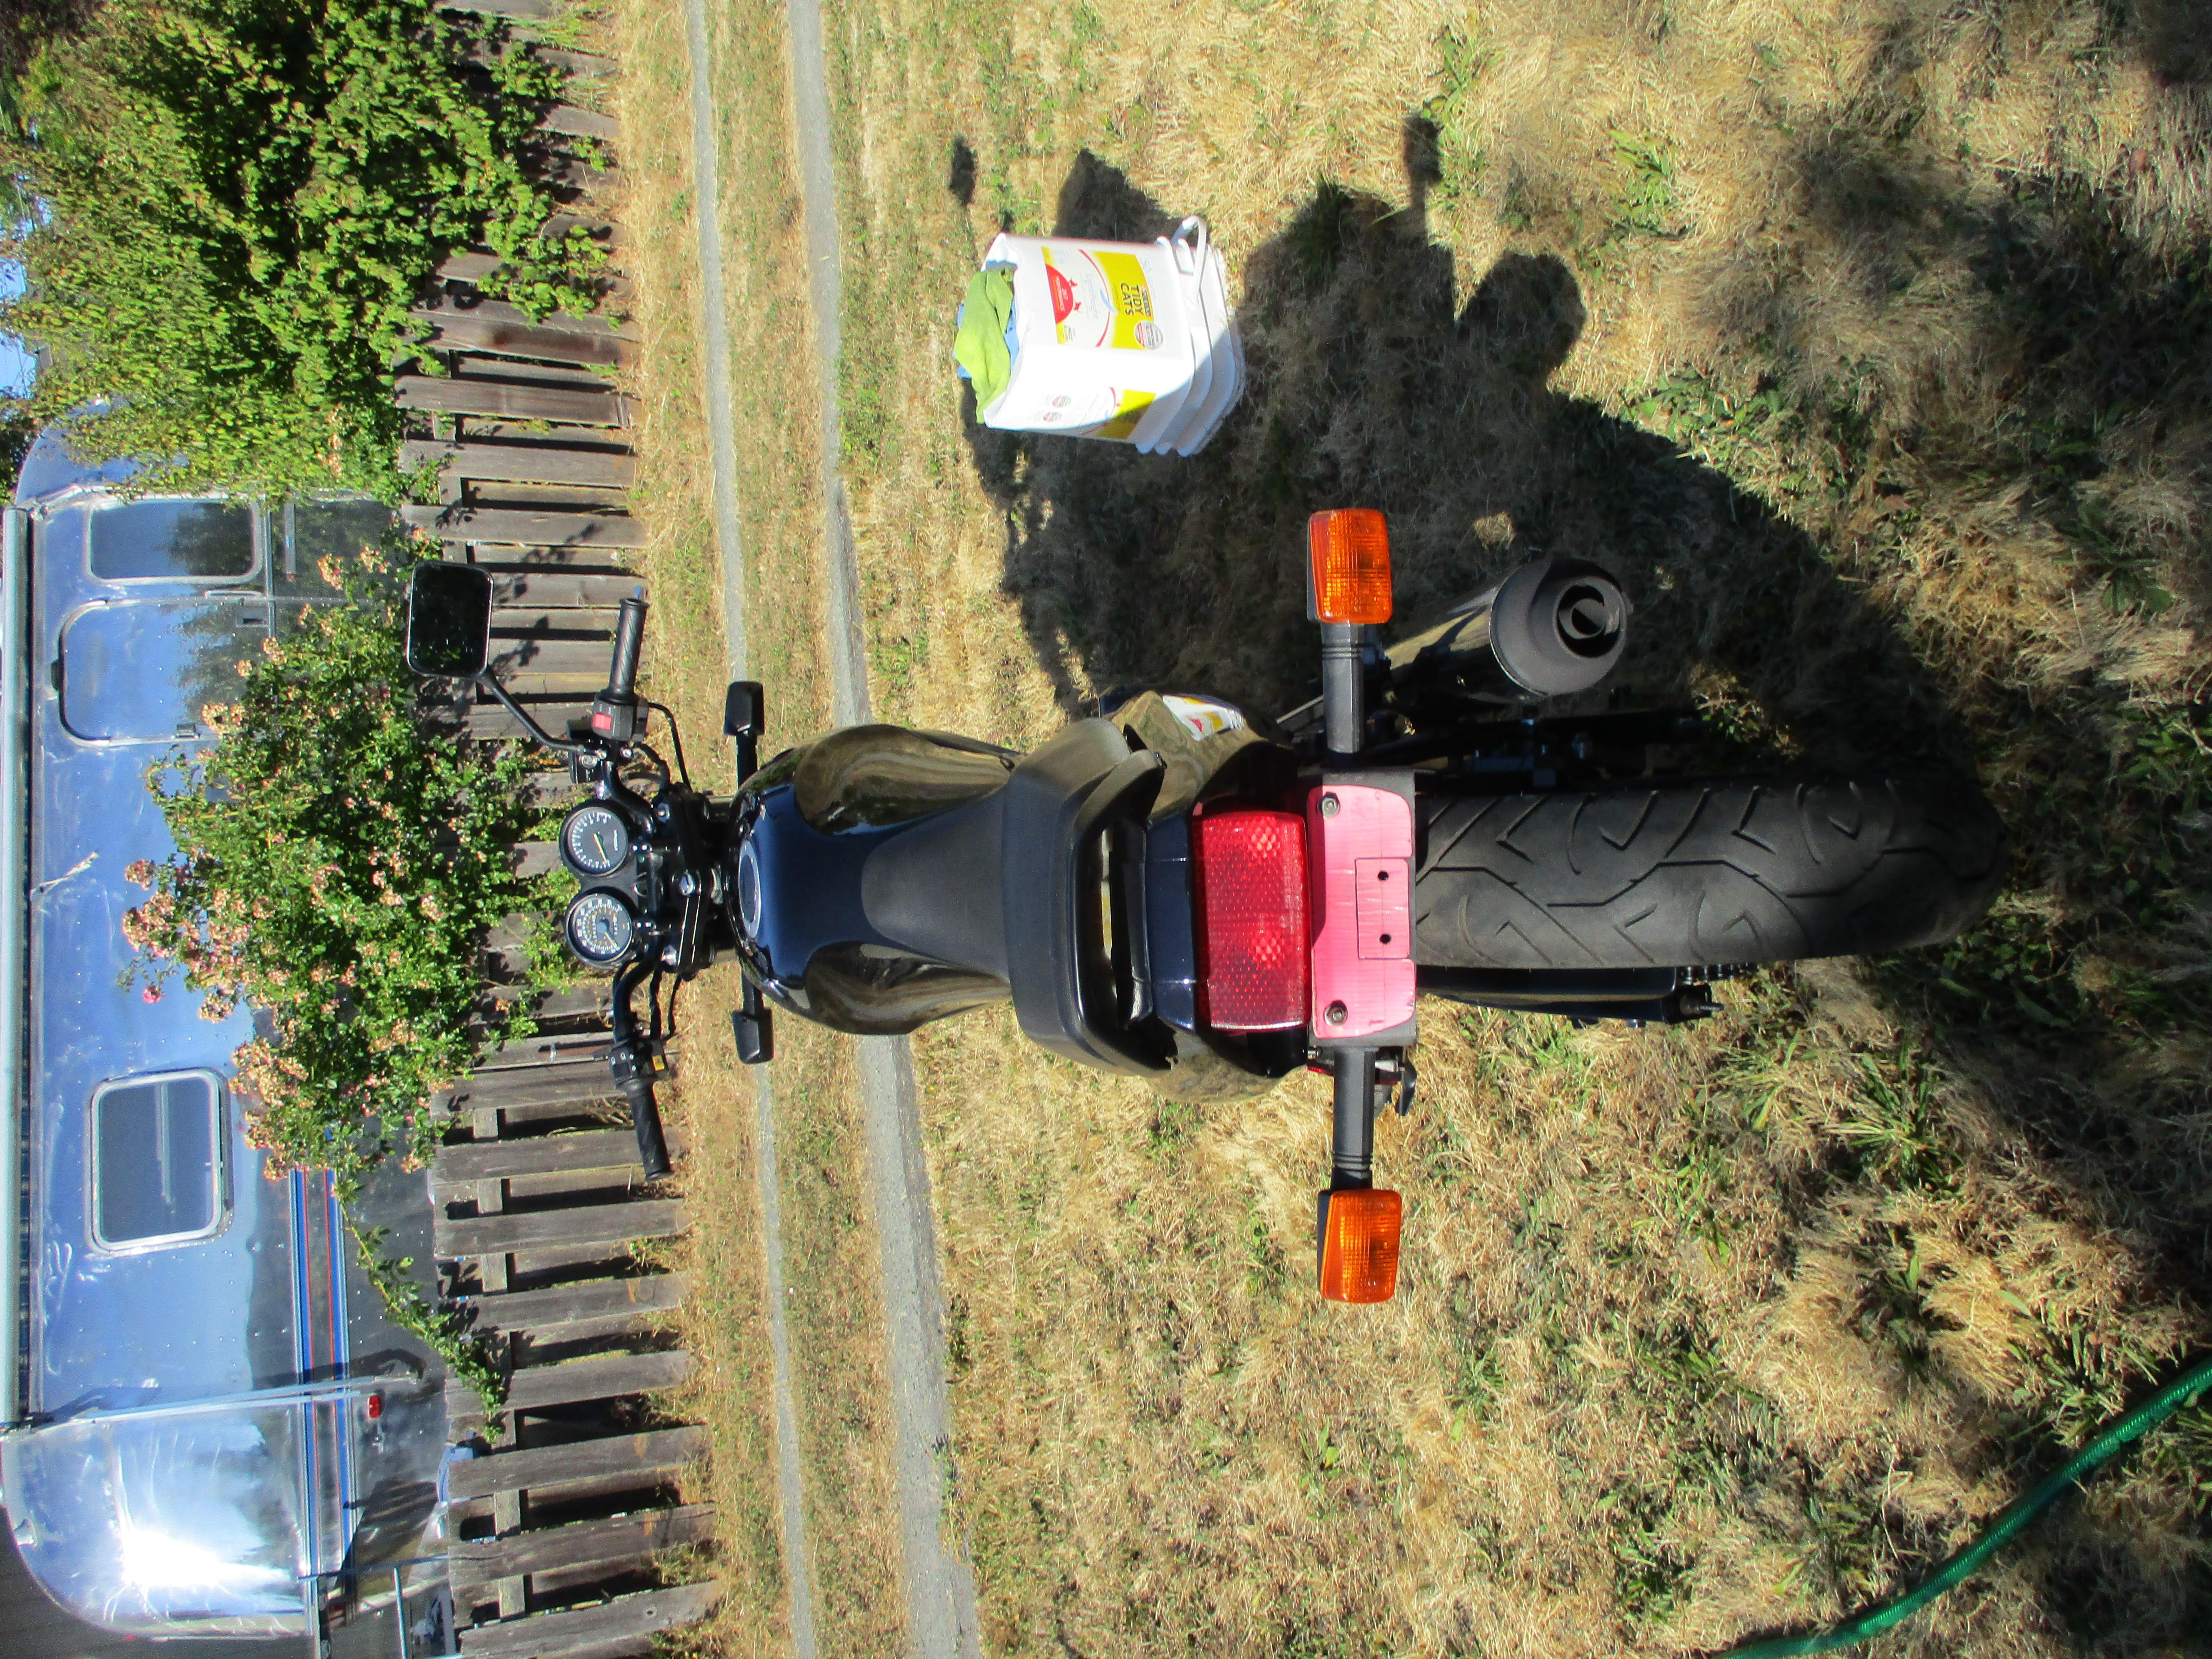
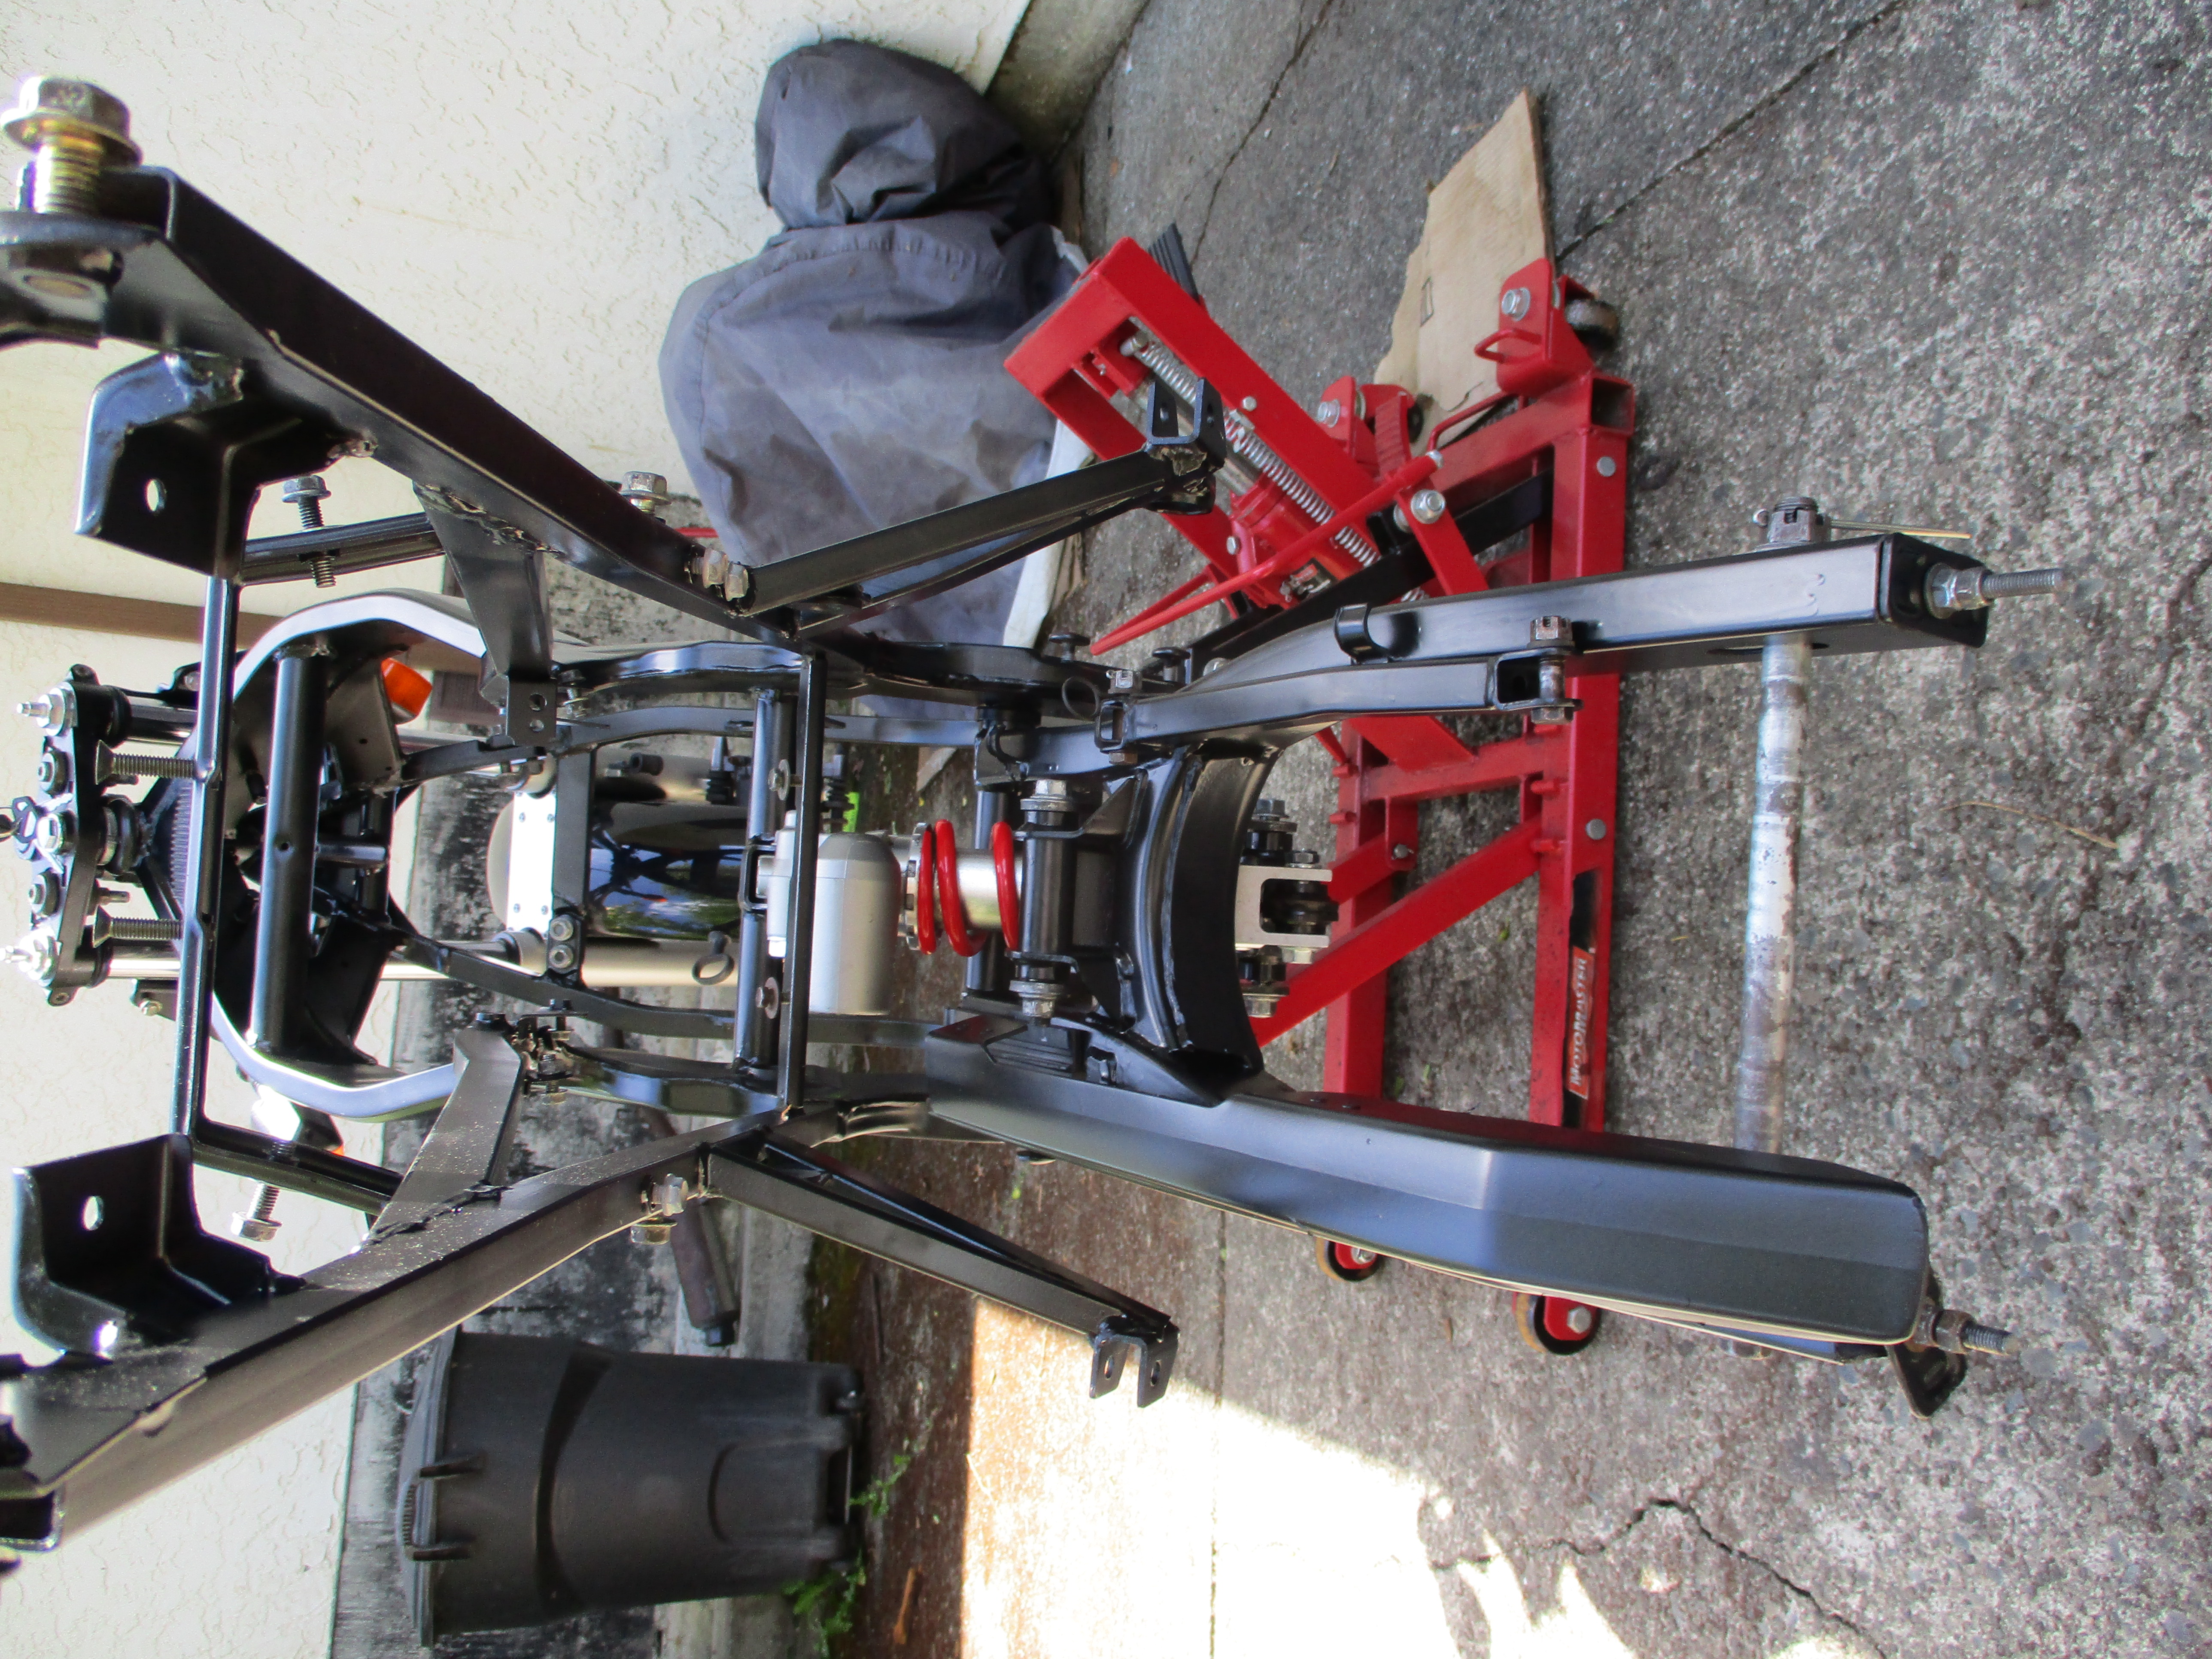
Here are some before and after photographs:


After the tow truck driver left I pushed the motorcycle to my work area behind the house where it would sit for a few weeks.
This motorcycle did not run so the first thing I needed to do was prove the engine worked. Otherwise it might be a waste of time to clean the rest of the motorcycle up.
After cranking on it for a while with different jumper packs and other motorcycle batteries and having no luck I decided to bypass the fuel system and replace the existing carburetor with the refurbished spare. With a temporary gas tank rigged up out of an old mustard bottle the motorcycle fired and ran for long enough to convince me there was no catastrophic engine problems.
Now that I knew the engine would at least run, it was time to move on to the tear down phase of the project.
This motorcycle smelled terrible. I am no stranger to bad smells and most things do not bother me, but this bike smelled BAD. It was a combination of old gas and rotten dirt I think.
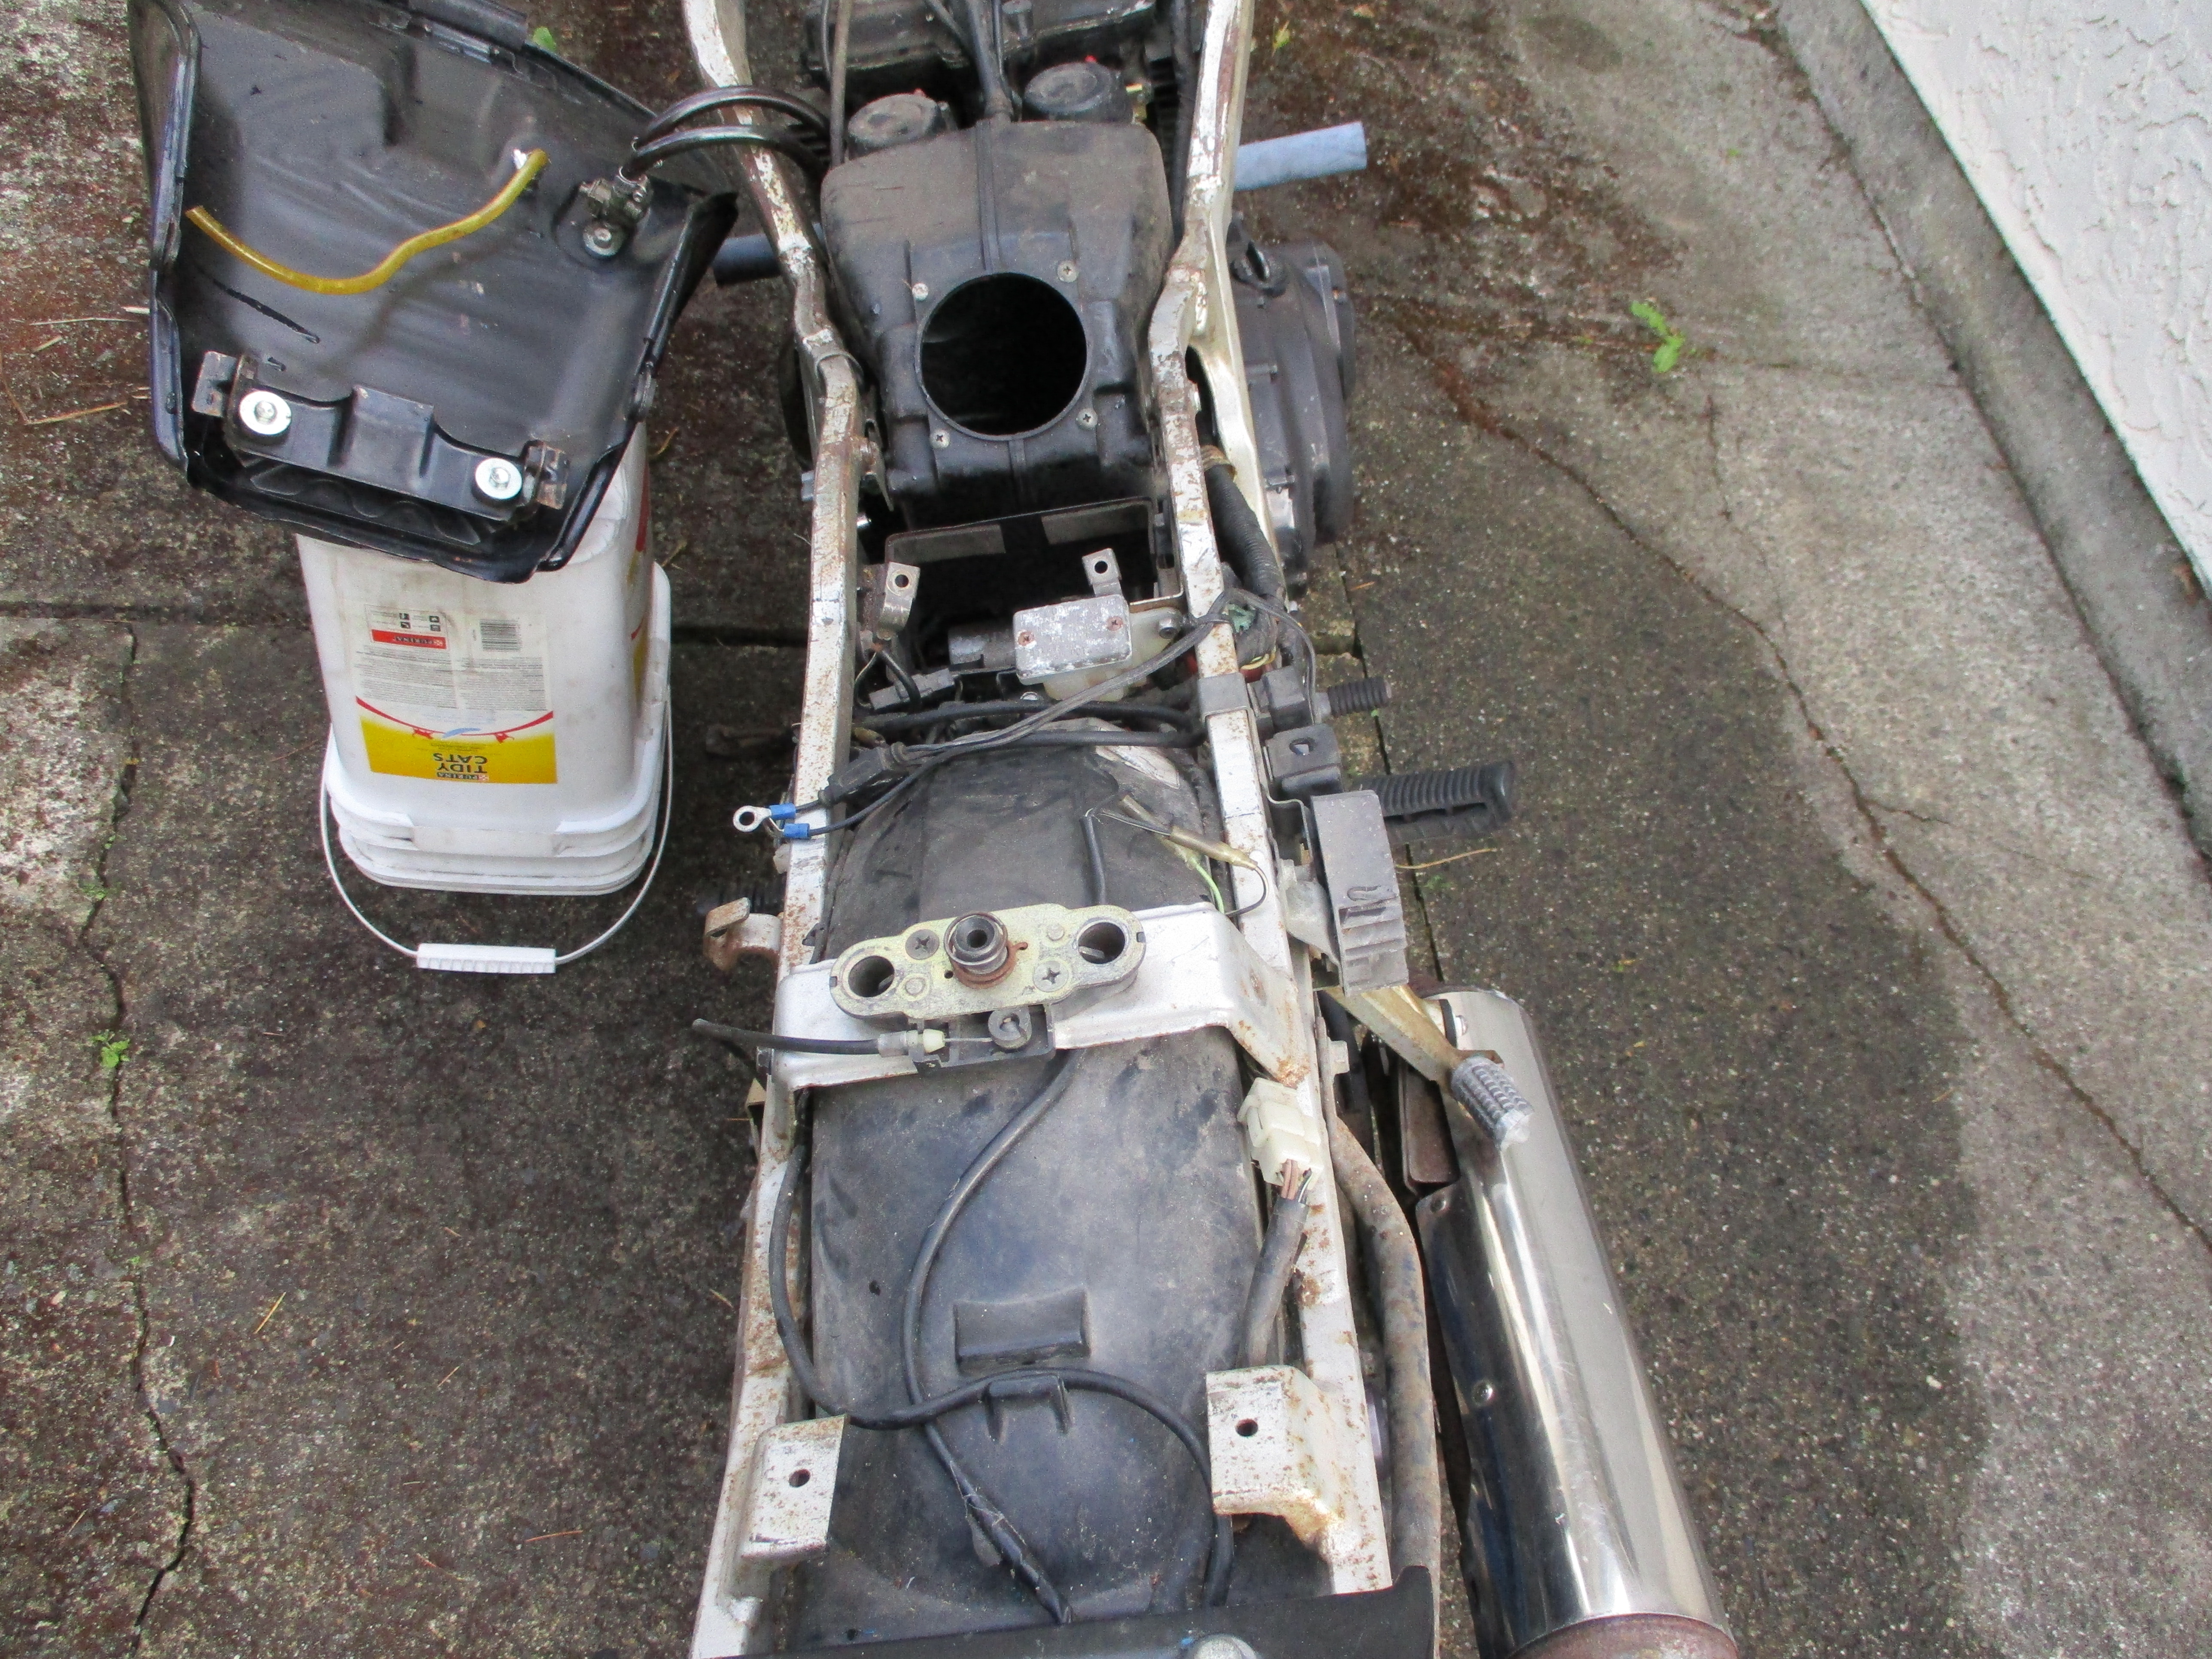
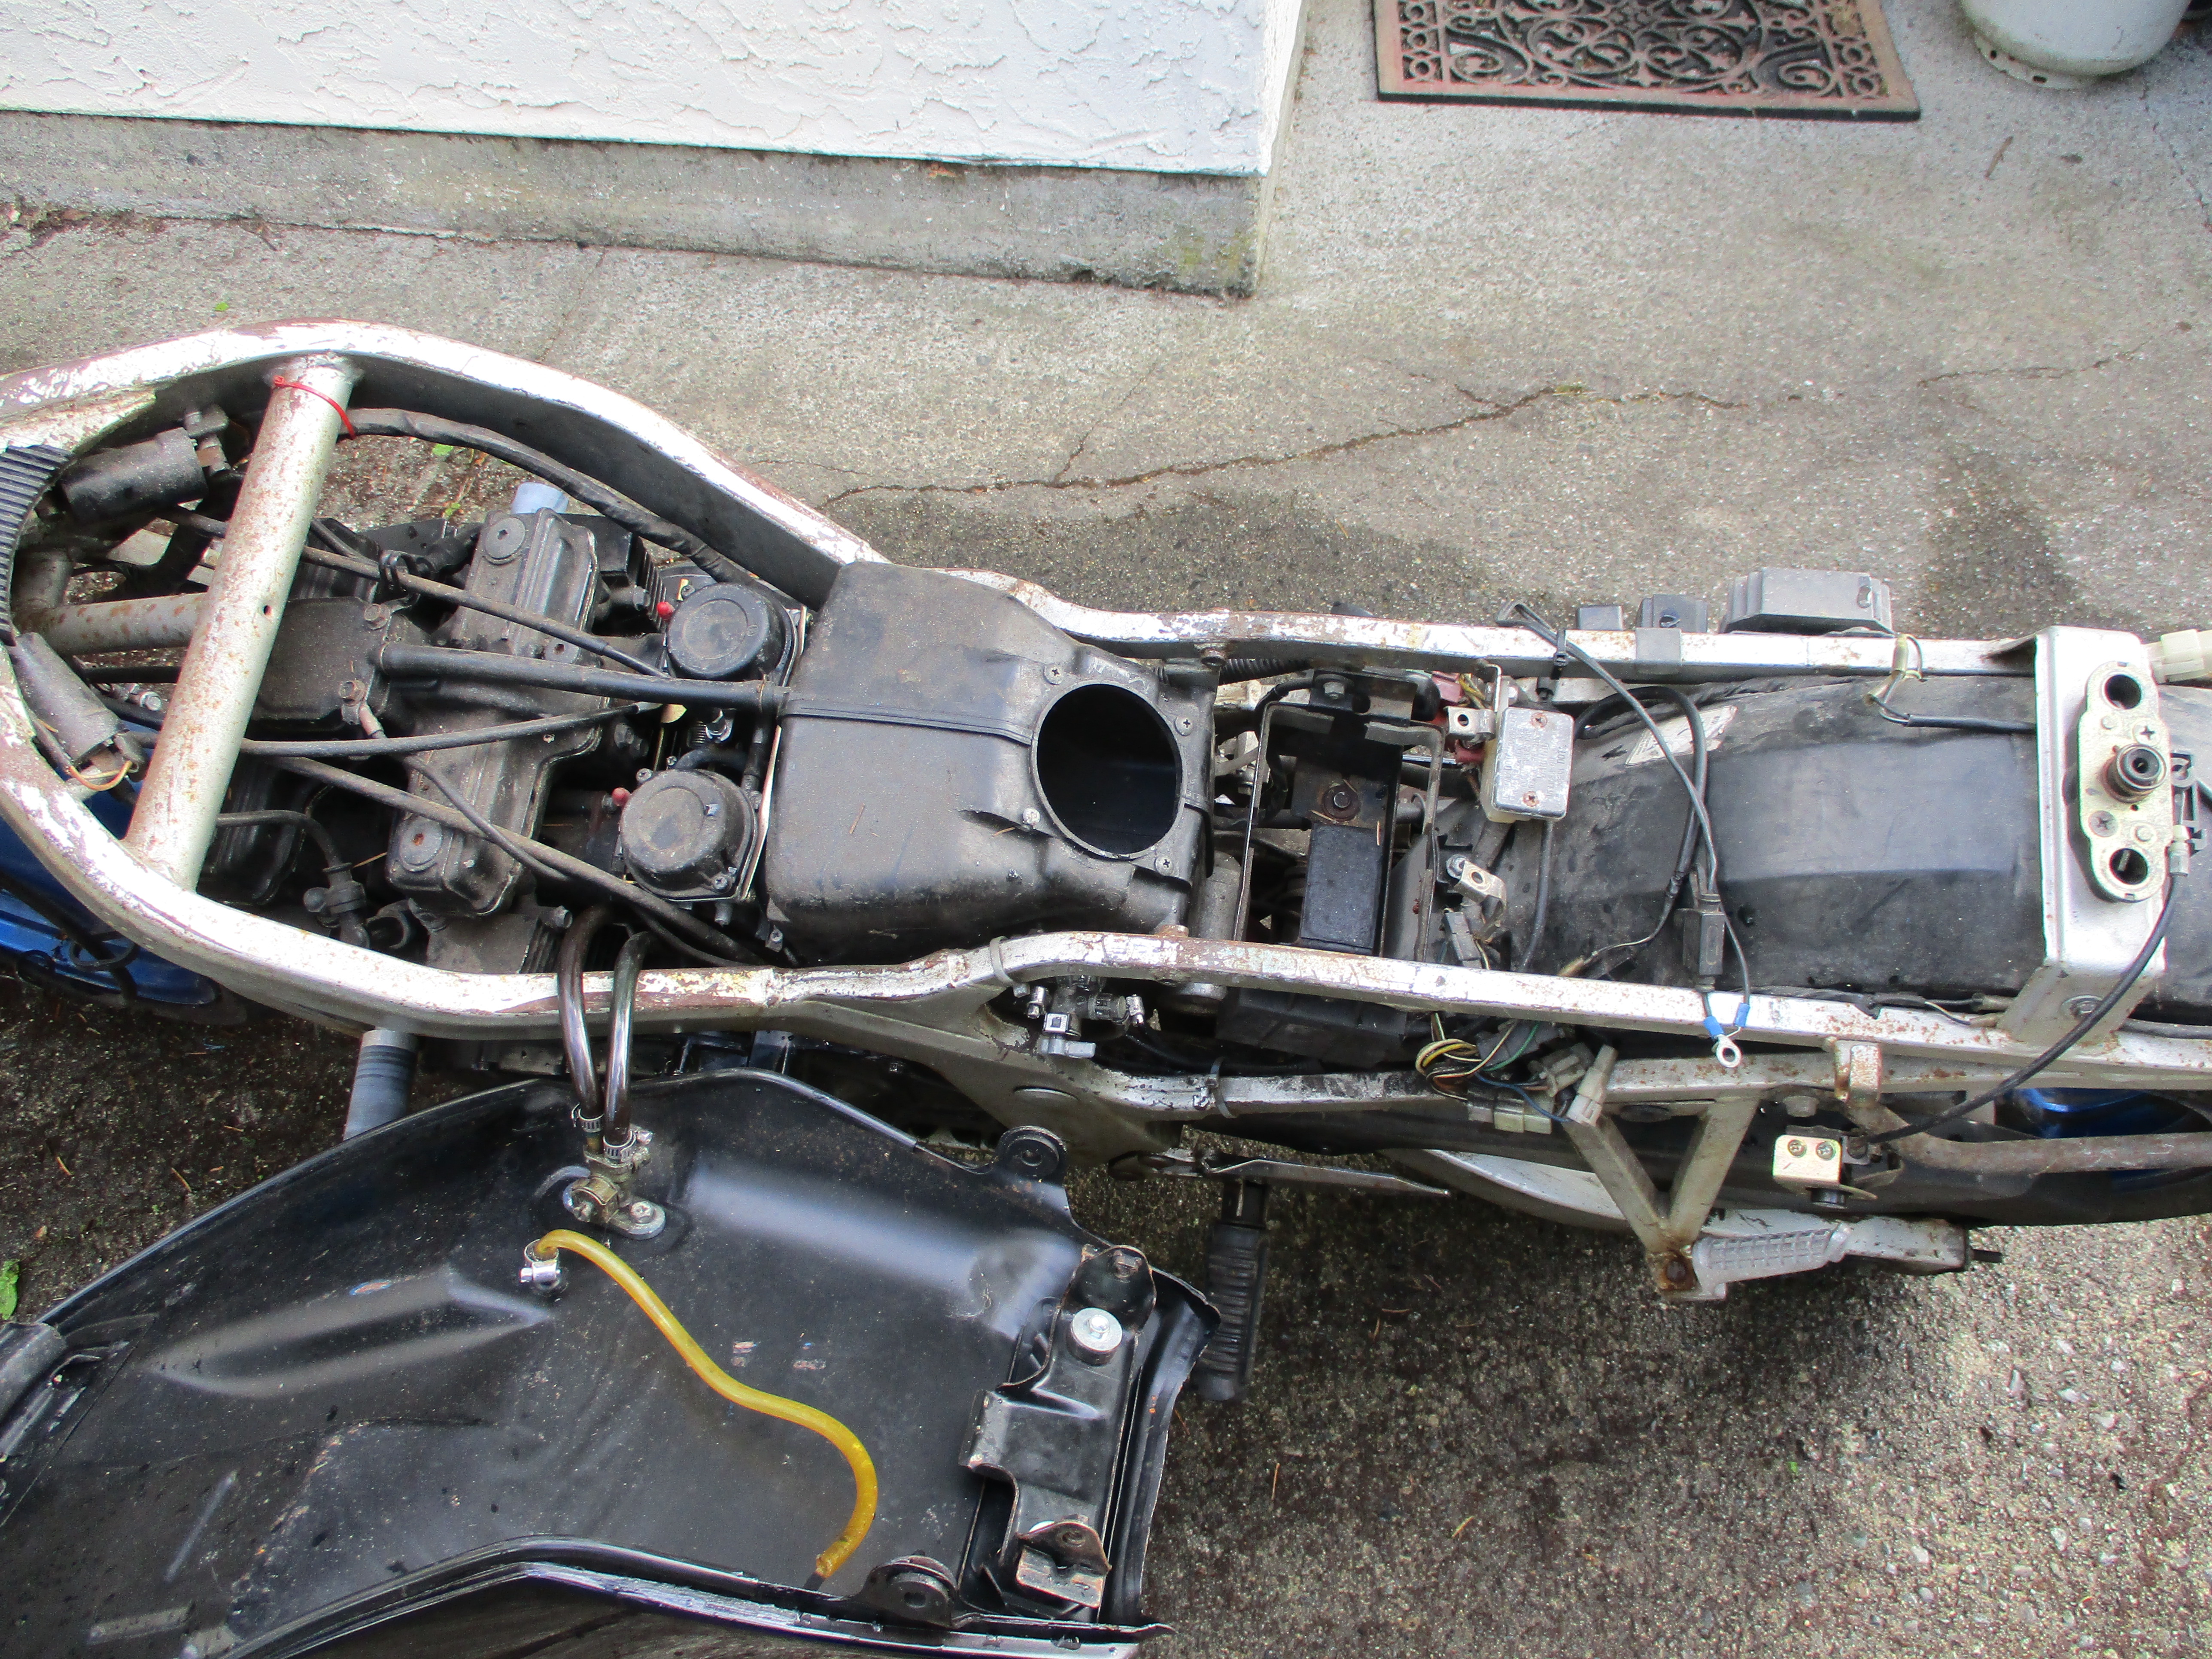
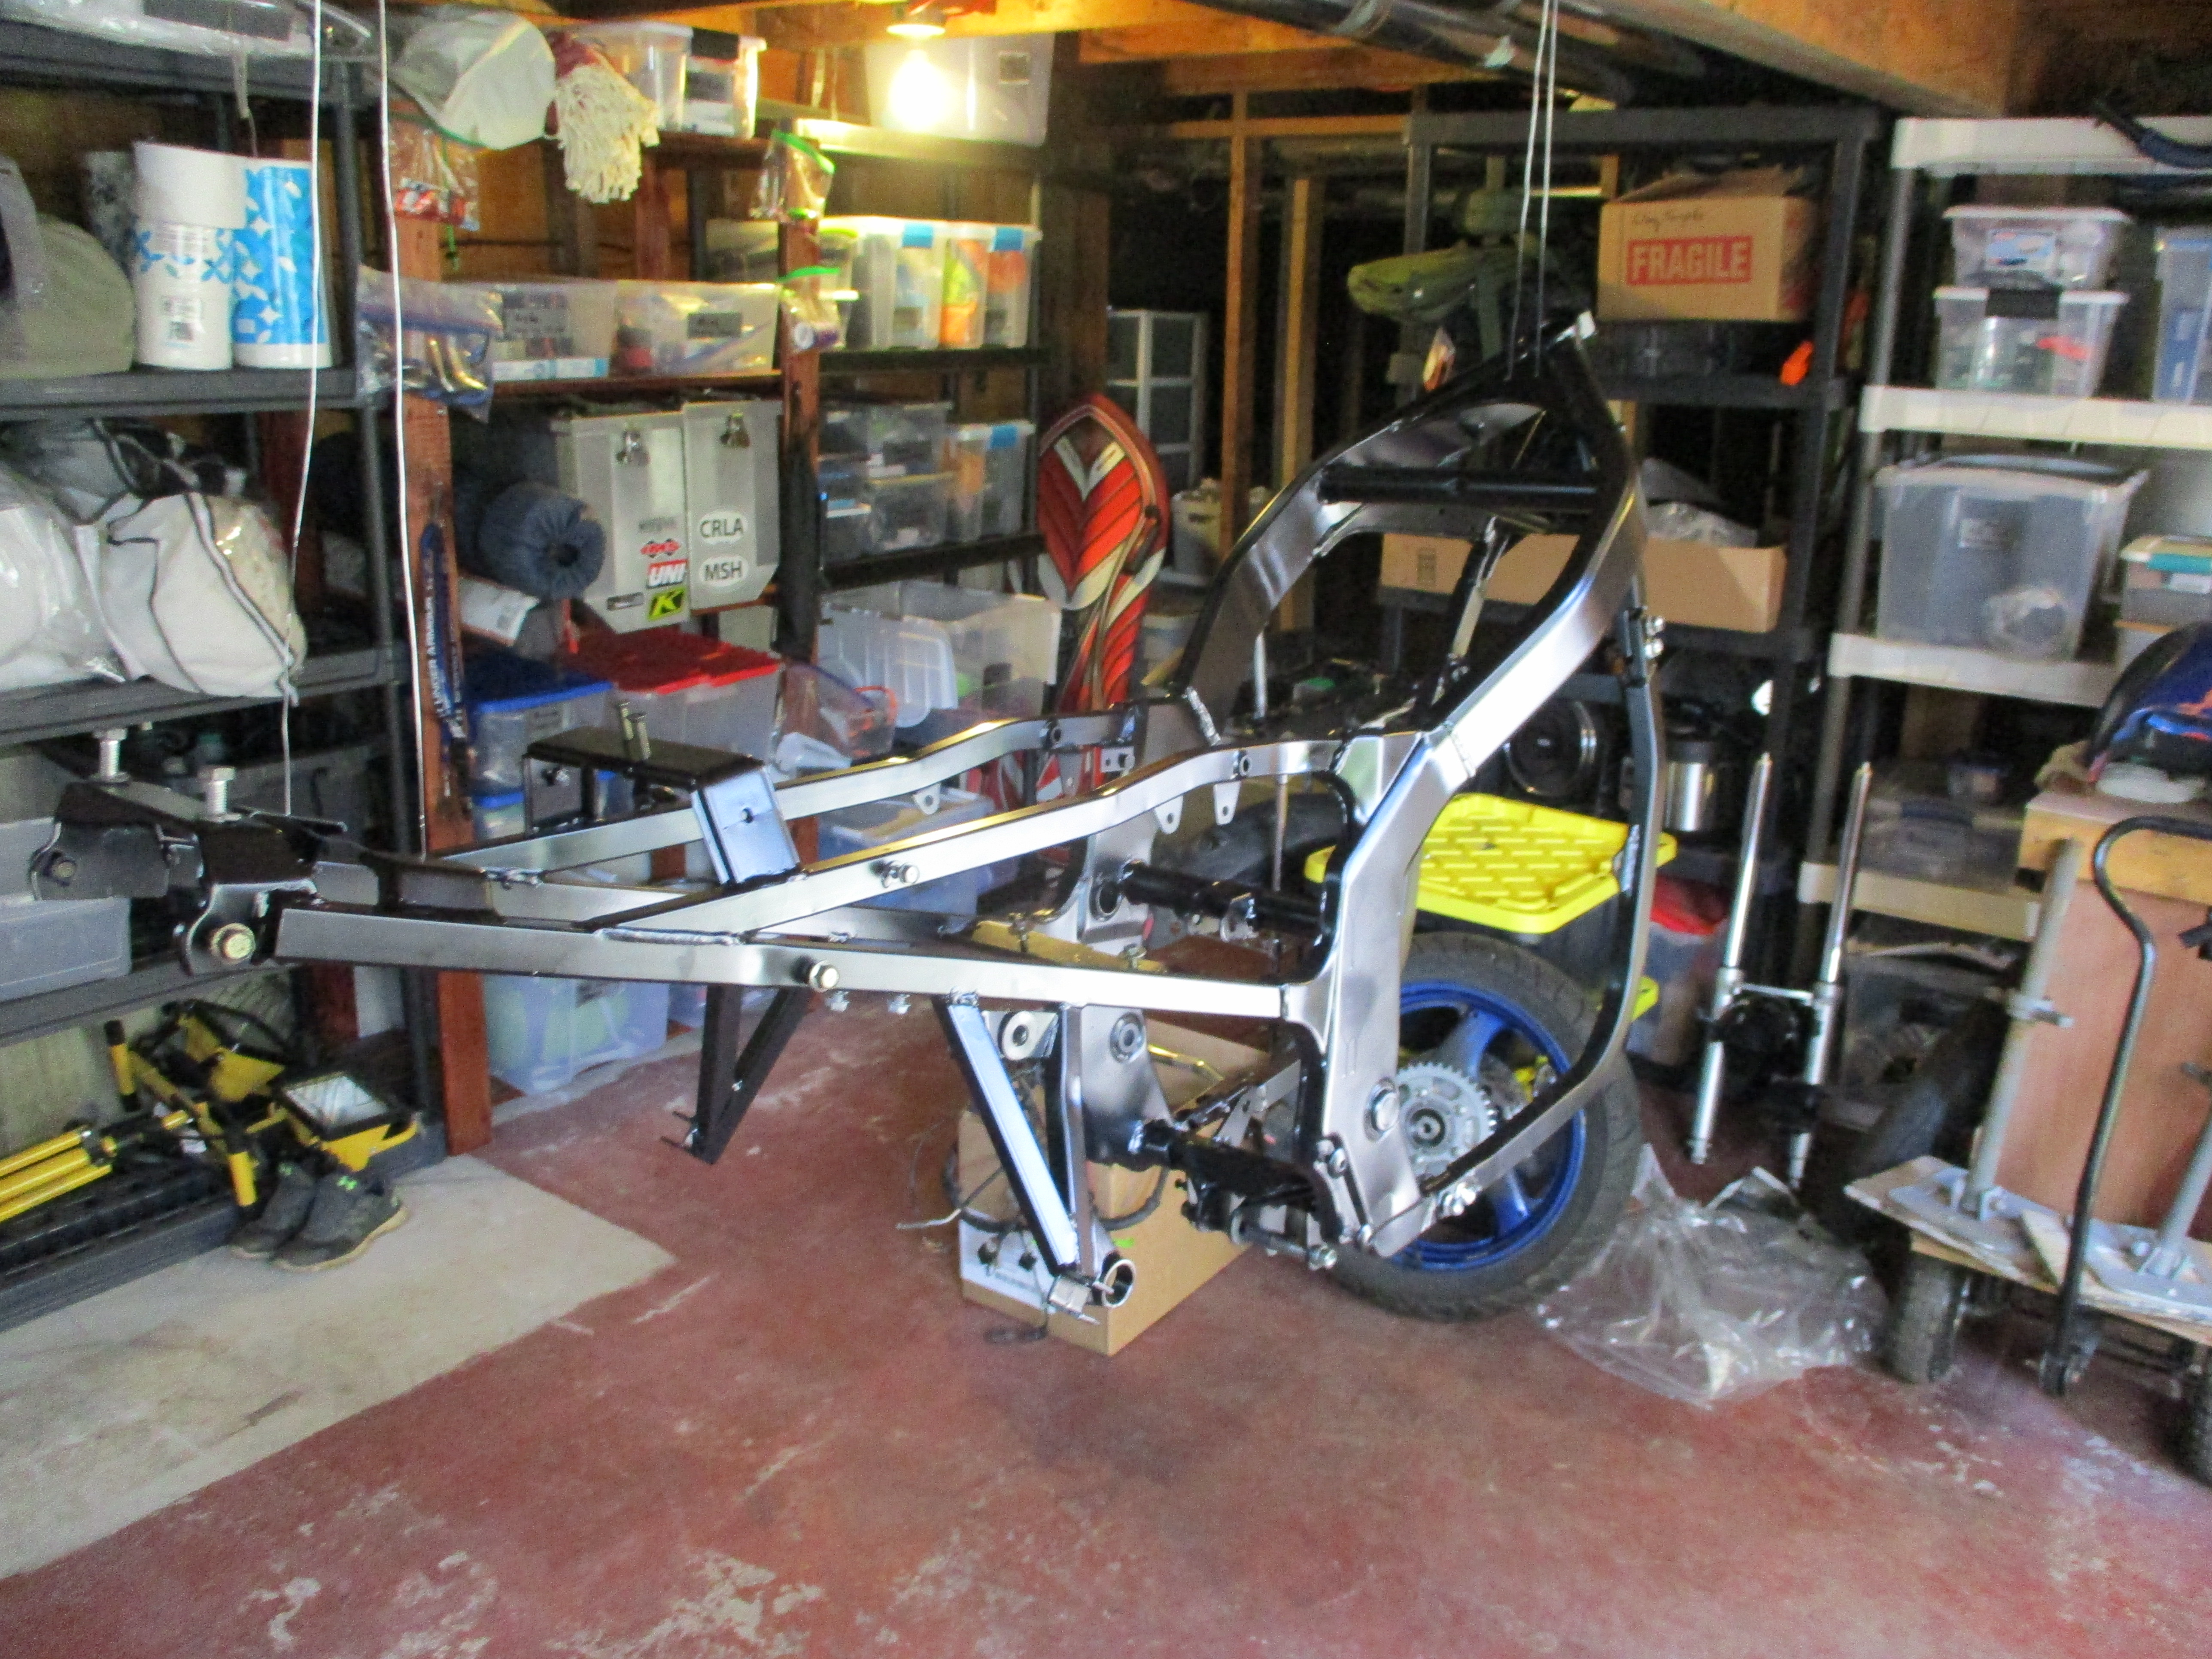
The entire motorcycle needed to come apart as the frame needed painting and everything needed inspecting. I removed the seat, fairings, and gas tank first.
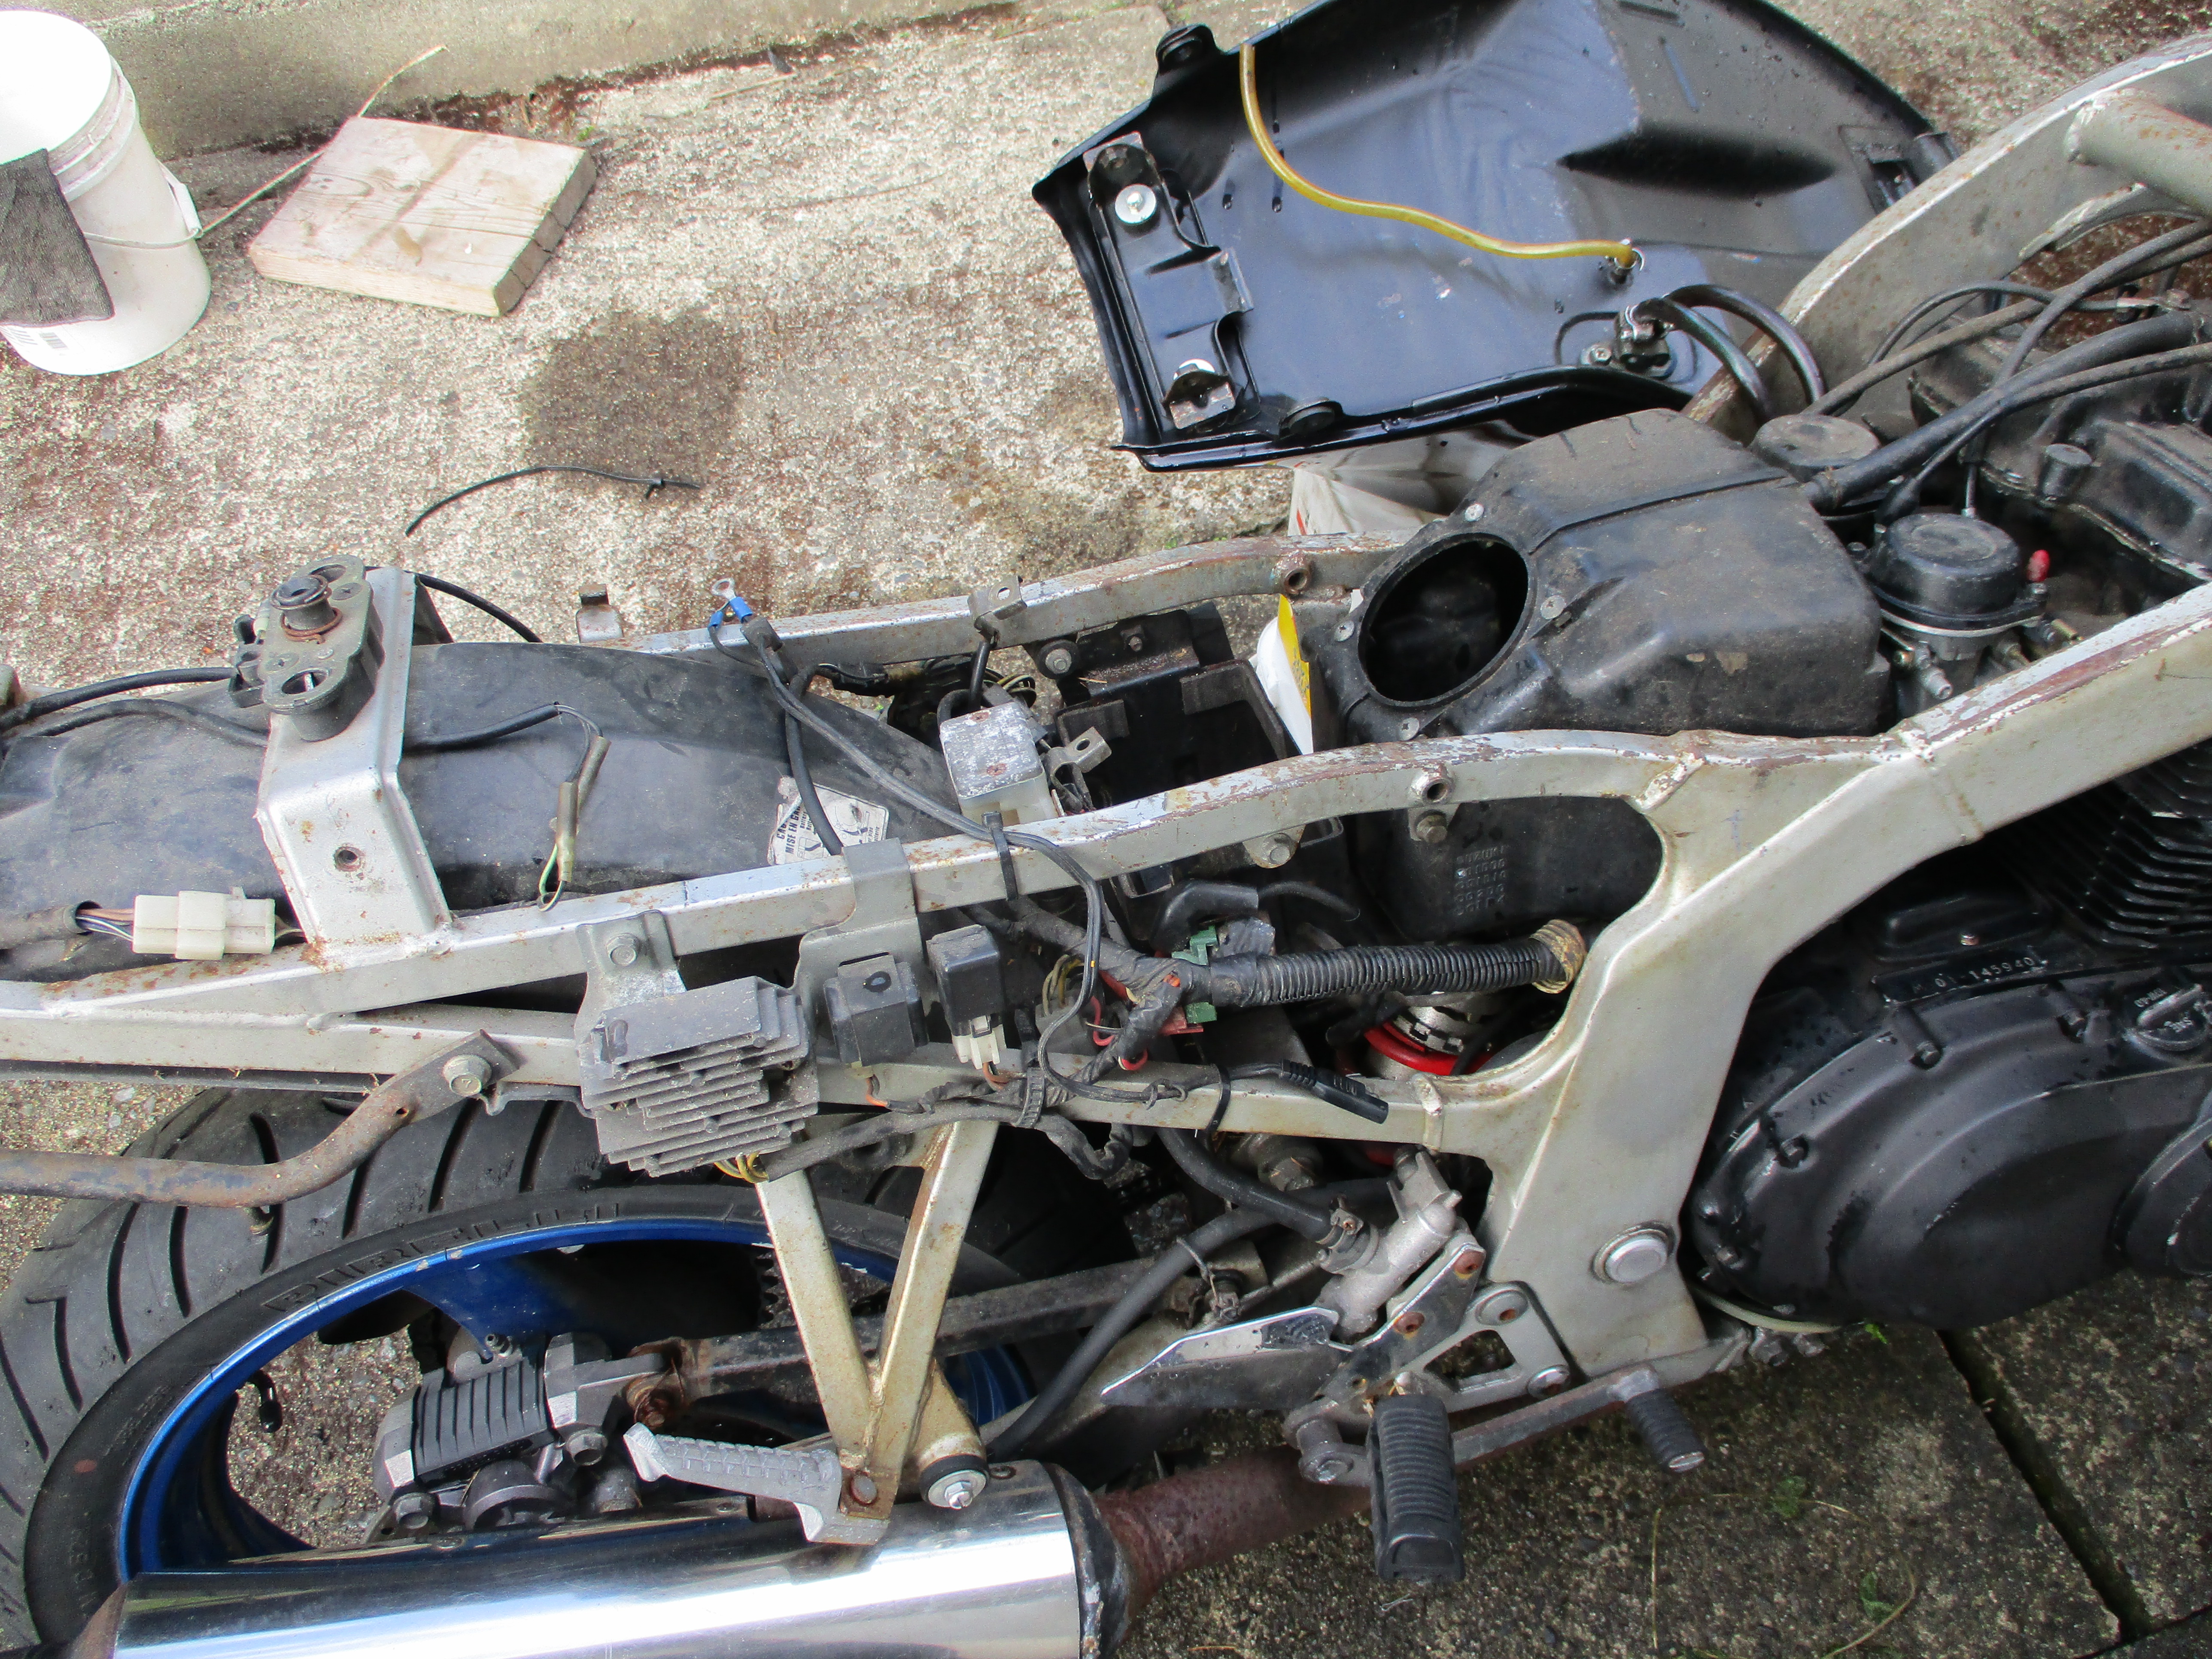
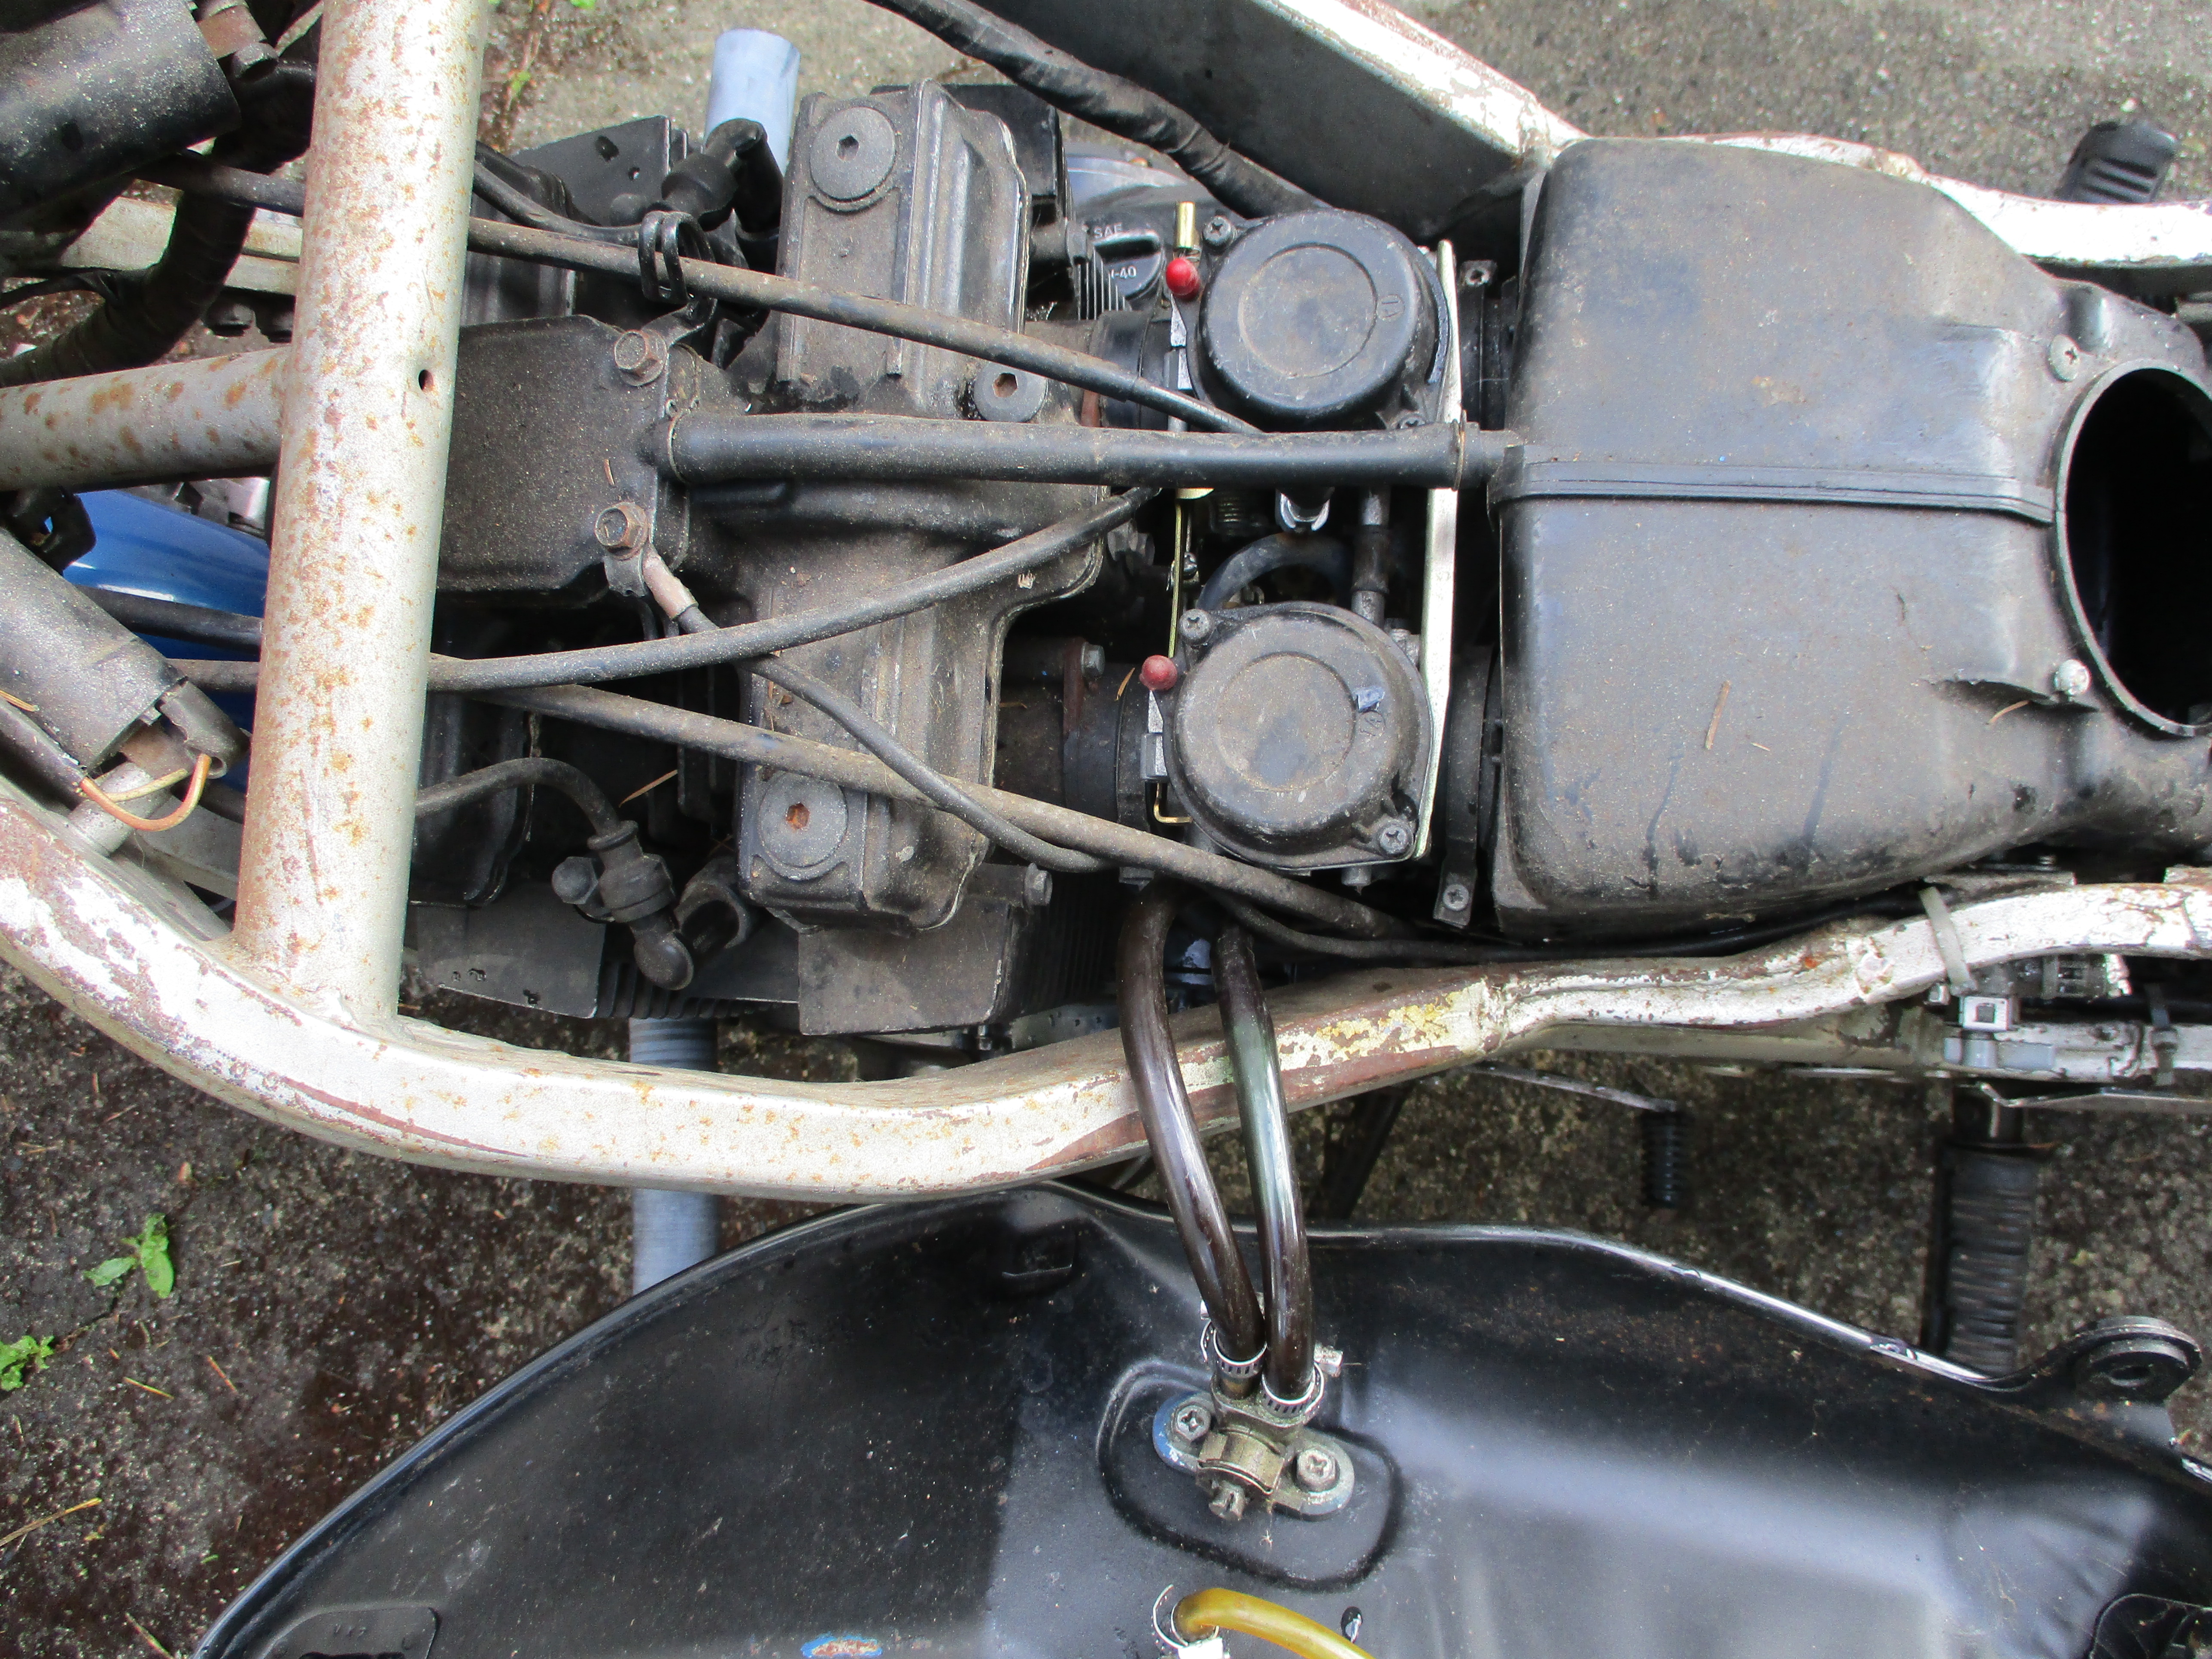
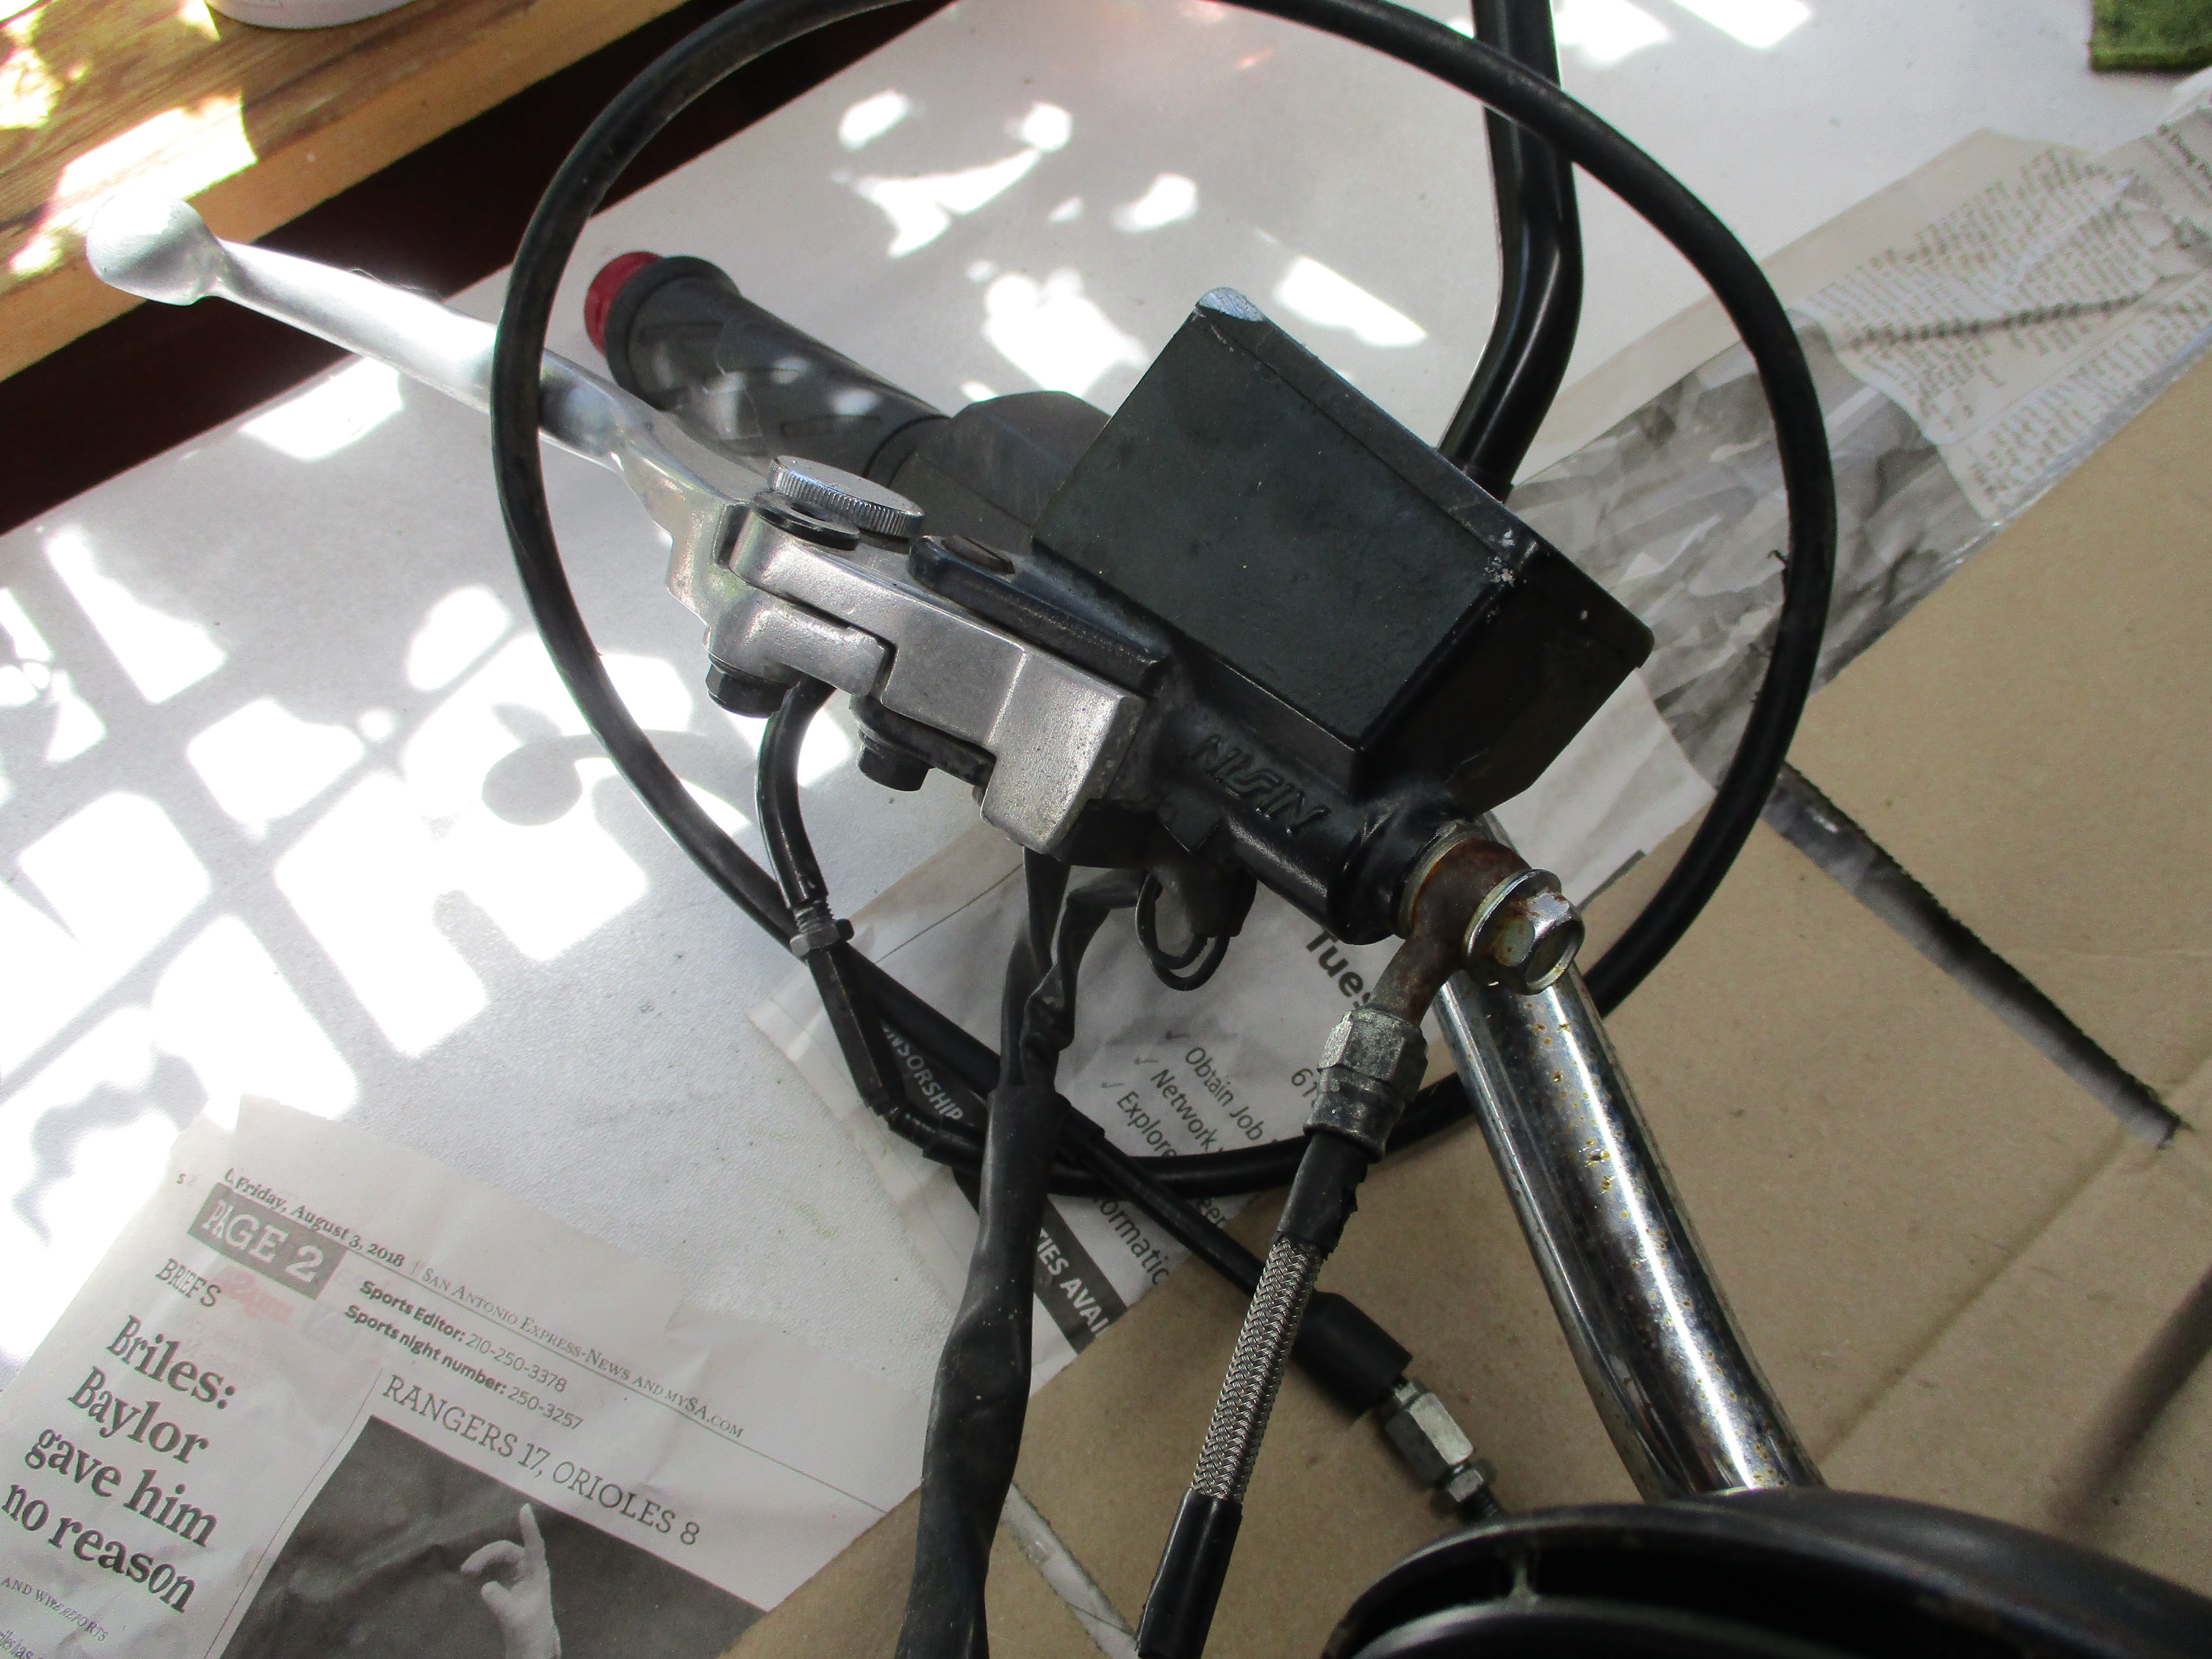
Take a look at those fuel lines below and to the left of the carburetors. Those were originally clear hoses but now contained some sort of dark liquid. I am almost positive those are not fuel rated hoses either. Also note the red liquid inside the inline fuel filter.
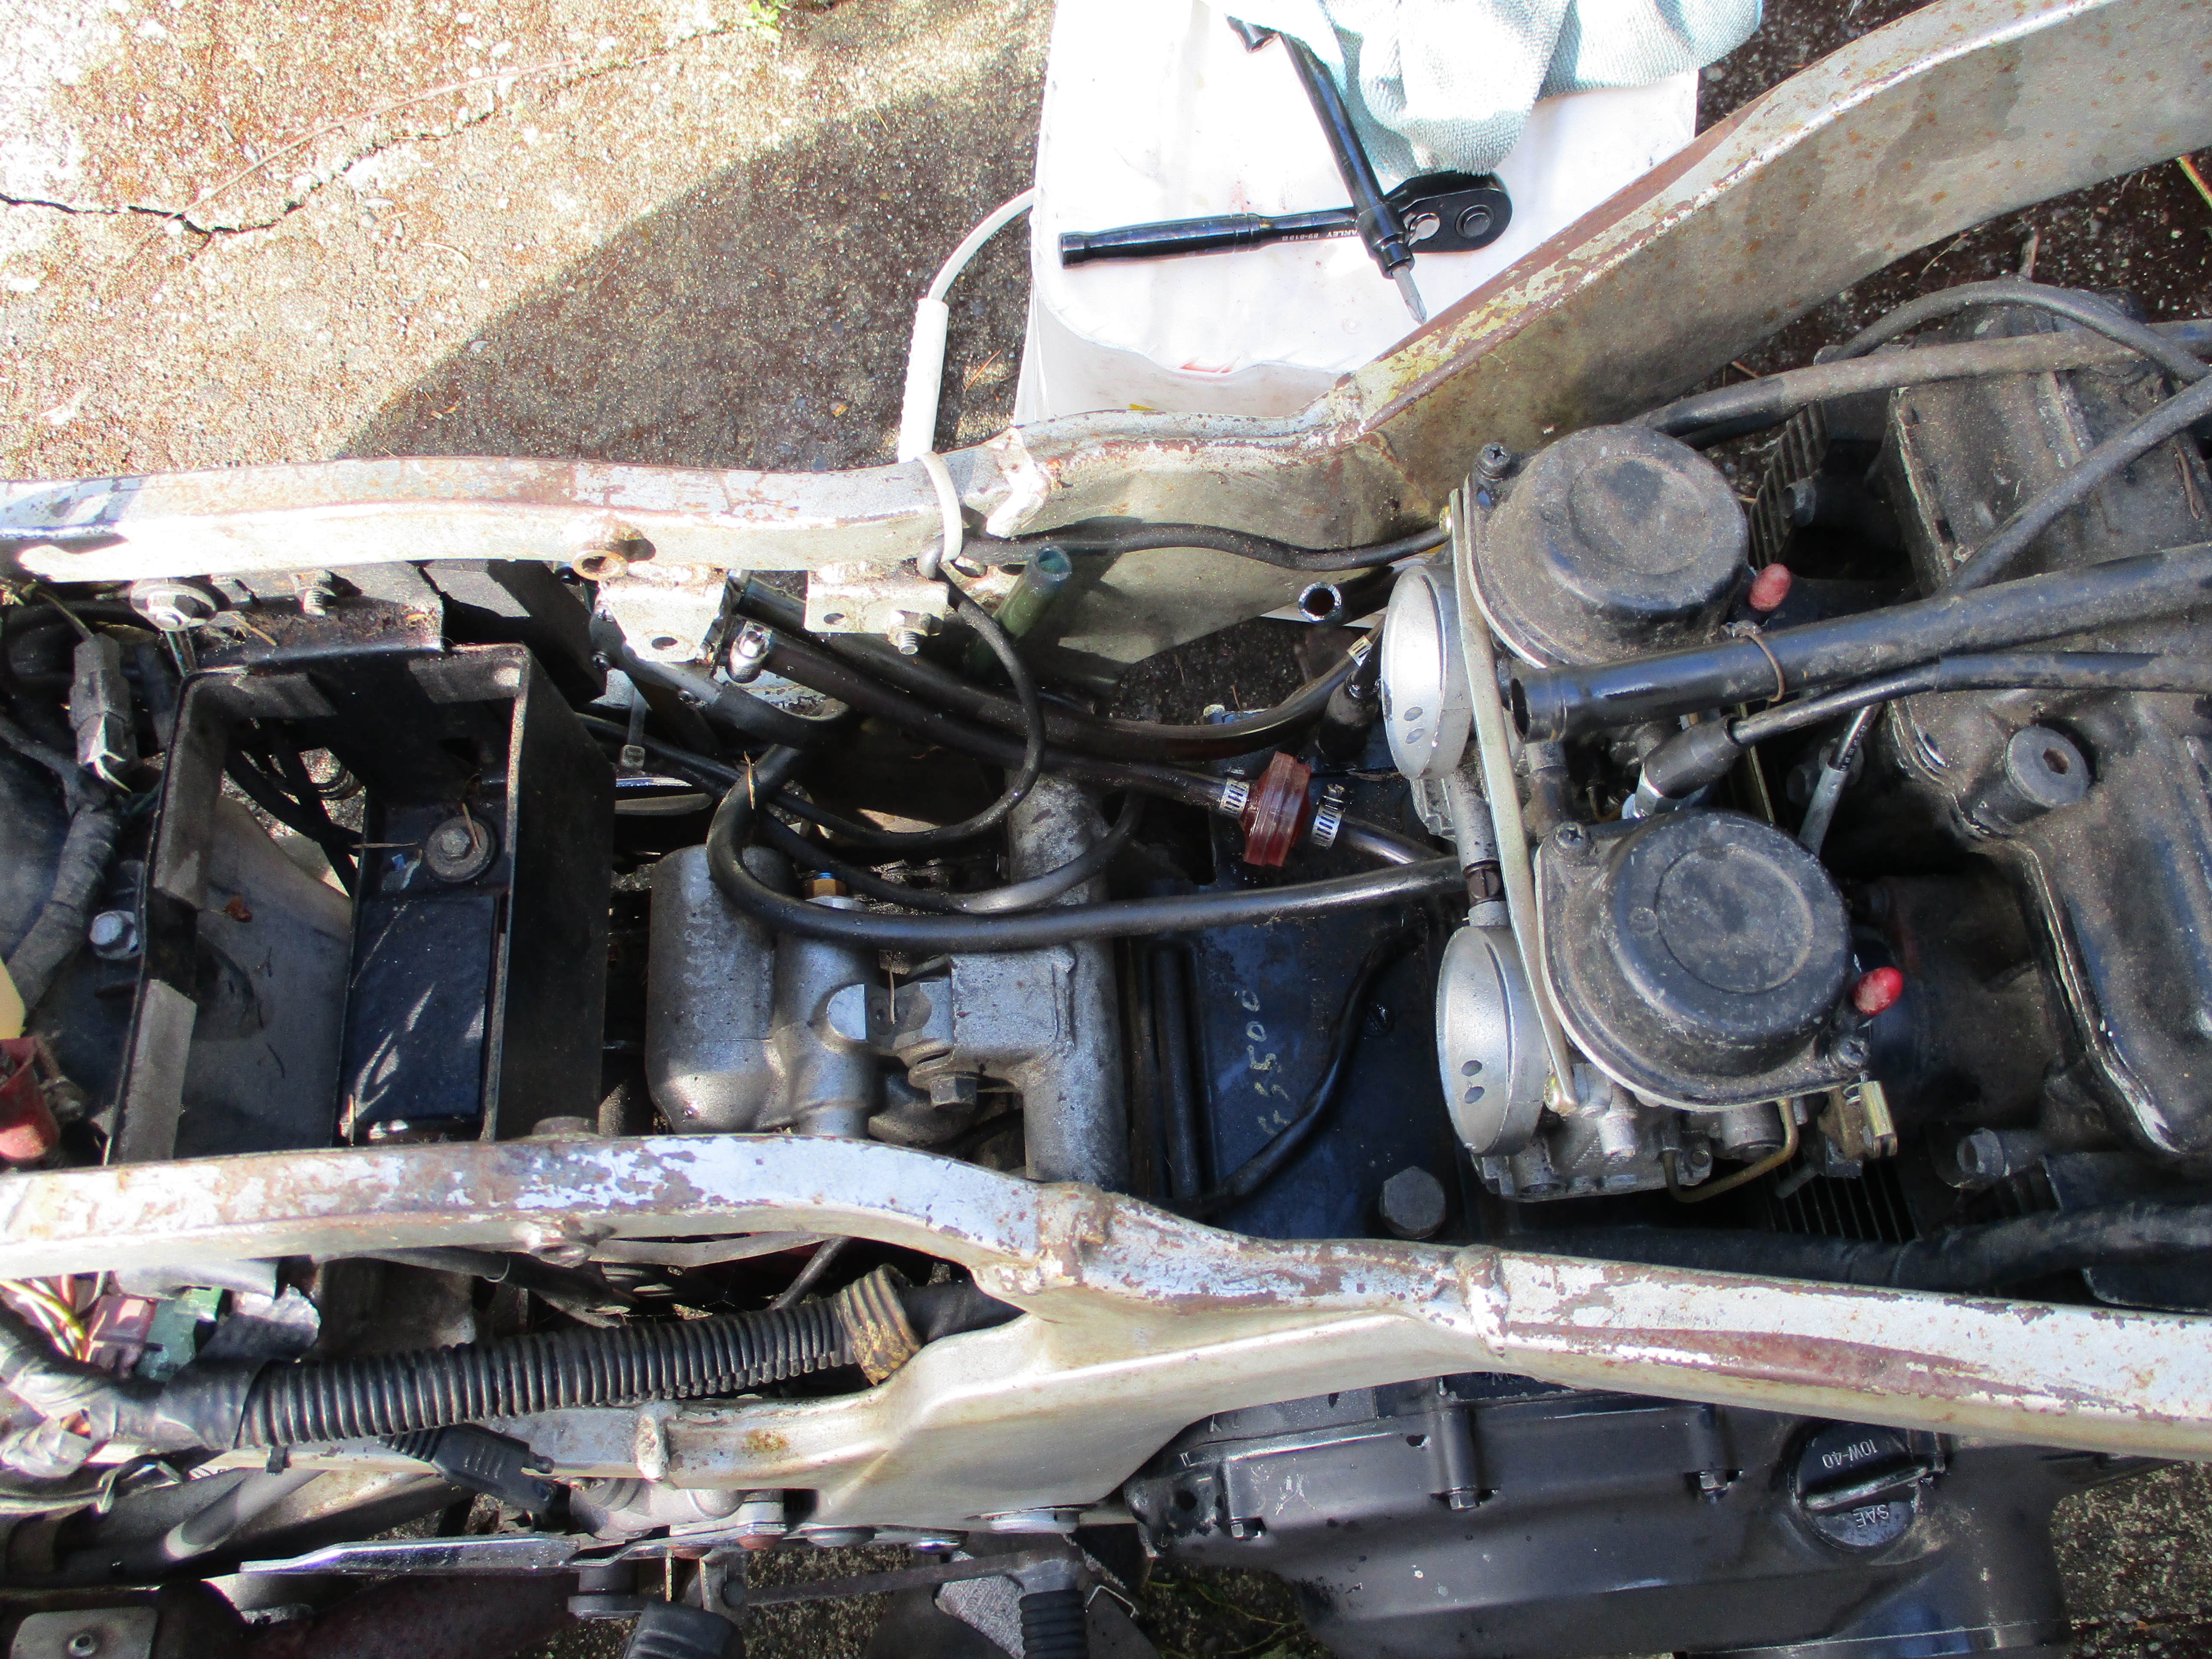
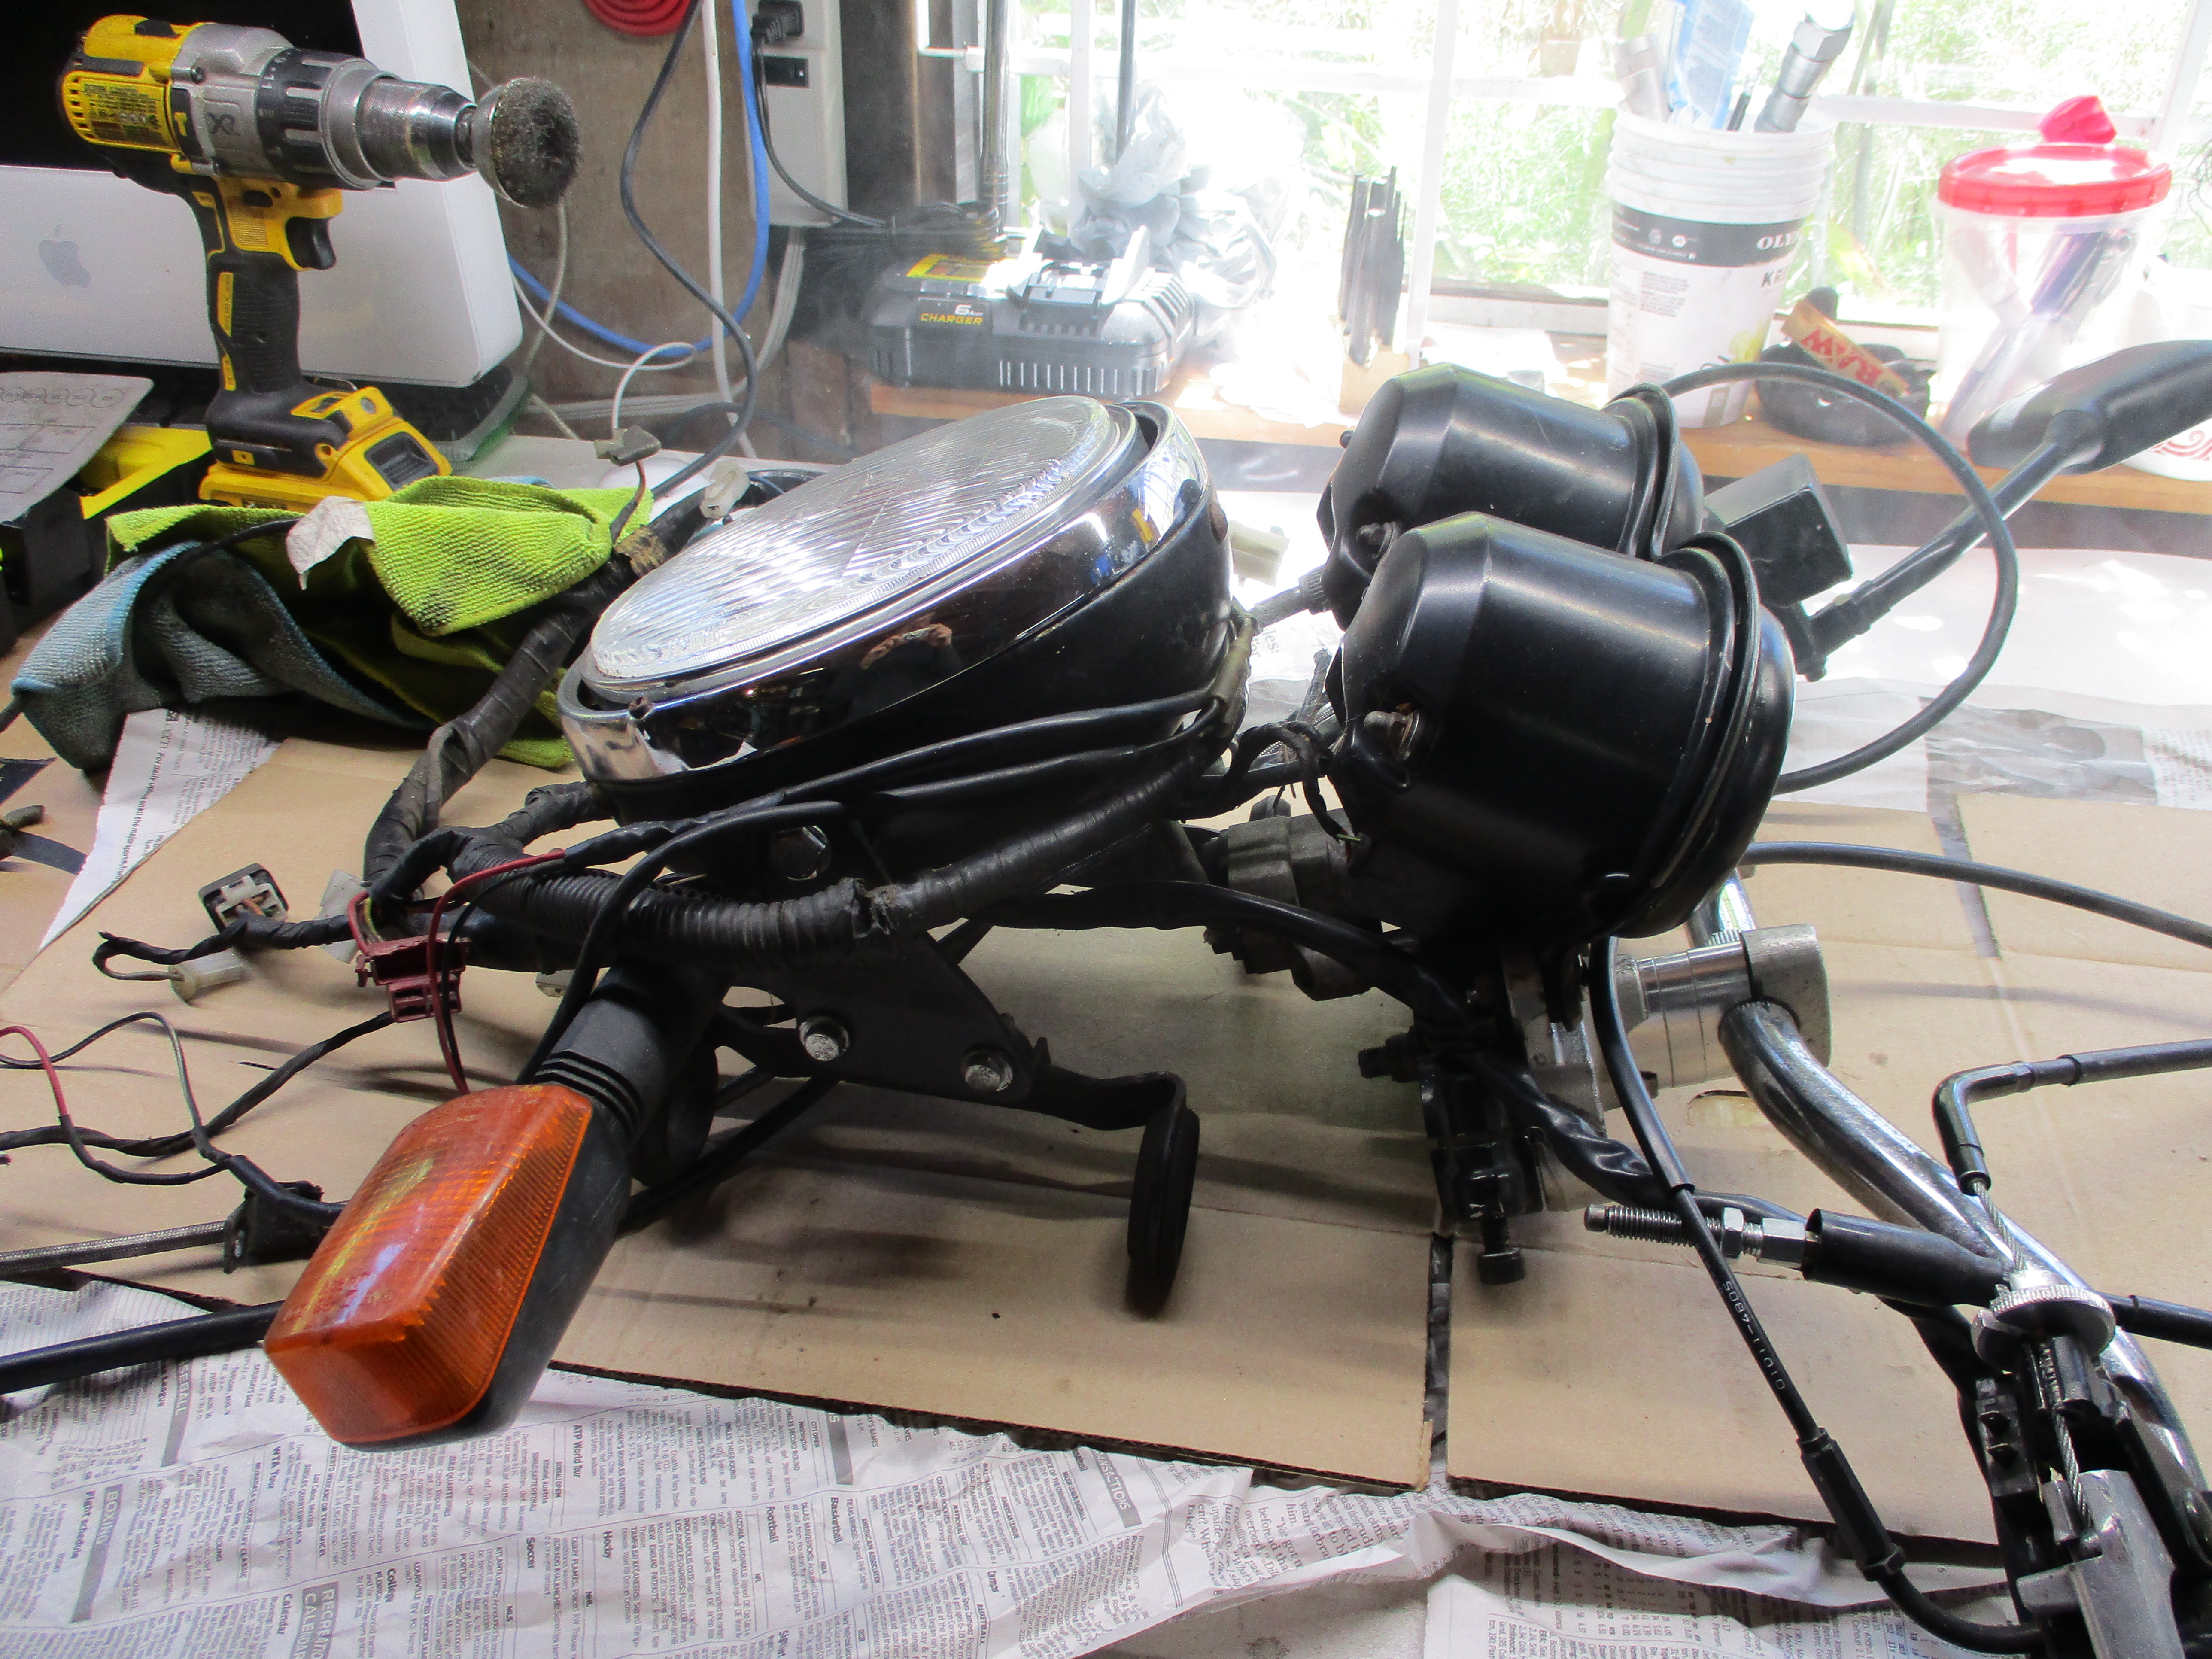
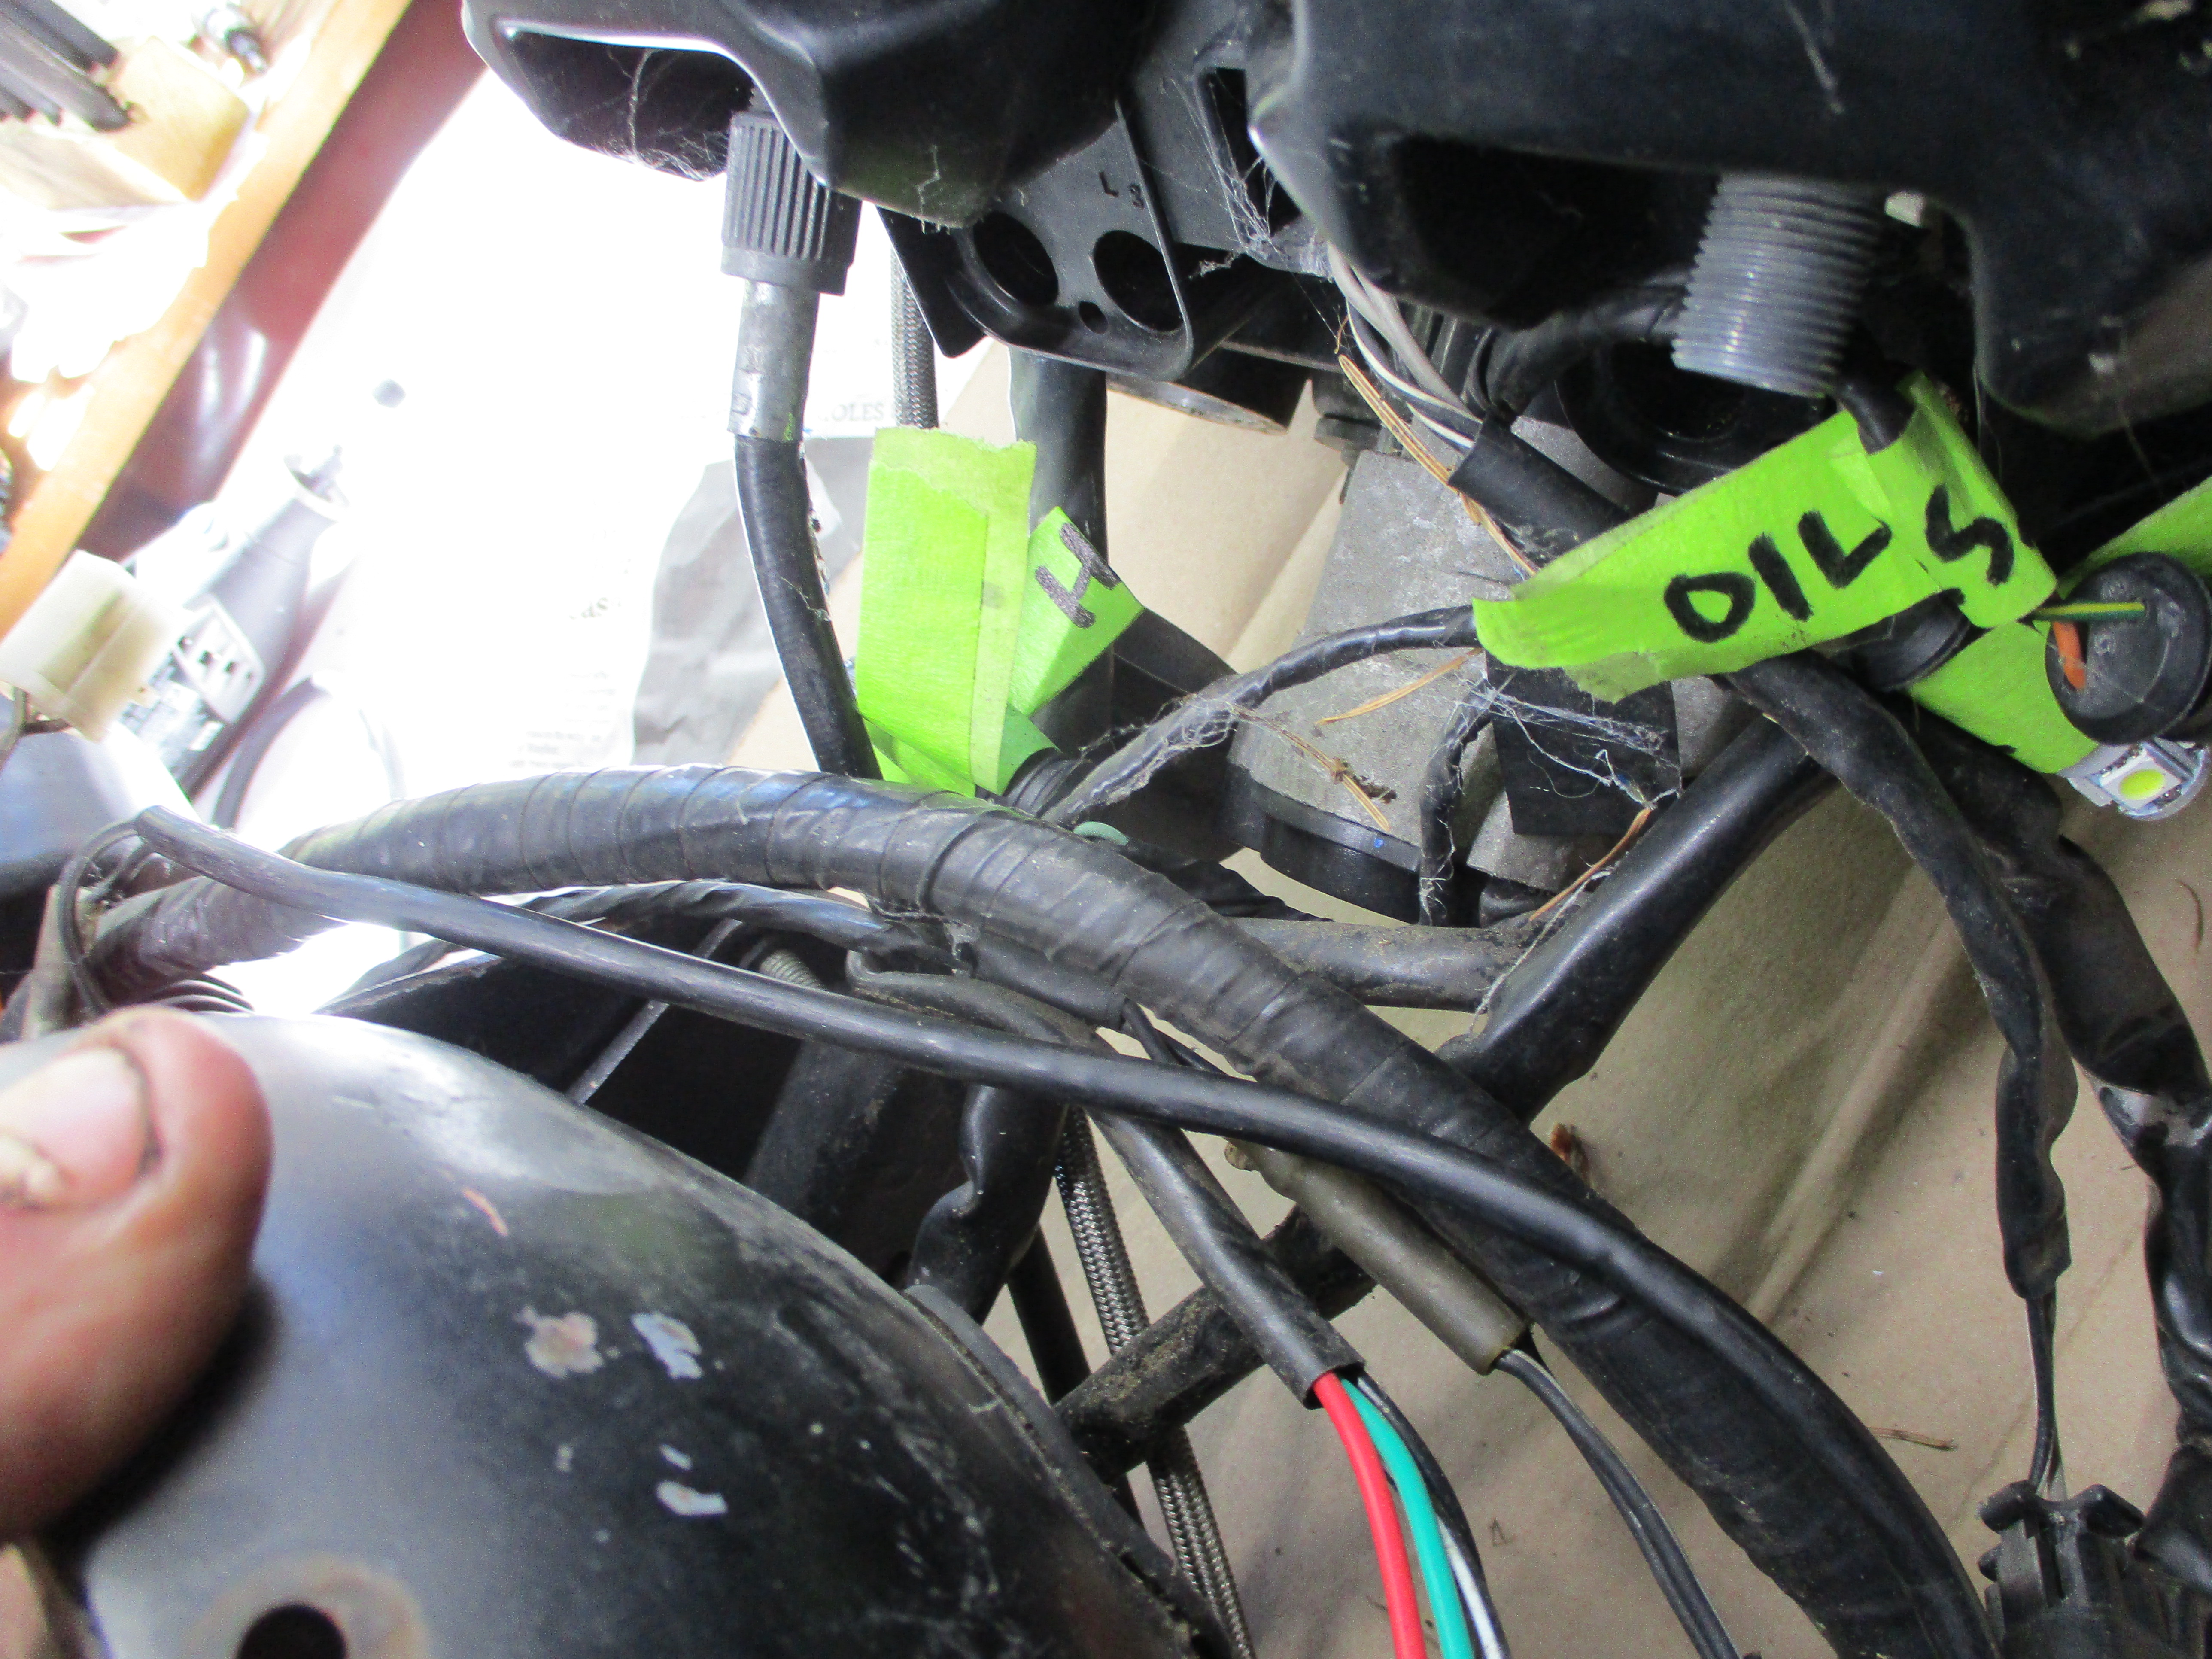
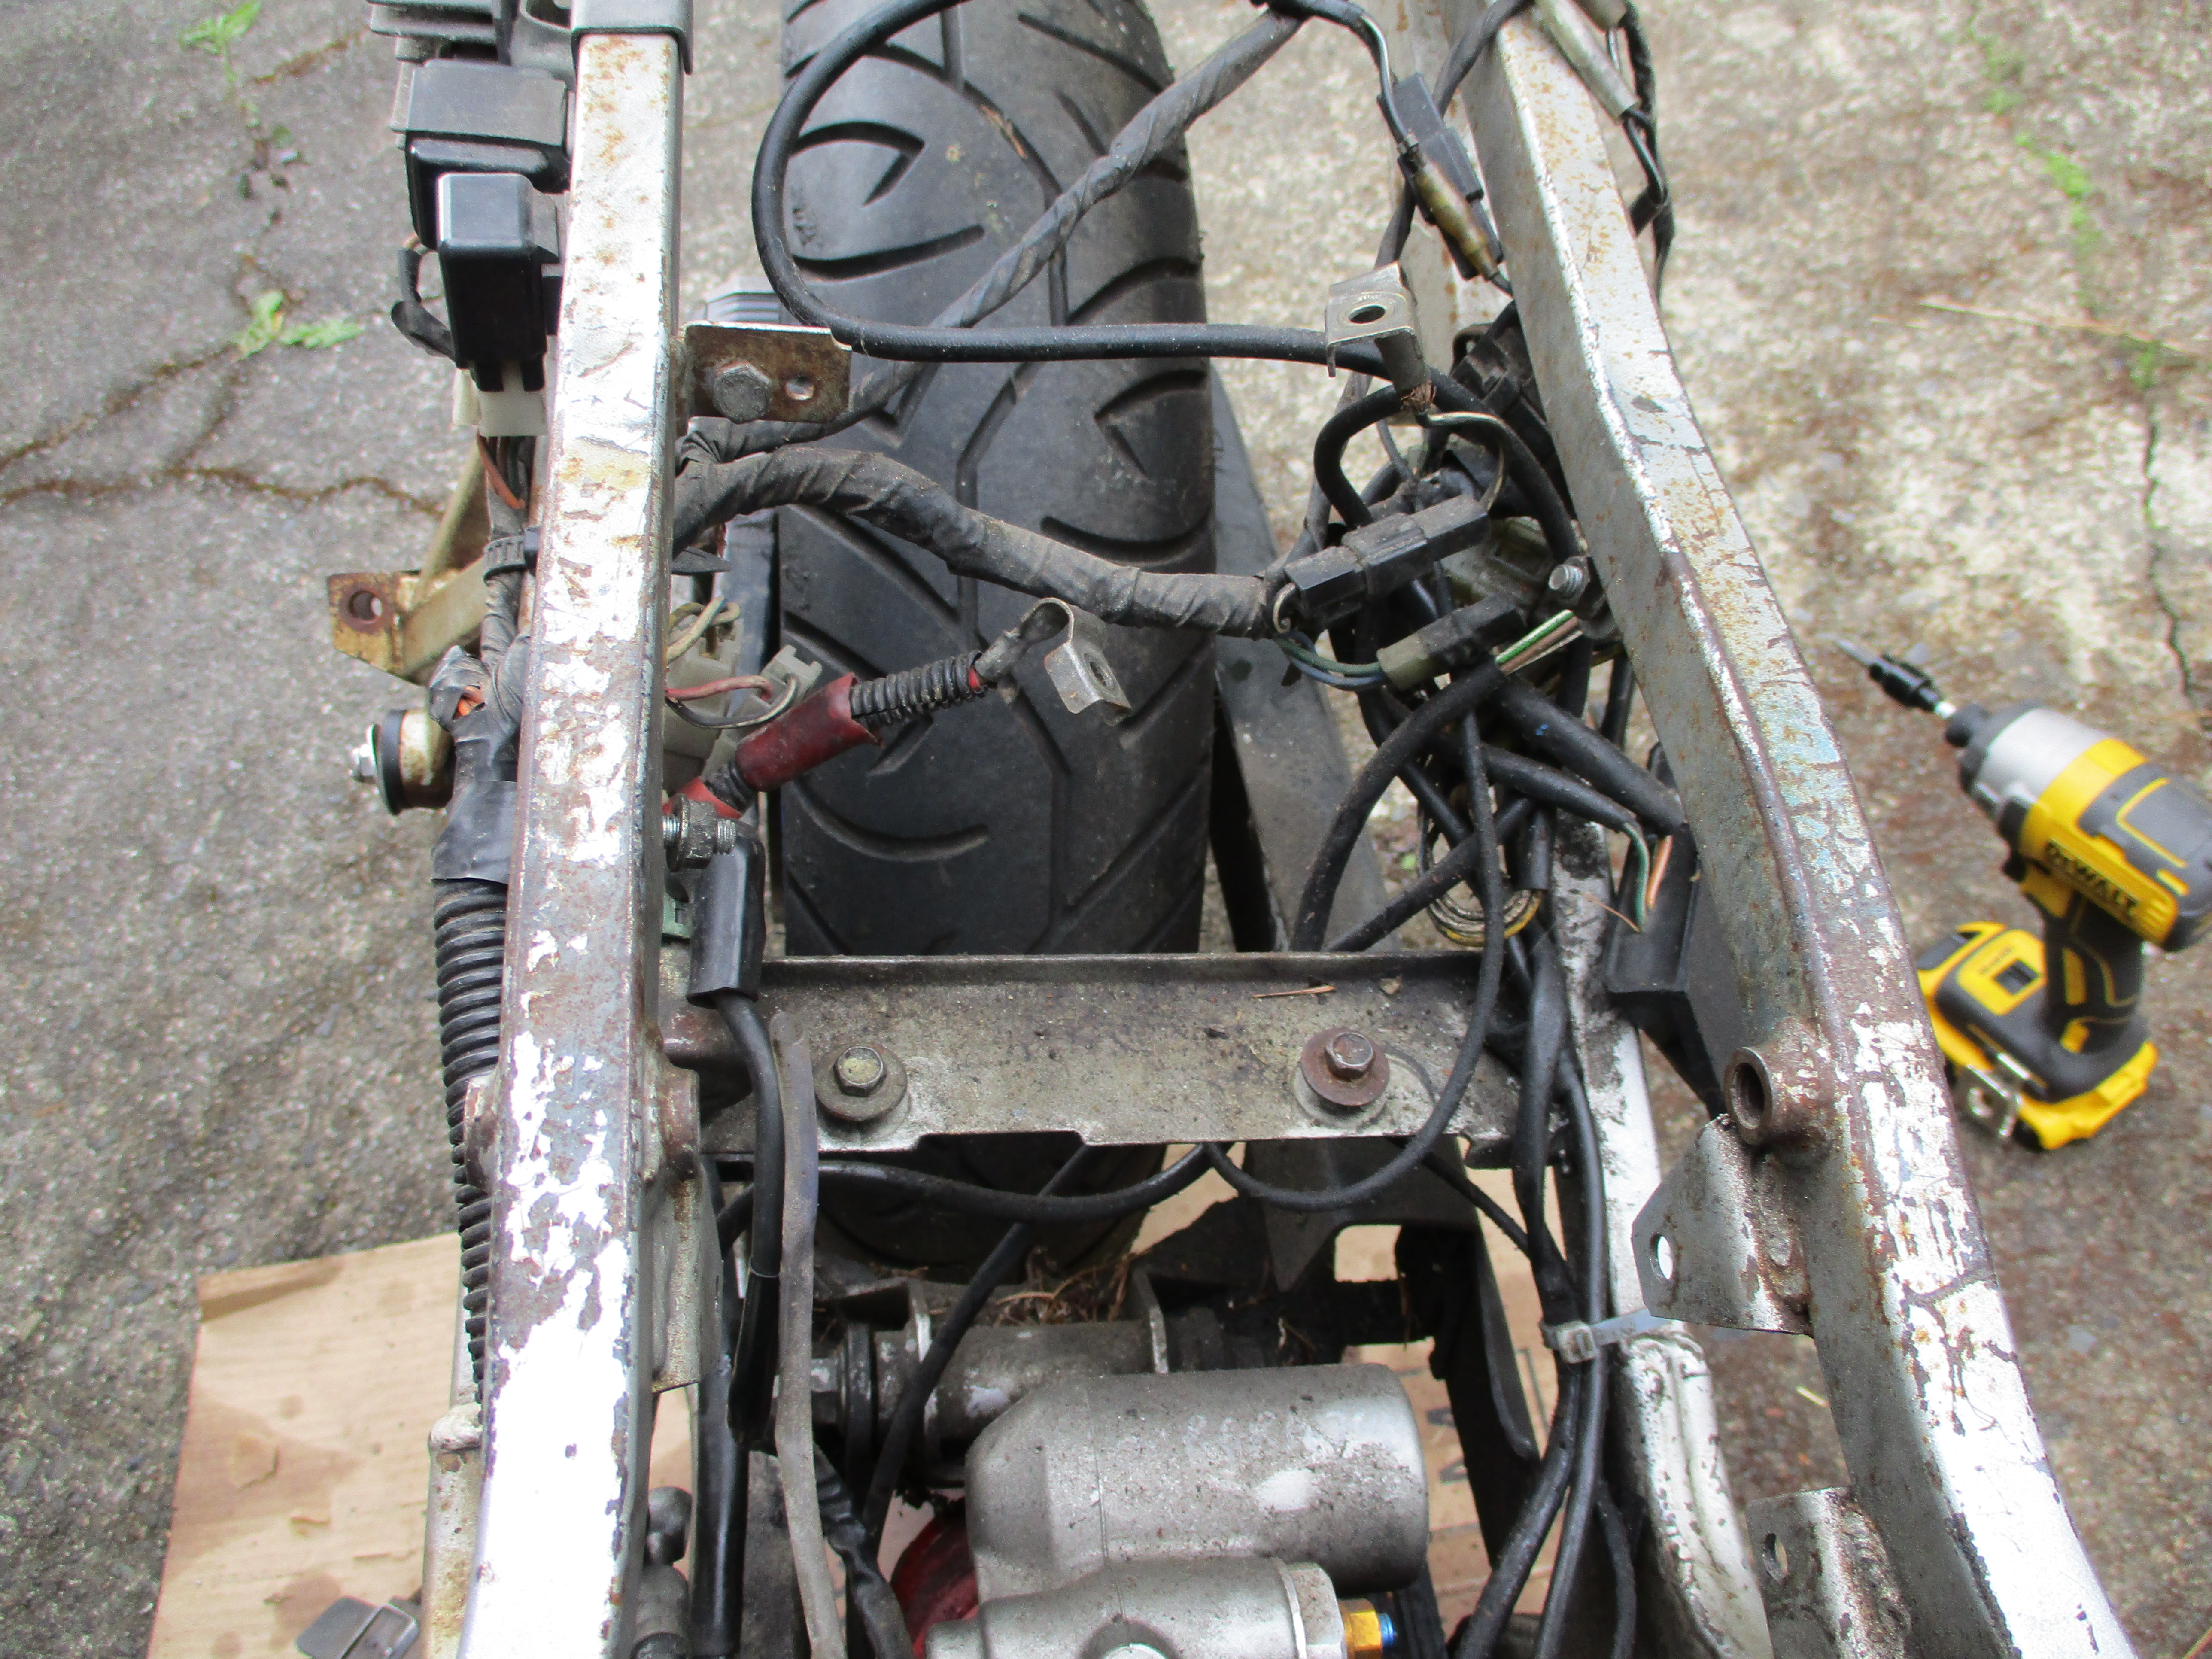
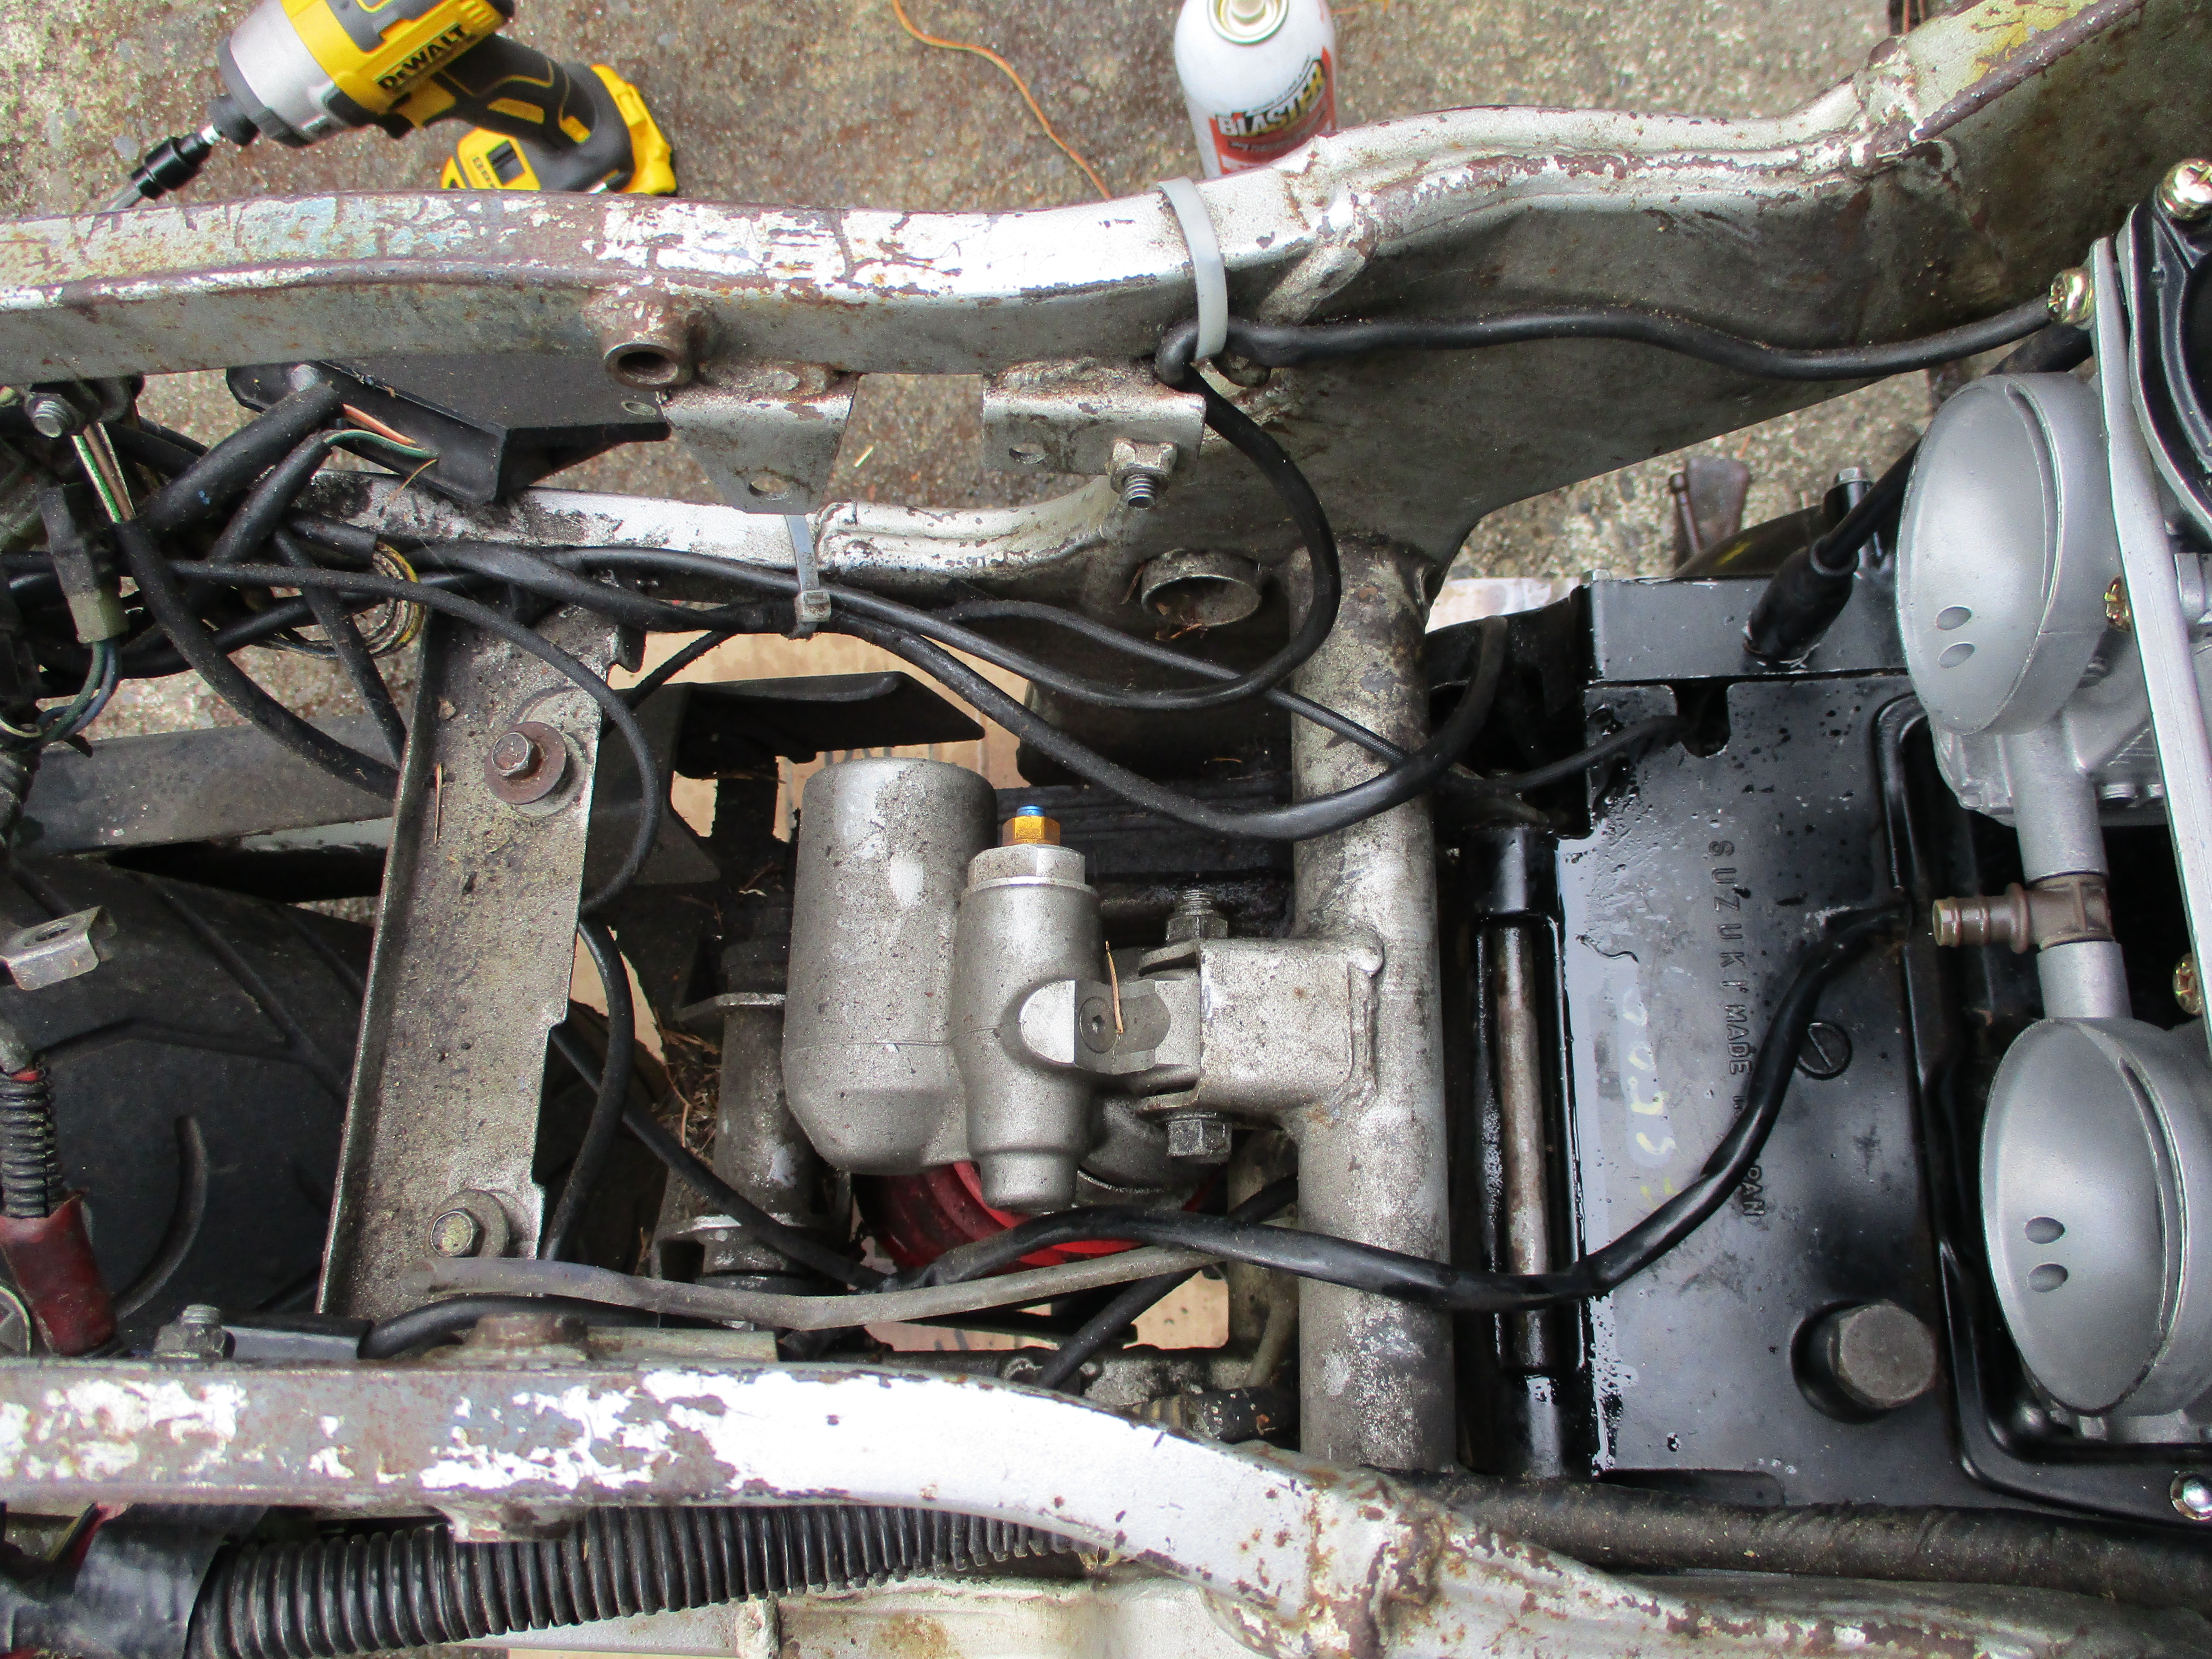
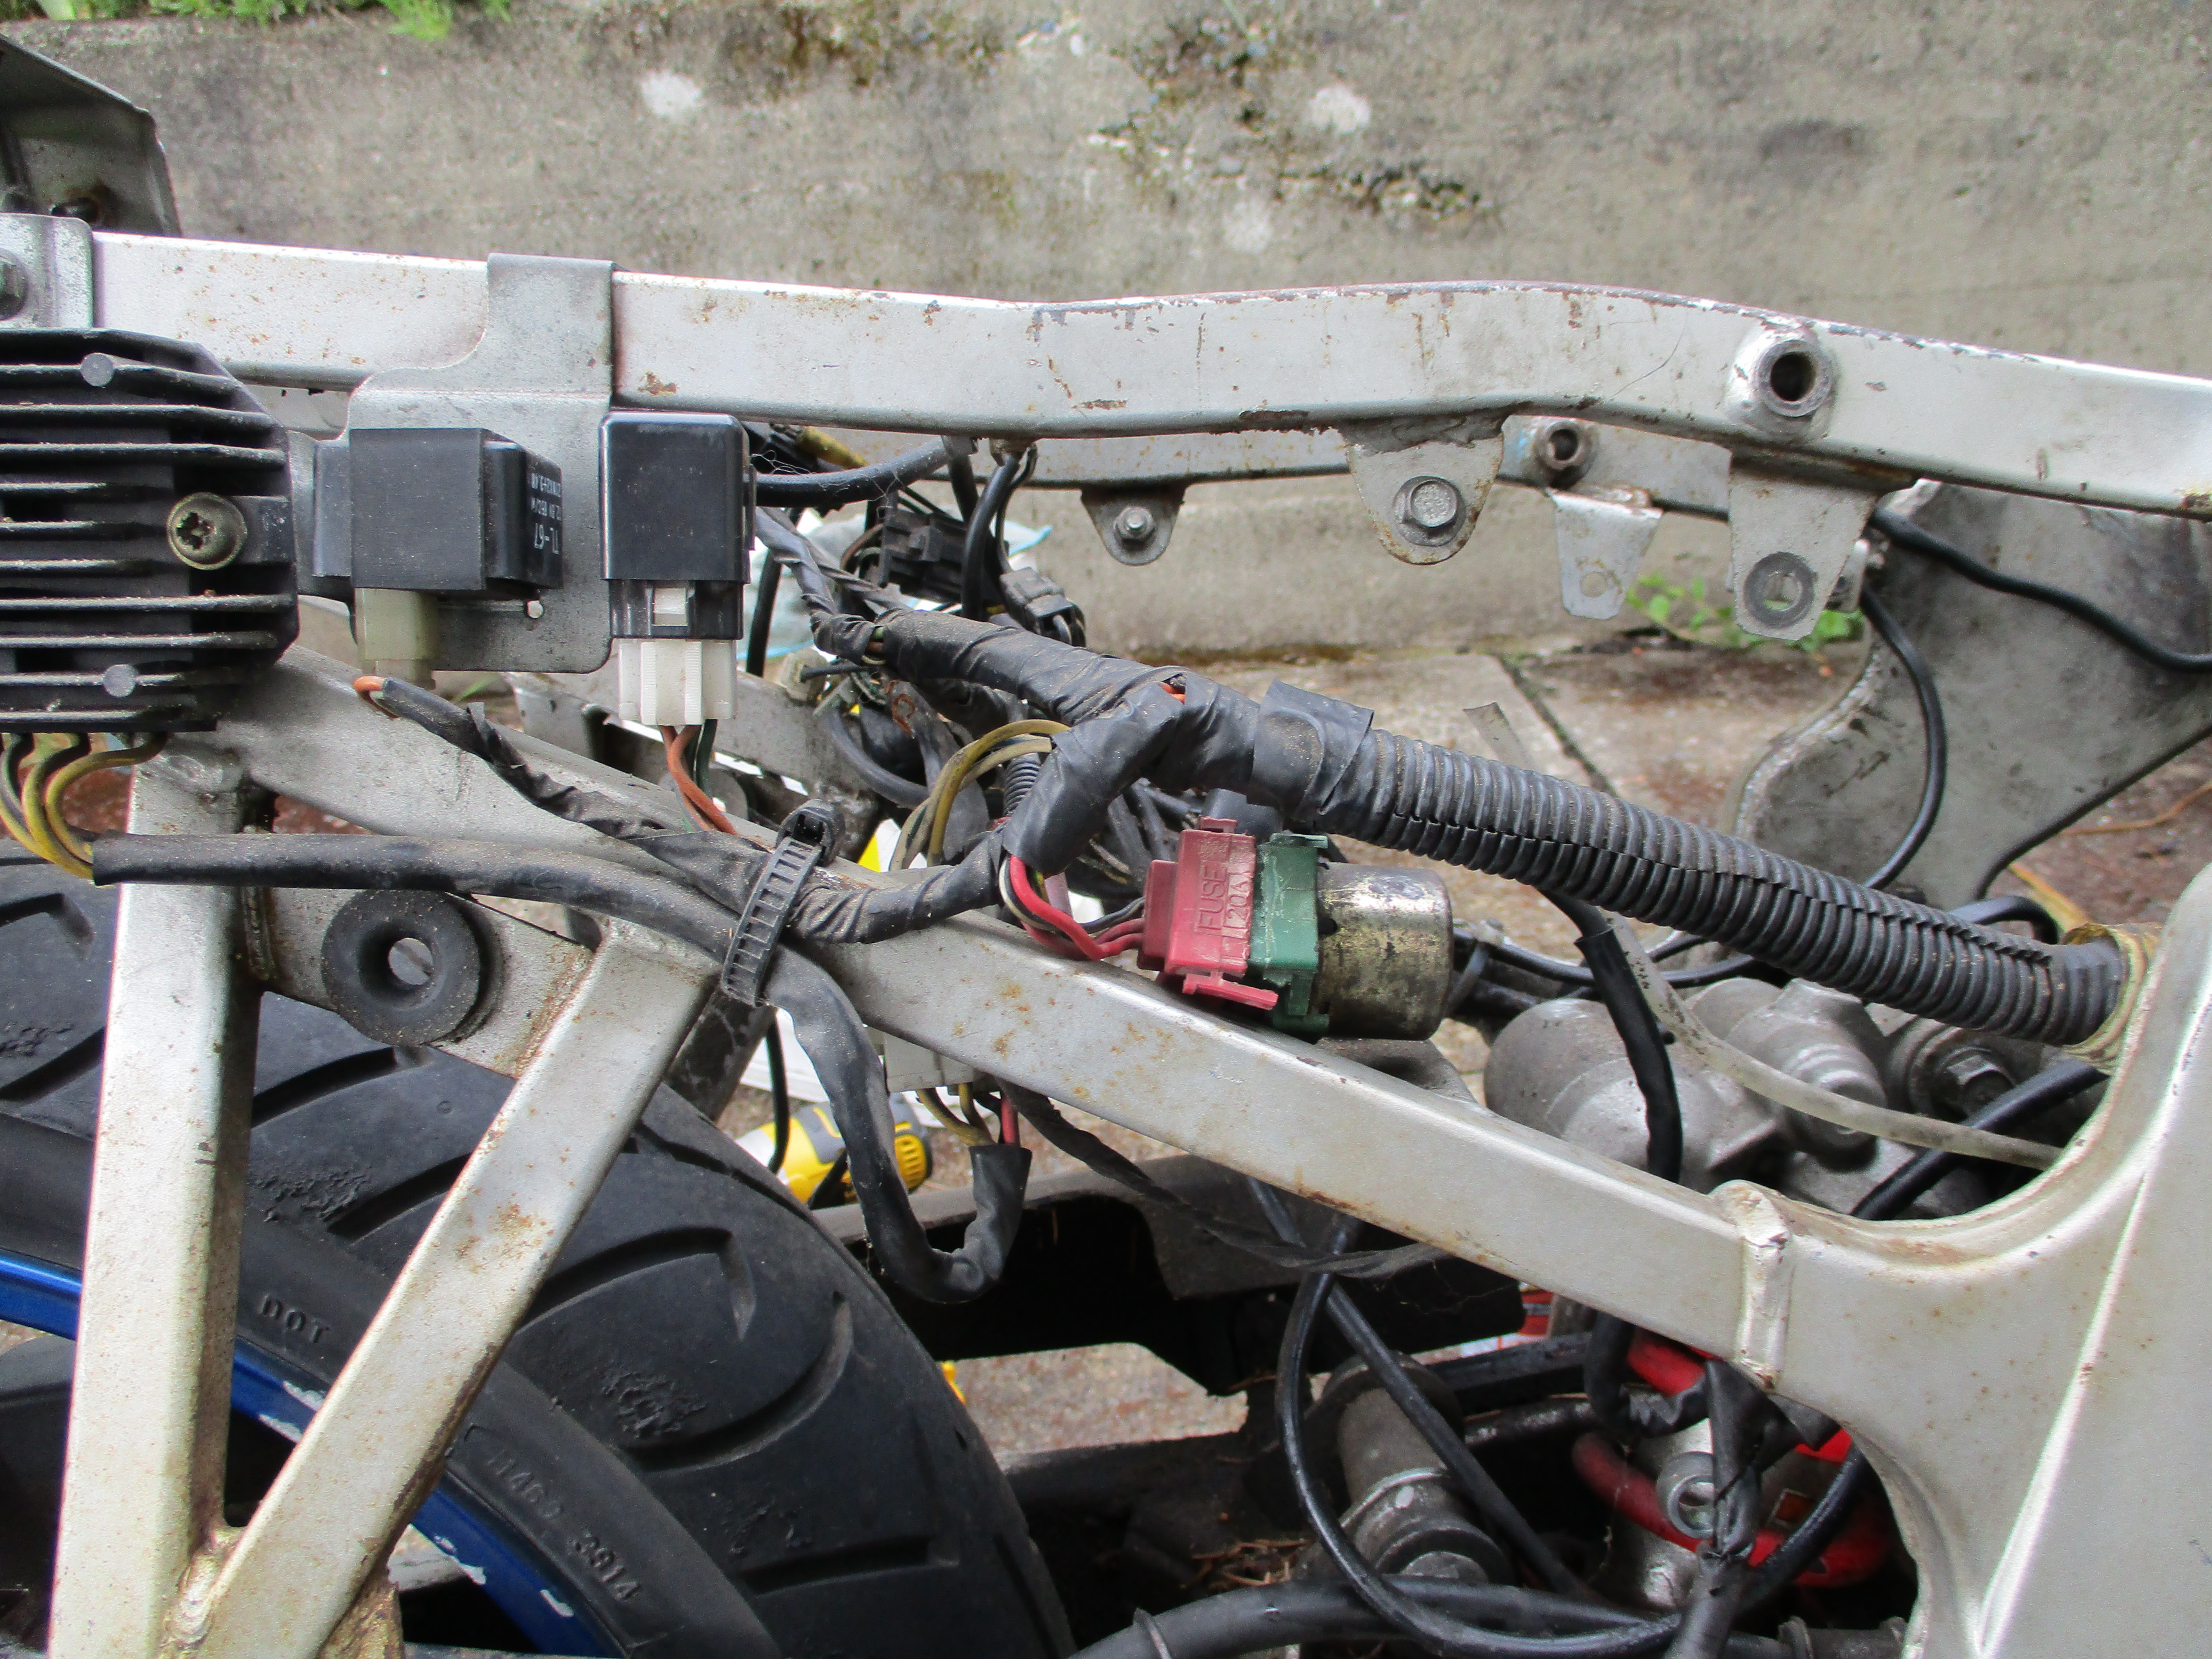
Next was the air box and disconnecting the main wiring harness's many terminal connectors. The wiring on the motorcycle was a mess.
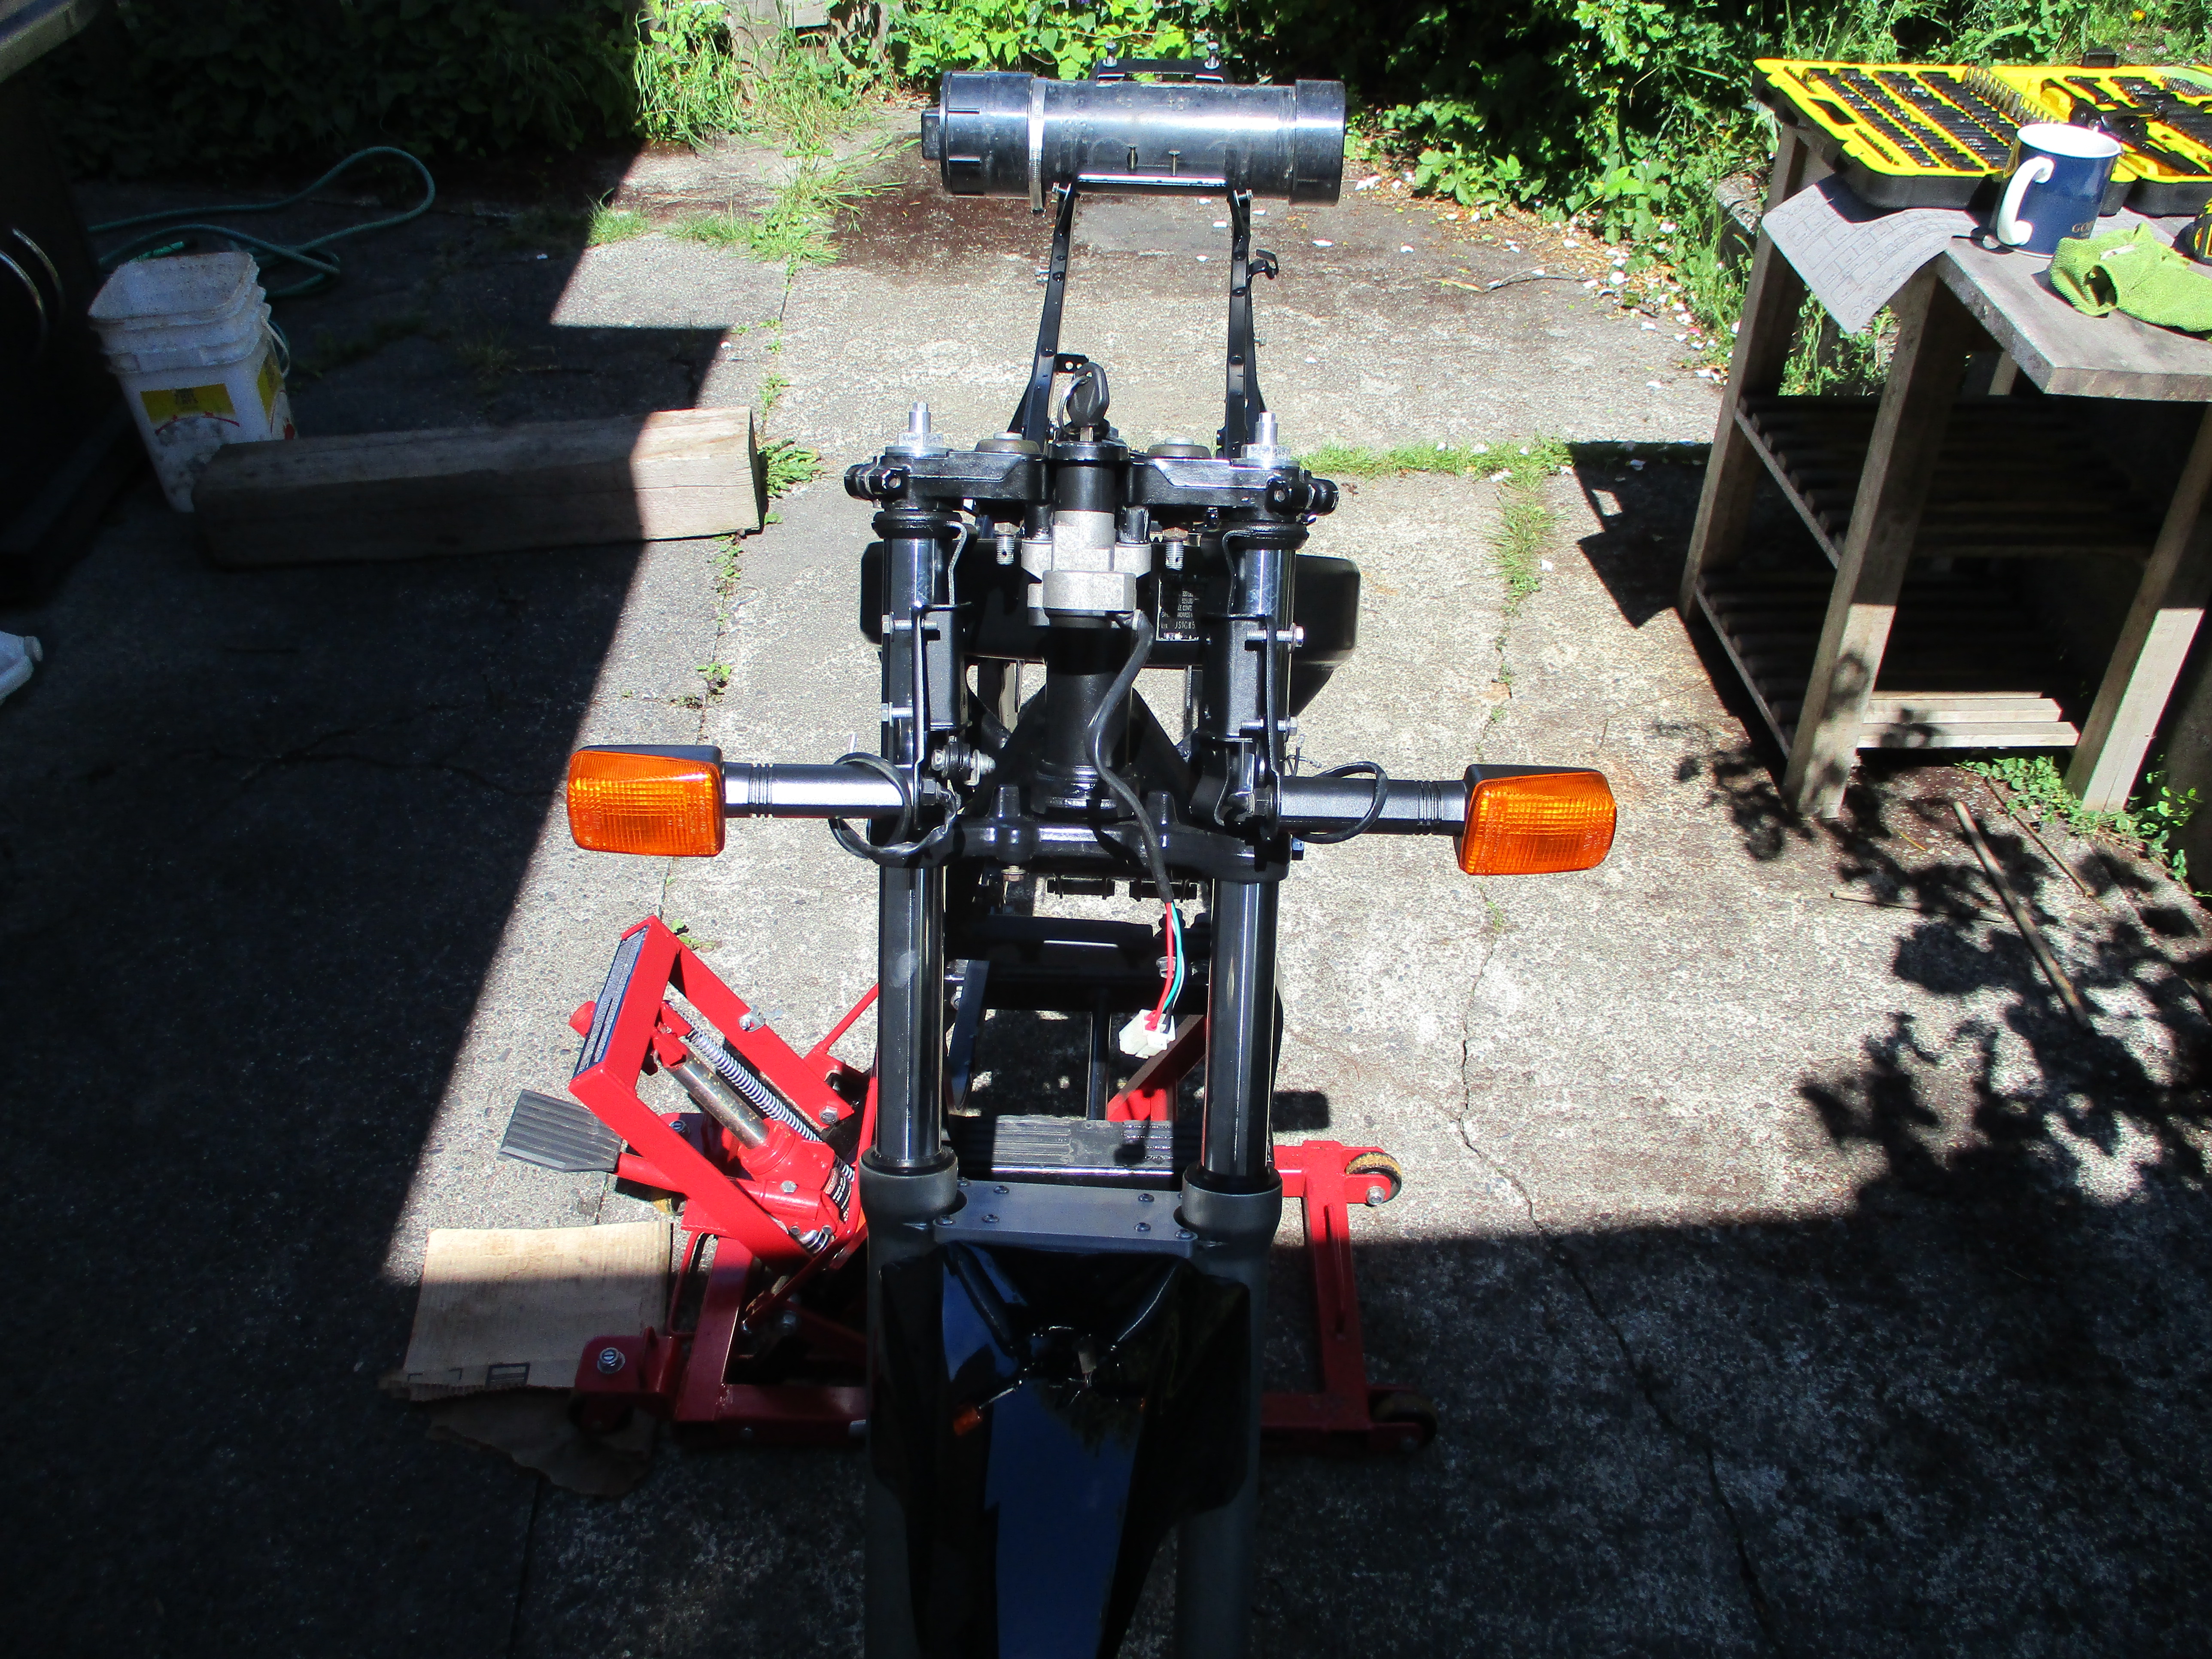
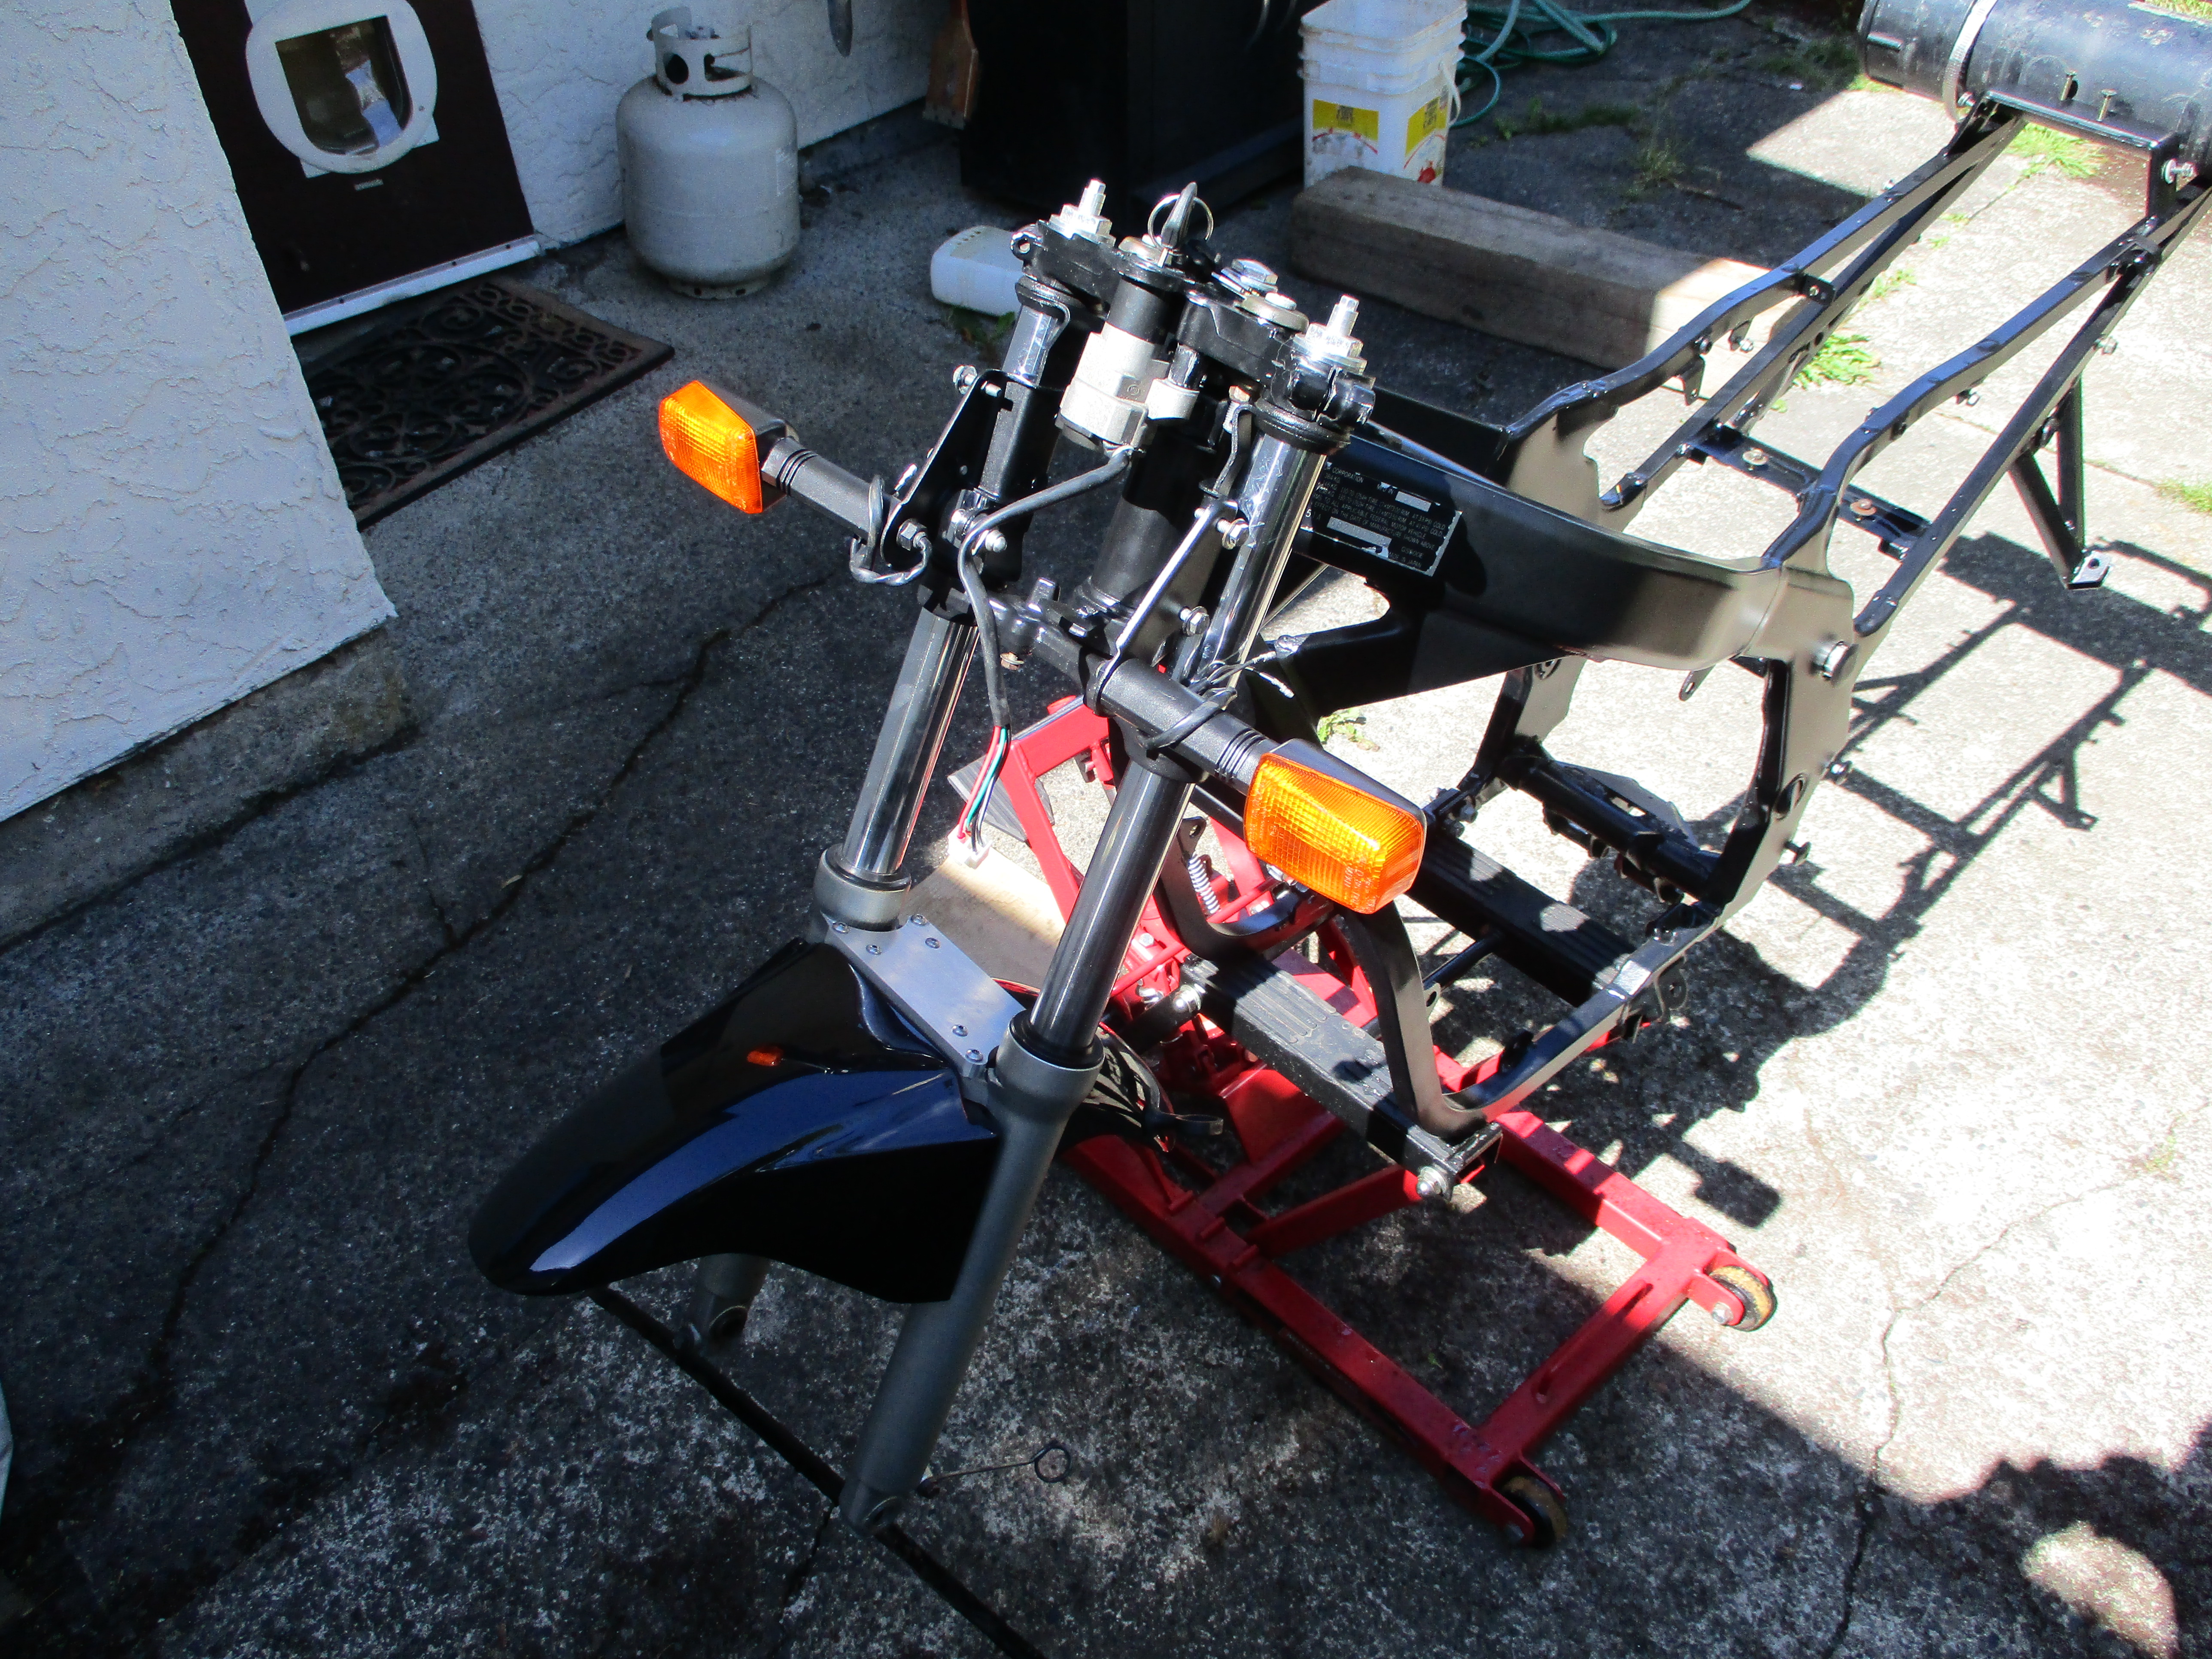
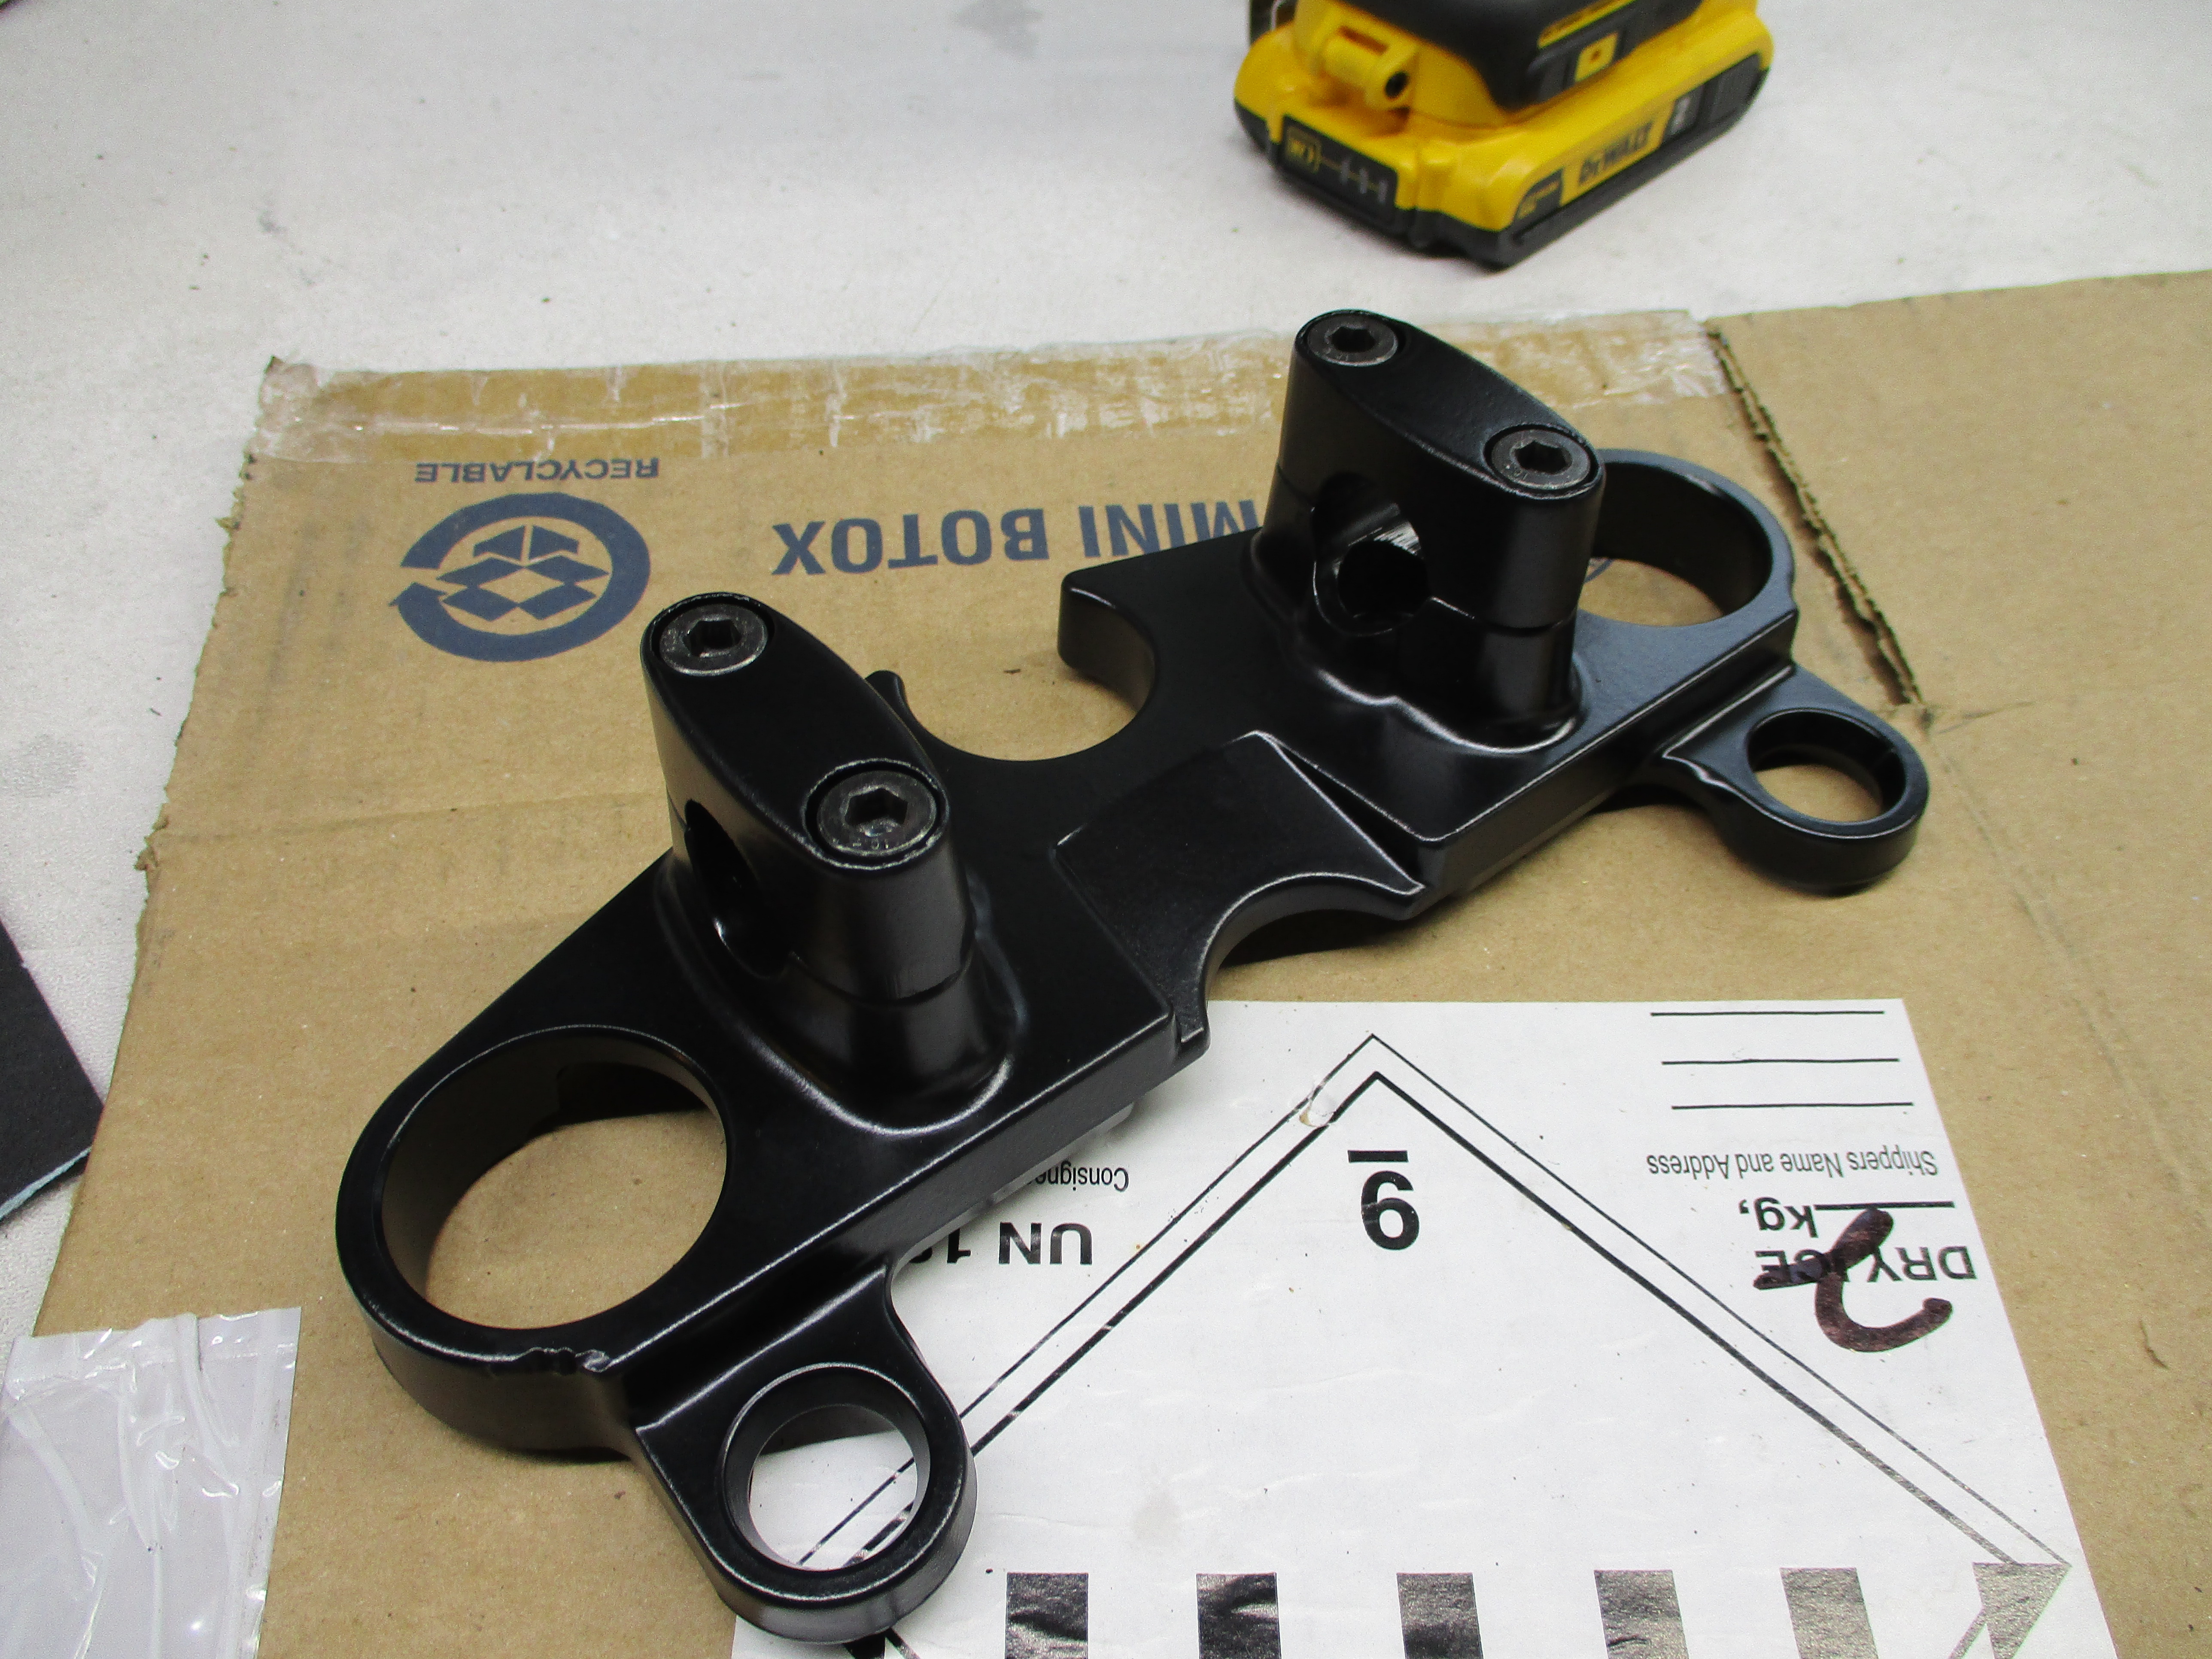
Next I removed the engine, front wheel and forks. Then the bottom triple tree/steering stem and then the entire headlight/gauge top triple tree assembly with the main wiring harness still connected to it. And then the rear wheel, swingarm, and rear suspension.
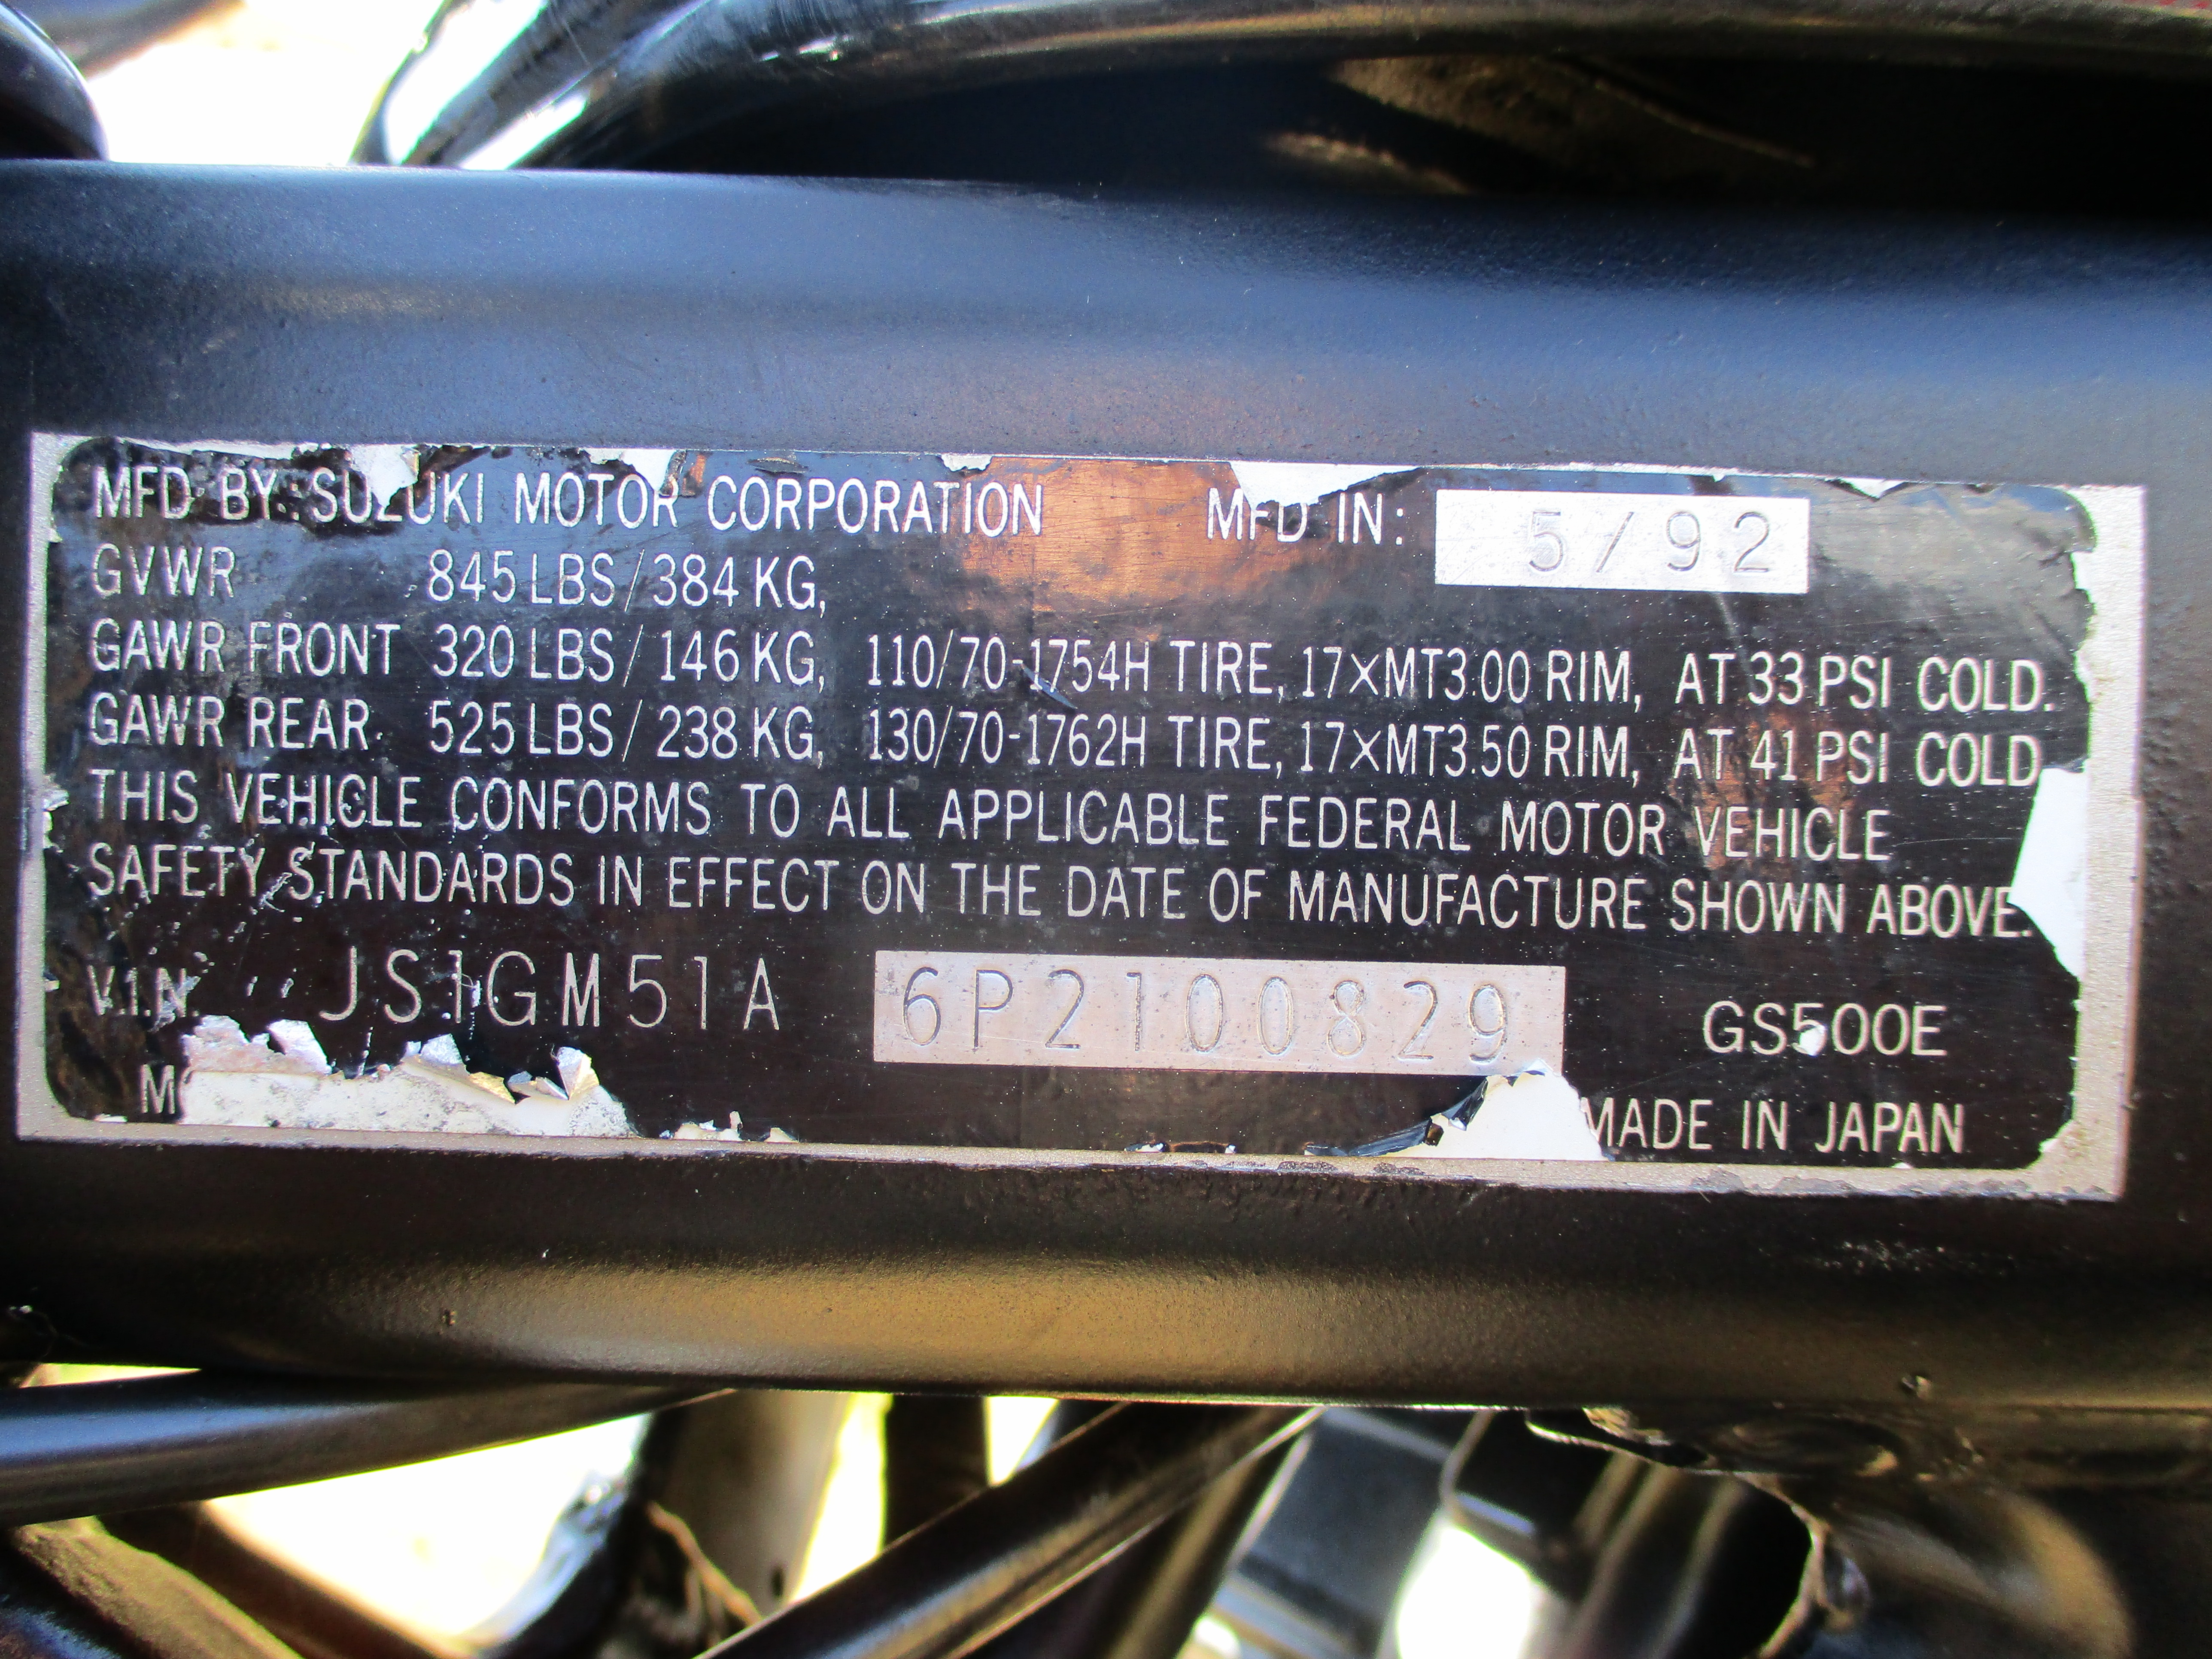
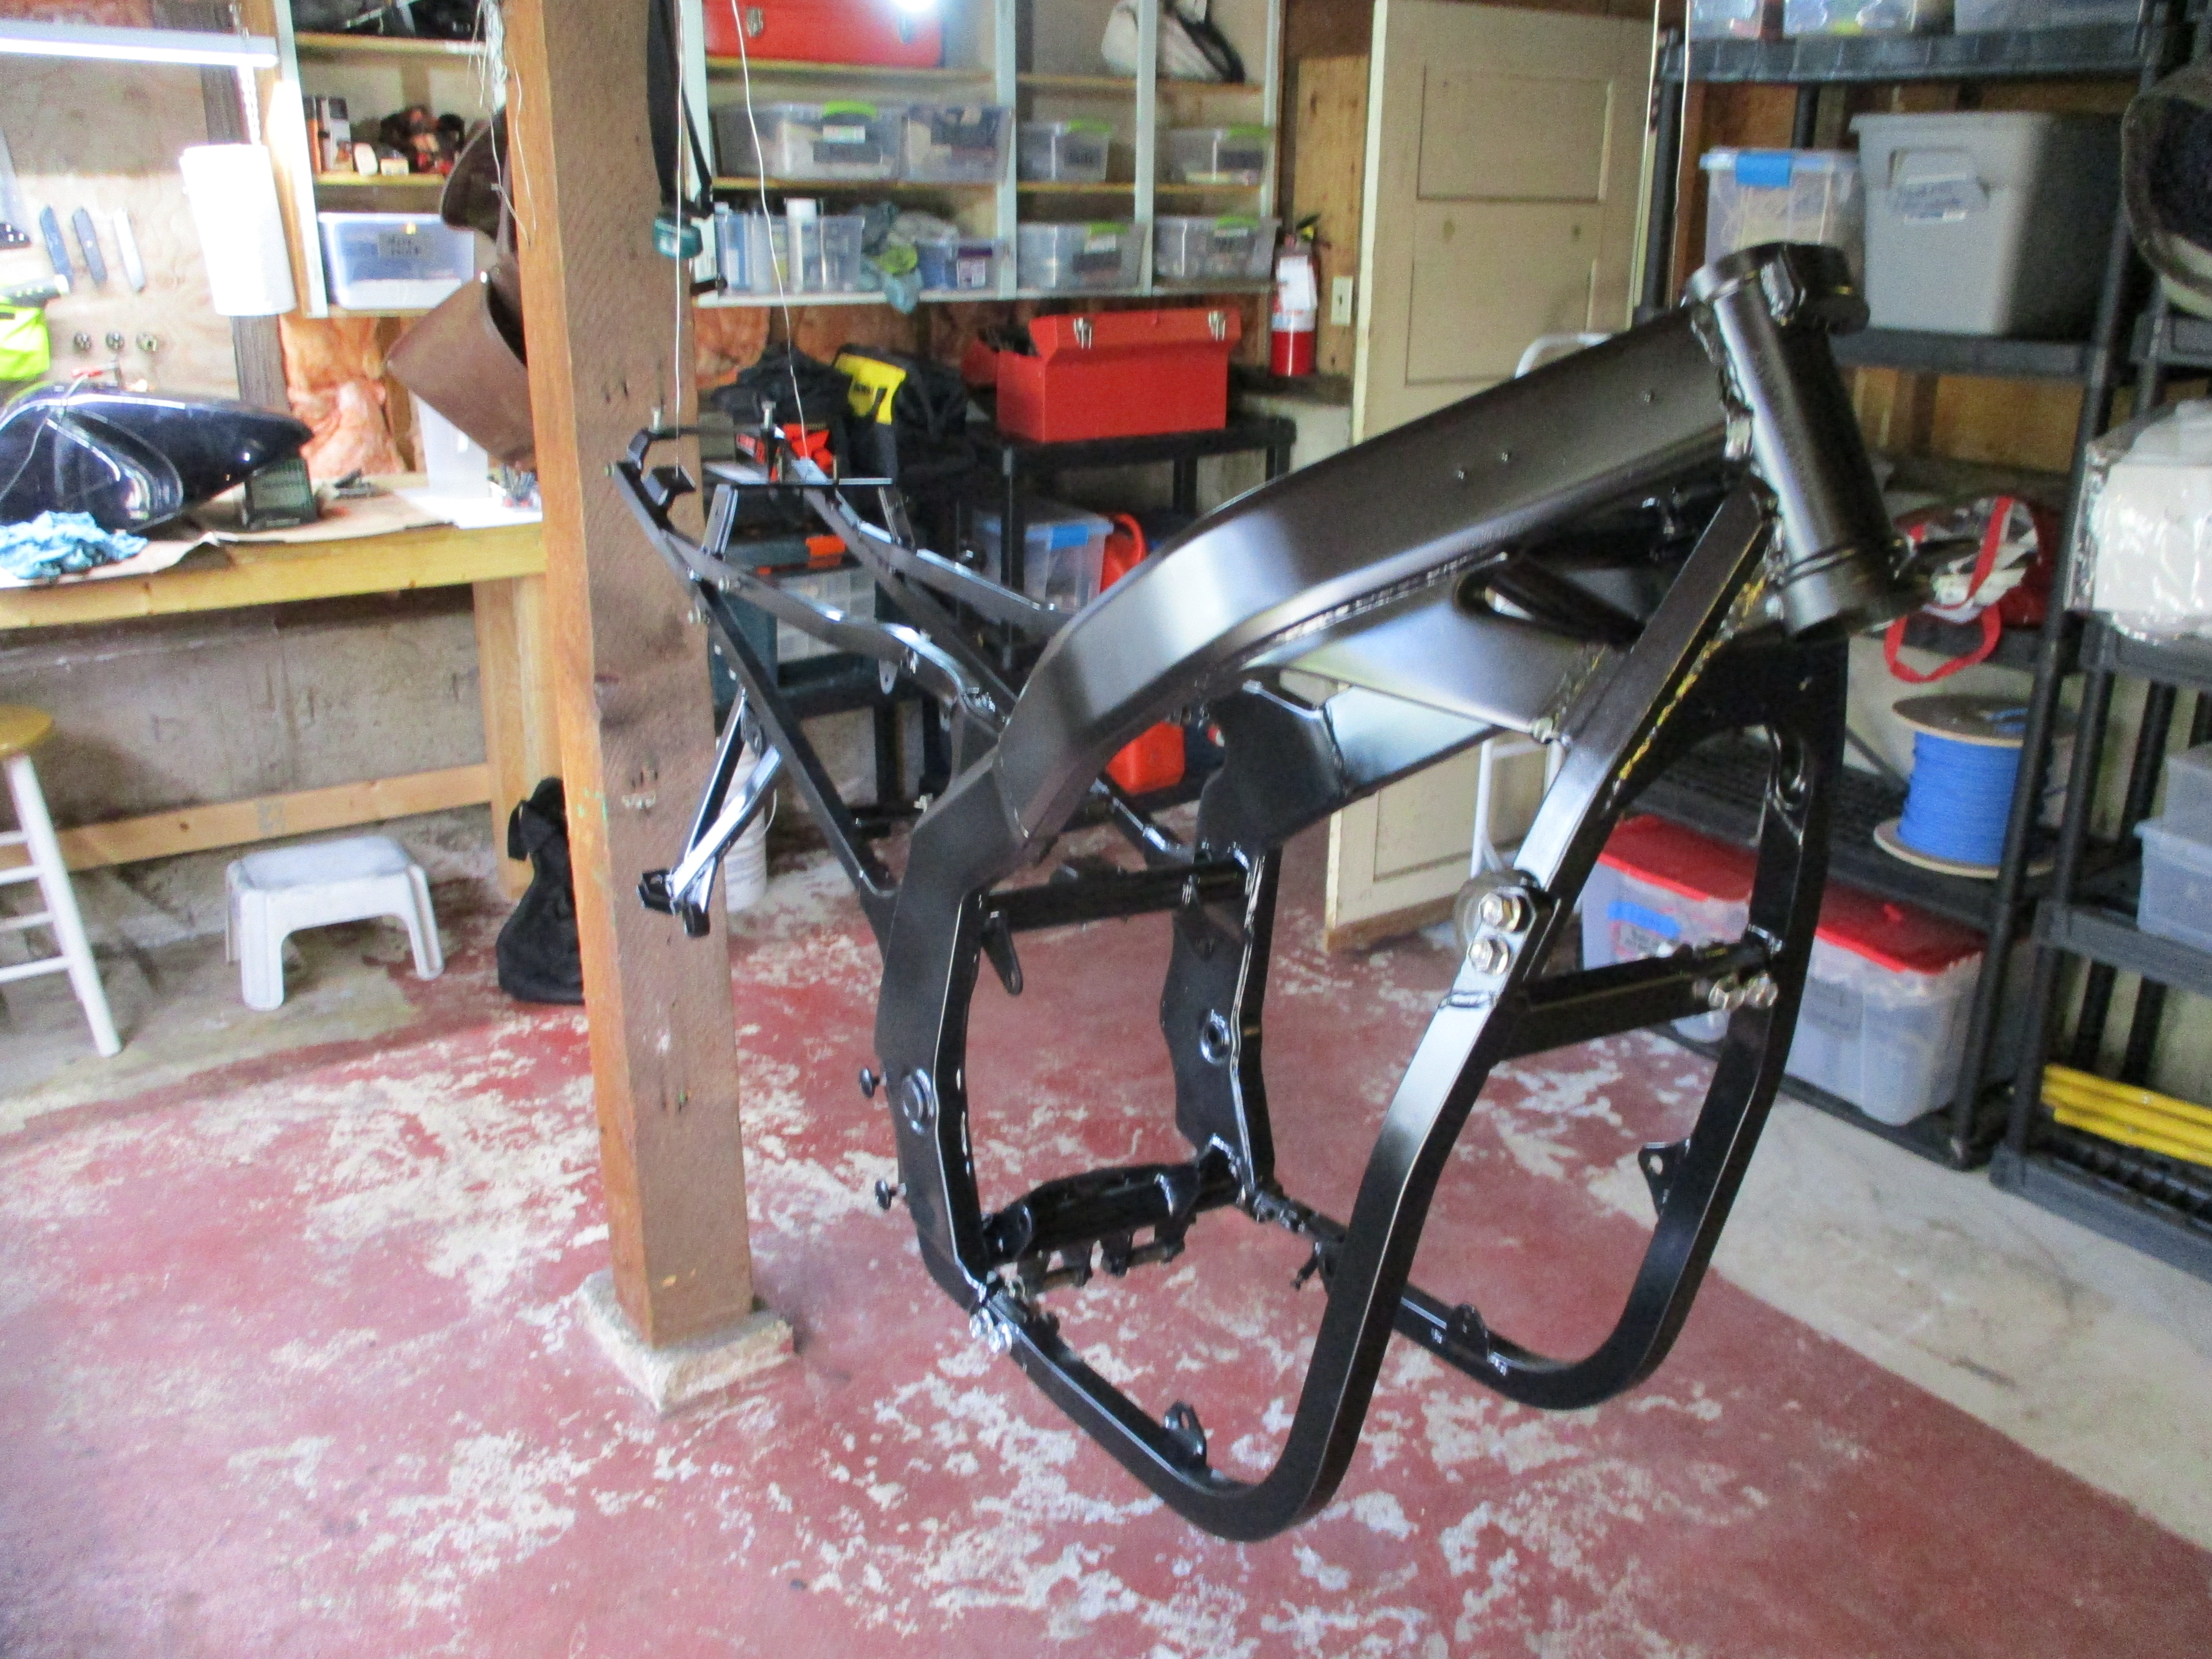
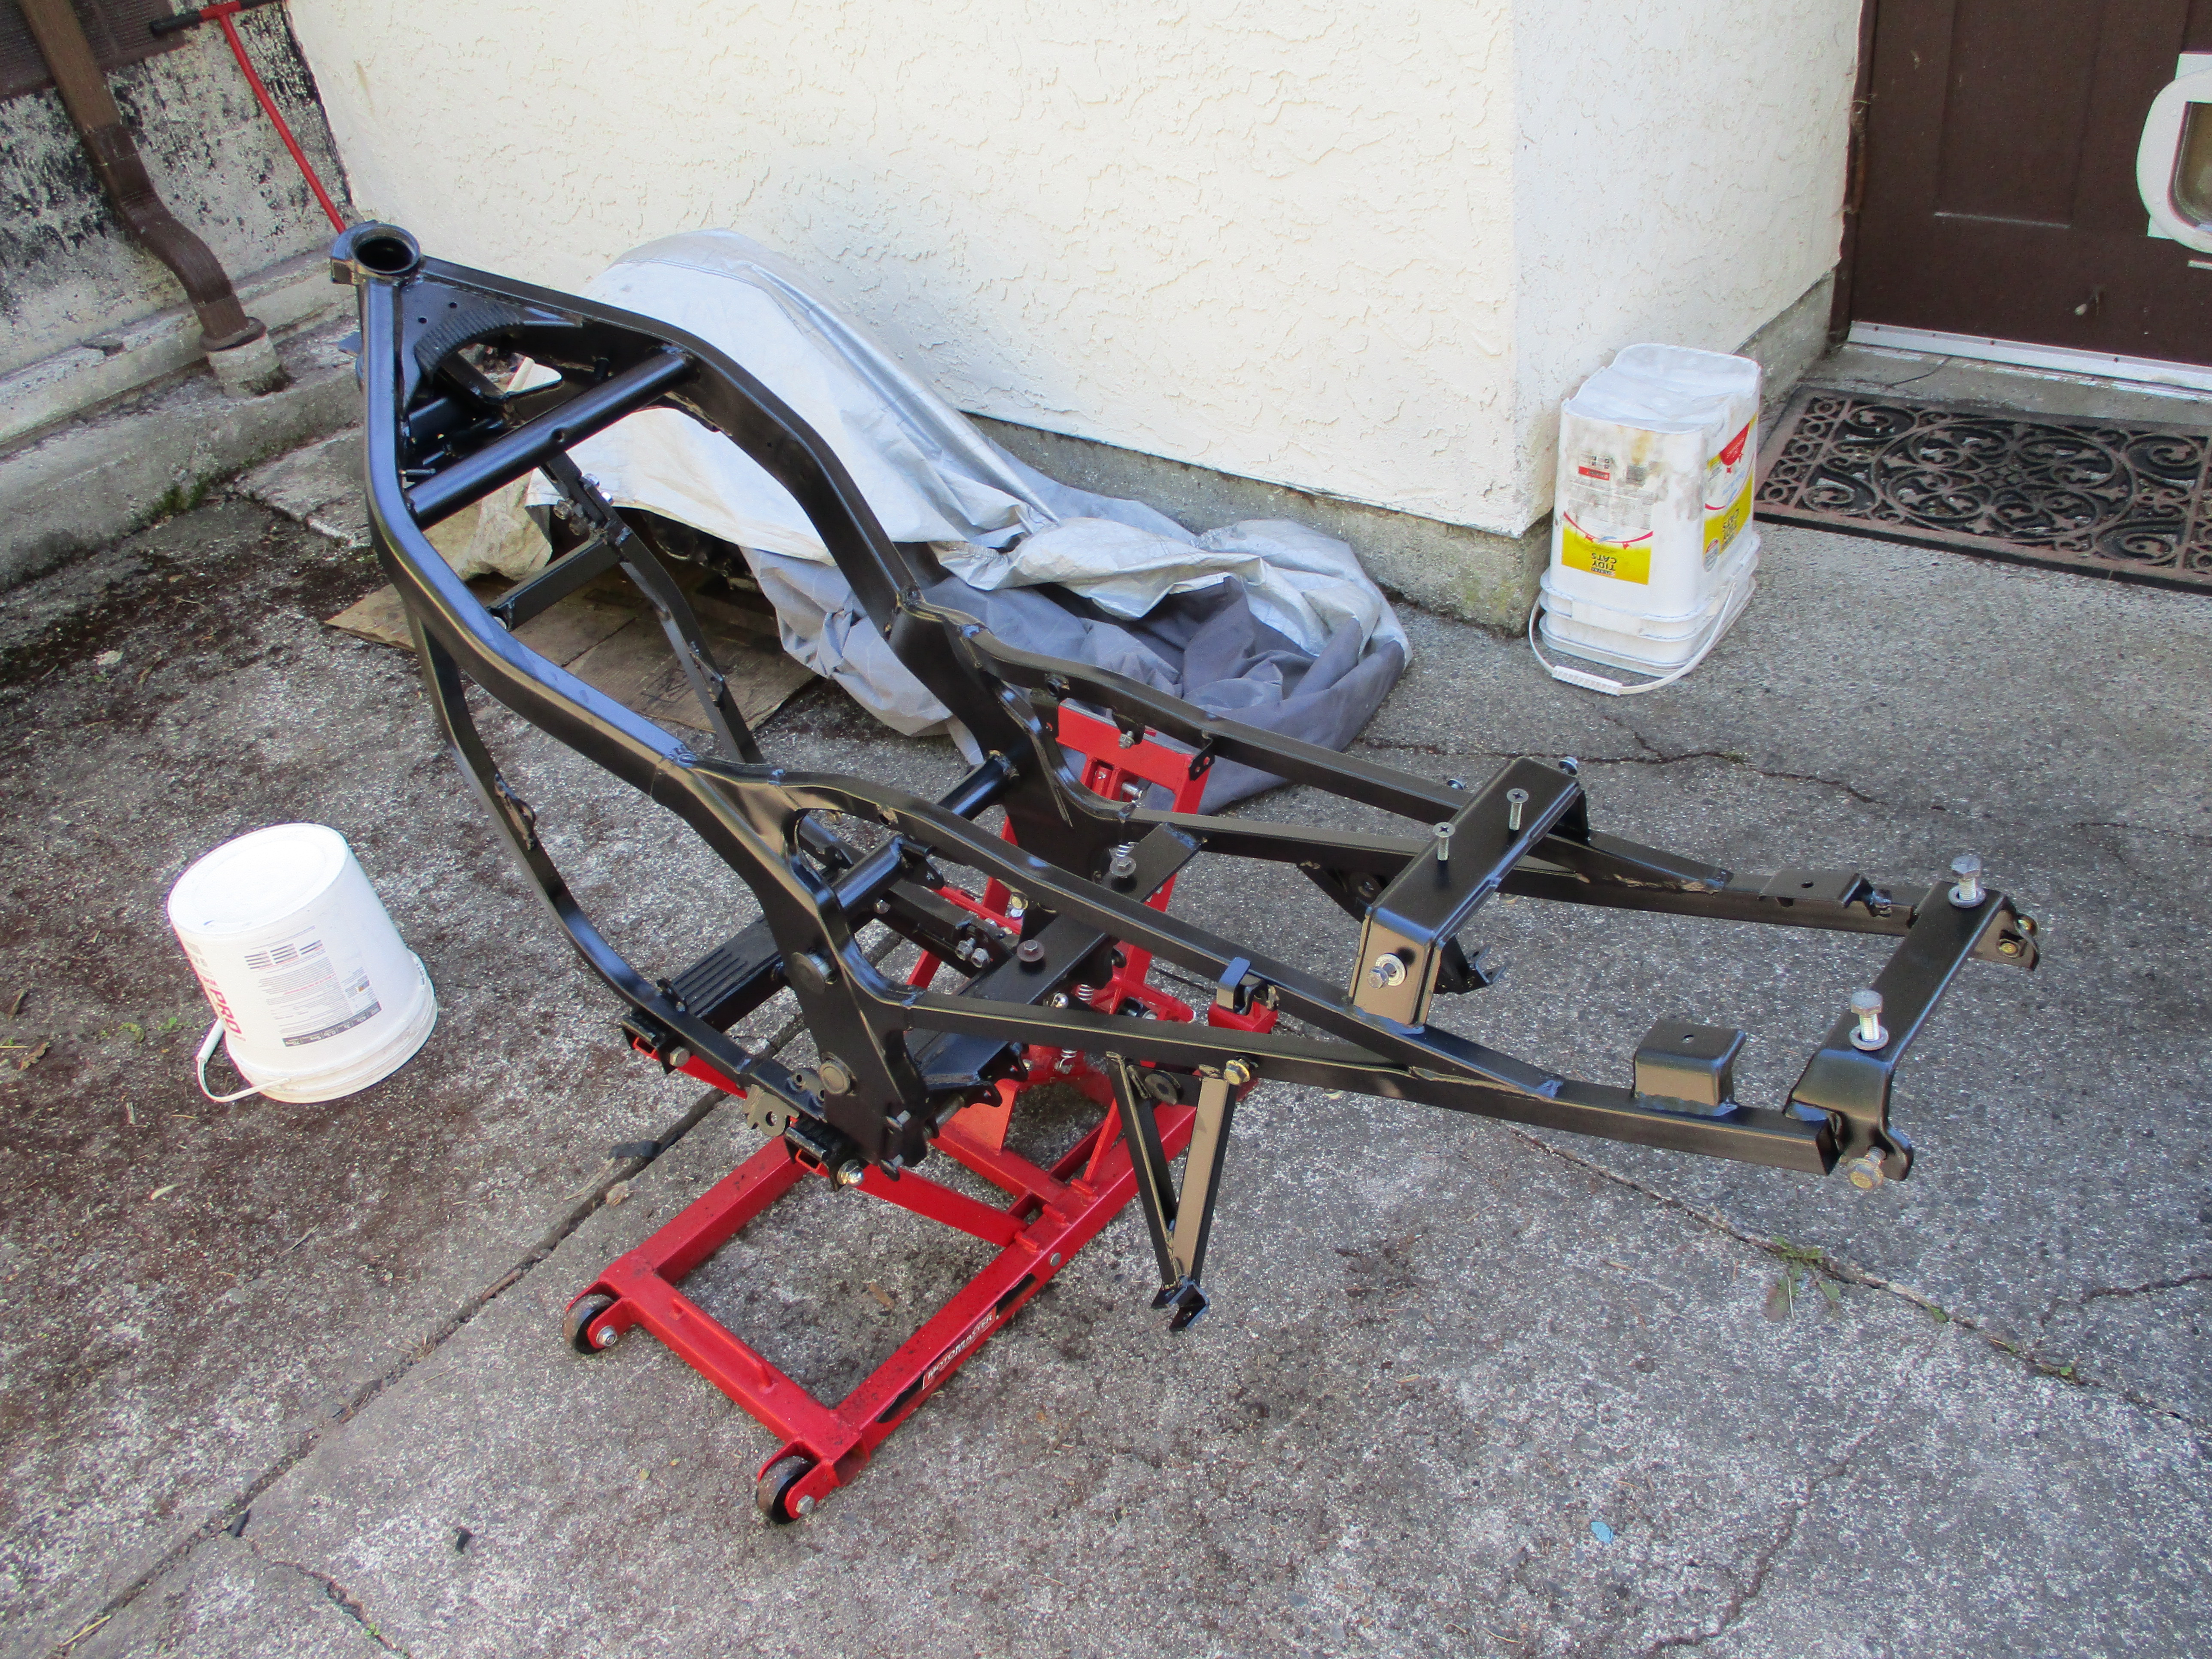
The frame was in good shape although a little rusty. After removing the steering bearings with the special tool (rebar punch) and gorilla taping the VIN tag I drove it to the local do it yourself sand blasing place. Sand blasting a motorcycle frame is difficult as it has many tubes, sides, mounting extrusions, and is awkward to move.
After blasting it I brought it home and painted it immediately with Roll Bar and Chassis paint. Painting such a large piece indoors was a bad idea, but painting outdoors you are subject to wind.
I never used primer because the Roll Bar and Chassis paint was supposed to be self priming, we will see if that was a mistake or not. There was lots of painting to do and I did not want to make the job harder than it needed to be.
At some point the dice numeral 5 was drilled into the top left outside frame rail as a decoration. I did not like that so I filled the holes with JB weld and sanded them down flush before painting.
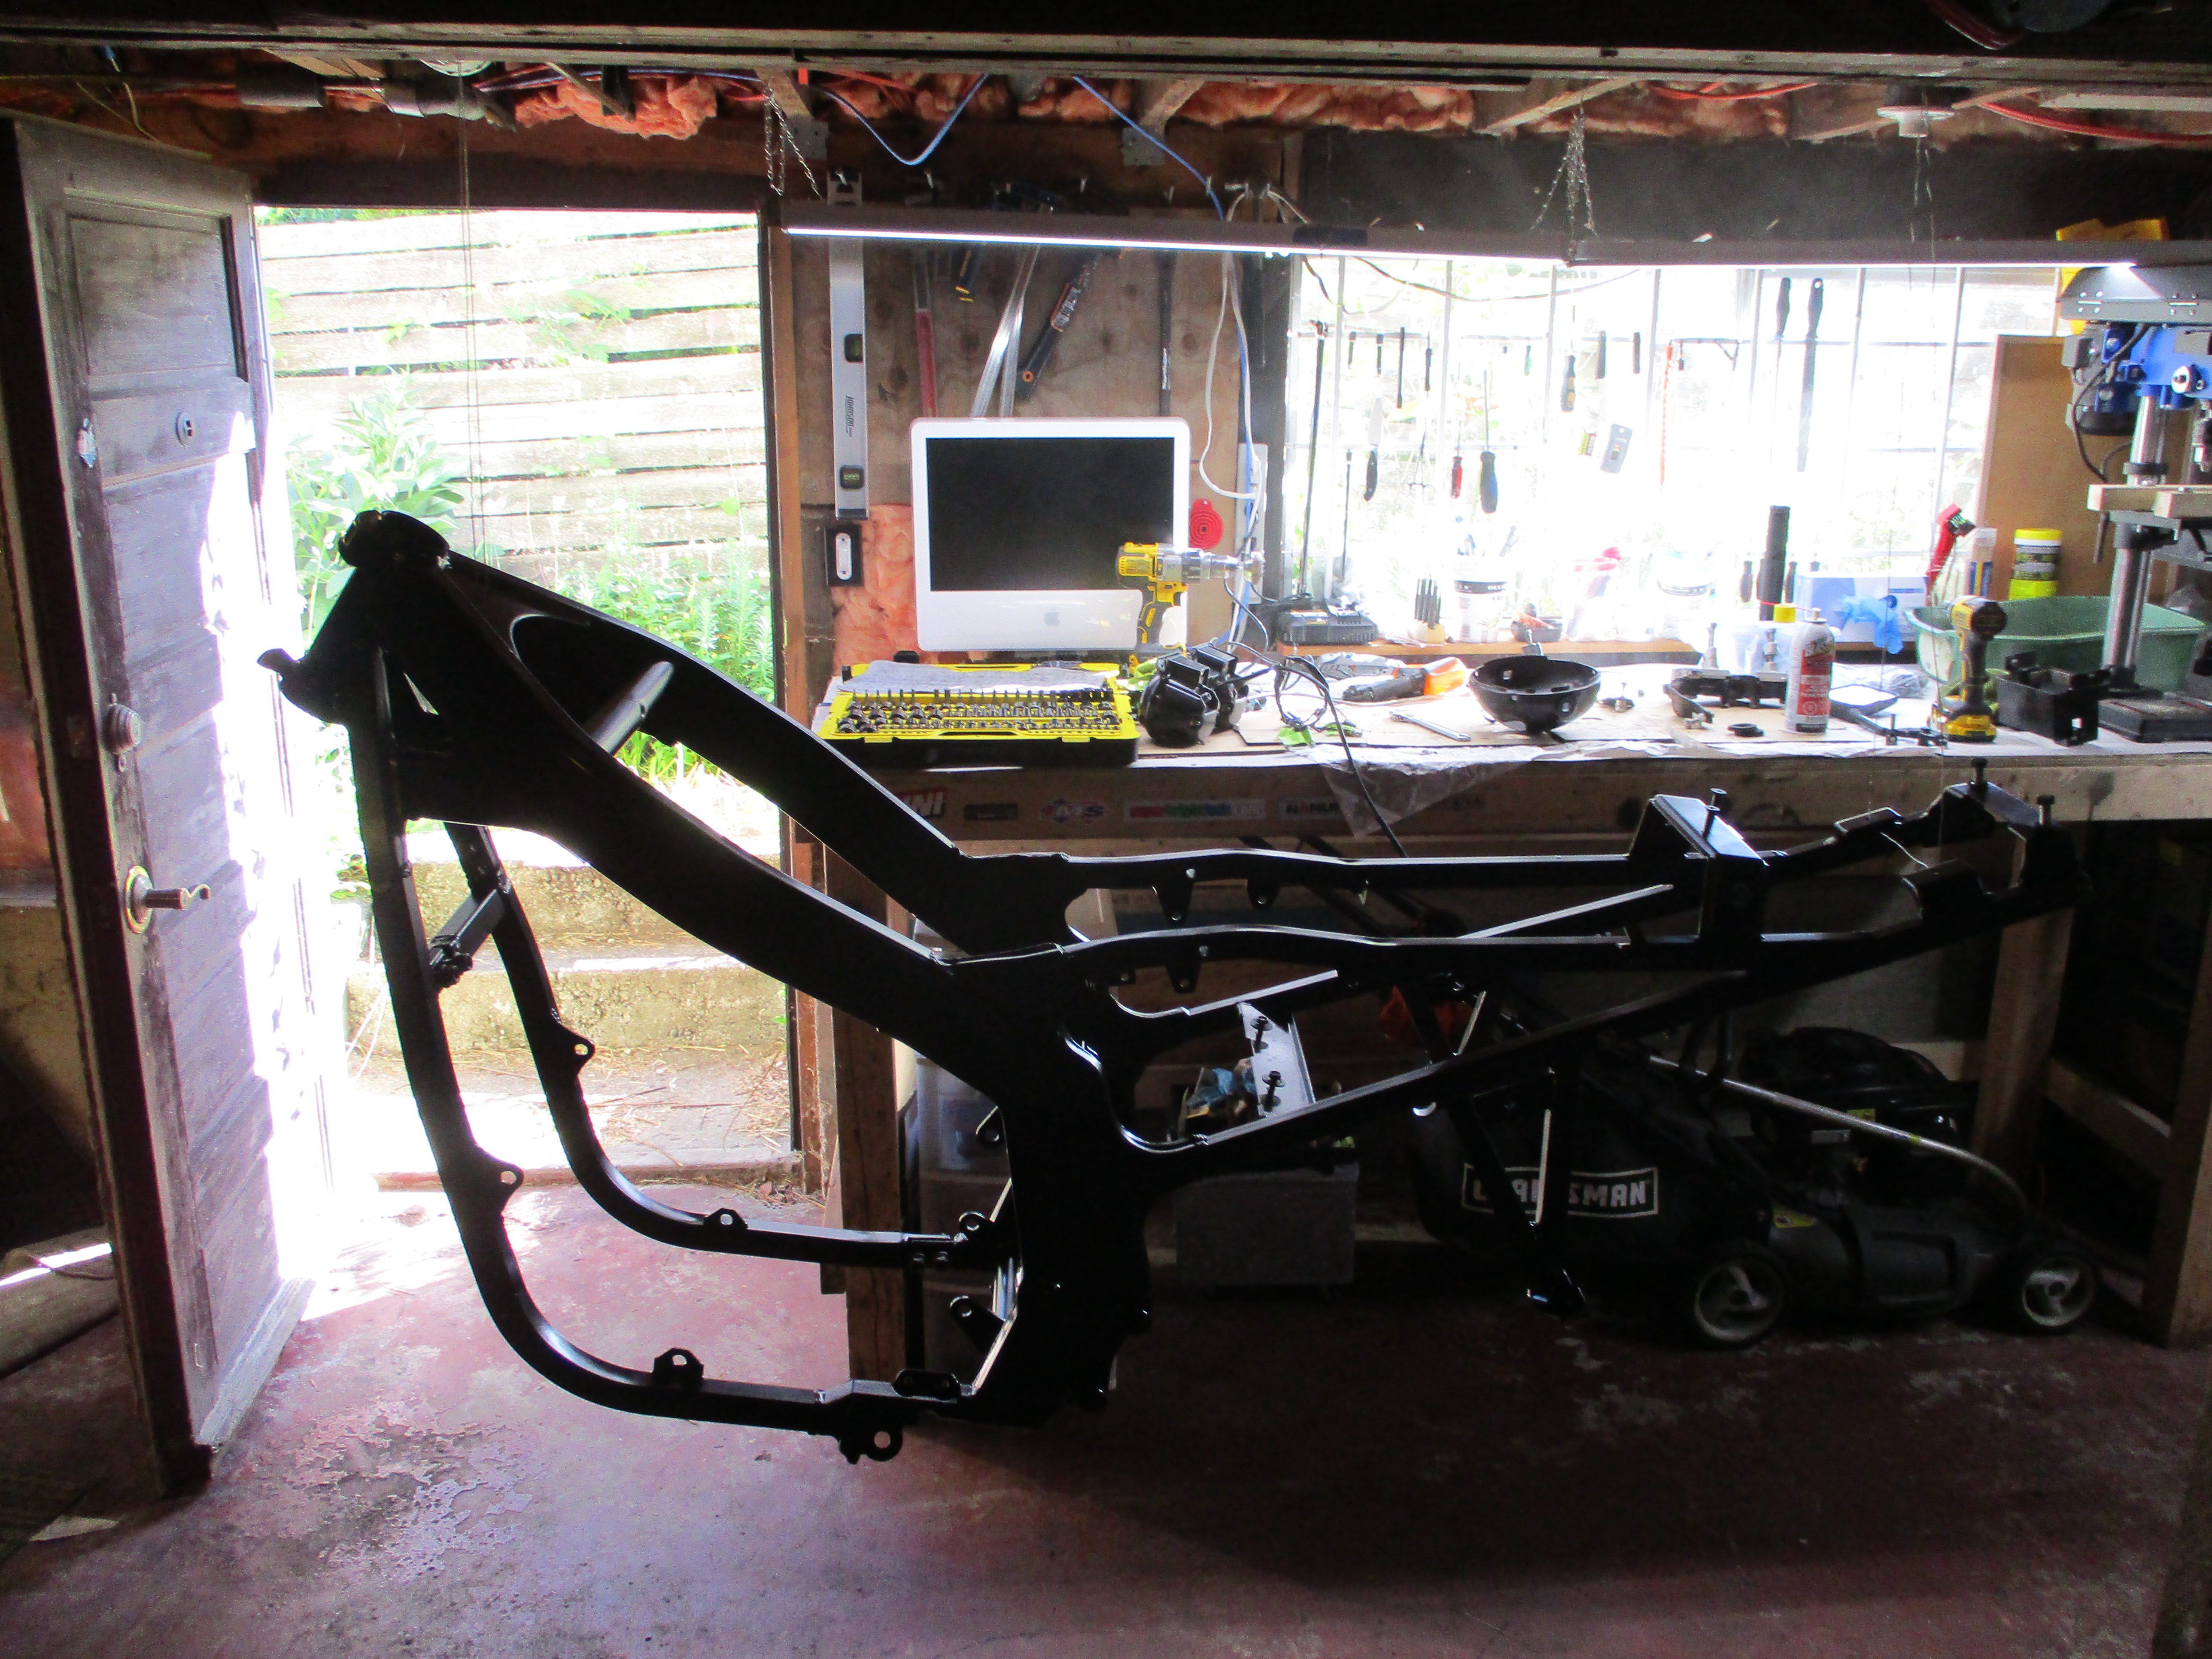
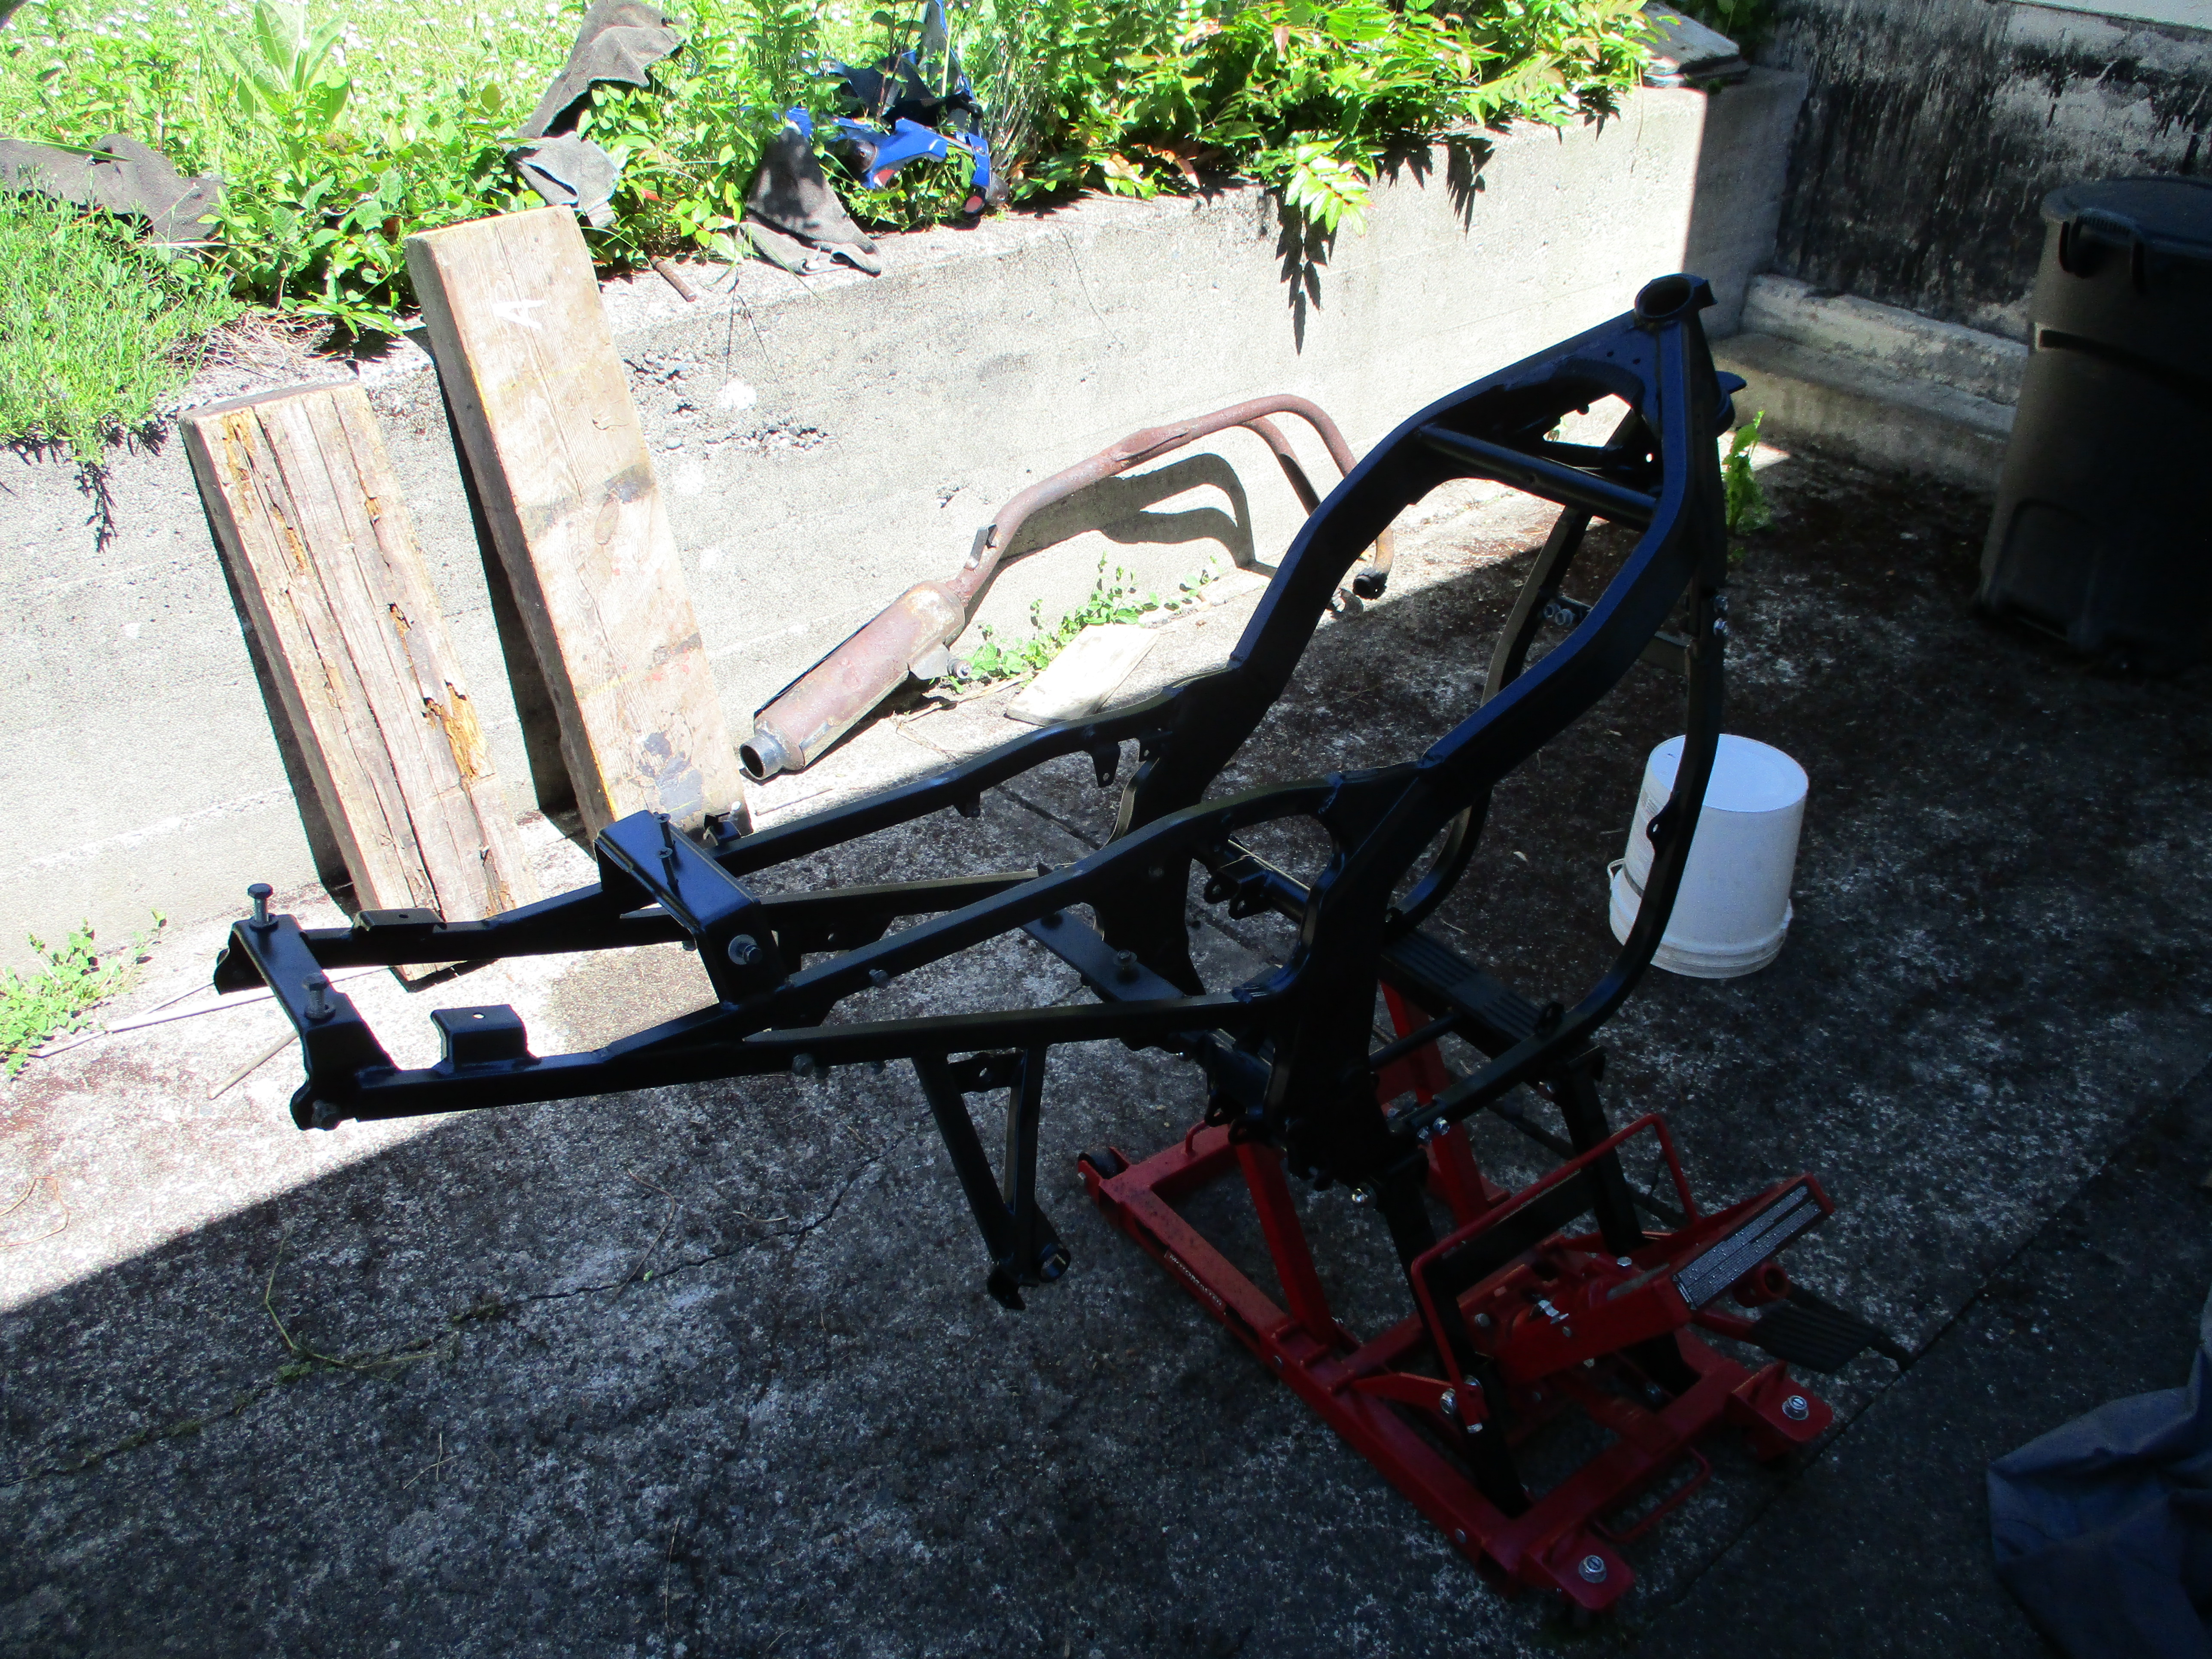
I think it turned out well, I had a few visible runs but overall it looked acceptable.
The engine seemed to work okay but cosmetically was in bad shape. It had been slid on both sides and the drive chain had come off at least once before. It was really dirty and had some broken fasteners and stripped holes too.
On the right side of the engine the clutch cover had been slid over something hard and ground part of the signal generator cover off, broke one of the mounting bosses, and taken off the decorative plate with the Suzuki logo on it. The Cooling fins on the cylinder are also scraped up and one is broken.
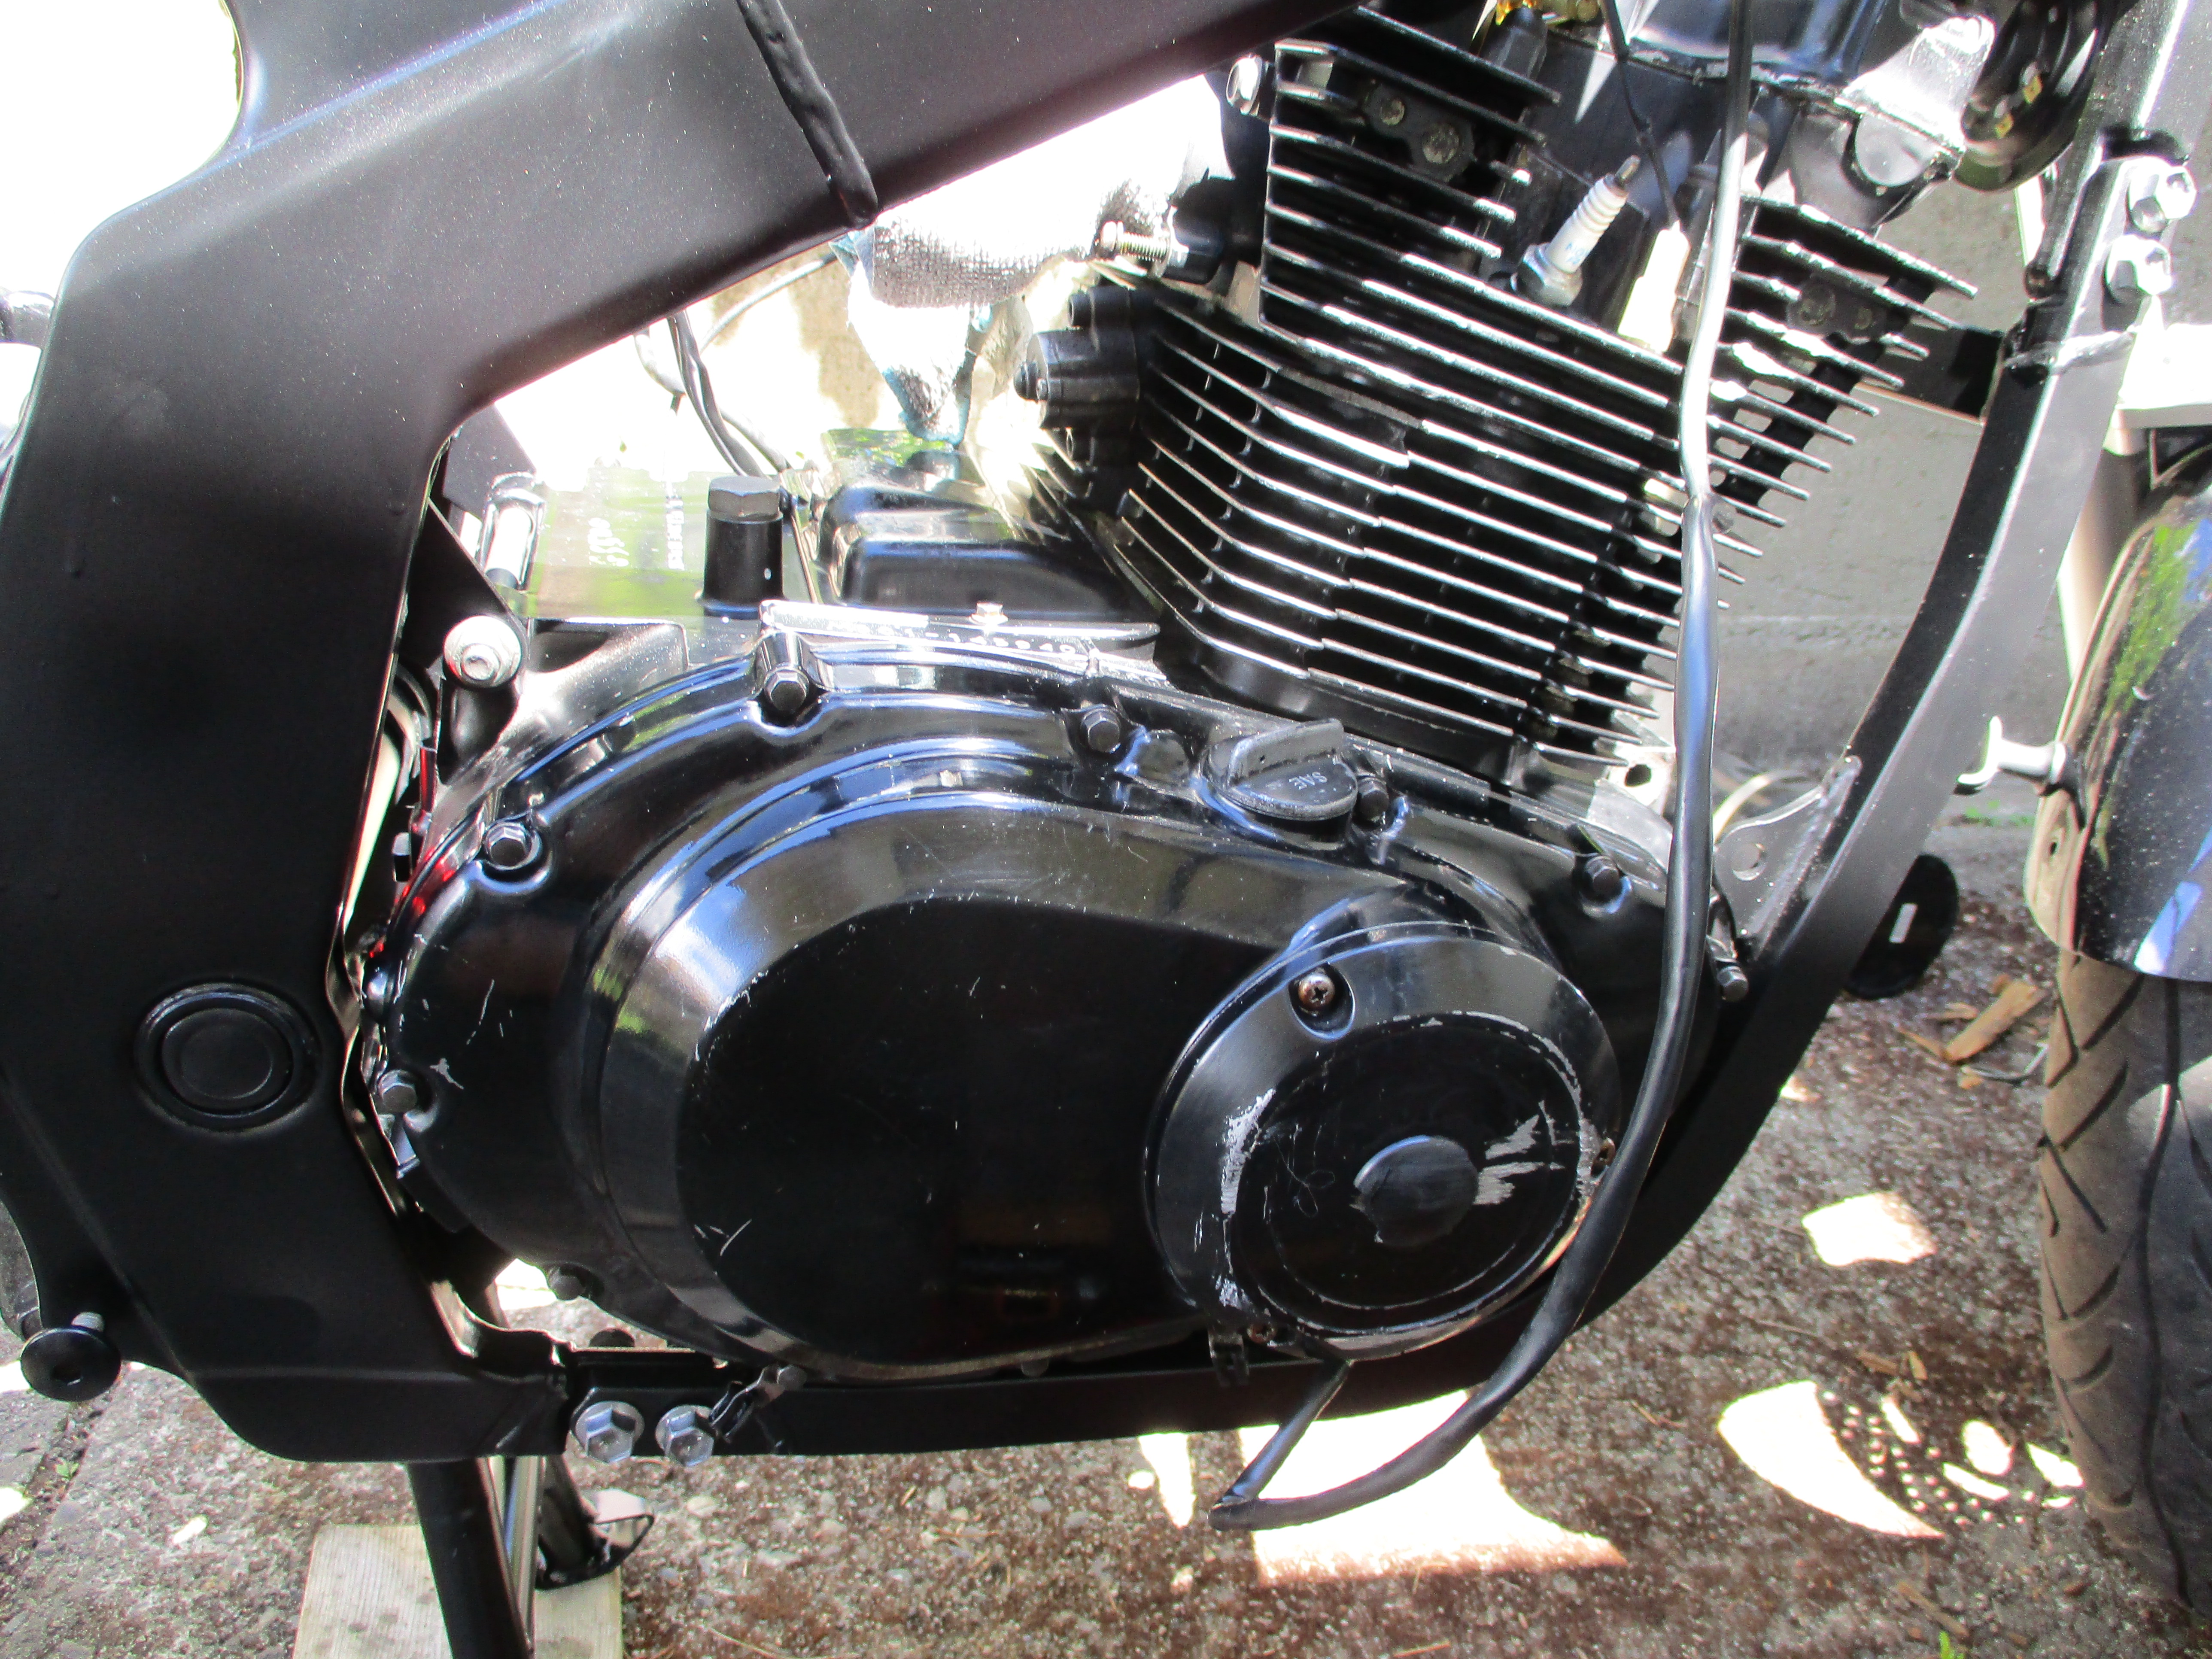
On the left side of the engine the flywheel cover had been slid over something hard, removing that sides decorative Suzuki plate too. There is one broken bolt on the flywheel cover as well which could have been caused by the same incident.
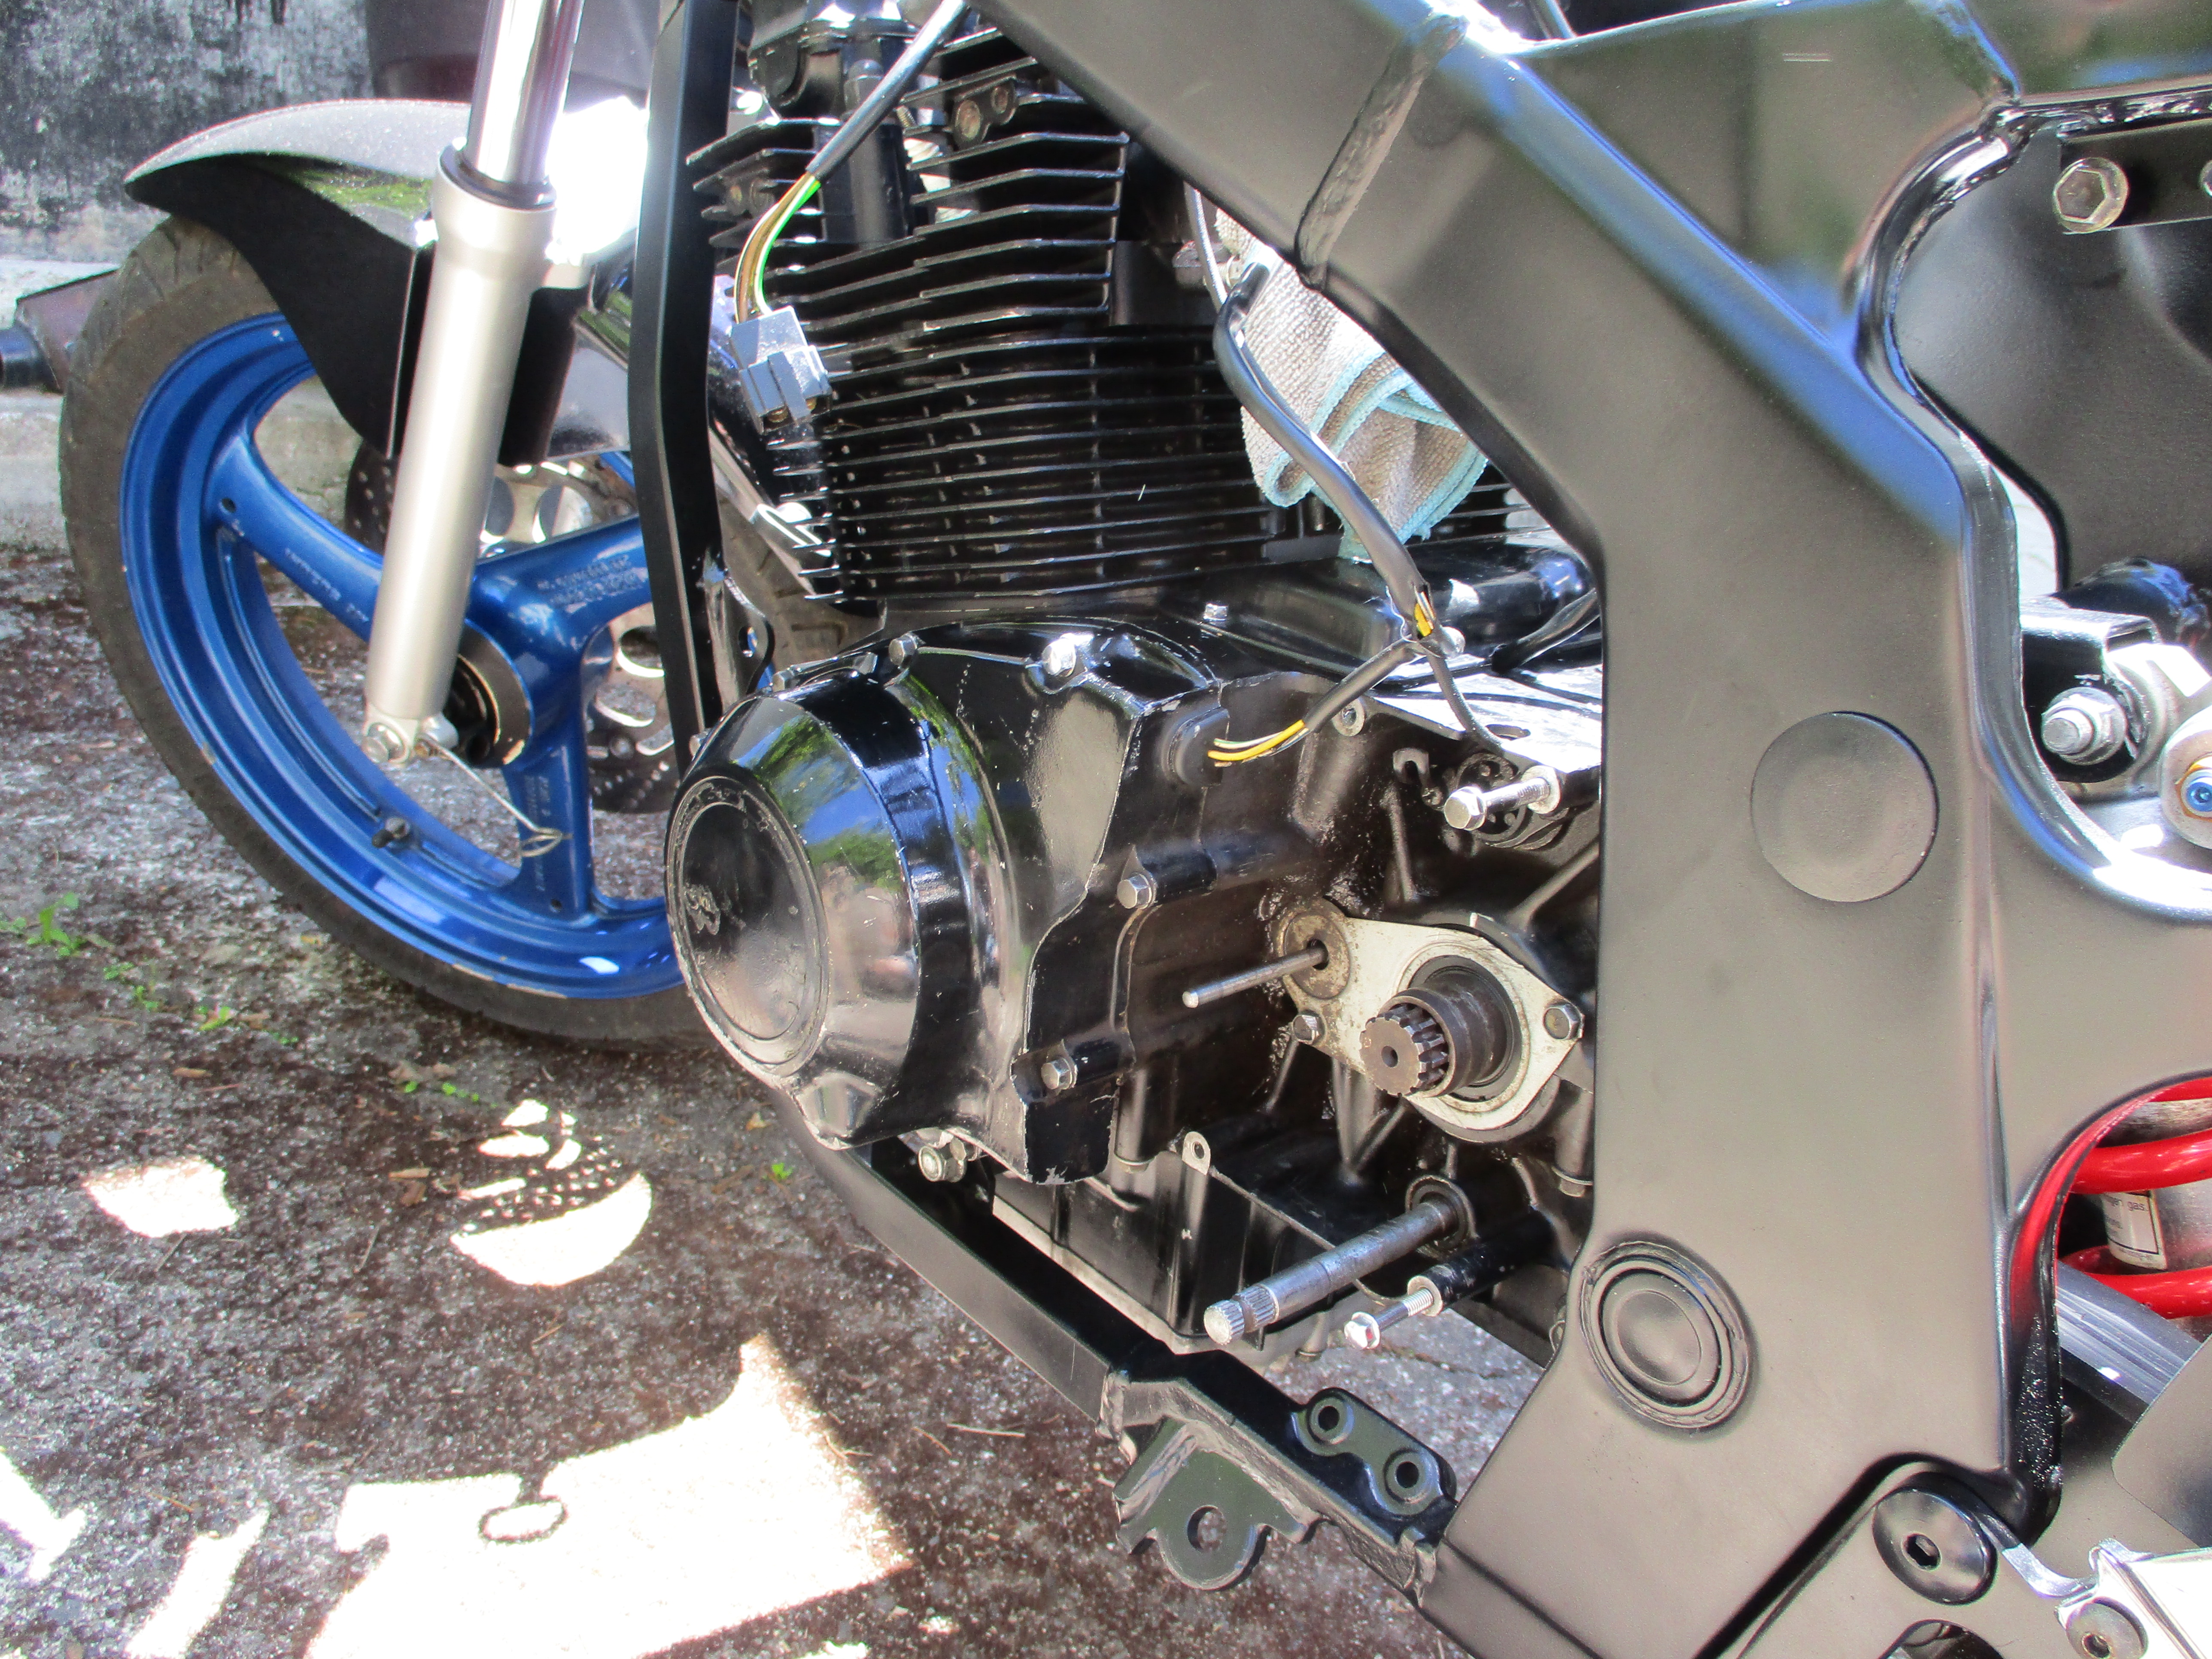
The countershaft sprocket cover had one bolt broken off out of 4, but luckily some of it was still sticking out of the hole, and twisting it out with pliers was easy. I bought a new one to replace it. At some point the drive chain had broken or come off and smashed around inside this cover. The rearmost mounting boss for the sprocket cover was missing but luckily not much other damage.
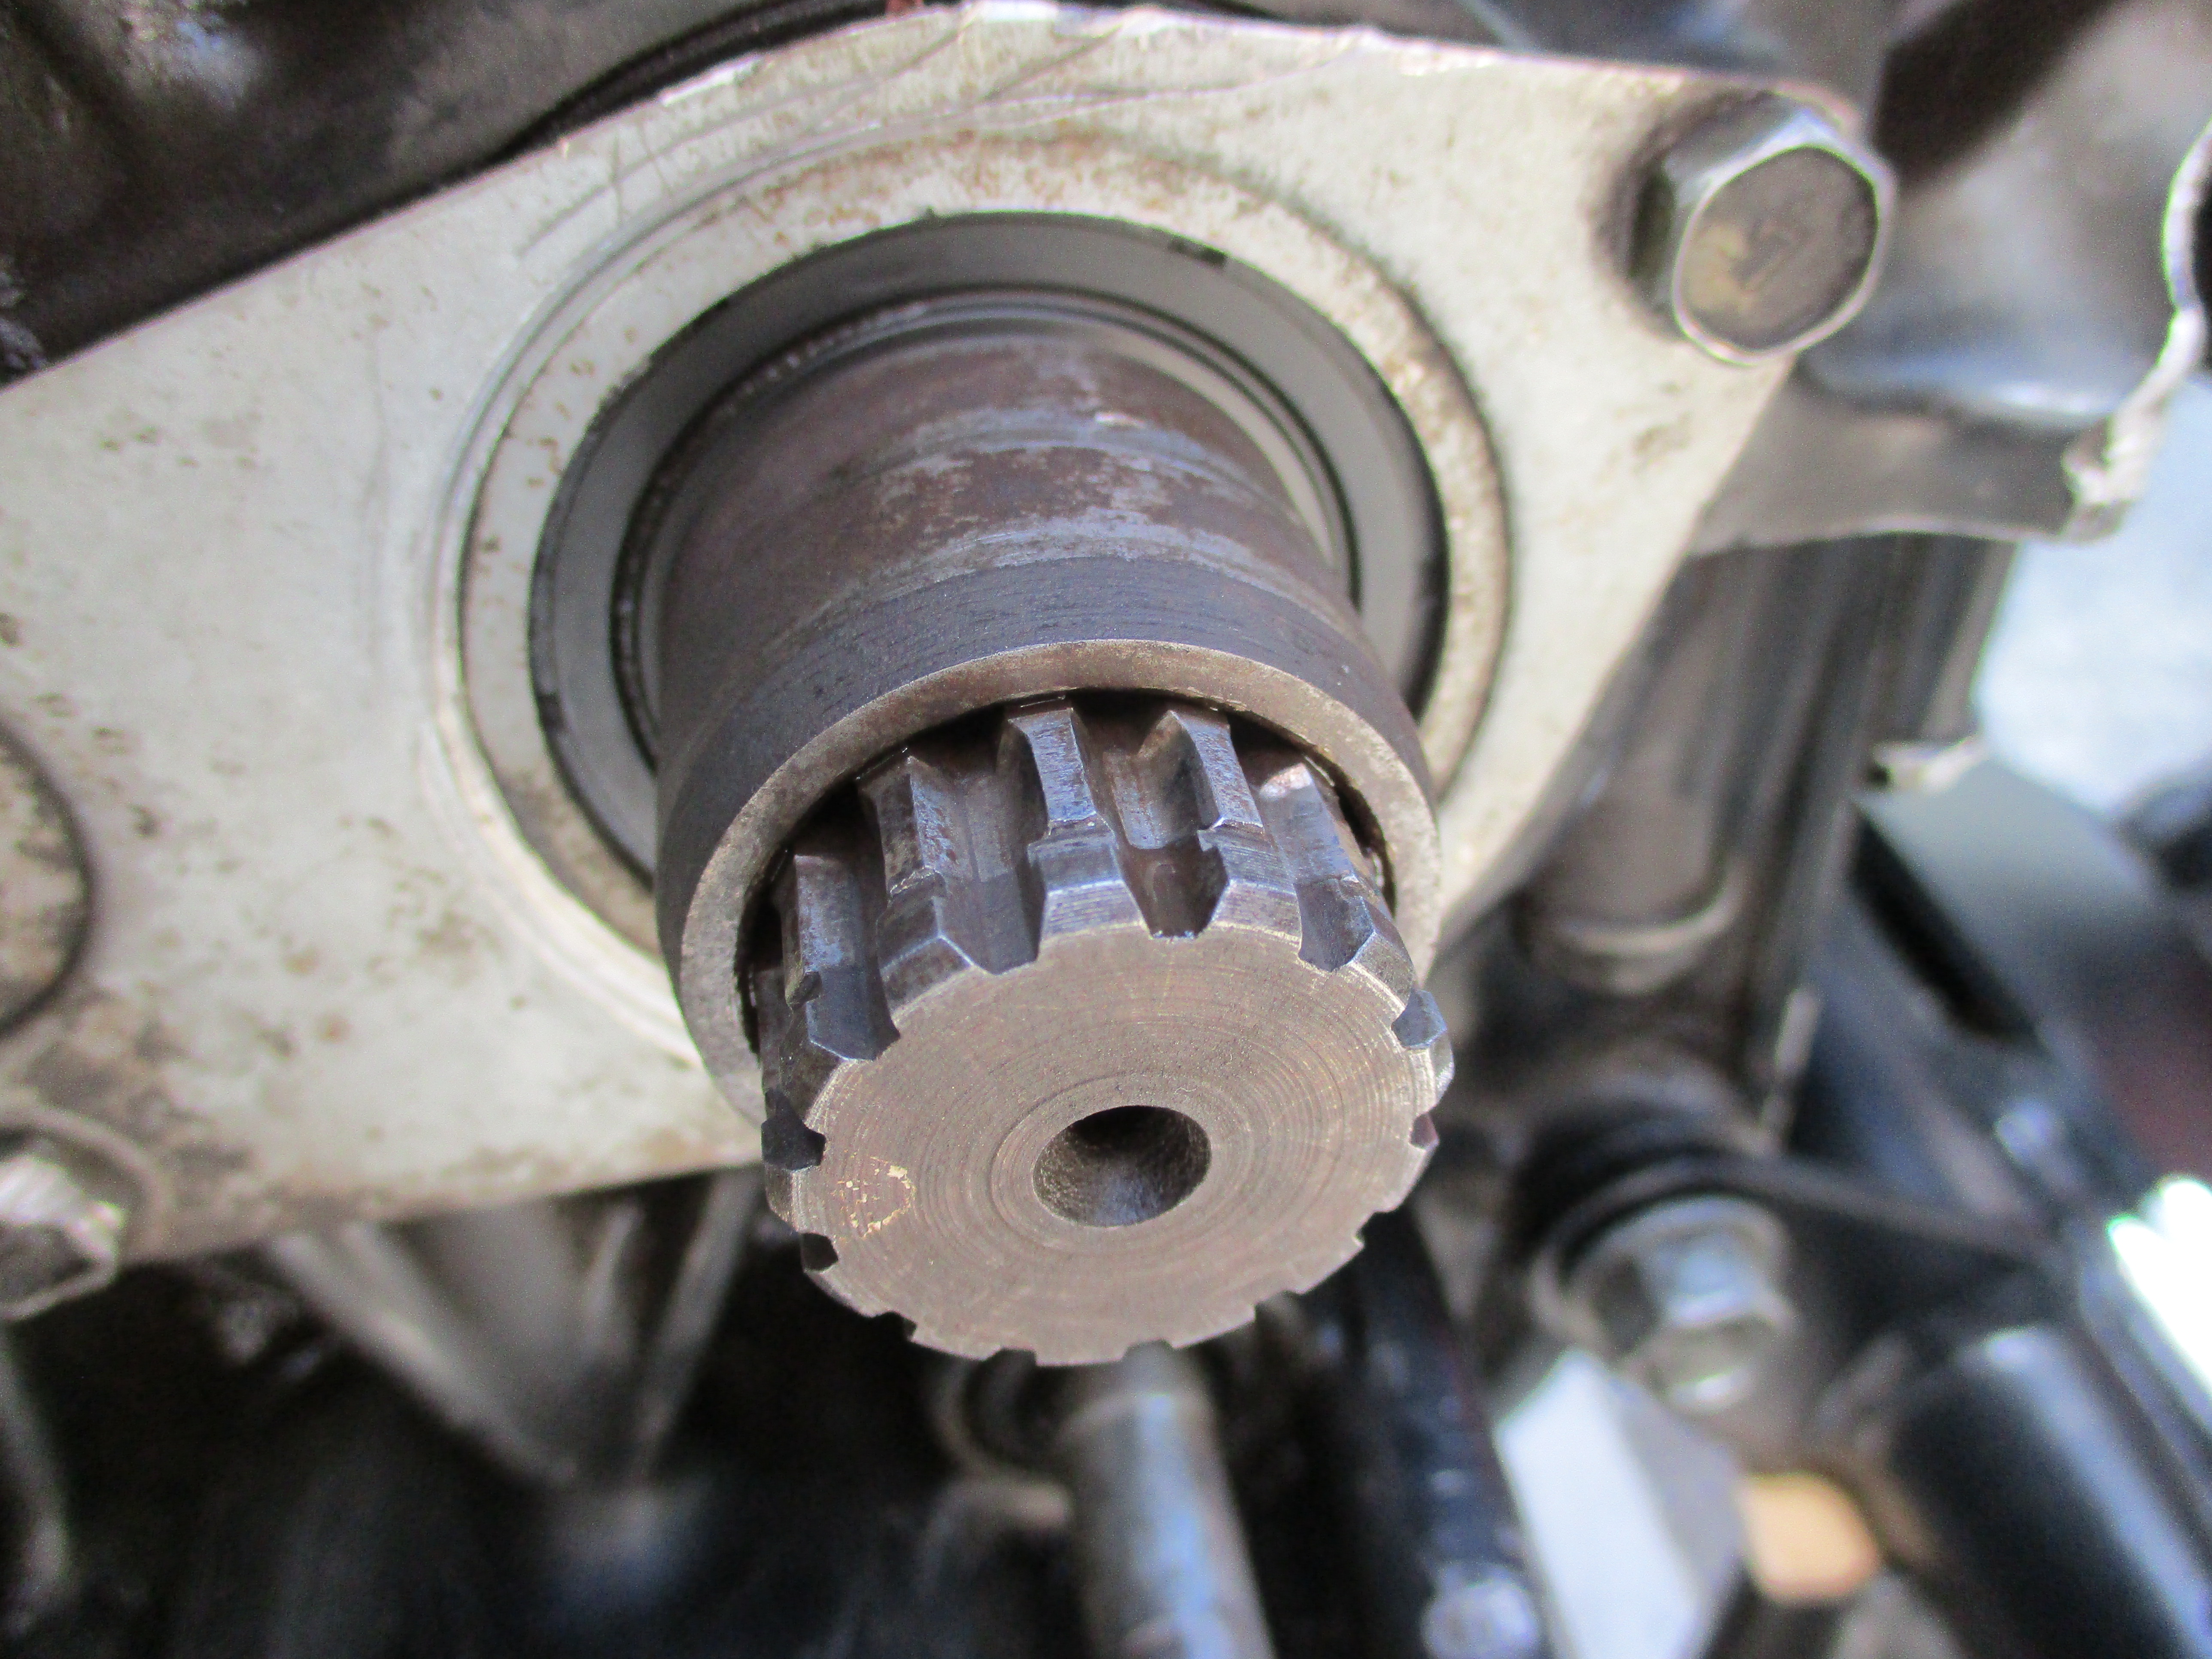
The countershaft spline where the sprocket mounts also has unusual wear on it. Consultation online shows that this is a common problem with this motorcycle and is likely caused by rear wheel misalignment. I can not help but think that the wimpy circlip retention mechanism has something to do with that too. My KLR has a thread on the end of the shaft that a big nut threads onto keeping the sprocket very secure.

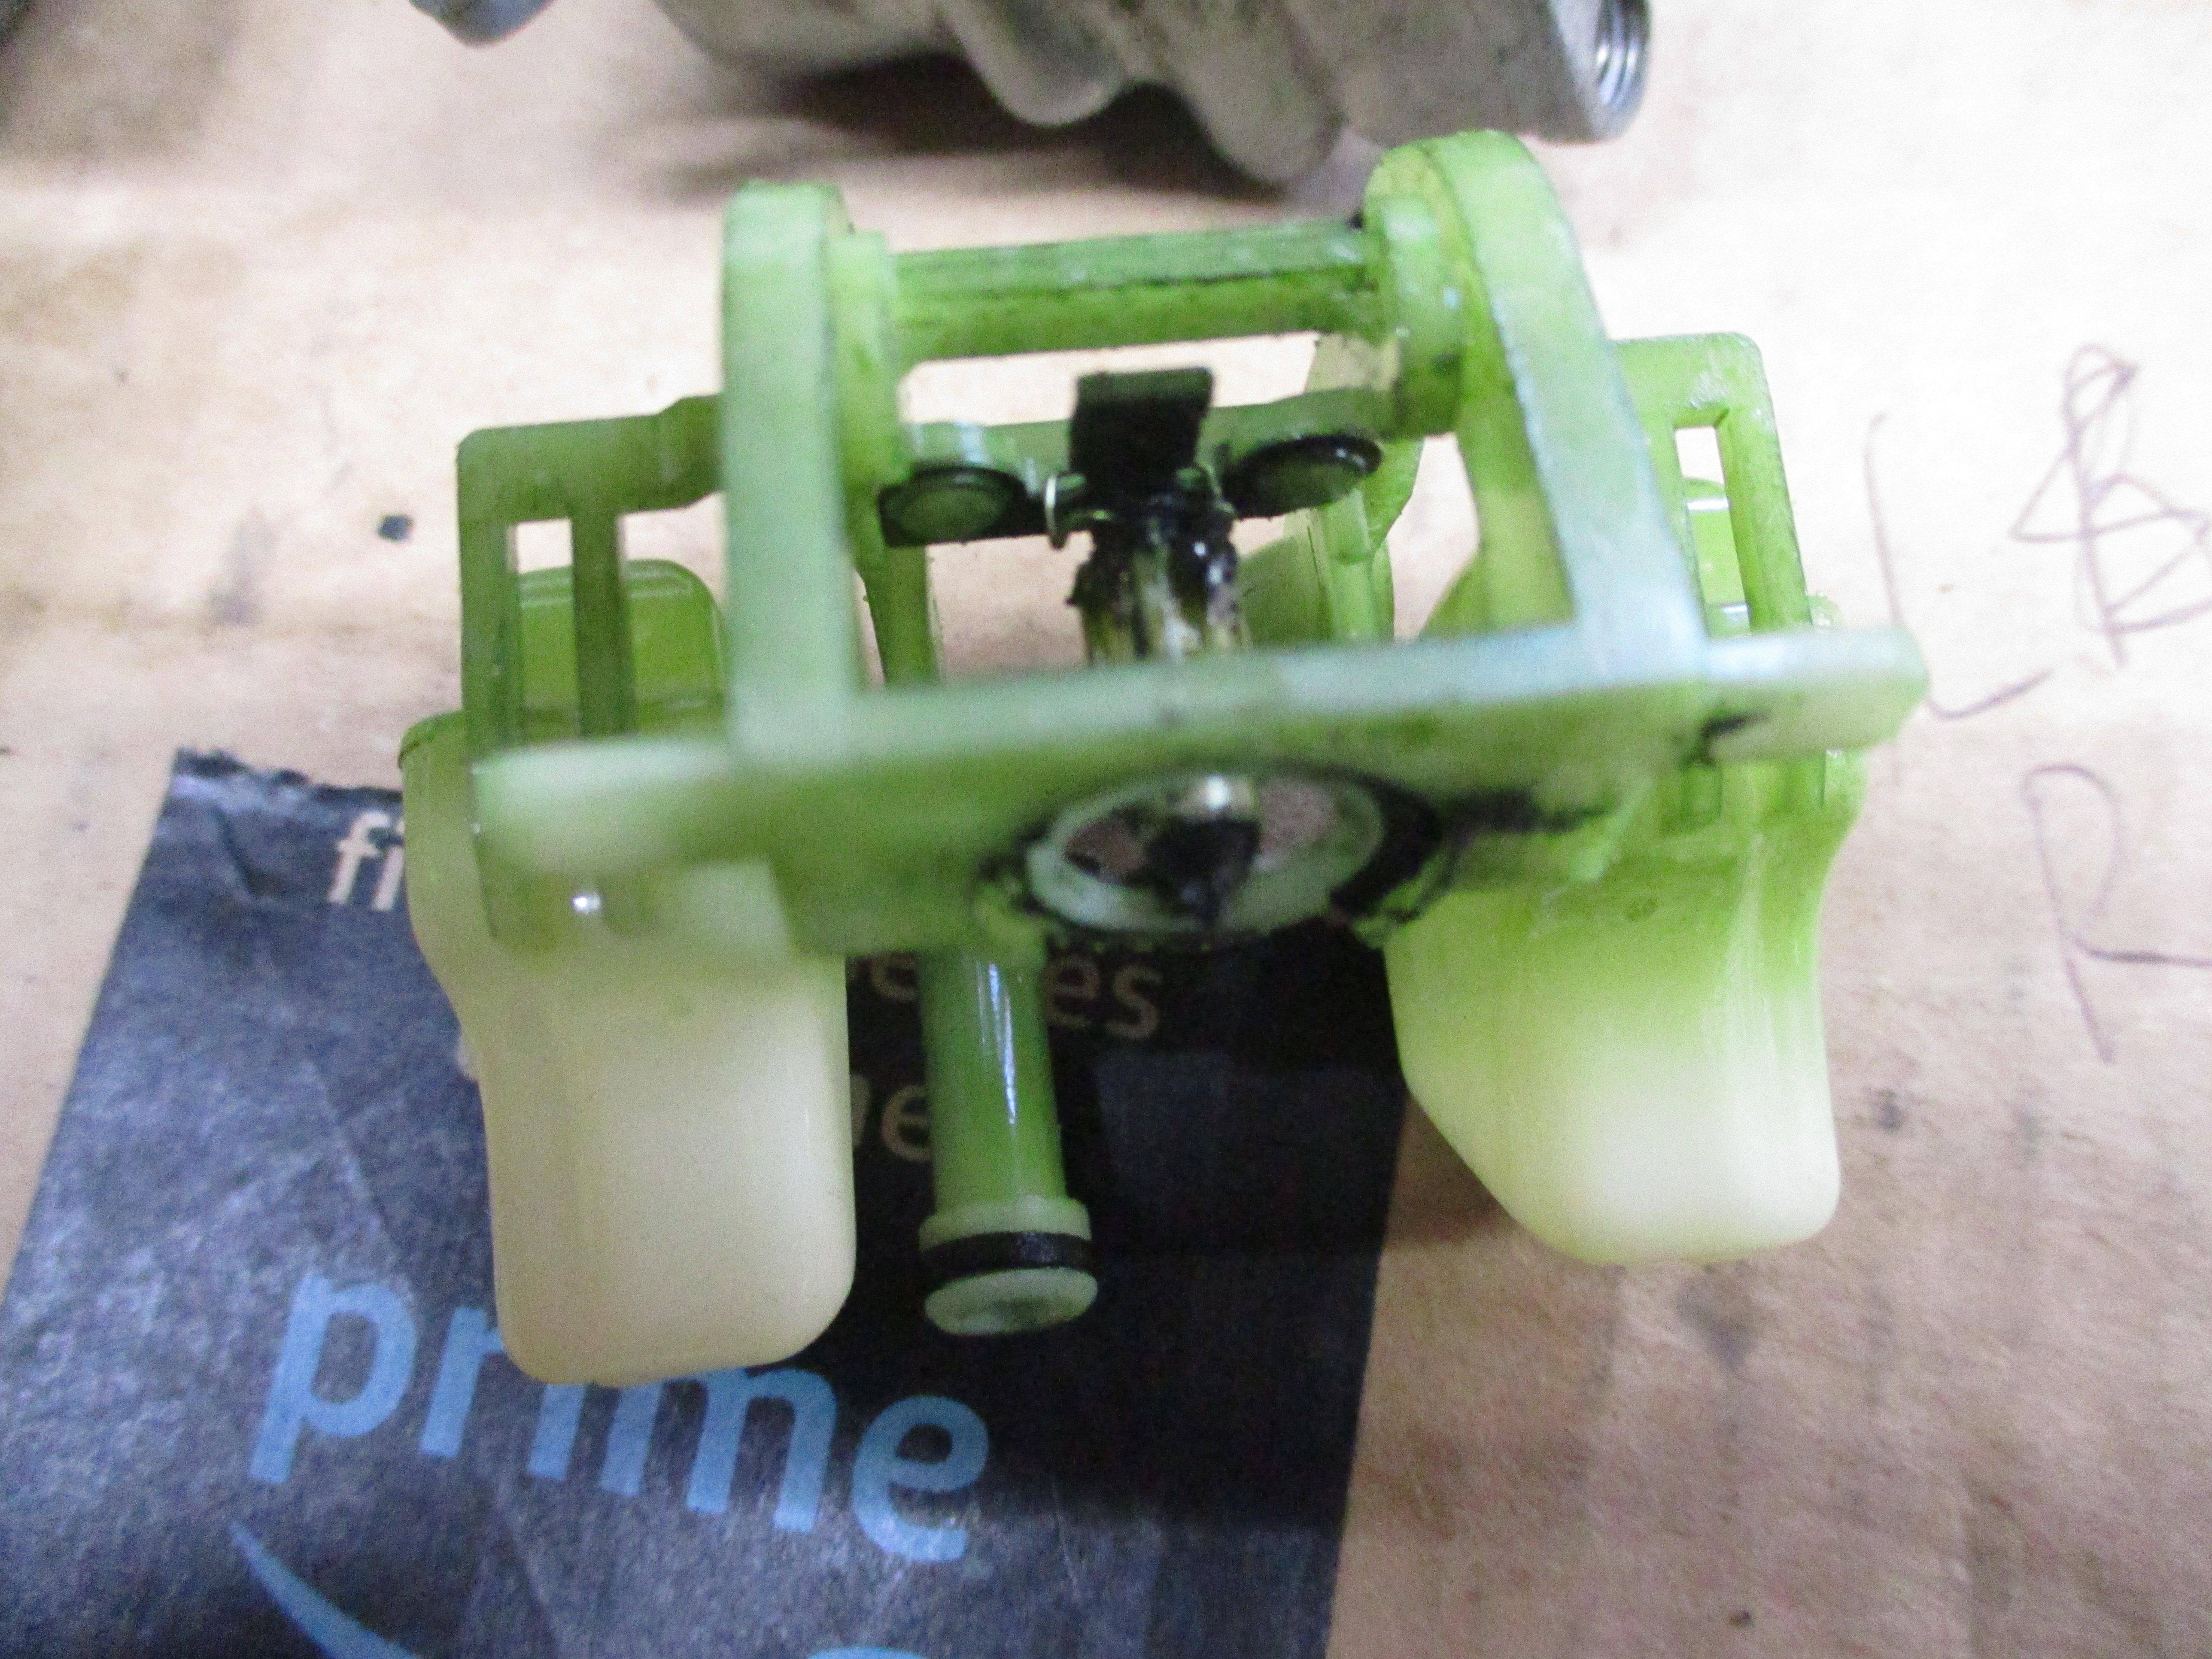
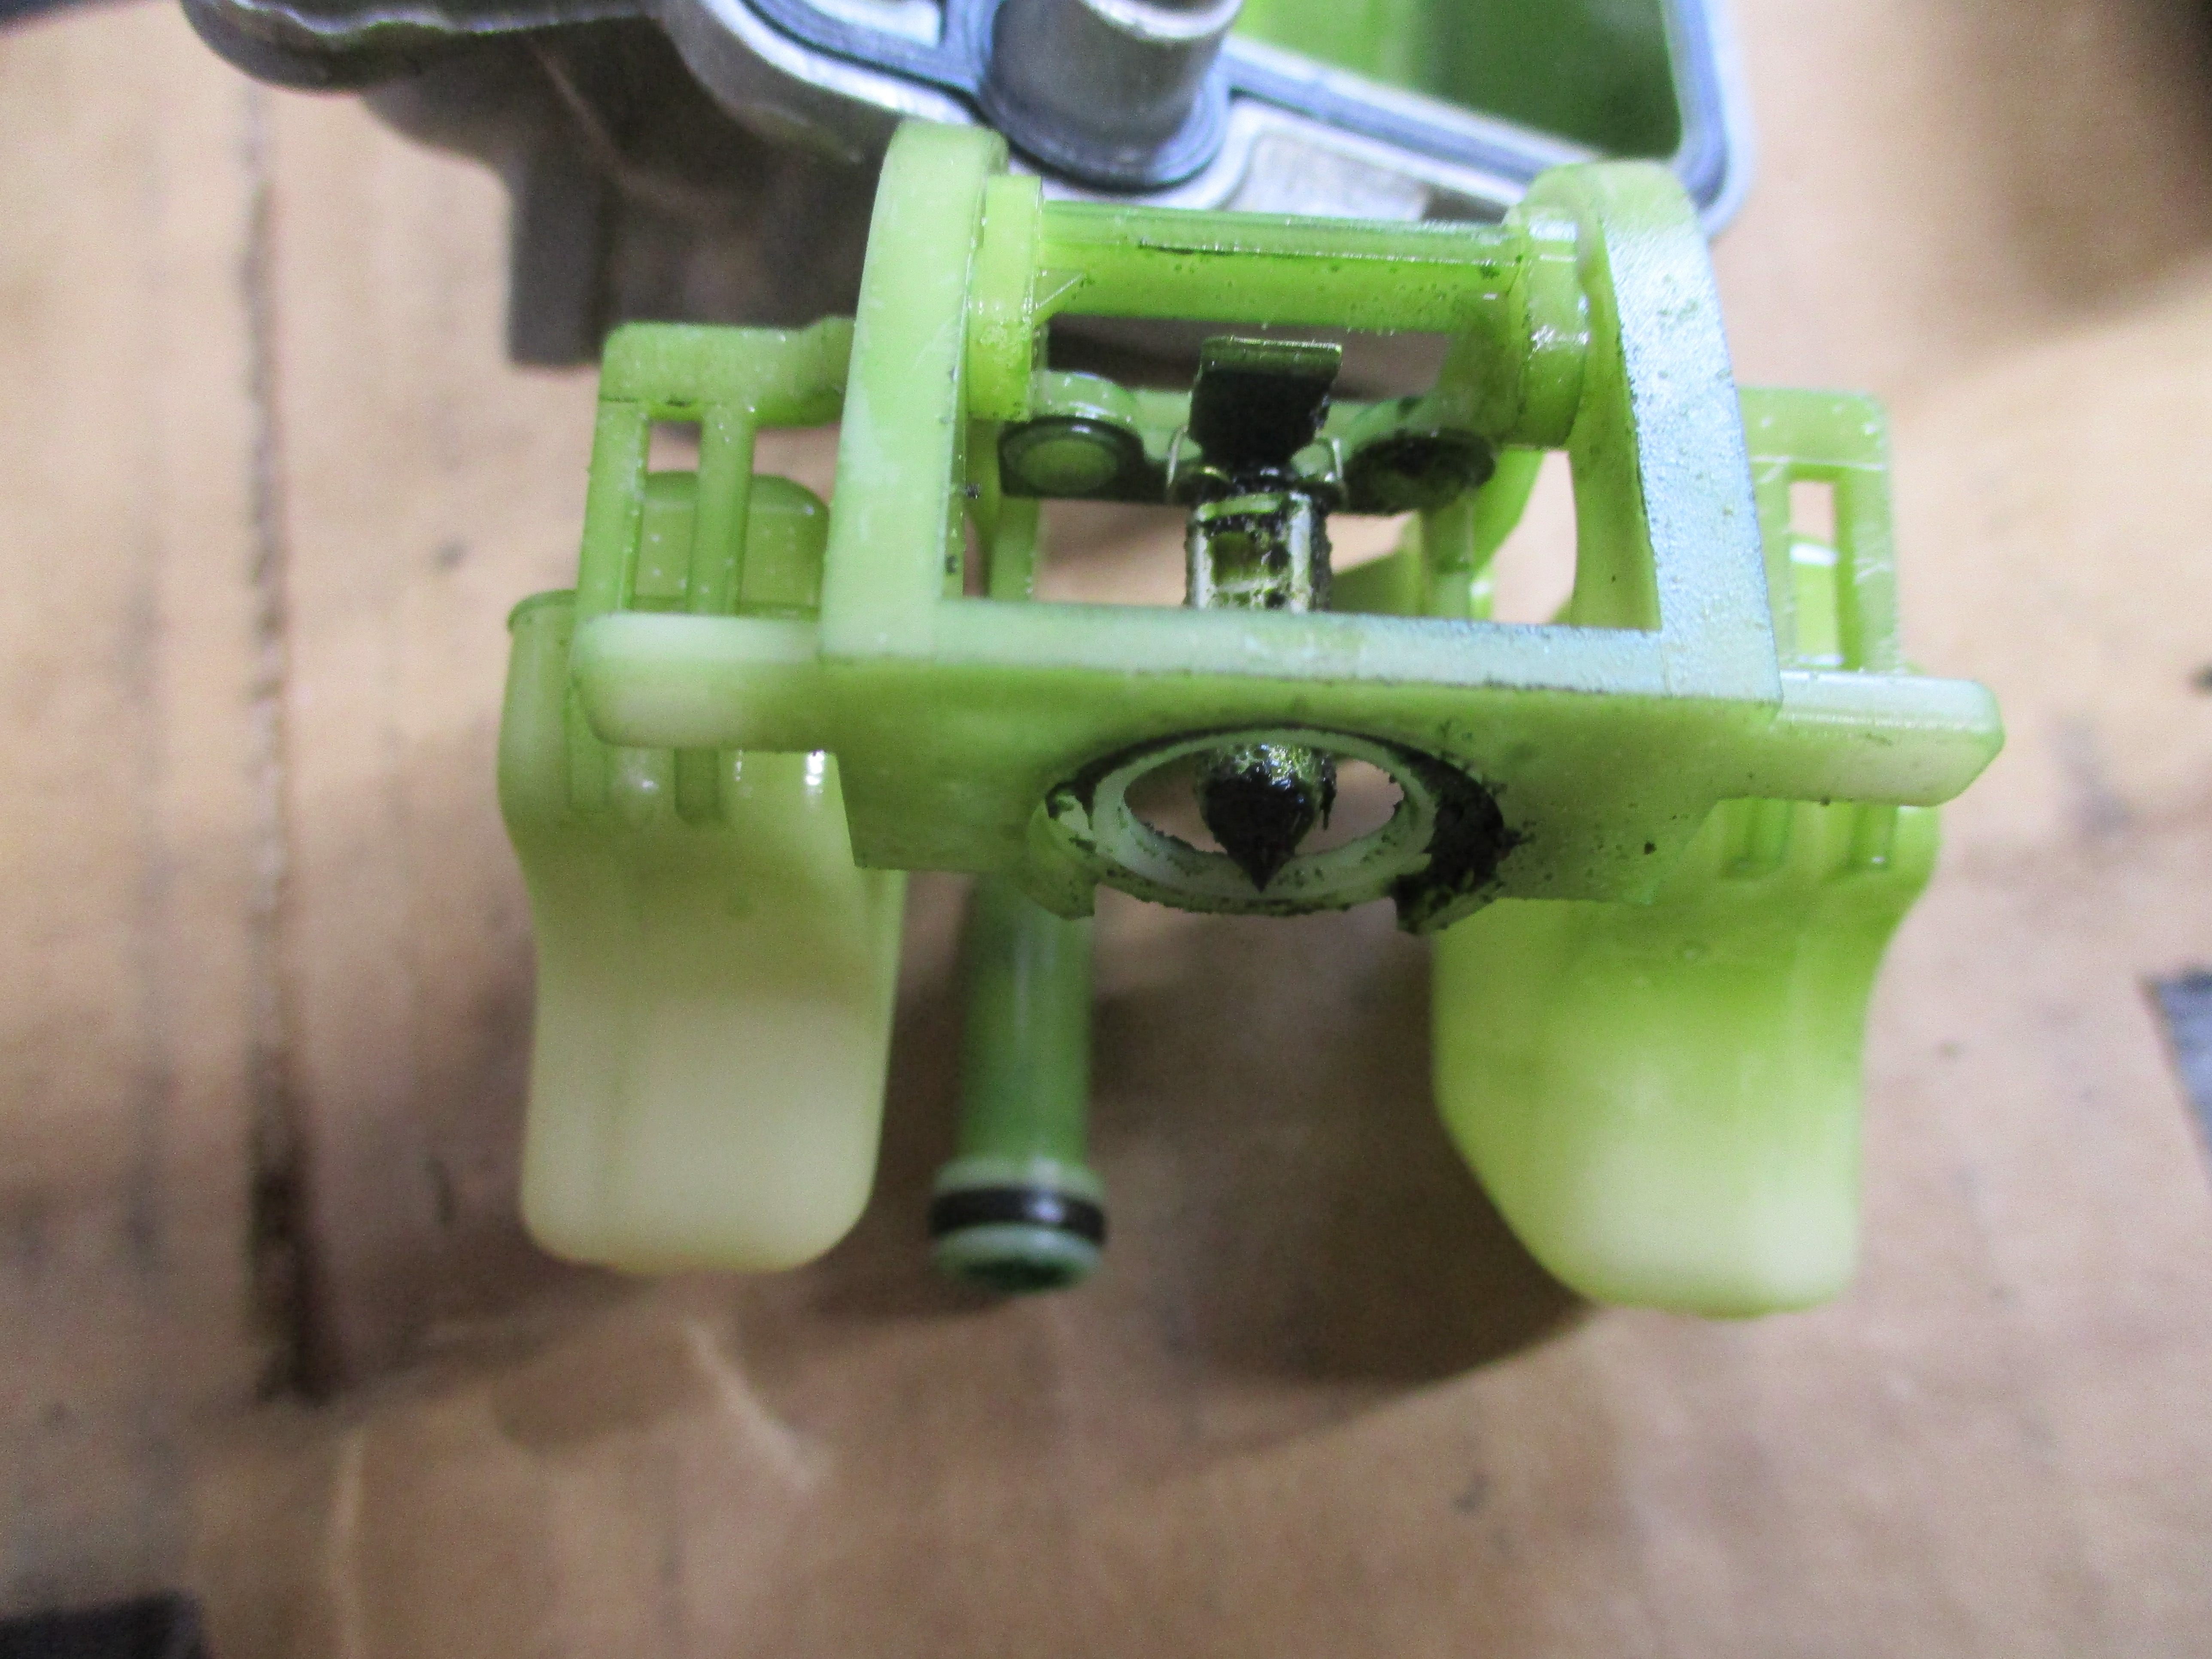
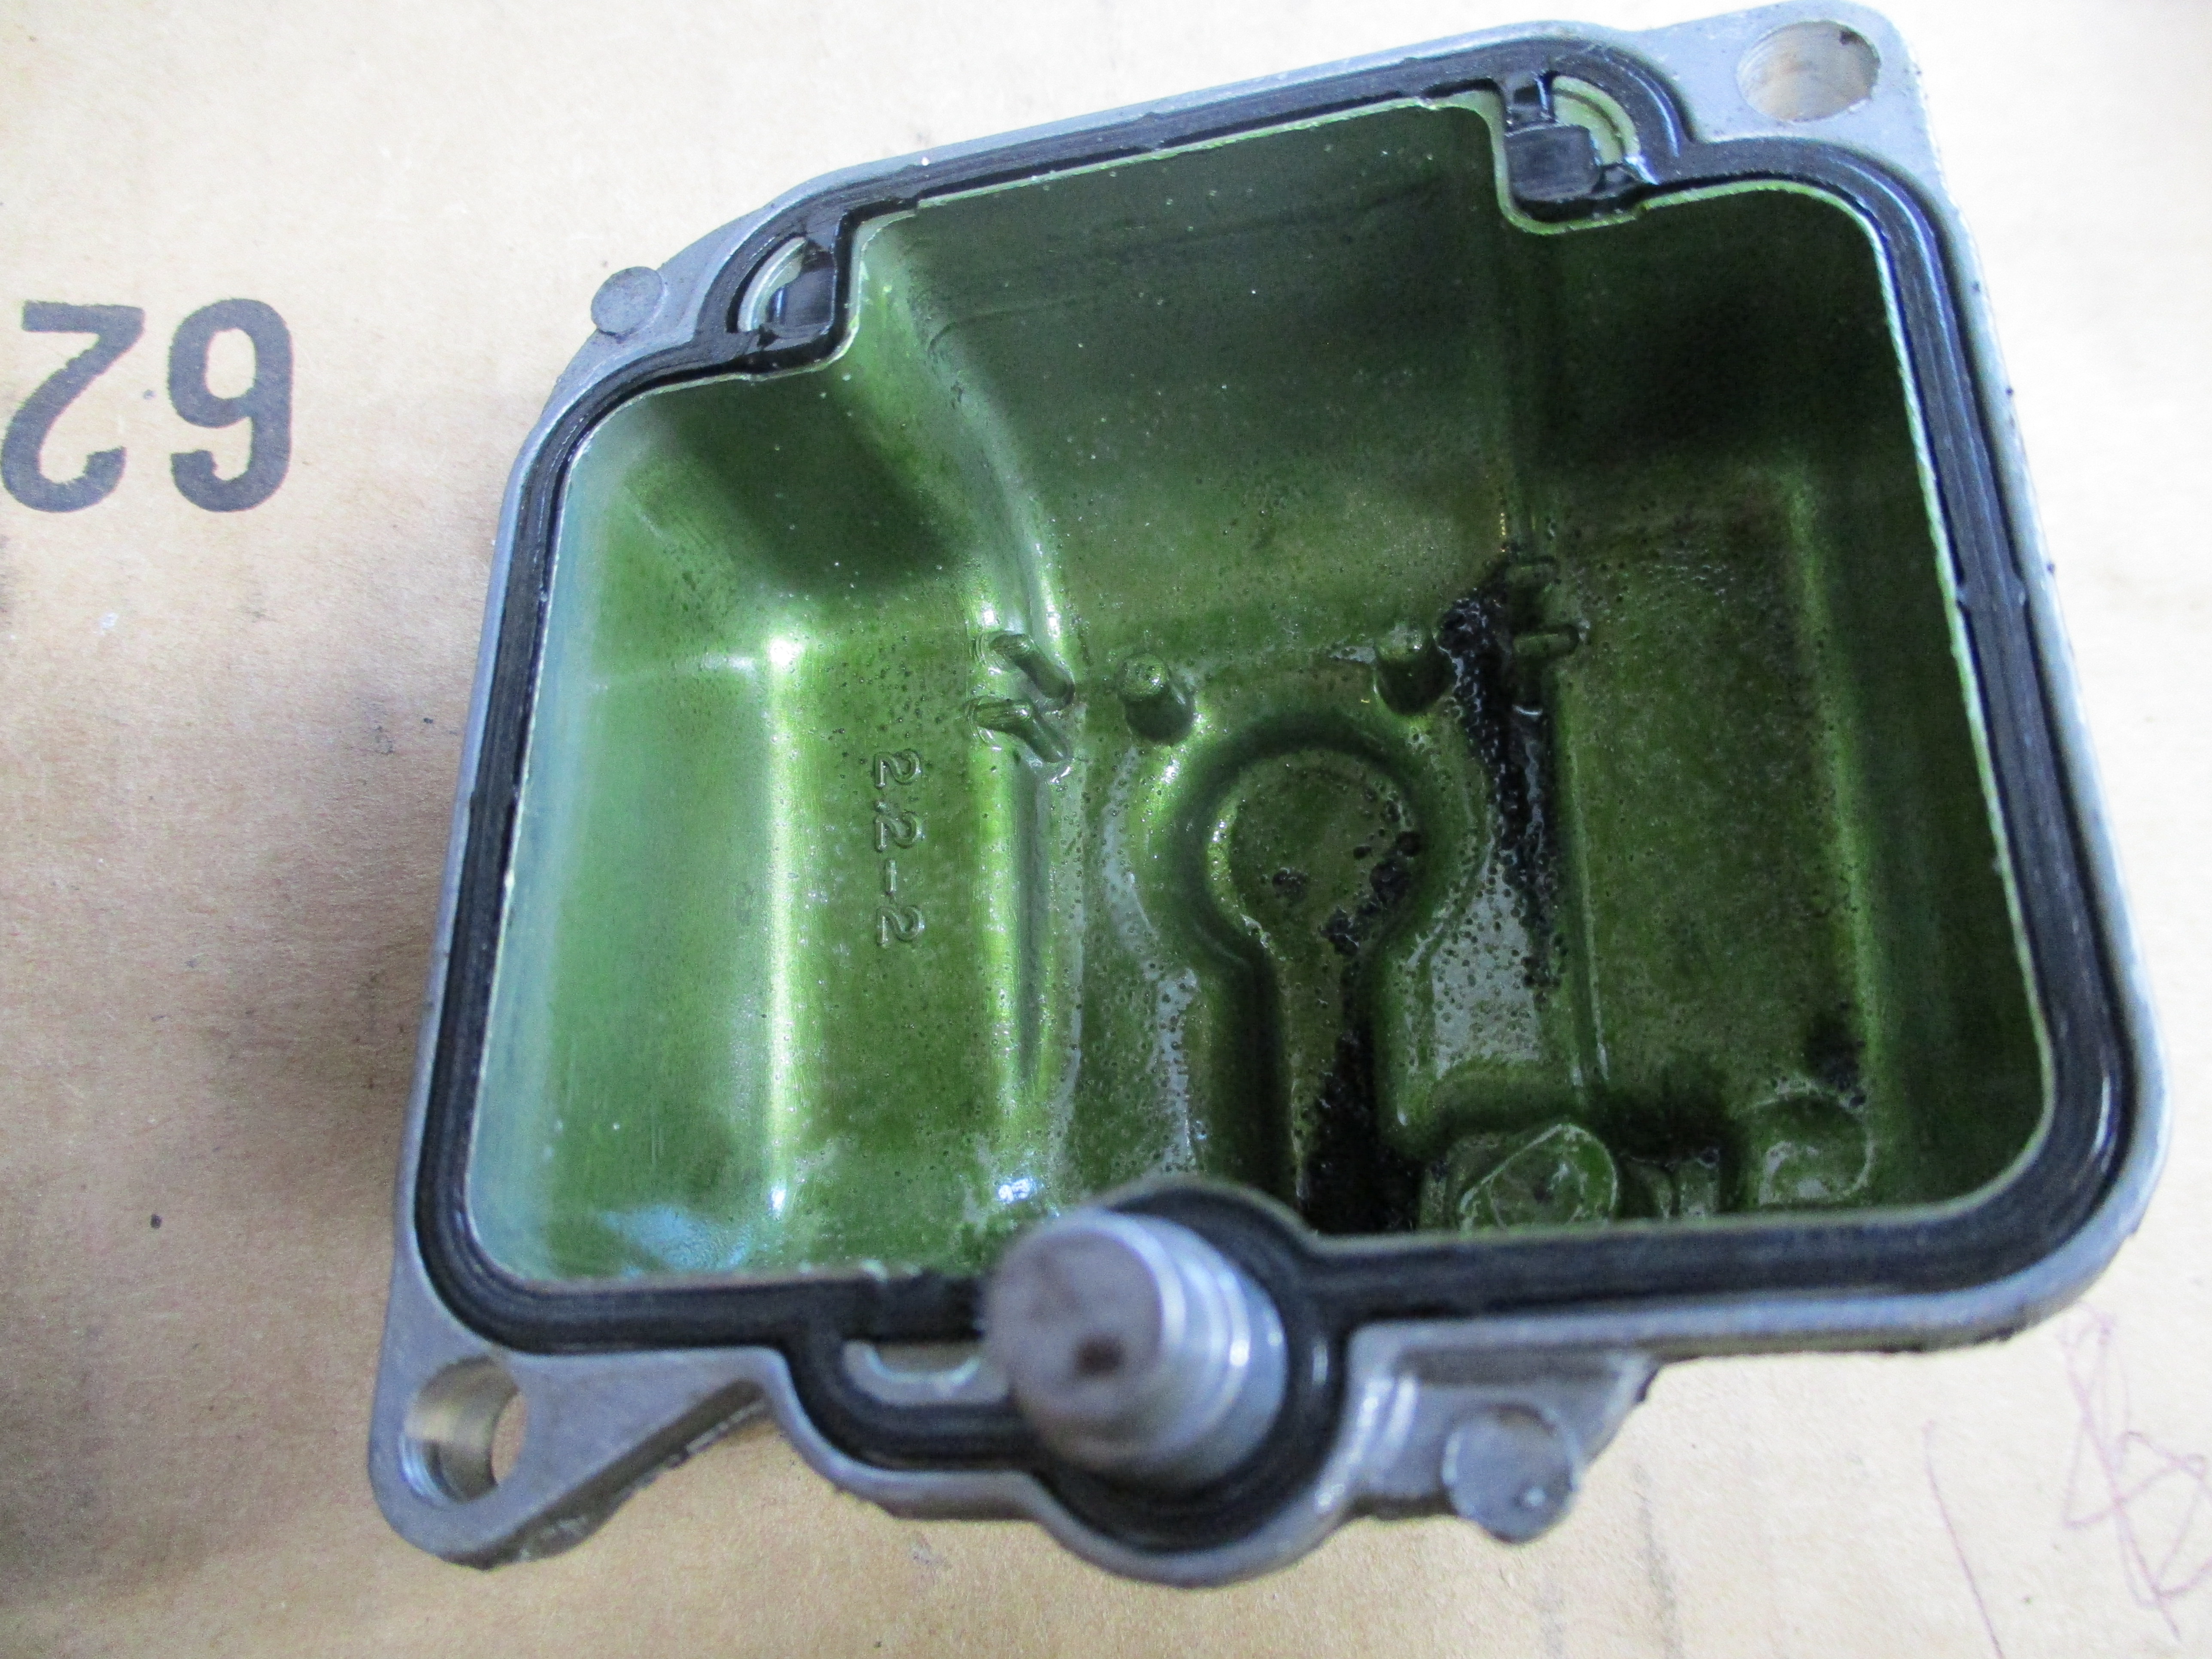
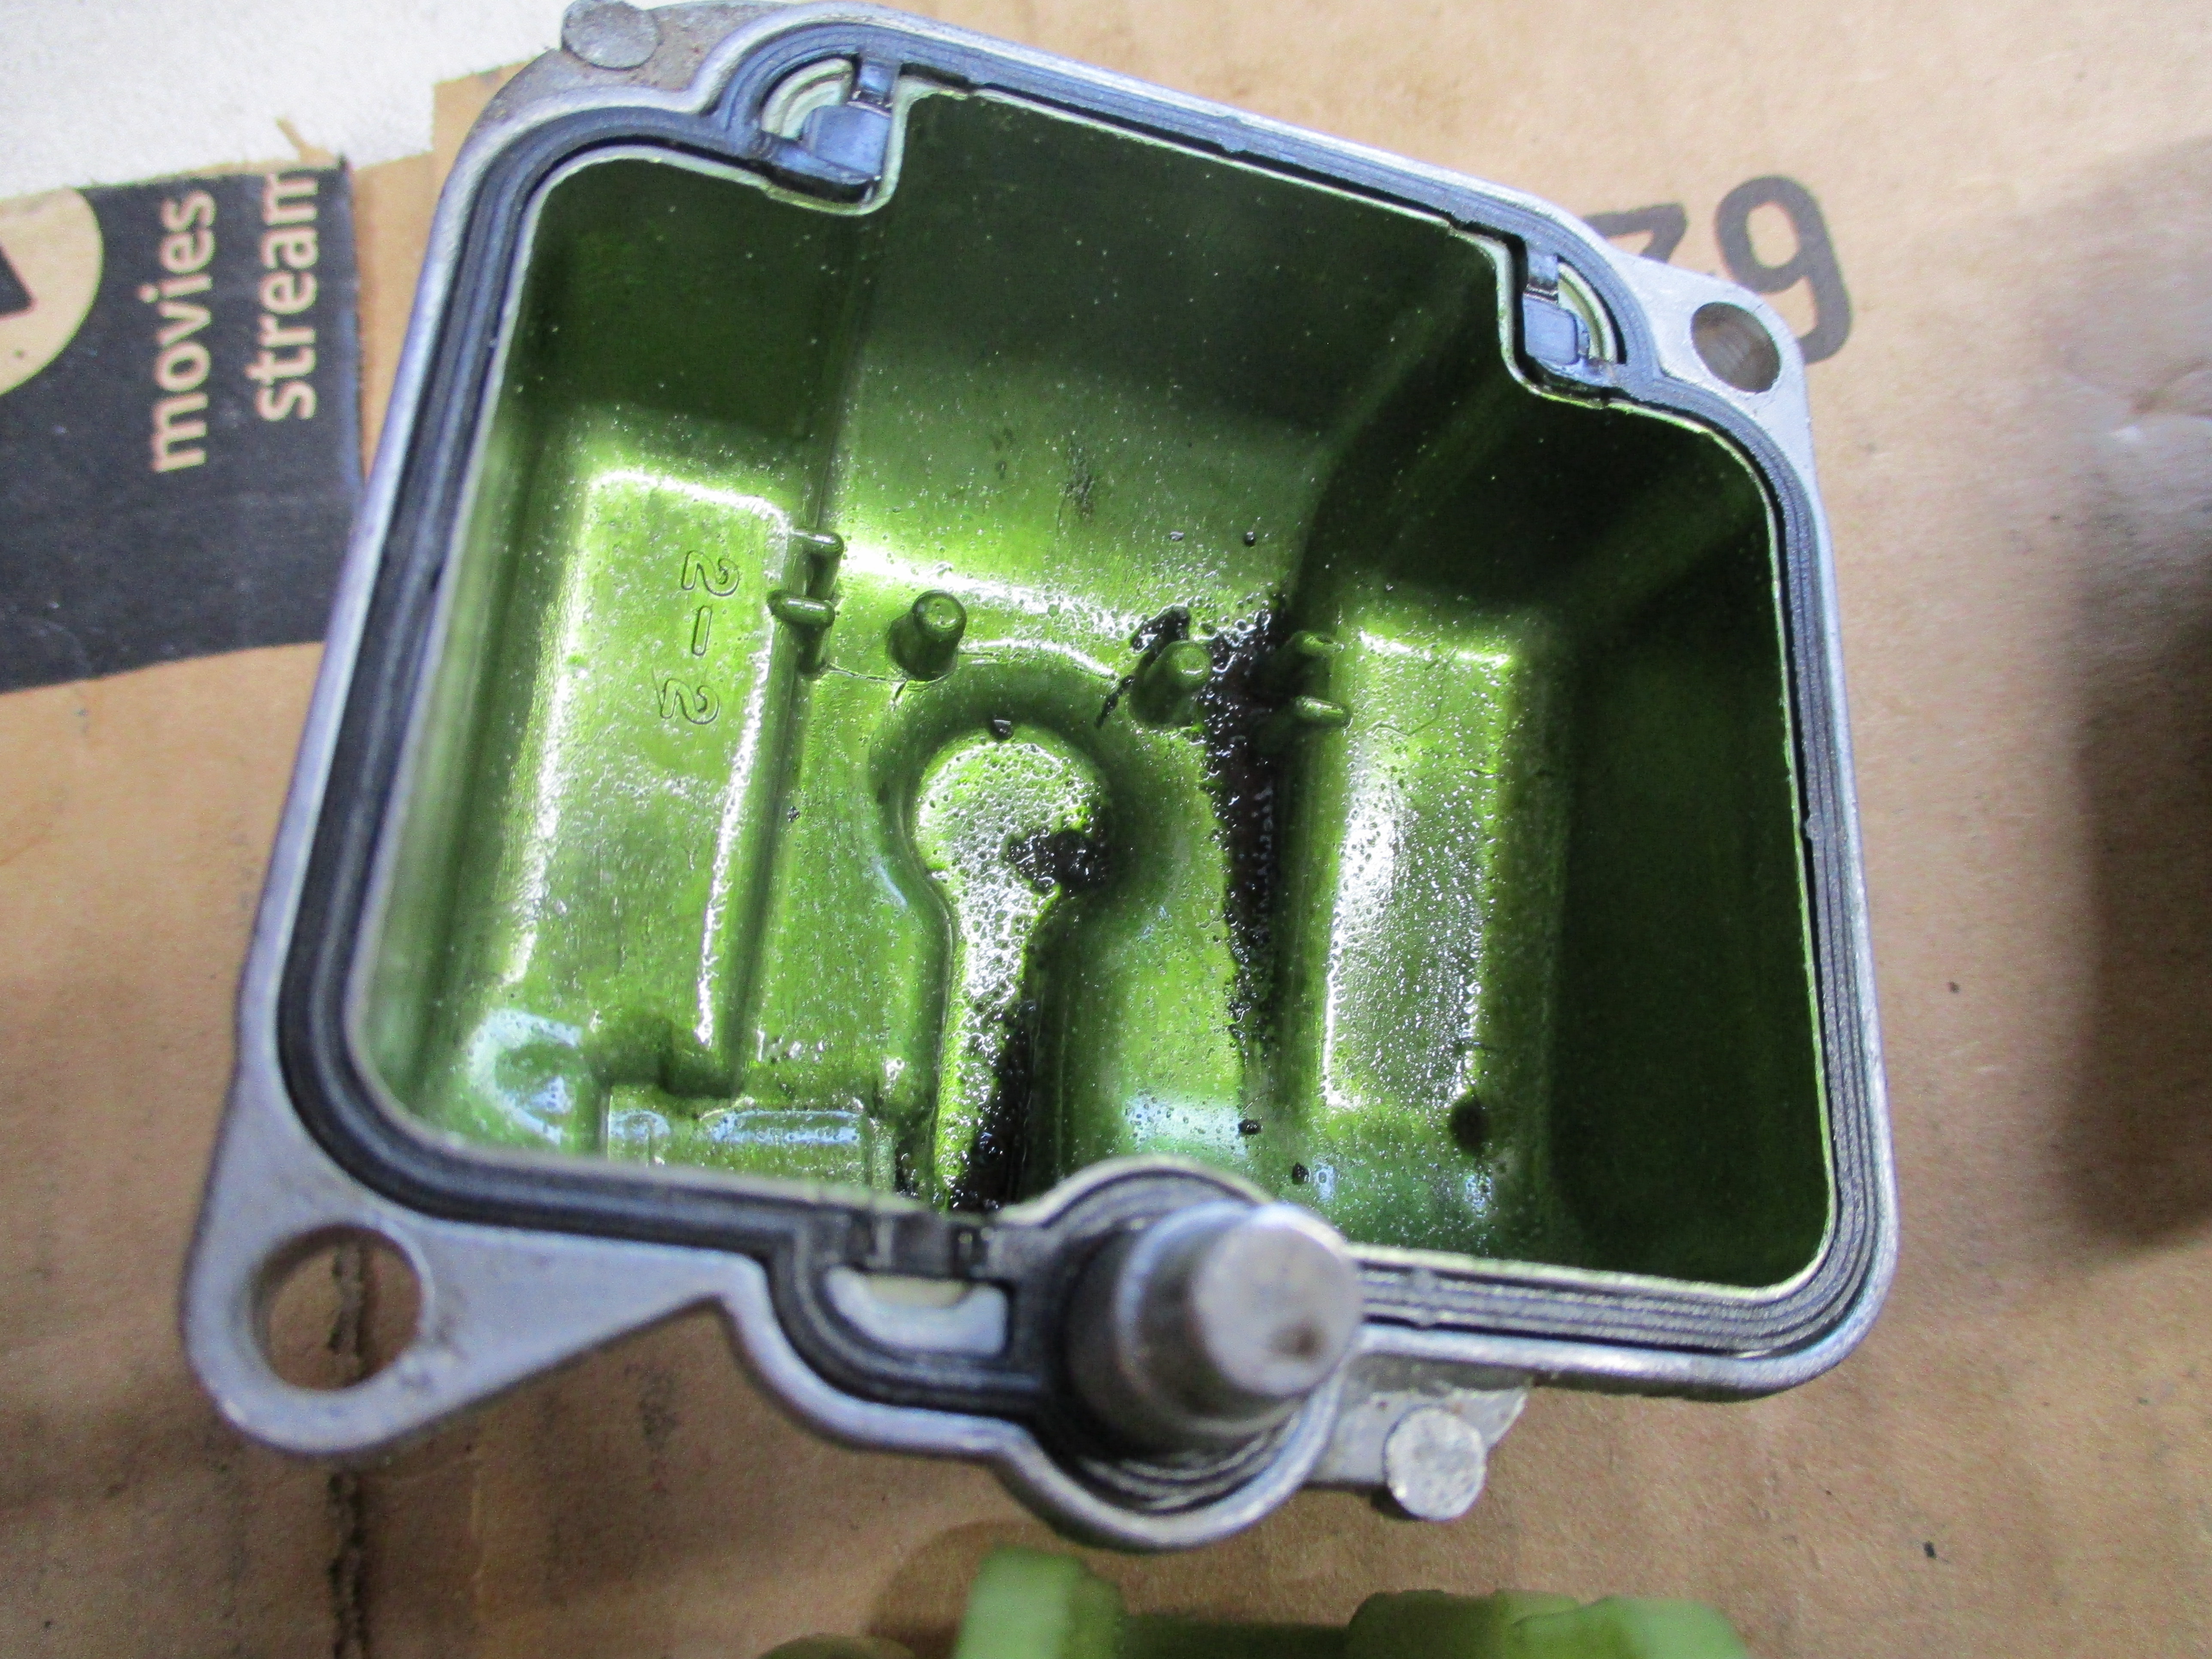
While the engine was out of the frame I took off the valve cover and checked the valves. The intakes were very tight, less than the smallest feeler gauge, 0.04mm, I had. The exhaust were above the specification of 0.08mm but I think that is ok. There was one stripped hole in cylinder head for a valve cover mounting screw.
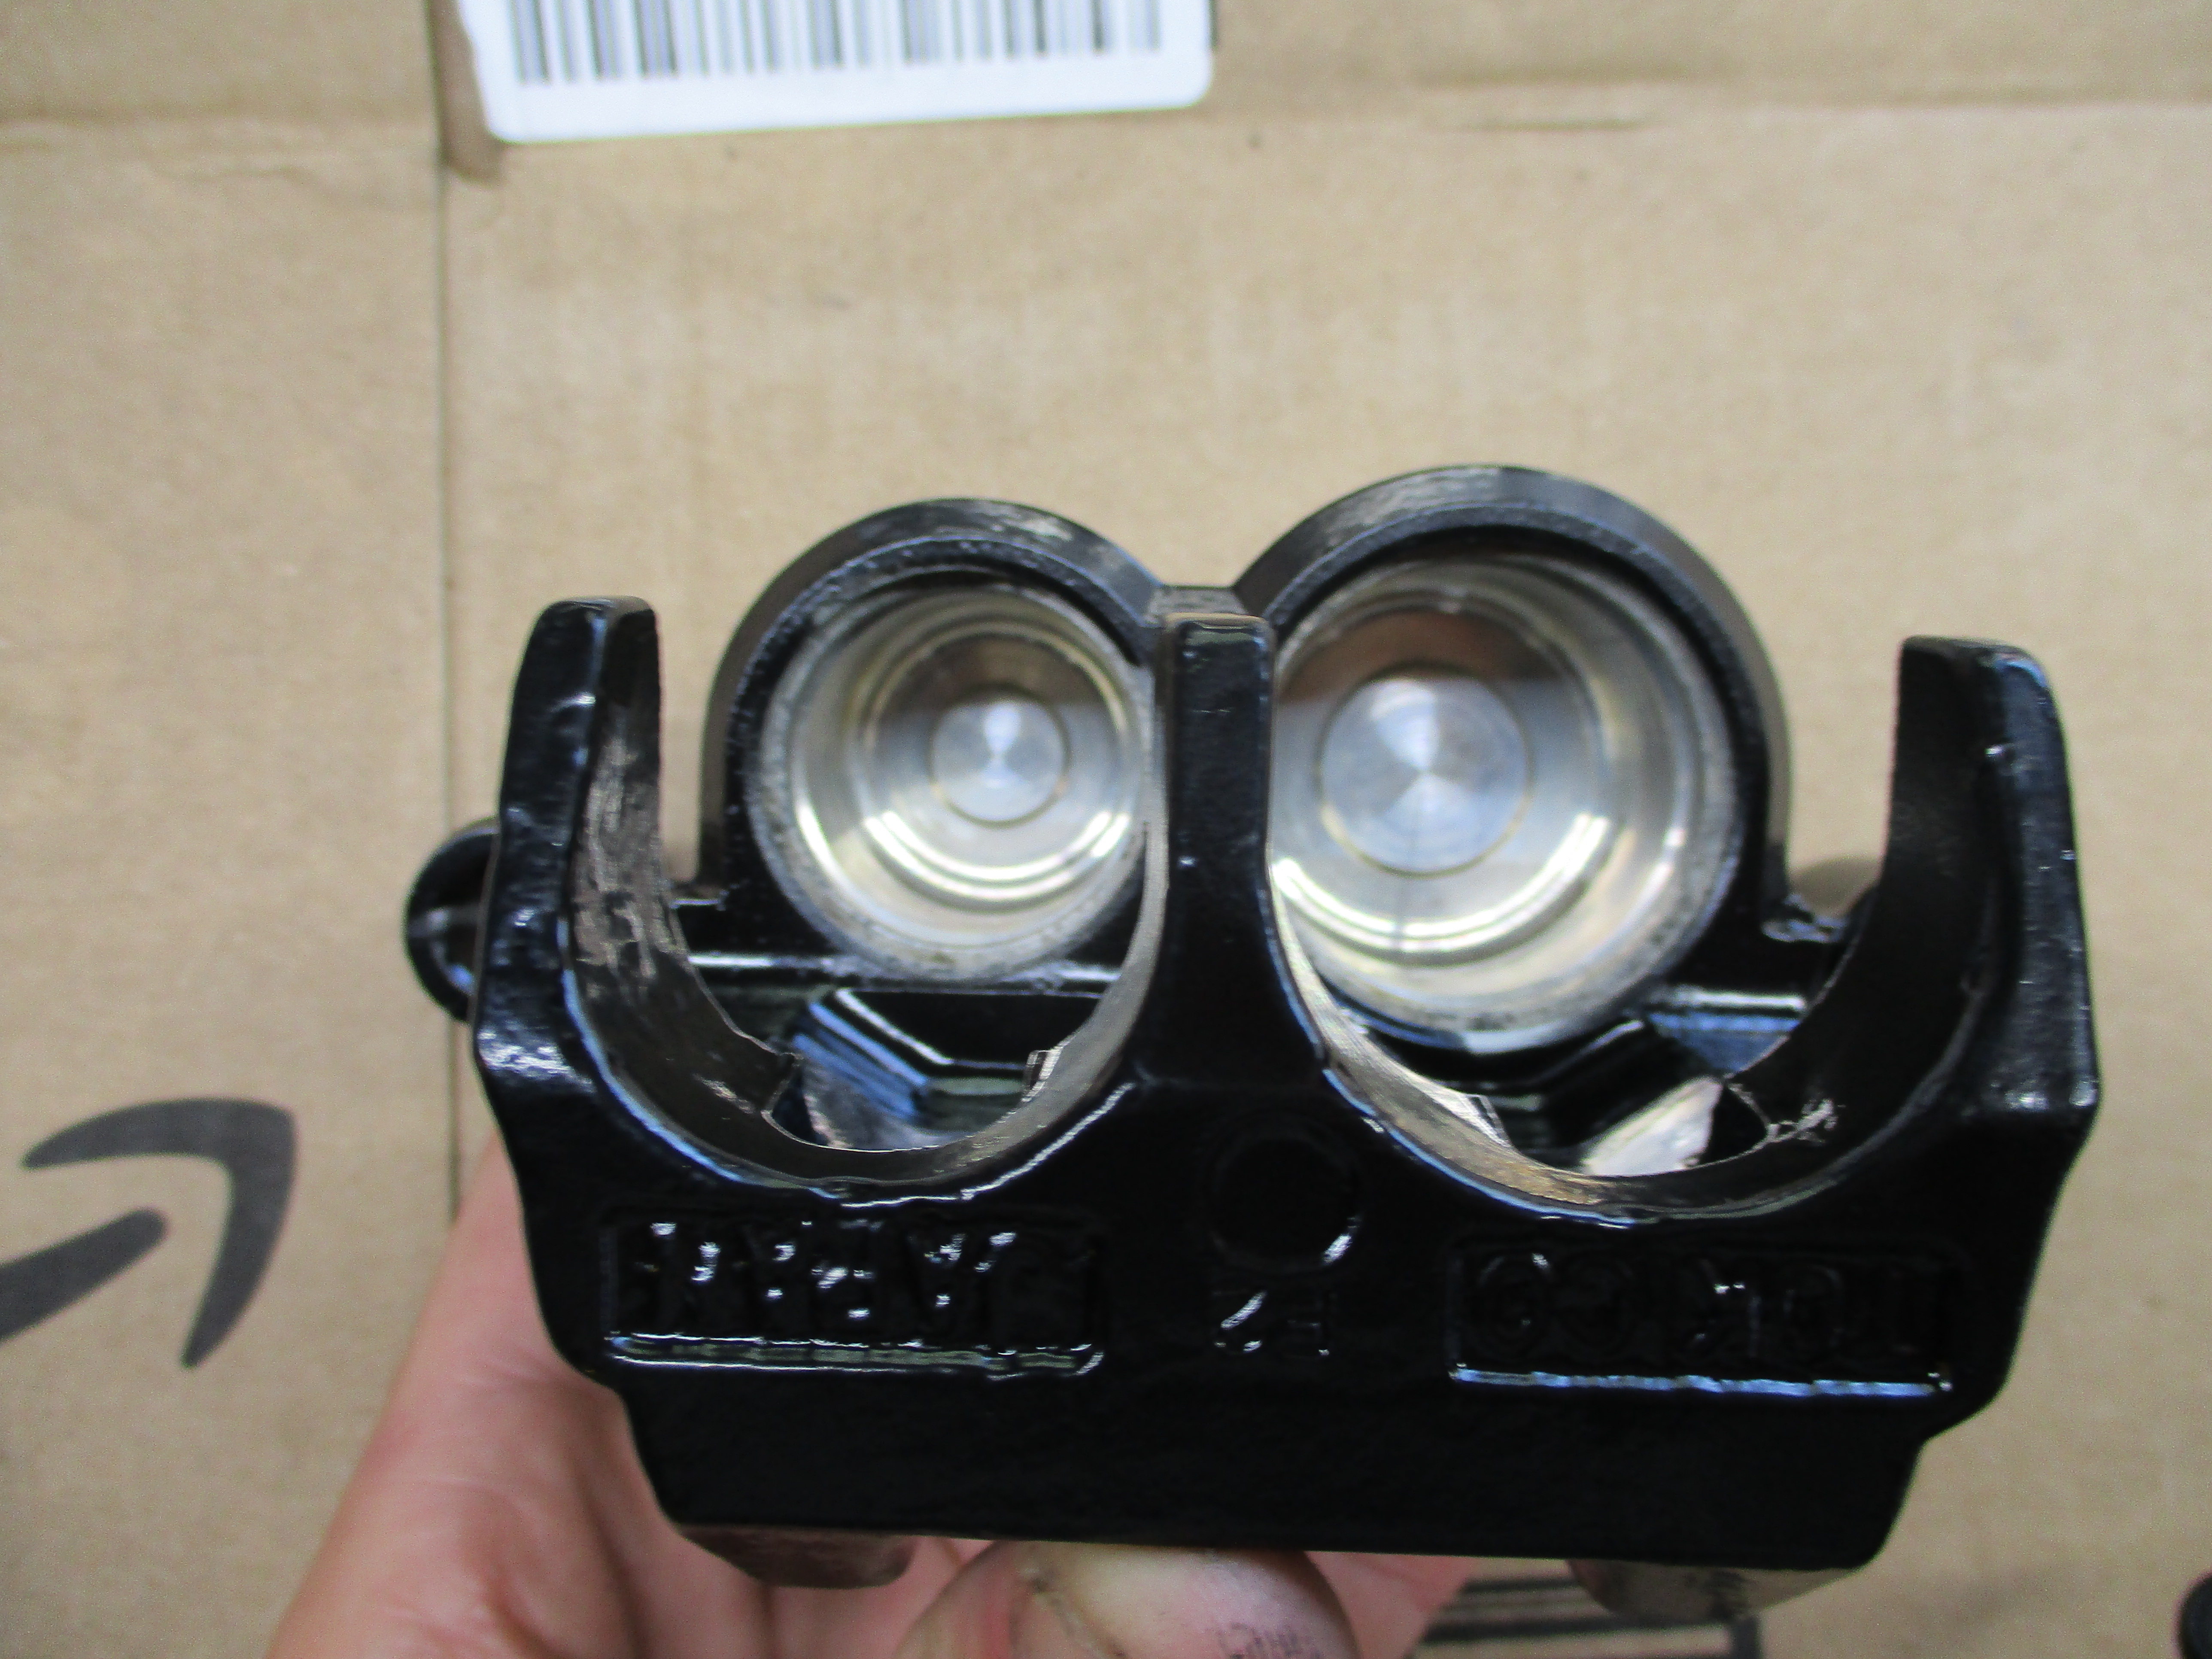
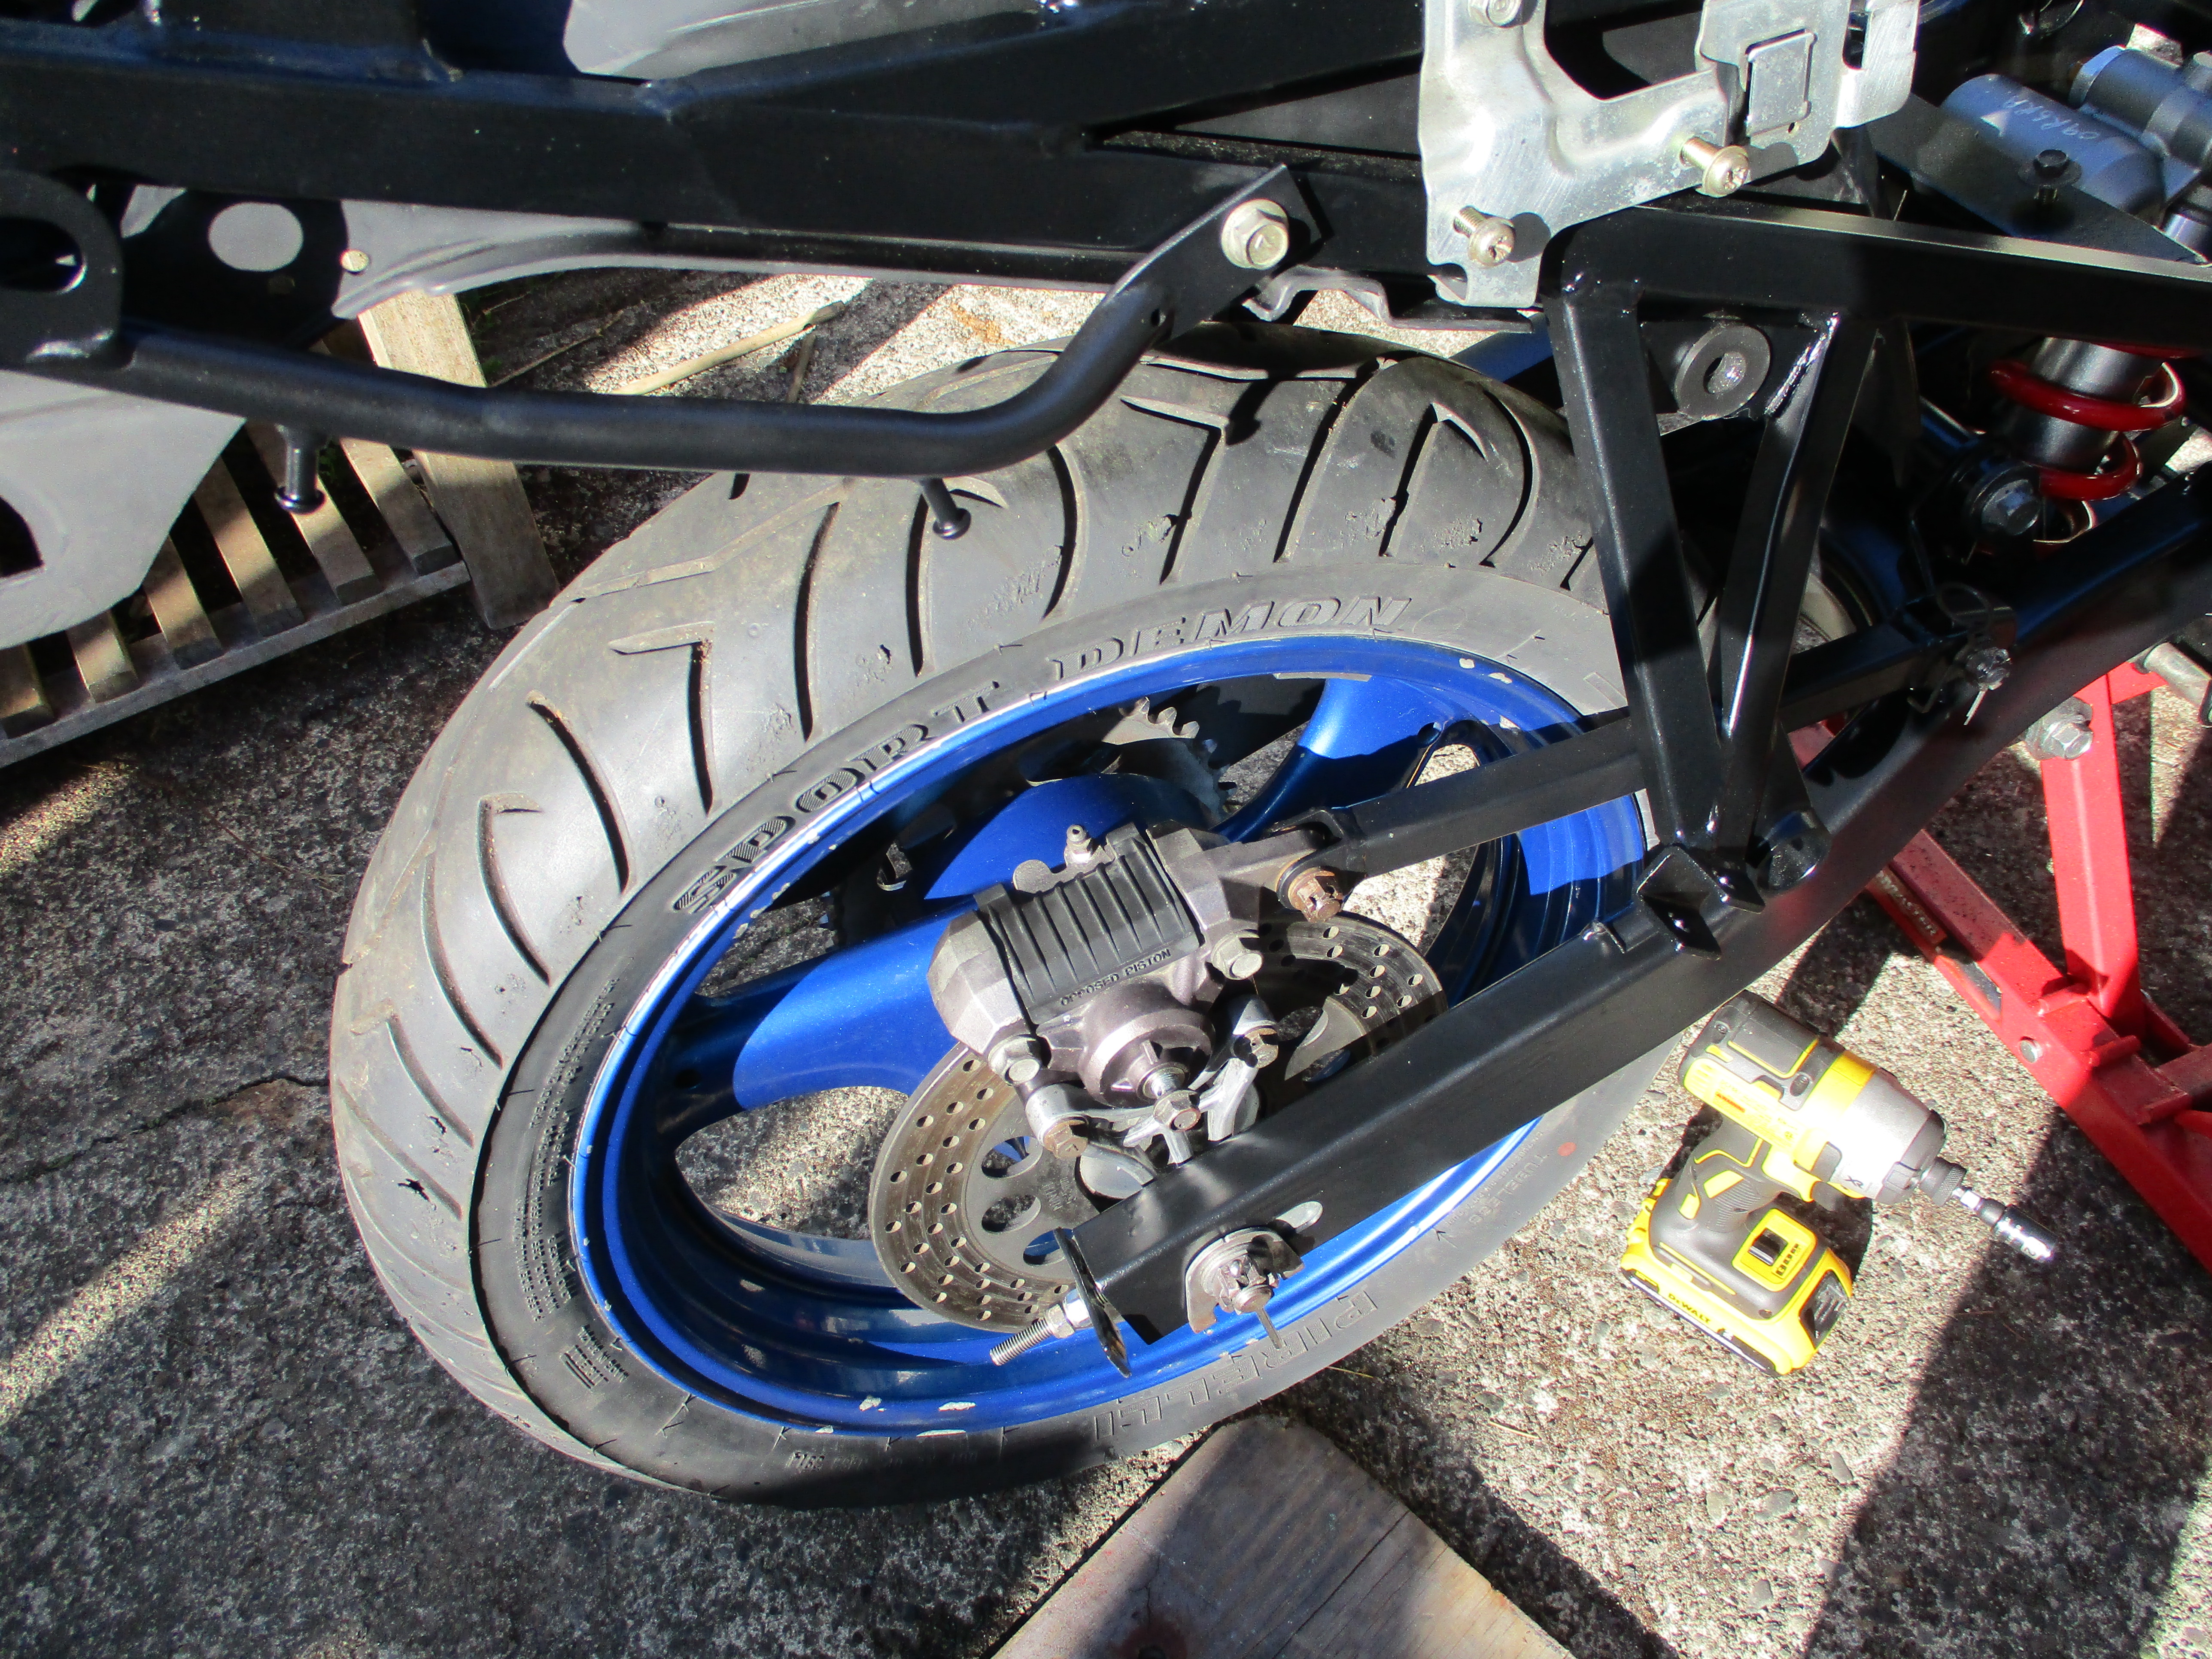
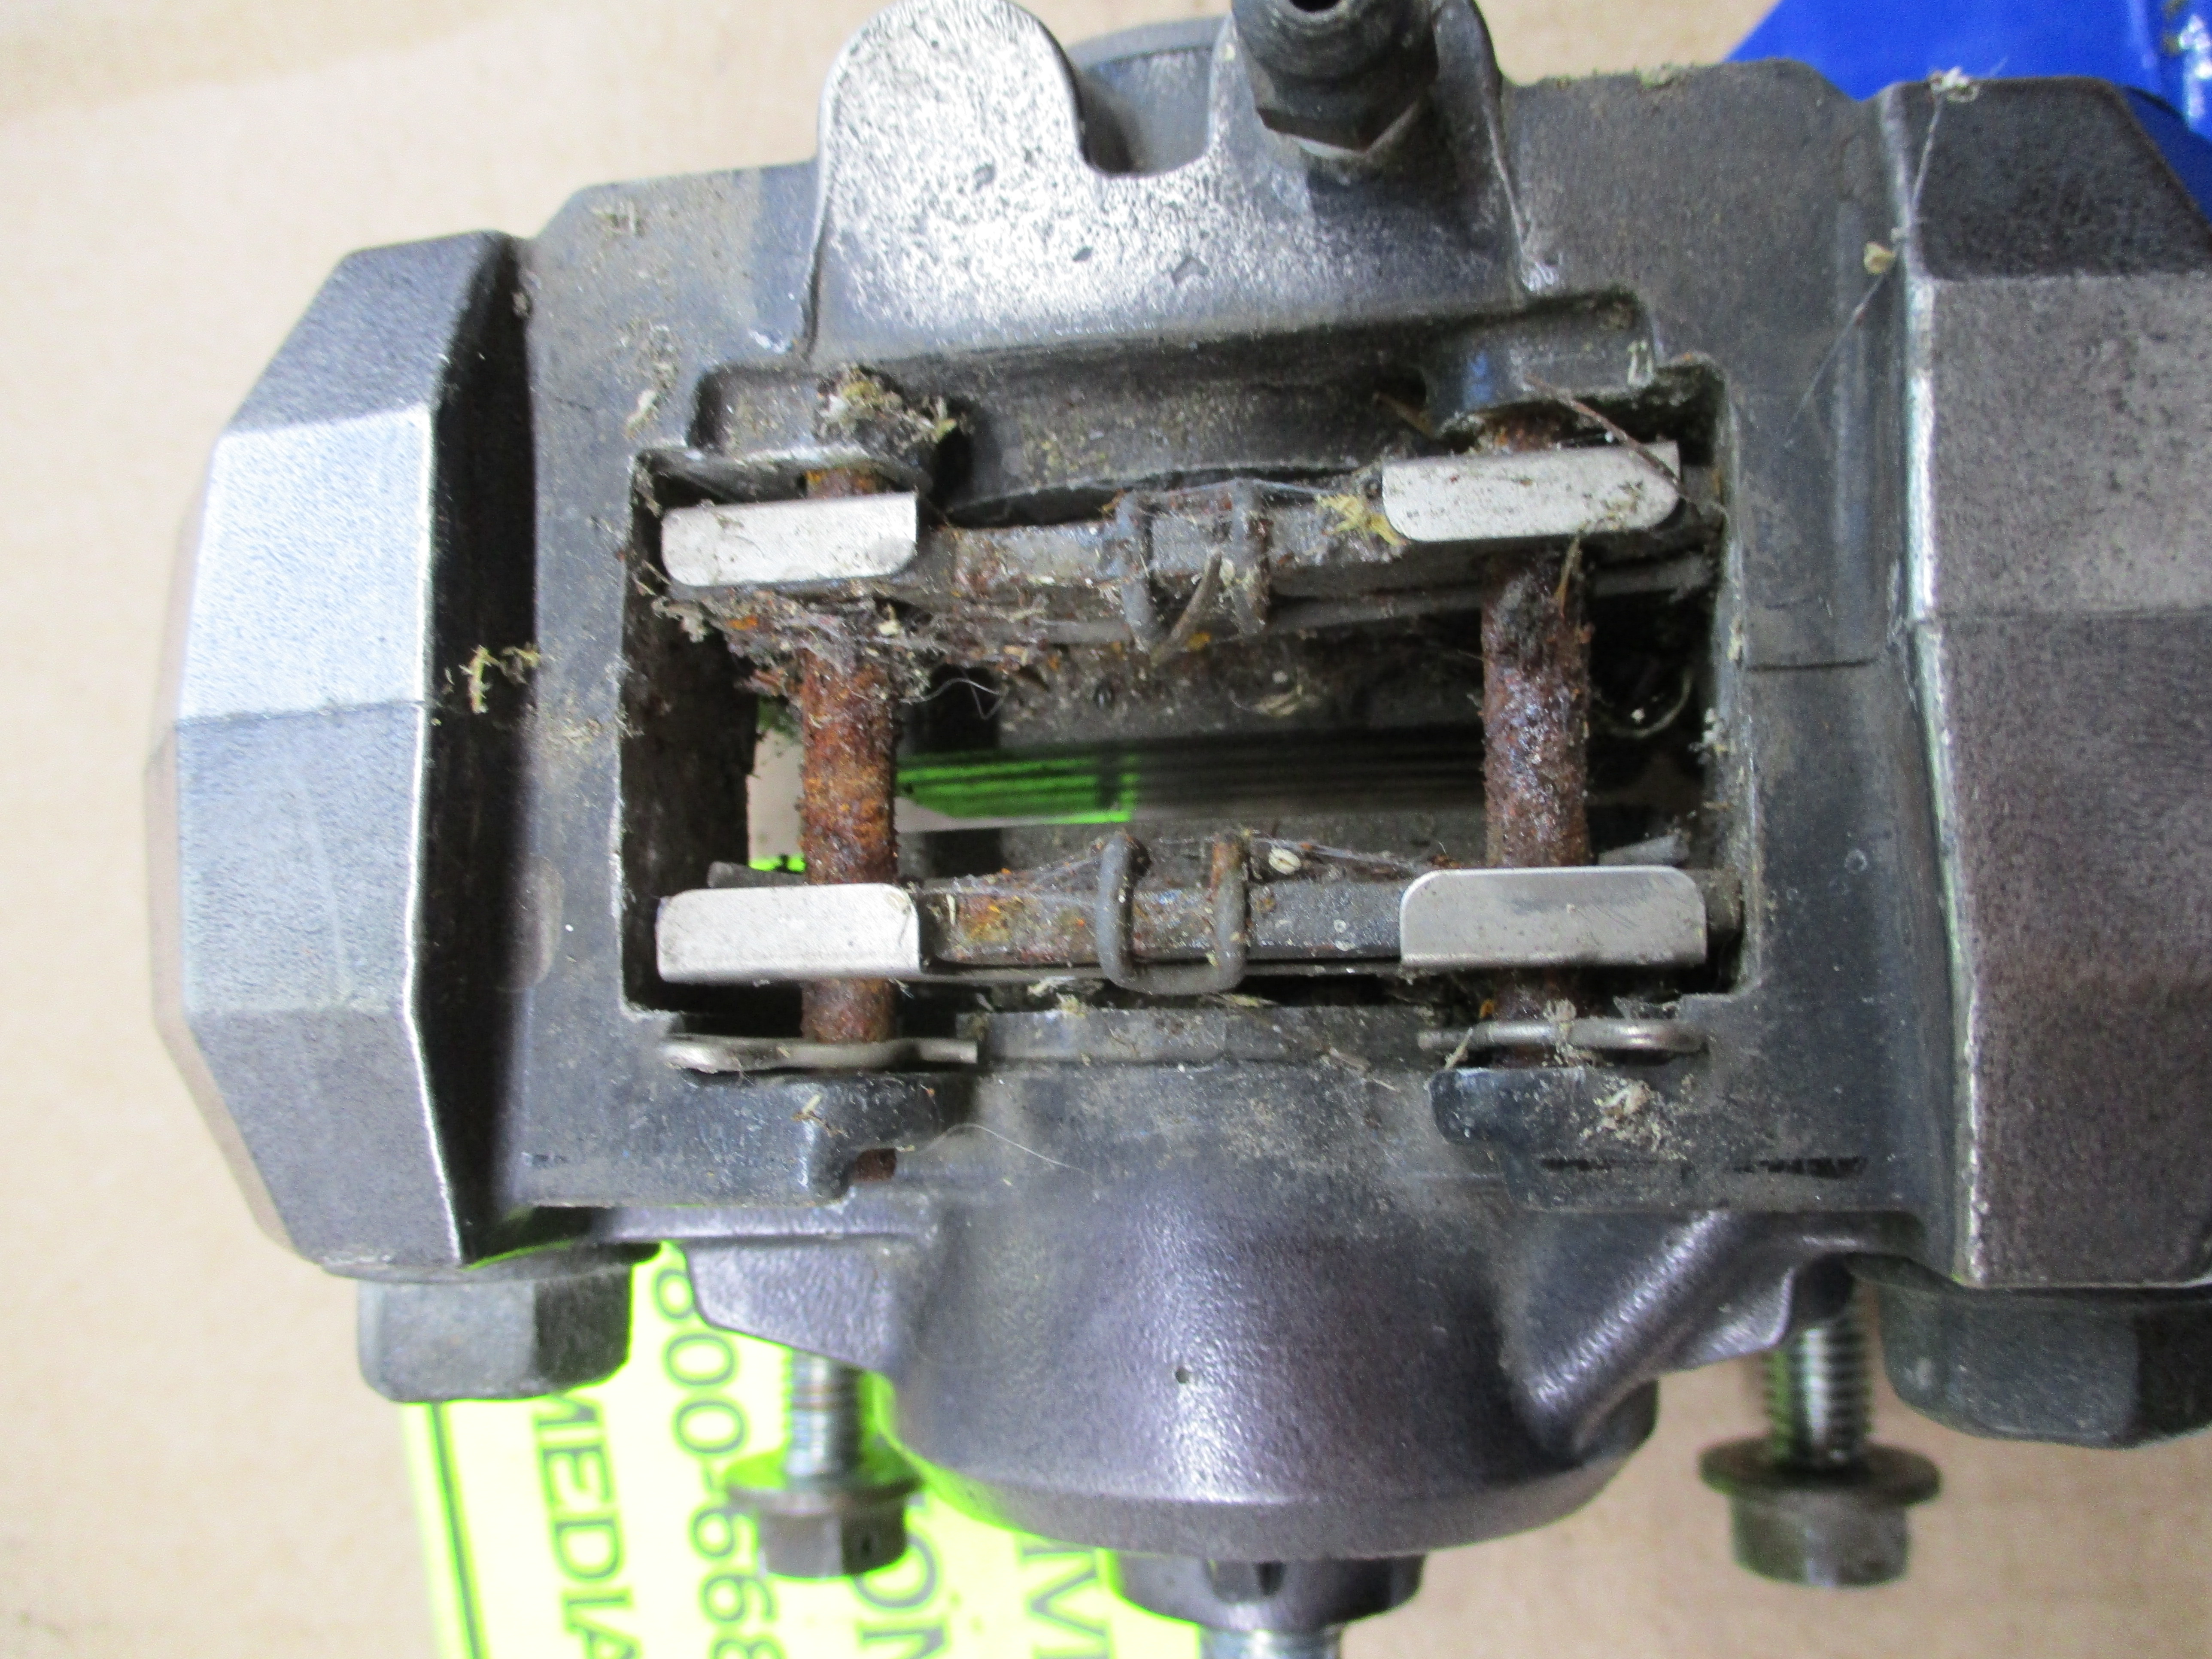
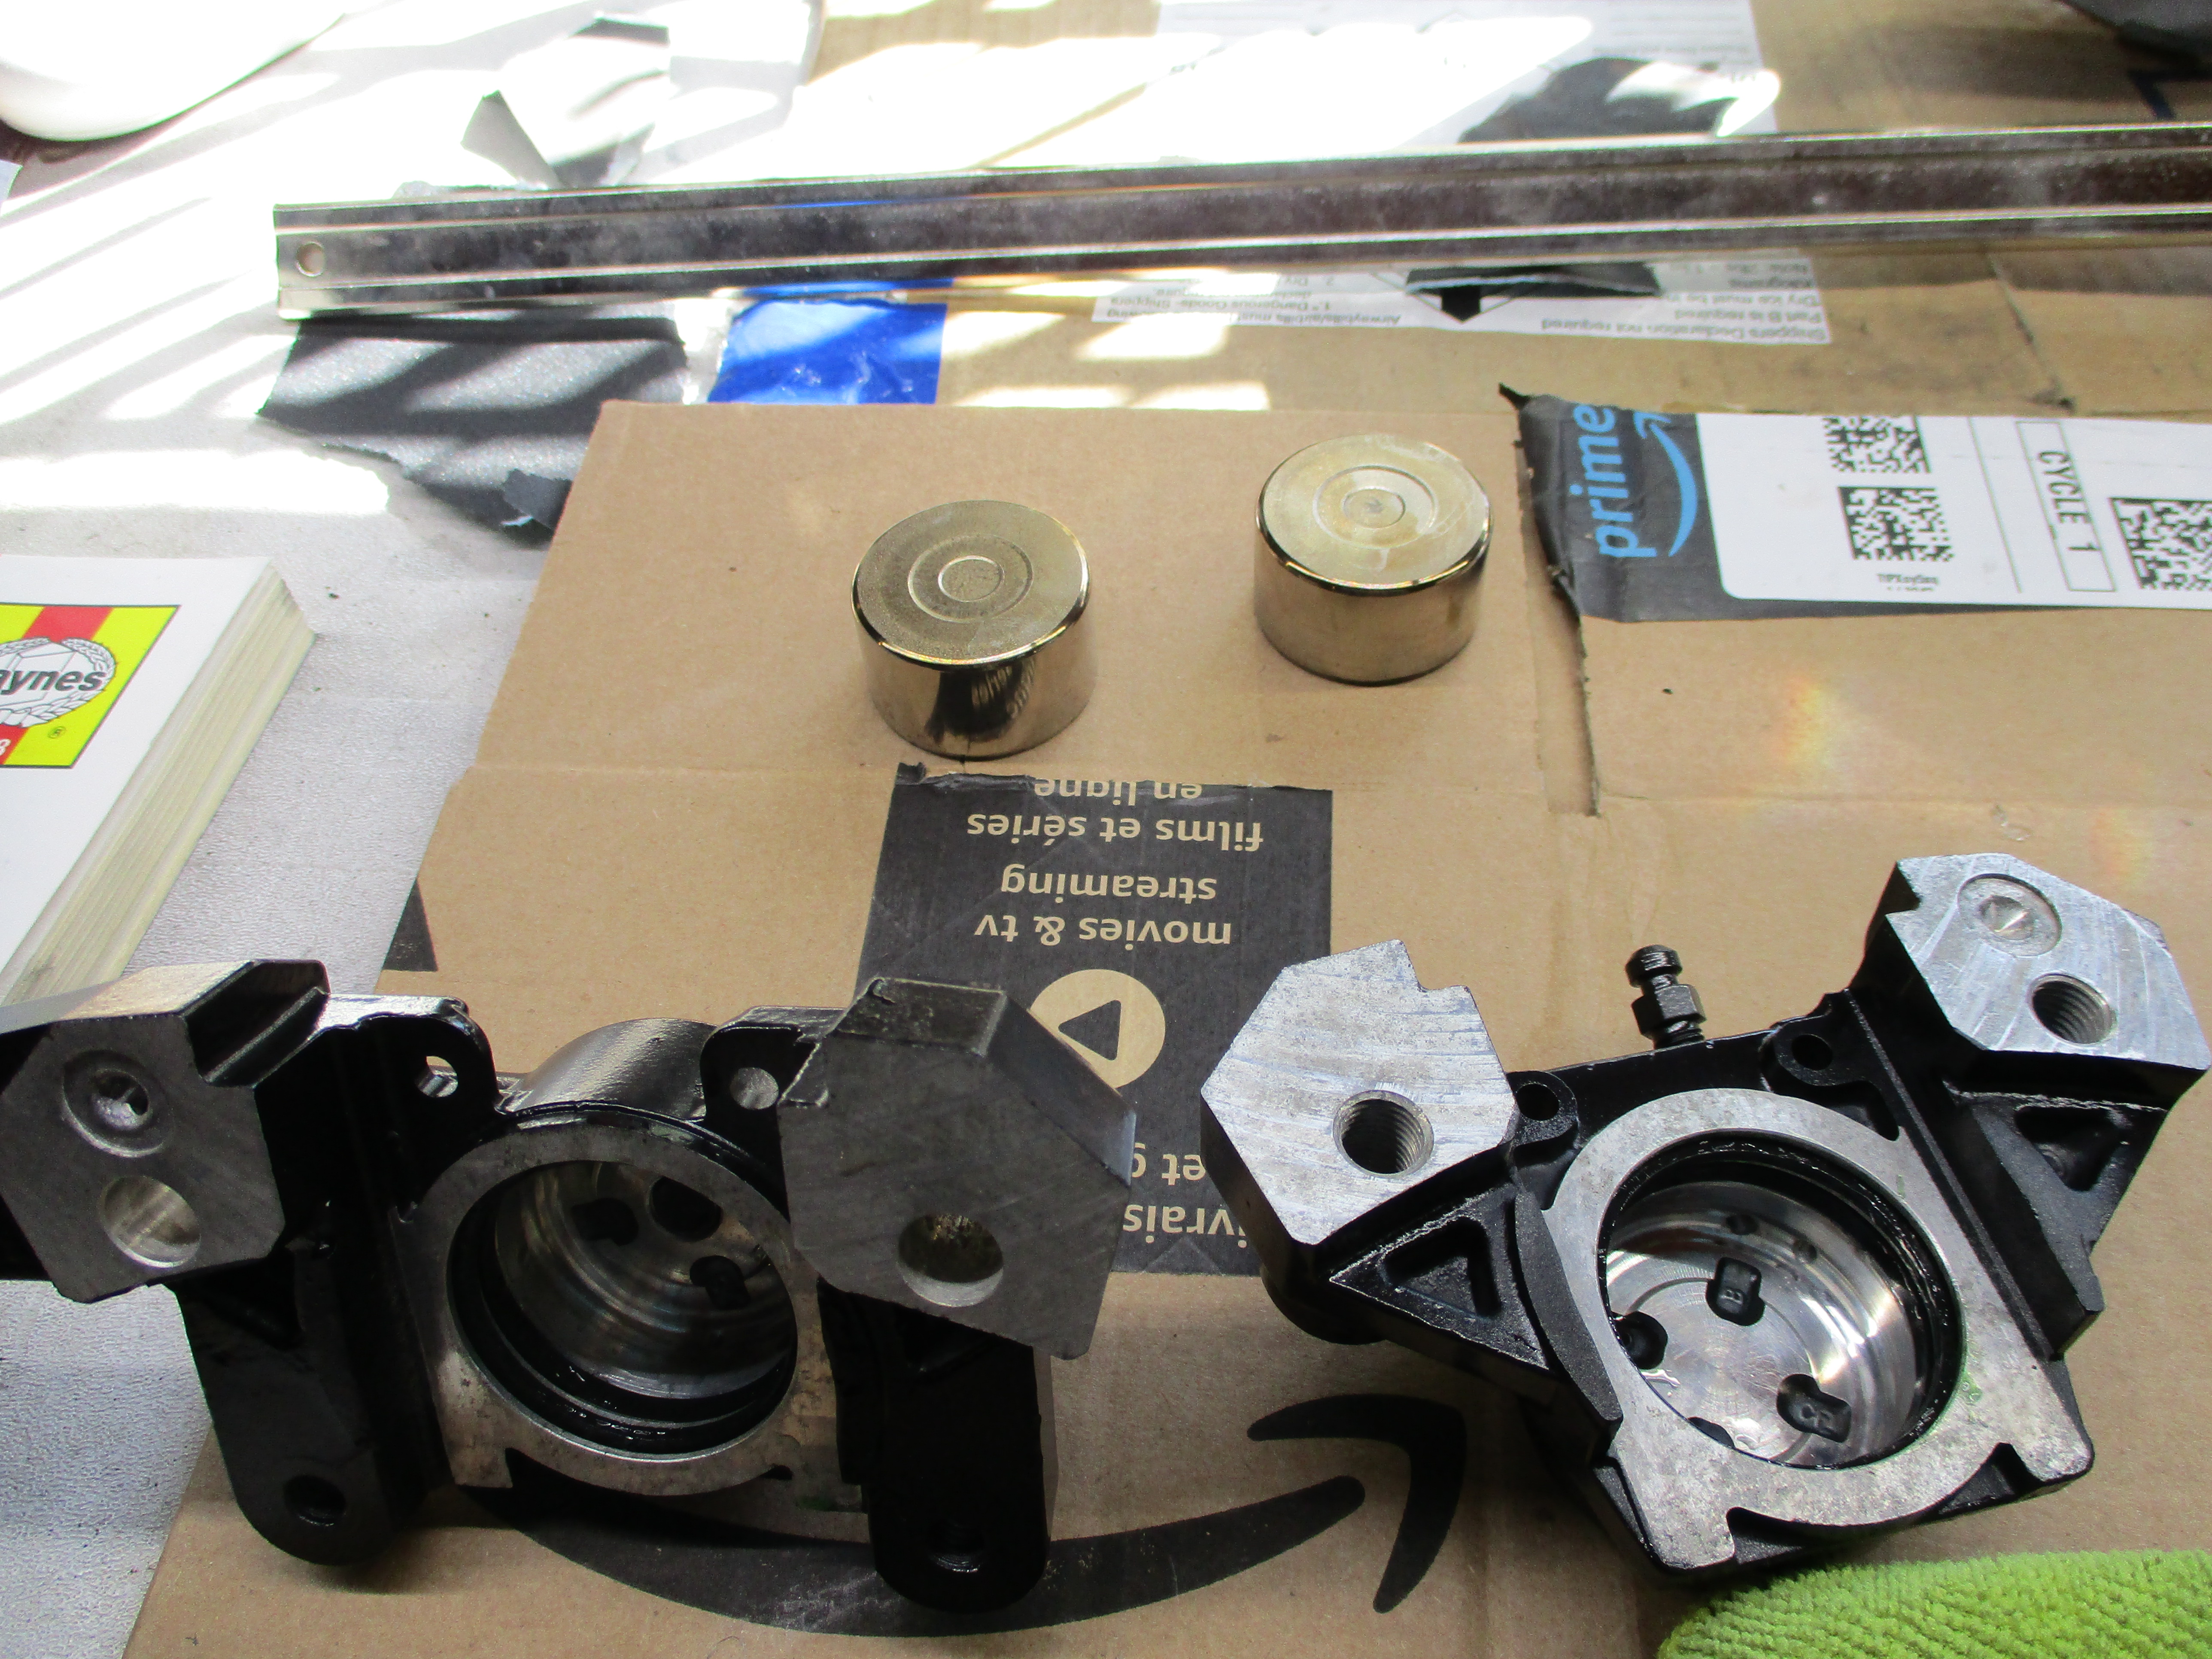
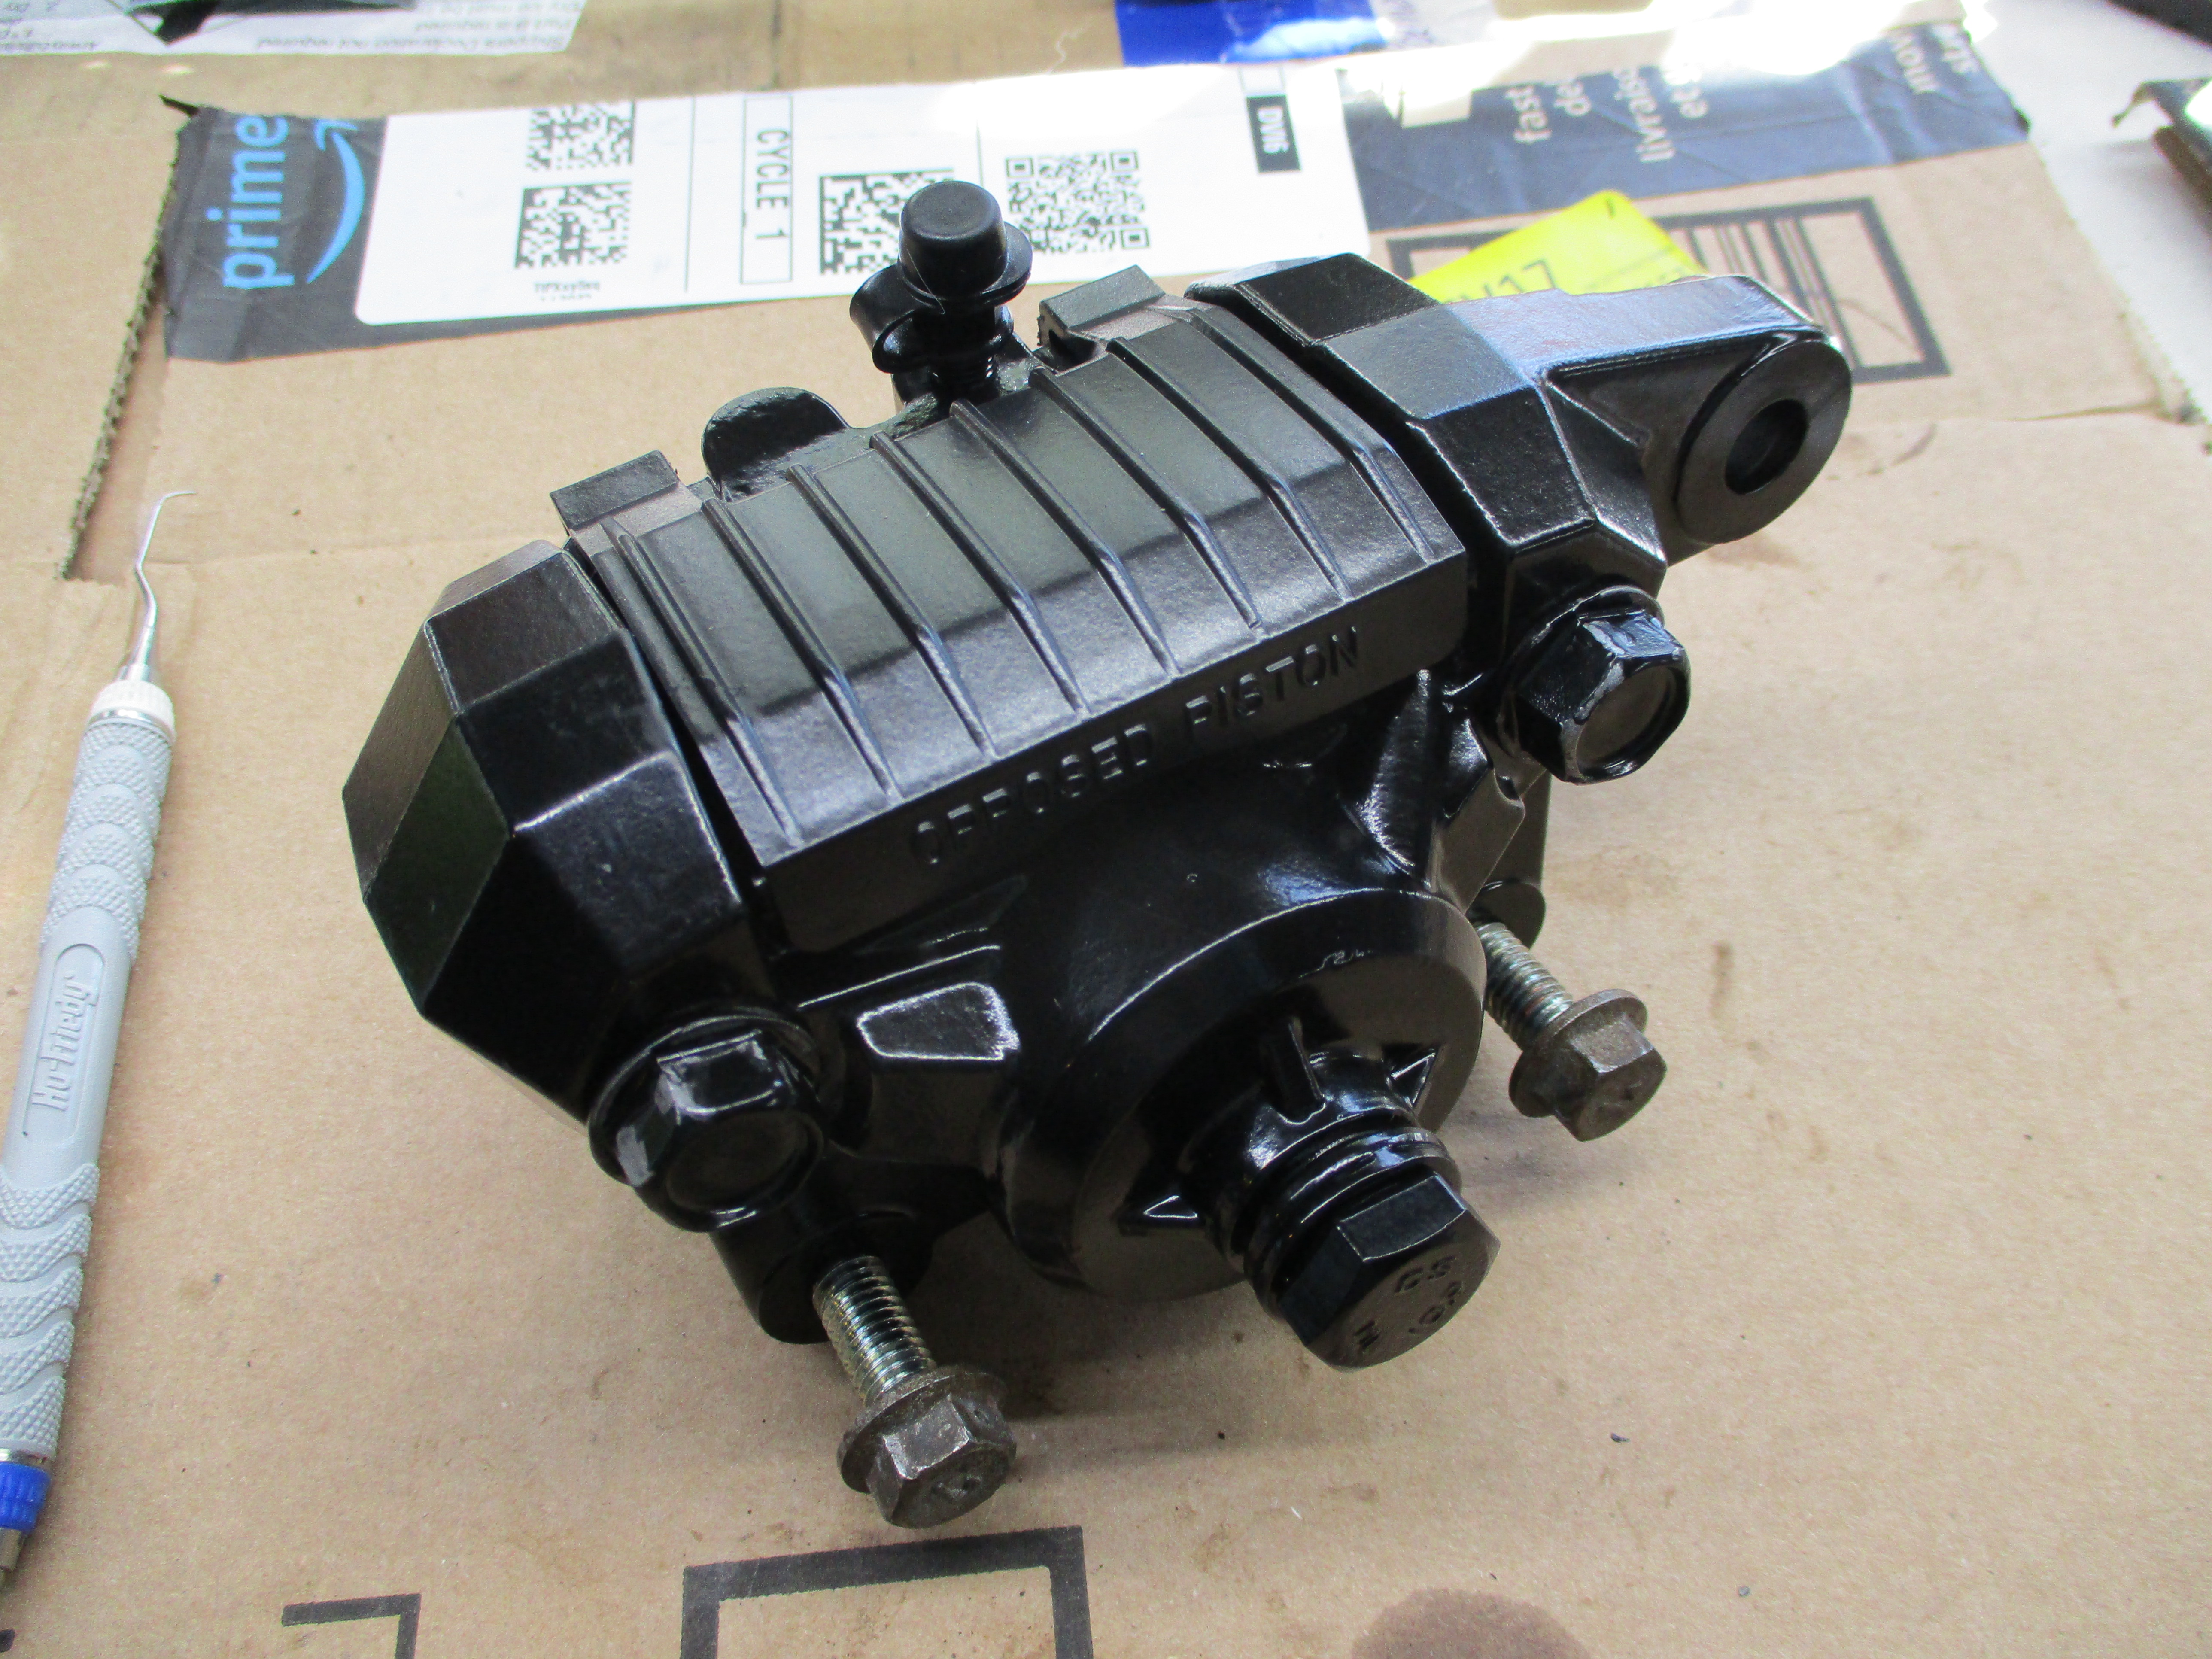
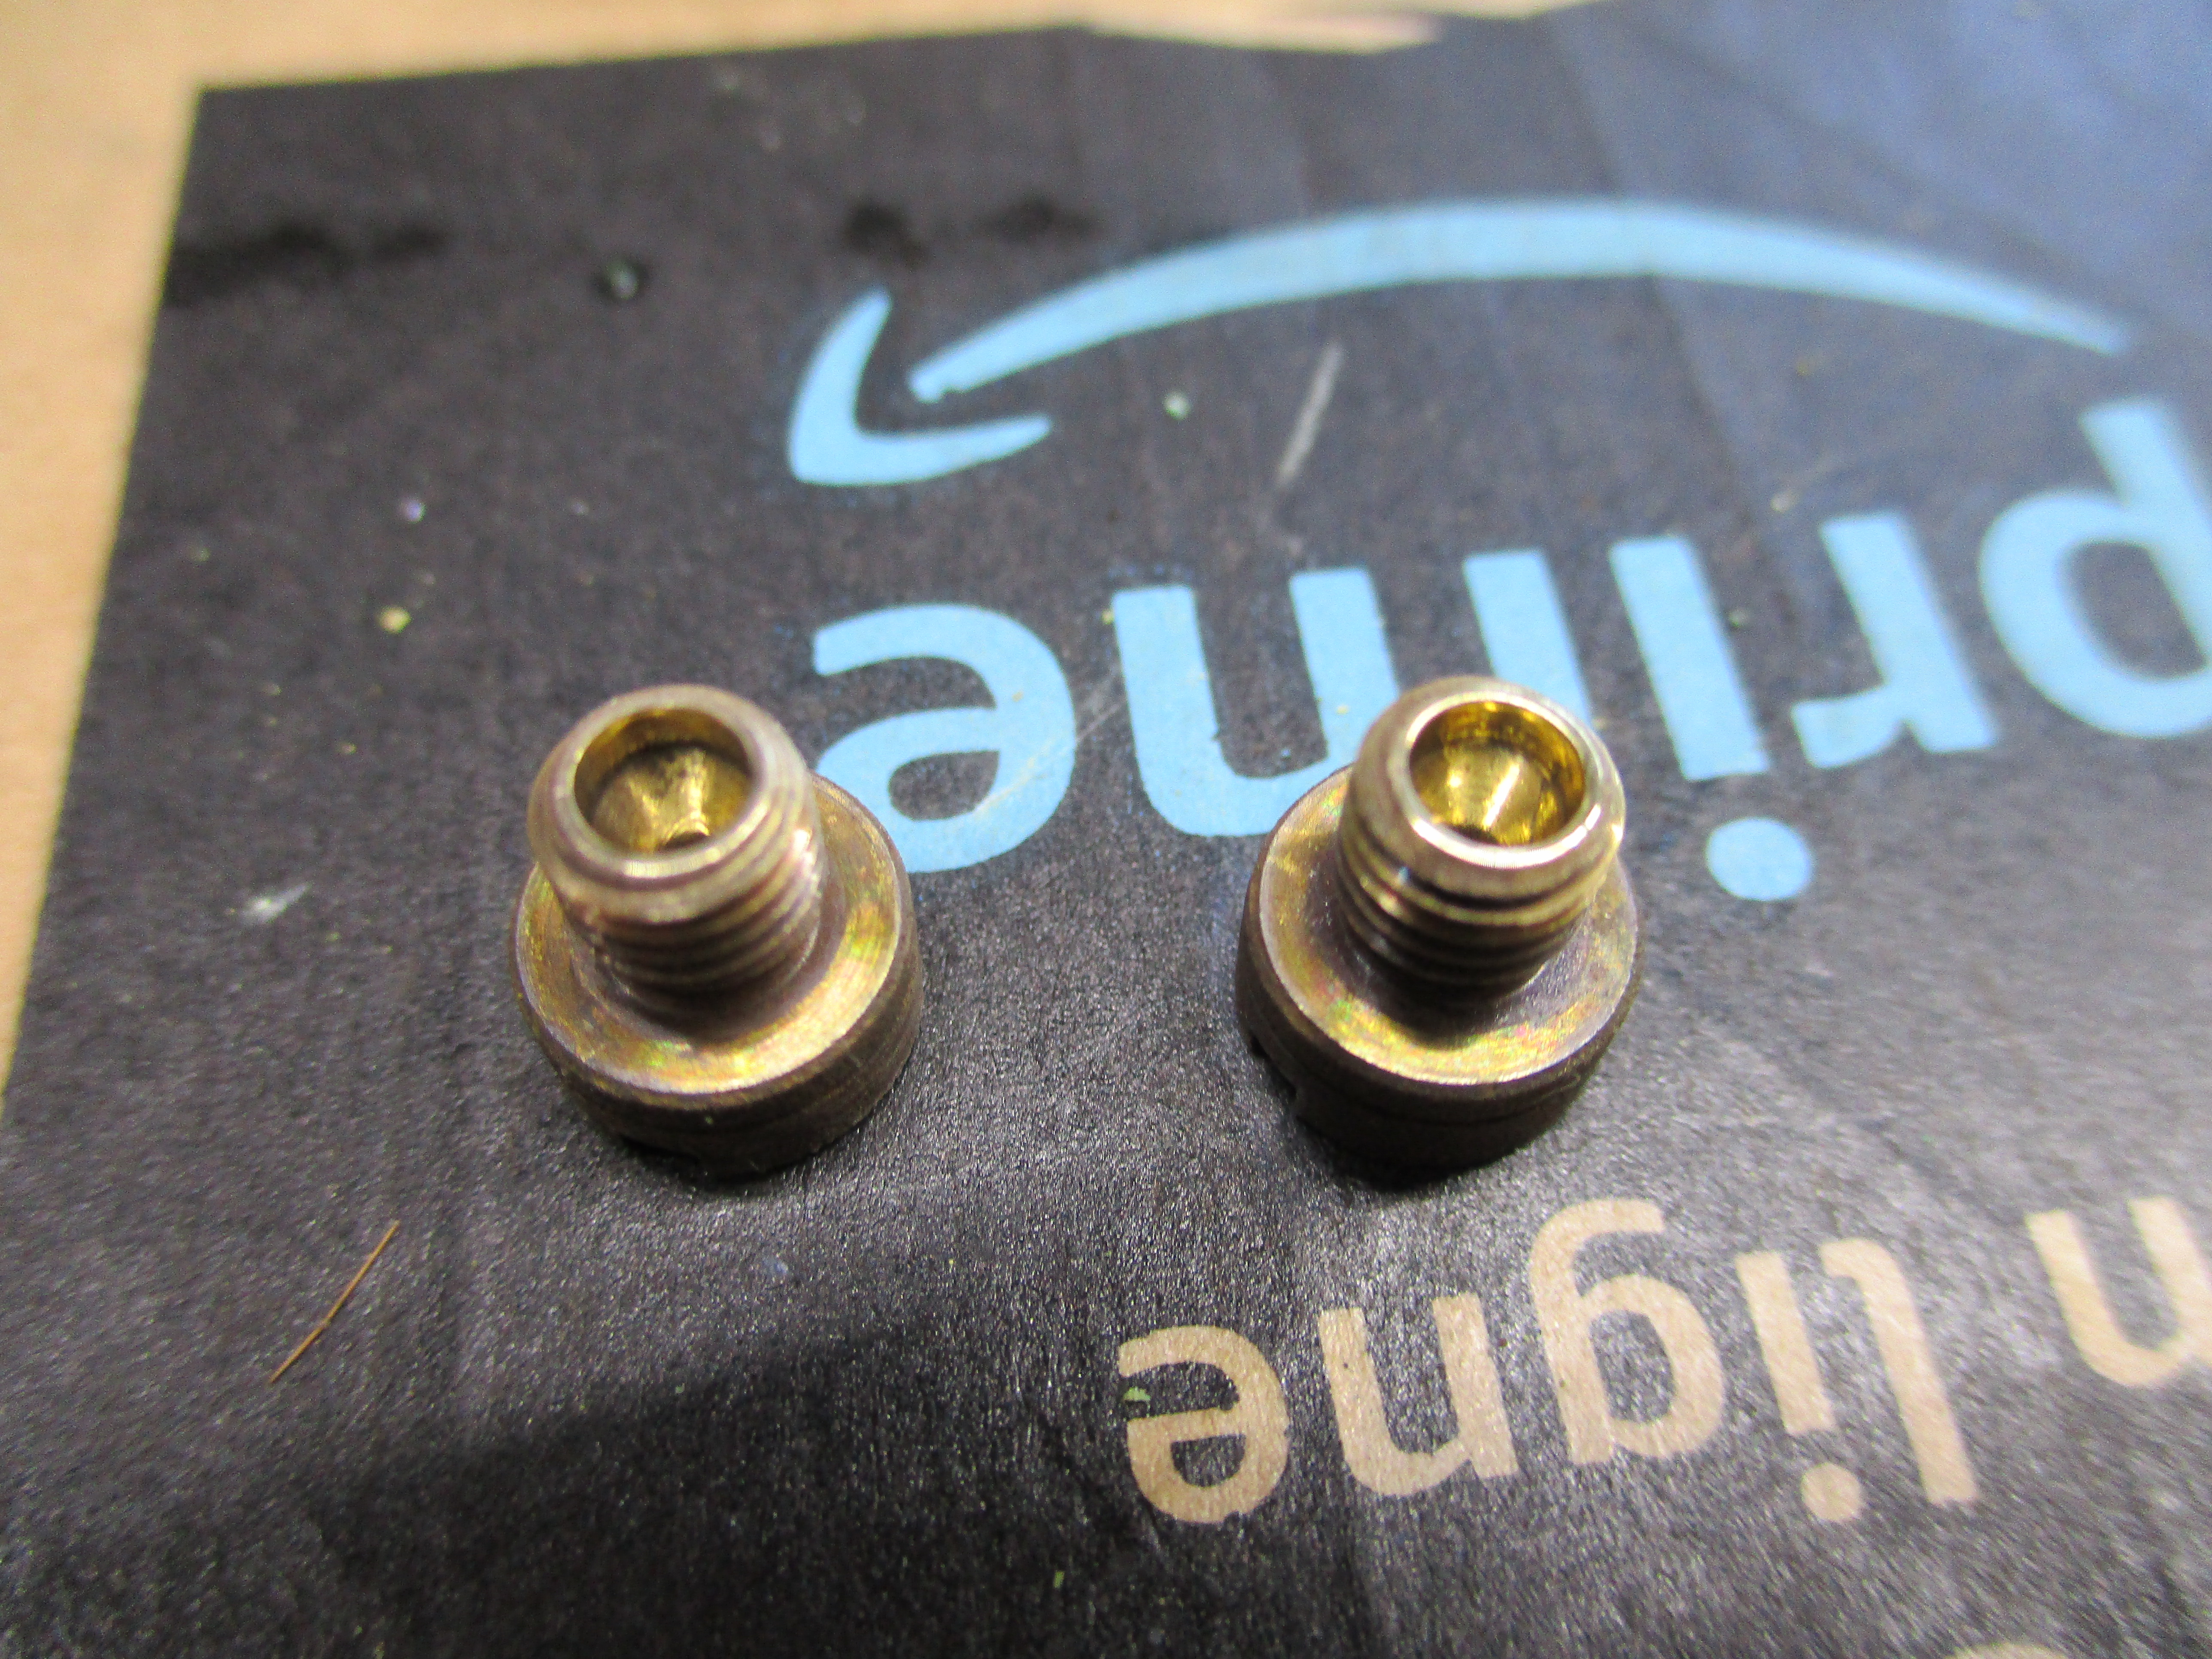
The front and rear brakes were in sorry shape. The front needed a master cylinder refresh, new hose, and caliper refresh. The rear needed the same. The fluid in both systems looked very old.
The front brake was very tight and it felt like the pistons did not want to retract back into the bore after activating them. The master cylinder sight glass was no longer transparent and the paint was faded and missing. The stainless front brake hose was too short for the application and looked crushed in one section. I had the hose tested at a local hydraulic shop and sure enough it had a pinhole leak (!). Always be careful with equipment you purchase. The caliper paint was faded and pistons were slightly corroded. The bleed screw was rusty.
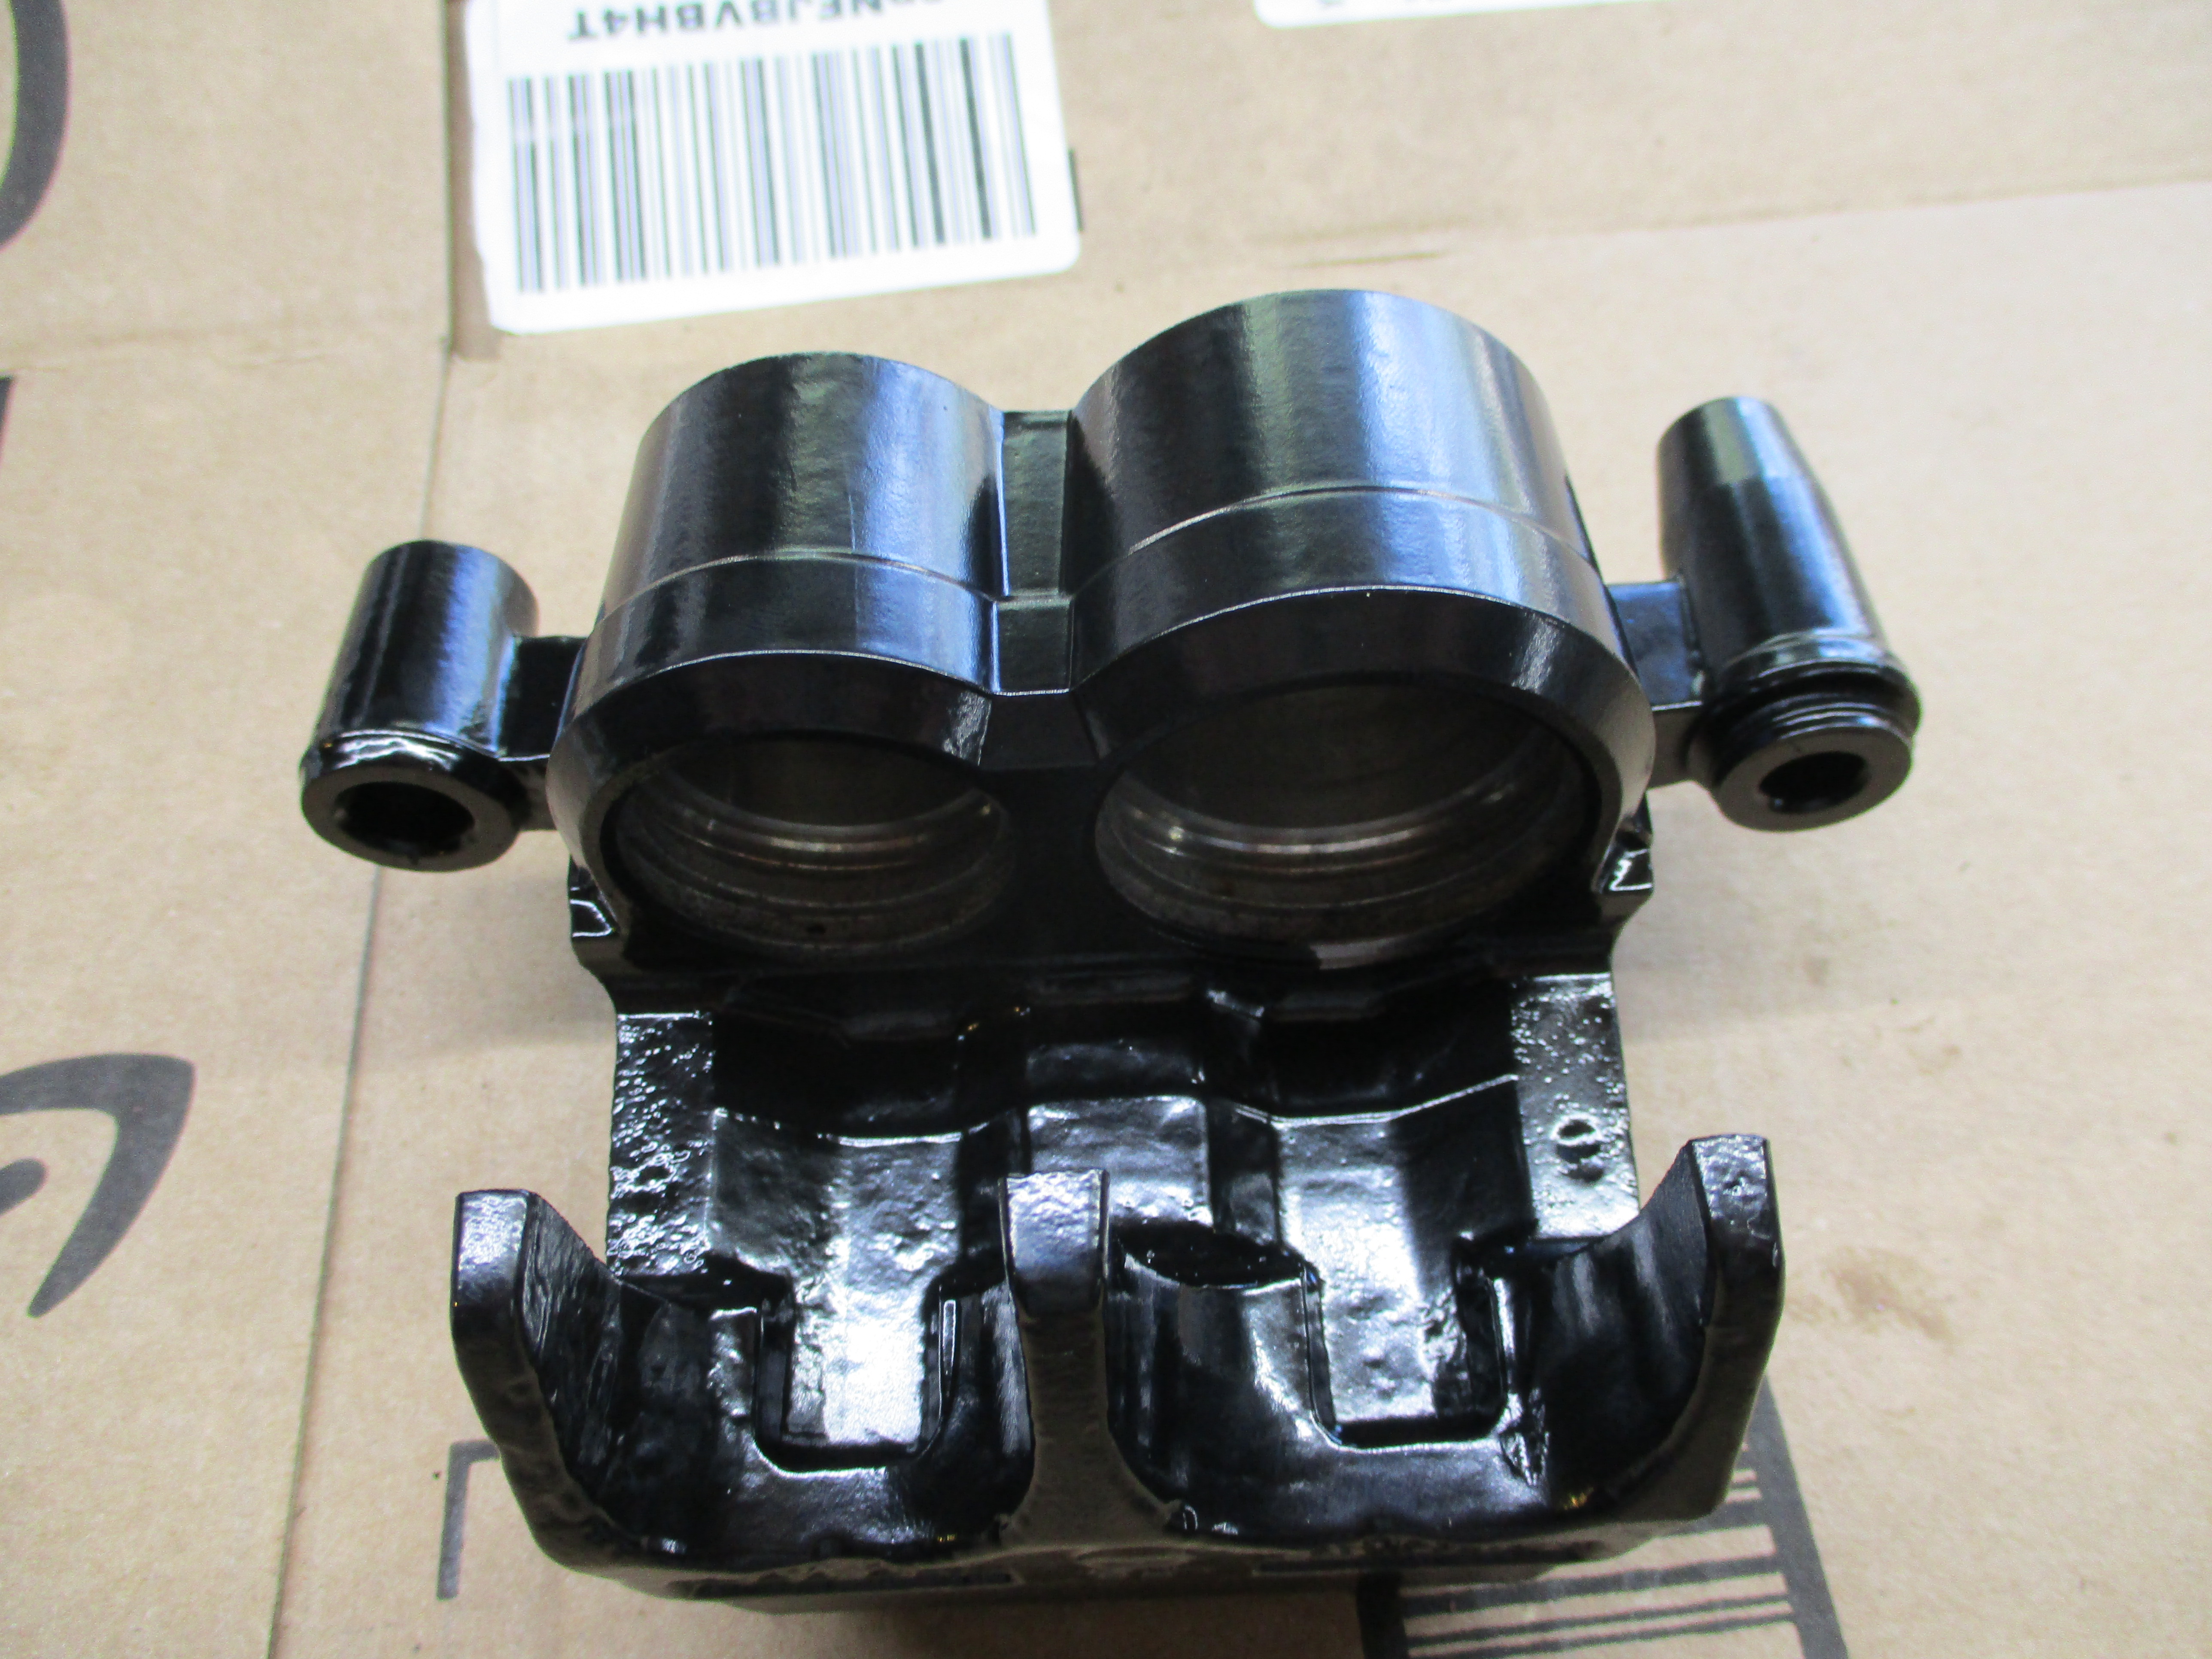
I bead blasted and painted the master cylinder and caliper with caliper paint (aka chemically resistant). I bought and installed All Balls rebuild kits for both of them, and bought and installed a new sight glass for the master cylinder. I had a new brake hose made locally that was slightly longer than the last one. I polished the caliper pistons before reinstalling them. And finally new DOT4 brake fluid for the entire system.

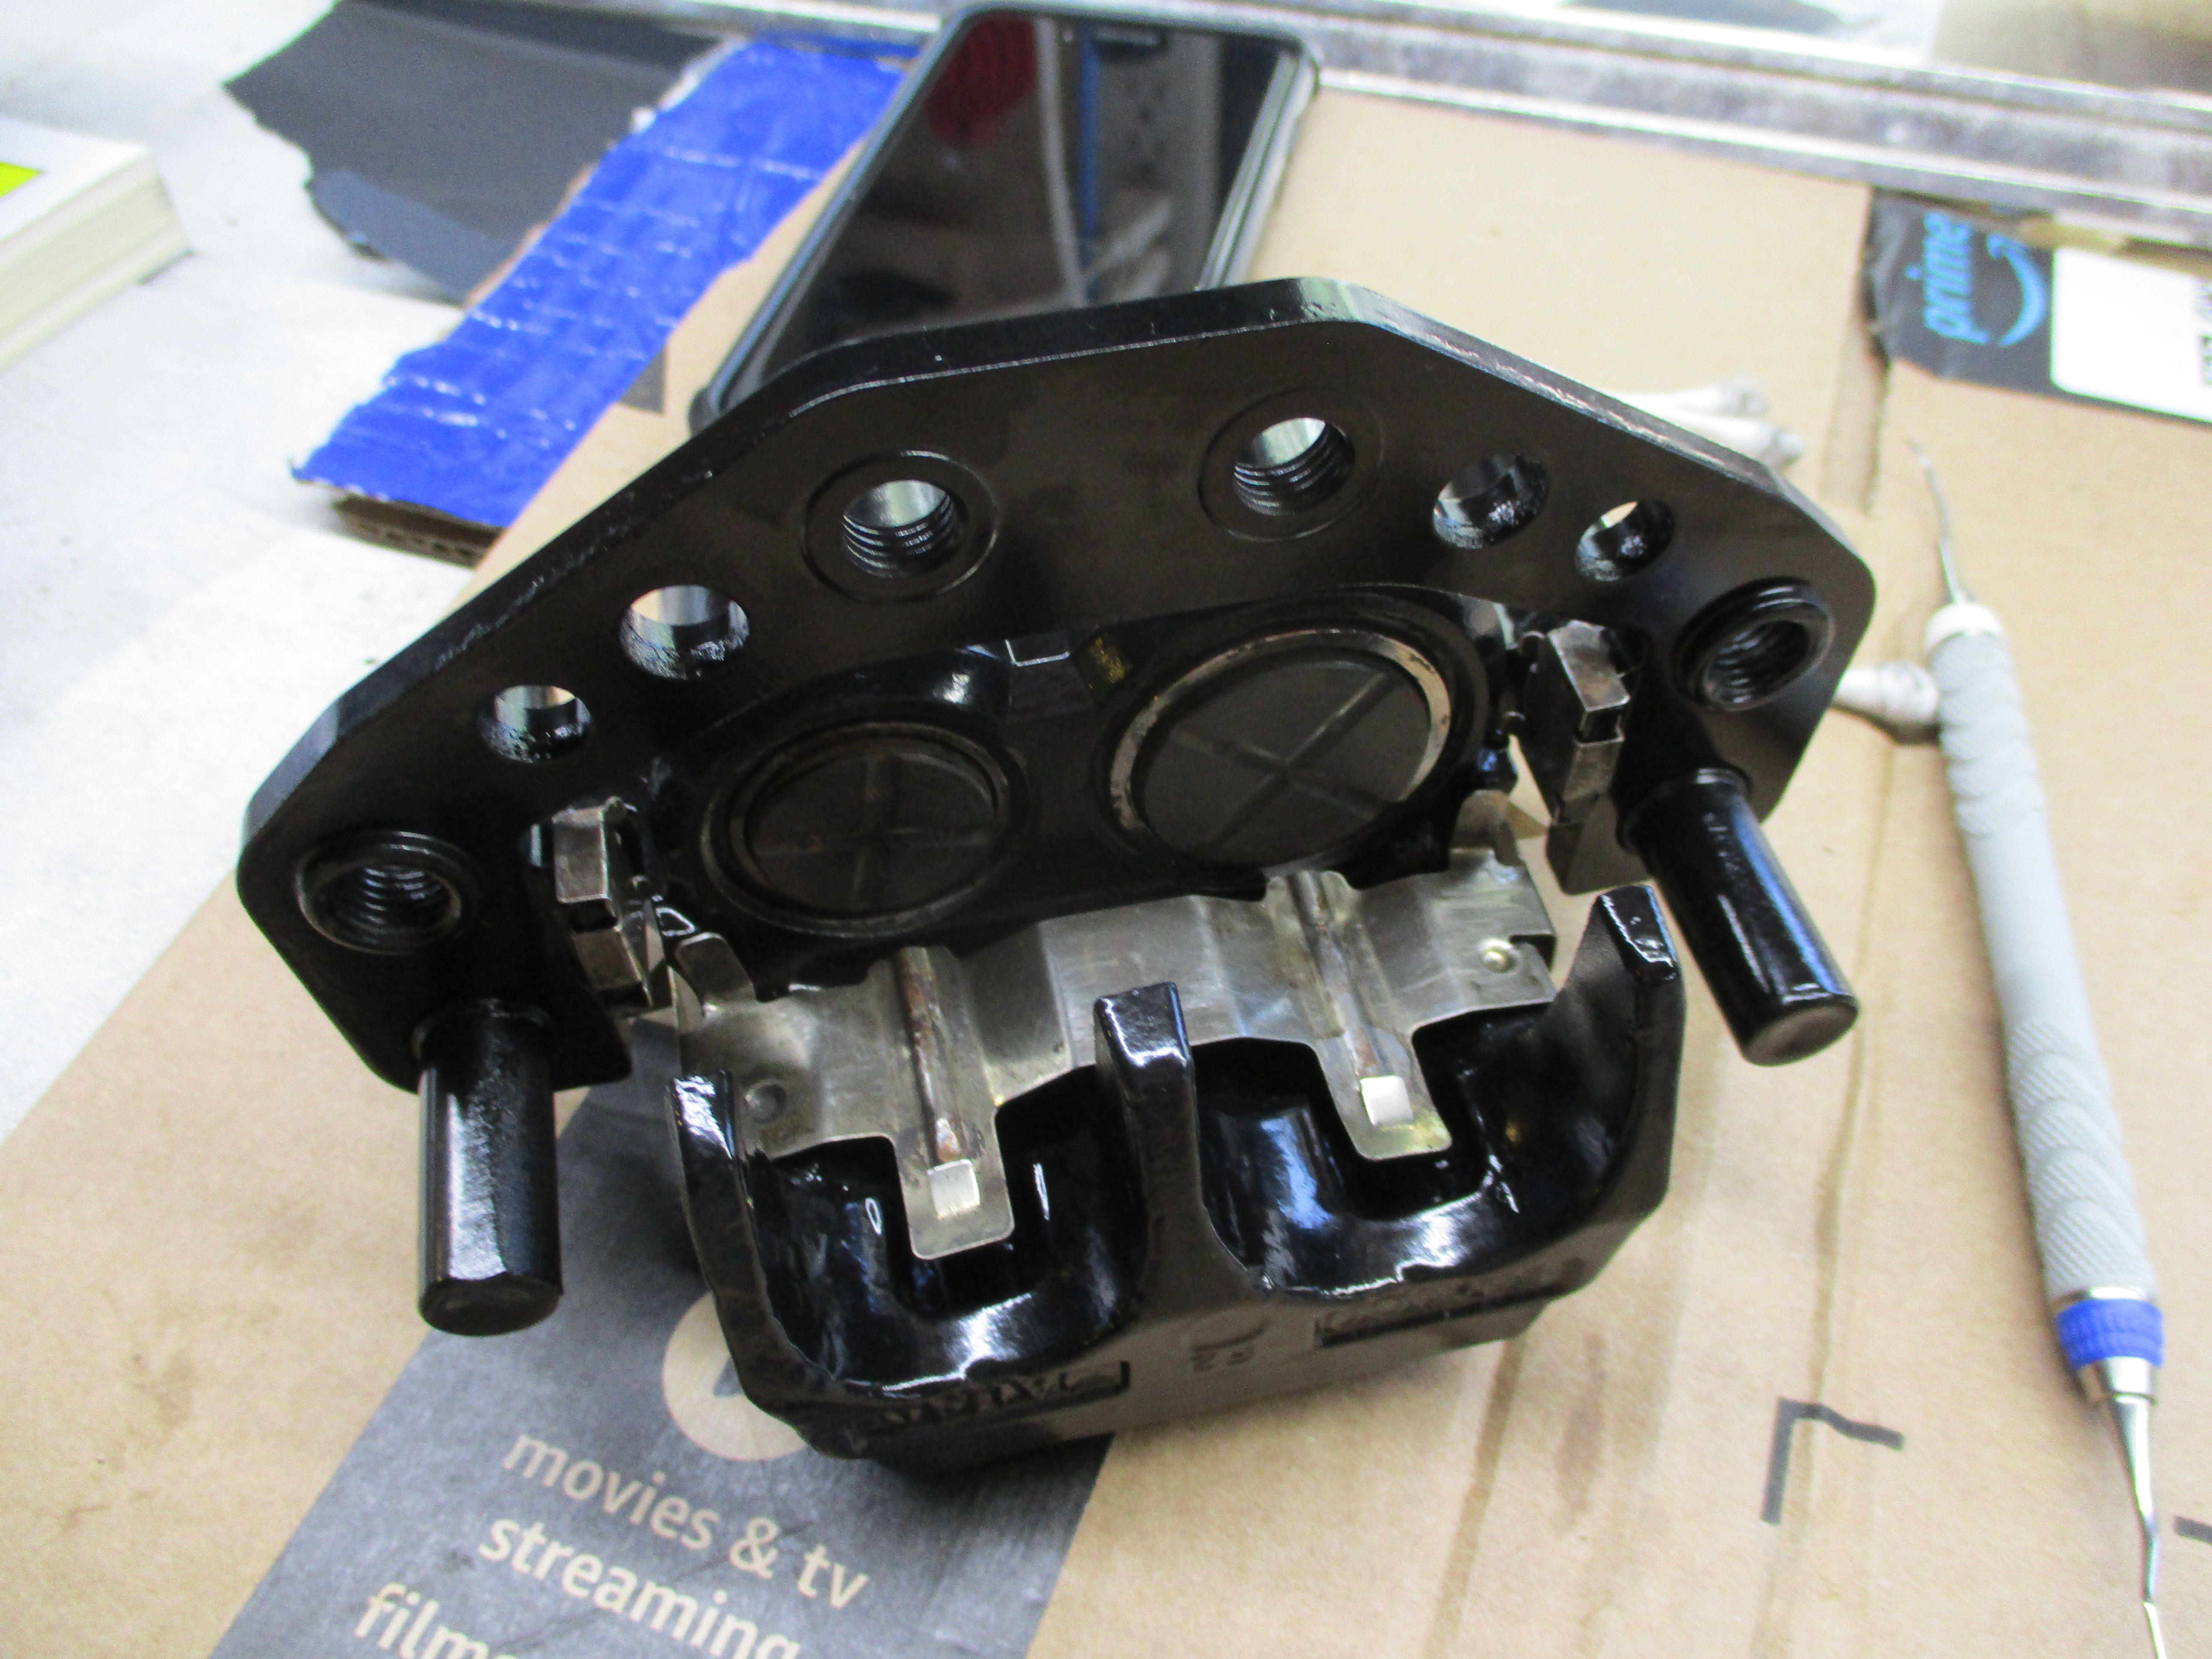
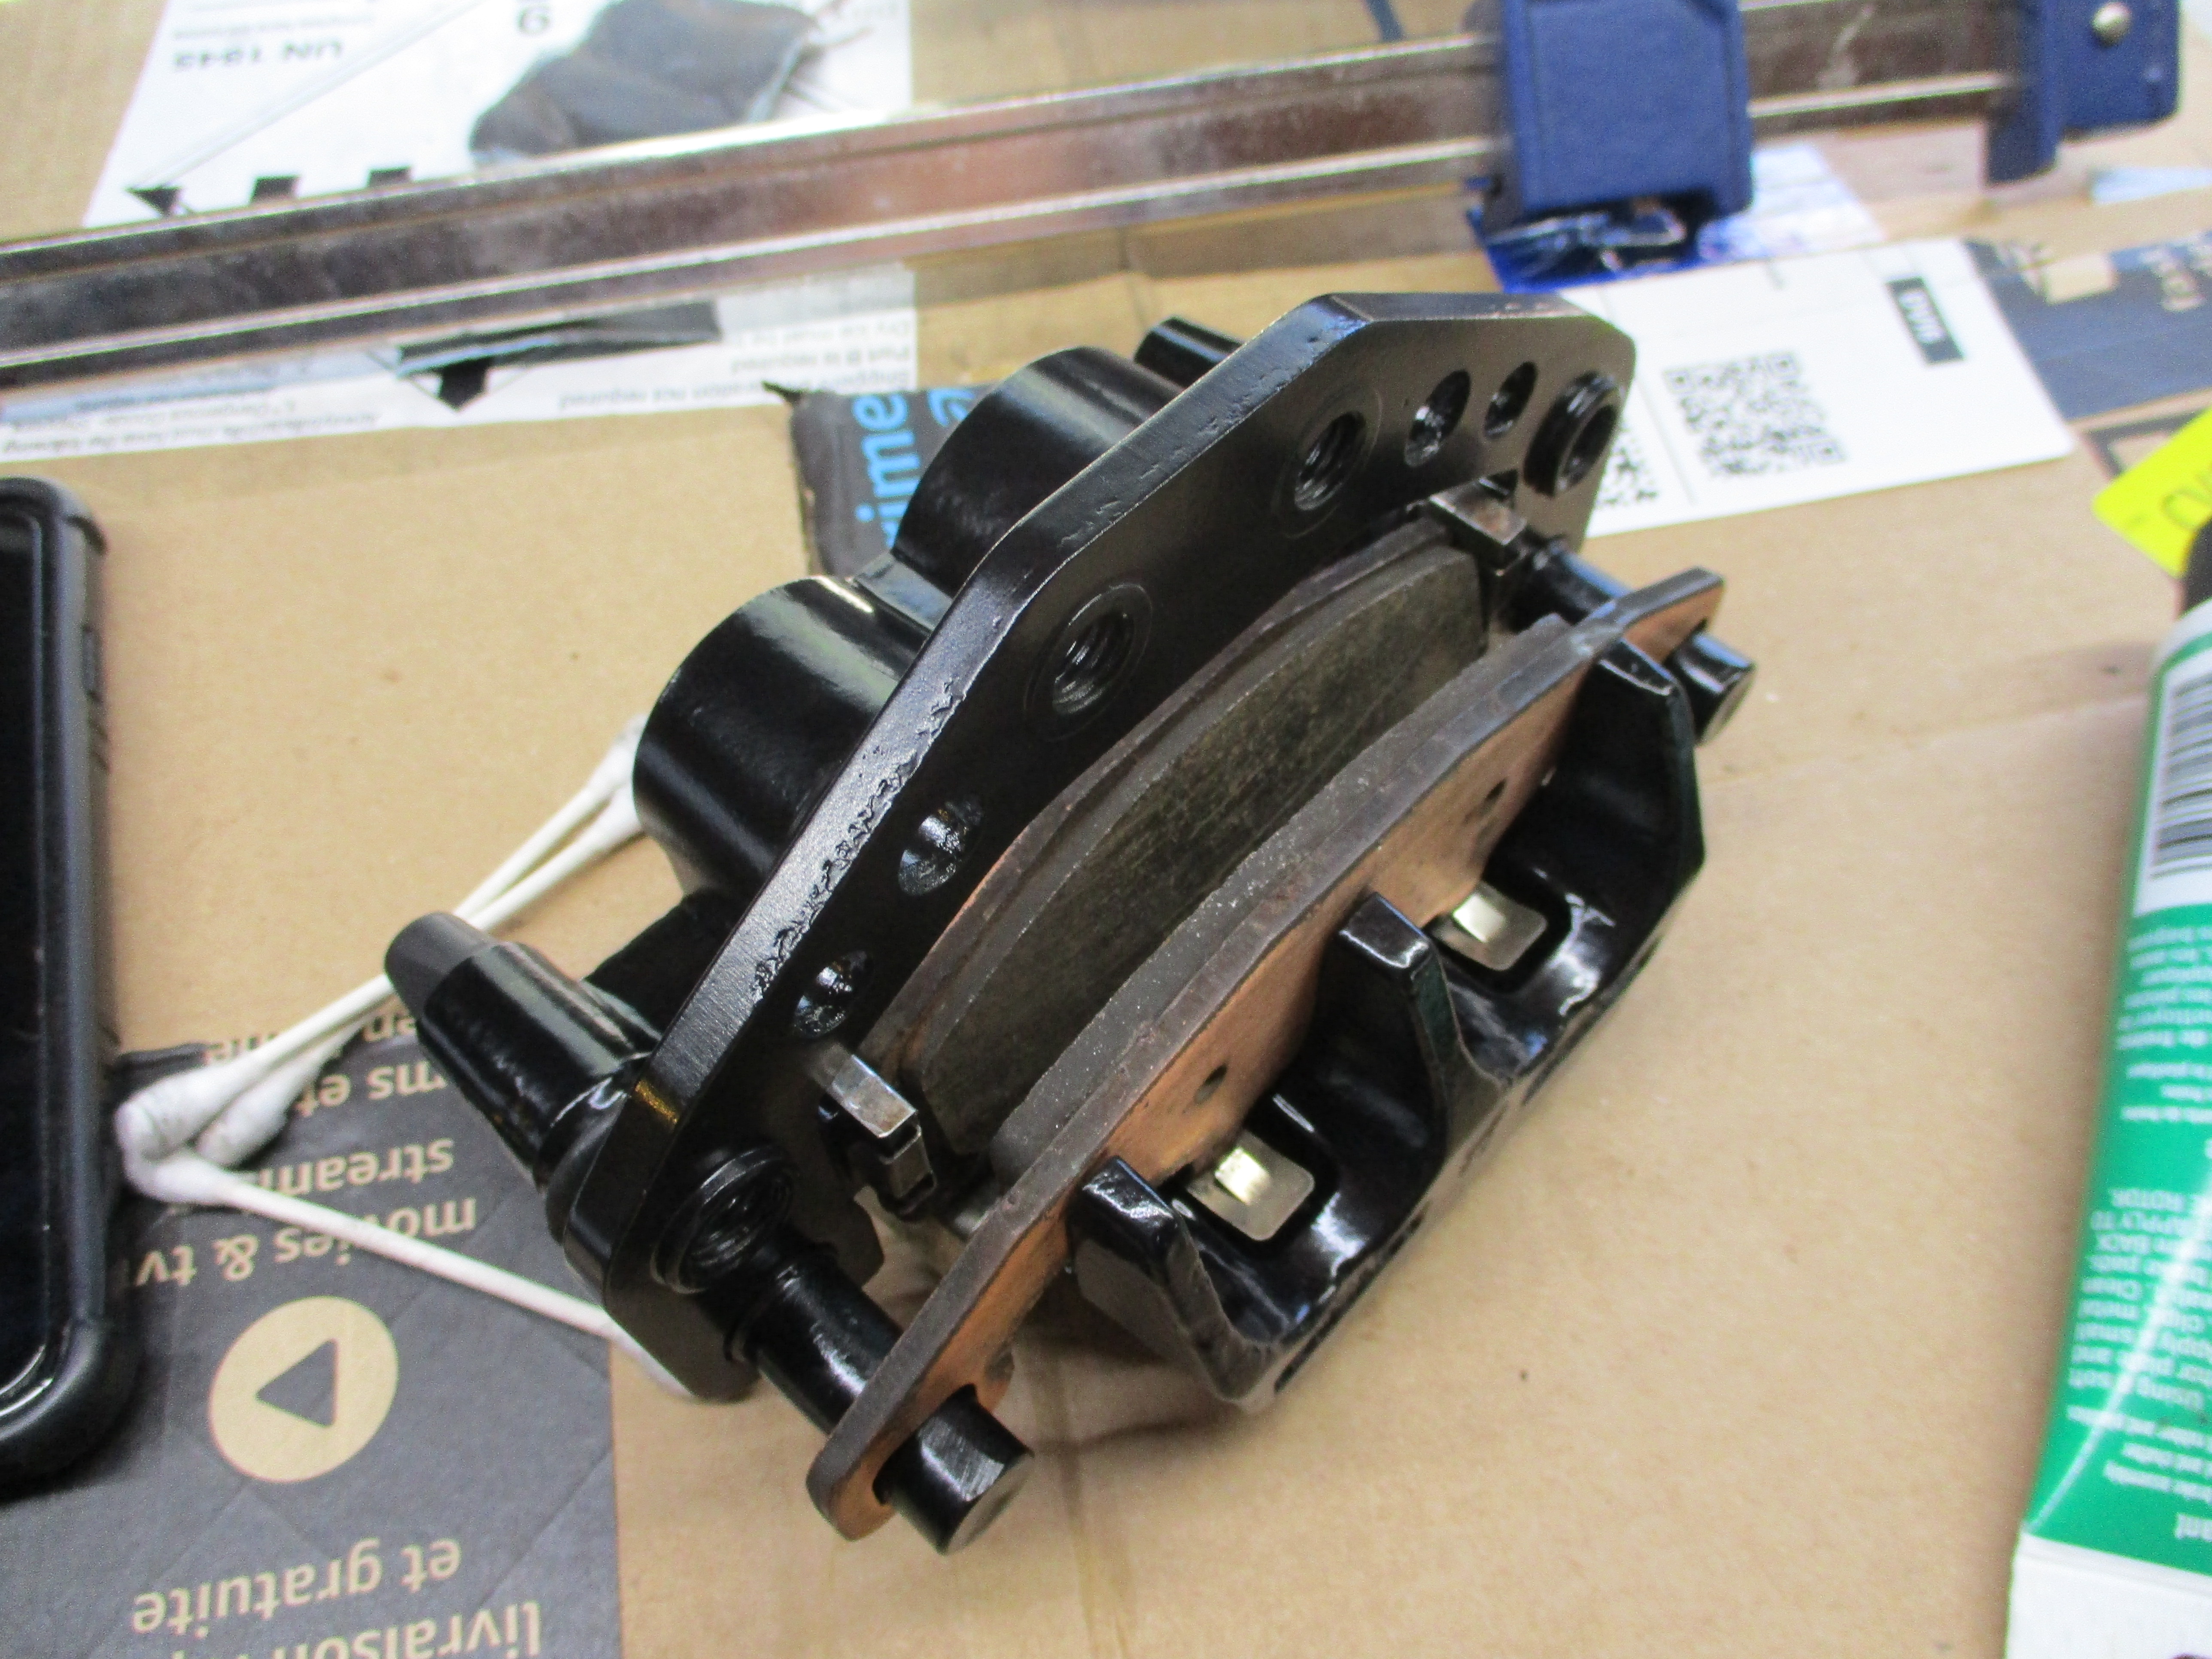
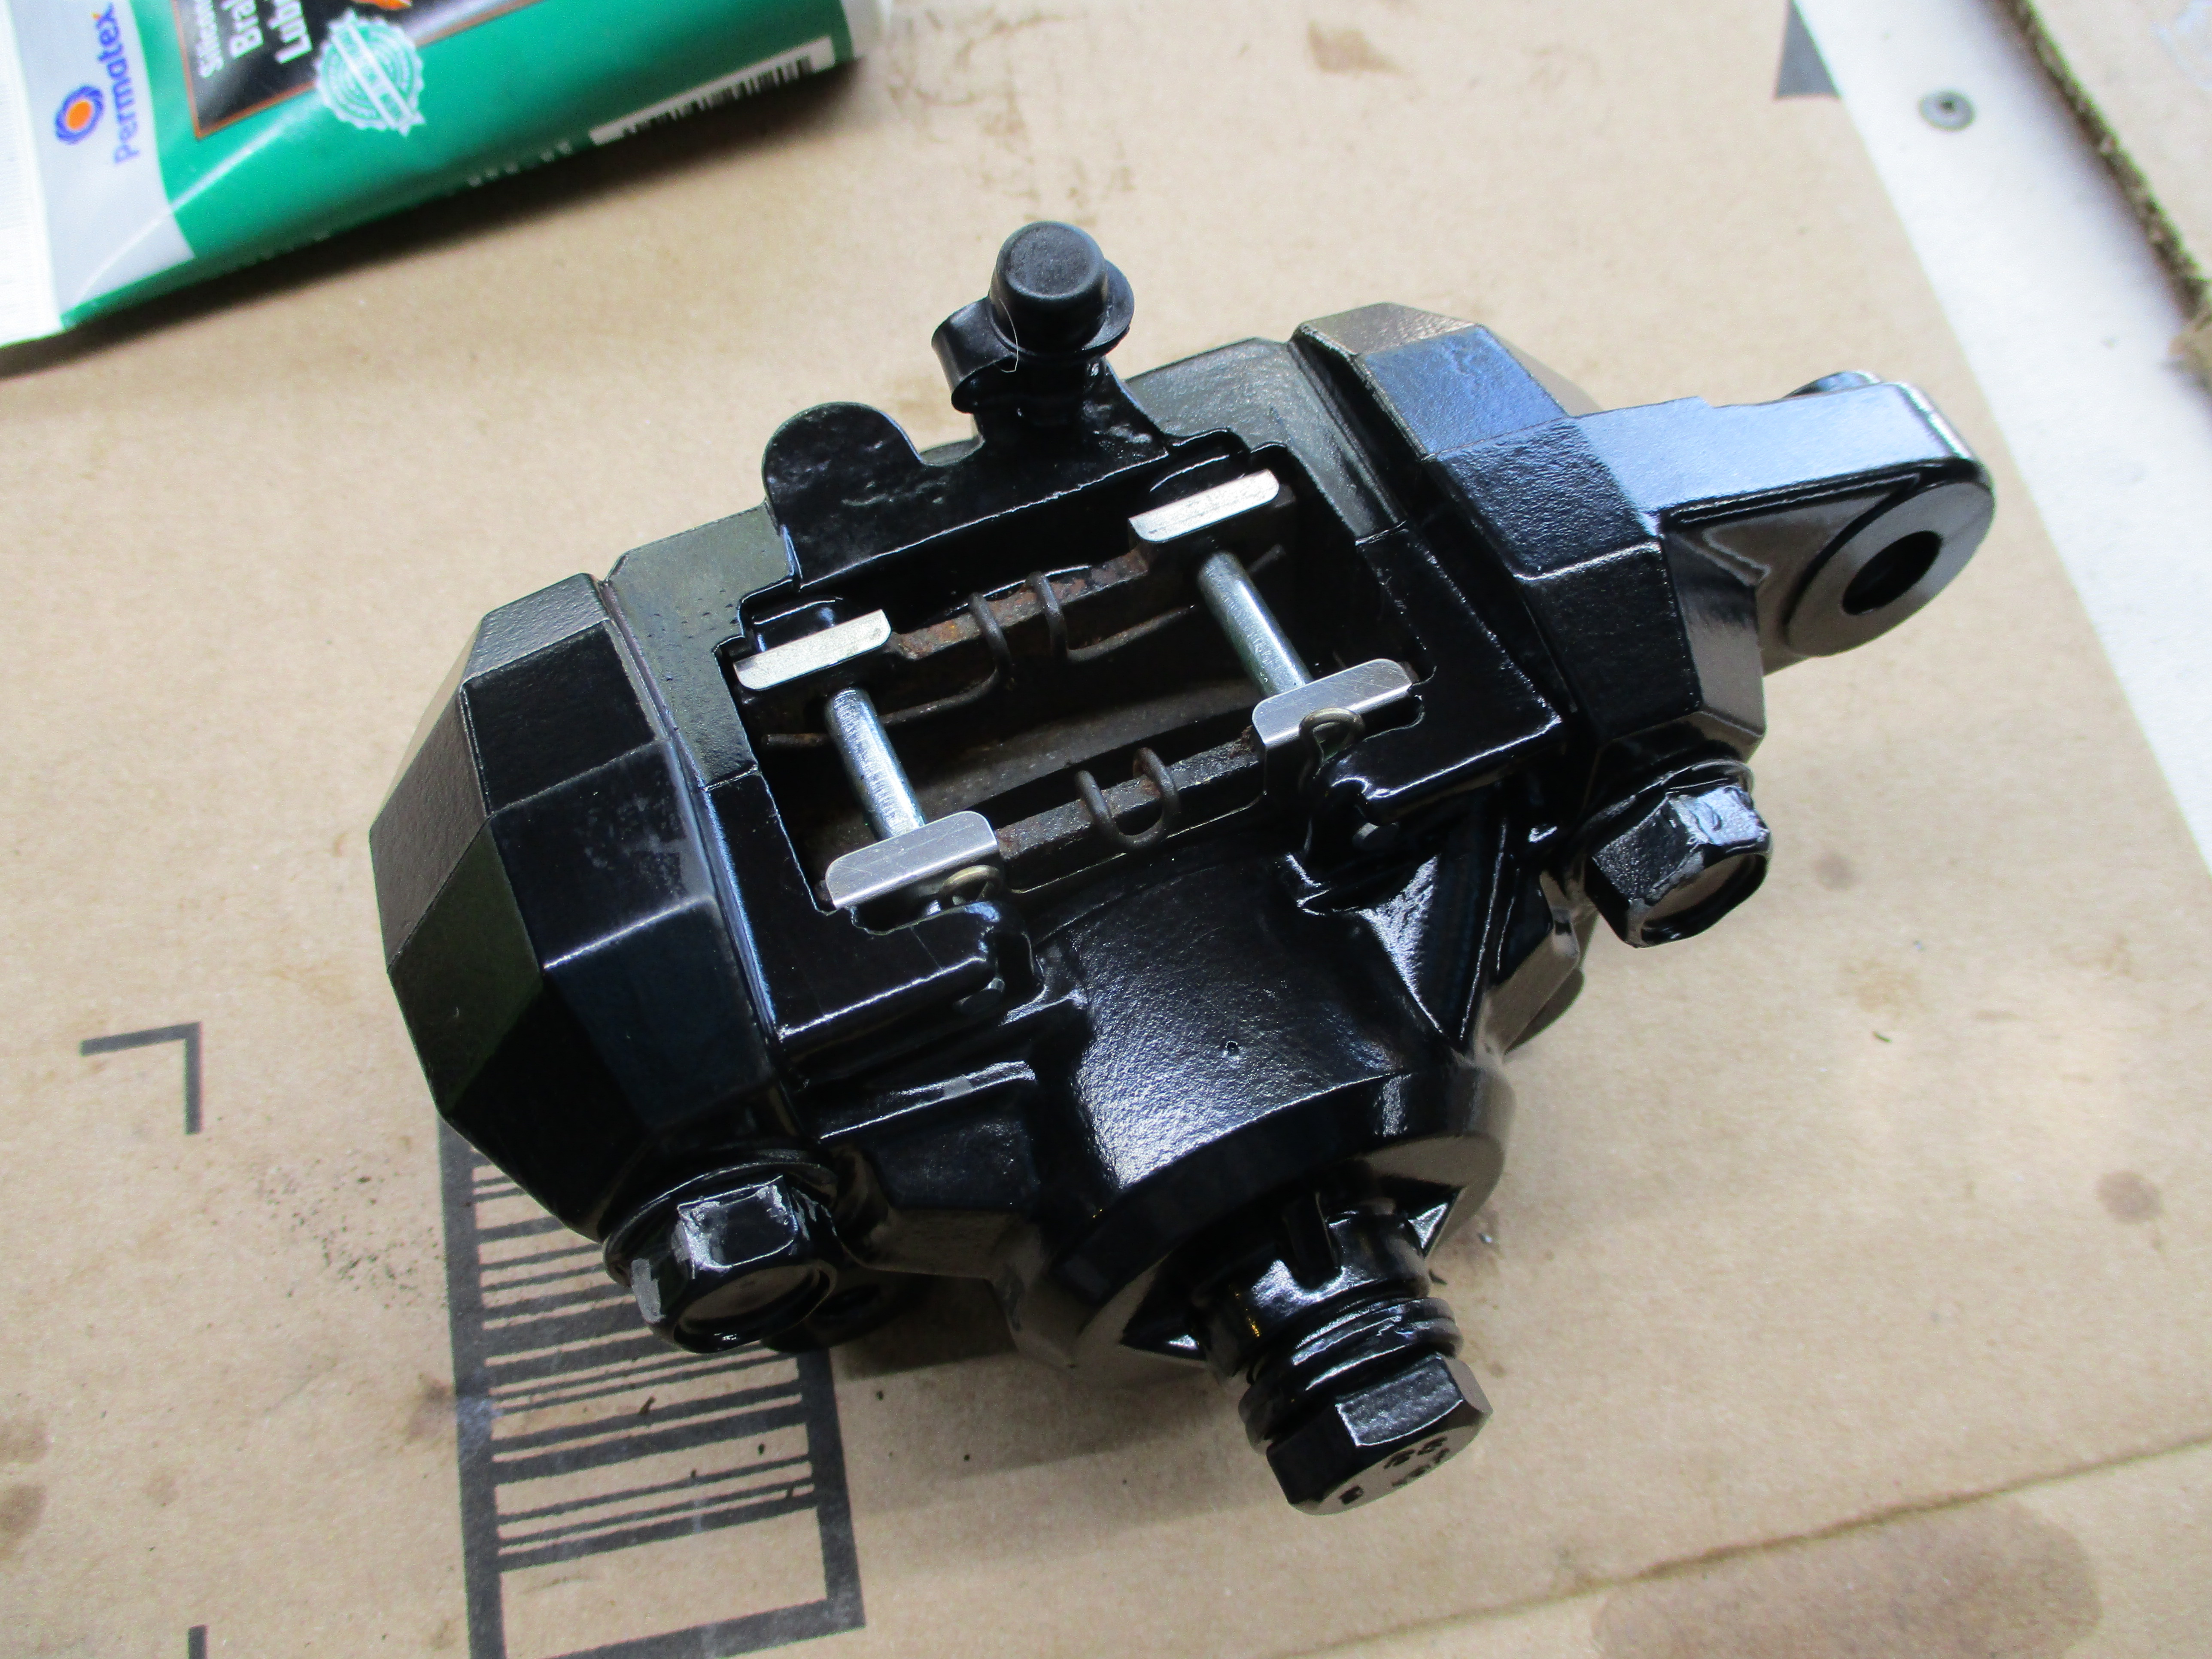
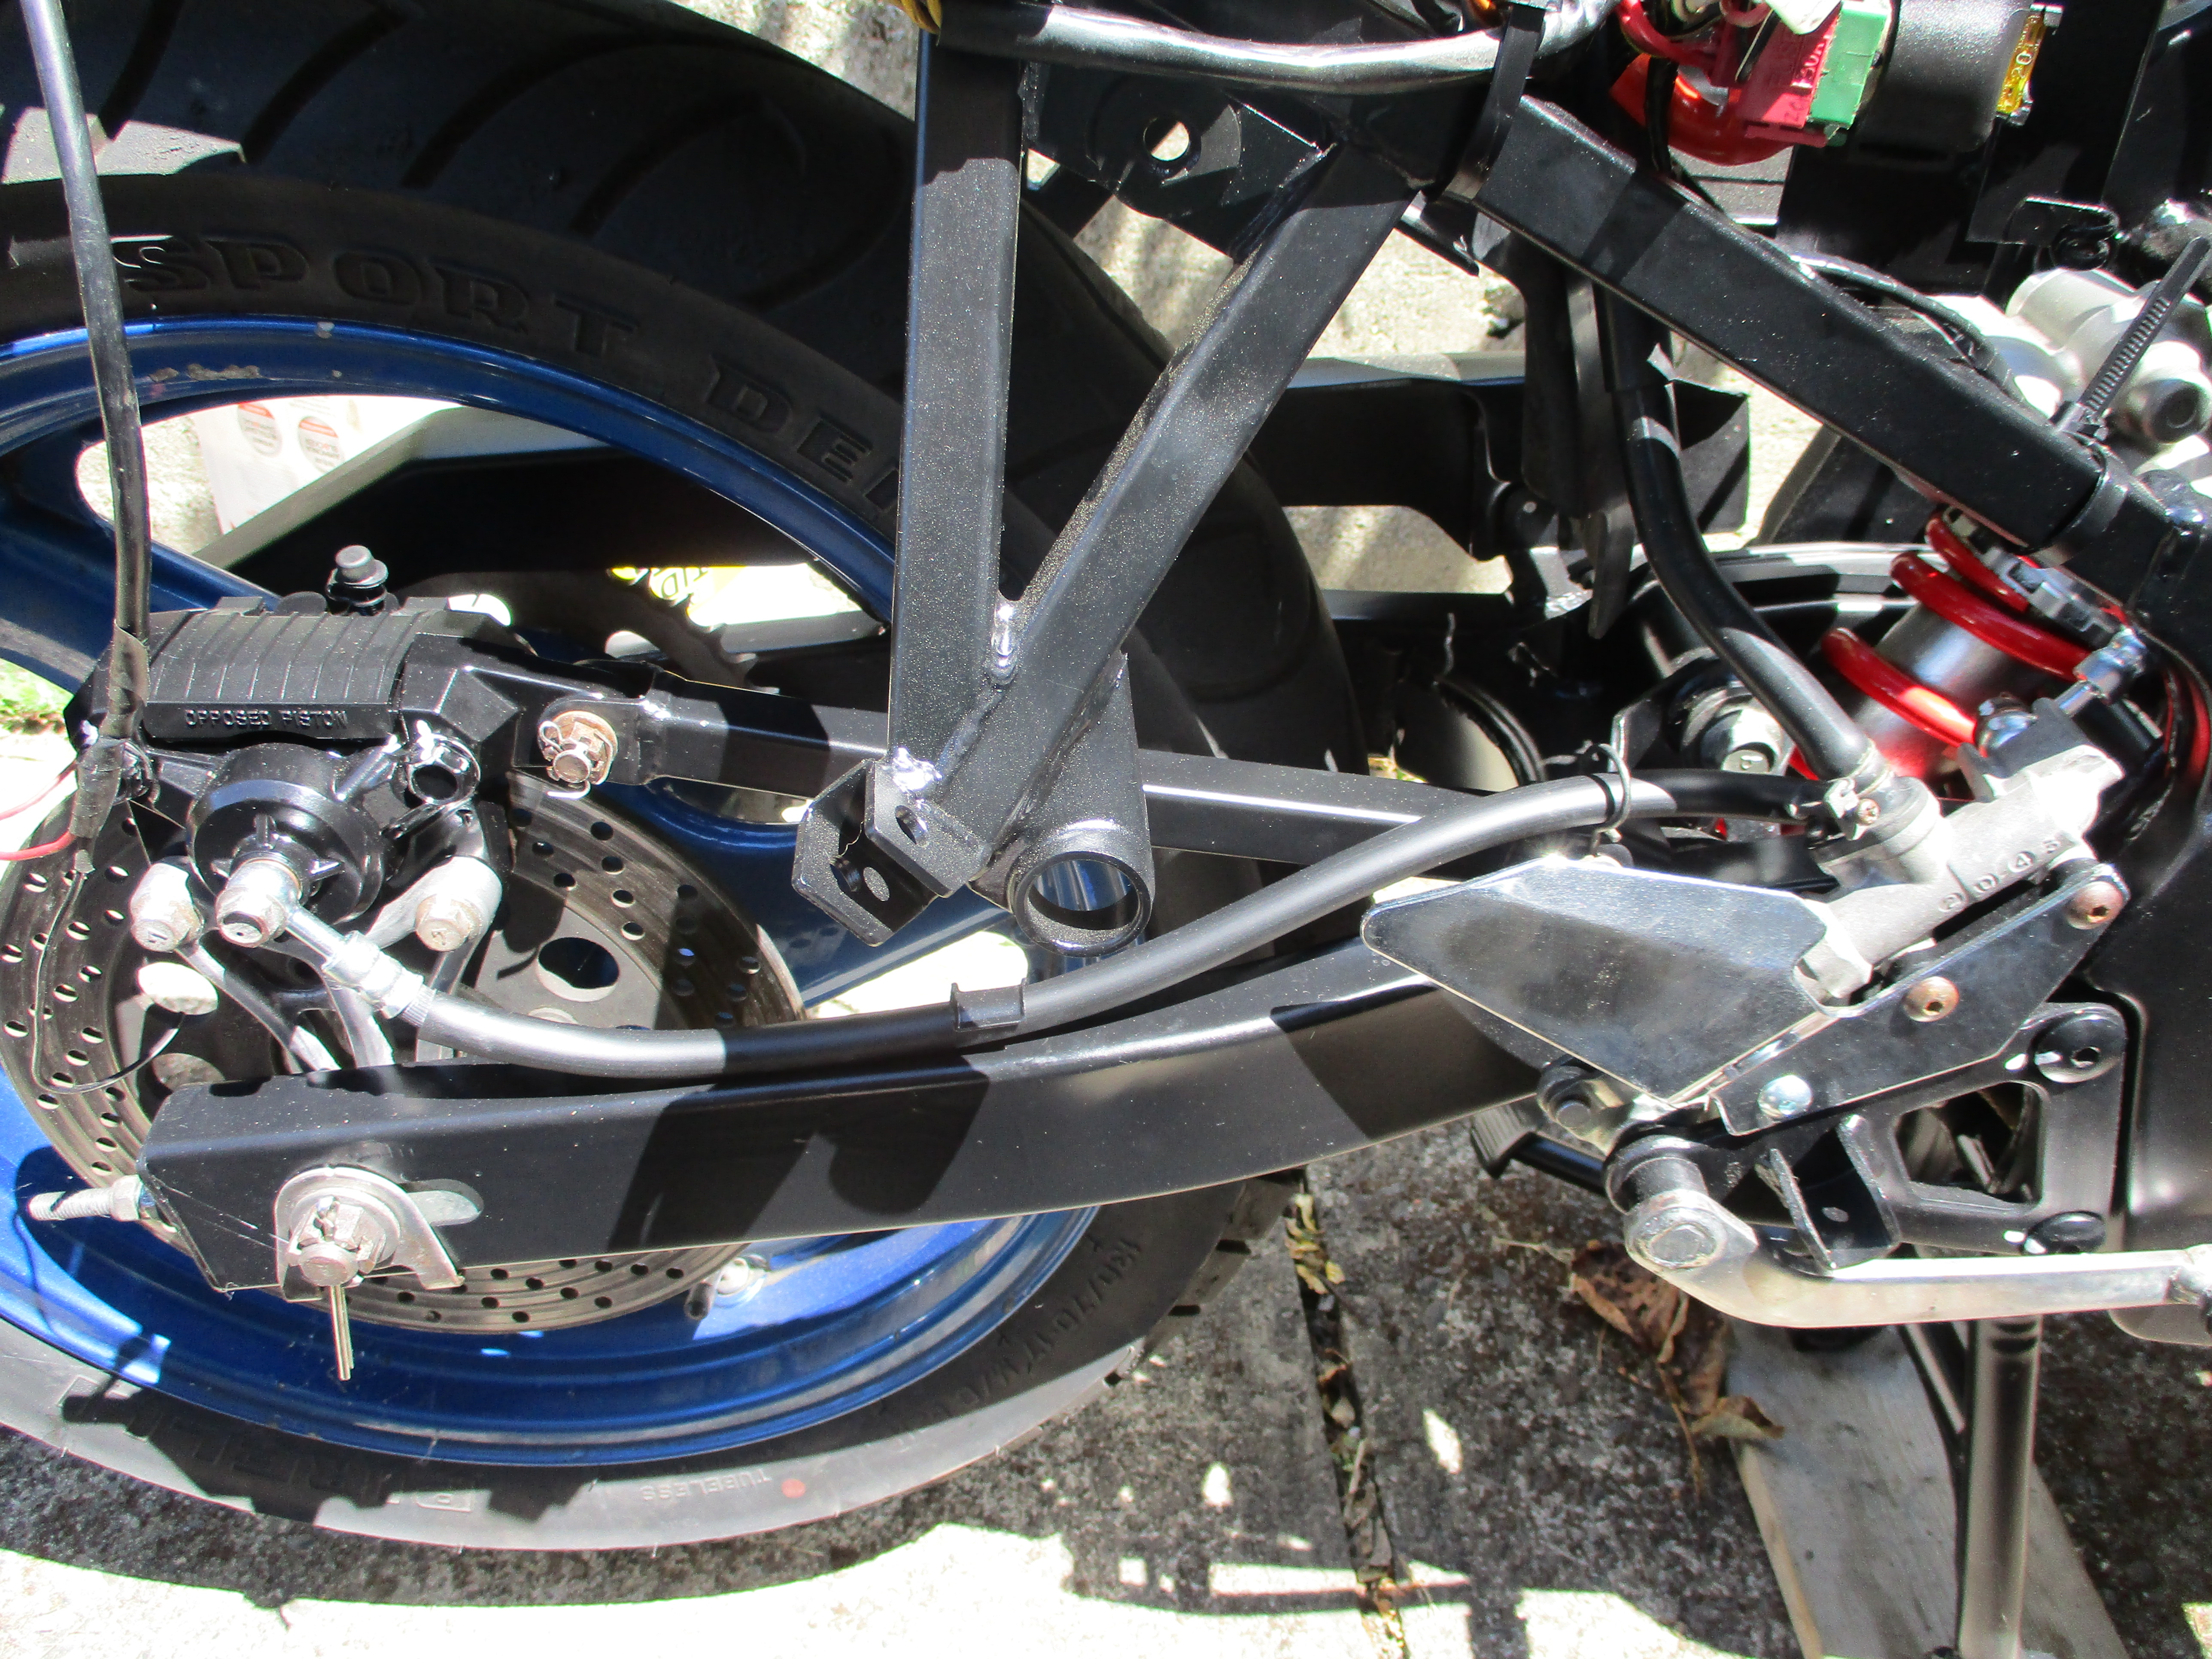
The rear brake hose looked melted from the exhaust but it still held fluid. The reservoir lid was corroded and the caliper paint was faded and brake pads and pins looked rusty. The bleed screw was rusty.
I bead blasted and painted the reservoir lid and caliper with caliper paint, and painted the pad cover with trim and bumper paint. I bought and installed All Balls rebuild kits for the rear master cylinder and caliper. I bought a new Suzuki OEM rear brake line to replace the melted one. I polished the caliper pistons before reinstalling them. Finally new DOT4 brake fluid was used for the entire system.
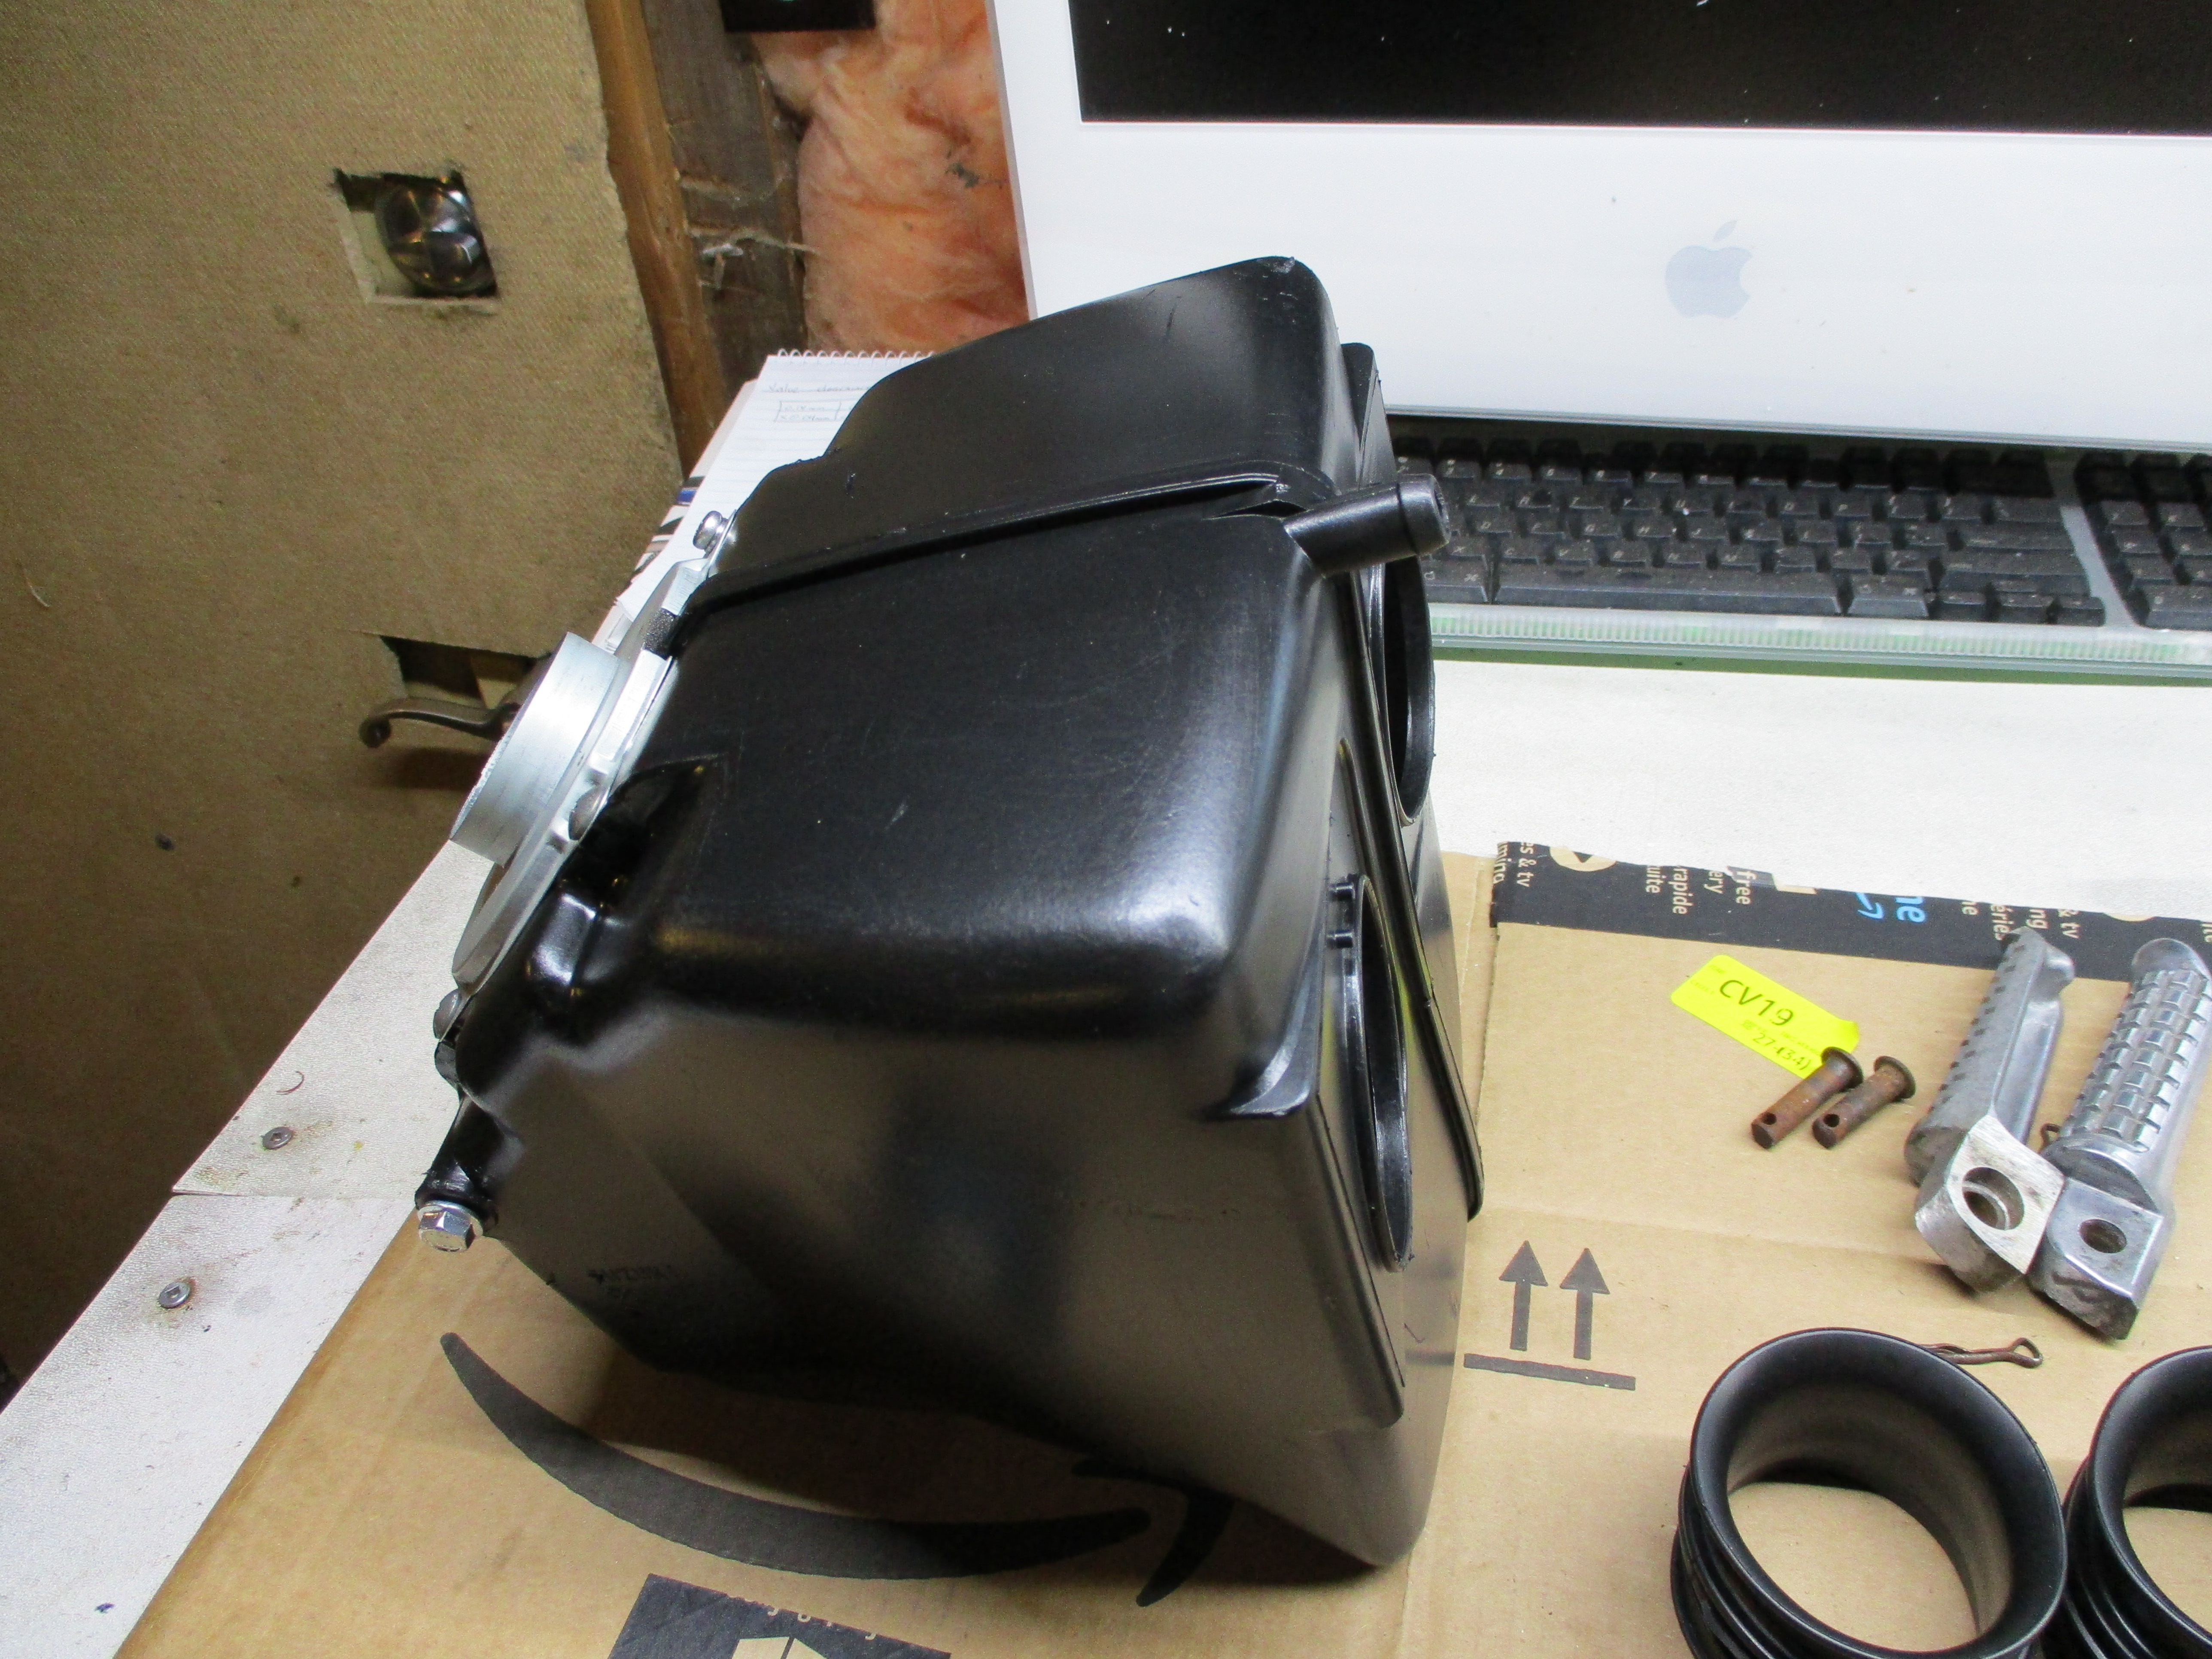
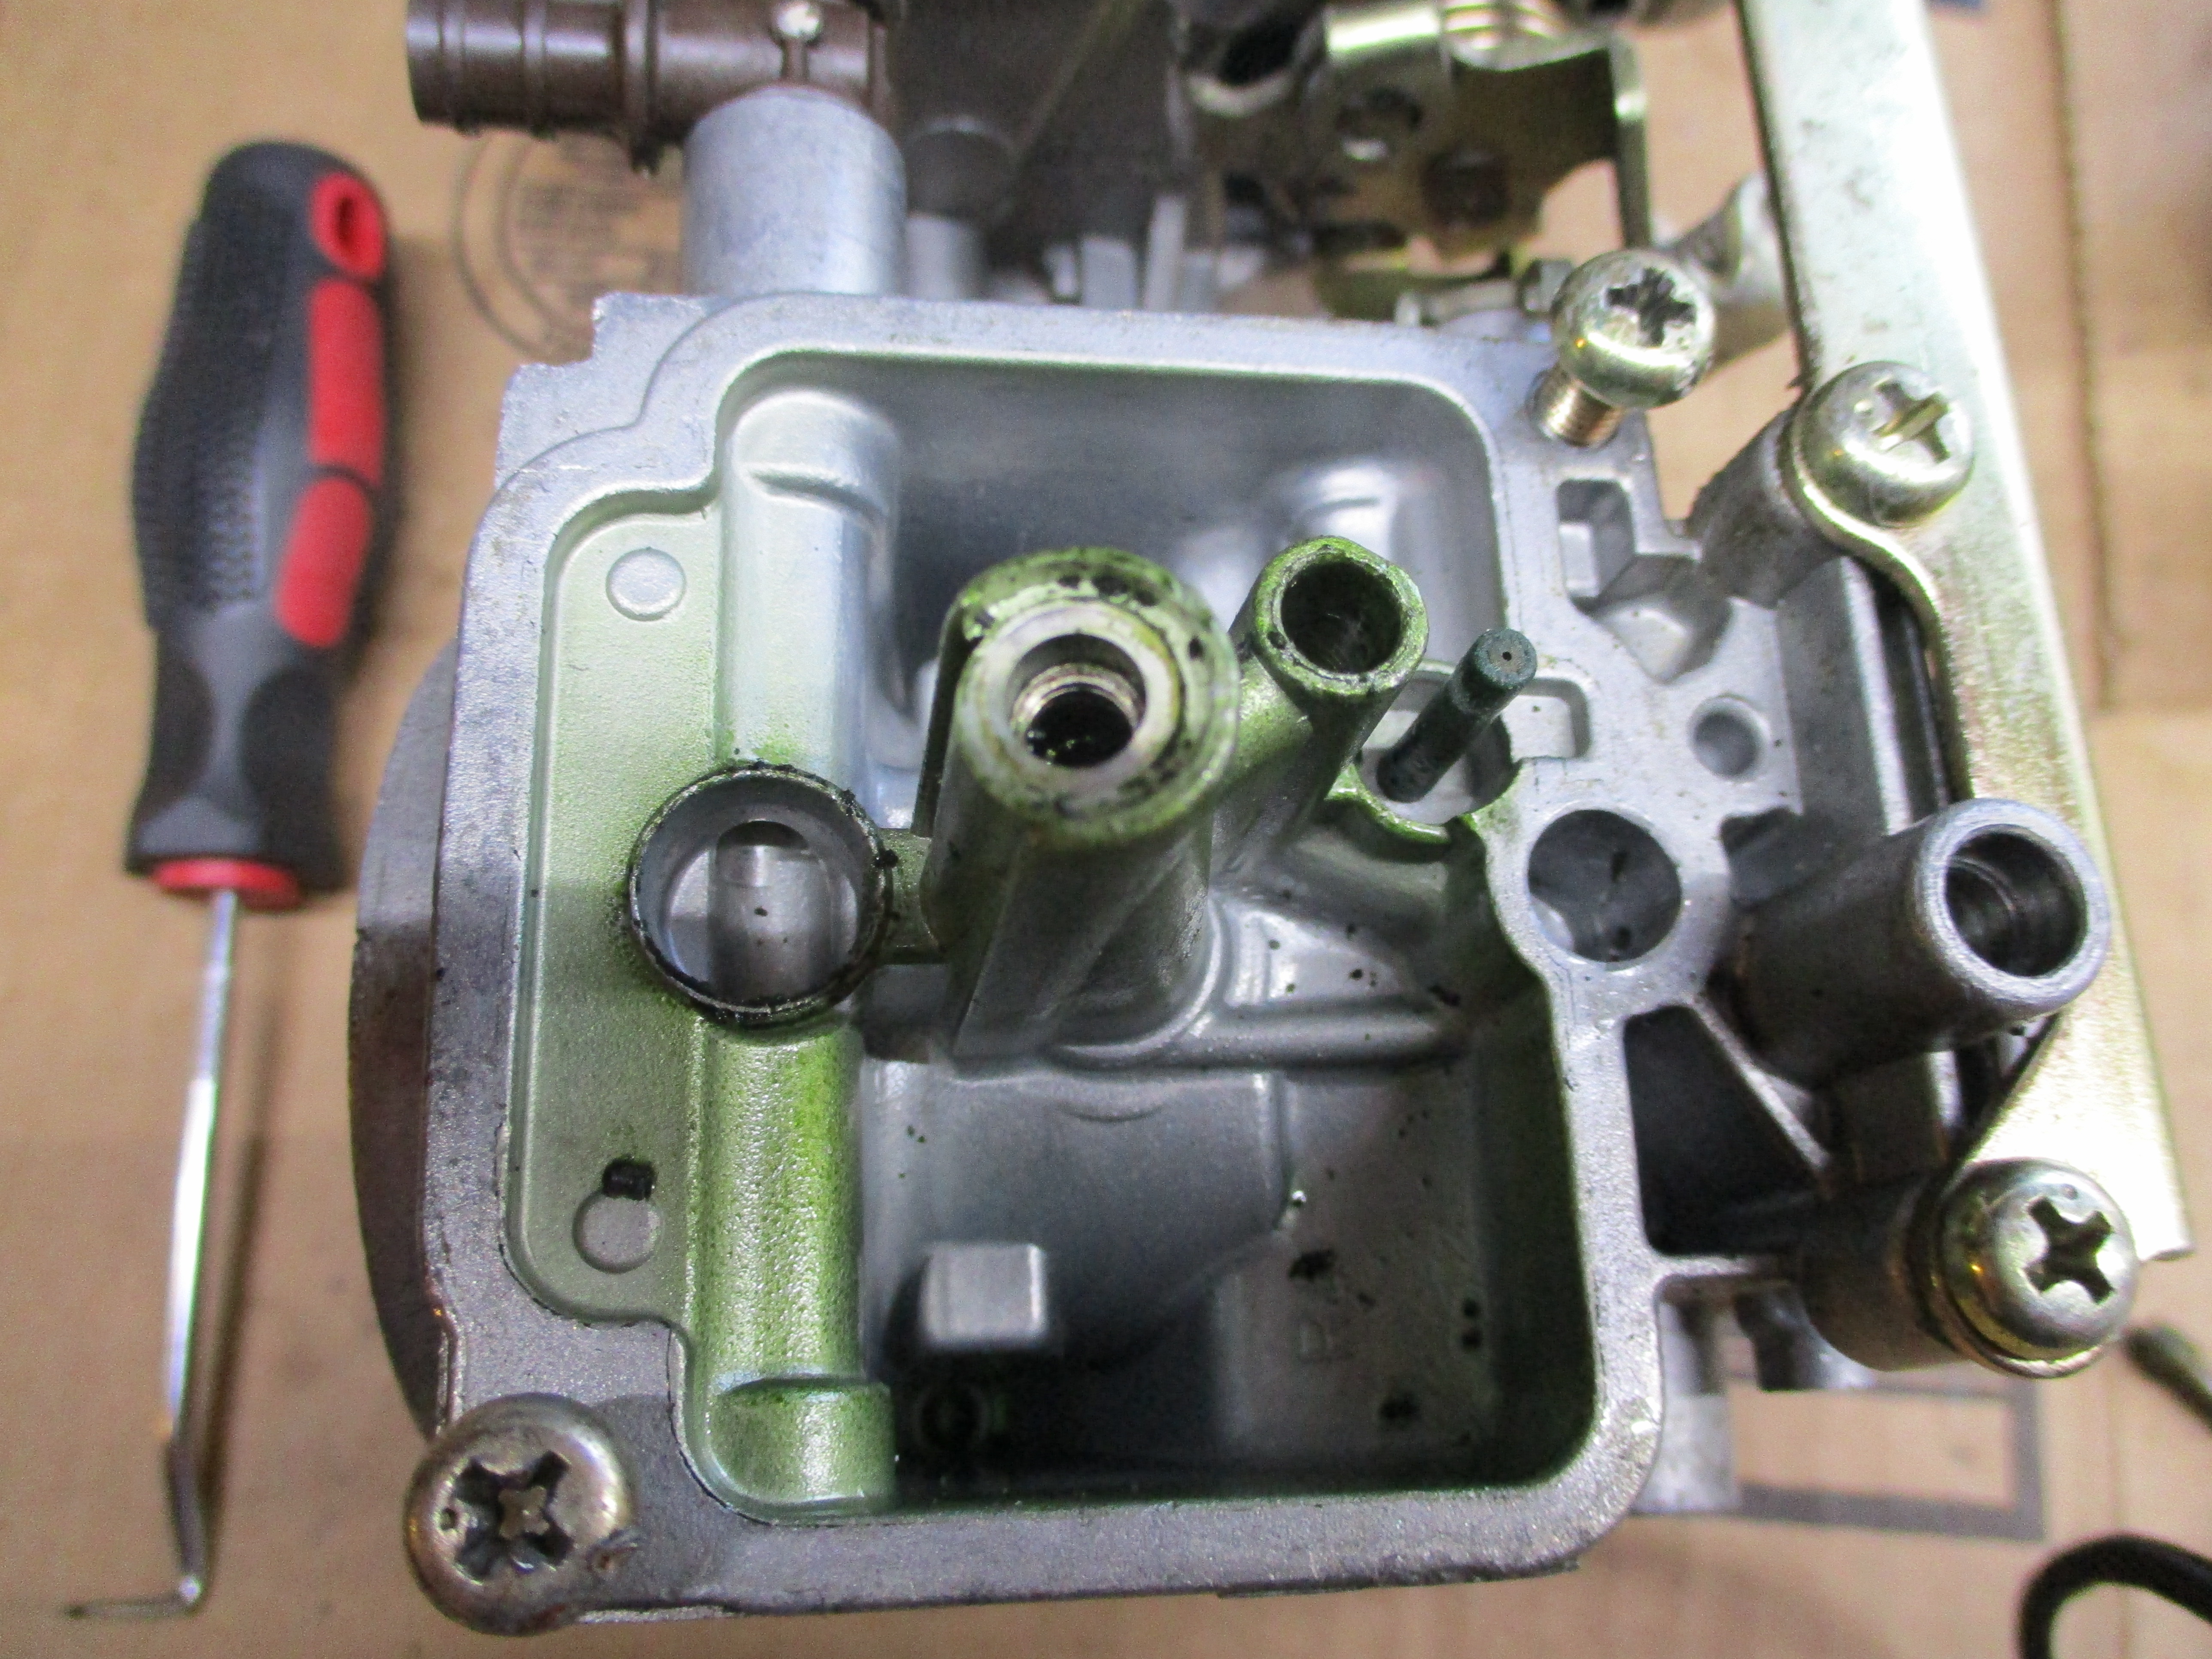
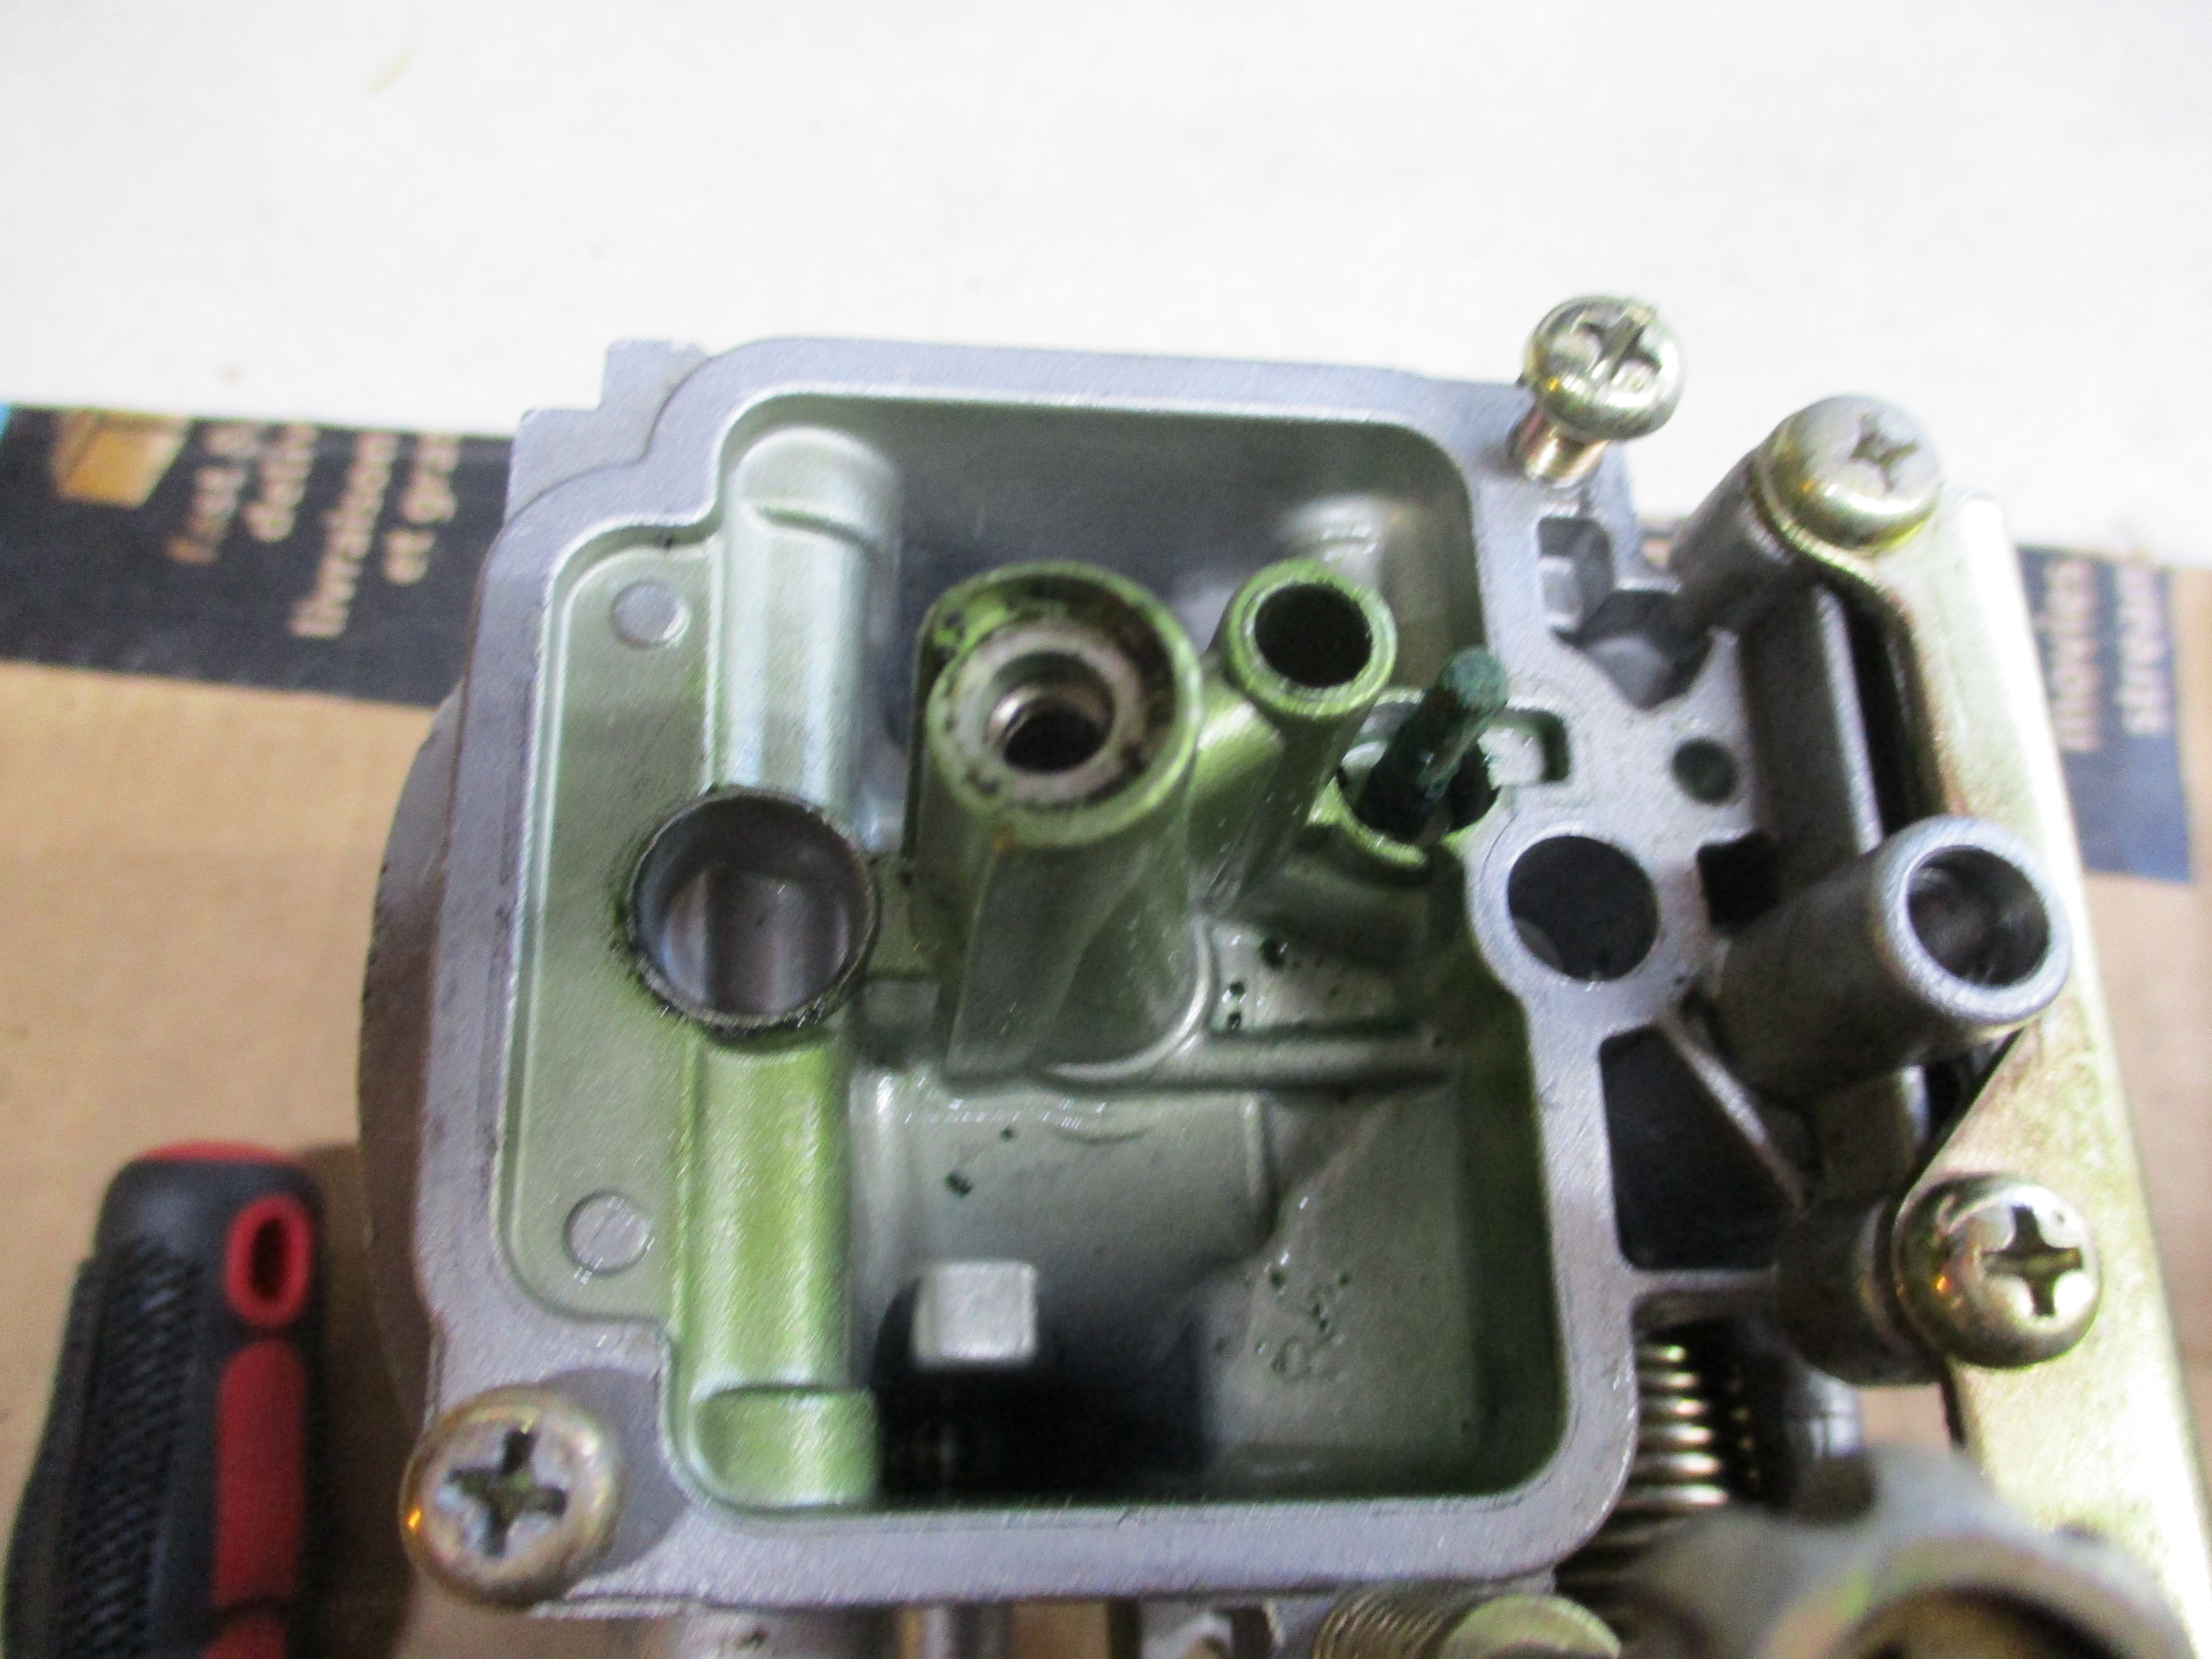
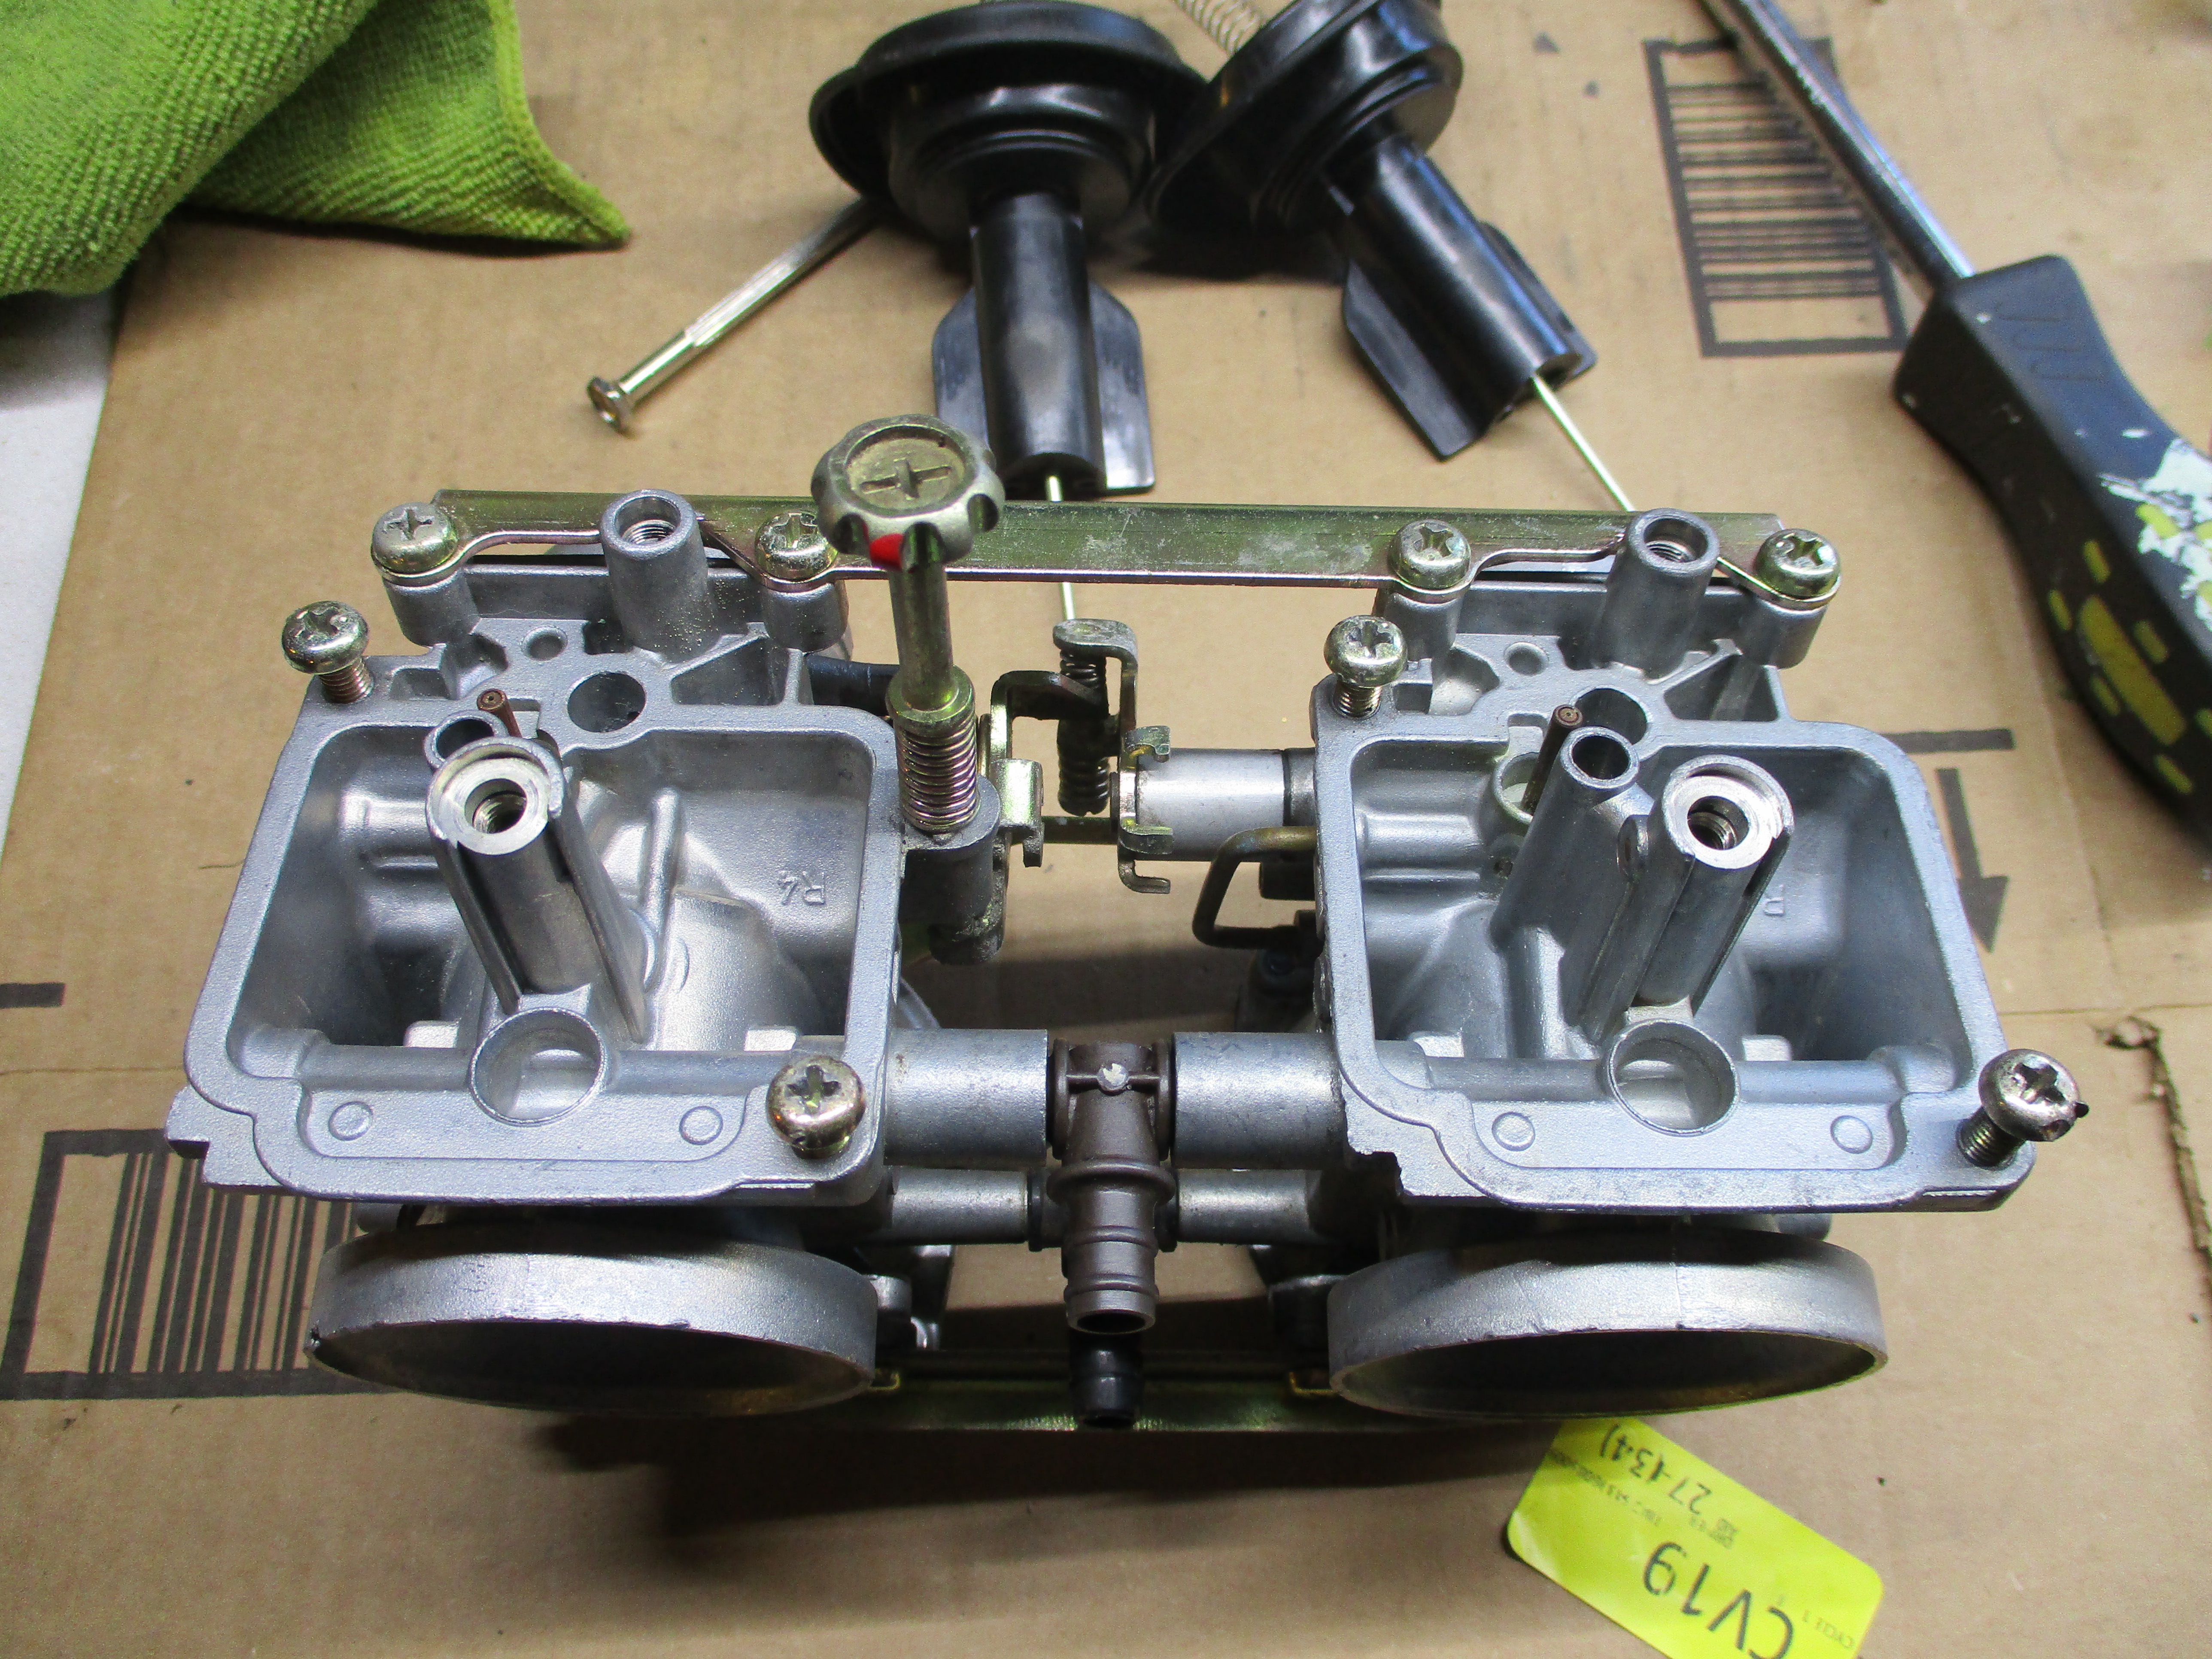
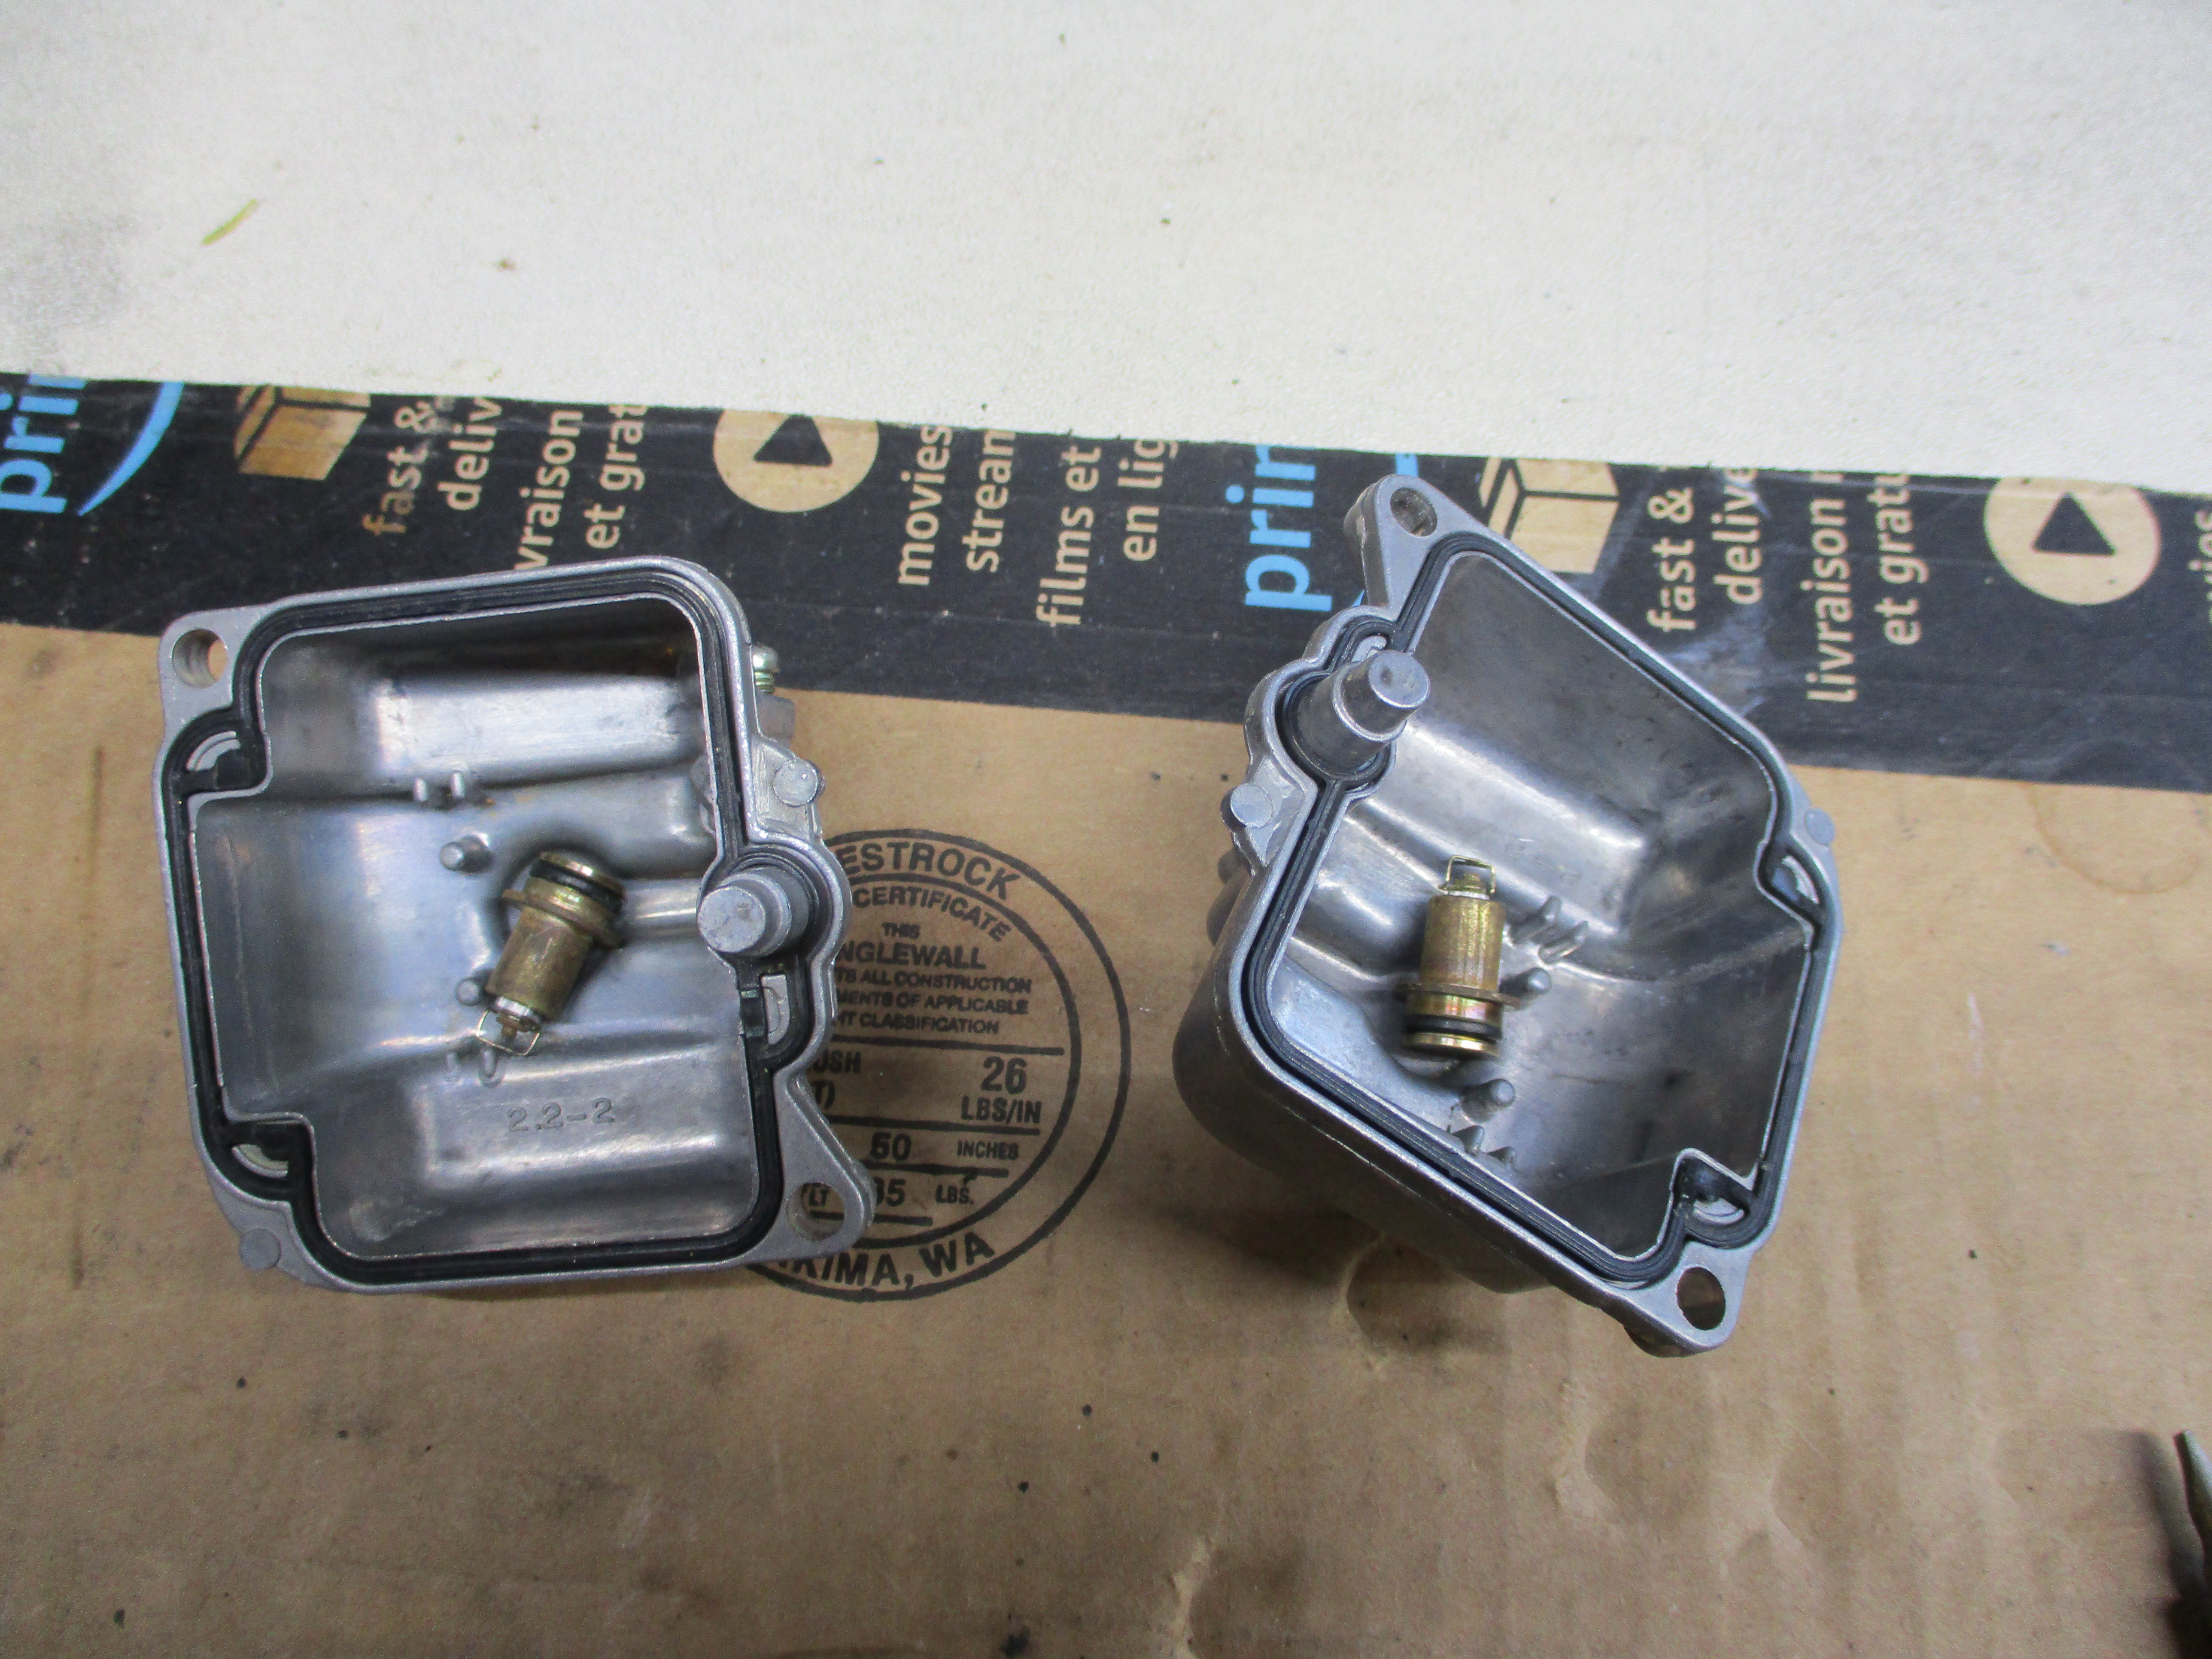
I used the refurbished carburetor because I knew the original one had problems. I did not have to do anything to the refurbished carburetor to get it to work. The stock airbox was in ok condition, I painted it with trim and bumper paint and did a thread repair on one of the brass mounting tabs.
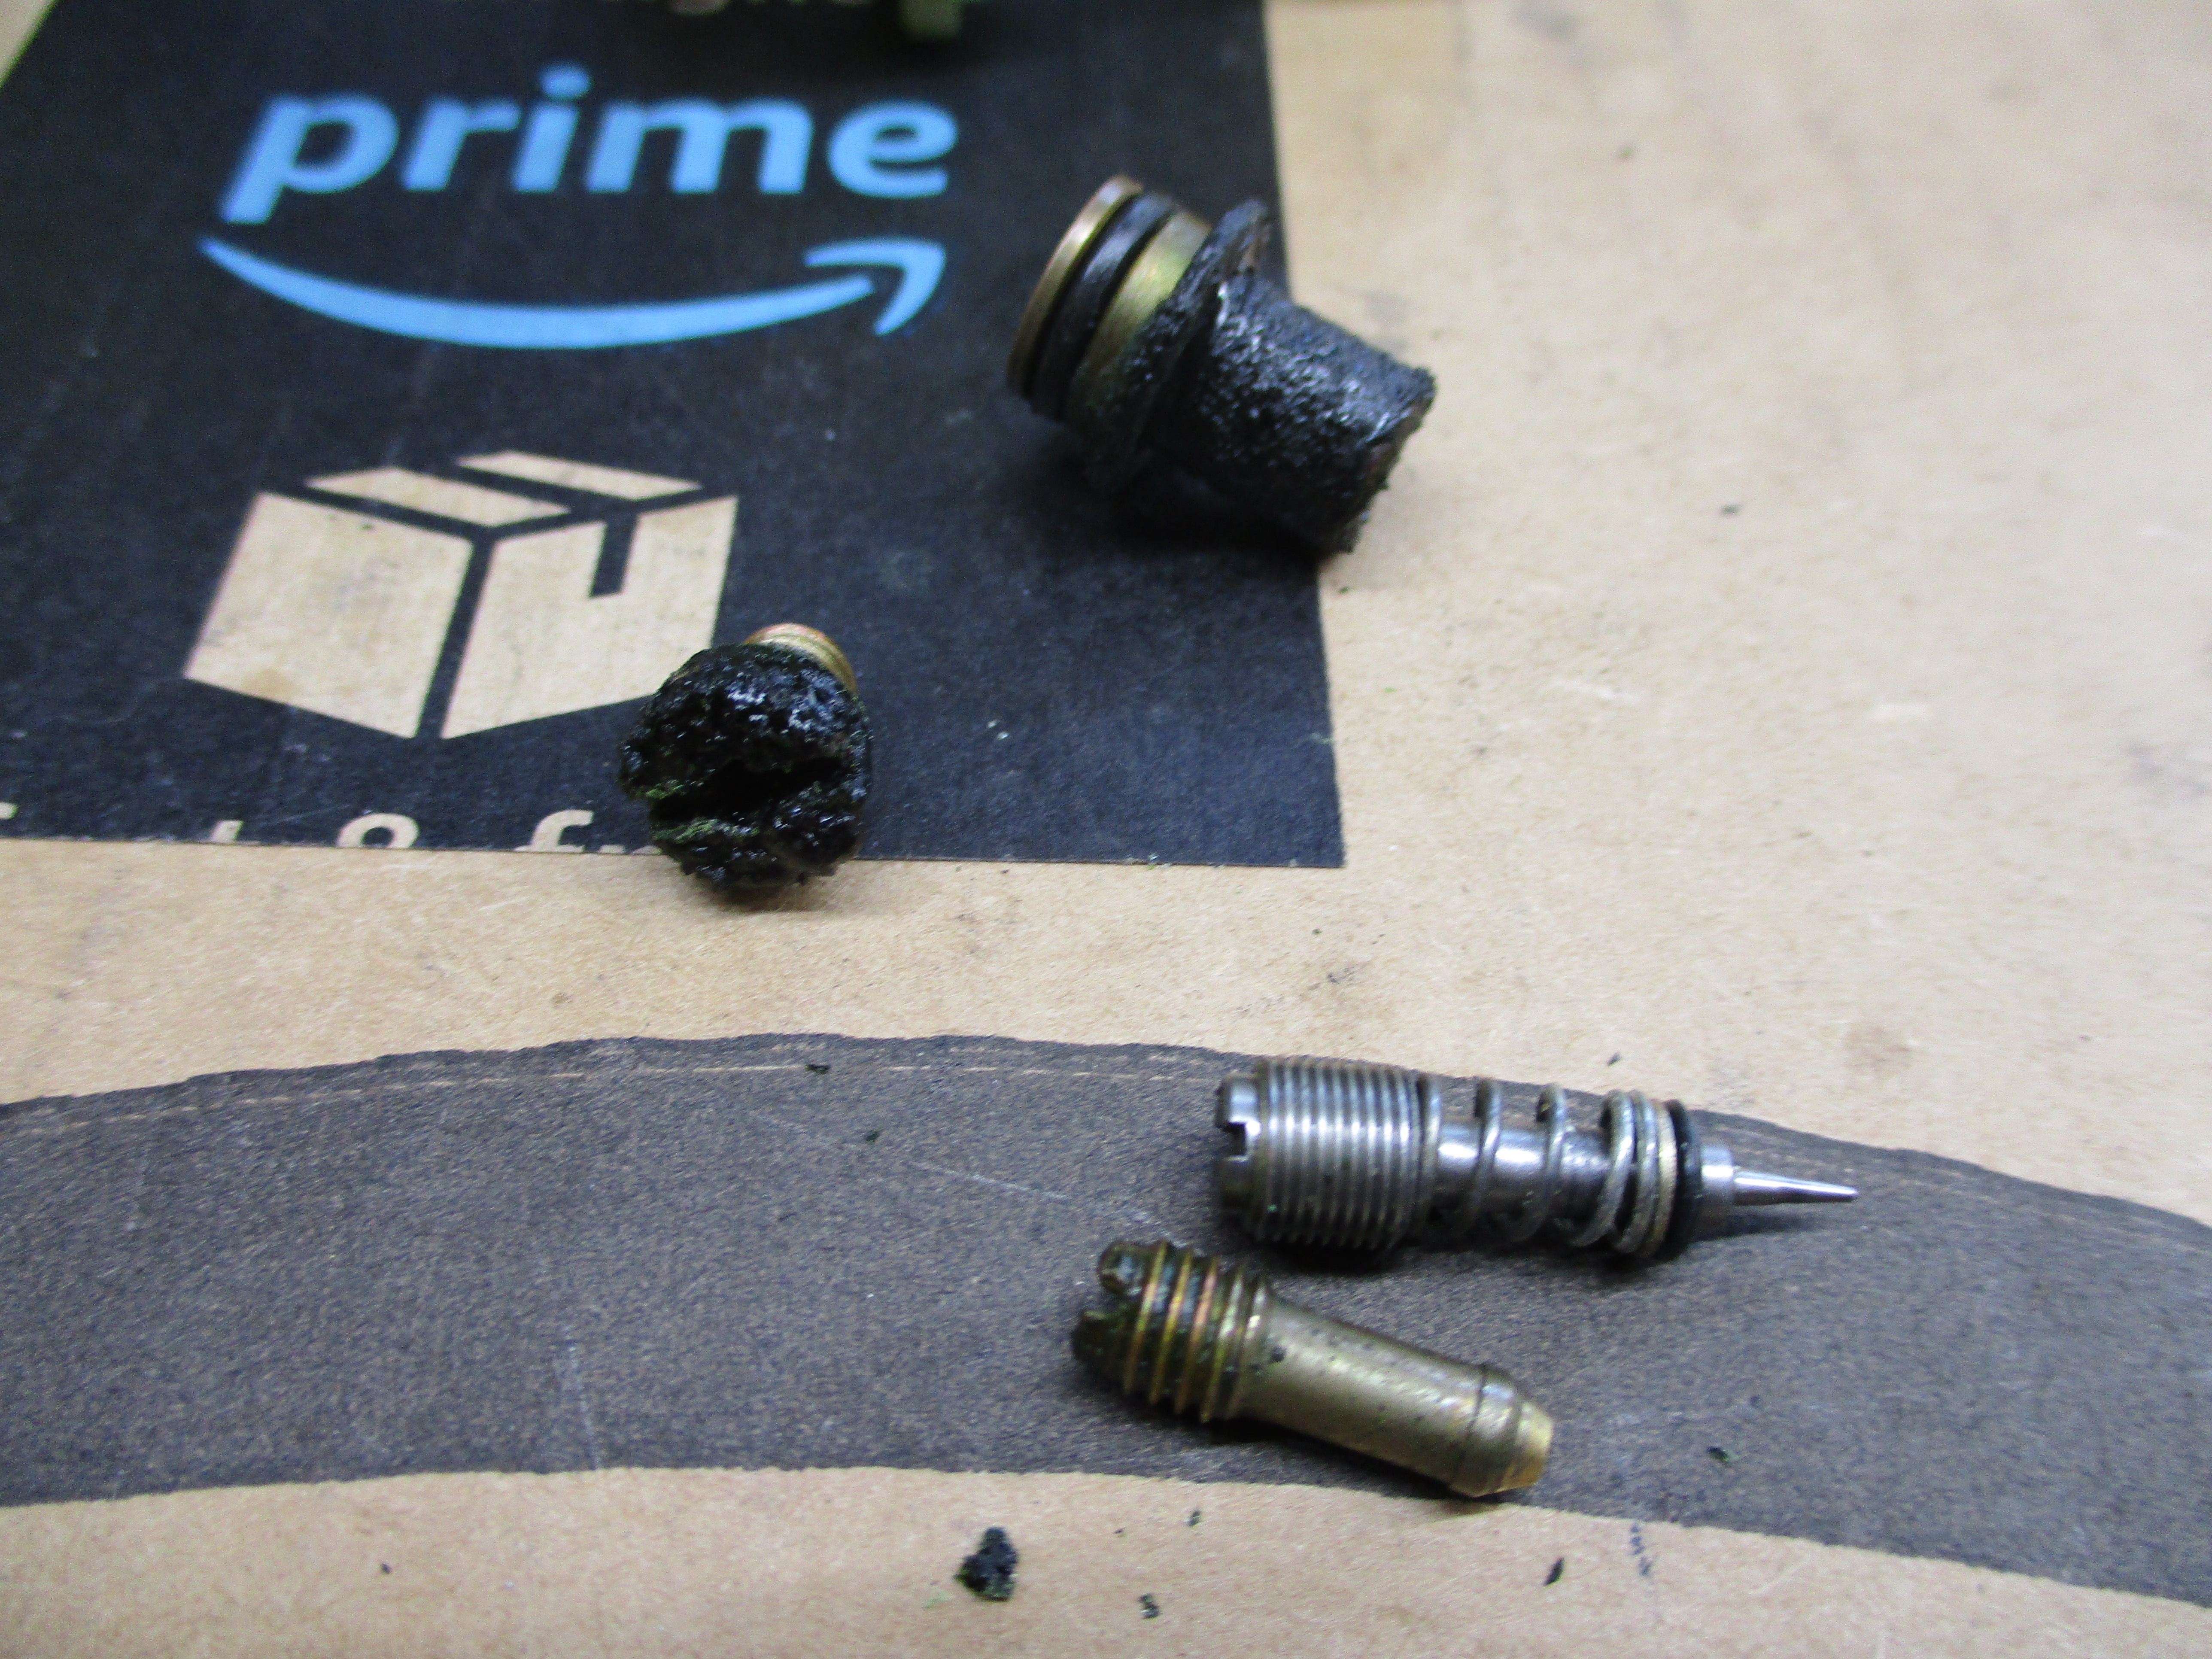
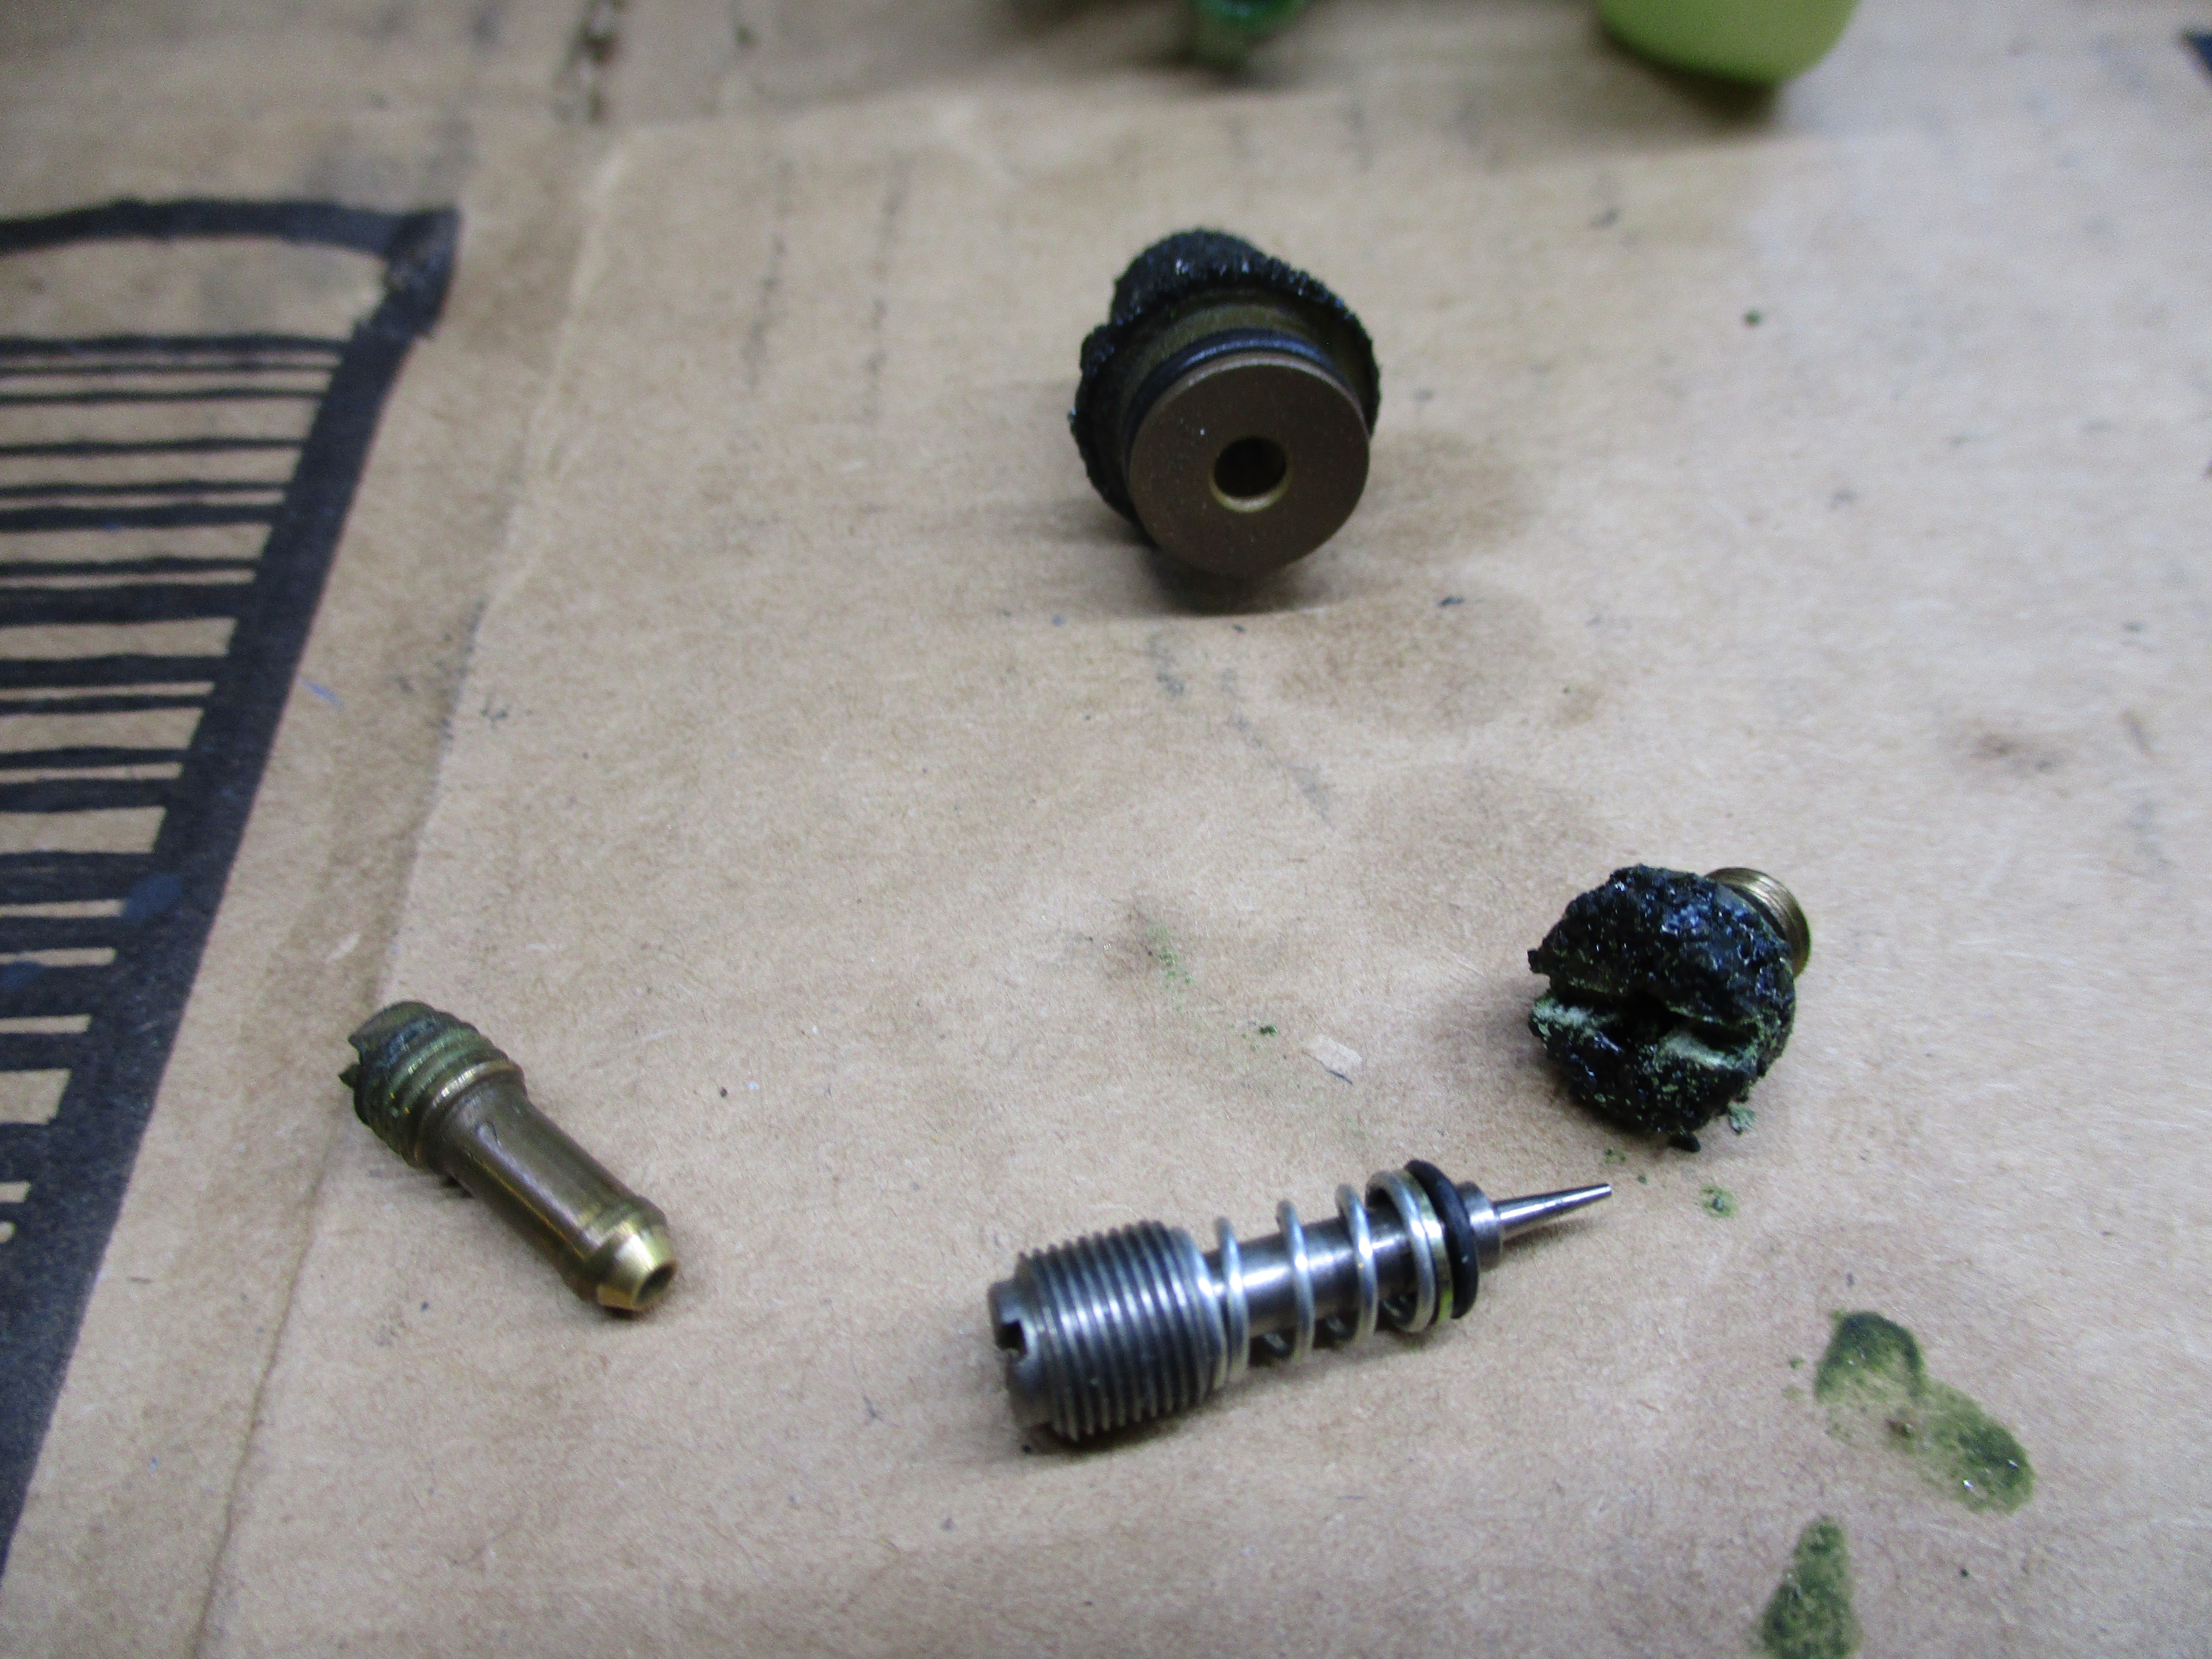
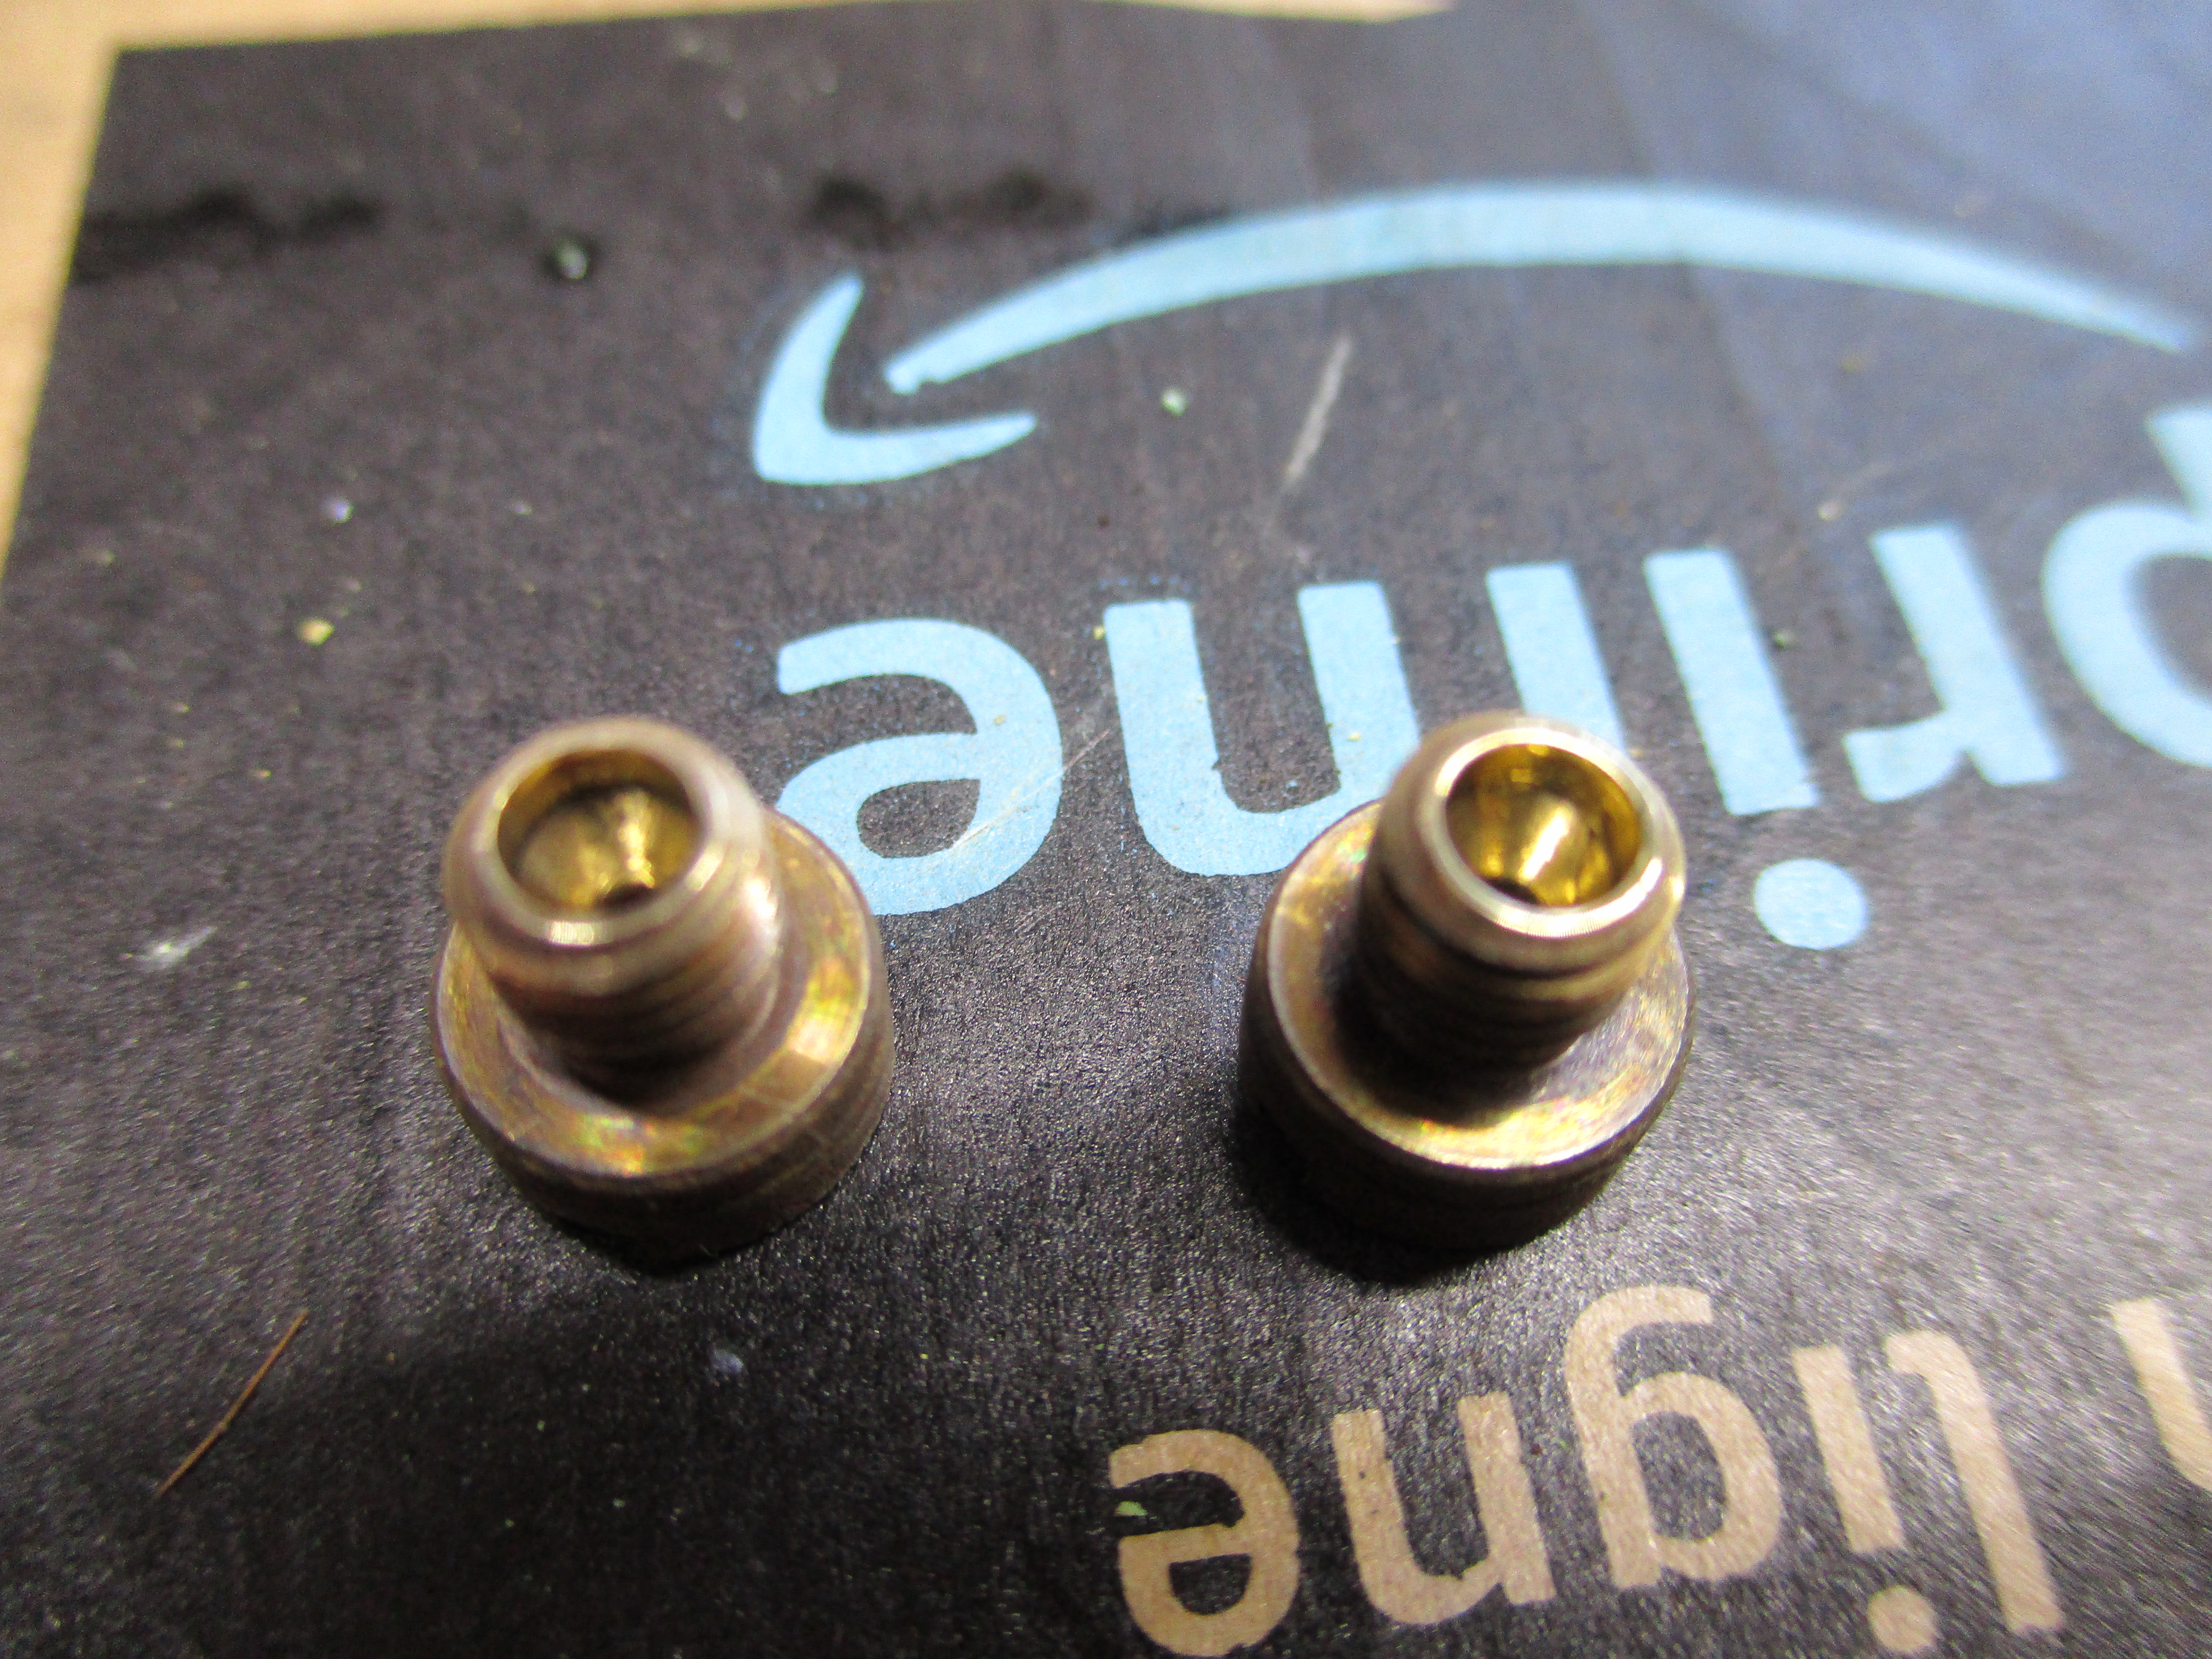
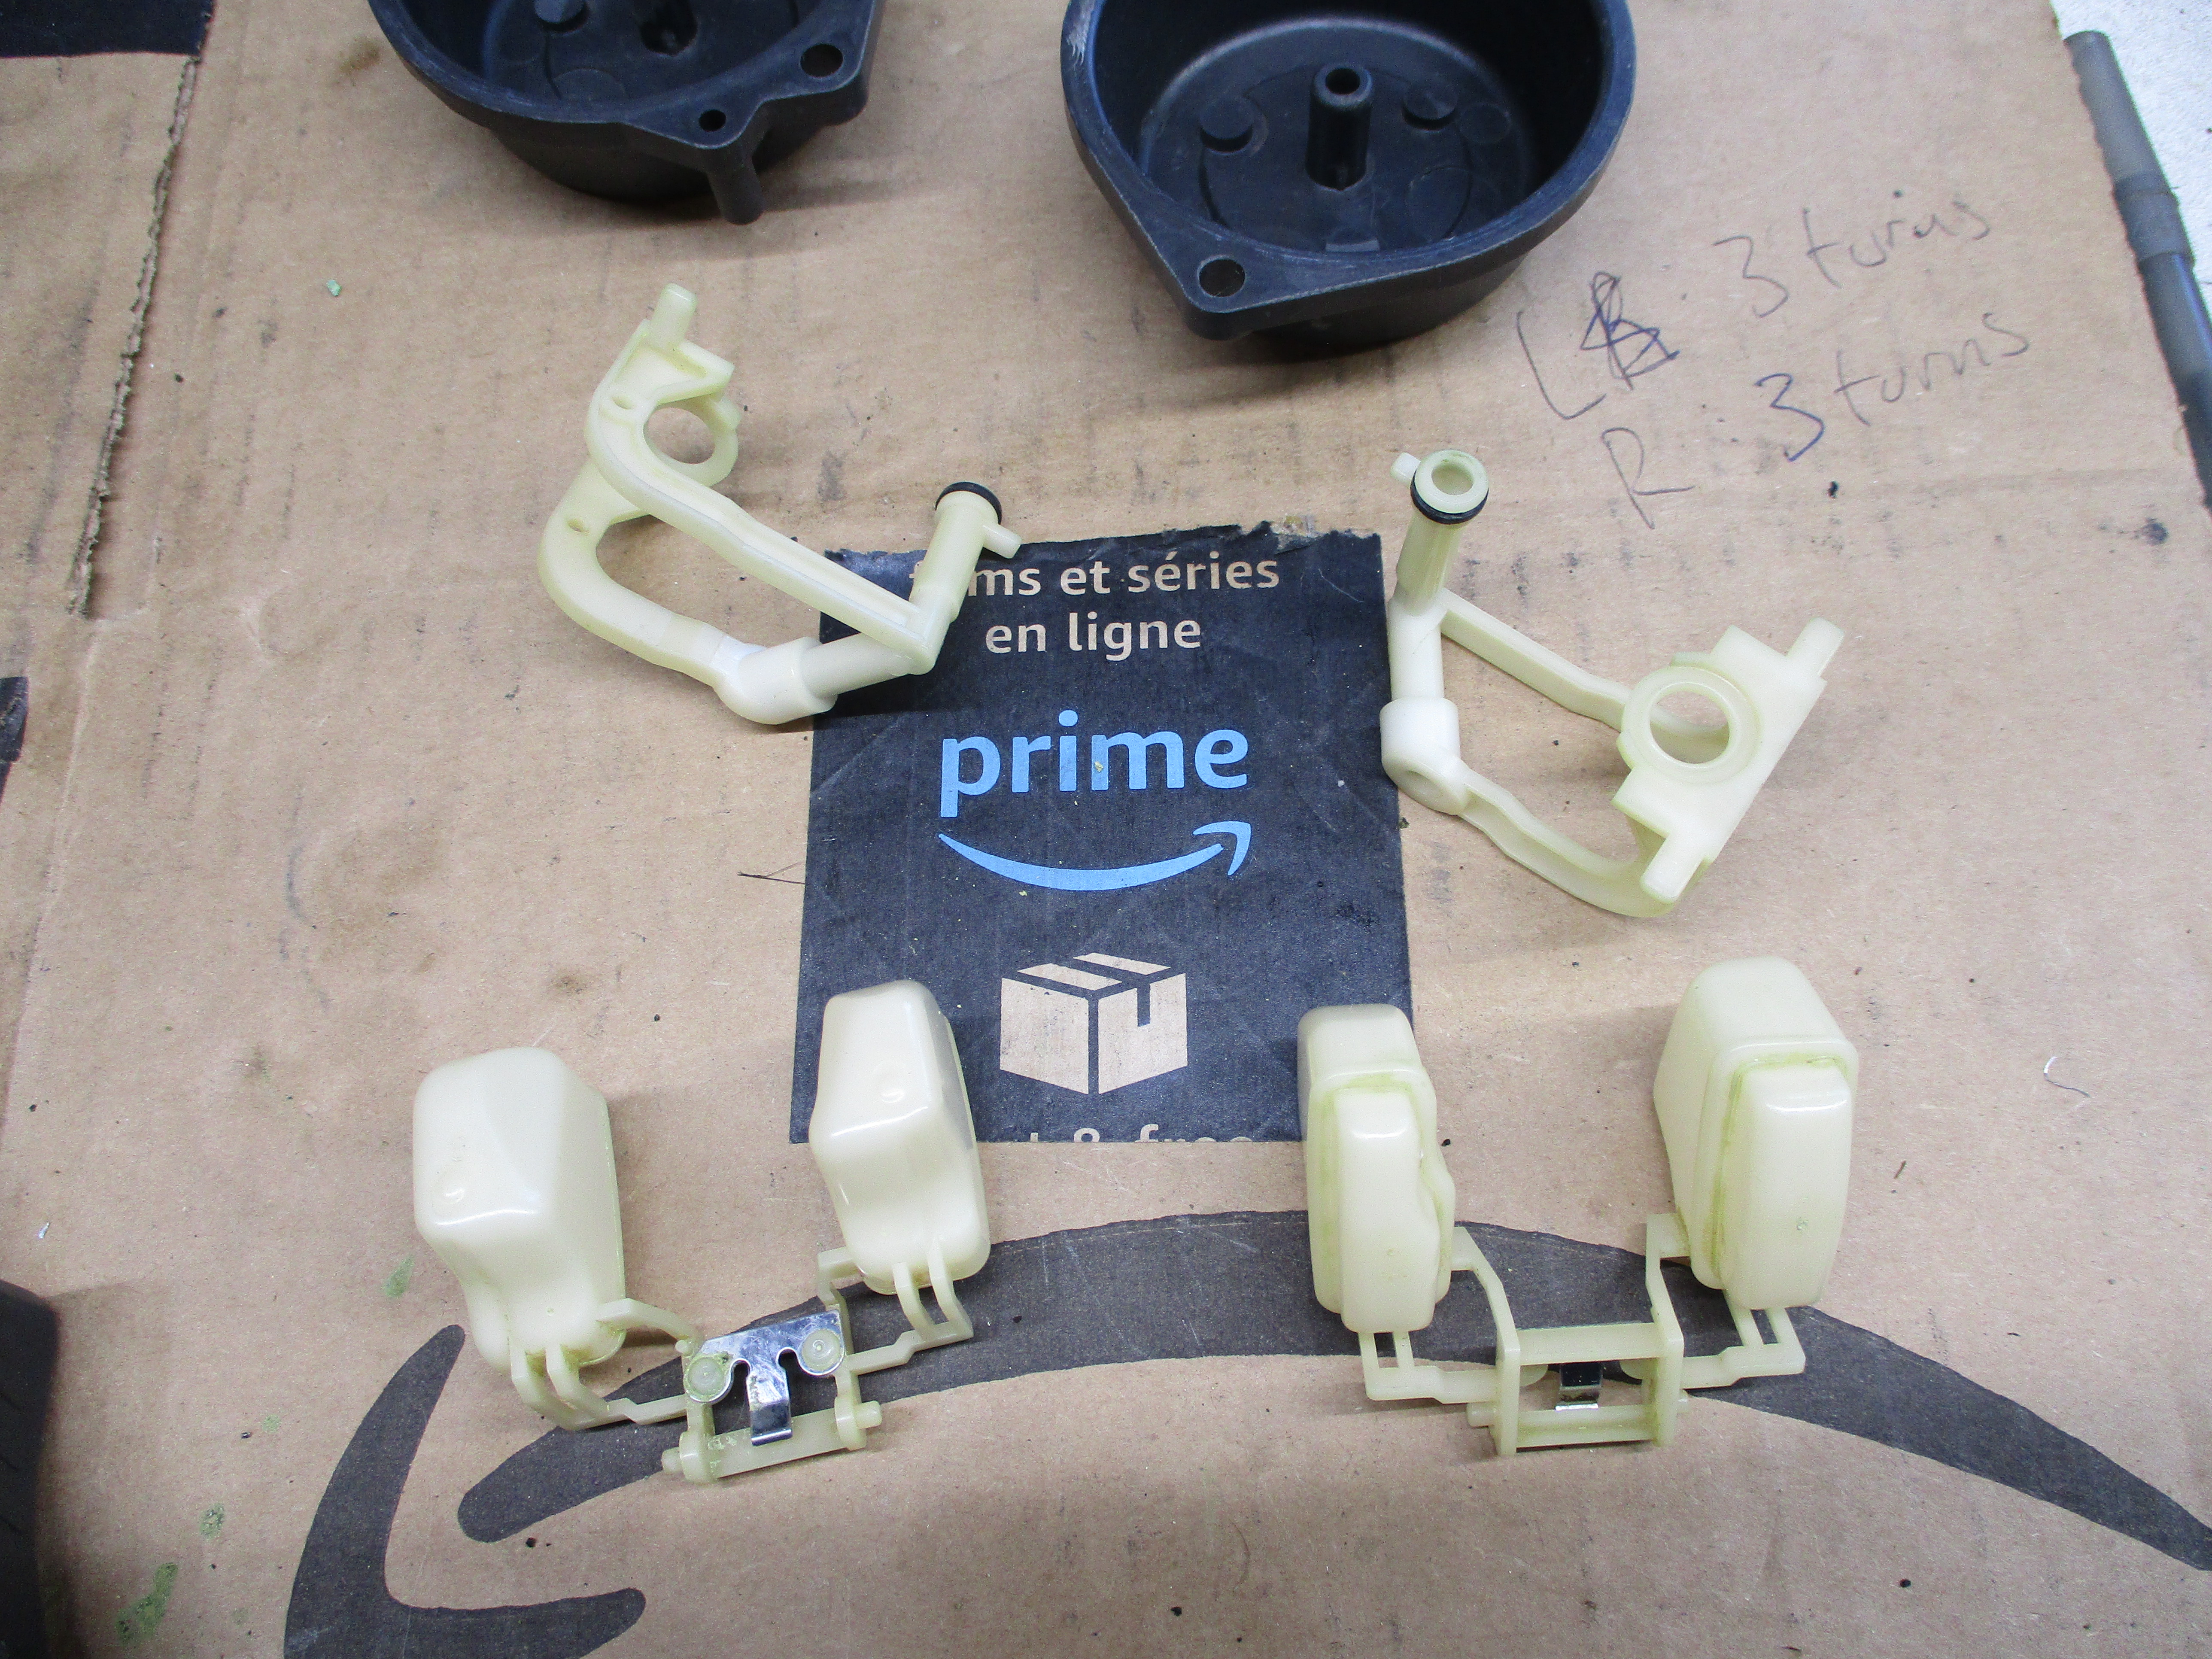
But I tore down the old carburetor just to see what was inside. It was a ghastly sight; no wonder it did not work. The float valves were corroded and stuck, jets corroded, enrichner pickup tubes clogged, and internal enrichner passageways were clogged. I had never seen a carburetor this bad.
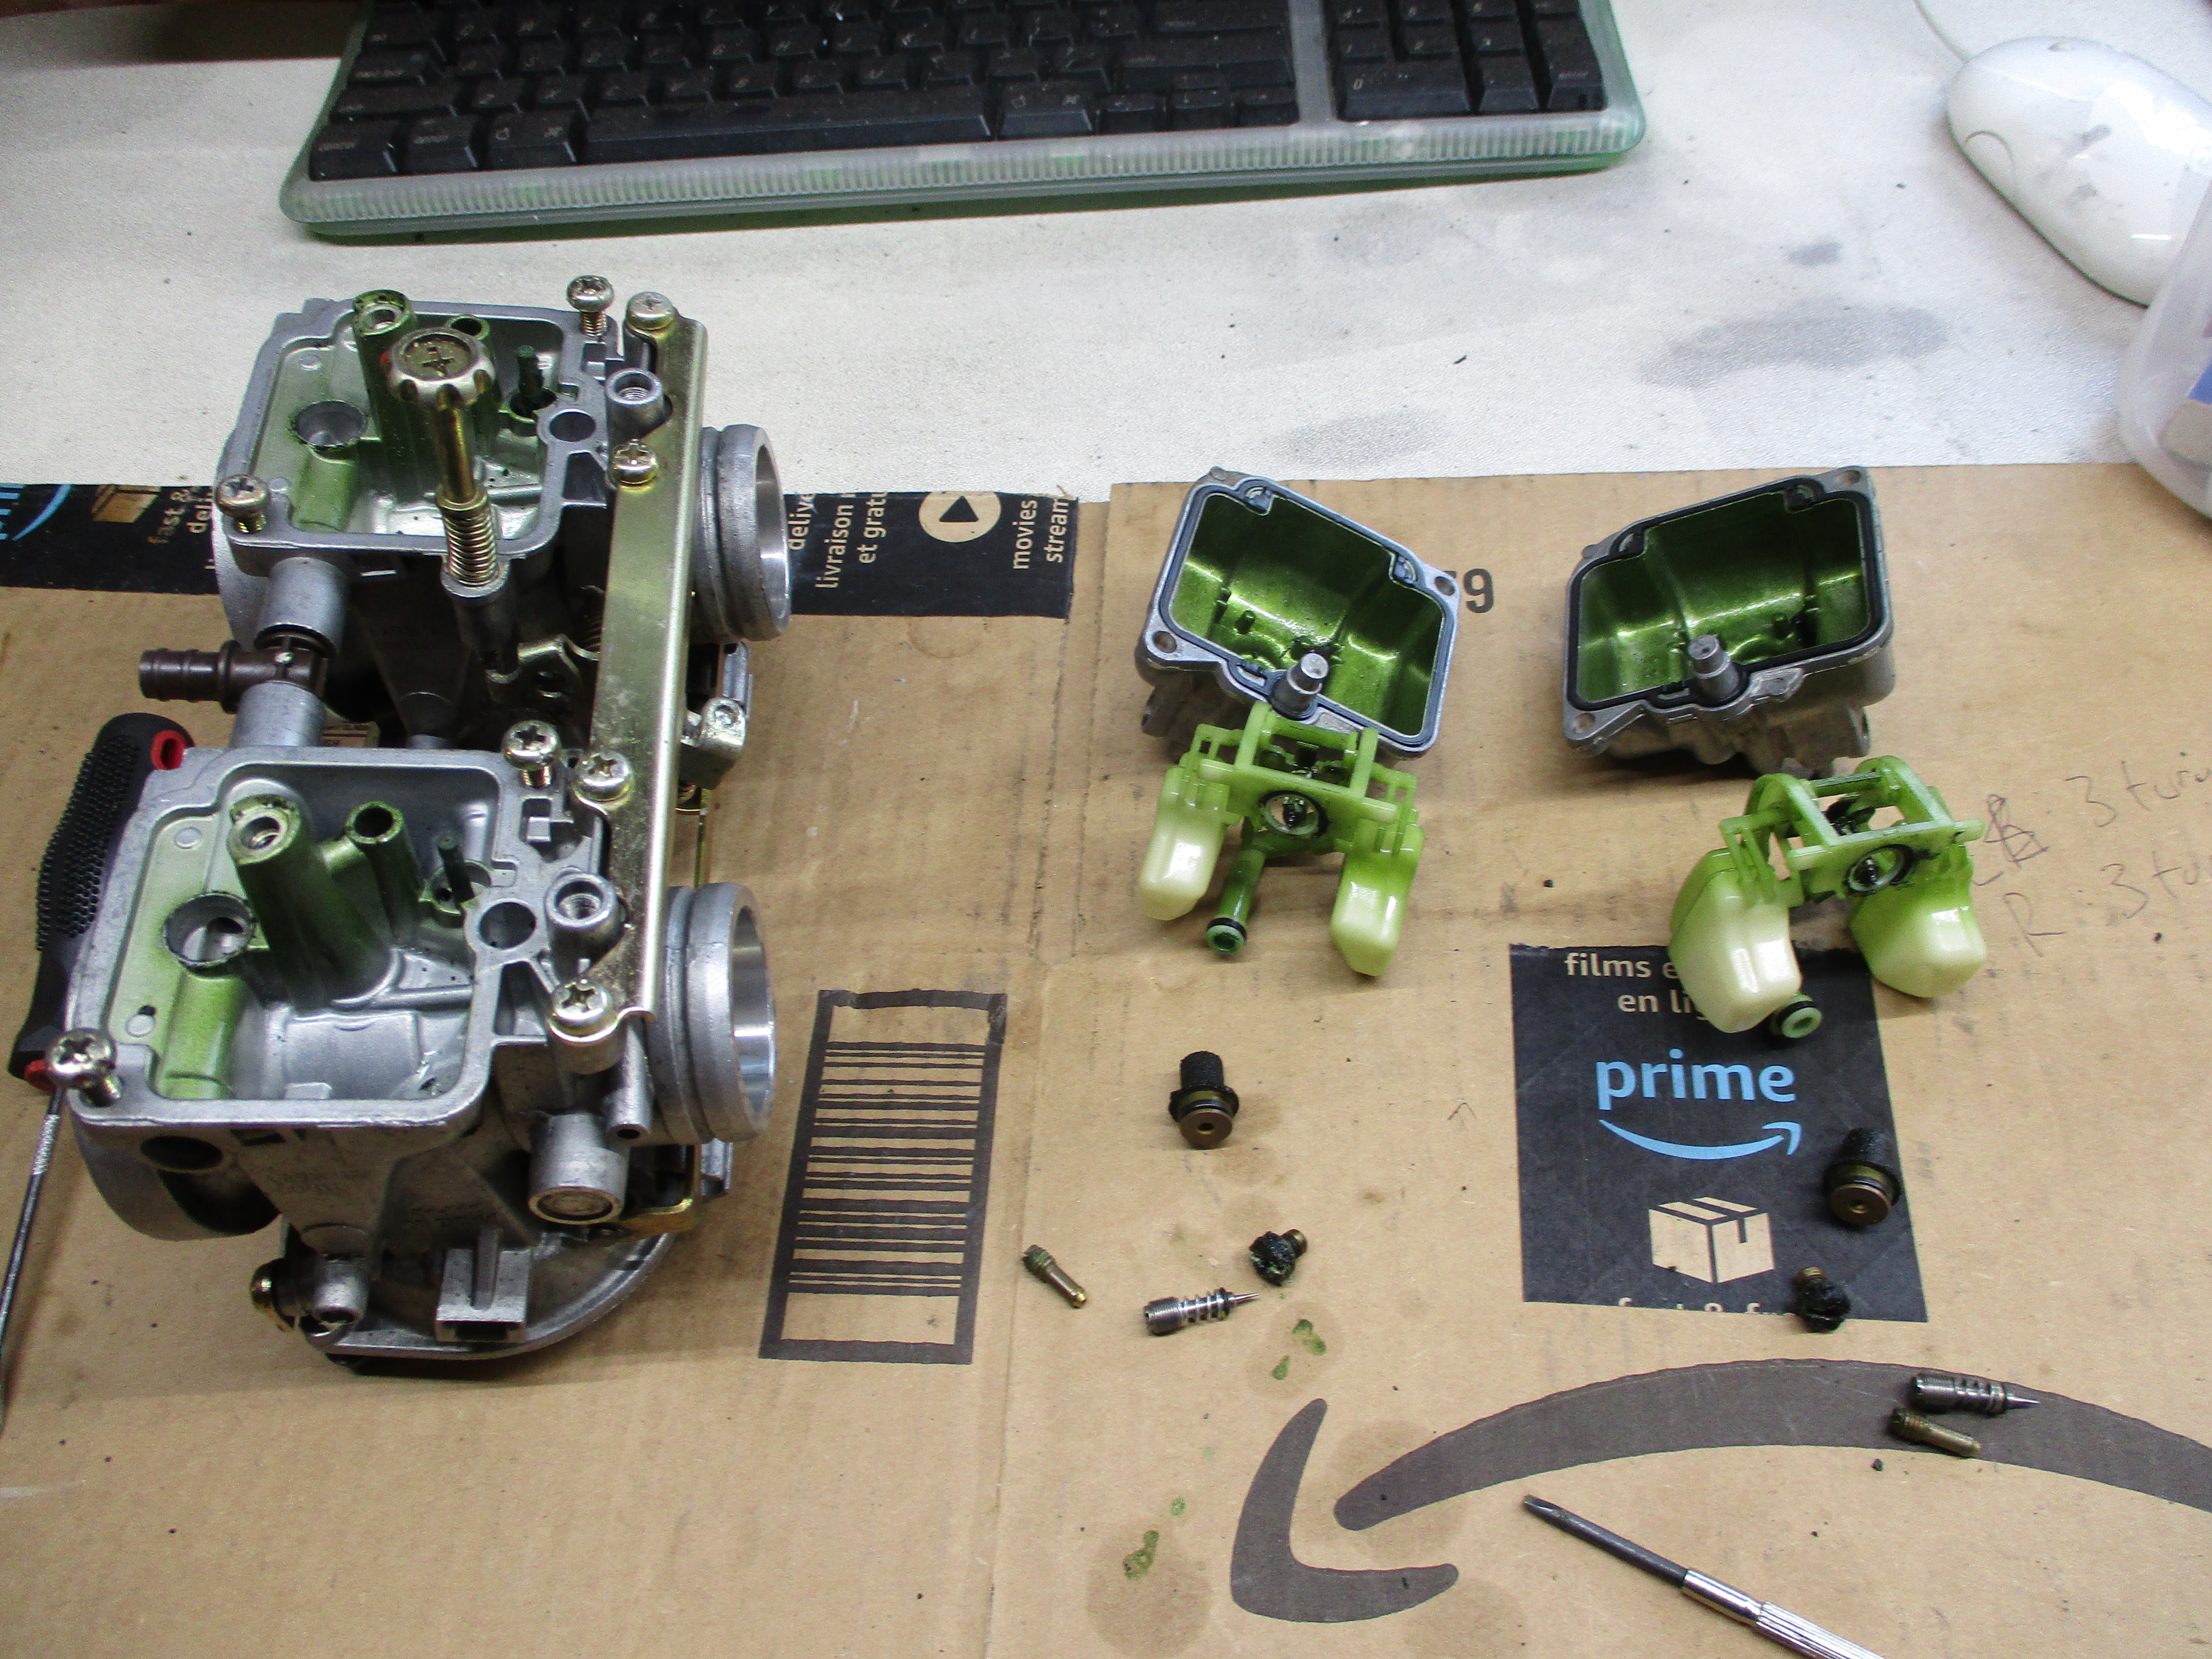

But it cleaned up pretty well in the ultrasonic cleaner, good enough for it to run the motorcycle for a brief test.

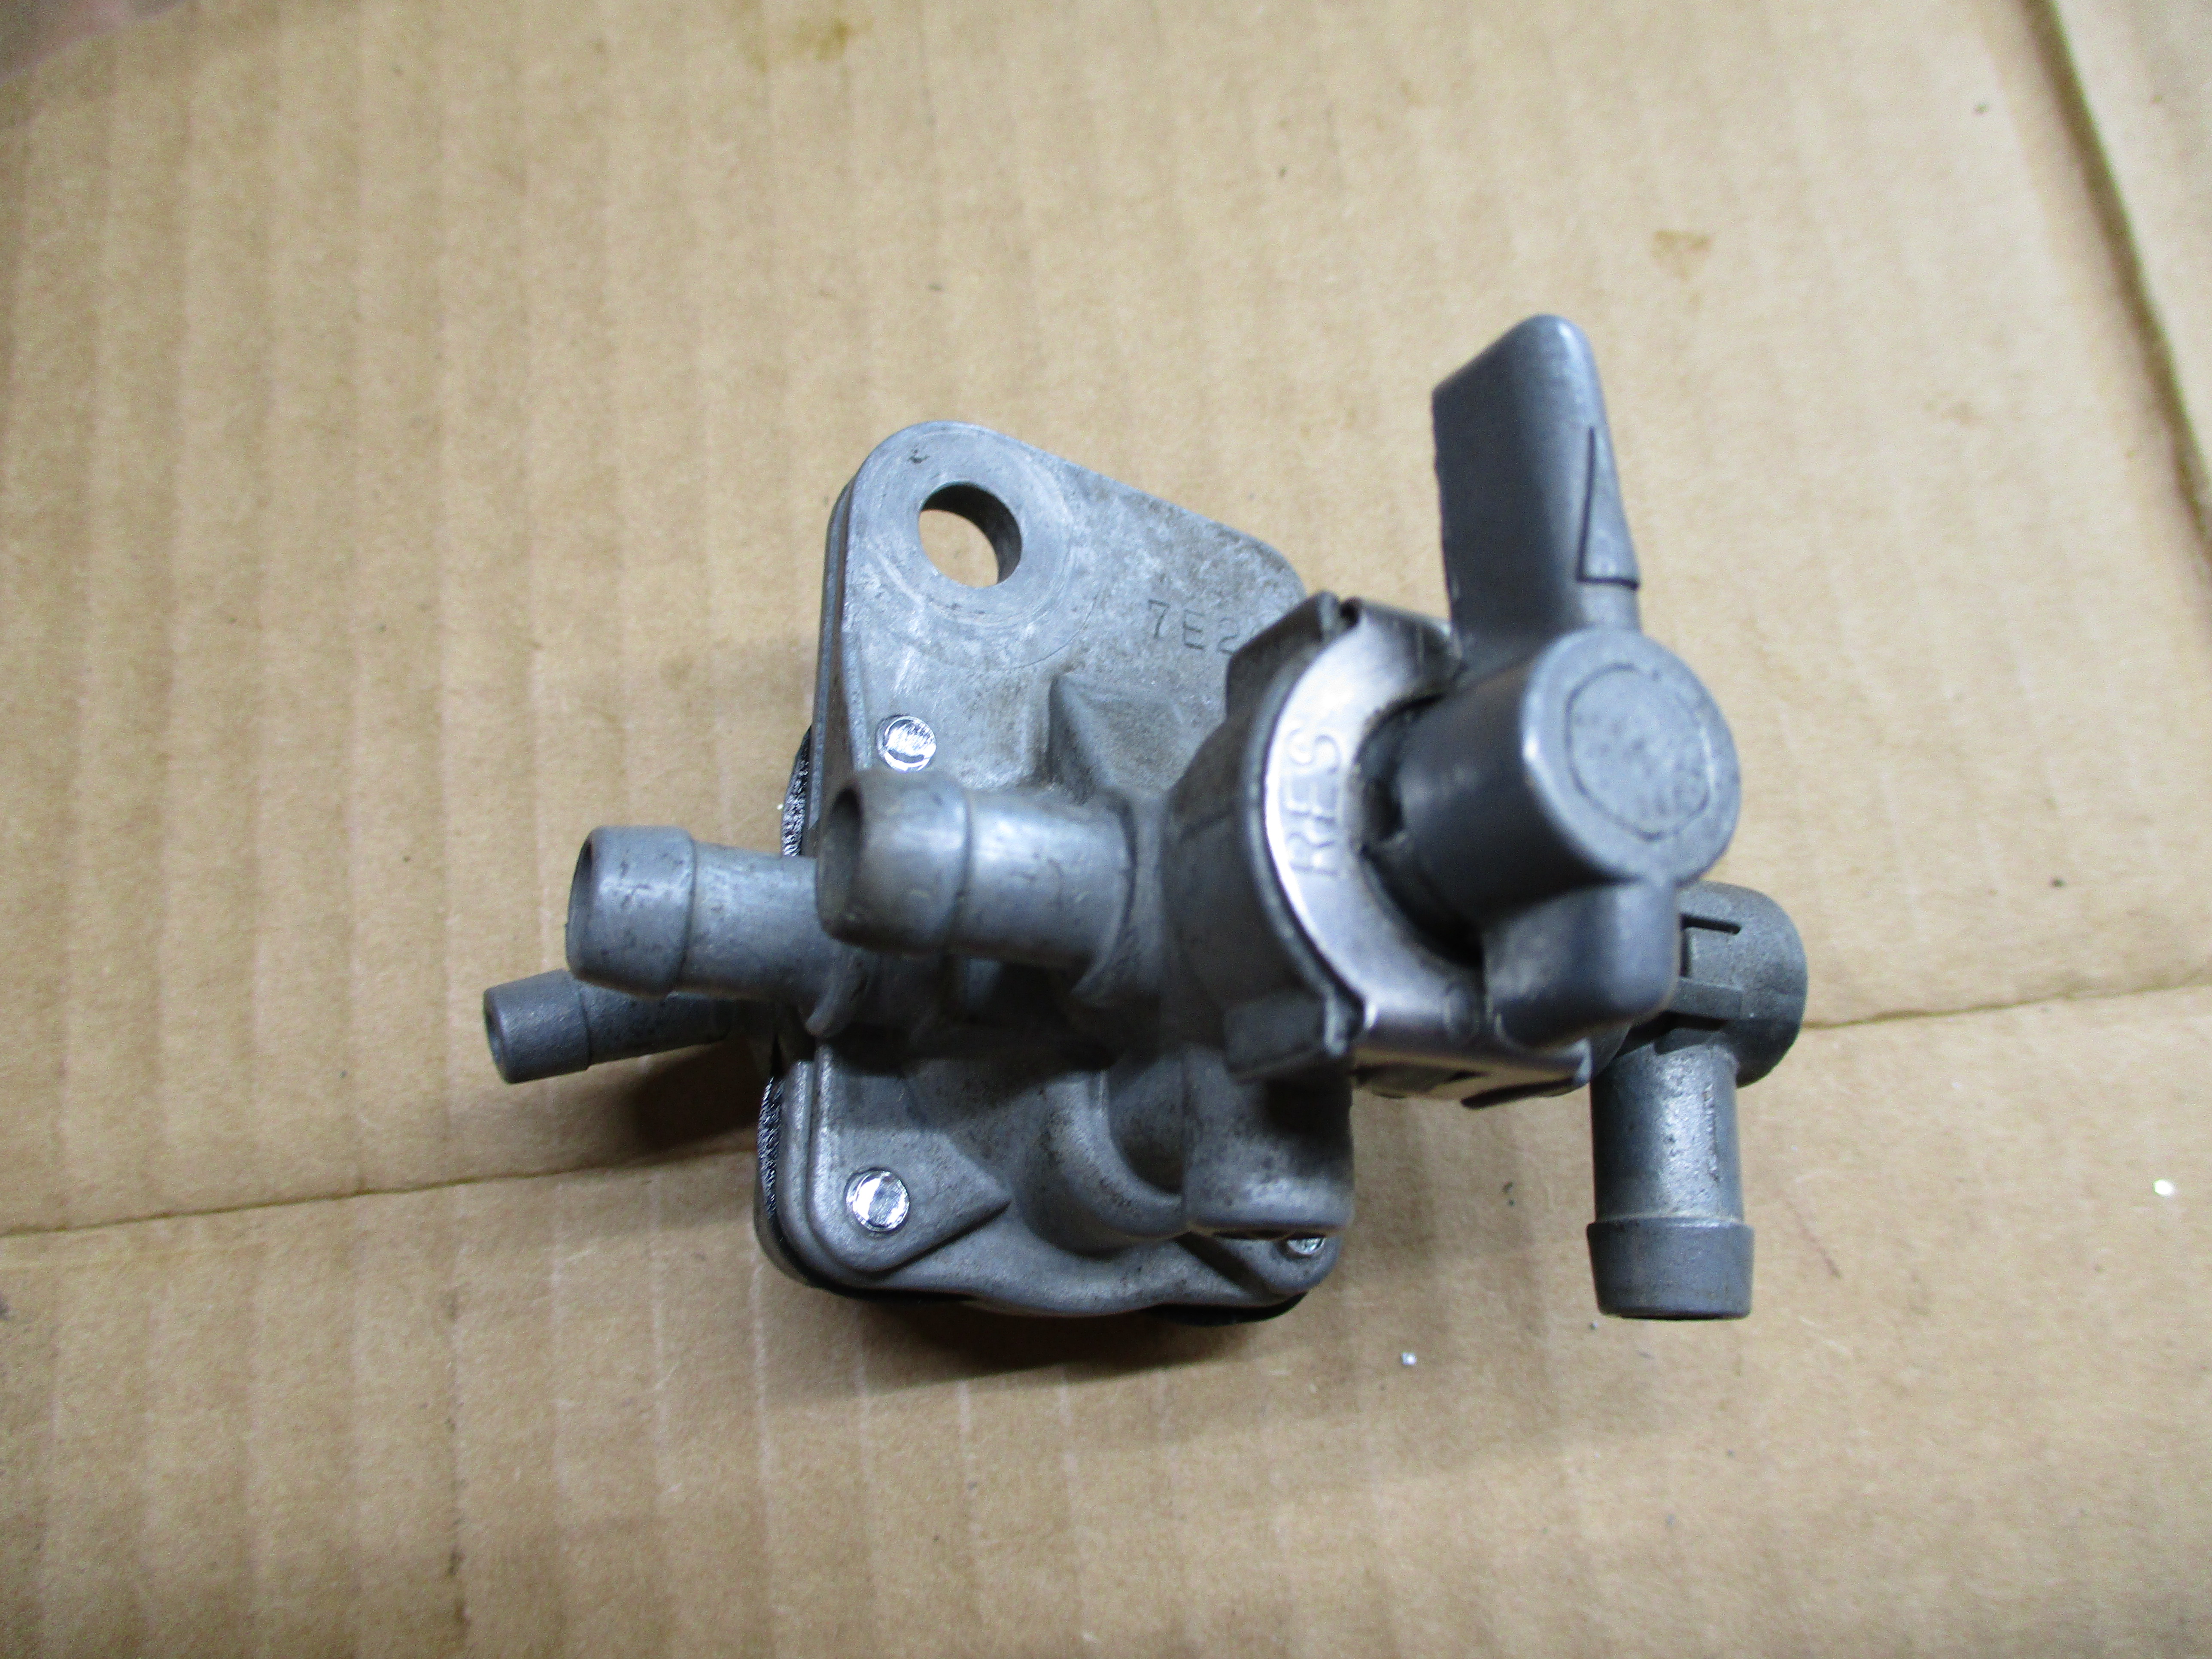
The gas tank, gas tank petcock, main petcock and hoses were all in very bad shape.
The second, black, better gas tank that came with the motorcycle looked great externally but internally was a nightmare. It had lots of rust in the bottom of the tank, but someone had then coated over it, with what looked like to me, Red-Kote. And instead of removing the tank petcock before sealing it, they sealed right over the pickup screen on the petcock.
The tank petcock was filled with hardened Red-Kote and the switch was siezed. The hoses from the tank to the main petcock were discolored. The main petcock was also siezed and had hardened build up inside of it.

Right away I tried electrolysis to remove the internal tank rust but it was not very effective through the partially peeling and delaminating Red-Kote (they are right, that stuff stays pliable). Eventually I decided to strip the Red-Kote from the tank using a gallon of Acetone. This worked well but was messy. After that the electrolysis worked much better and cleaned up all the internal rust.

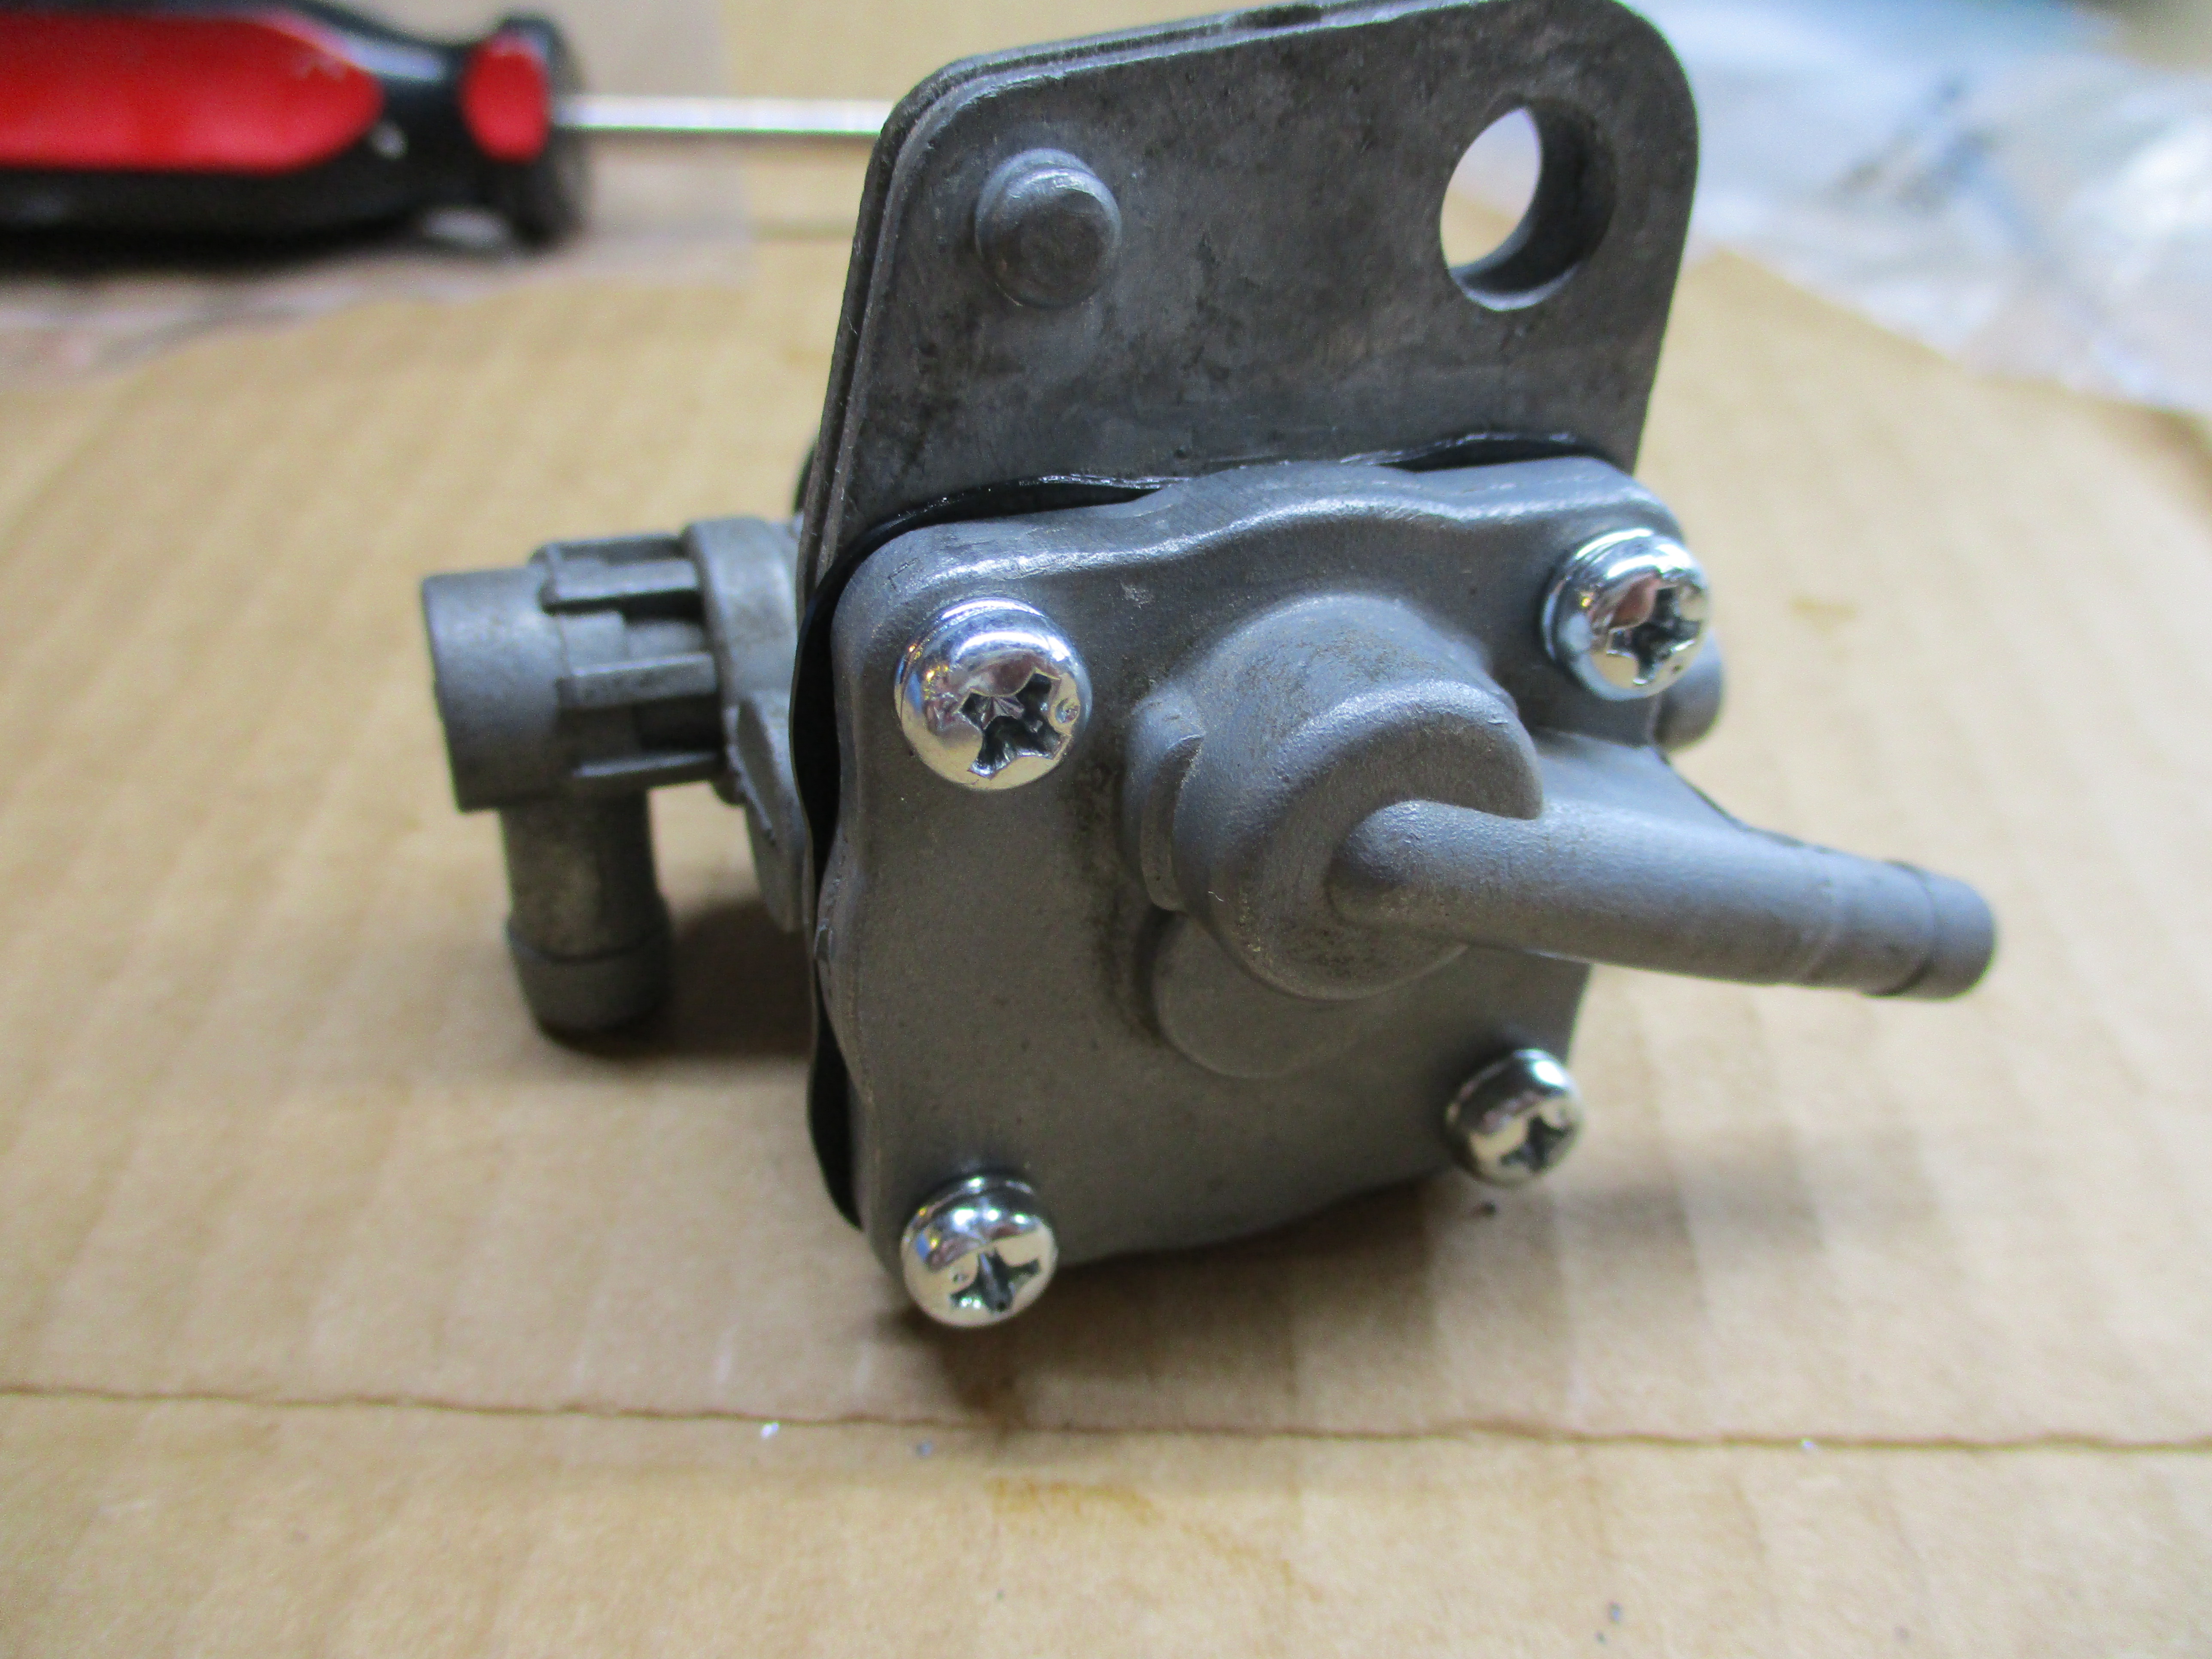
The tank mounted petcock had internal casting corrosion and could not be saved. Enough material had corroded off that it would not seal in the 'Off' position. I bought a new TourMax reproduction petcock to replace it.
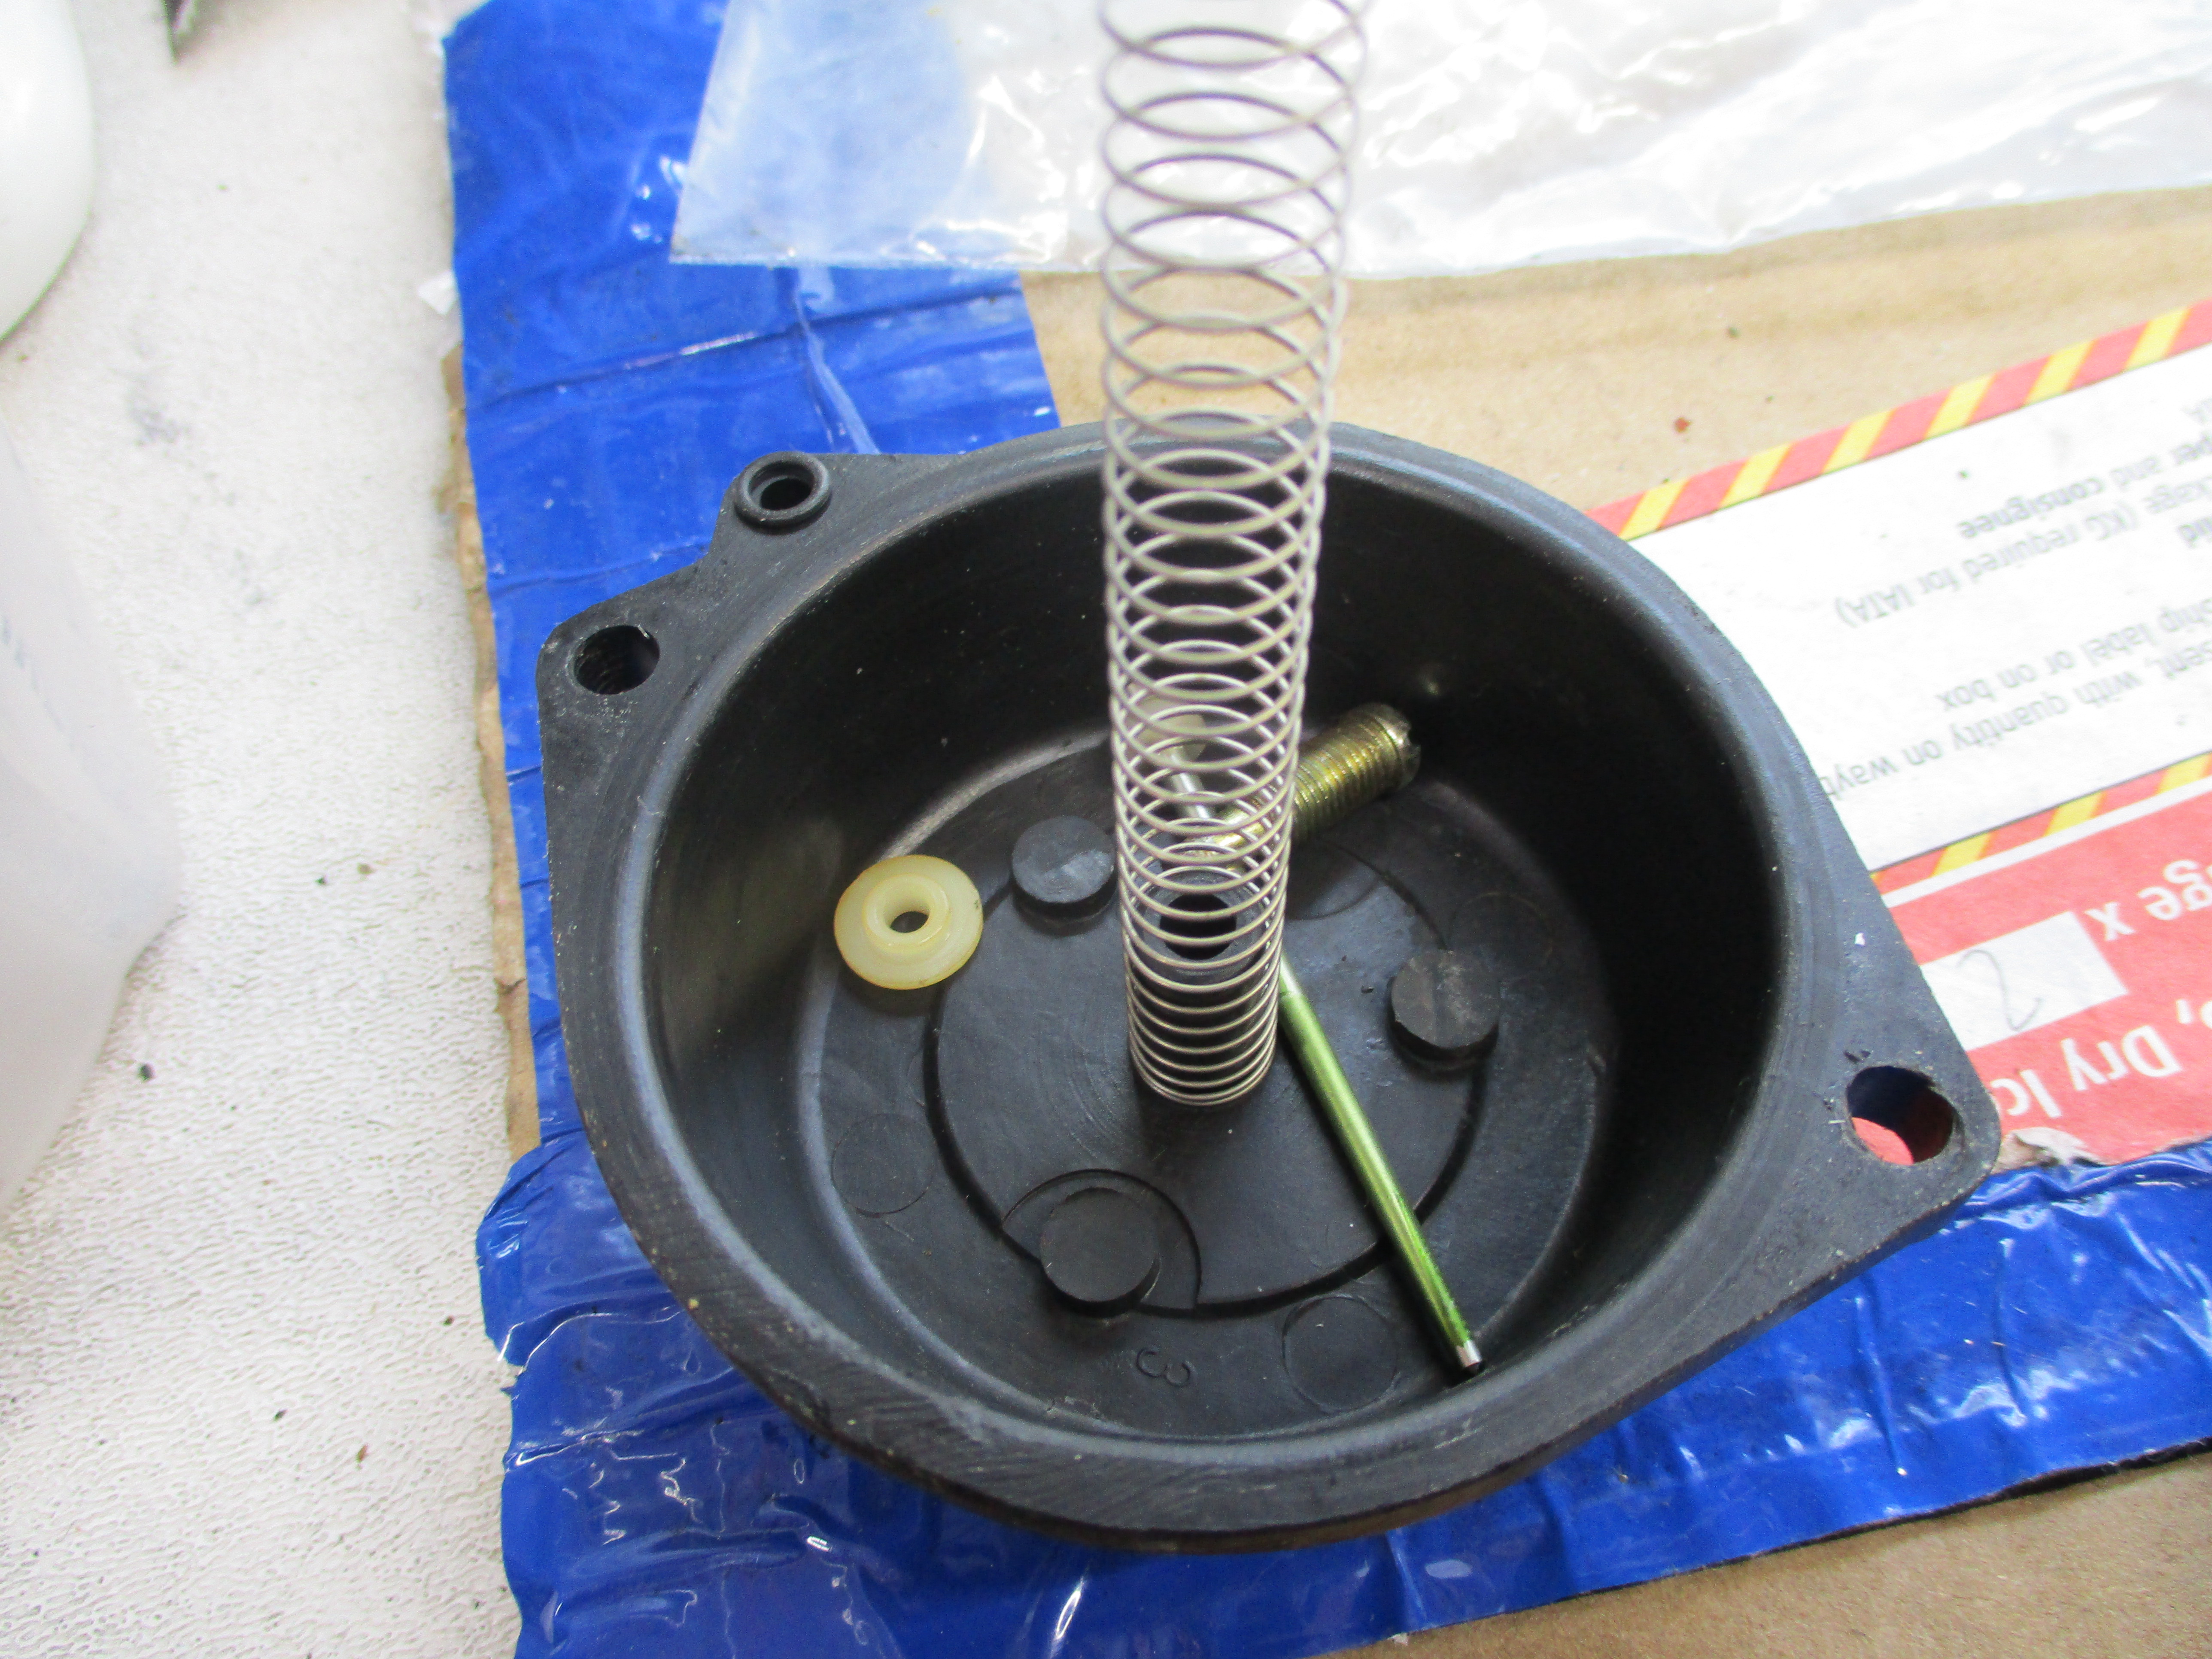
The main petcock was saveable. After ultrasonic cleaning I bought and installed an All Balls rebuild kit for the diaphragm. I also bough 6' of Tygon fuel hose and used that for tubing the fuel system.
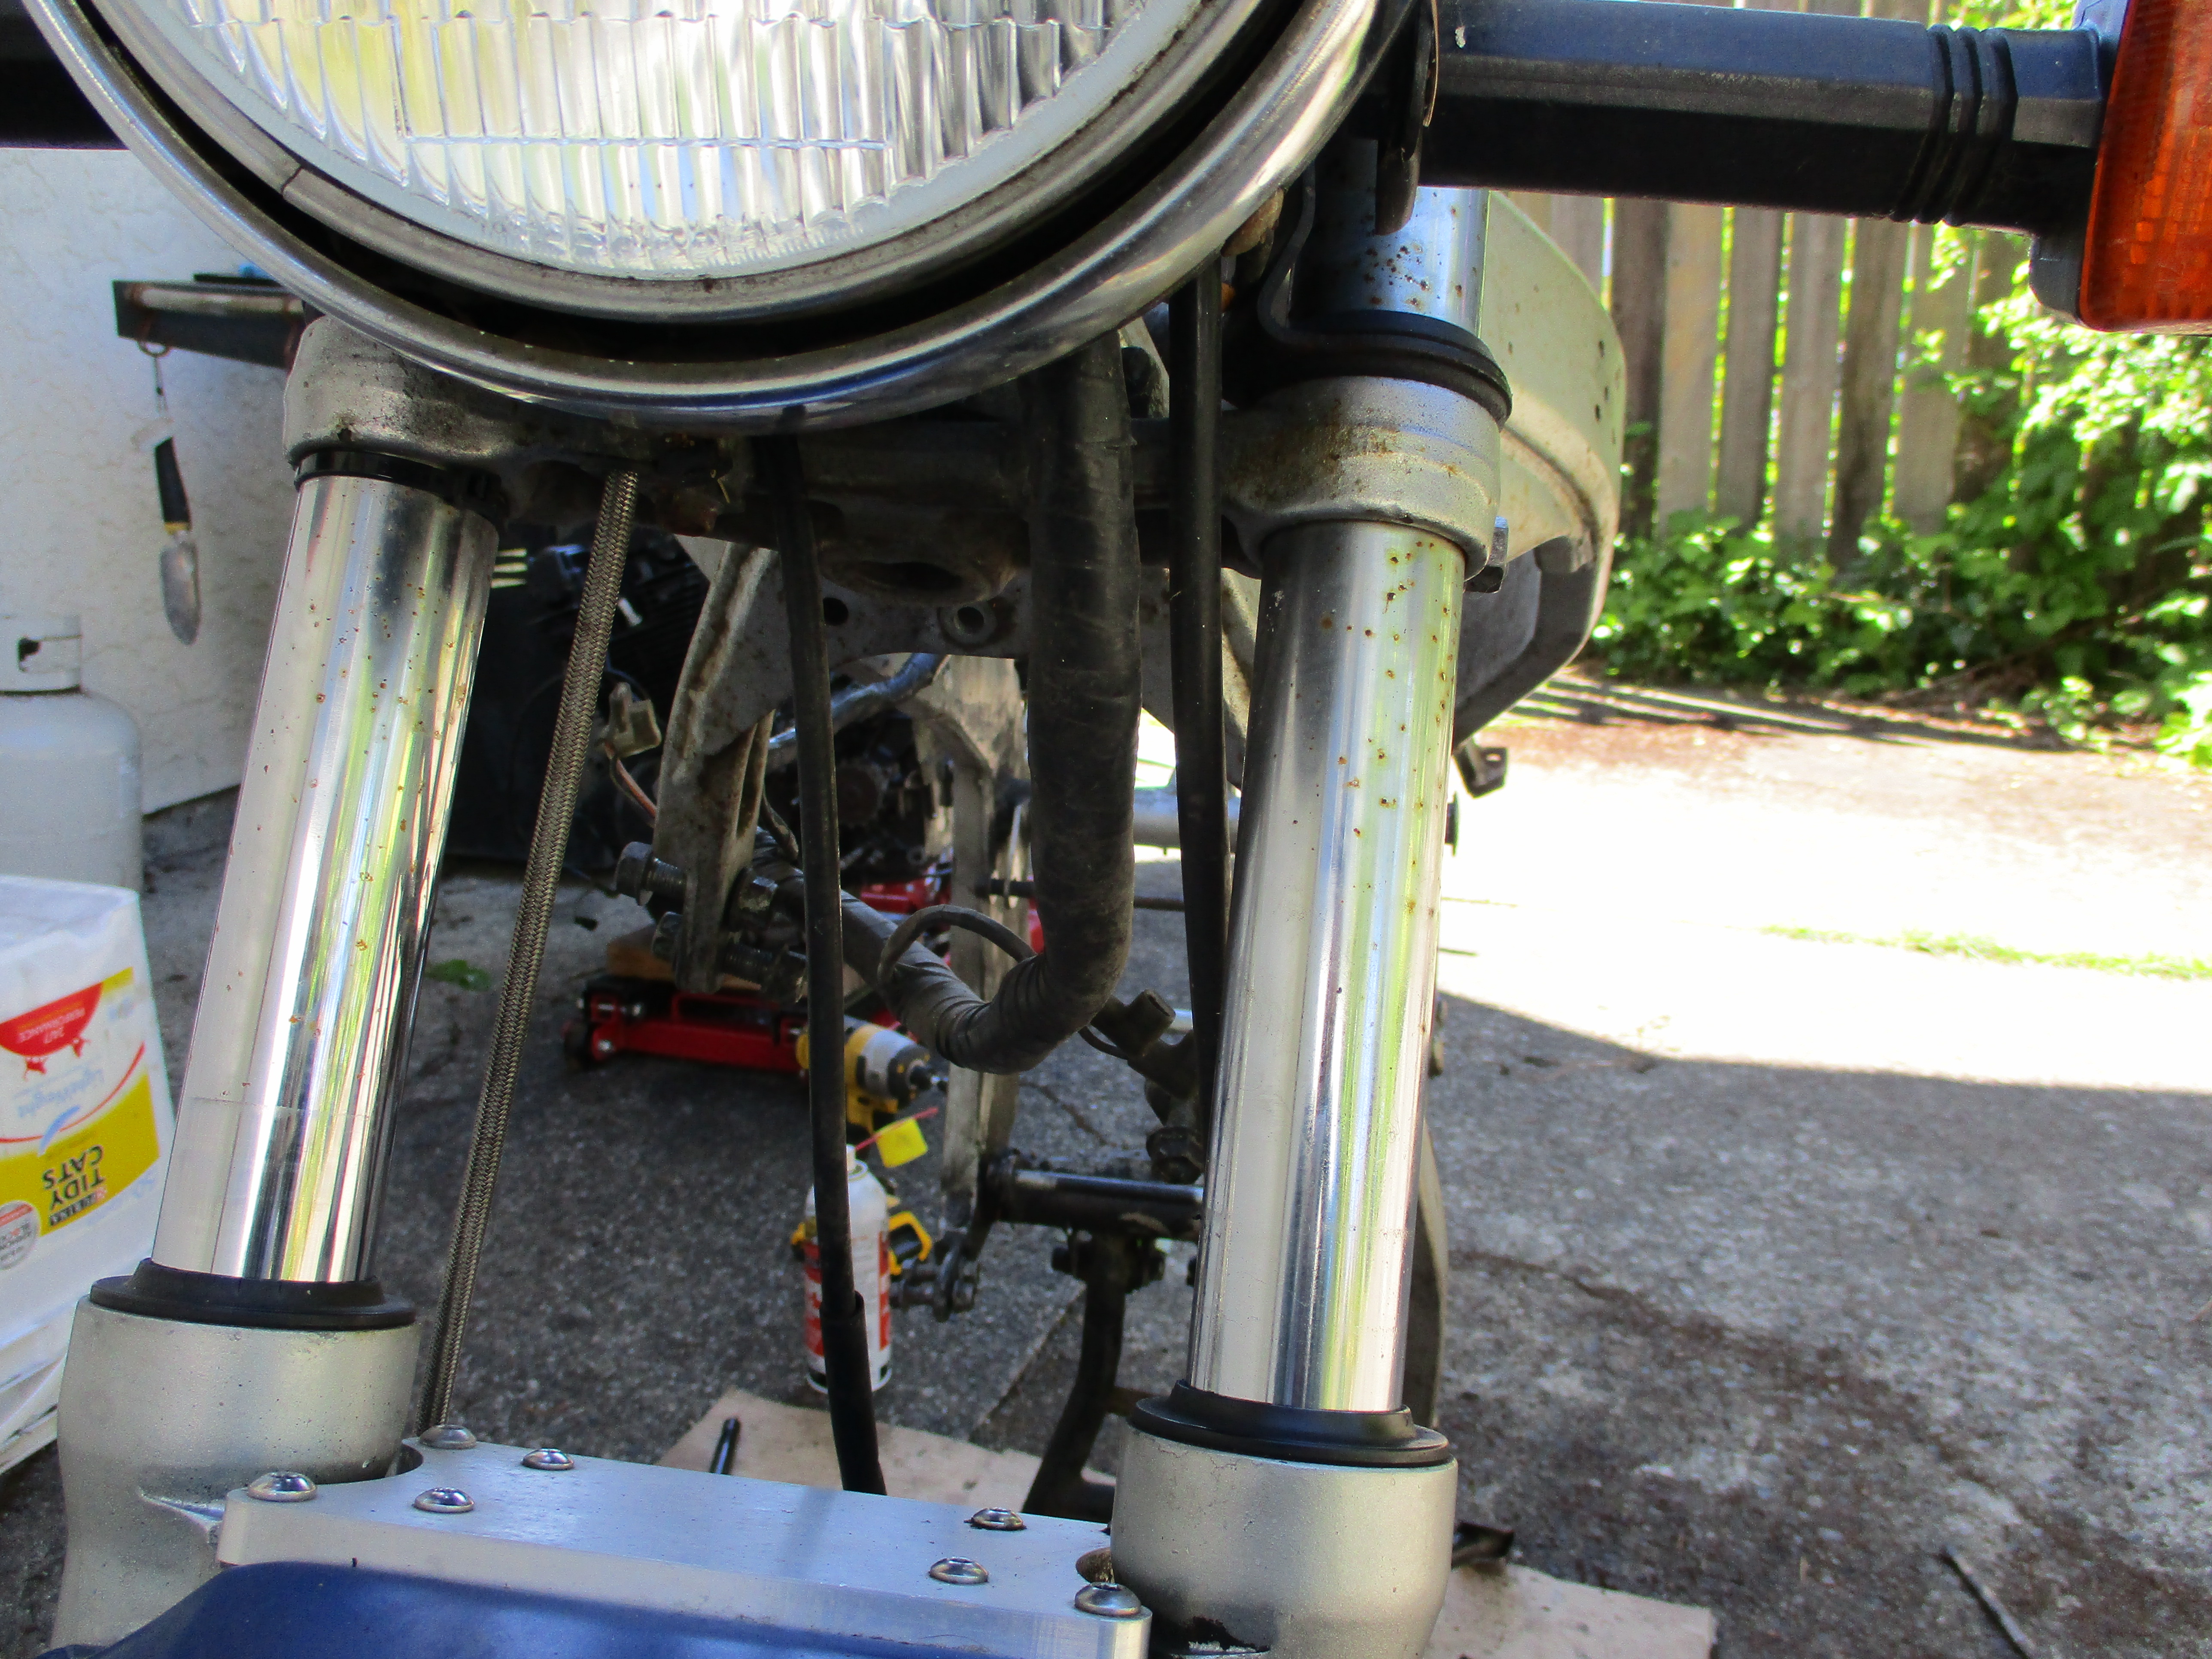
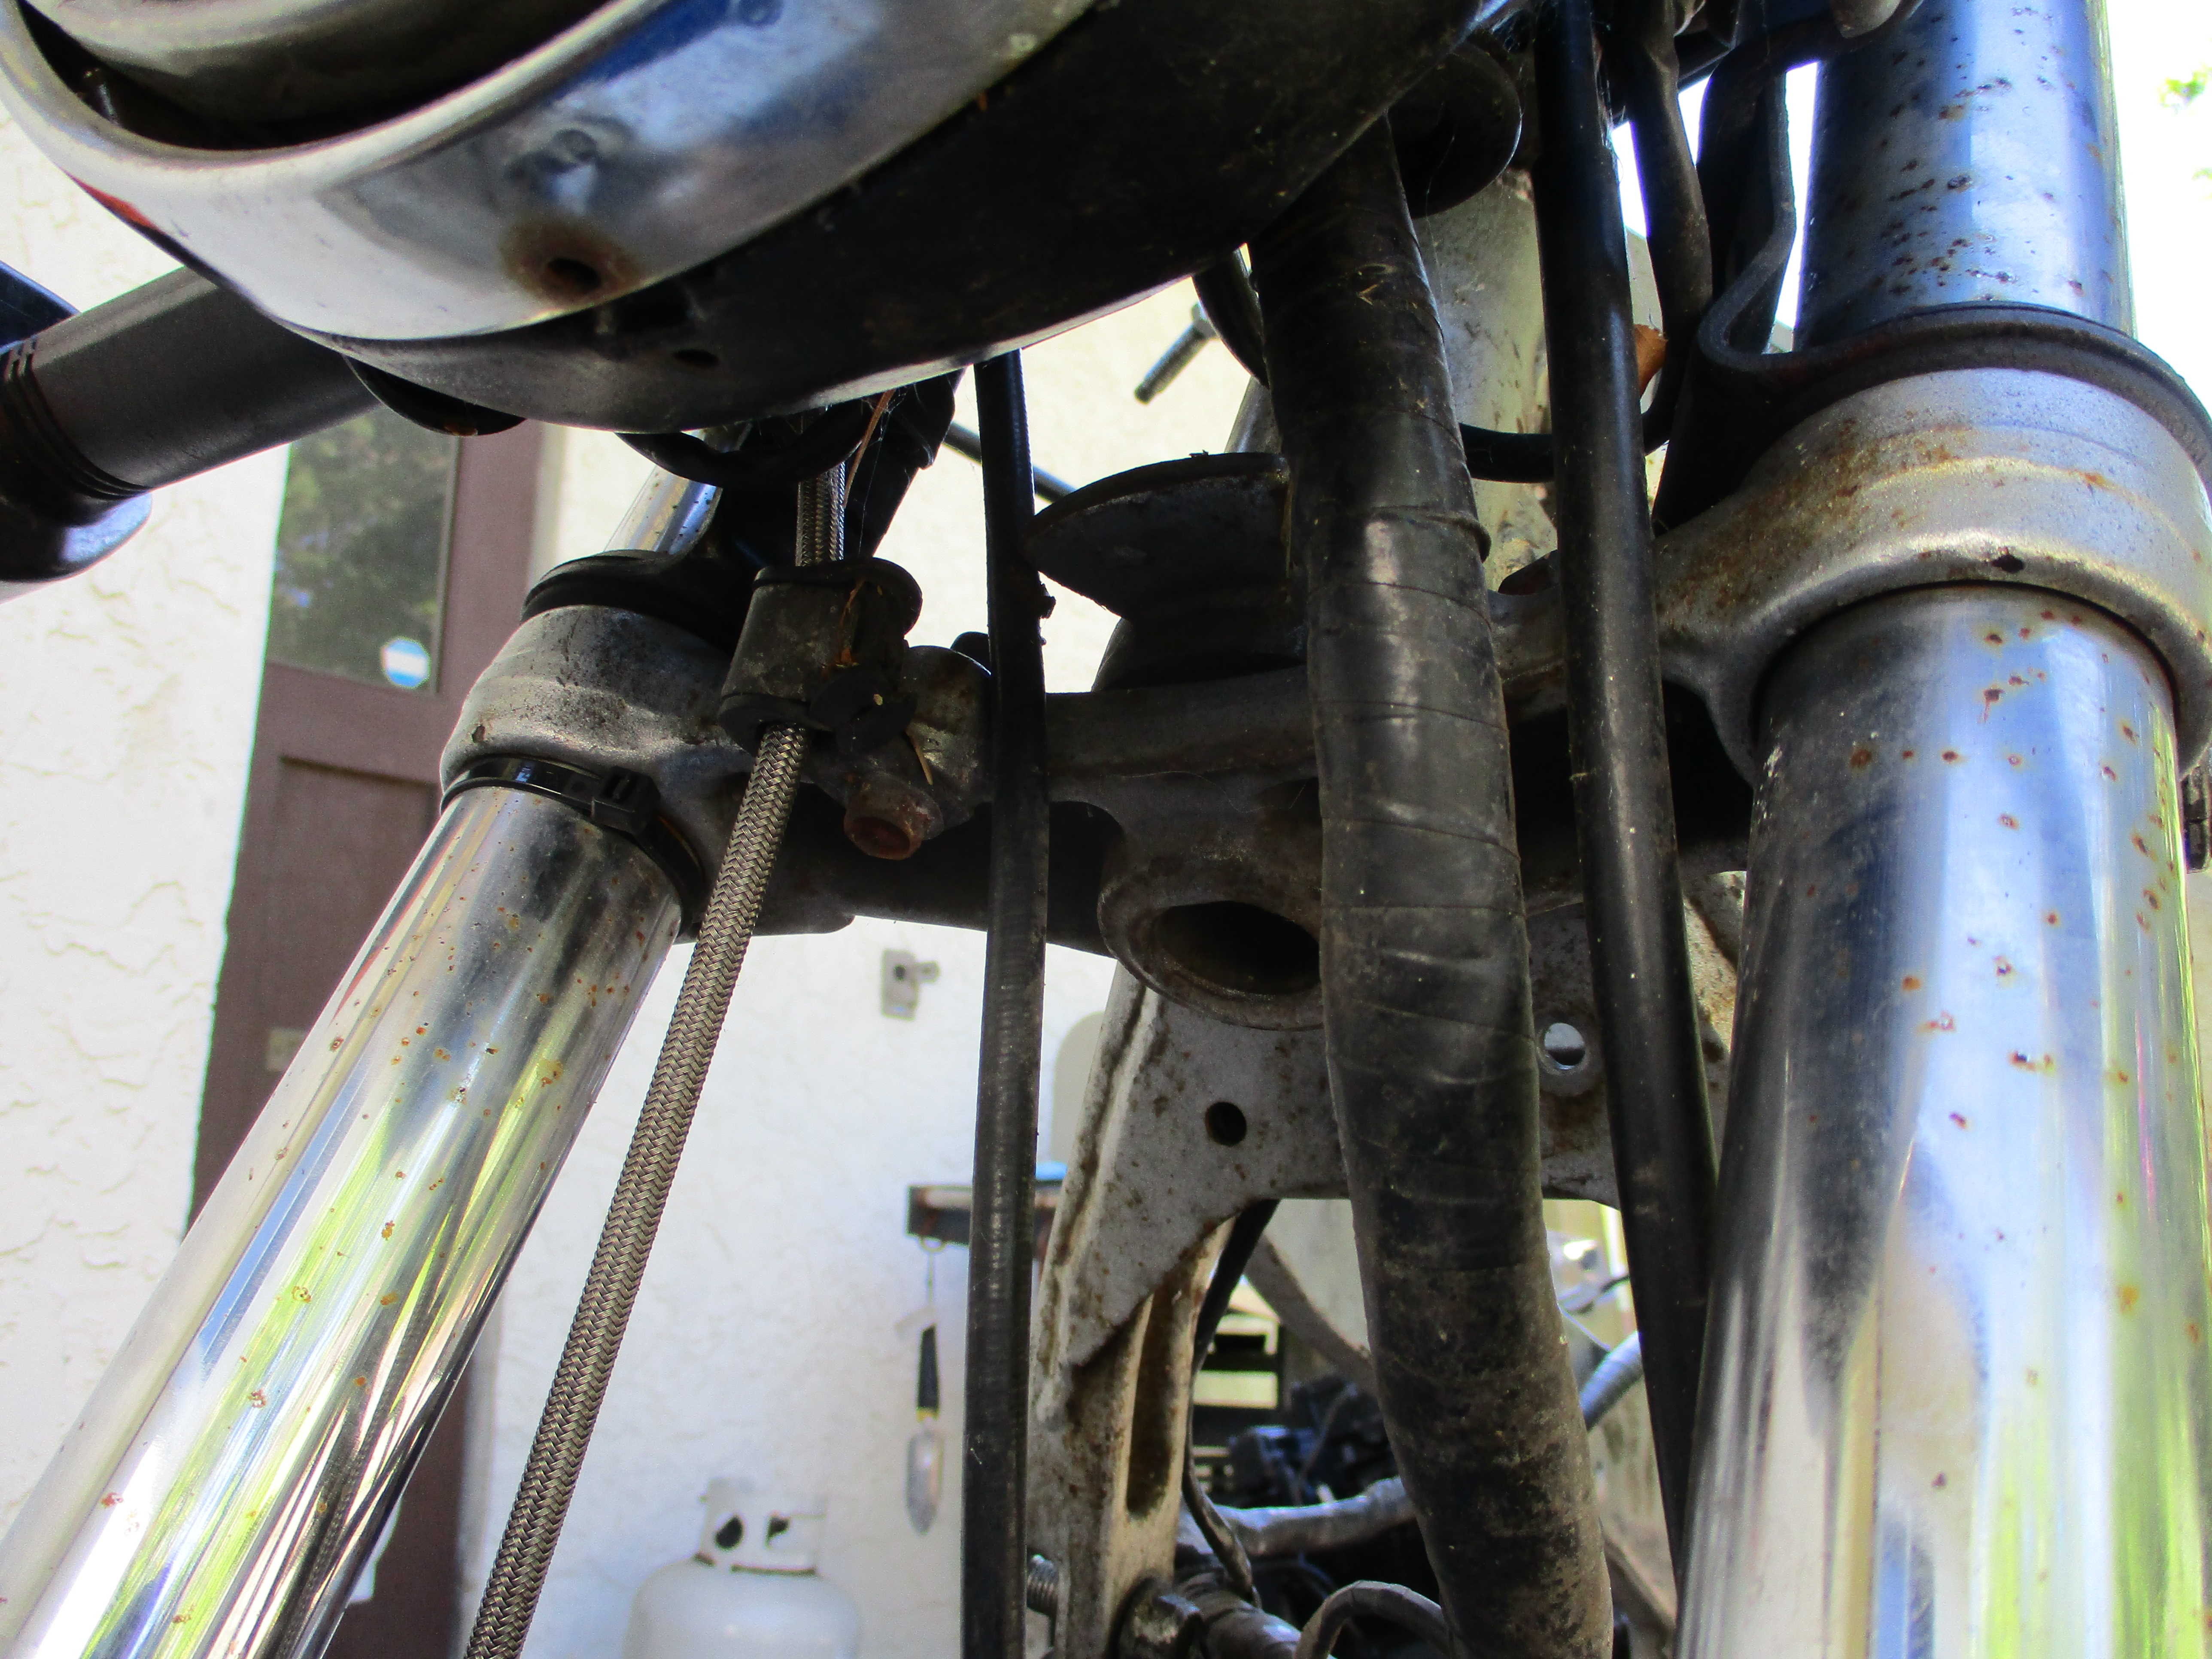
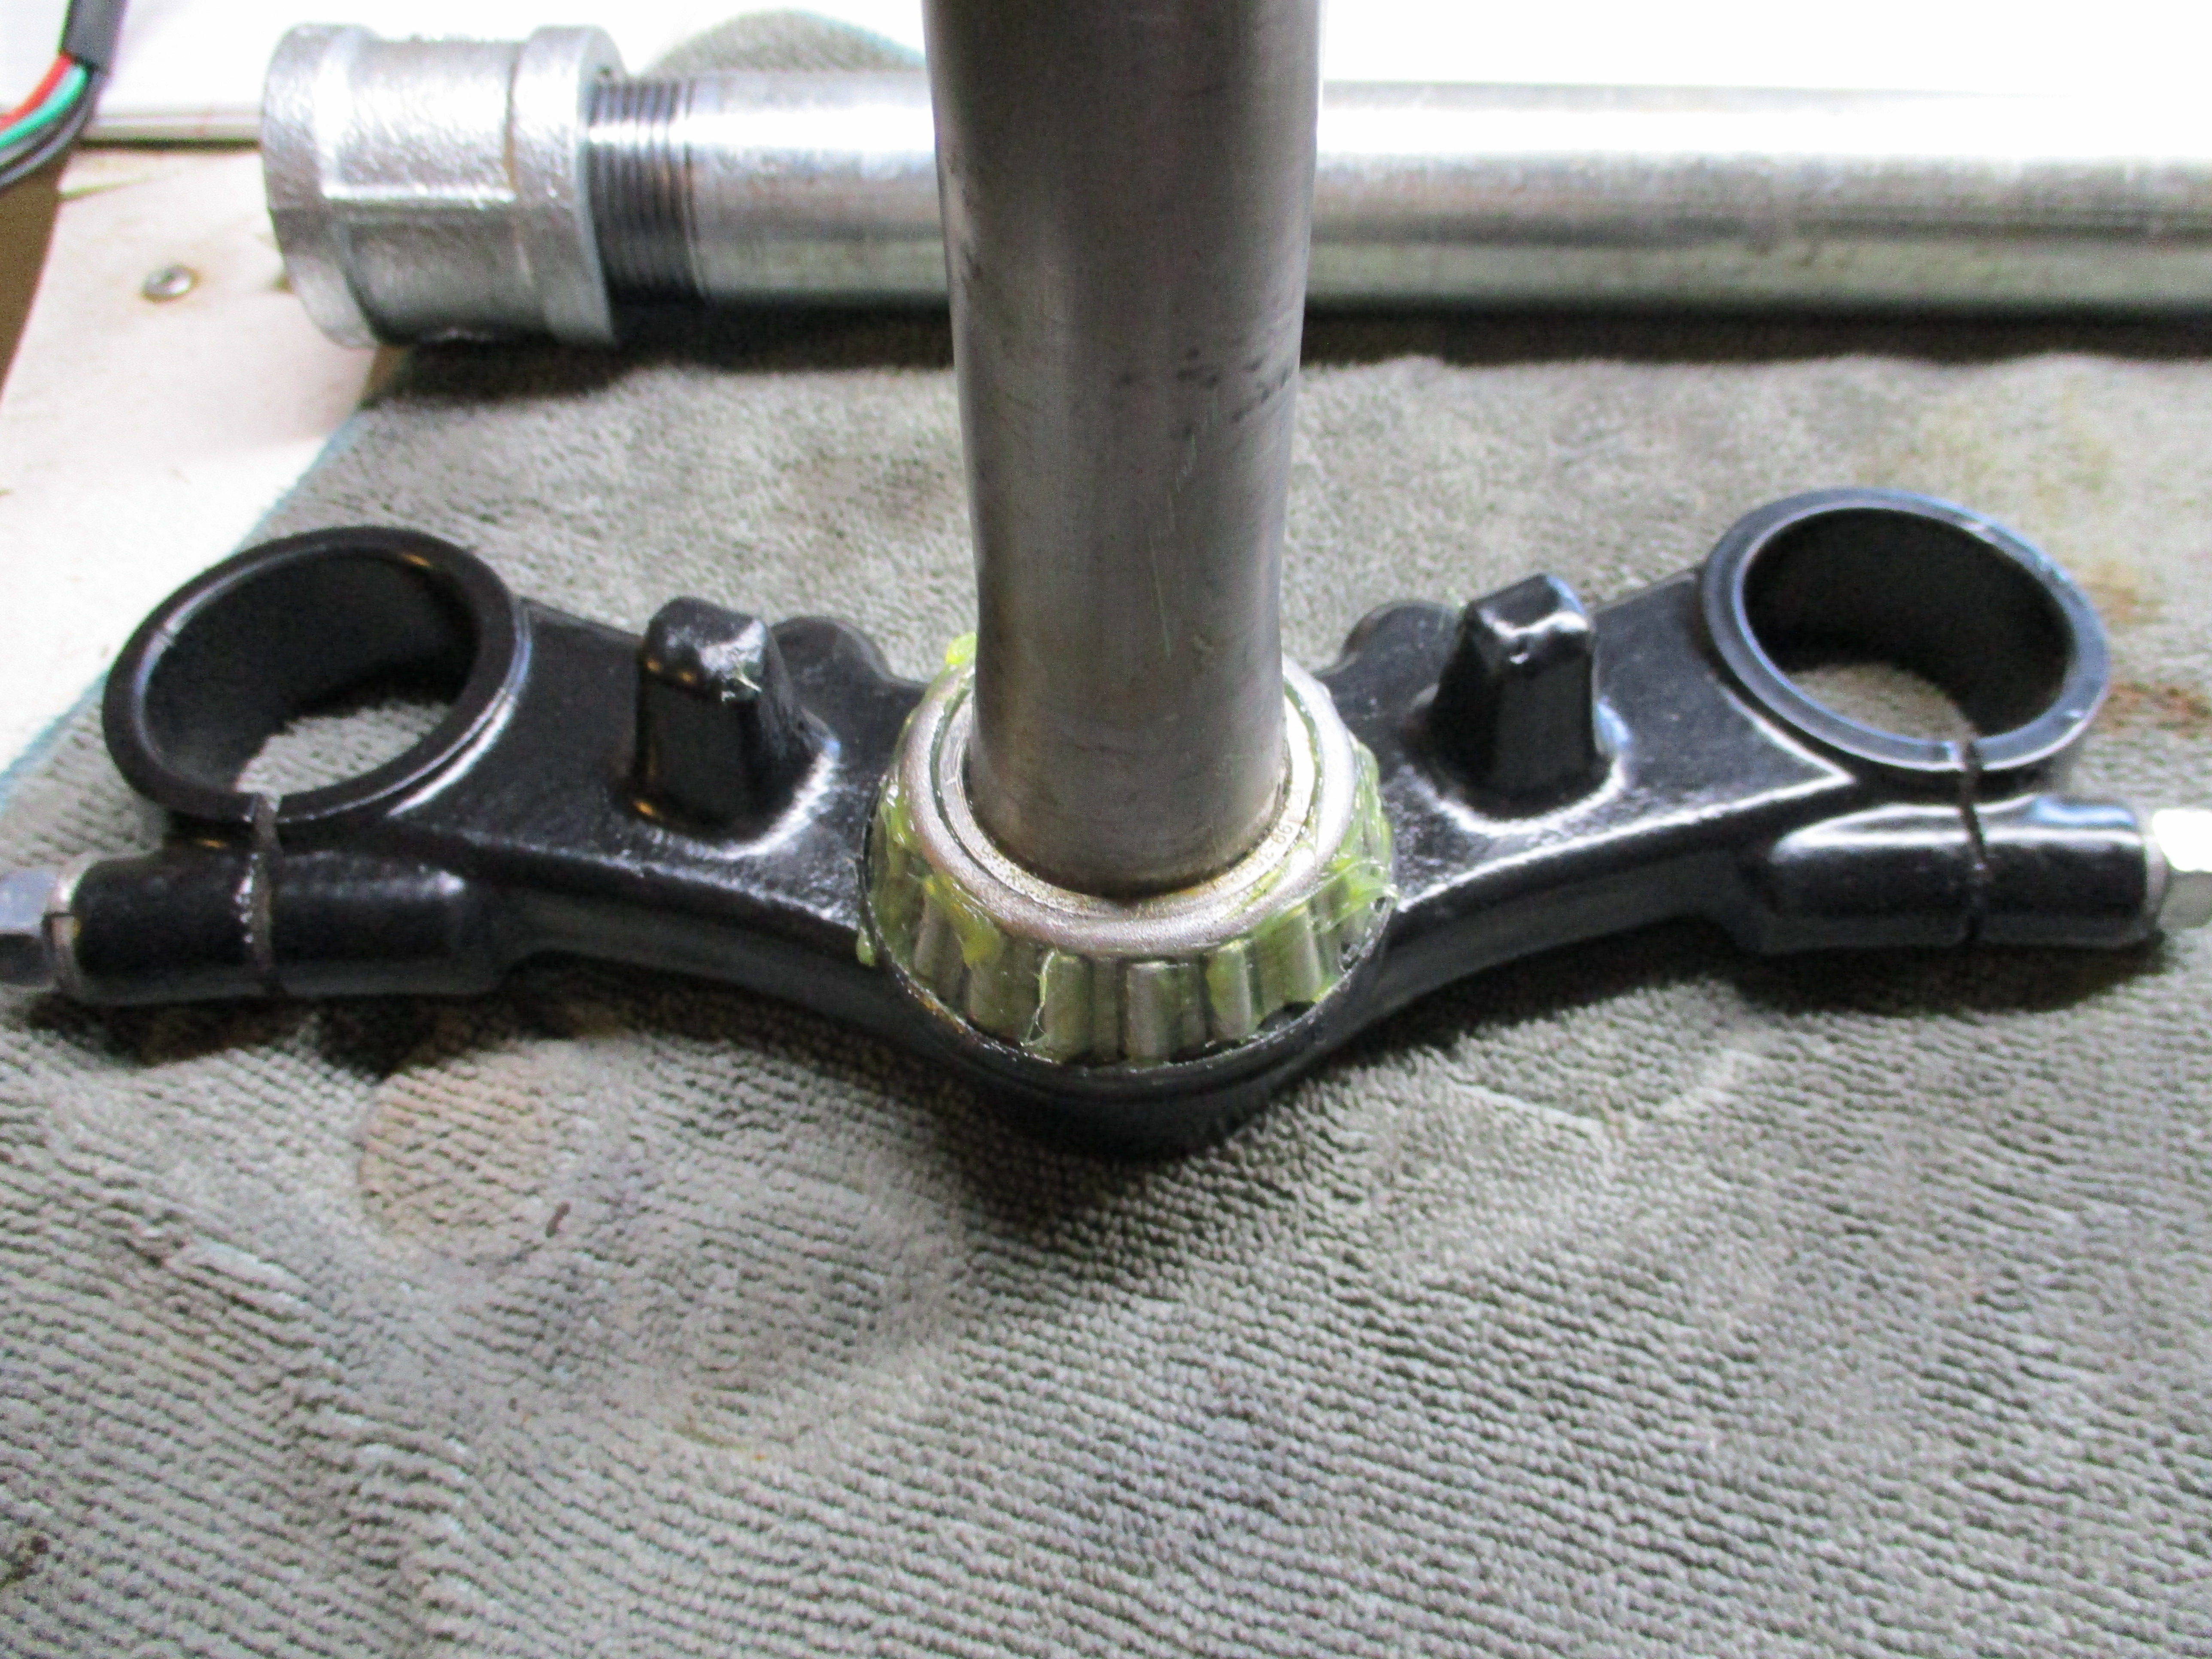
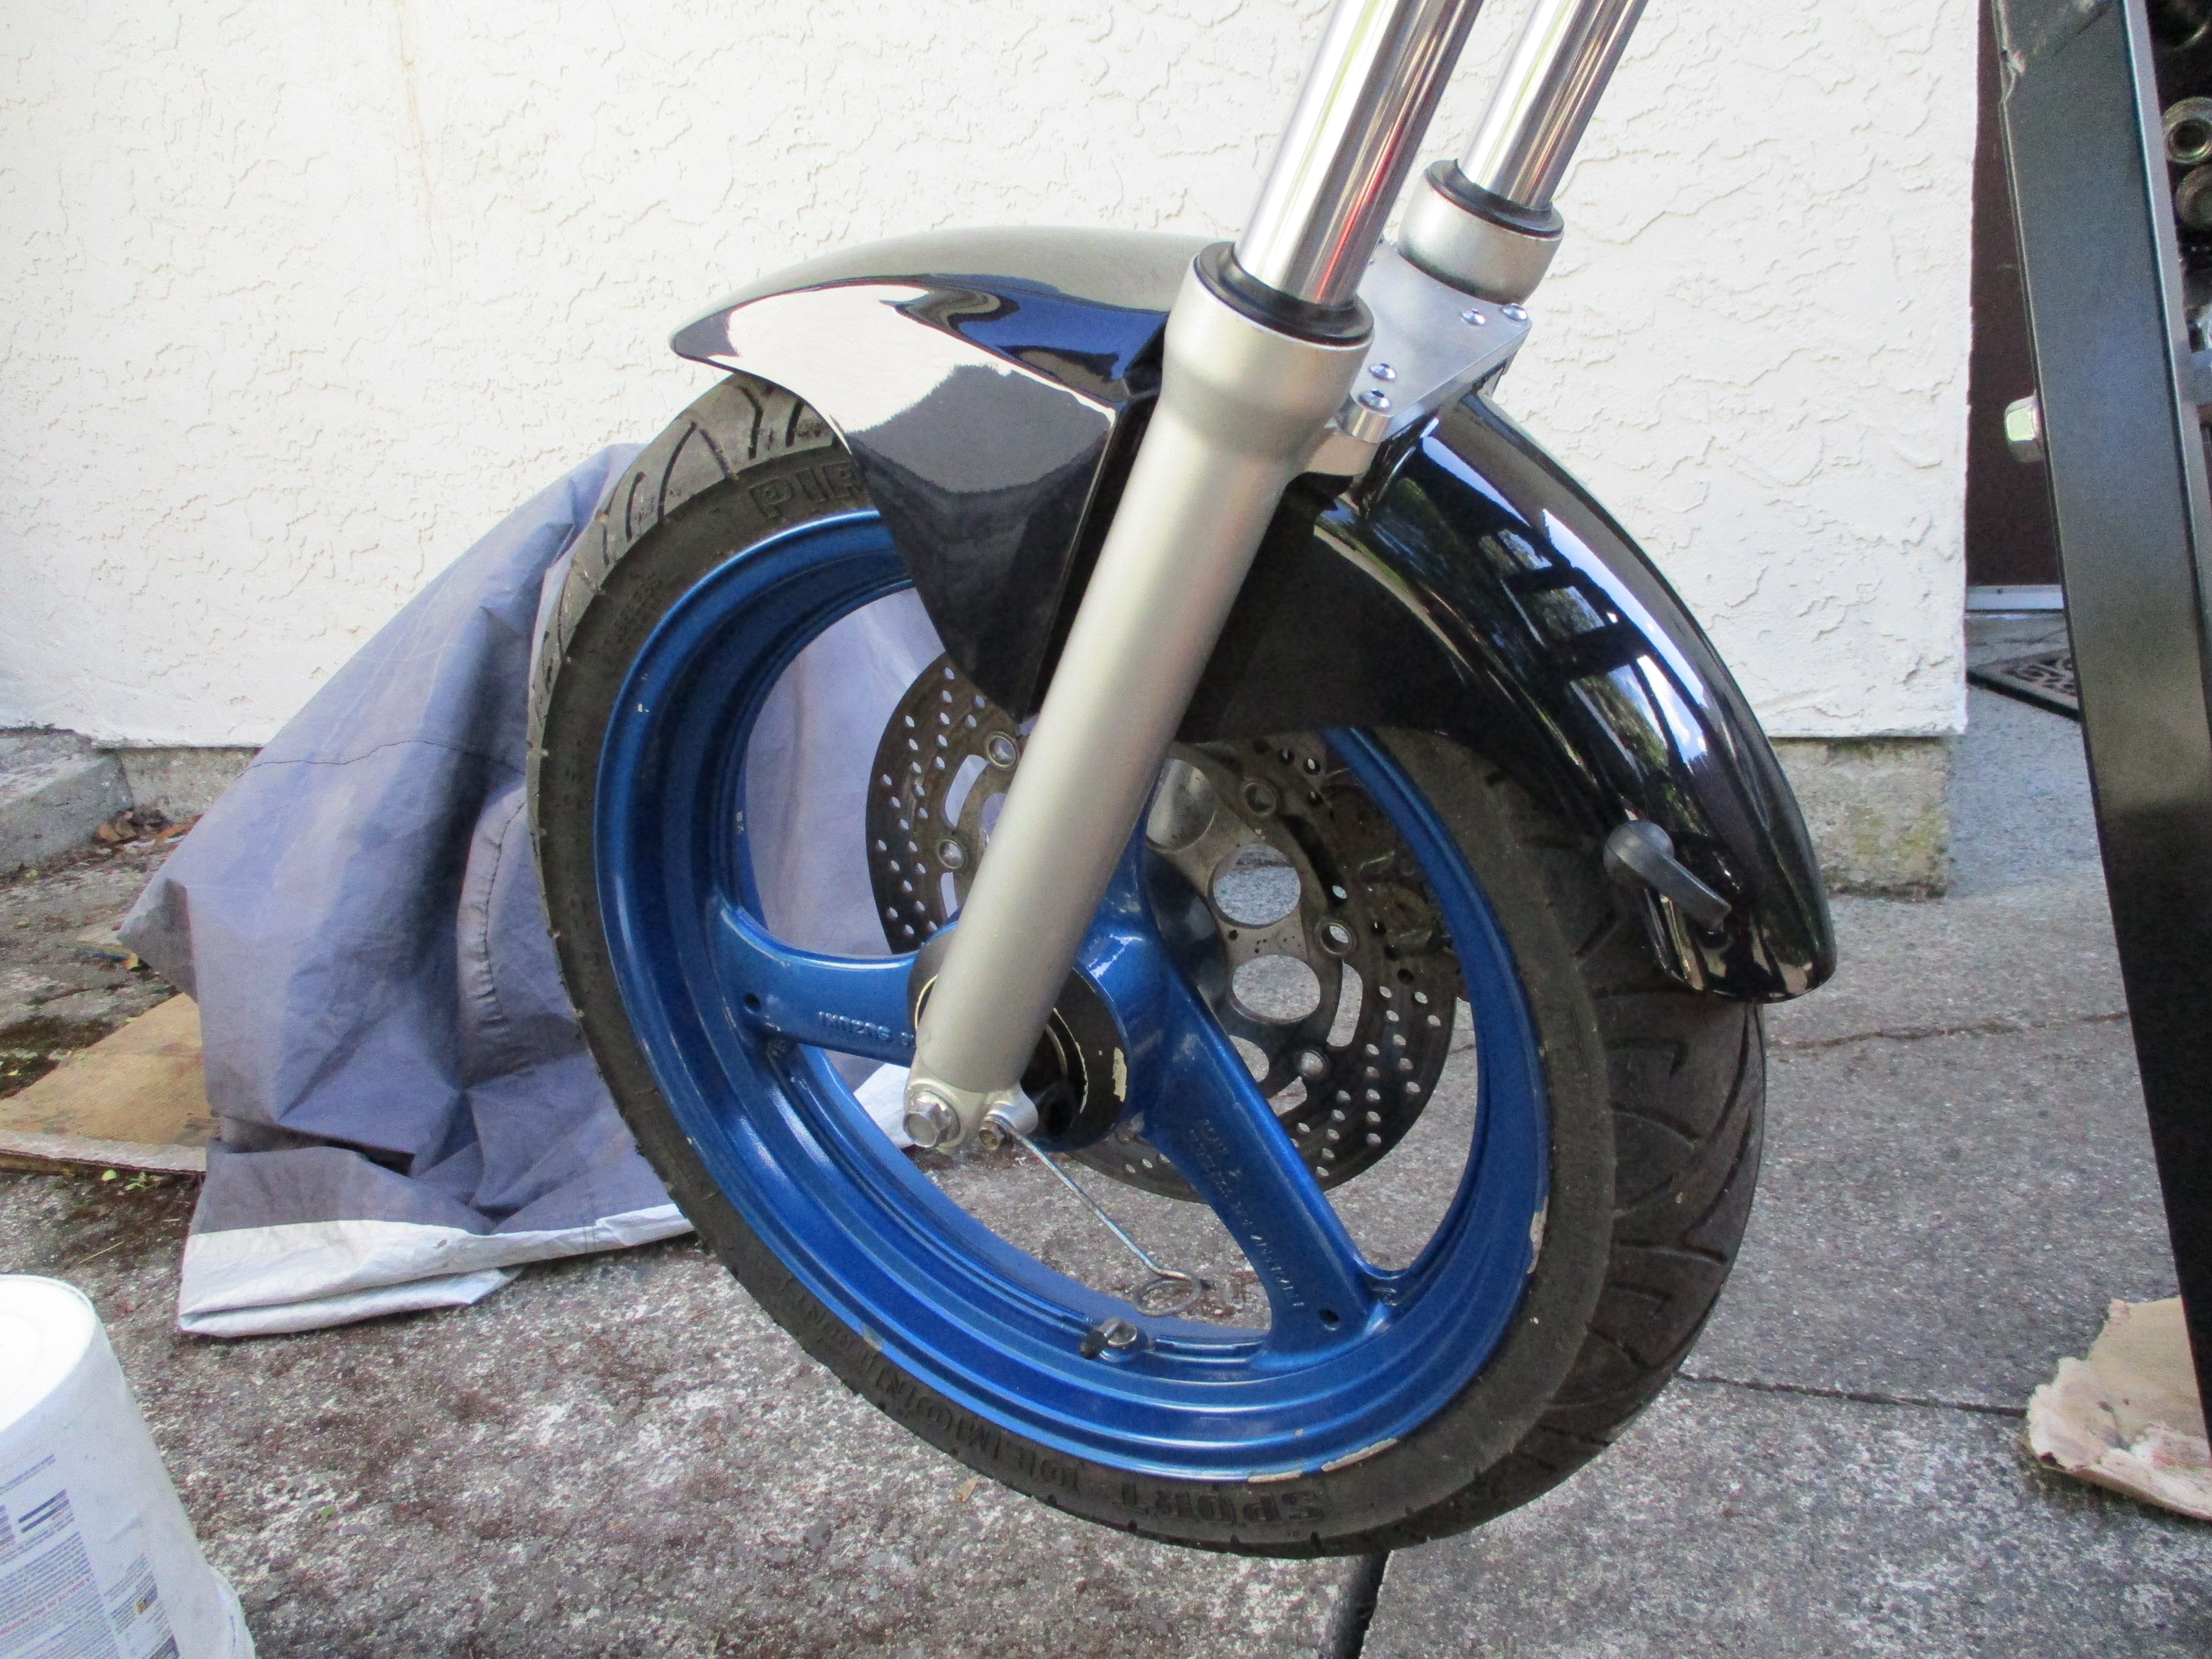
The steering and rear suspension felt really stiff, and the front forks were starting to rust where the chrome had been chipped away.
When I got the steering stem apart it became obvious why it felt stiff. Both upper and lower tapered roller bearings were rusty on the rollers and the race.

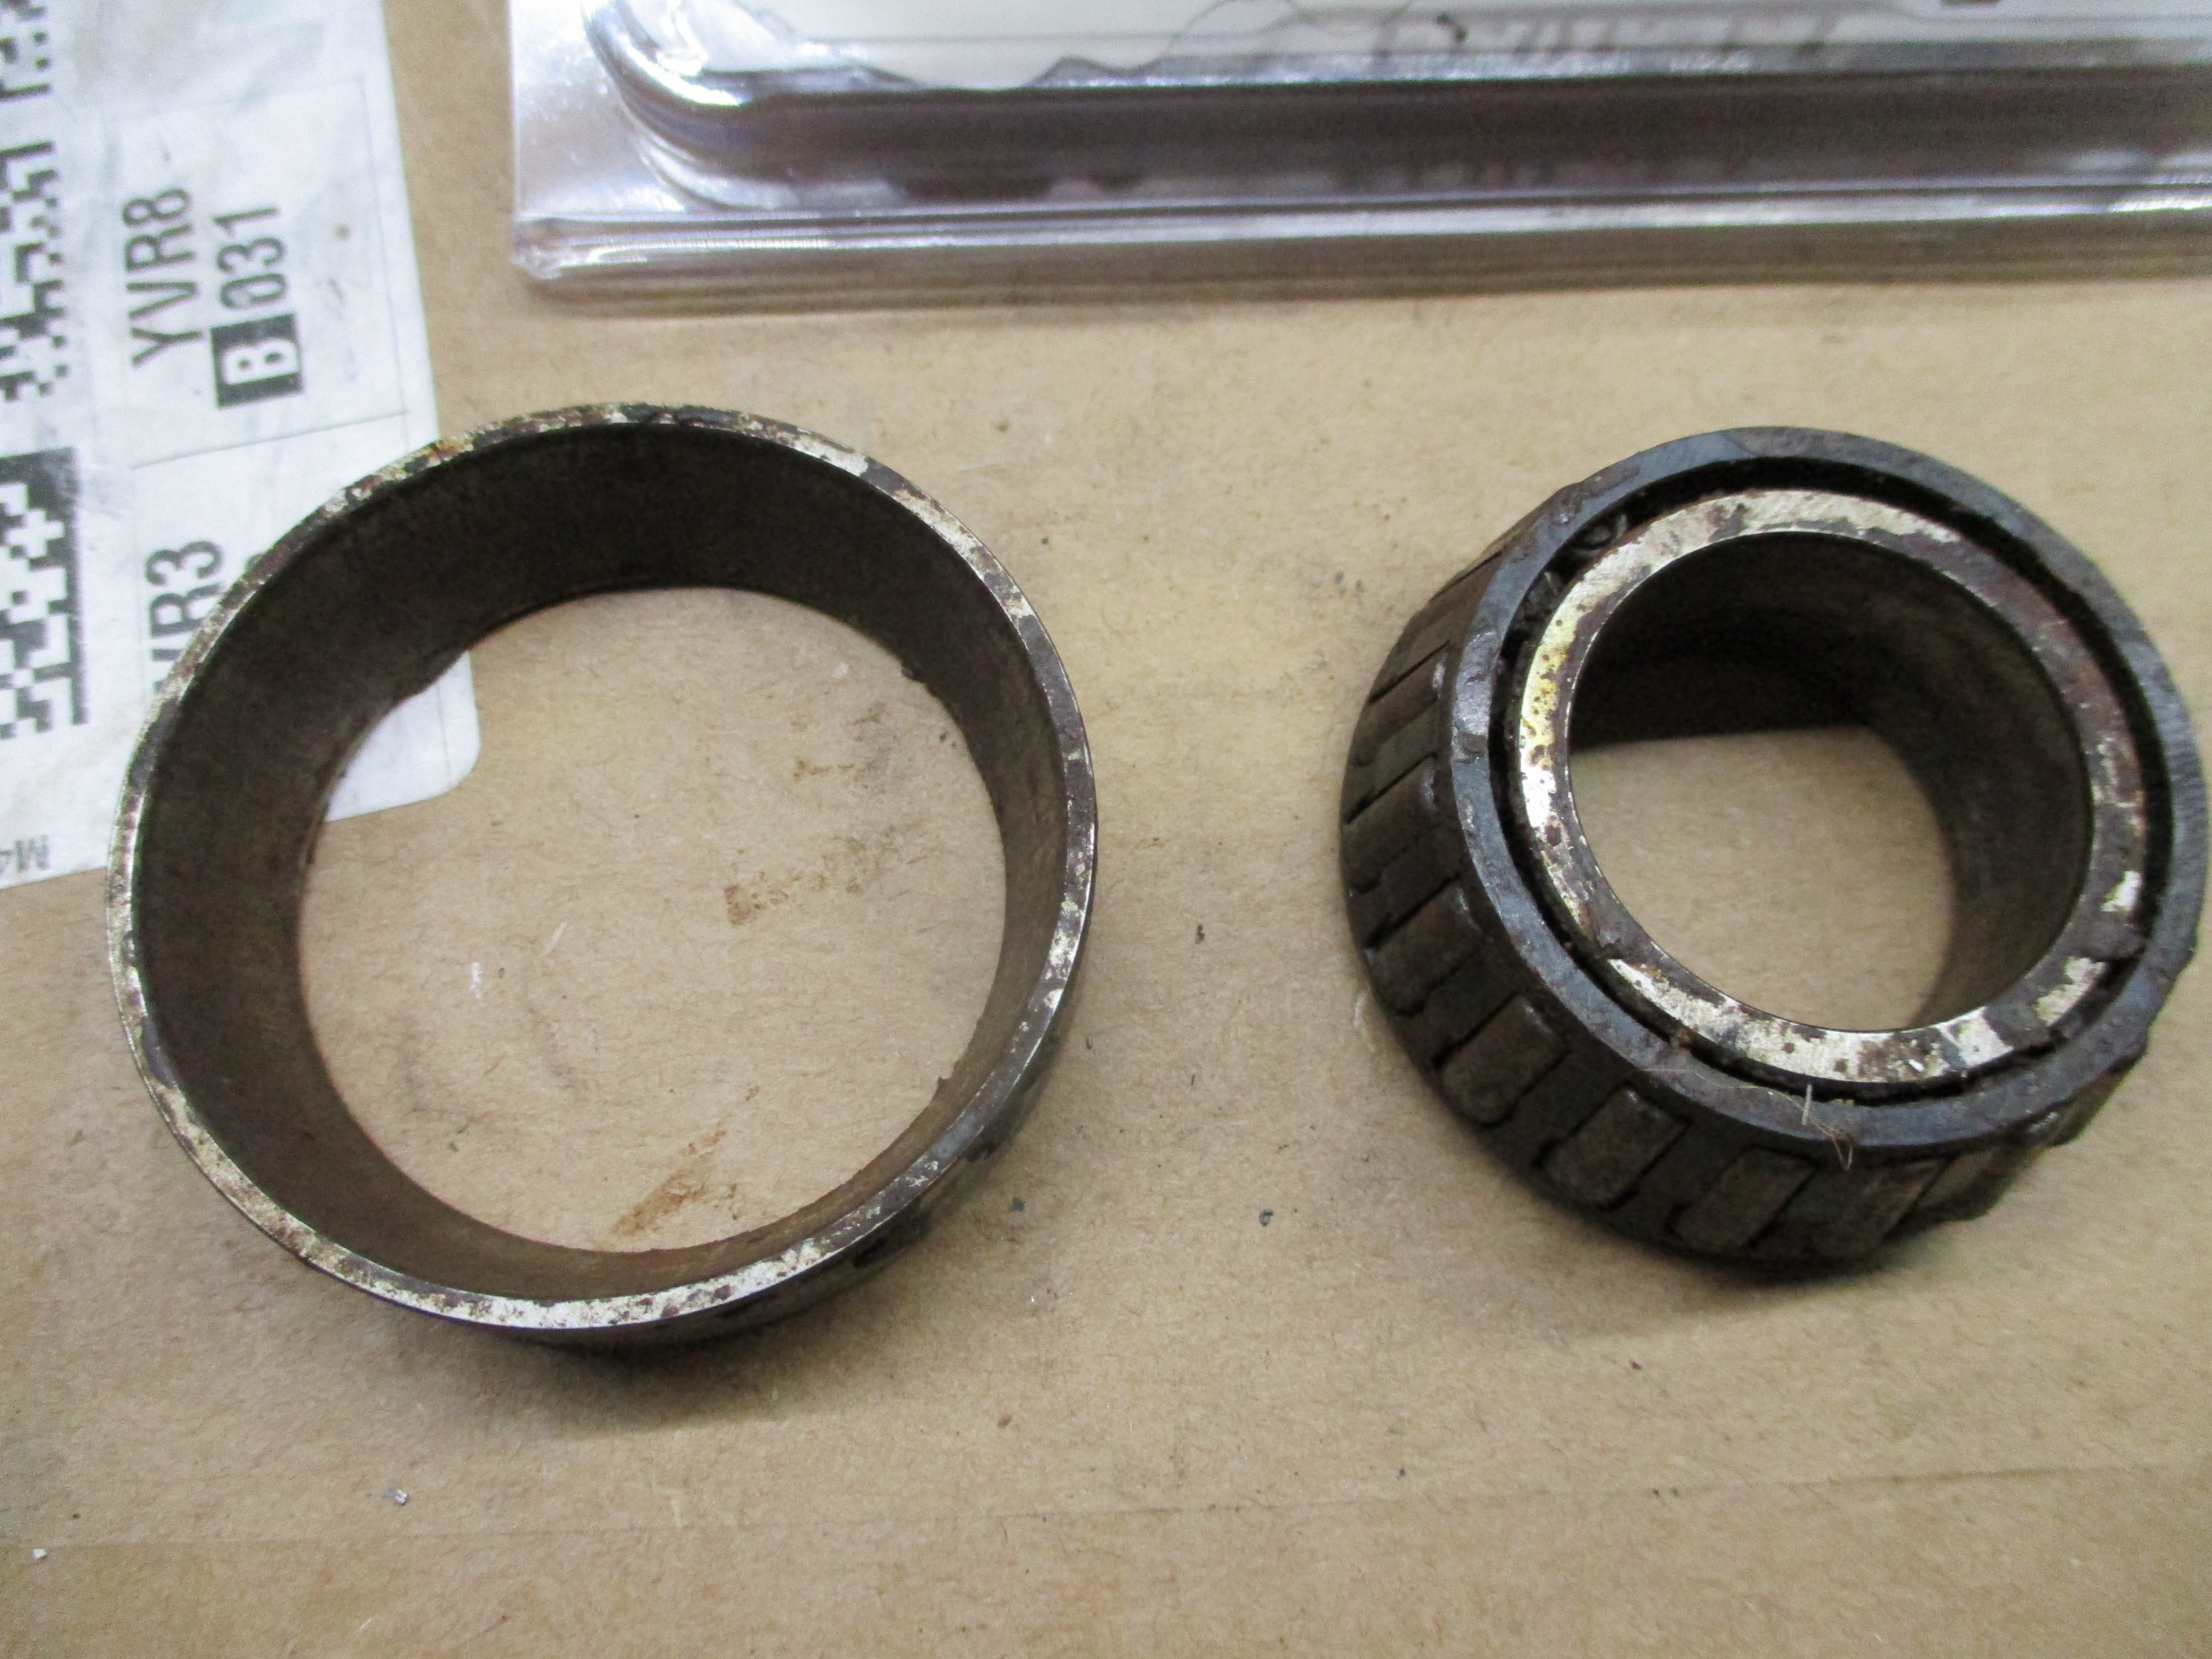
I cleaned up the steering stem by removing the old bearings and then sandblasting and painting it. I bought new All Balls bearings/races and installed them.
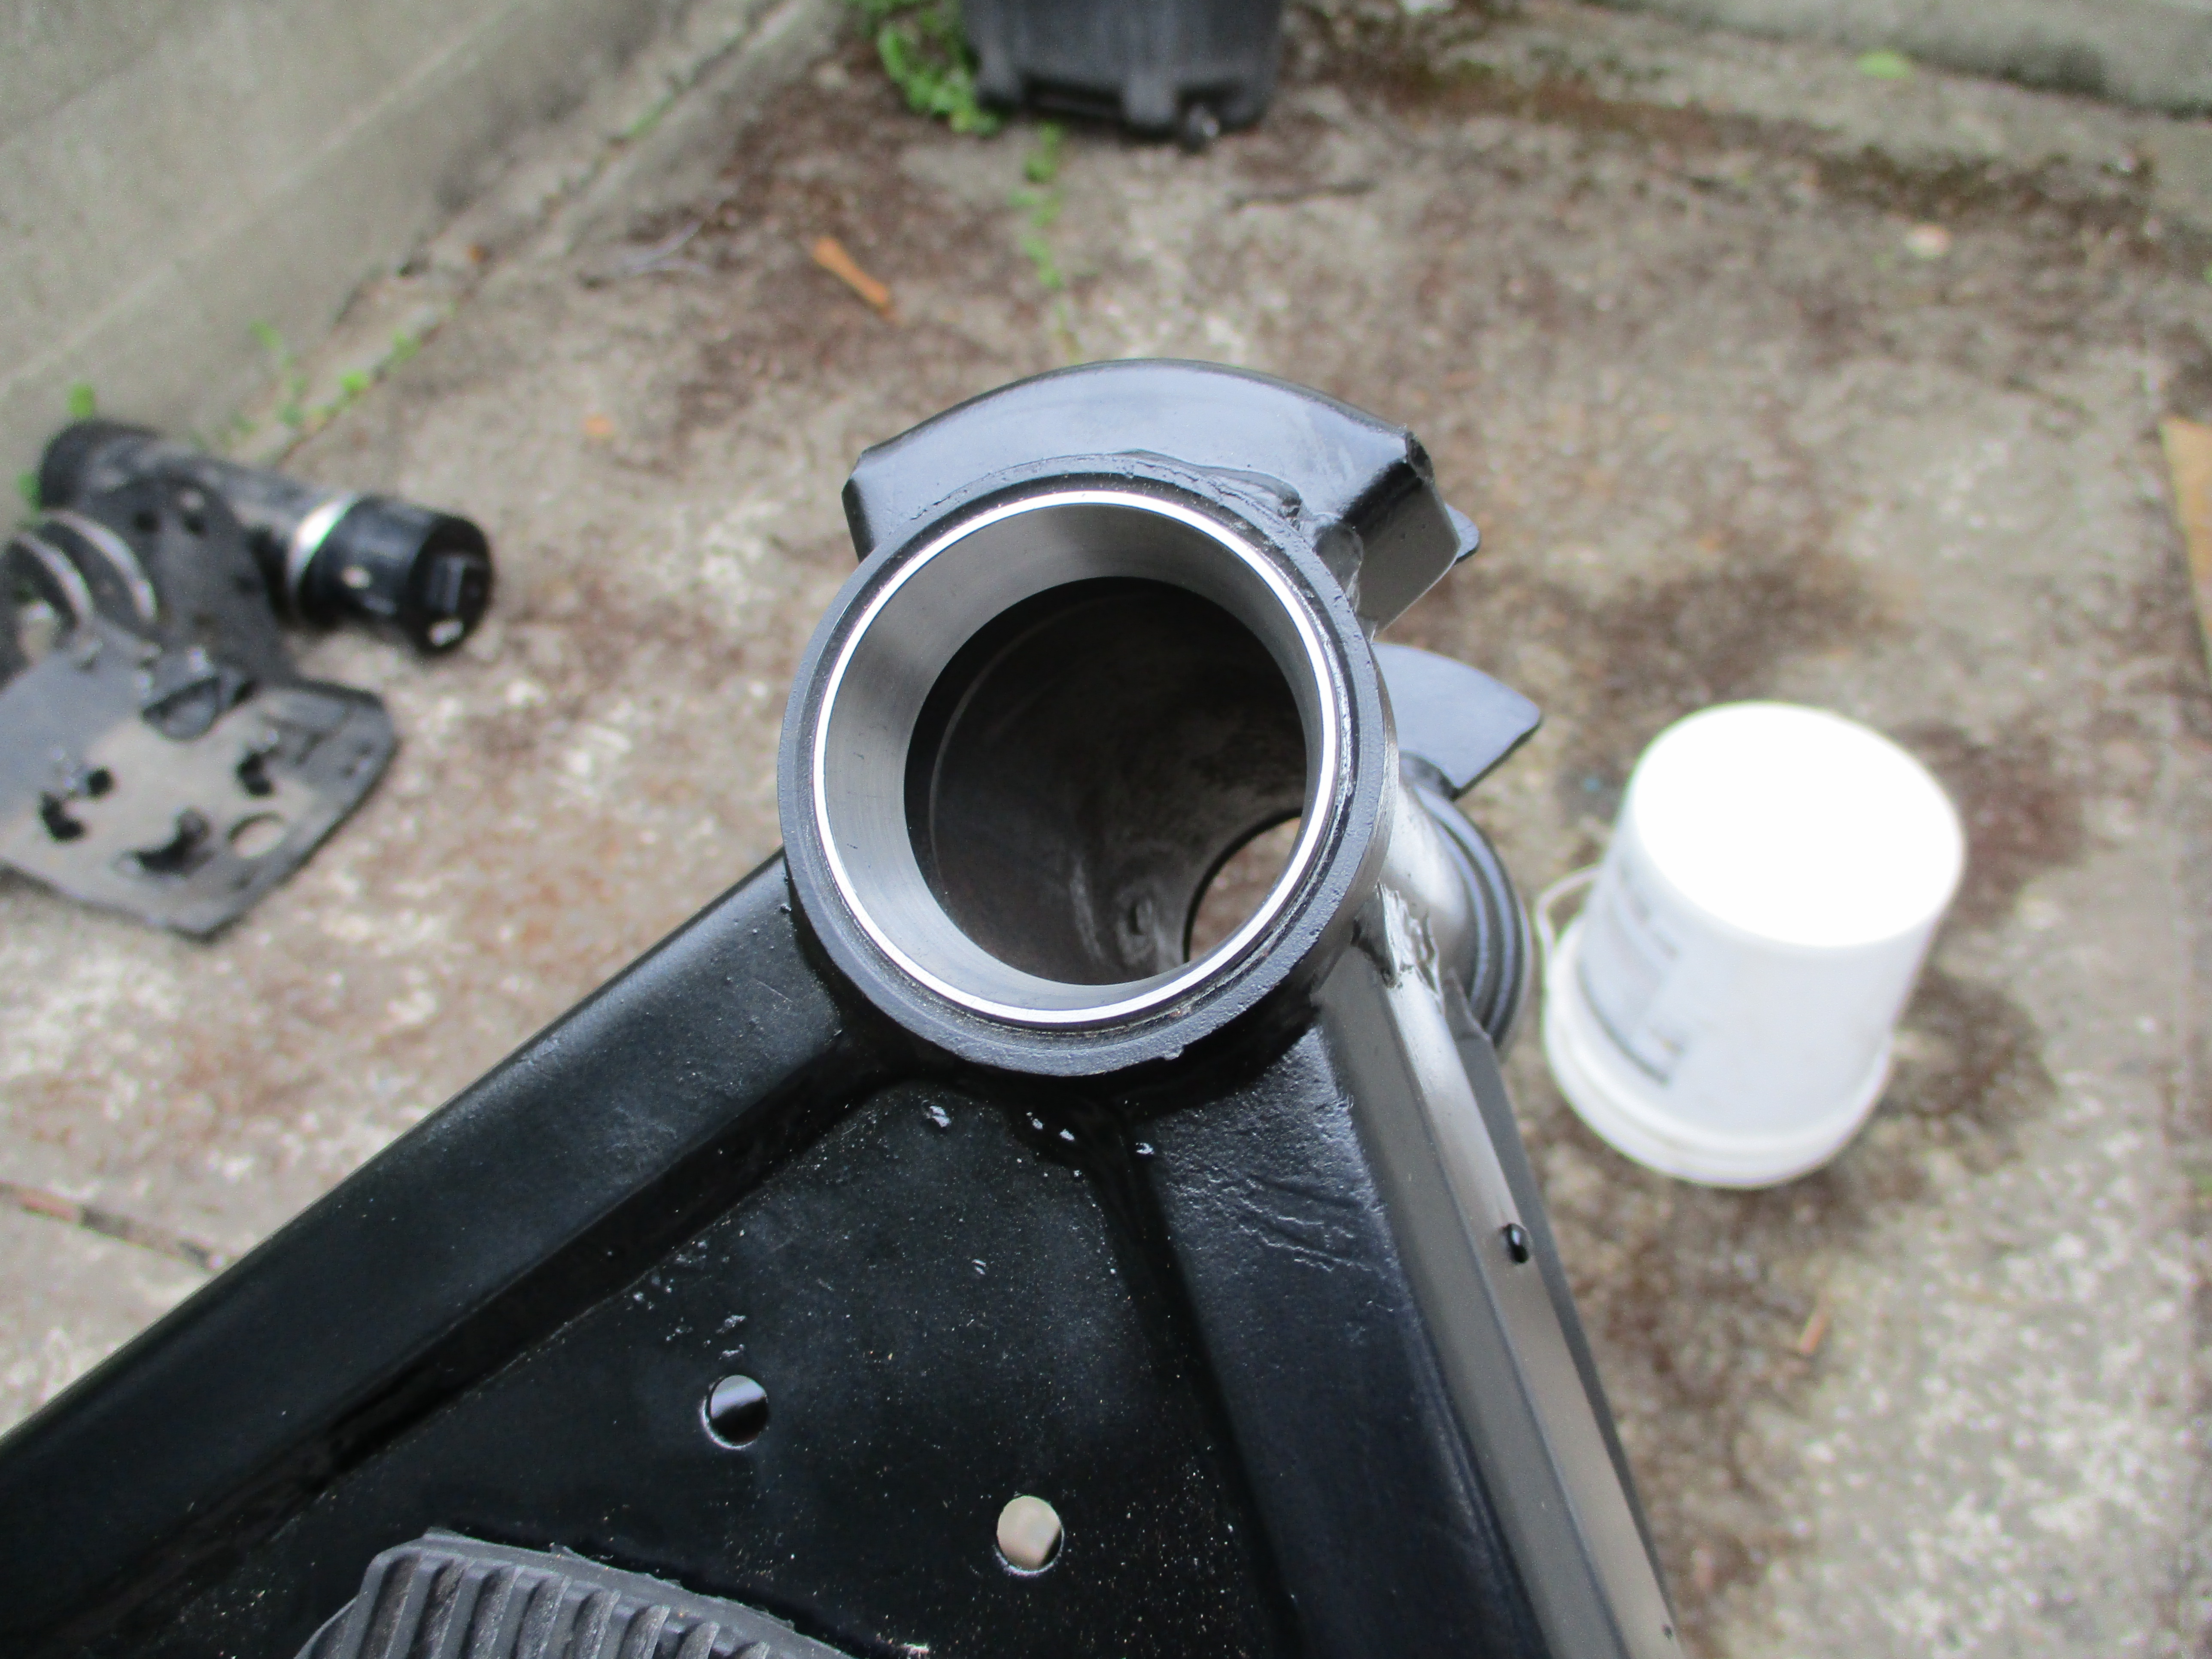
The front forks were slightly pitted in the non critical area that is not swept by the fork seals. I cleaned and polished that up best I could but the rust will be back. I painted the outermost fork legs then drained and replaced the old fork oil with new BelRay 10 weight.
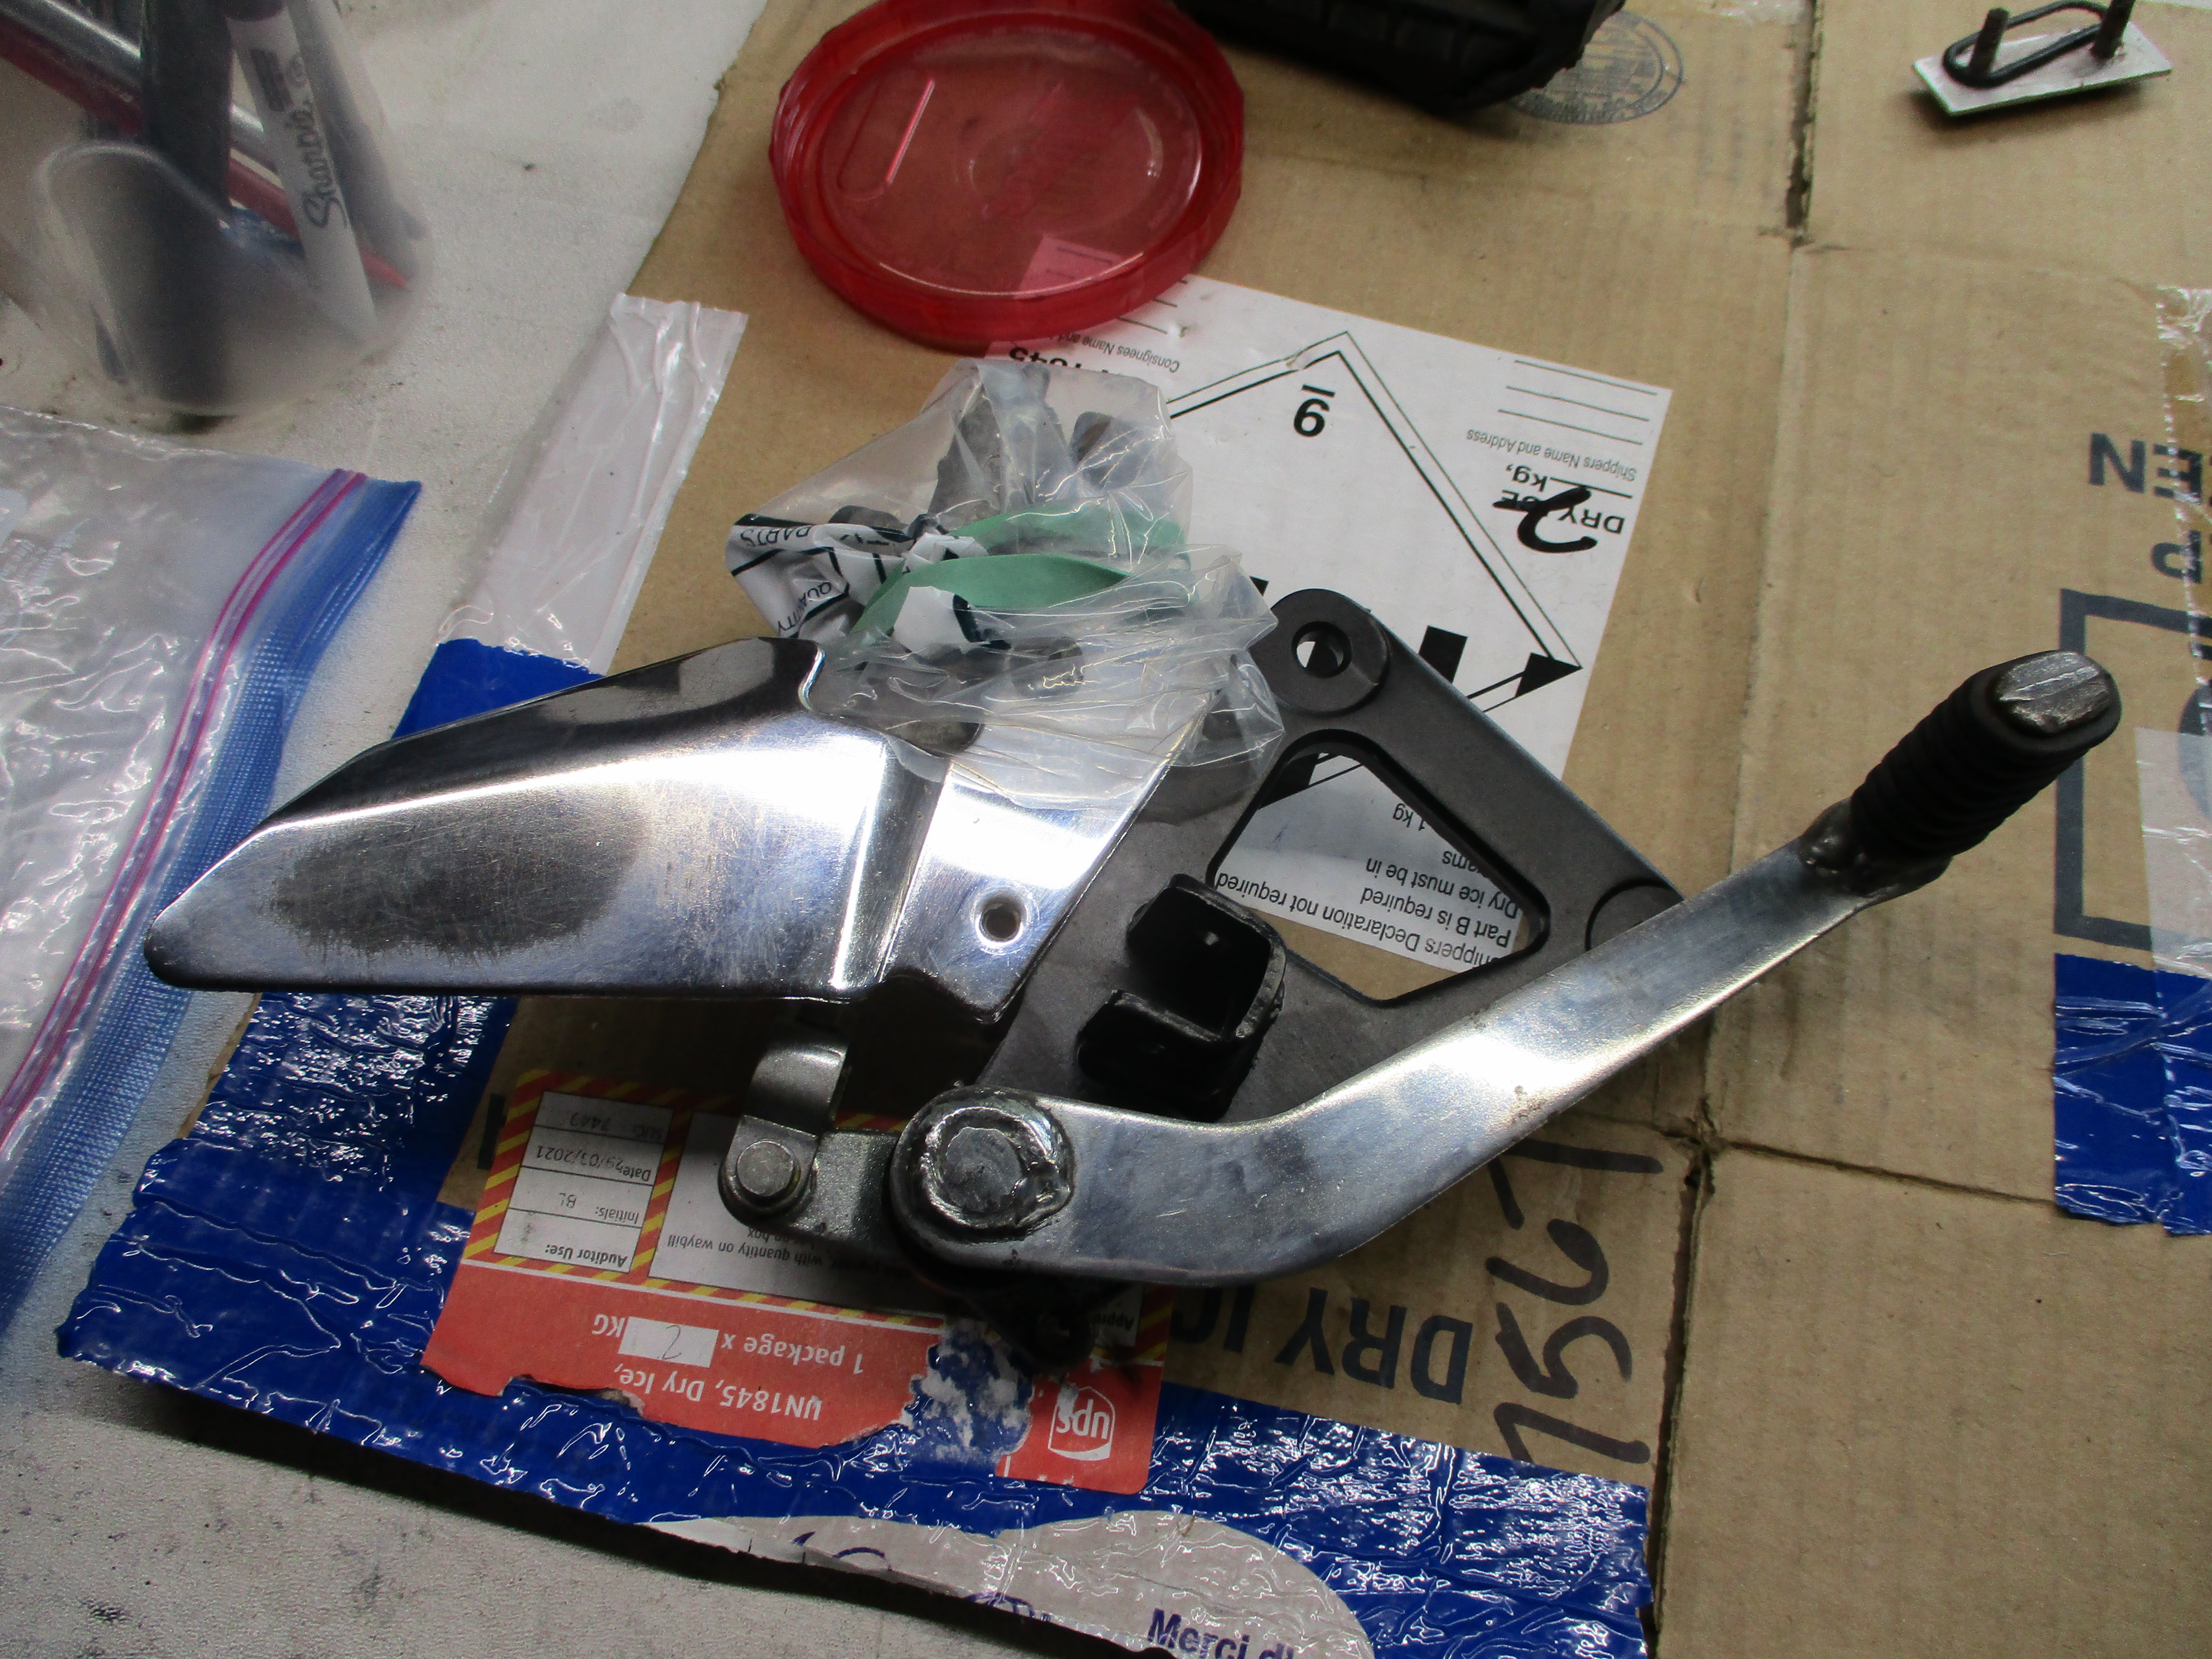
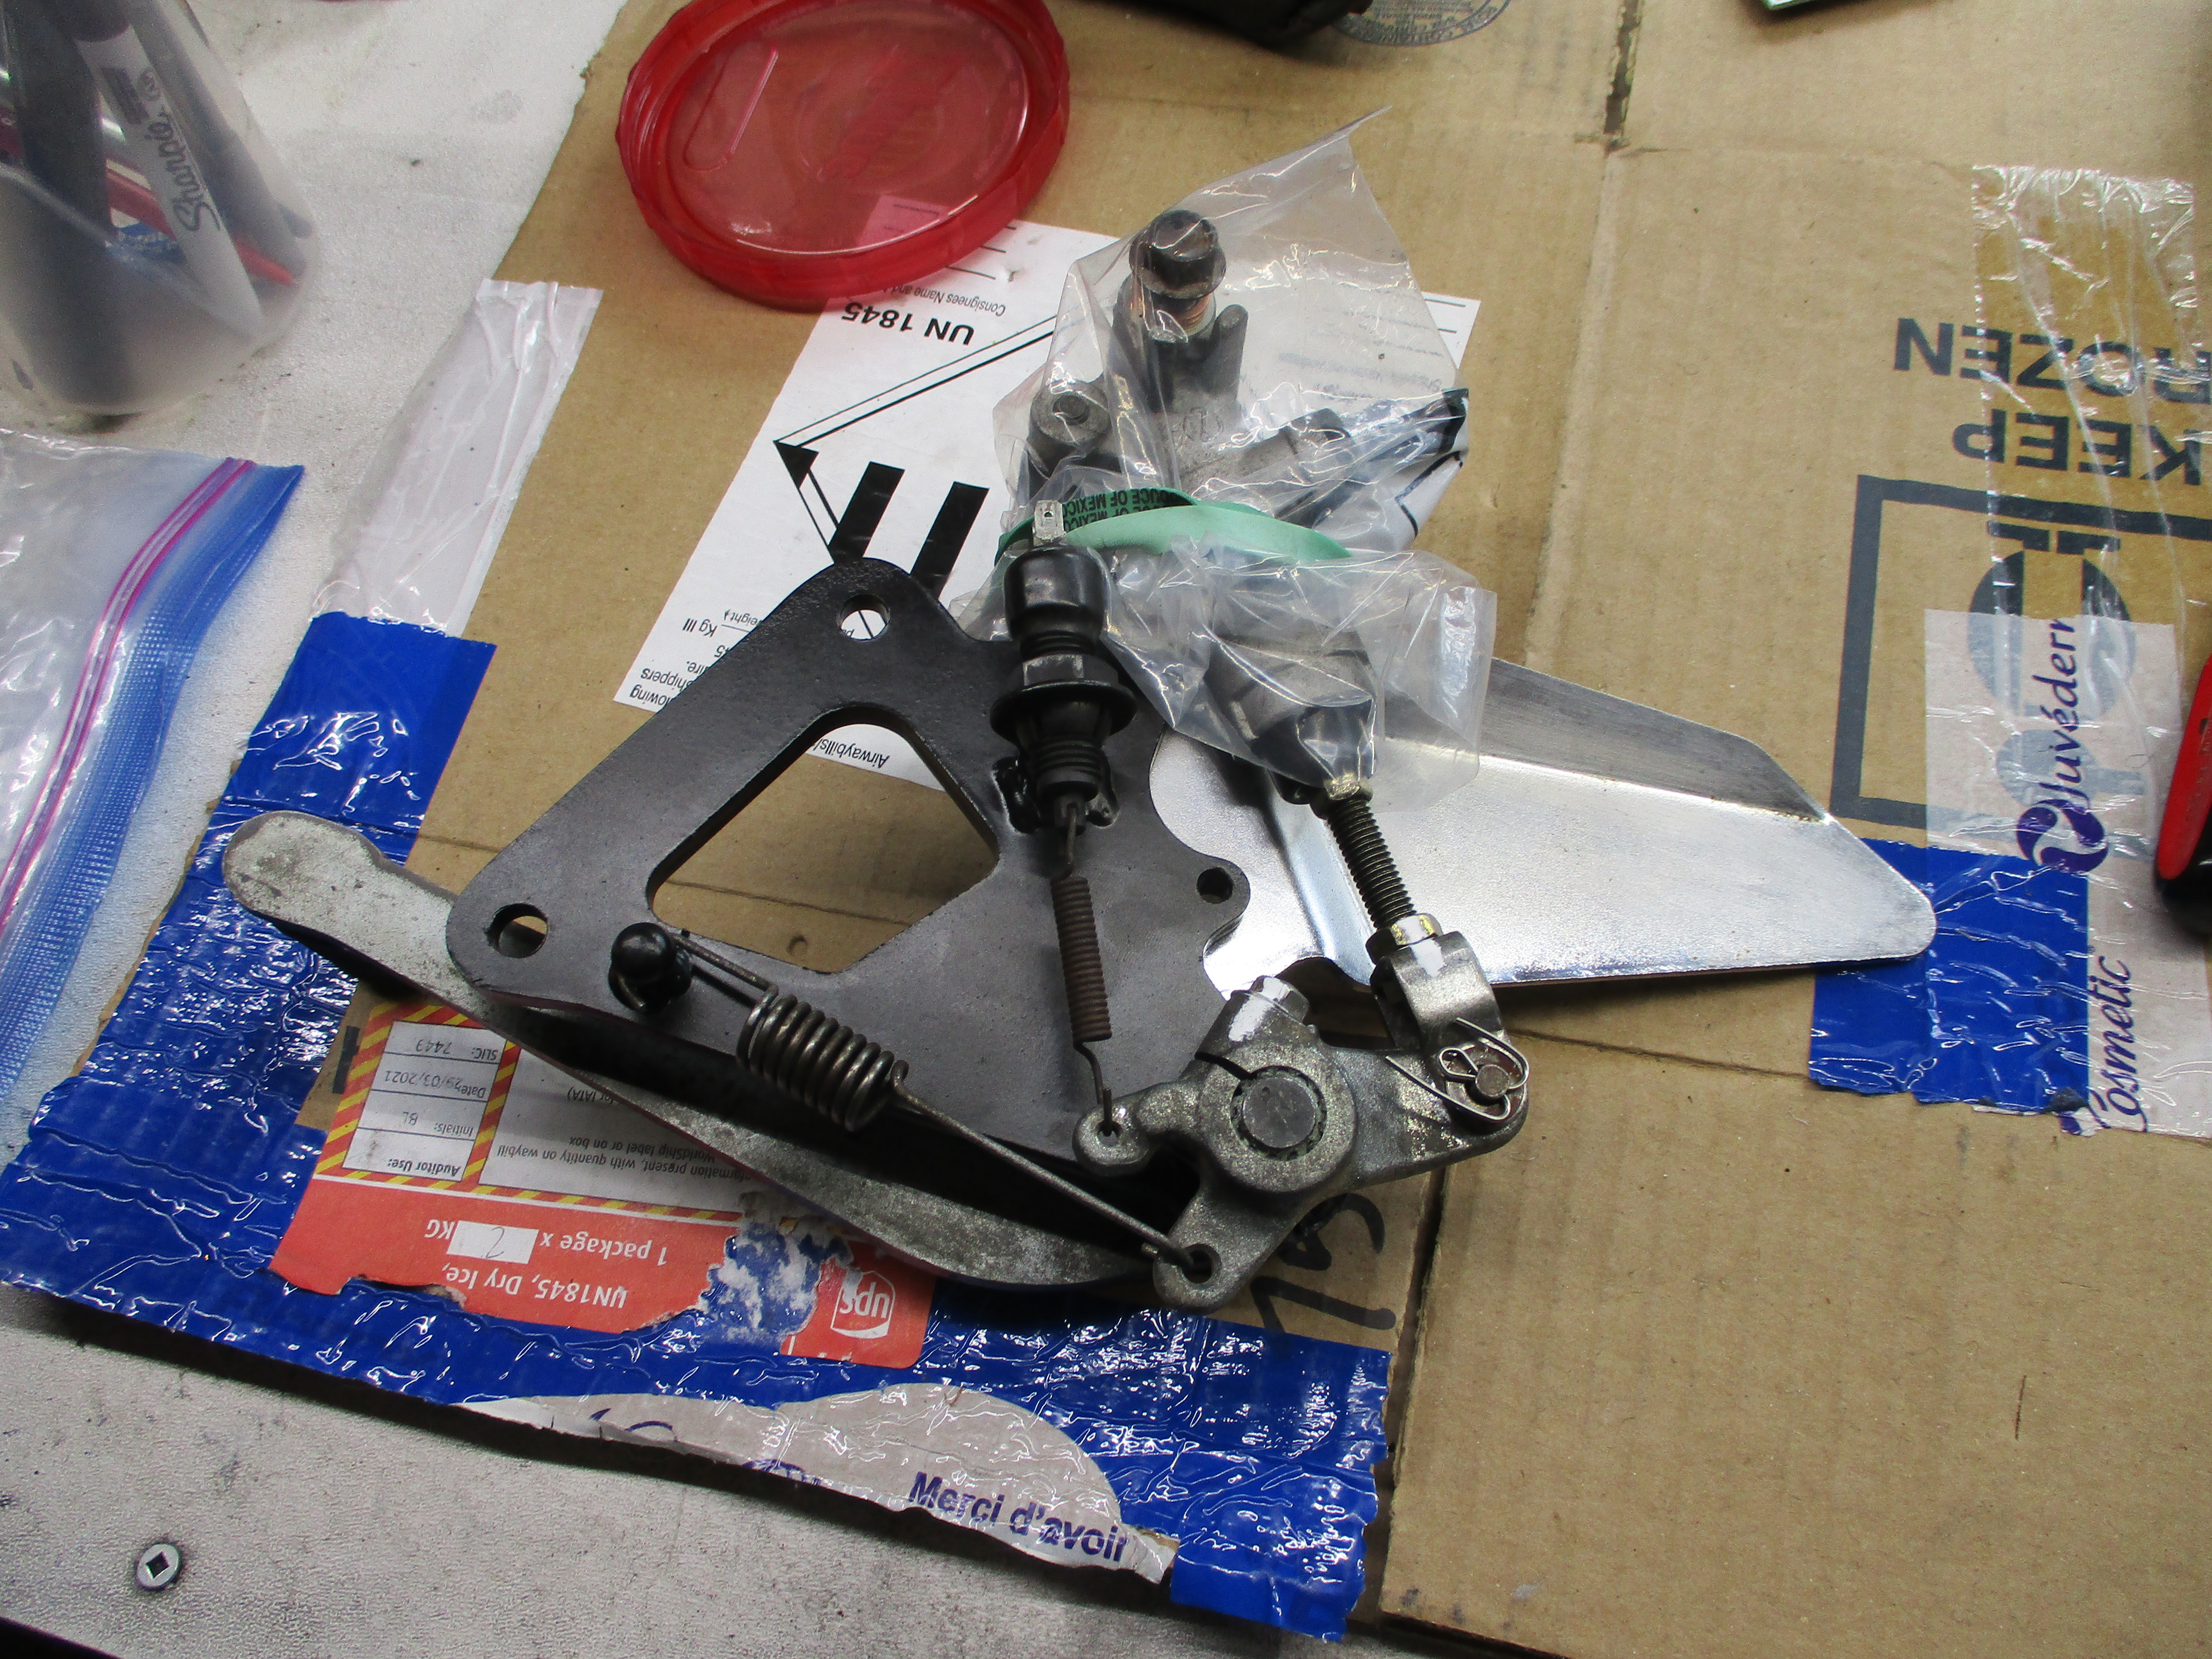
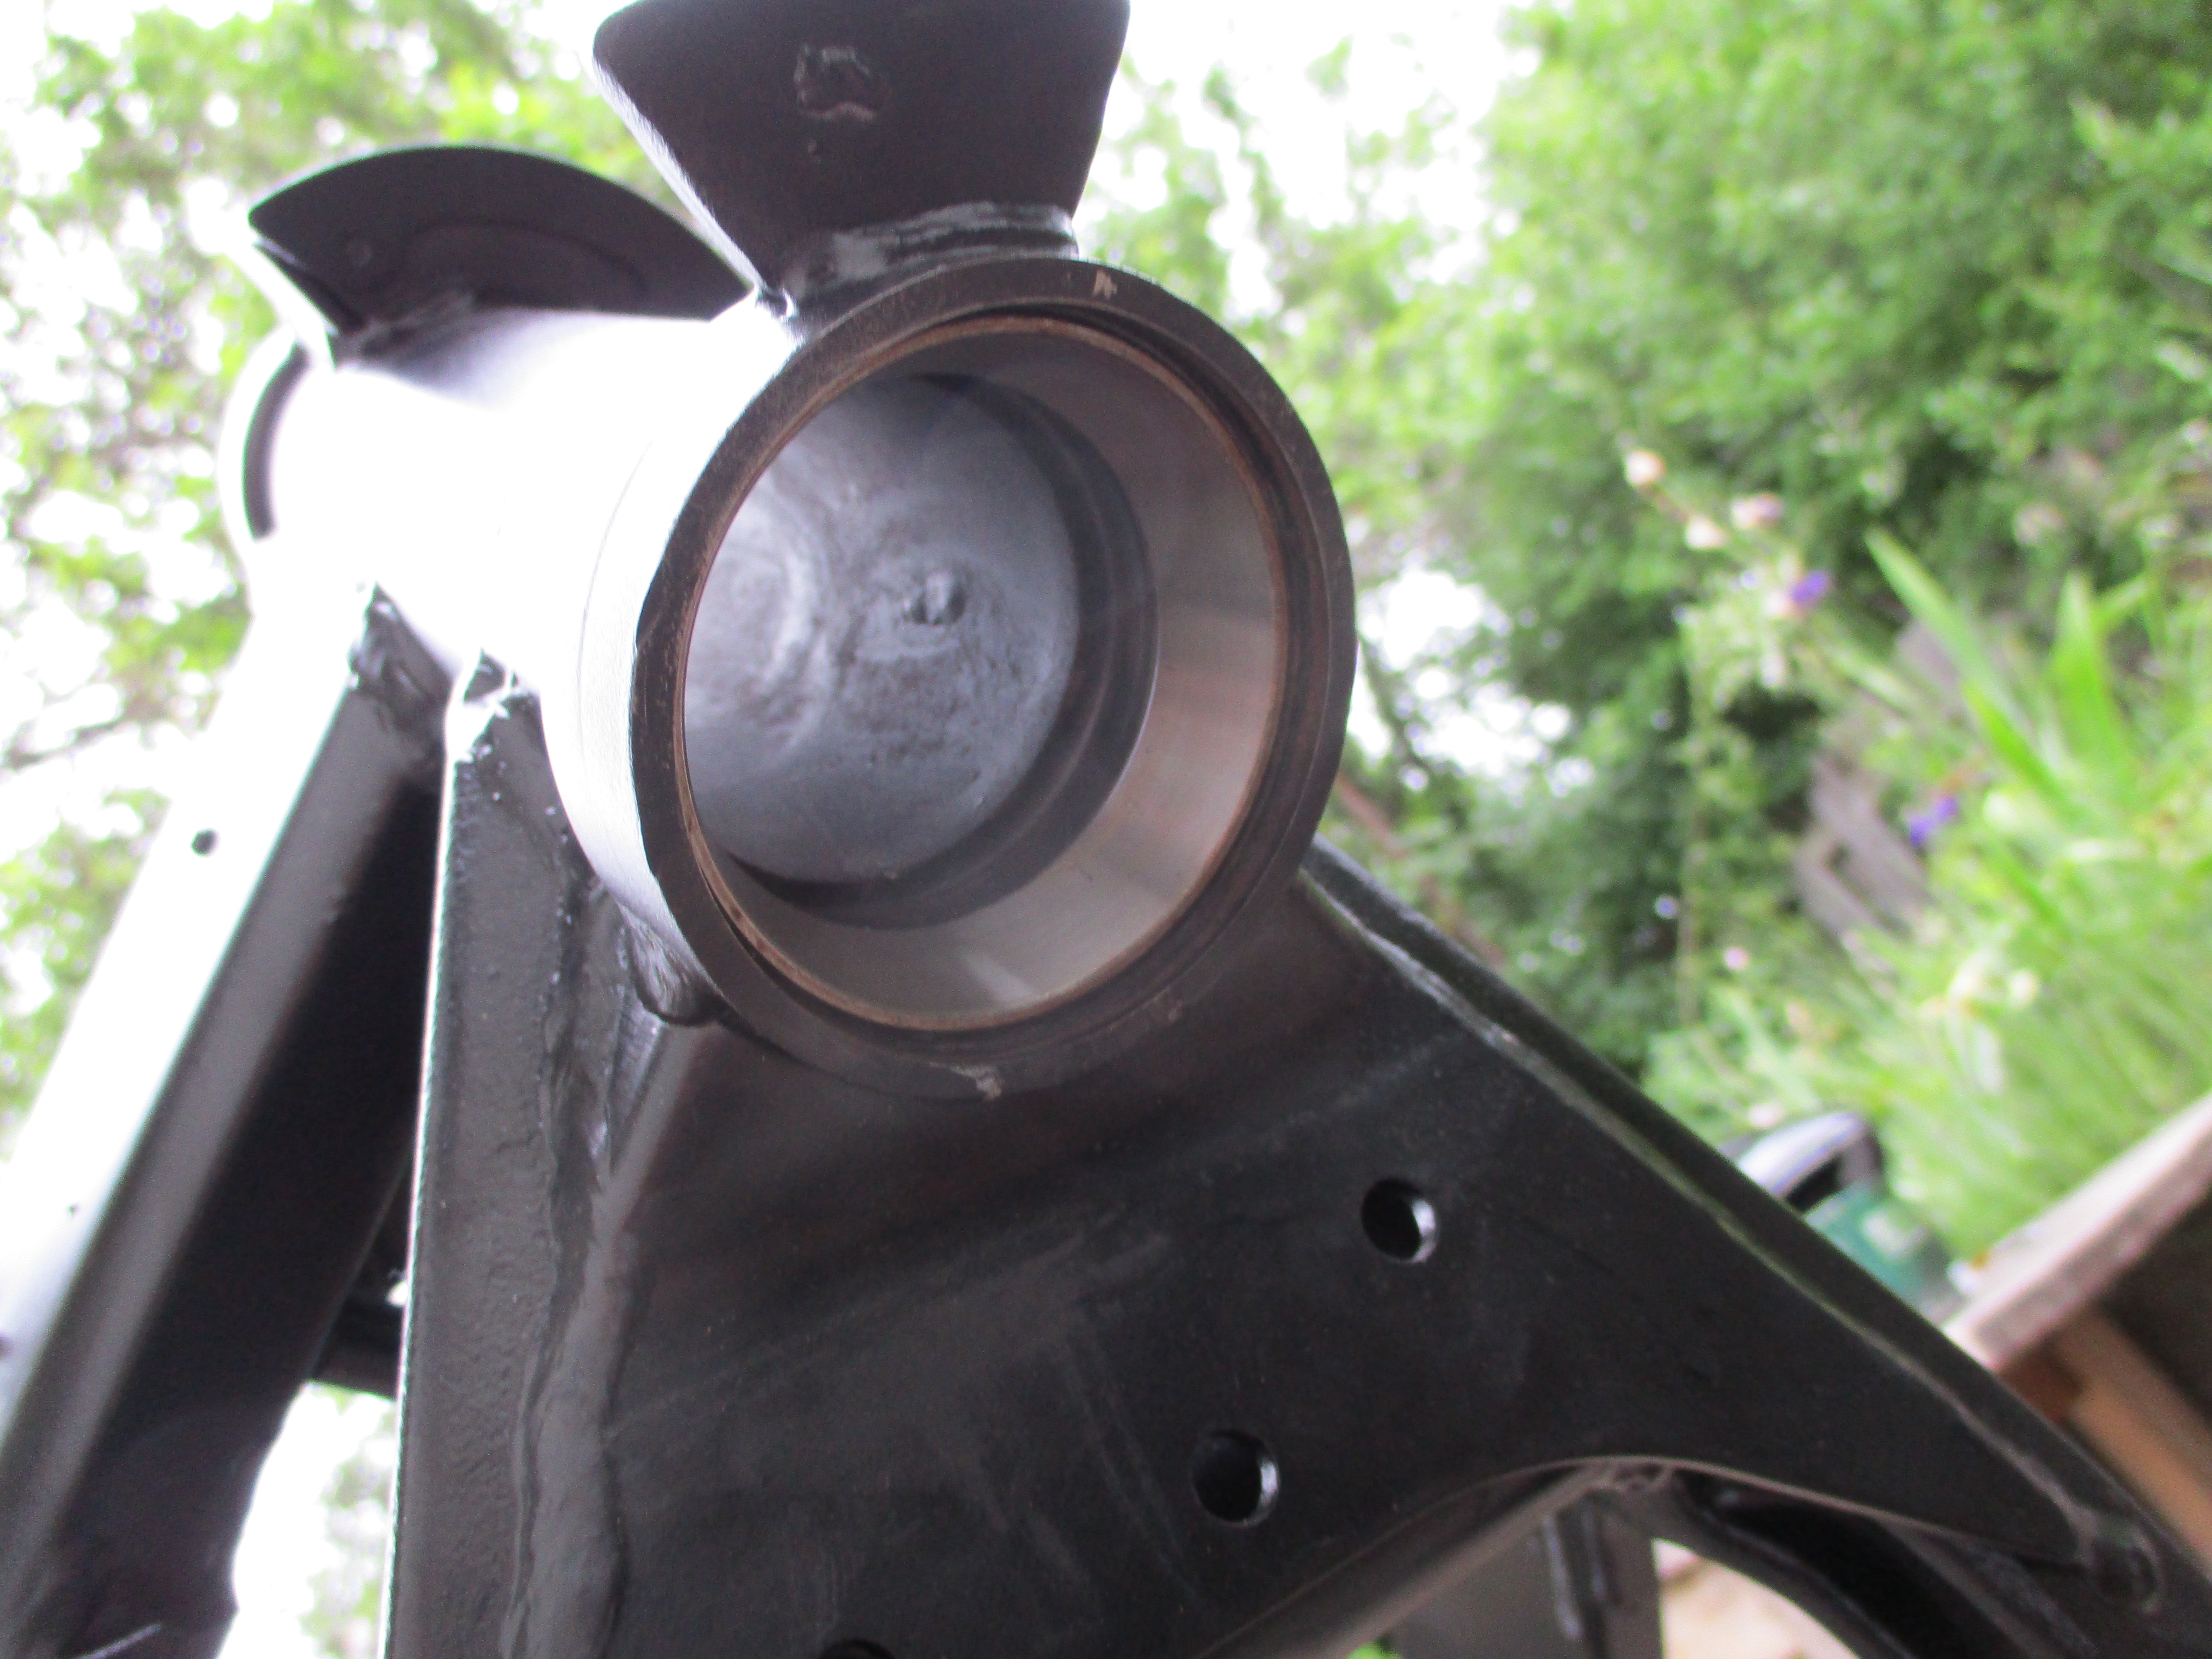
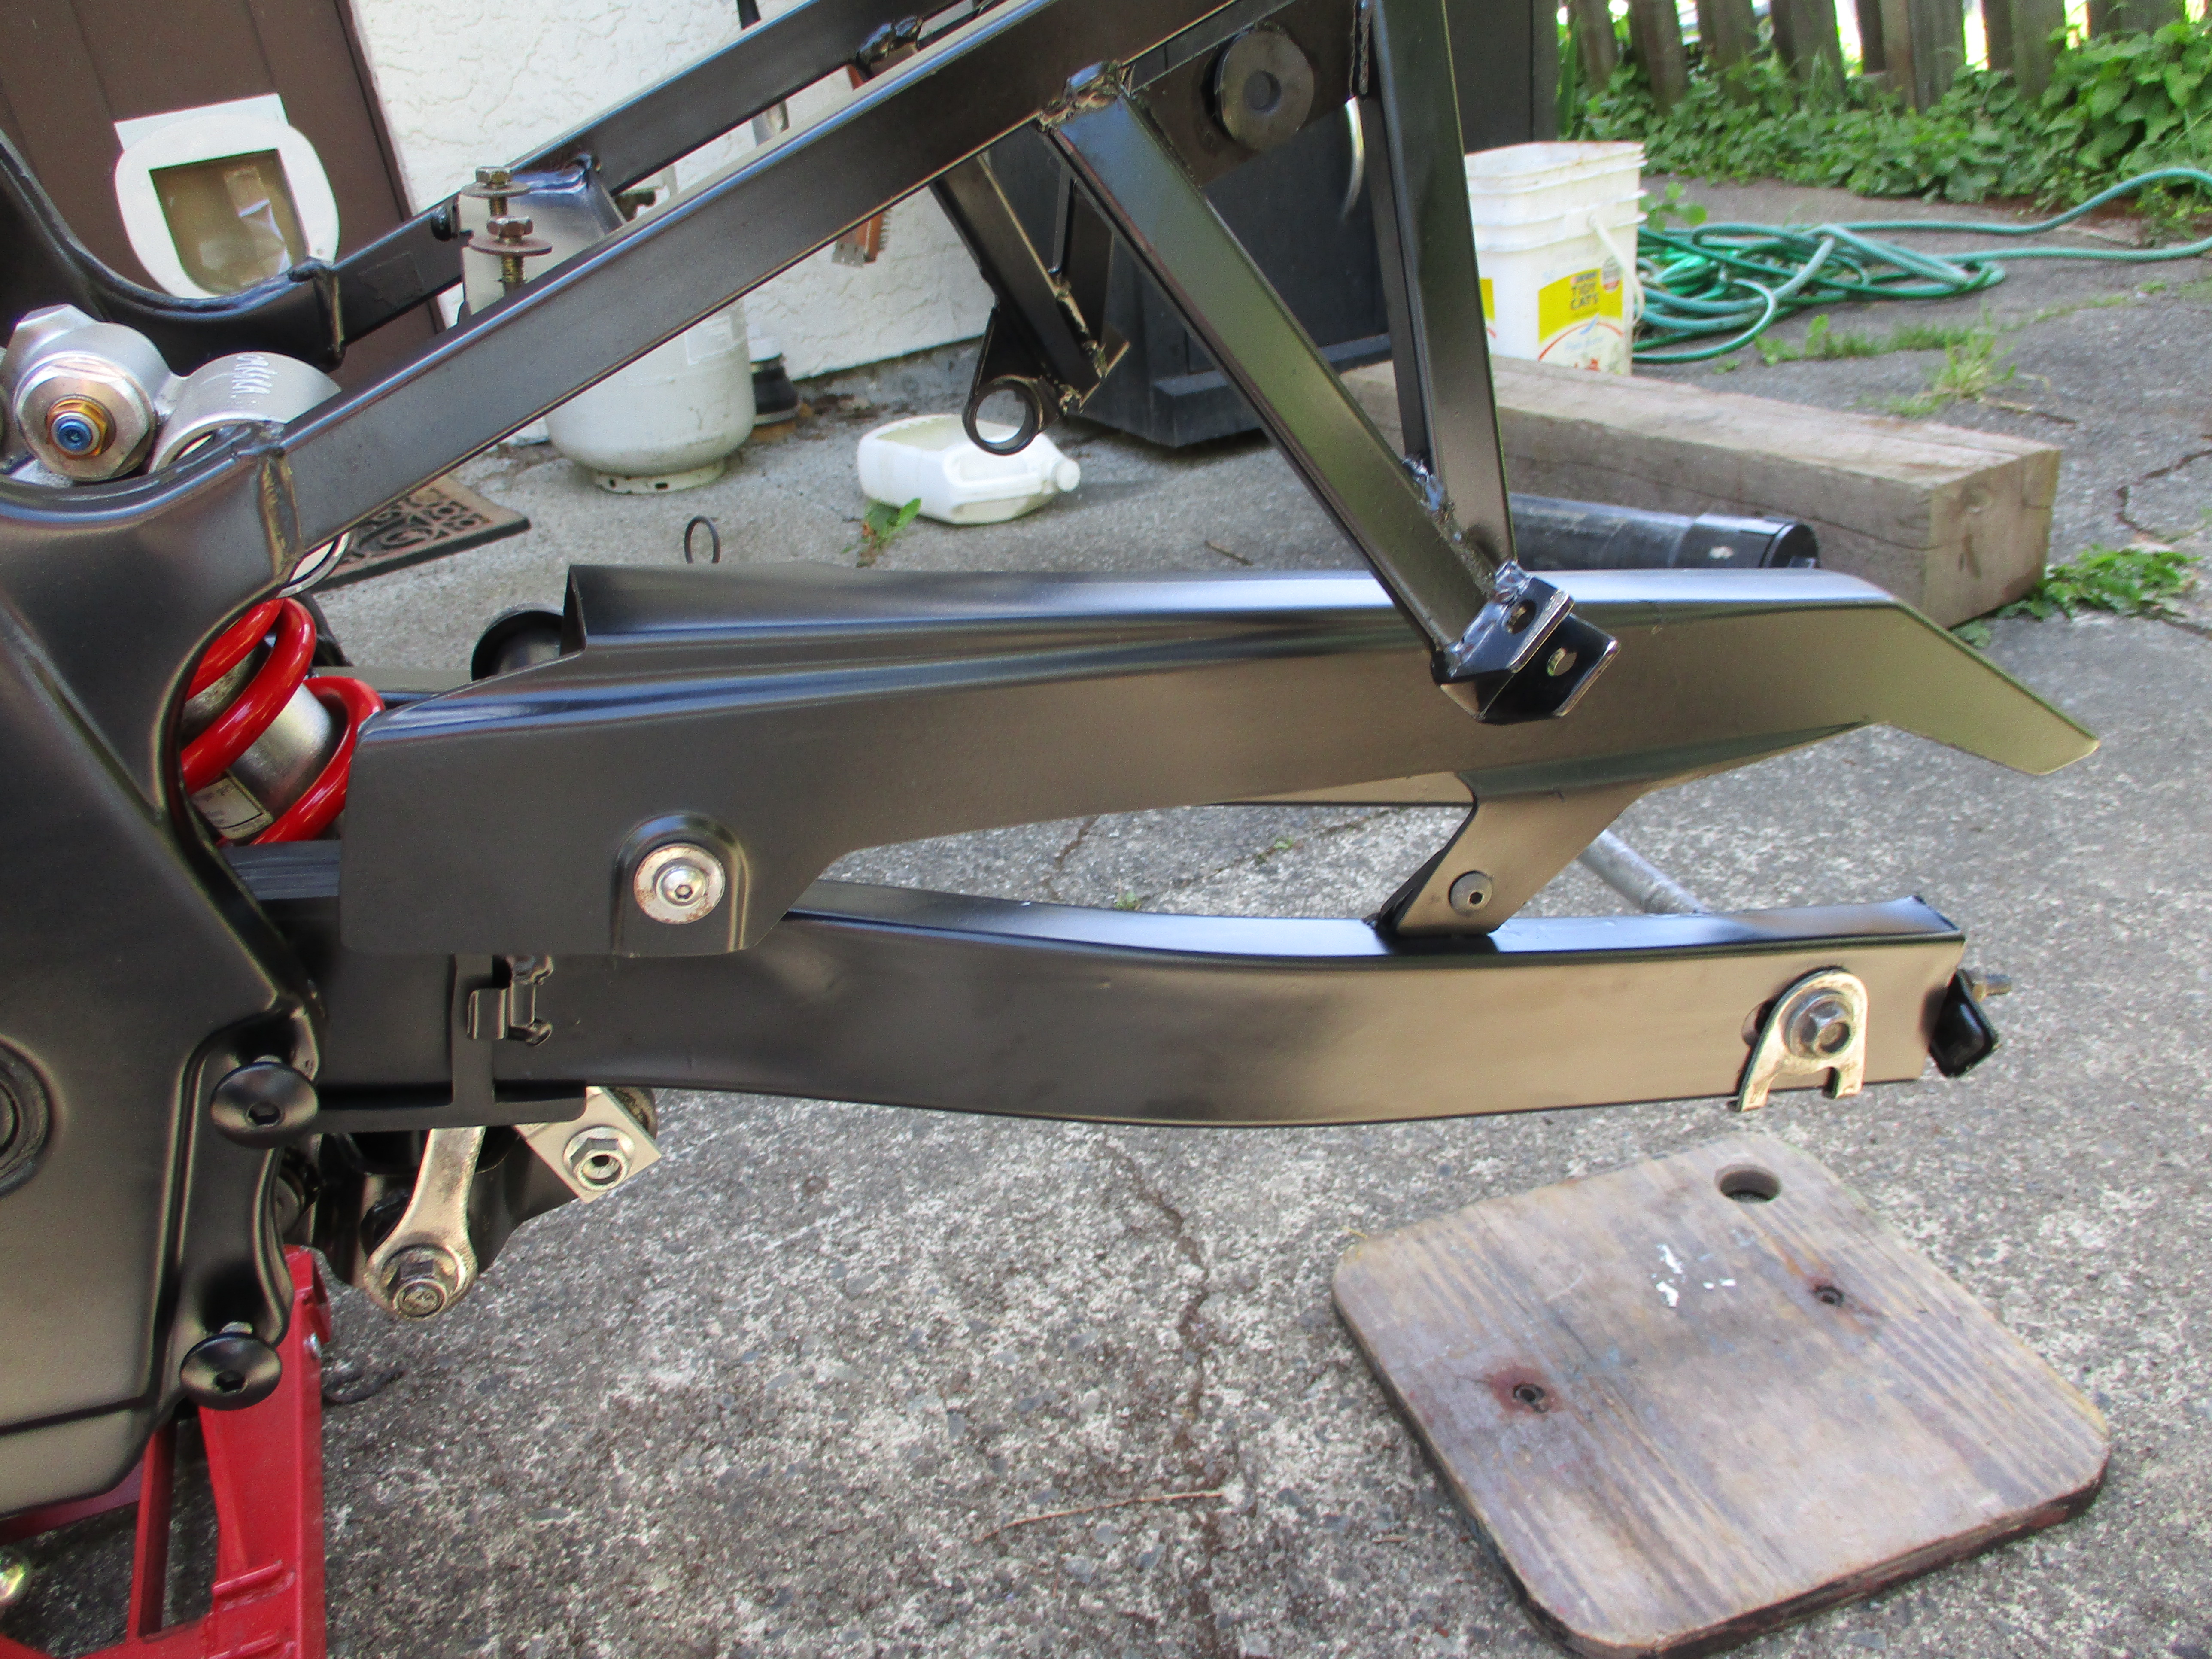
The rear suspension had one bad needle bearing in the pivot lever where it attaches to the frame. I bought a new one and replaced it.
This rear shock is not the stock one, as the stock shock does not have an external reservoir. I think this is a GSX-R shock.
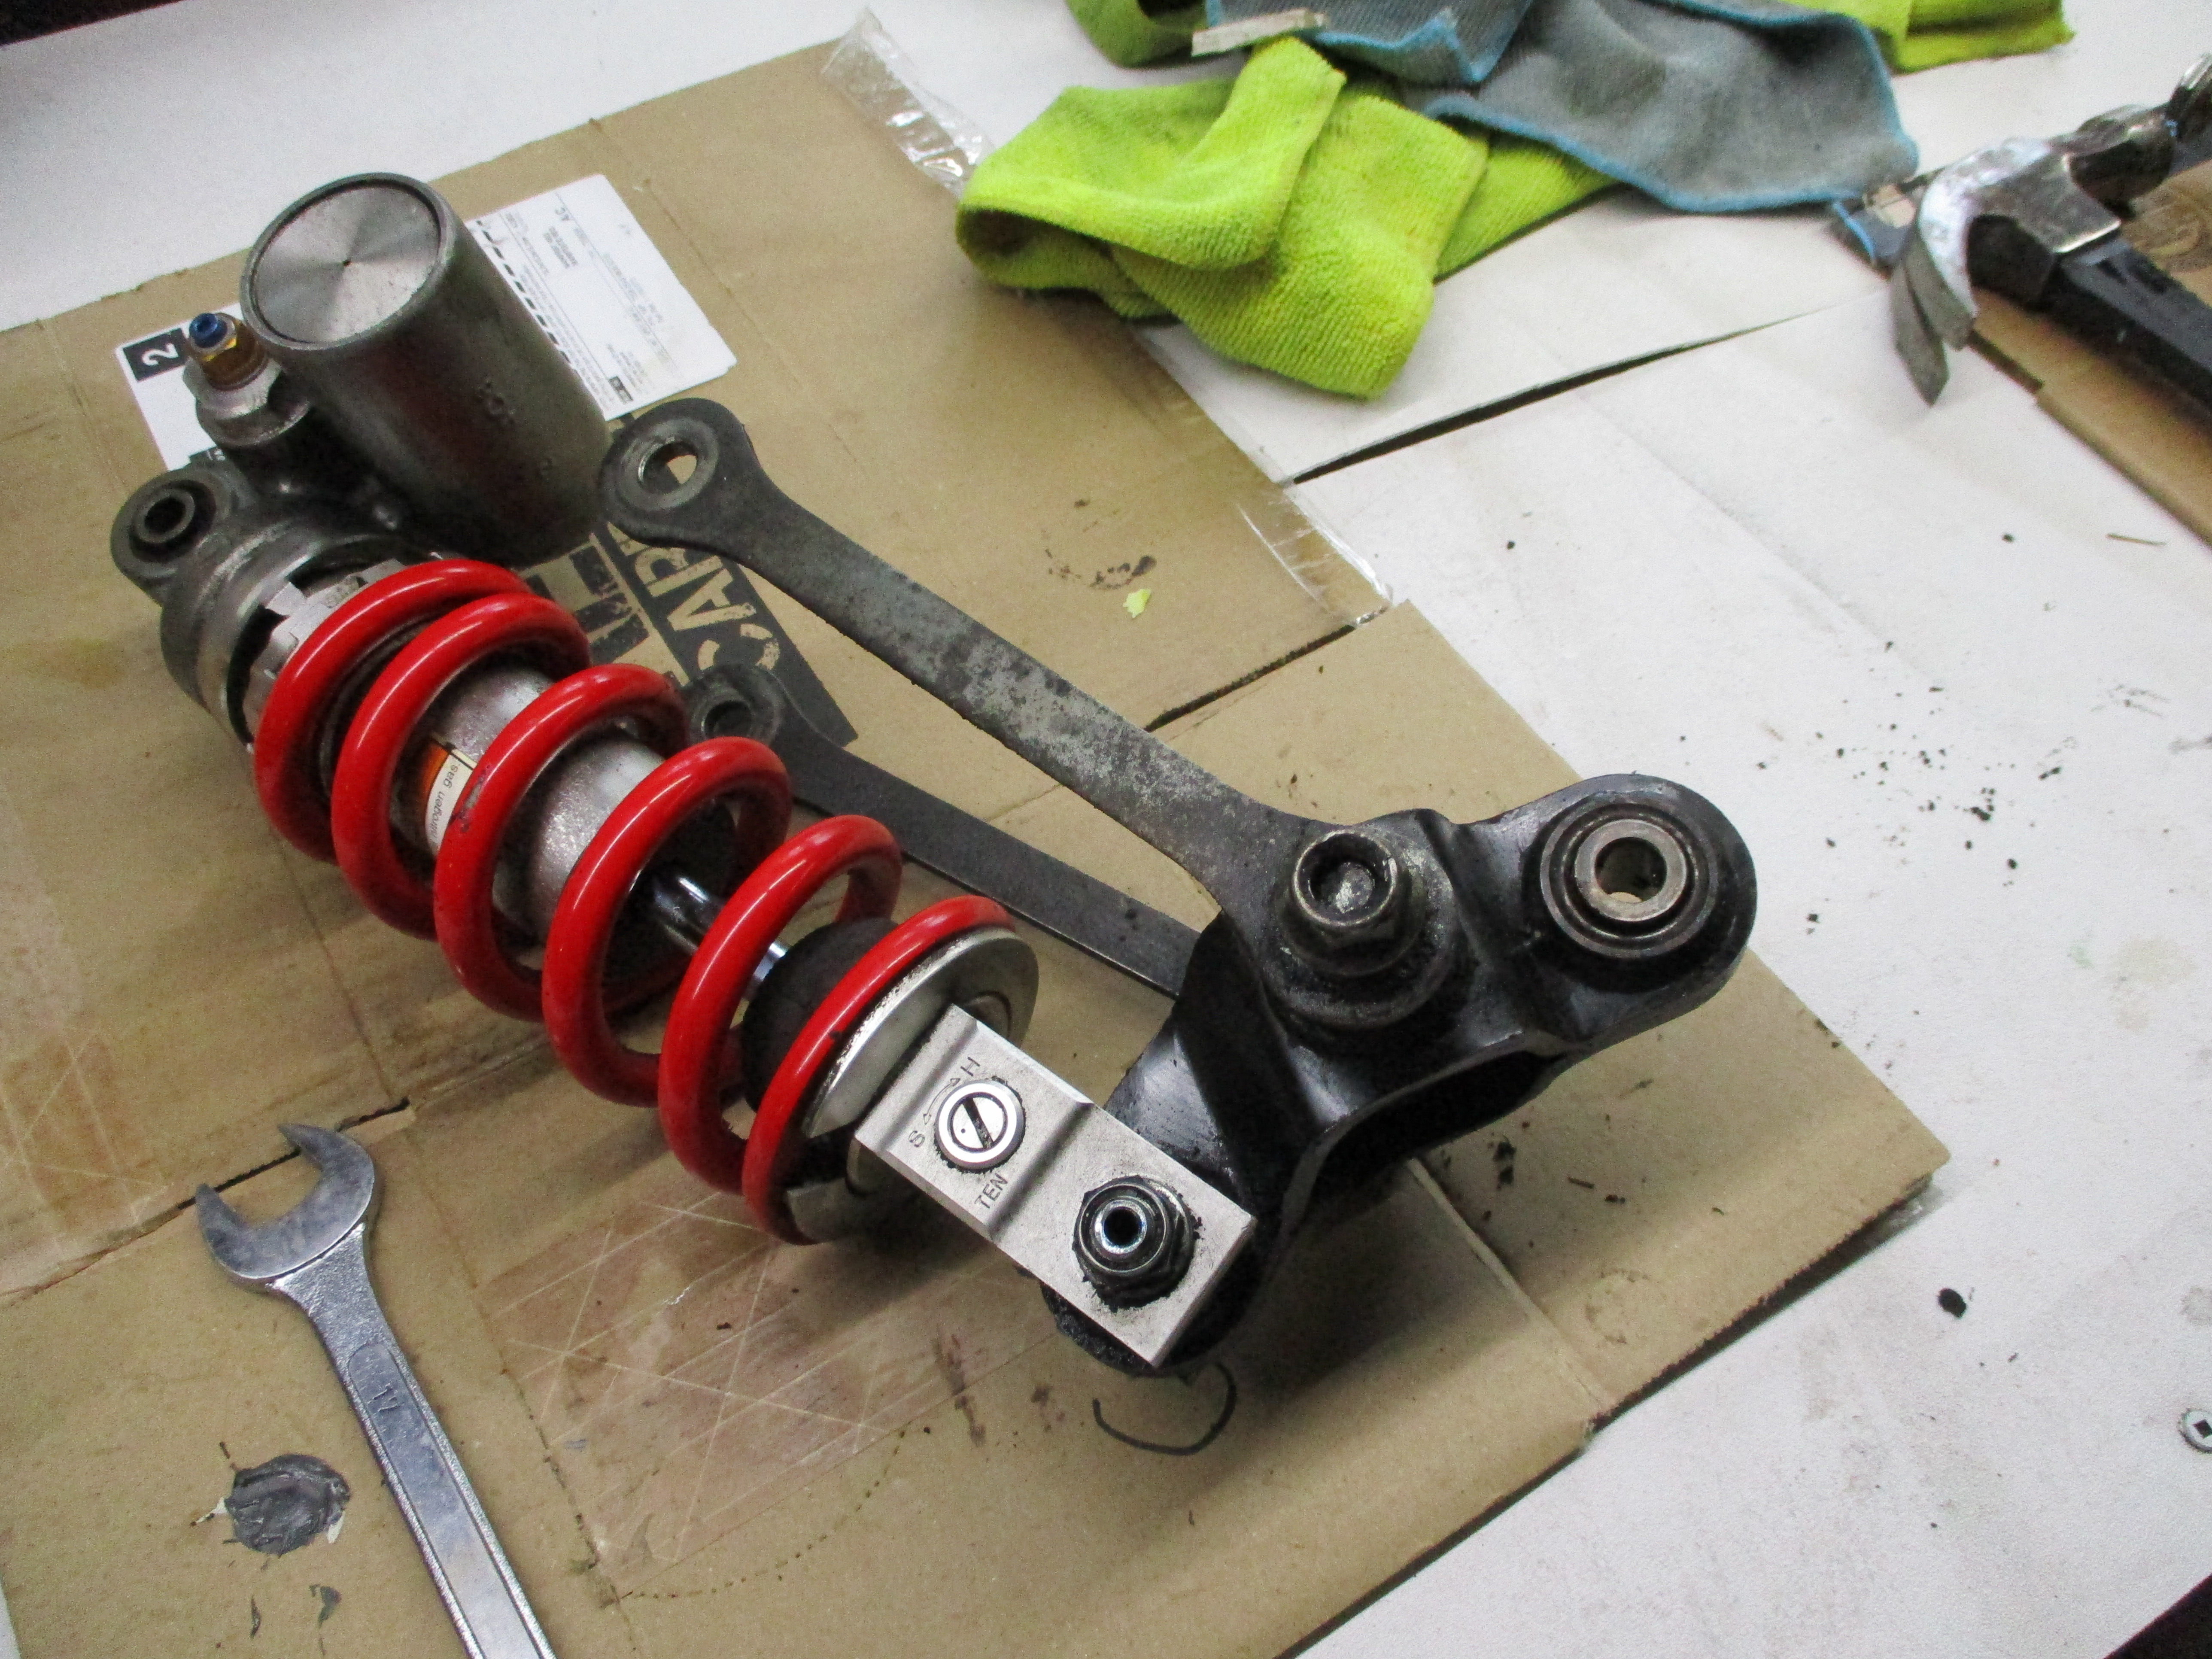
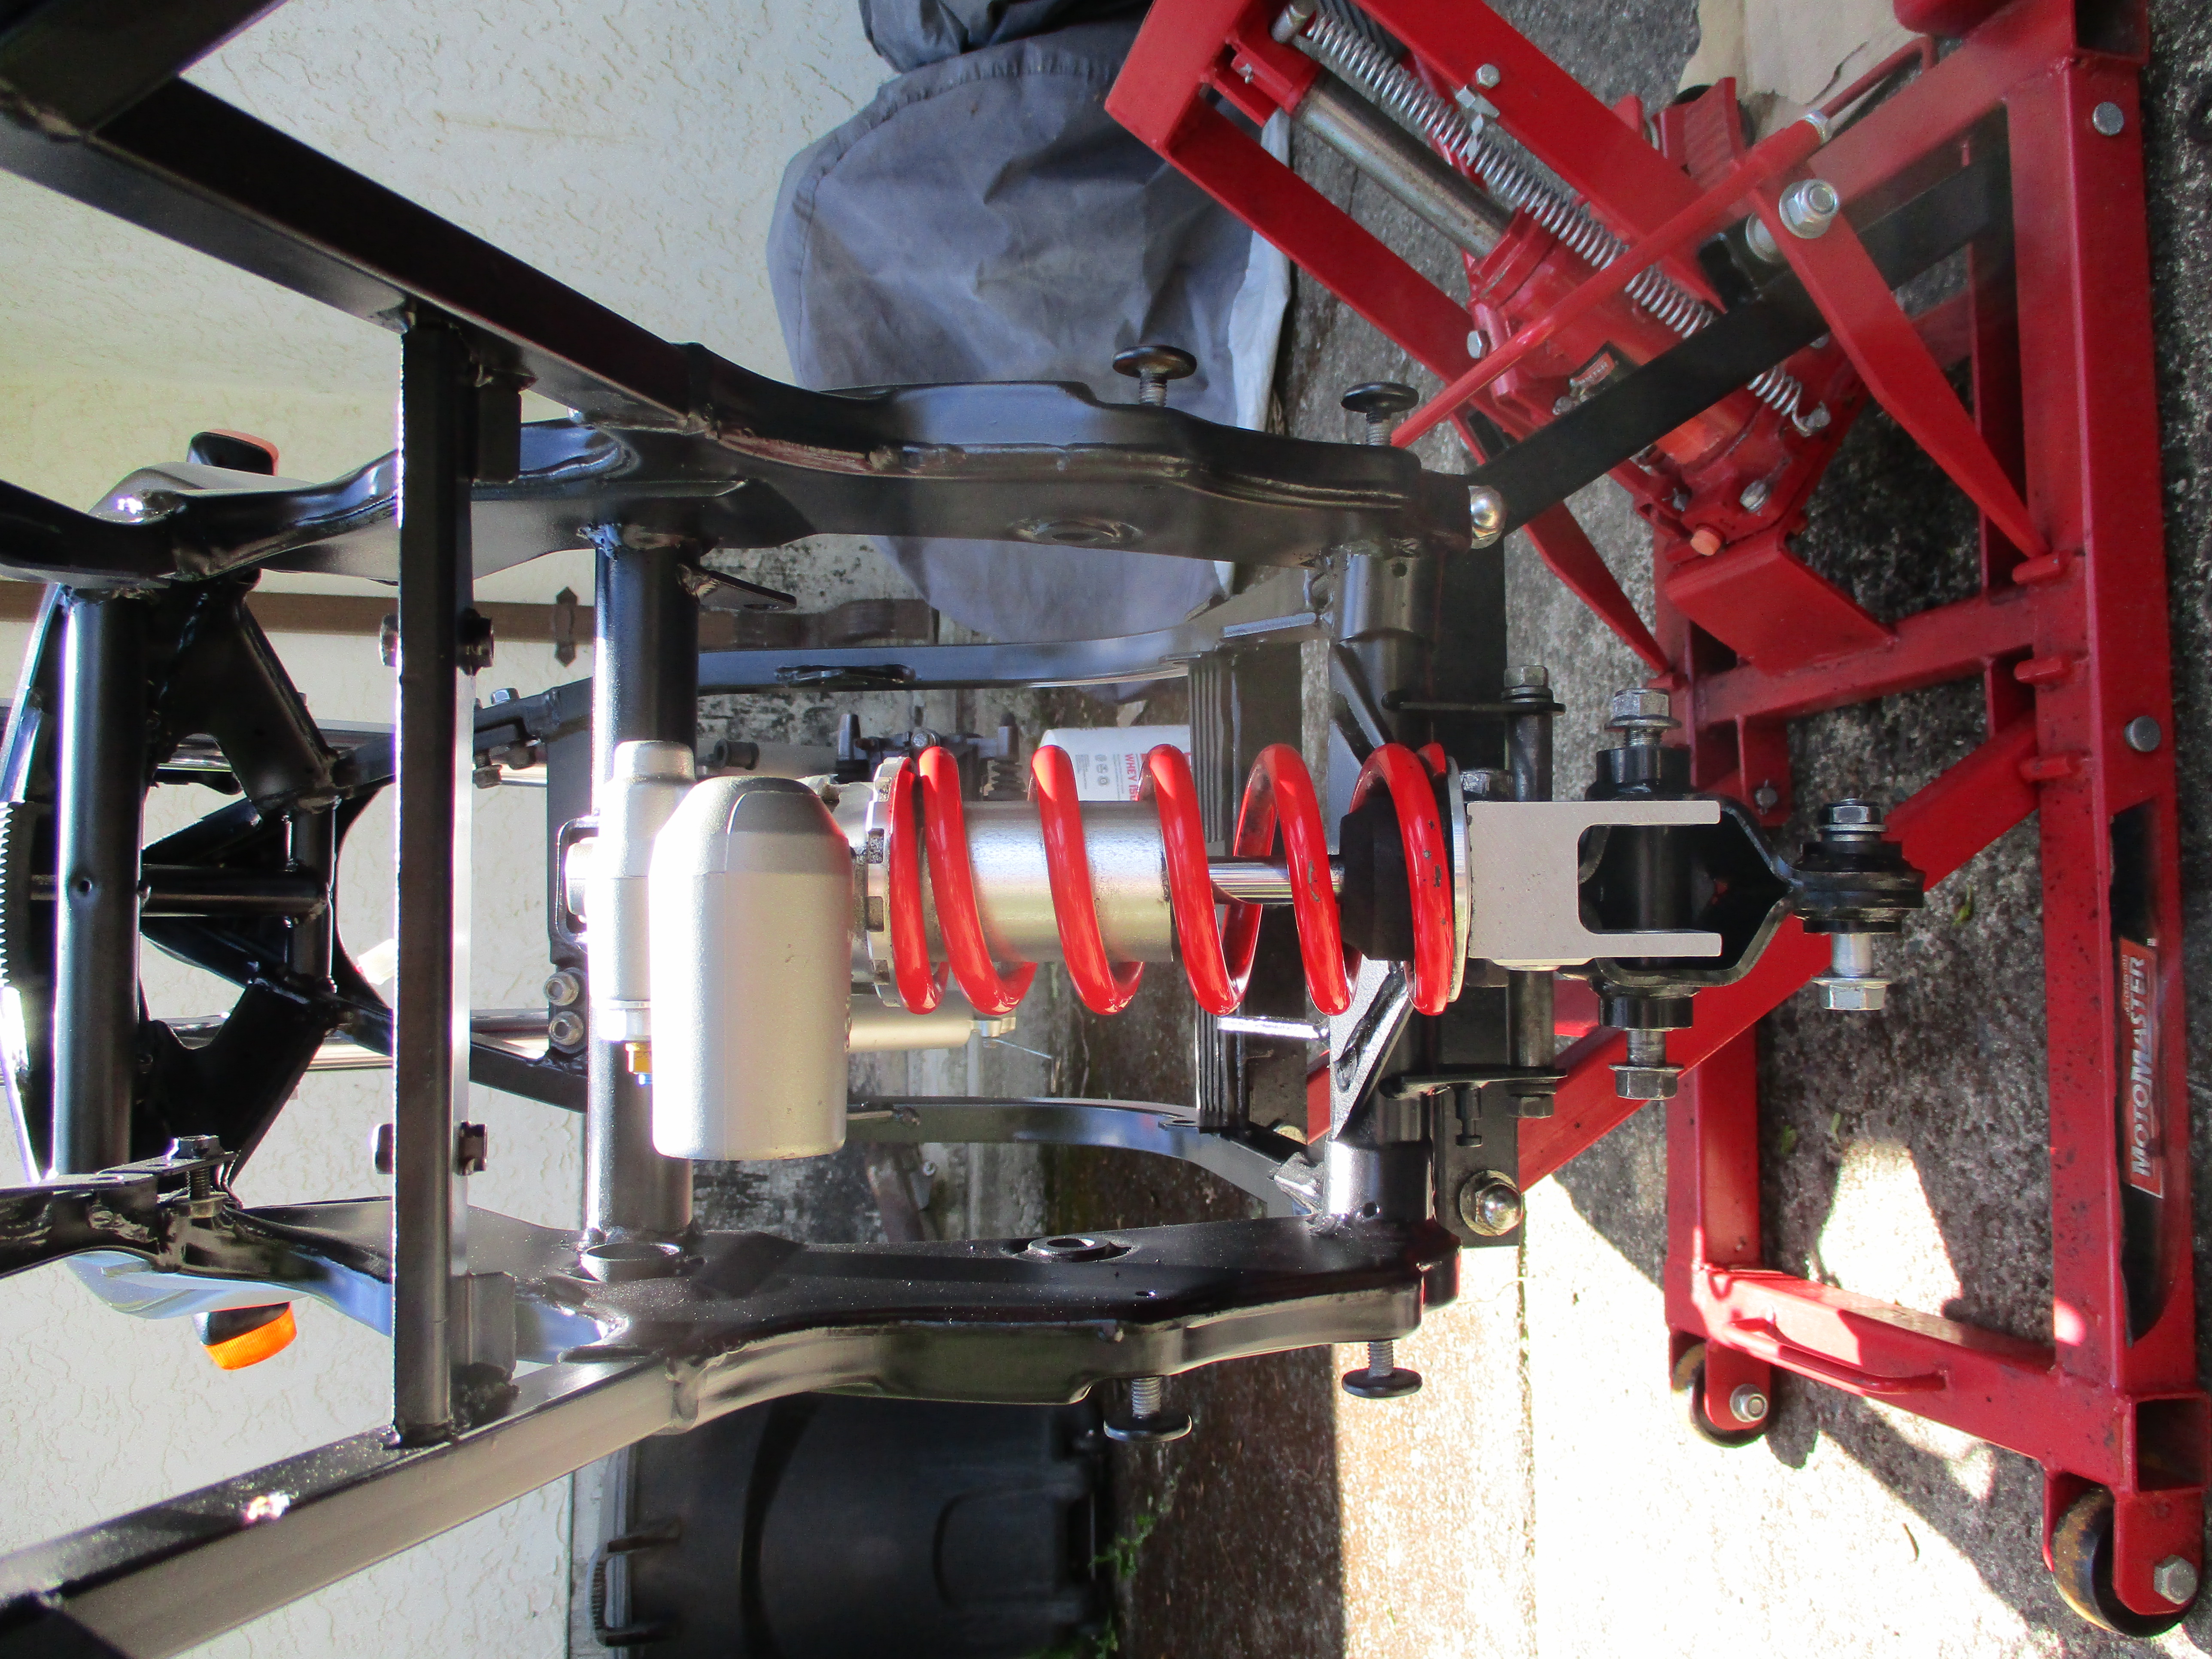
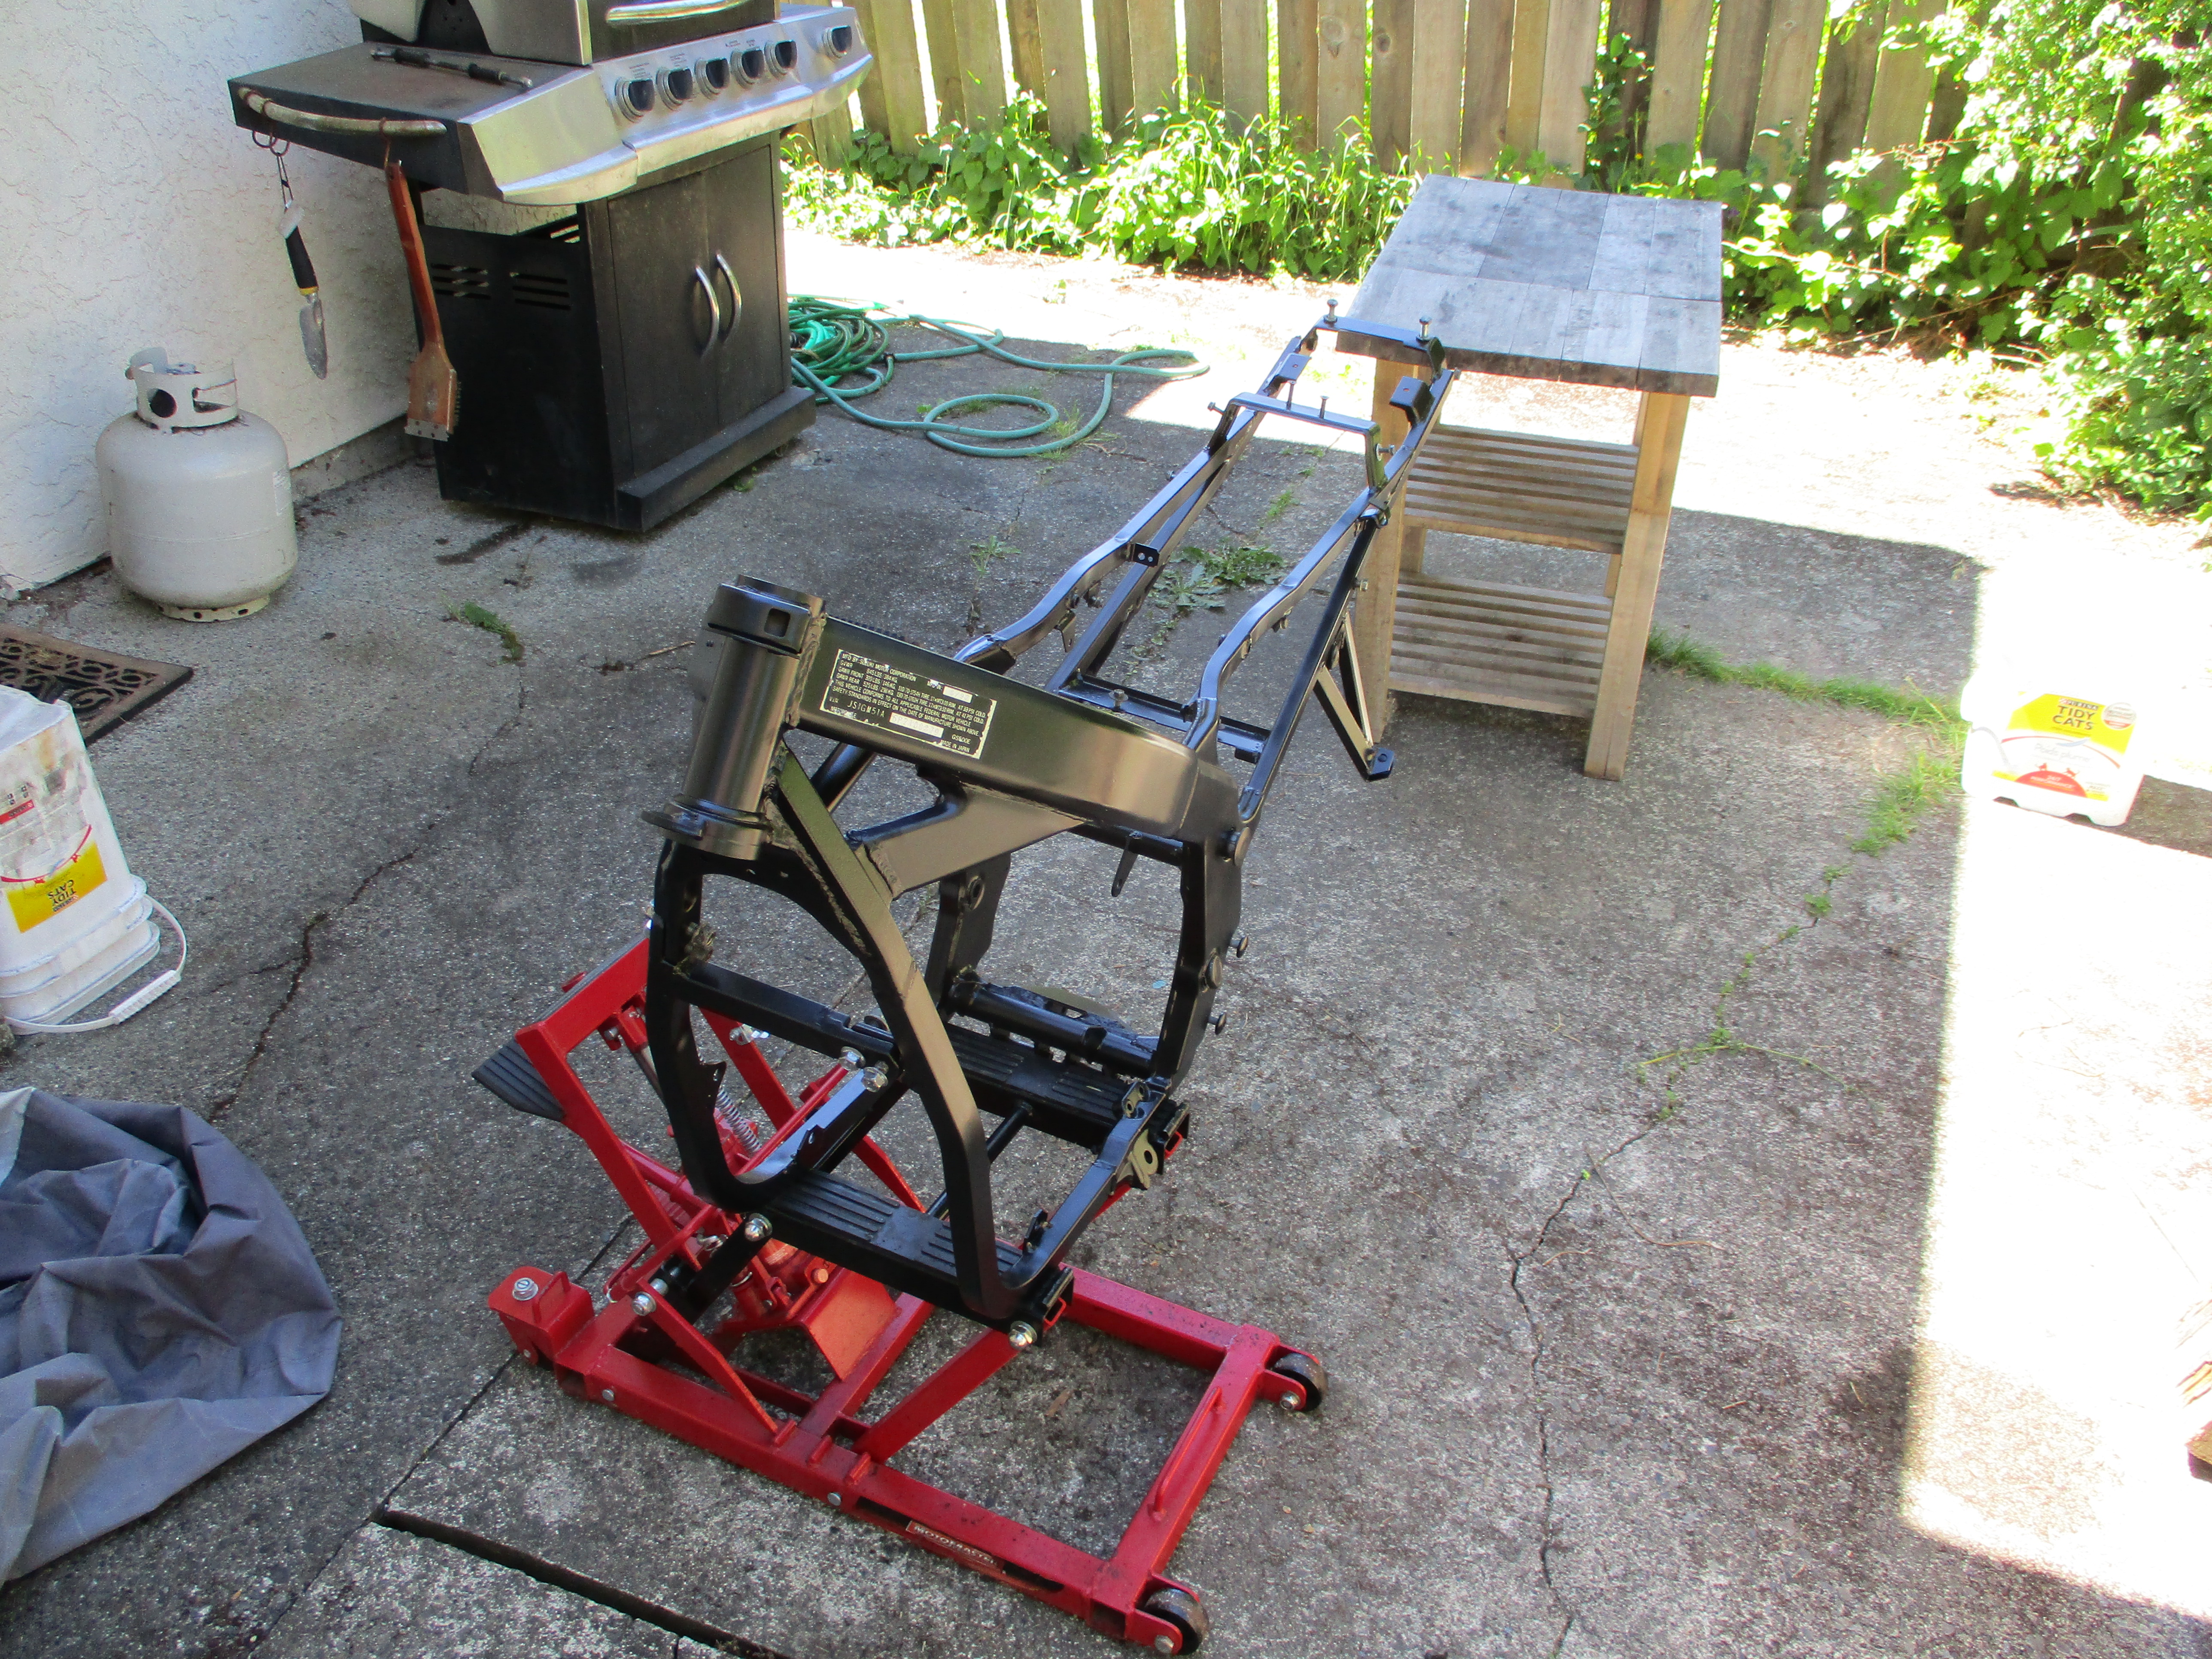
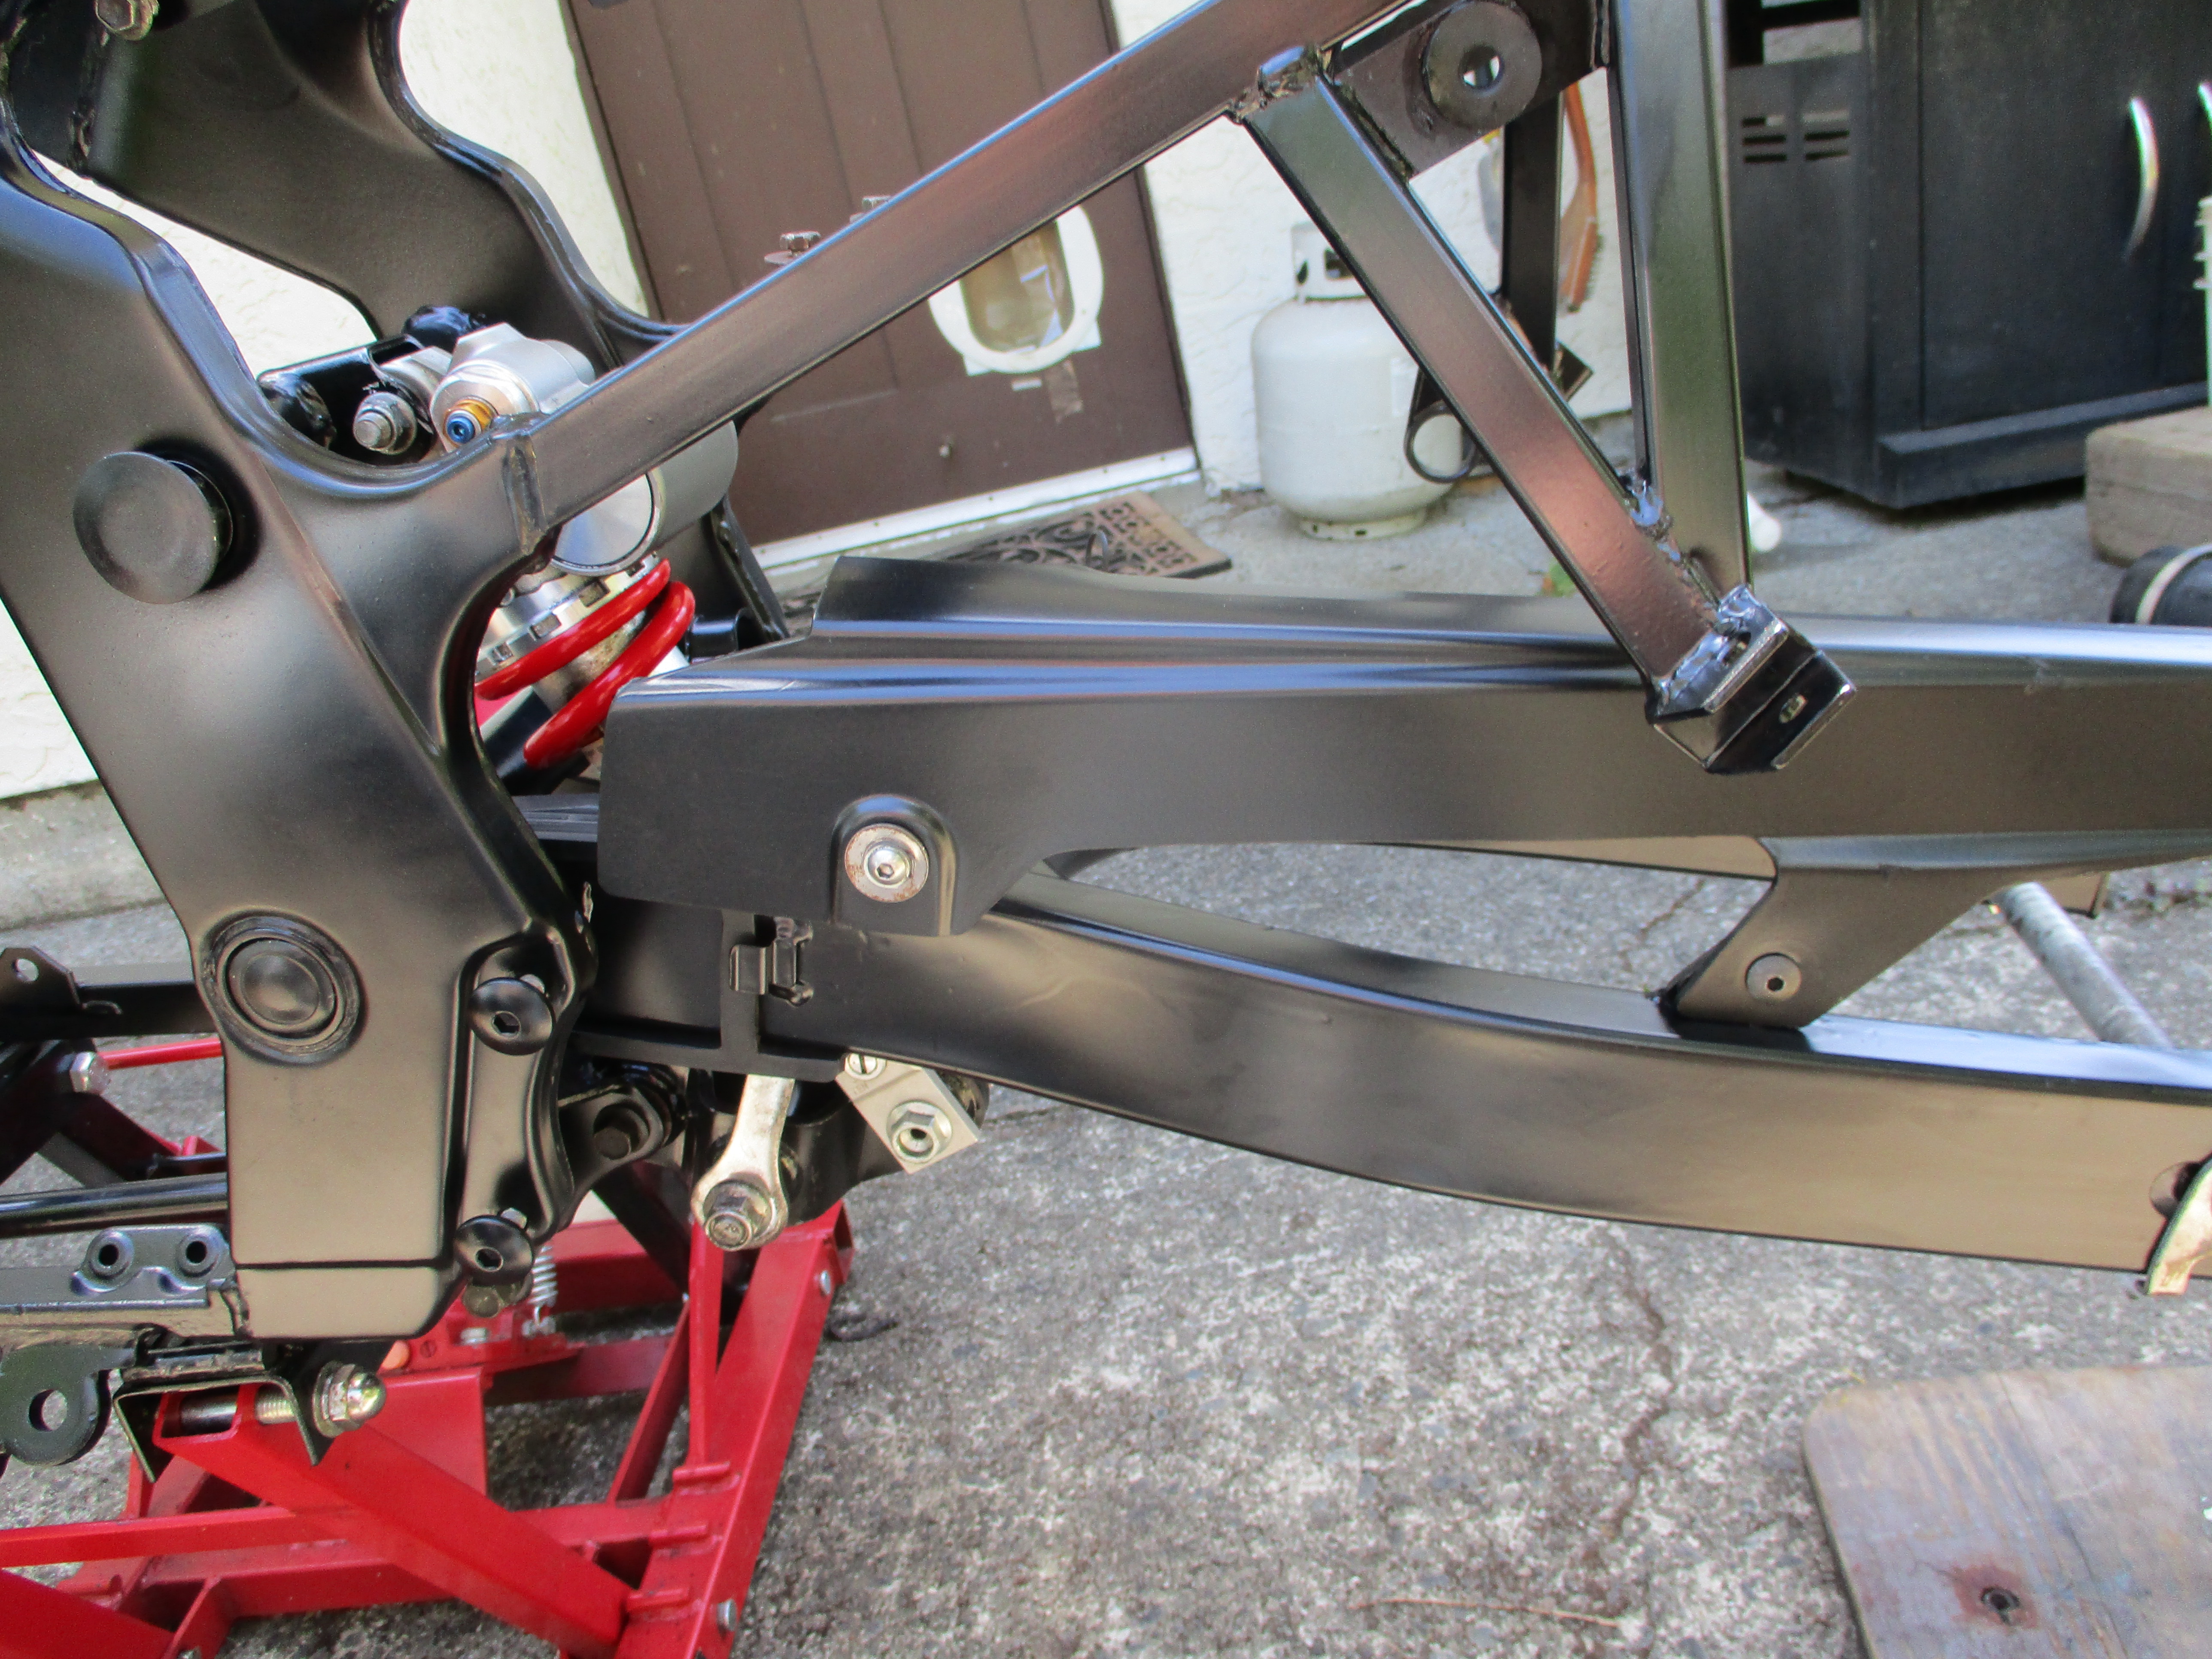
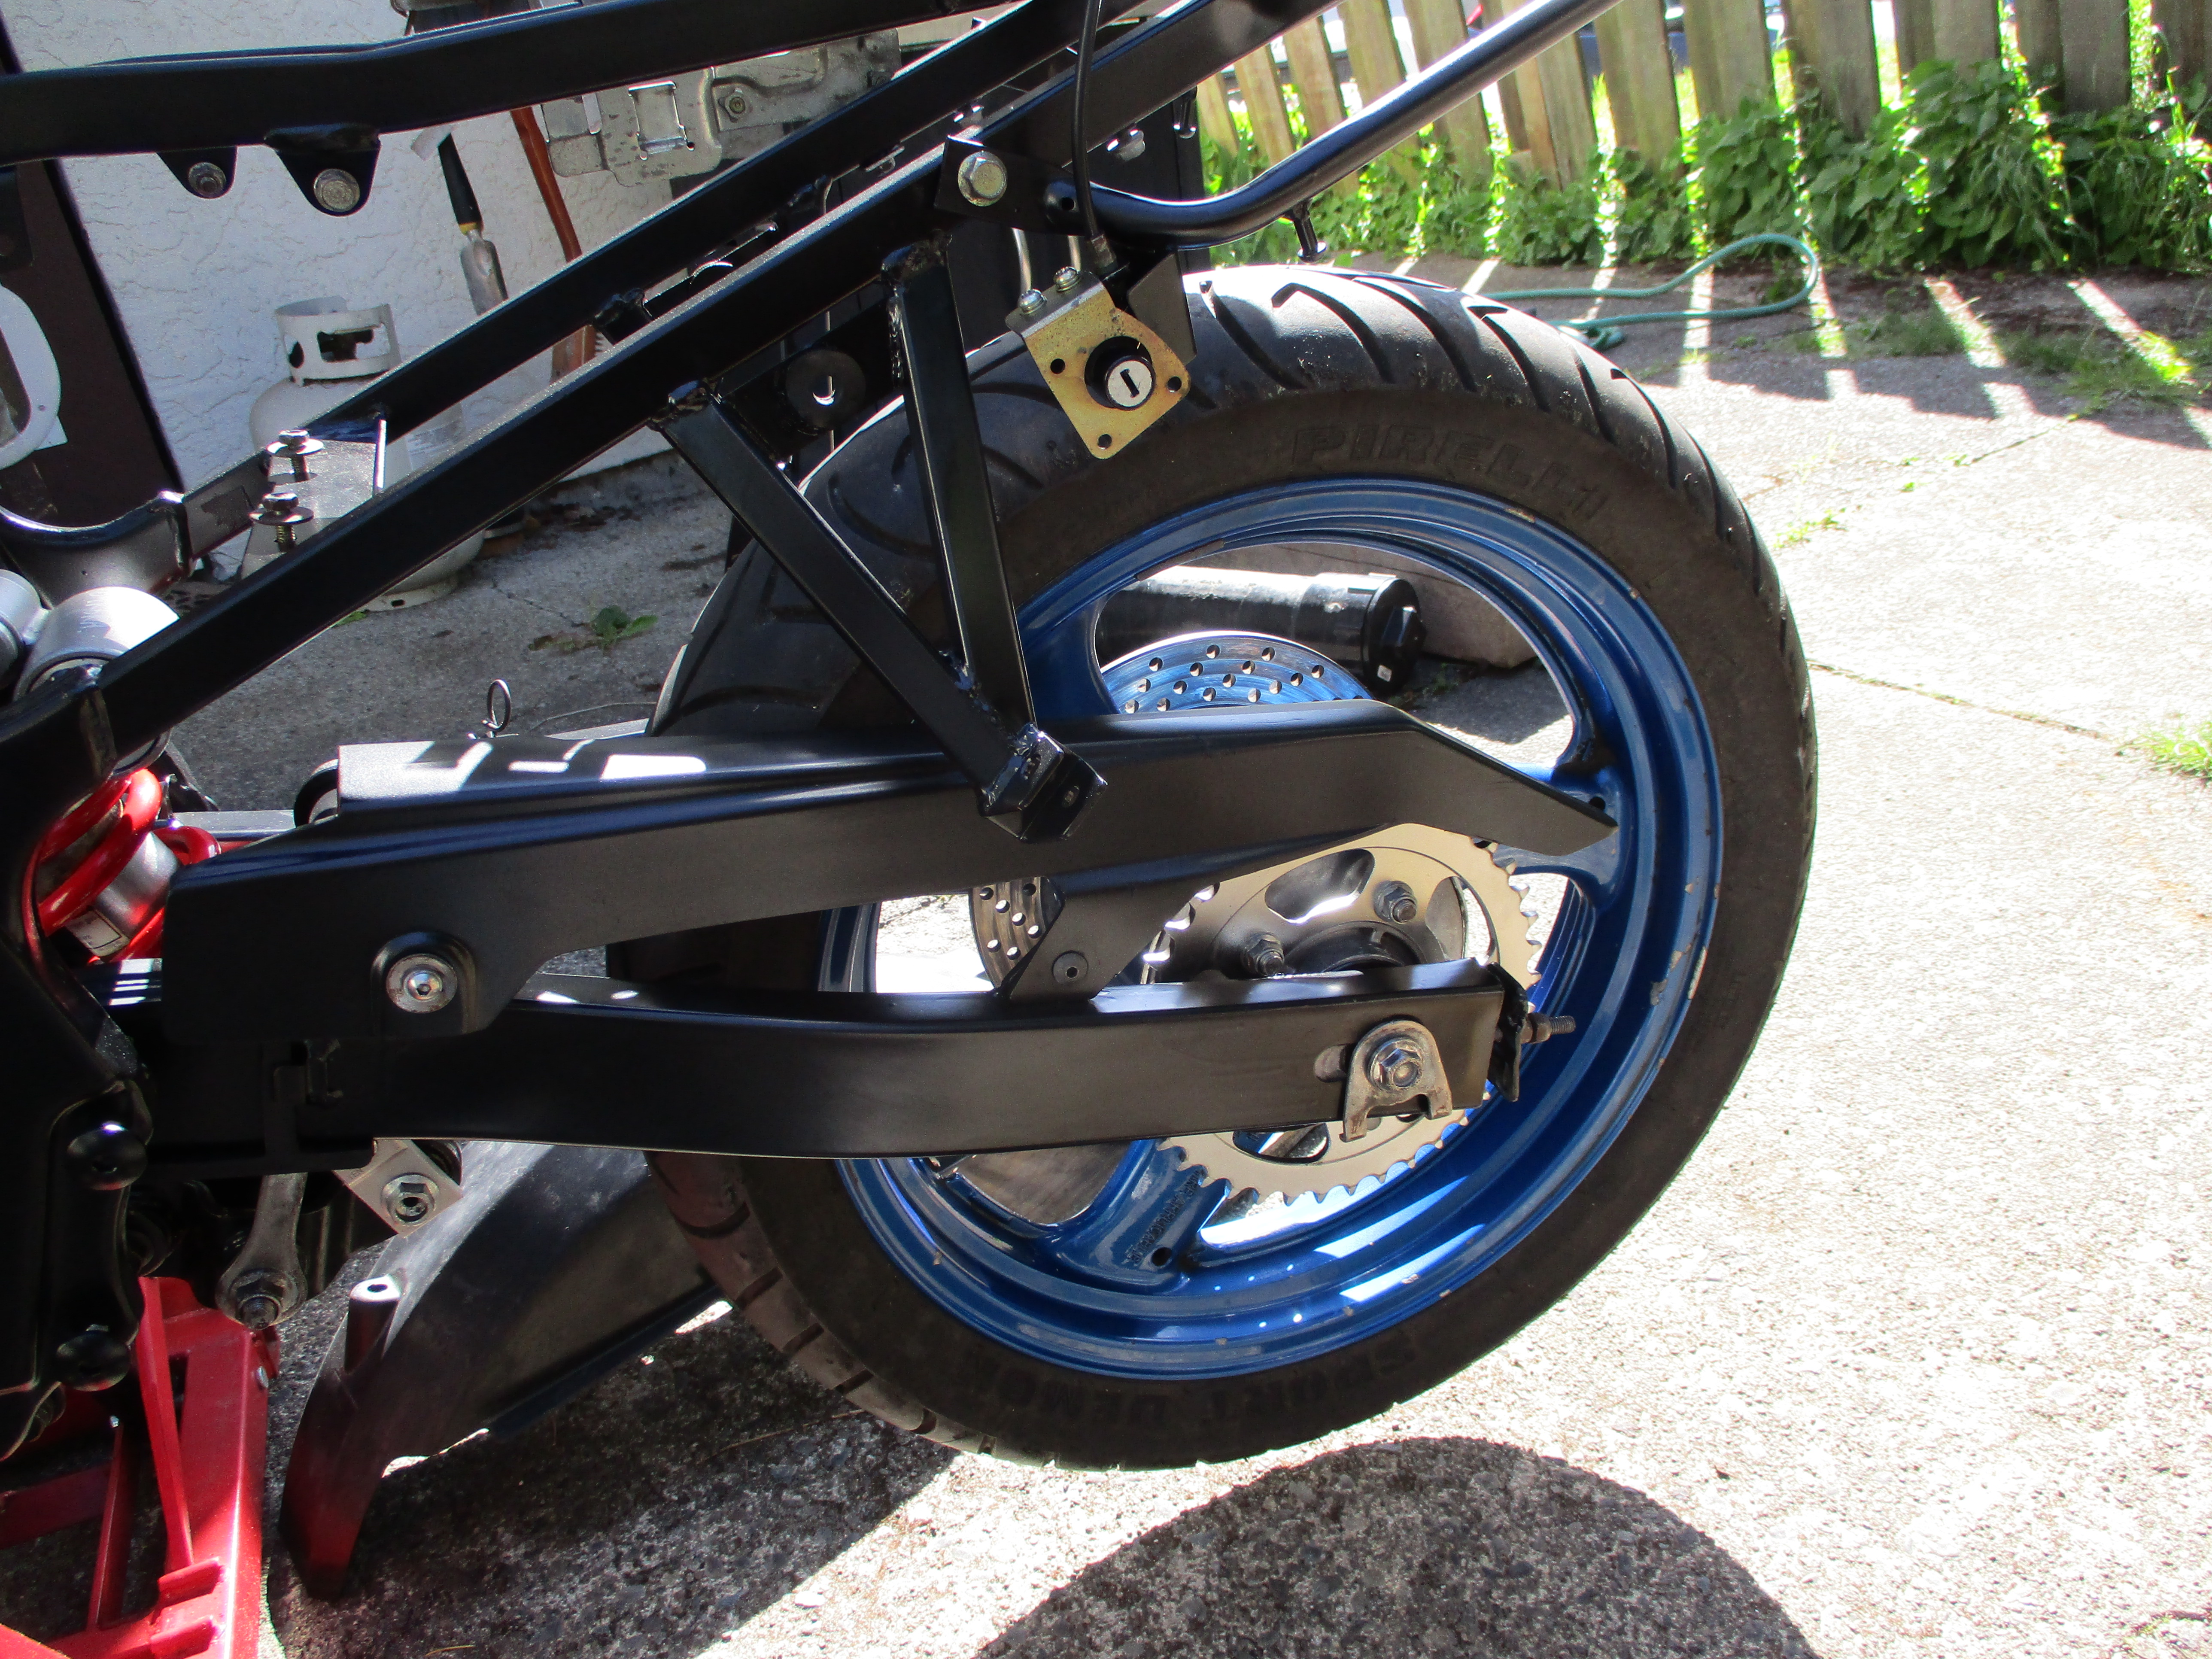
I cleaned up the swingarm by sandblasting and painting it. The needle bearings and sleeves inside looked brand new. A chain derailment at some point in the past had chewed it up pretty good on the left inside rail. The chain guard got painted with trim and bumper paint and I bought new fender washers for mounting it.
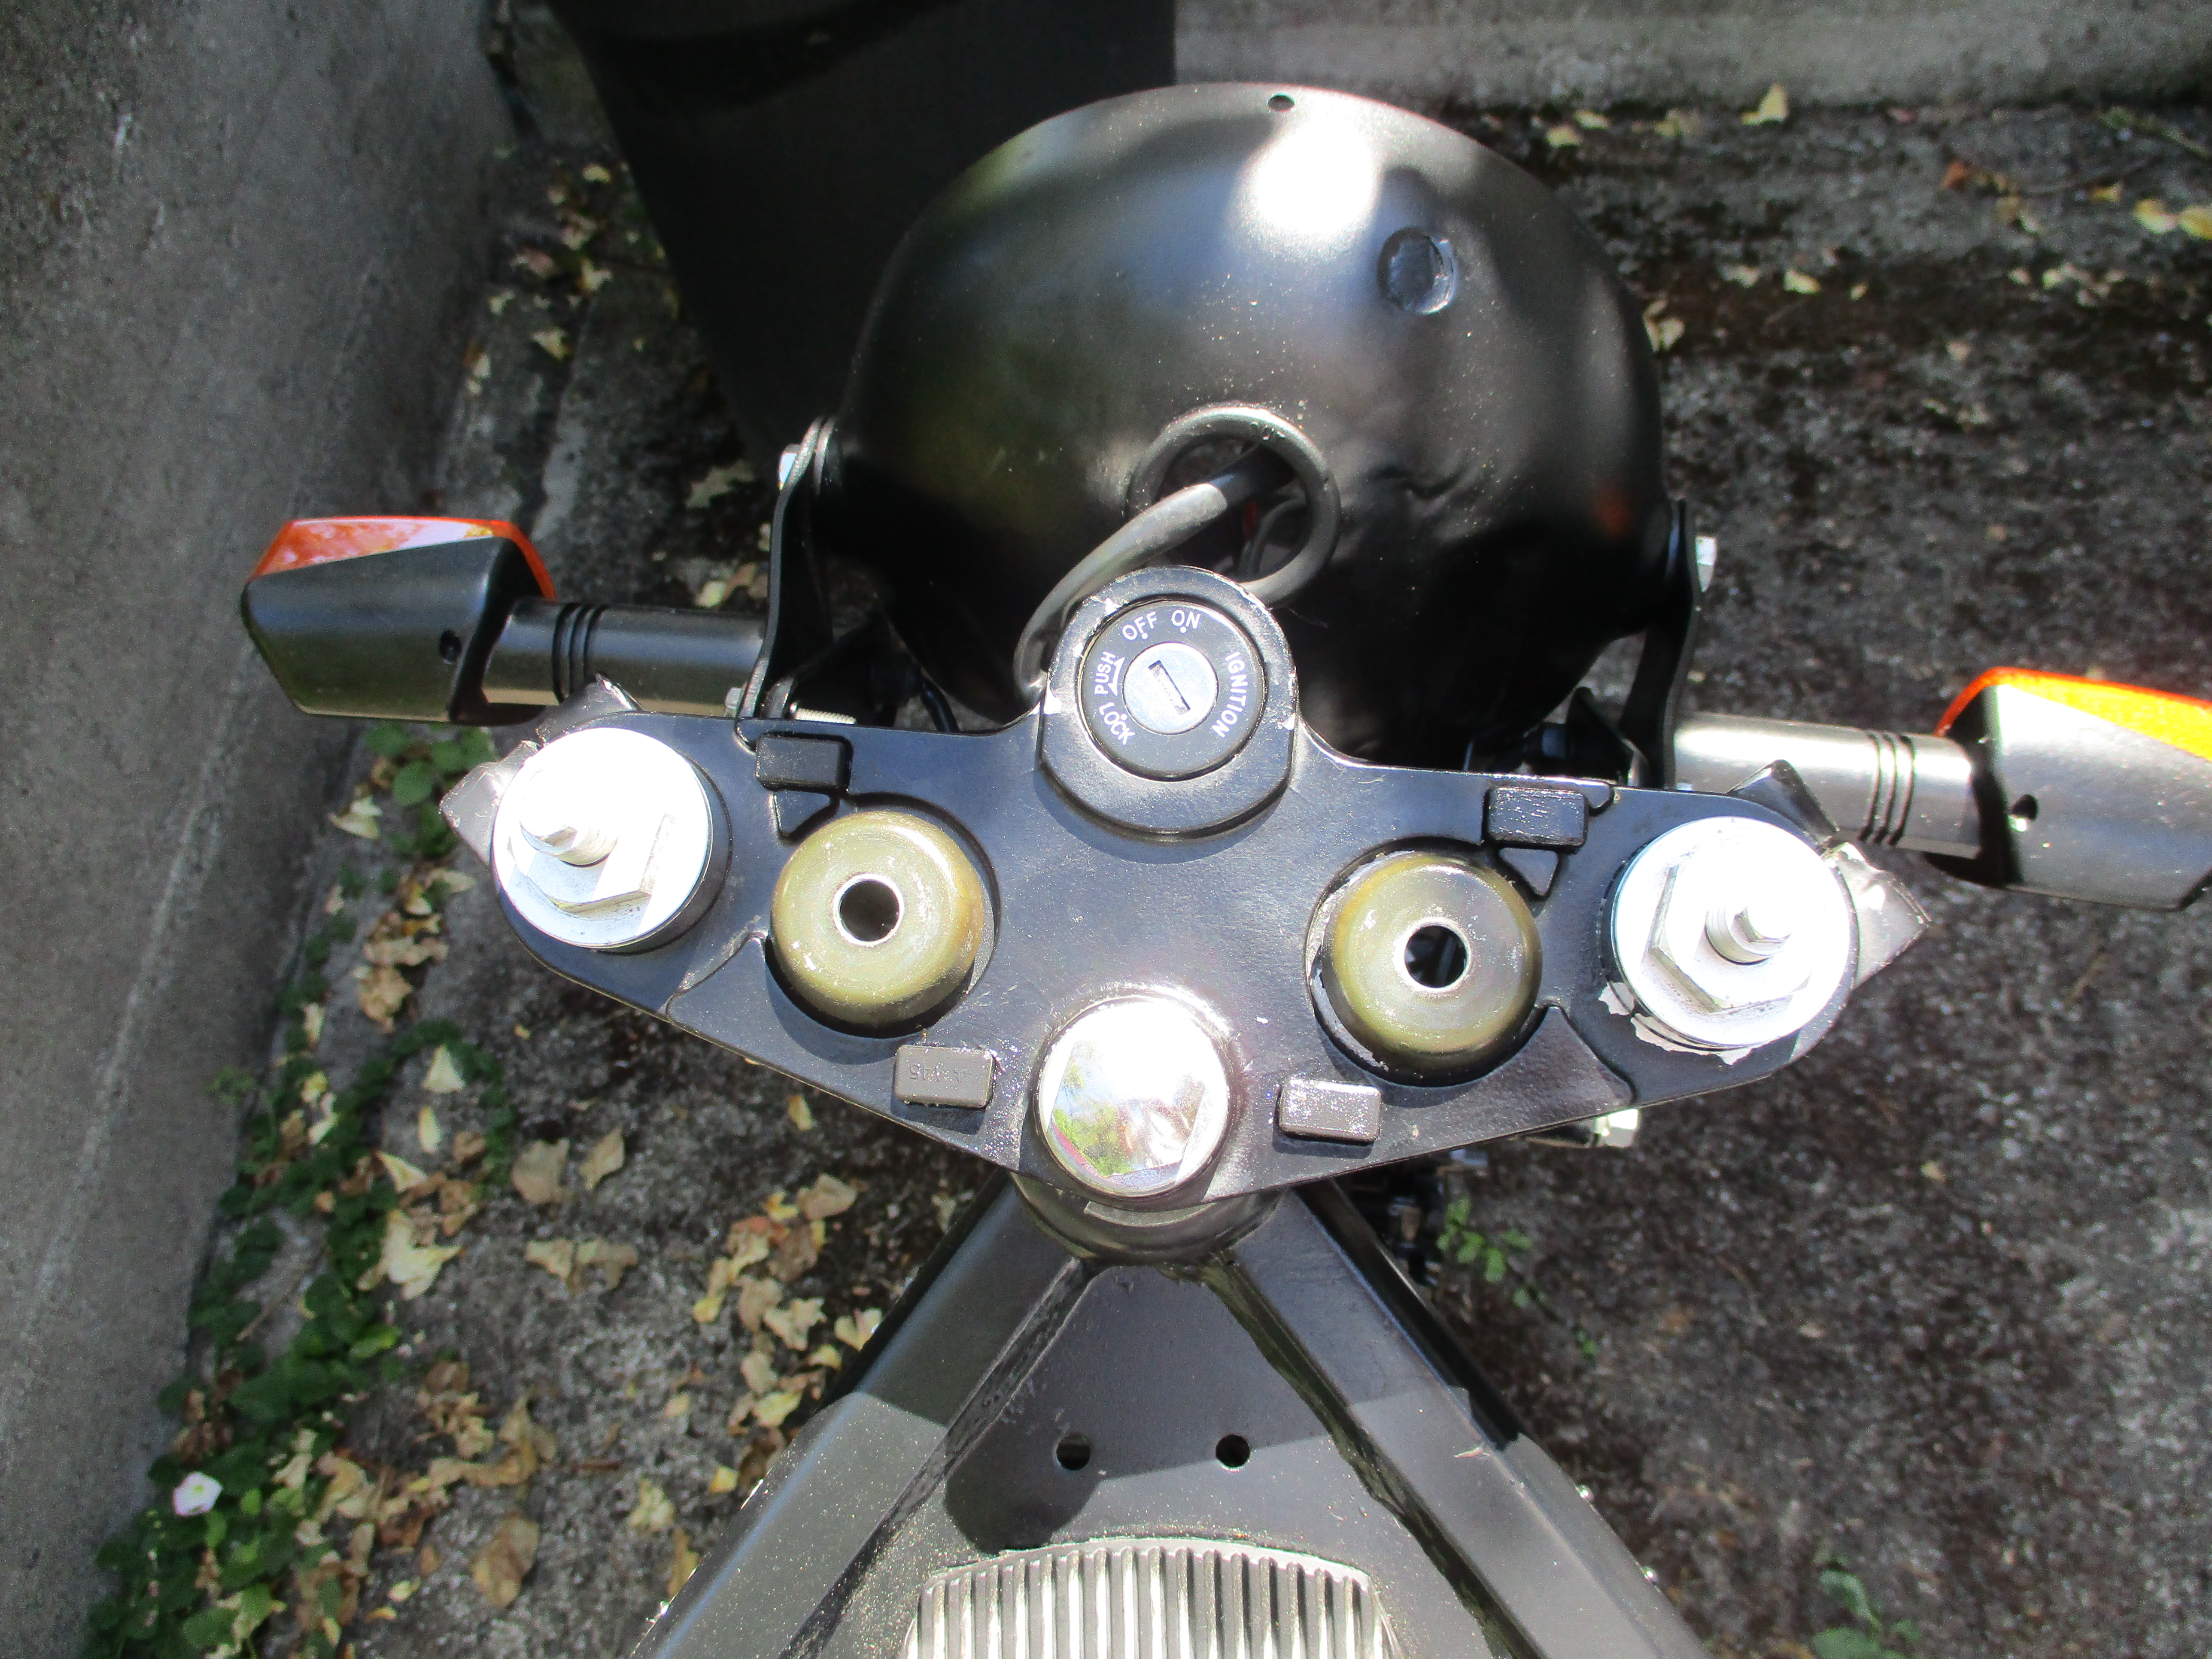
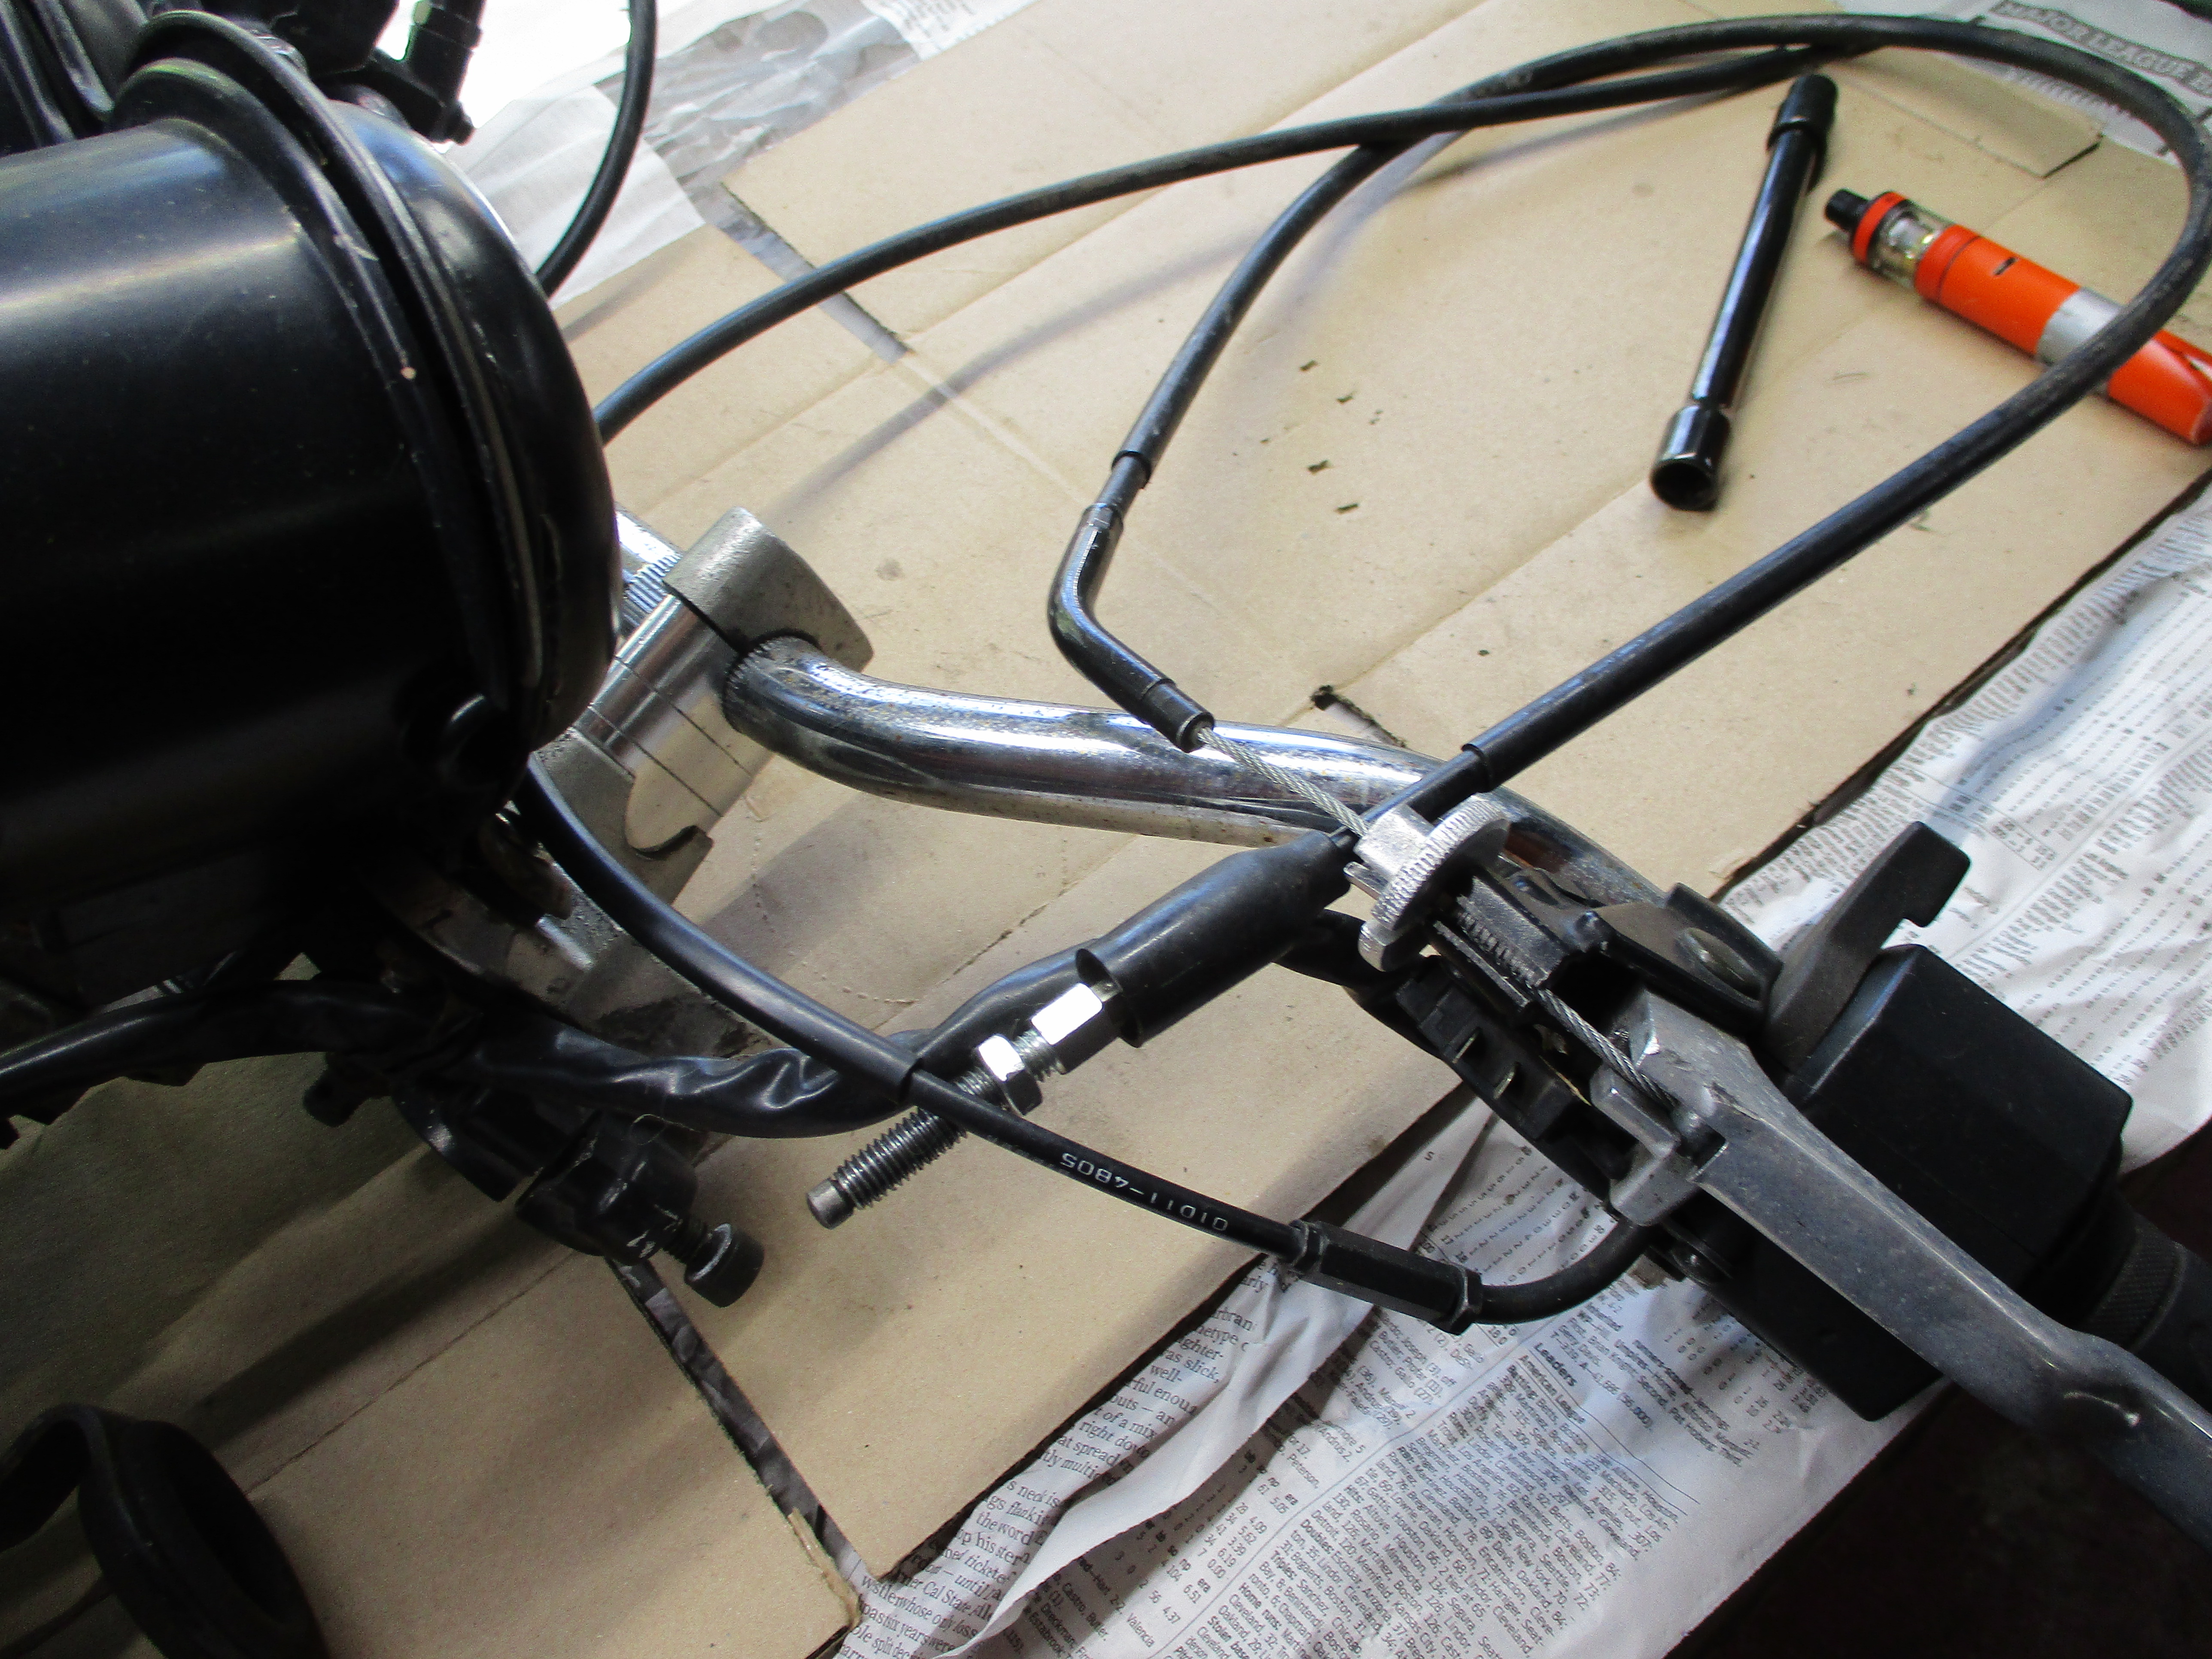
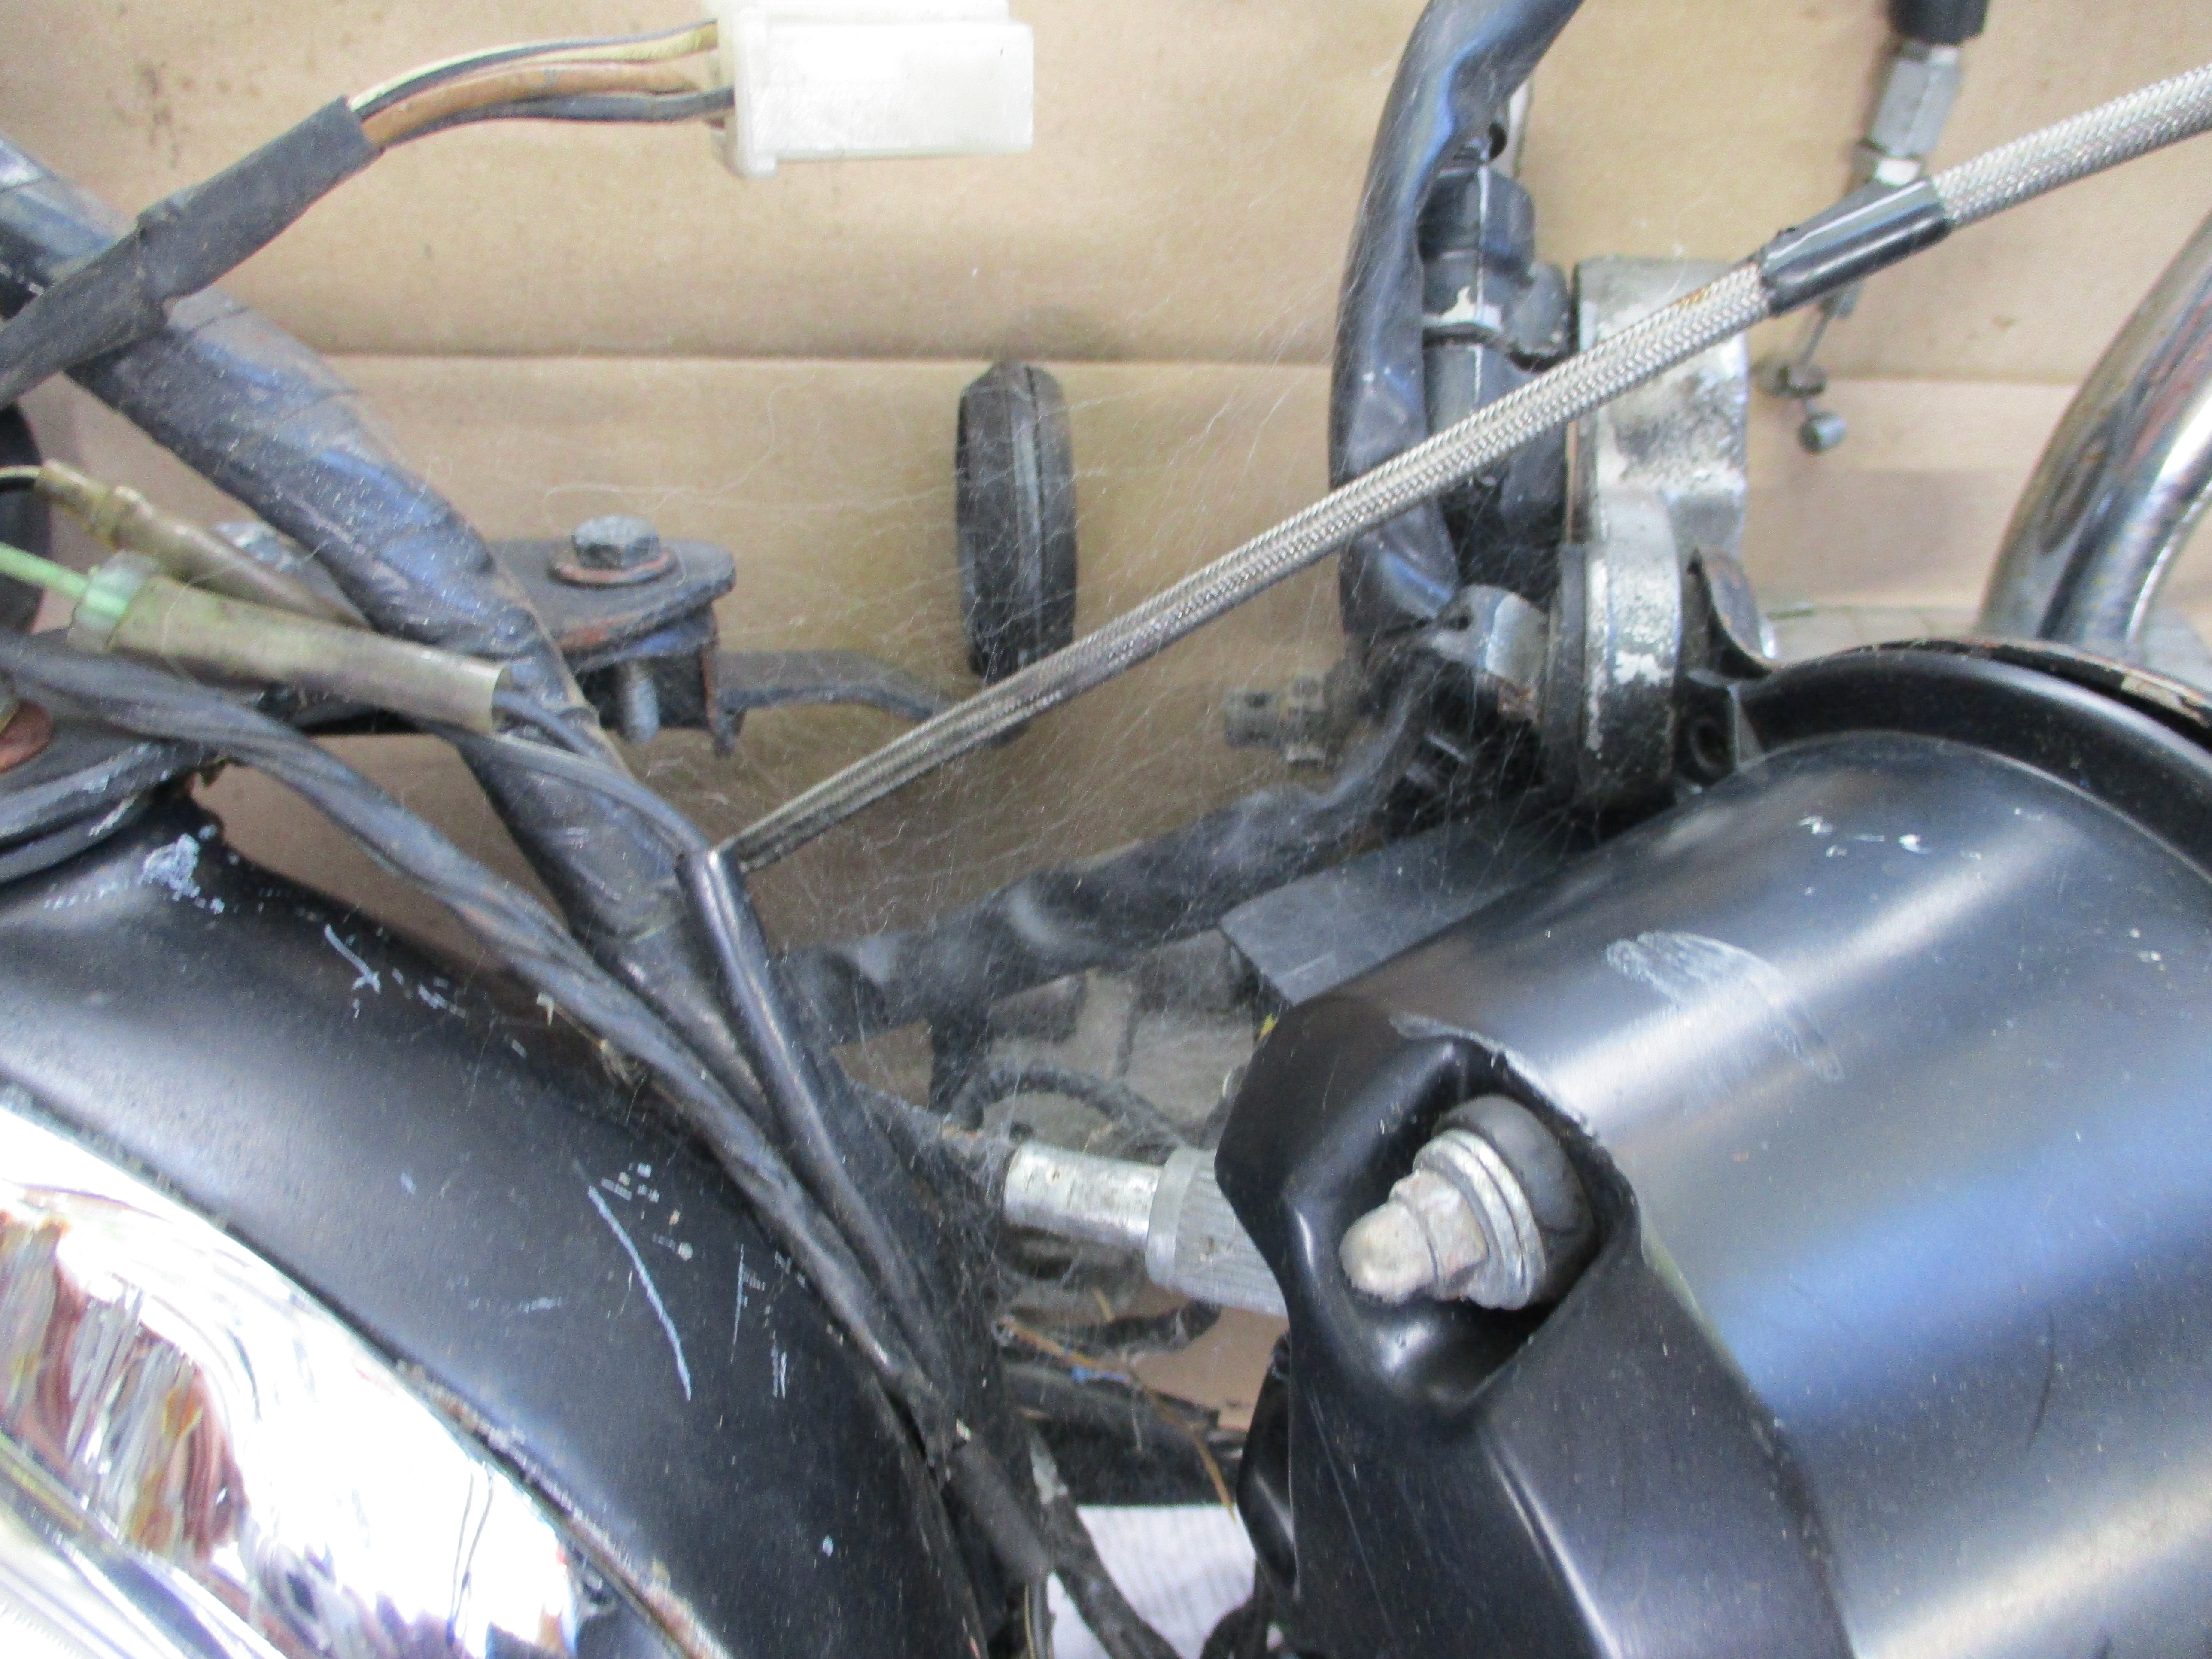
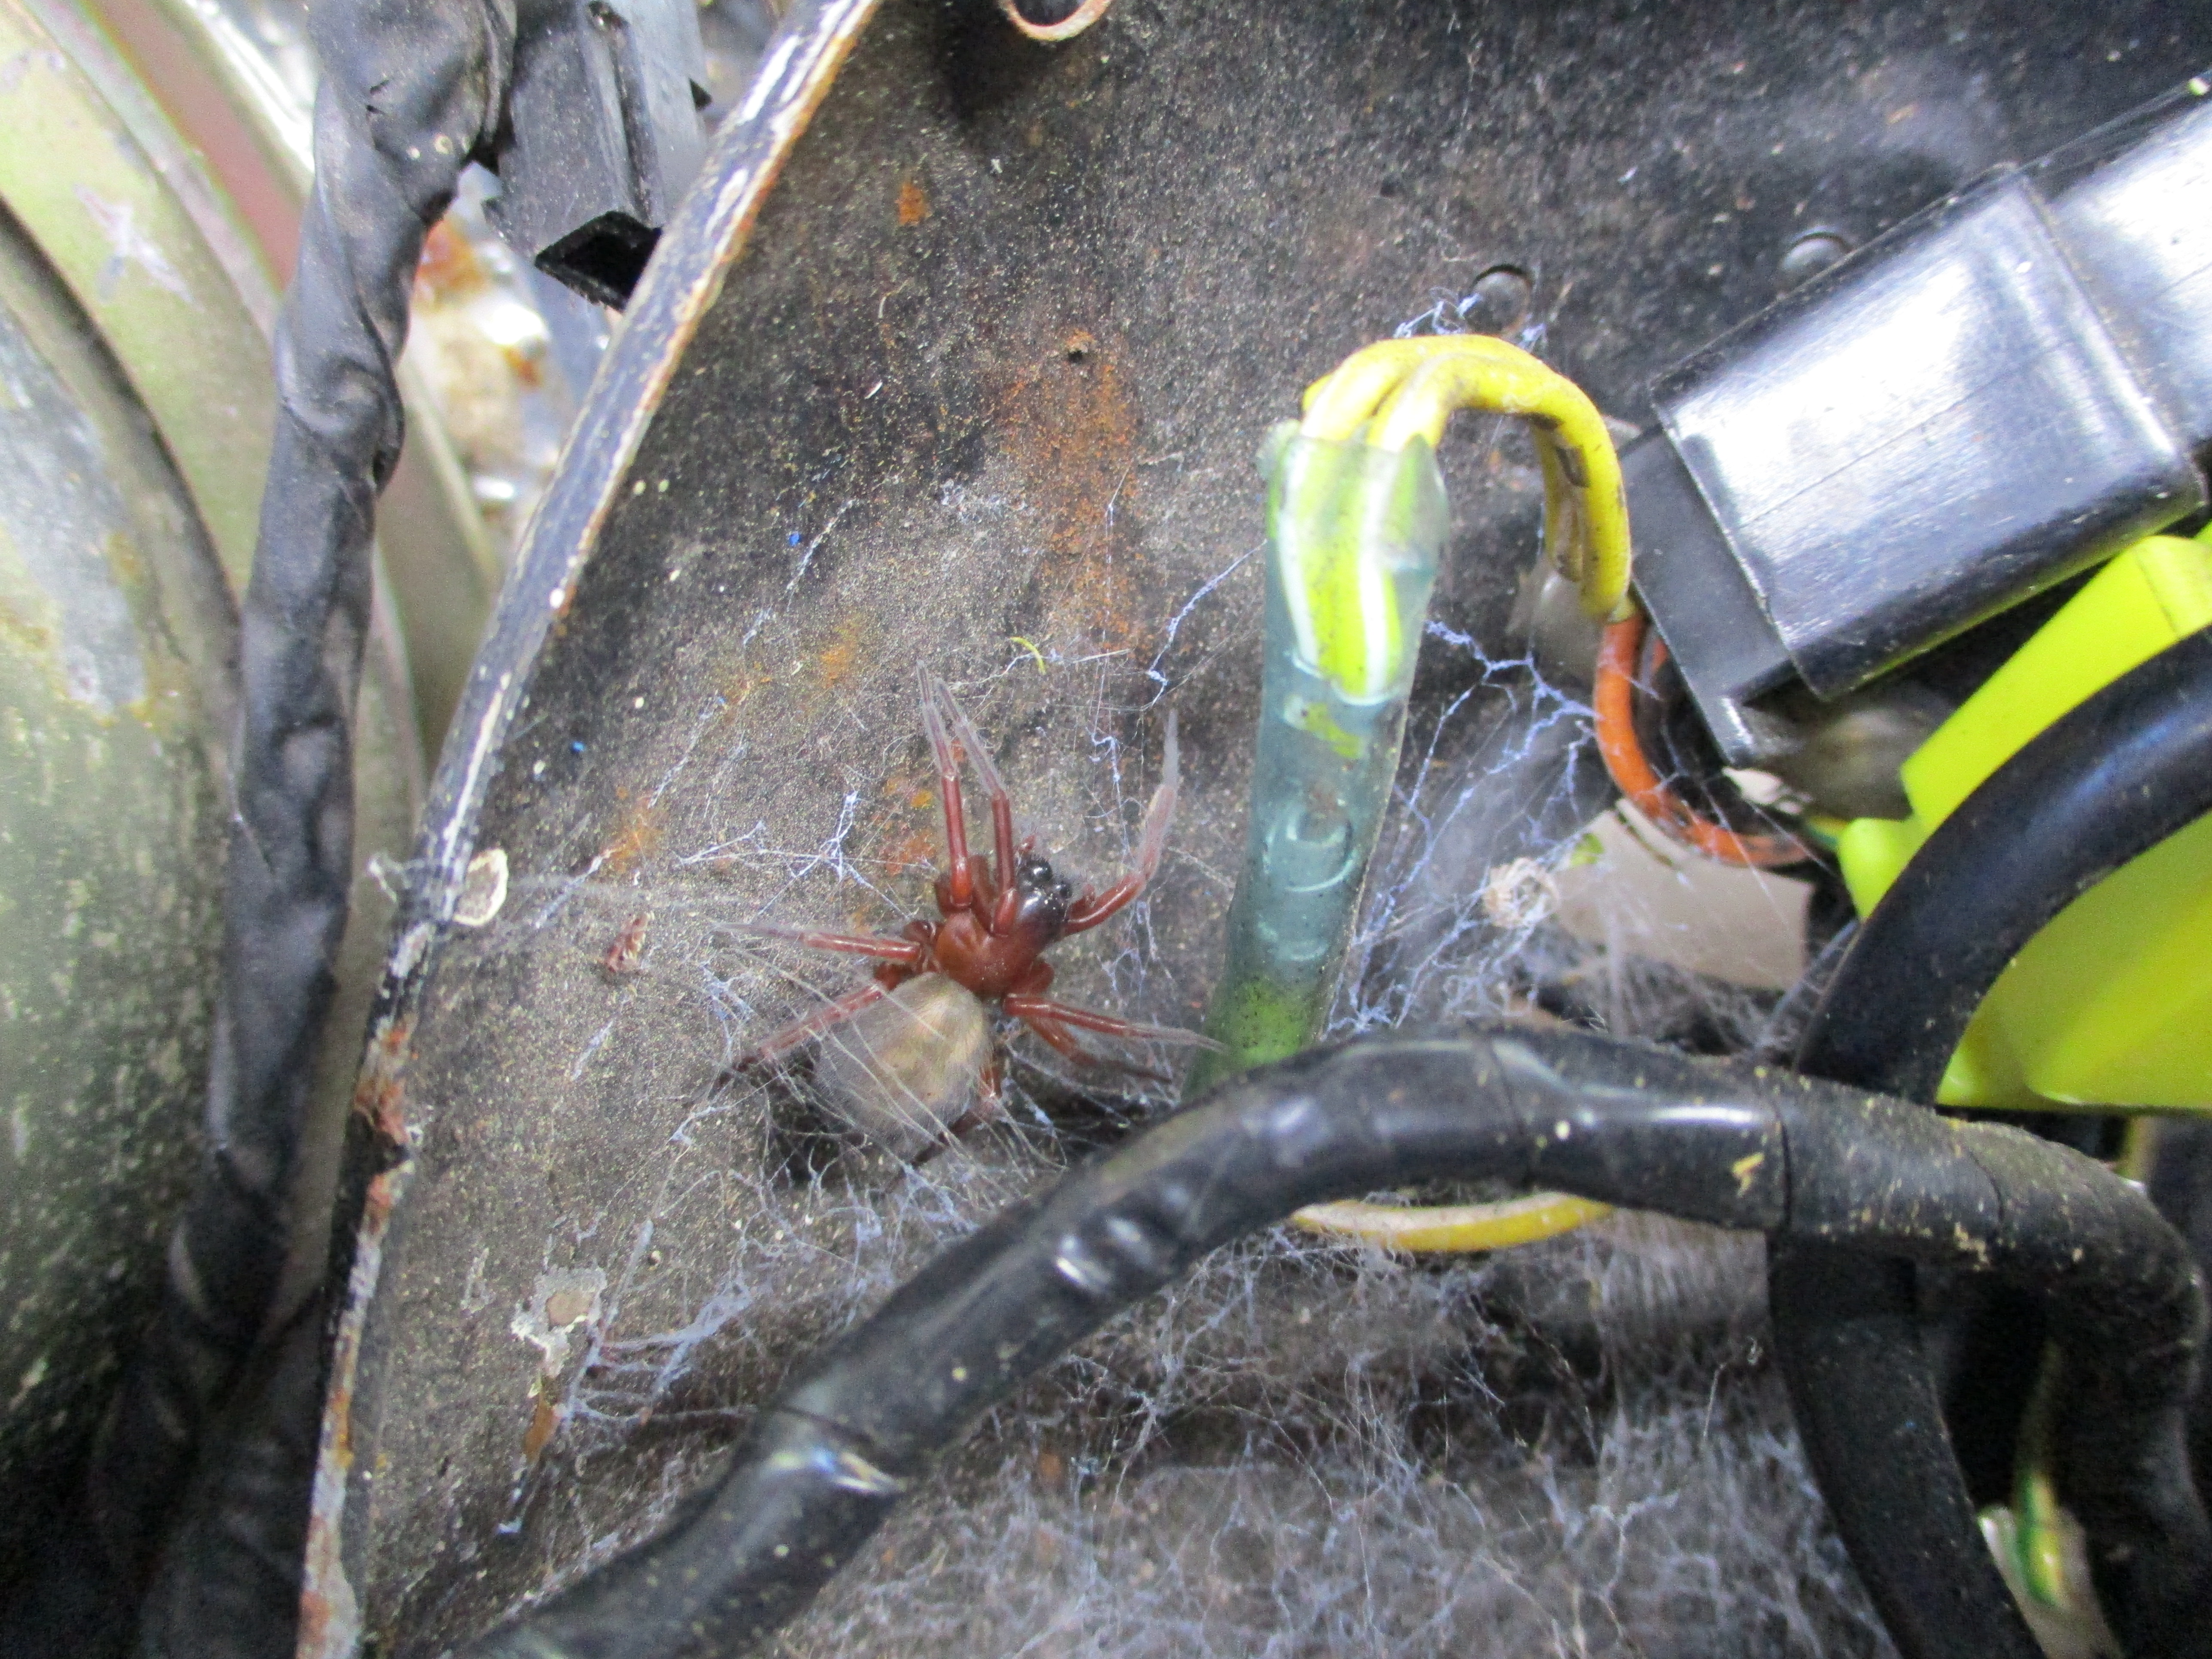
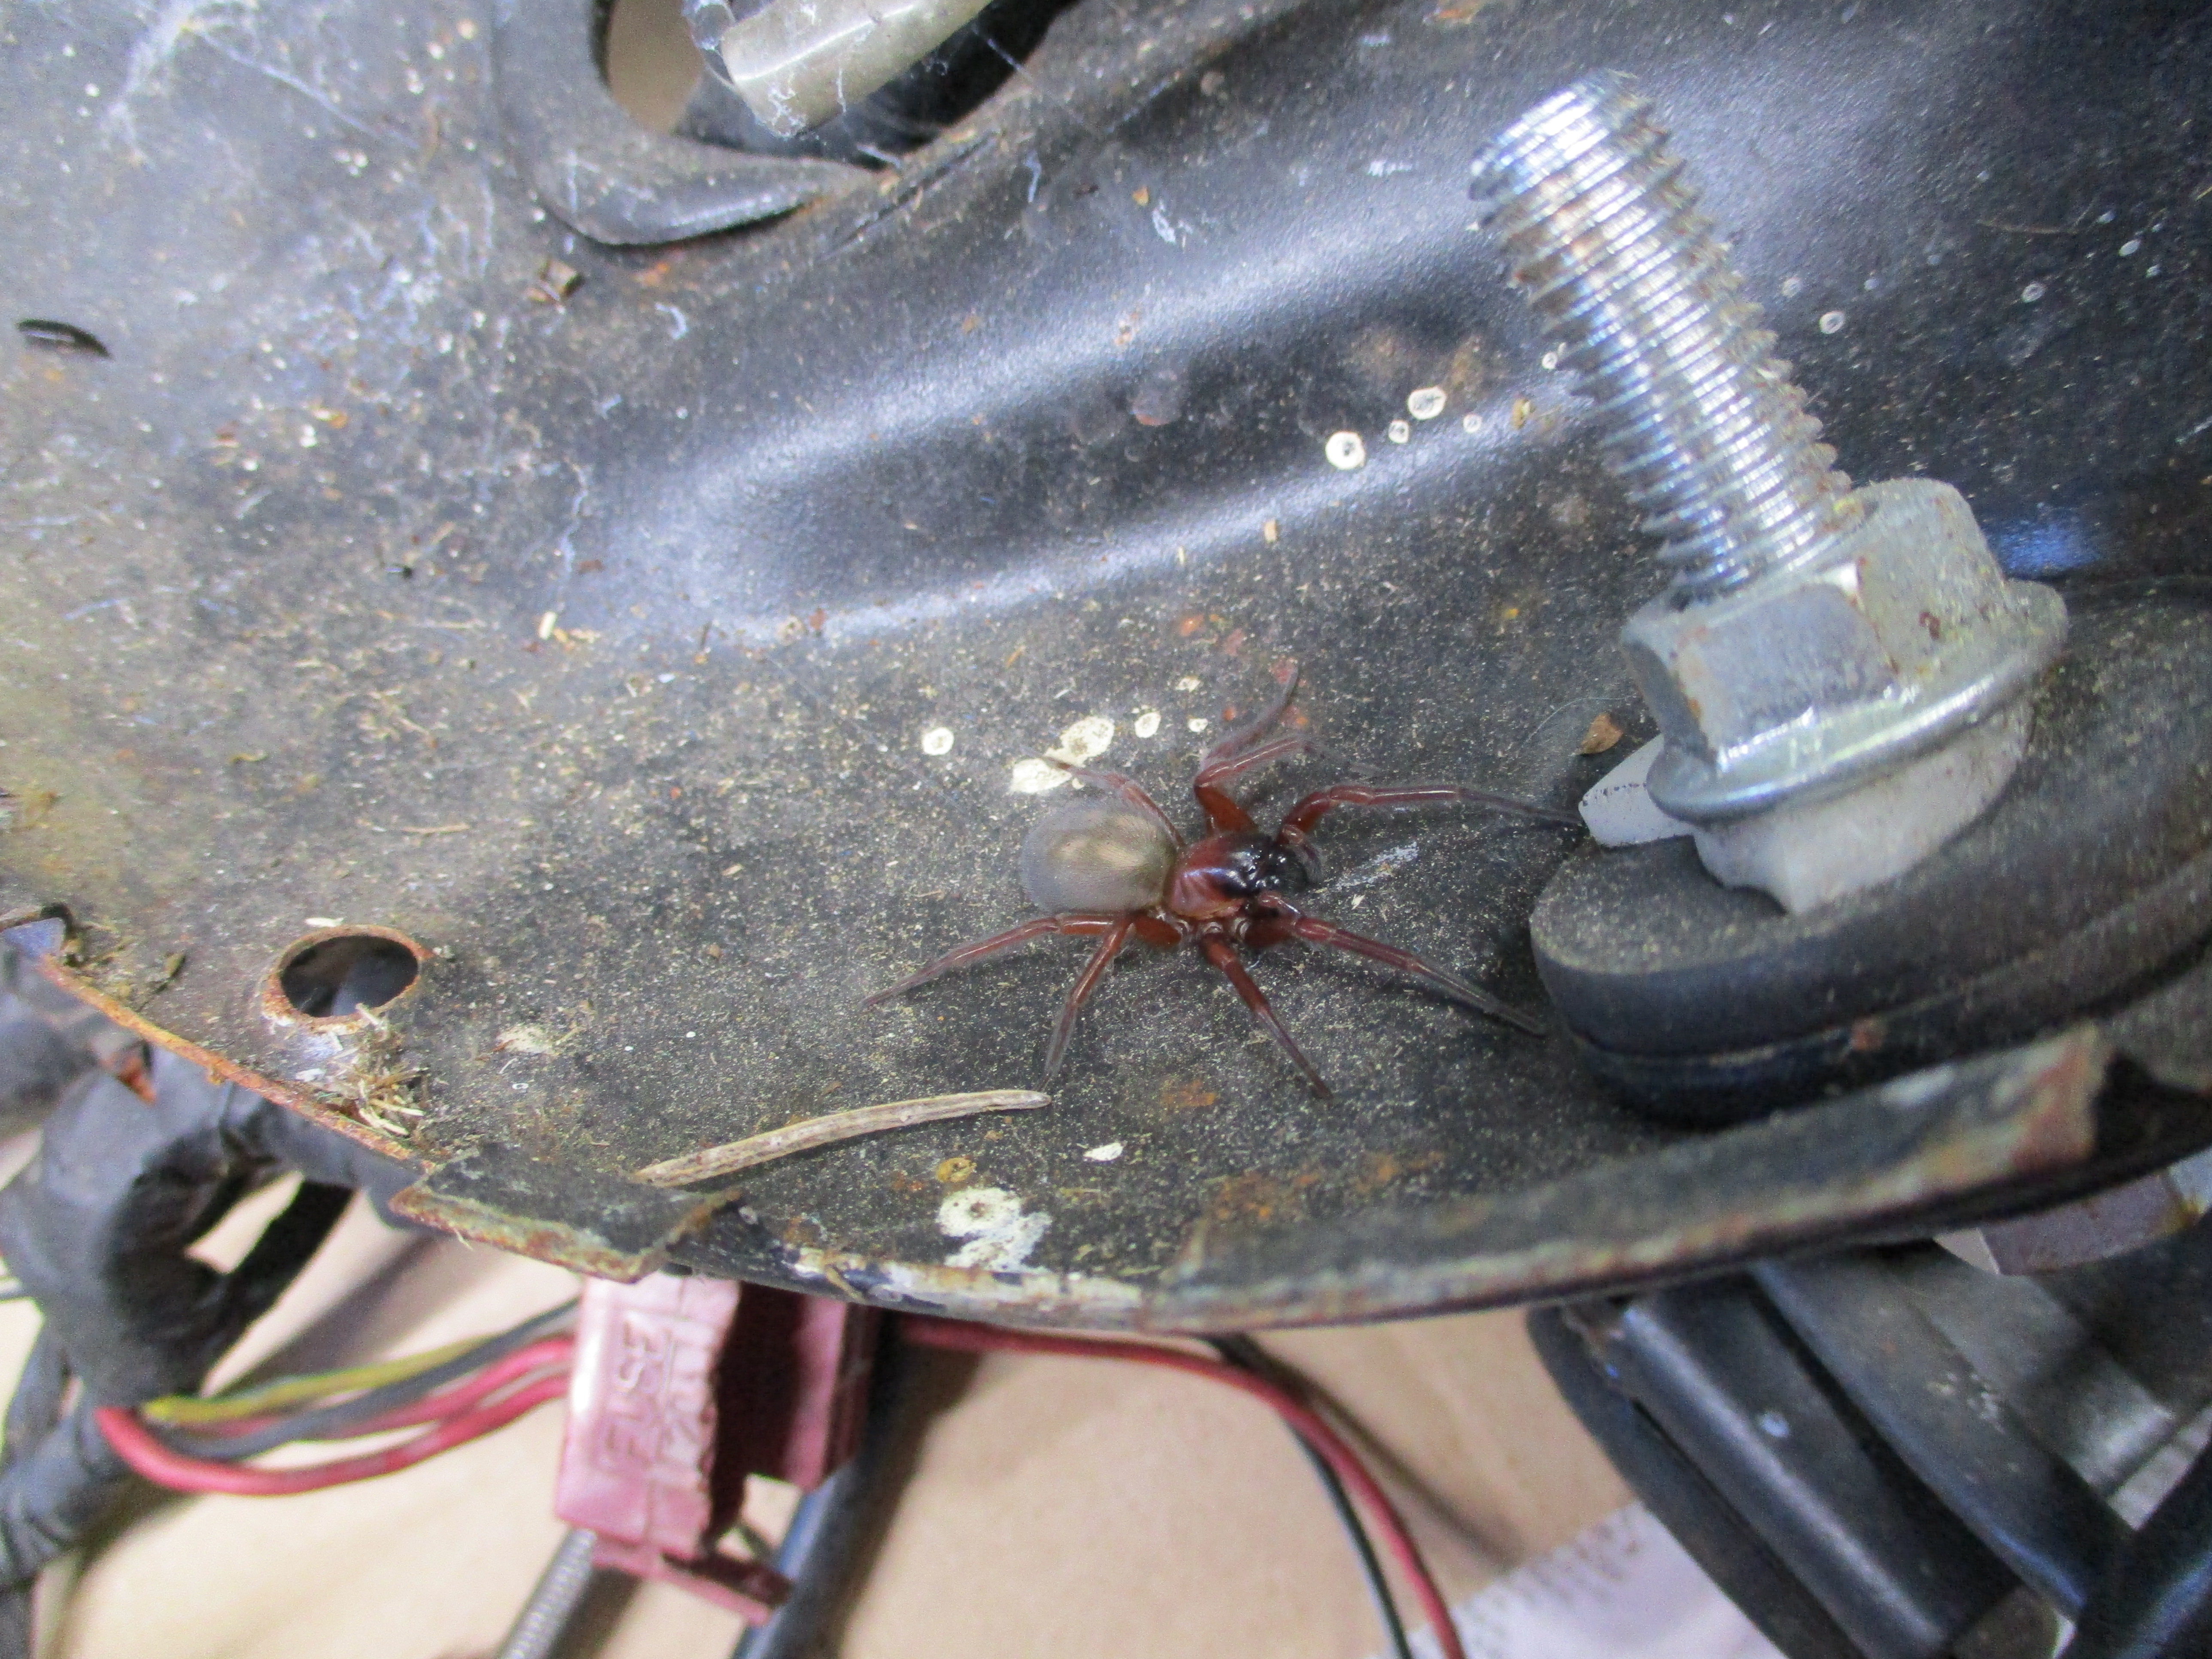
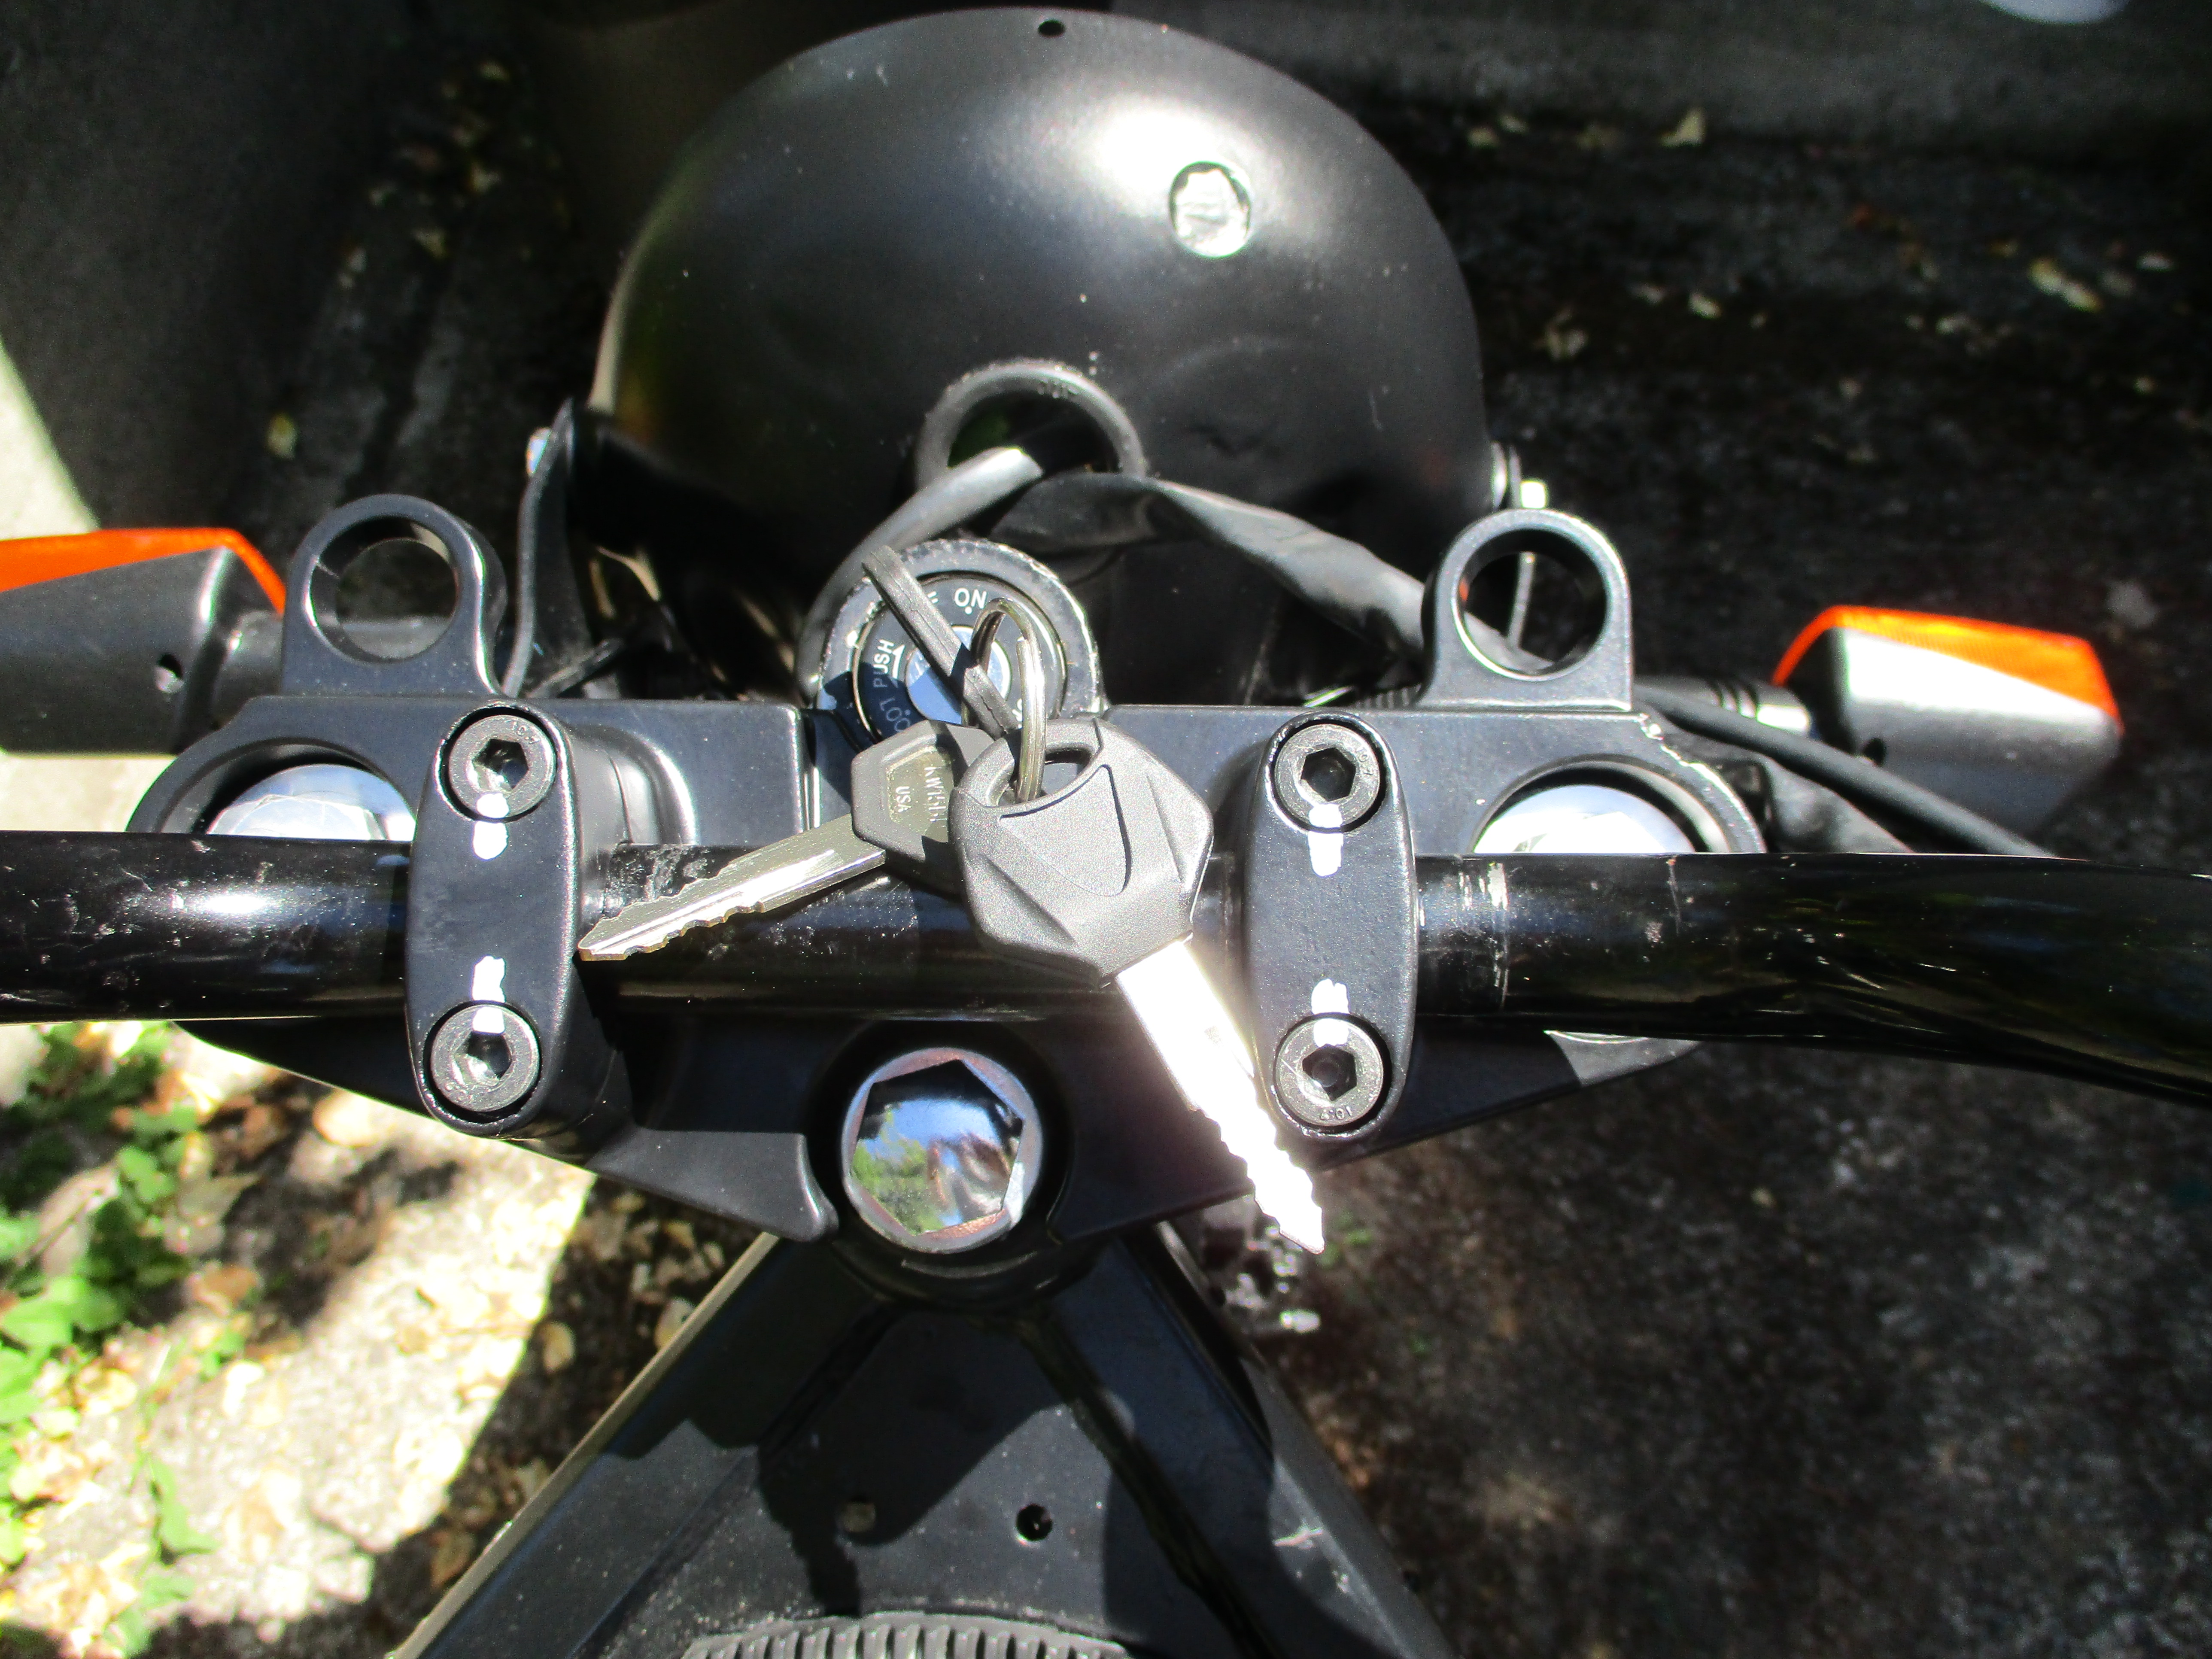
The handlebars were in bad shape. The chrome was chipping away and they were rusting. The controls worked but were stiff. The gauges were rusty, dirty, full of spiders and missing parts.
Woodlouse spider.

I cleaned the handlebars up by sandblasting and painting them, however I did not end up using the bars that came with the motorcycle. I had went to look at other motorcycle parts a fellow here locally was selling and he ended up giving me the correct, original equipment handlebars that were for this motorcycle. The ones I had cleaned up were clearly not originals and I liked the OEM ones better.
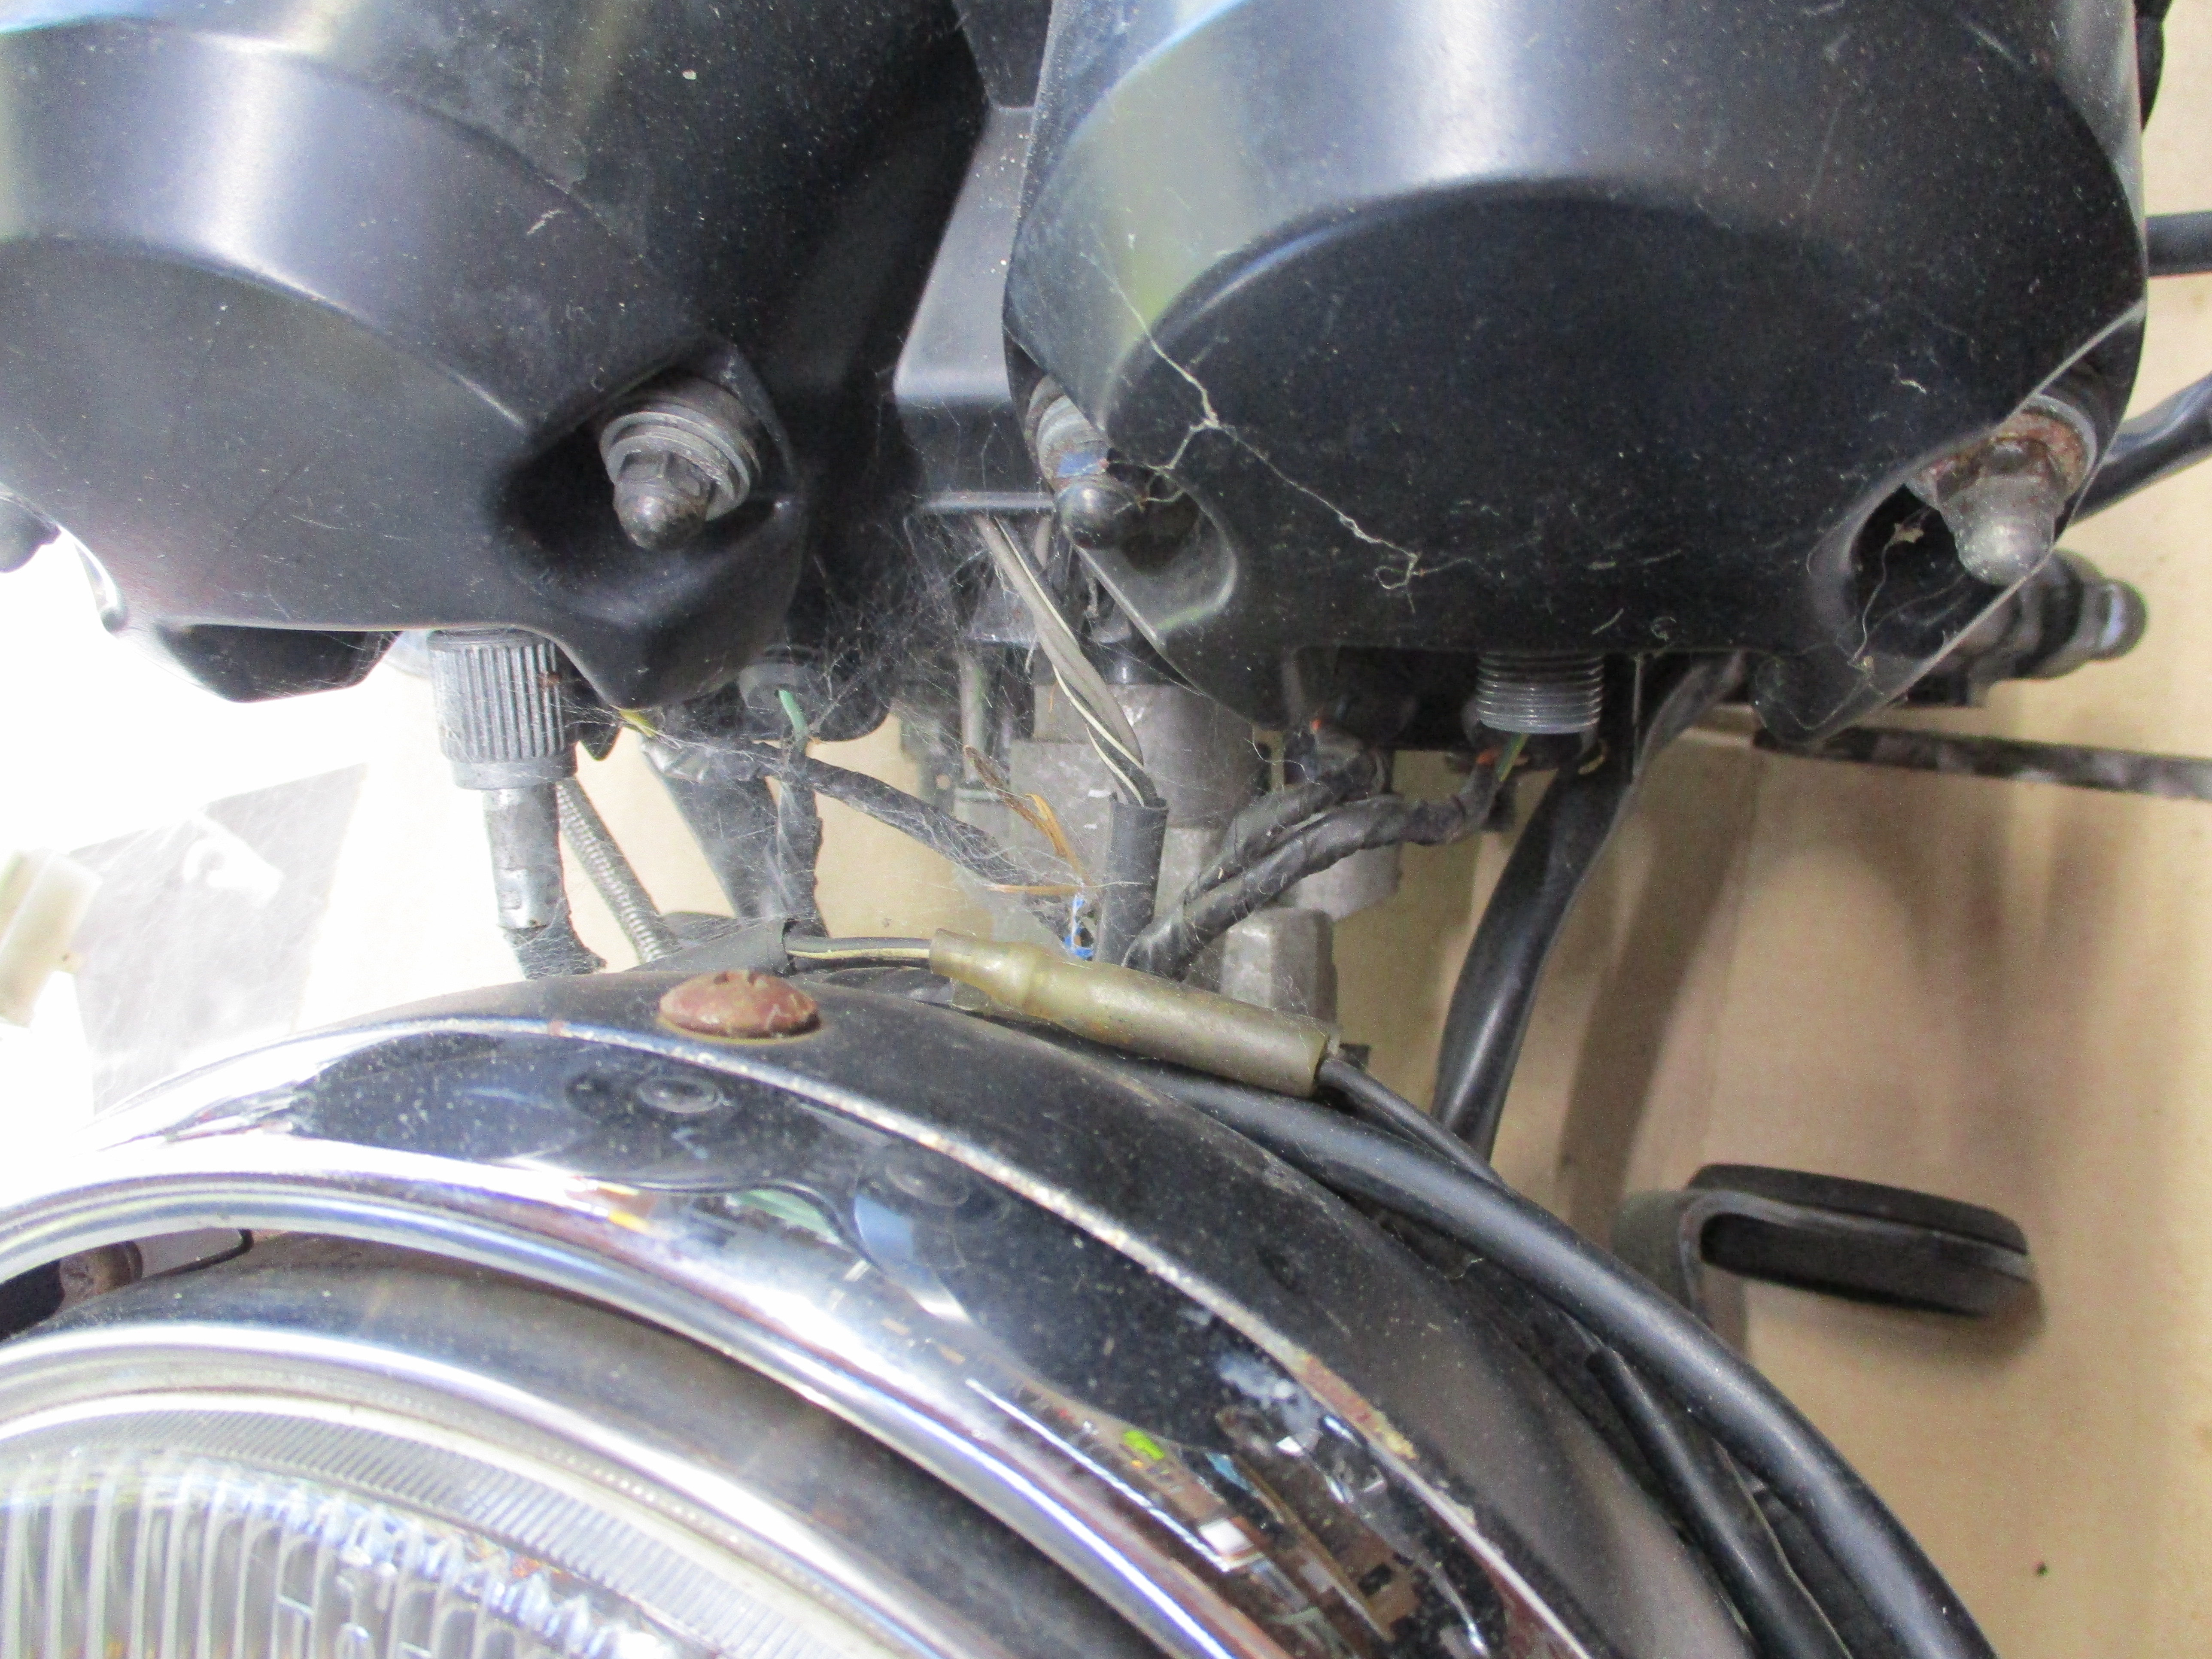
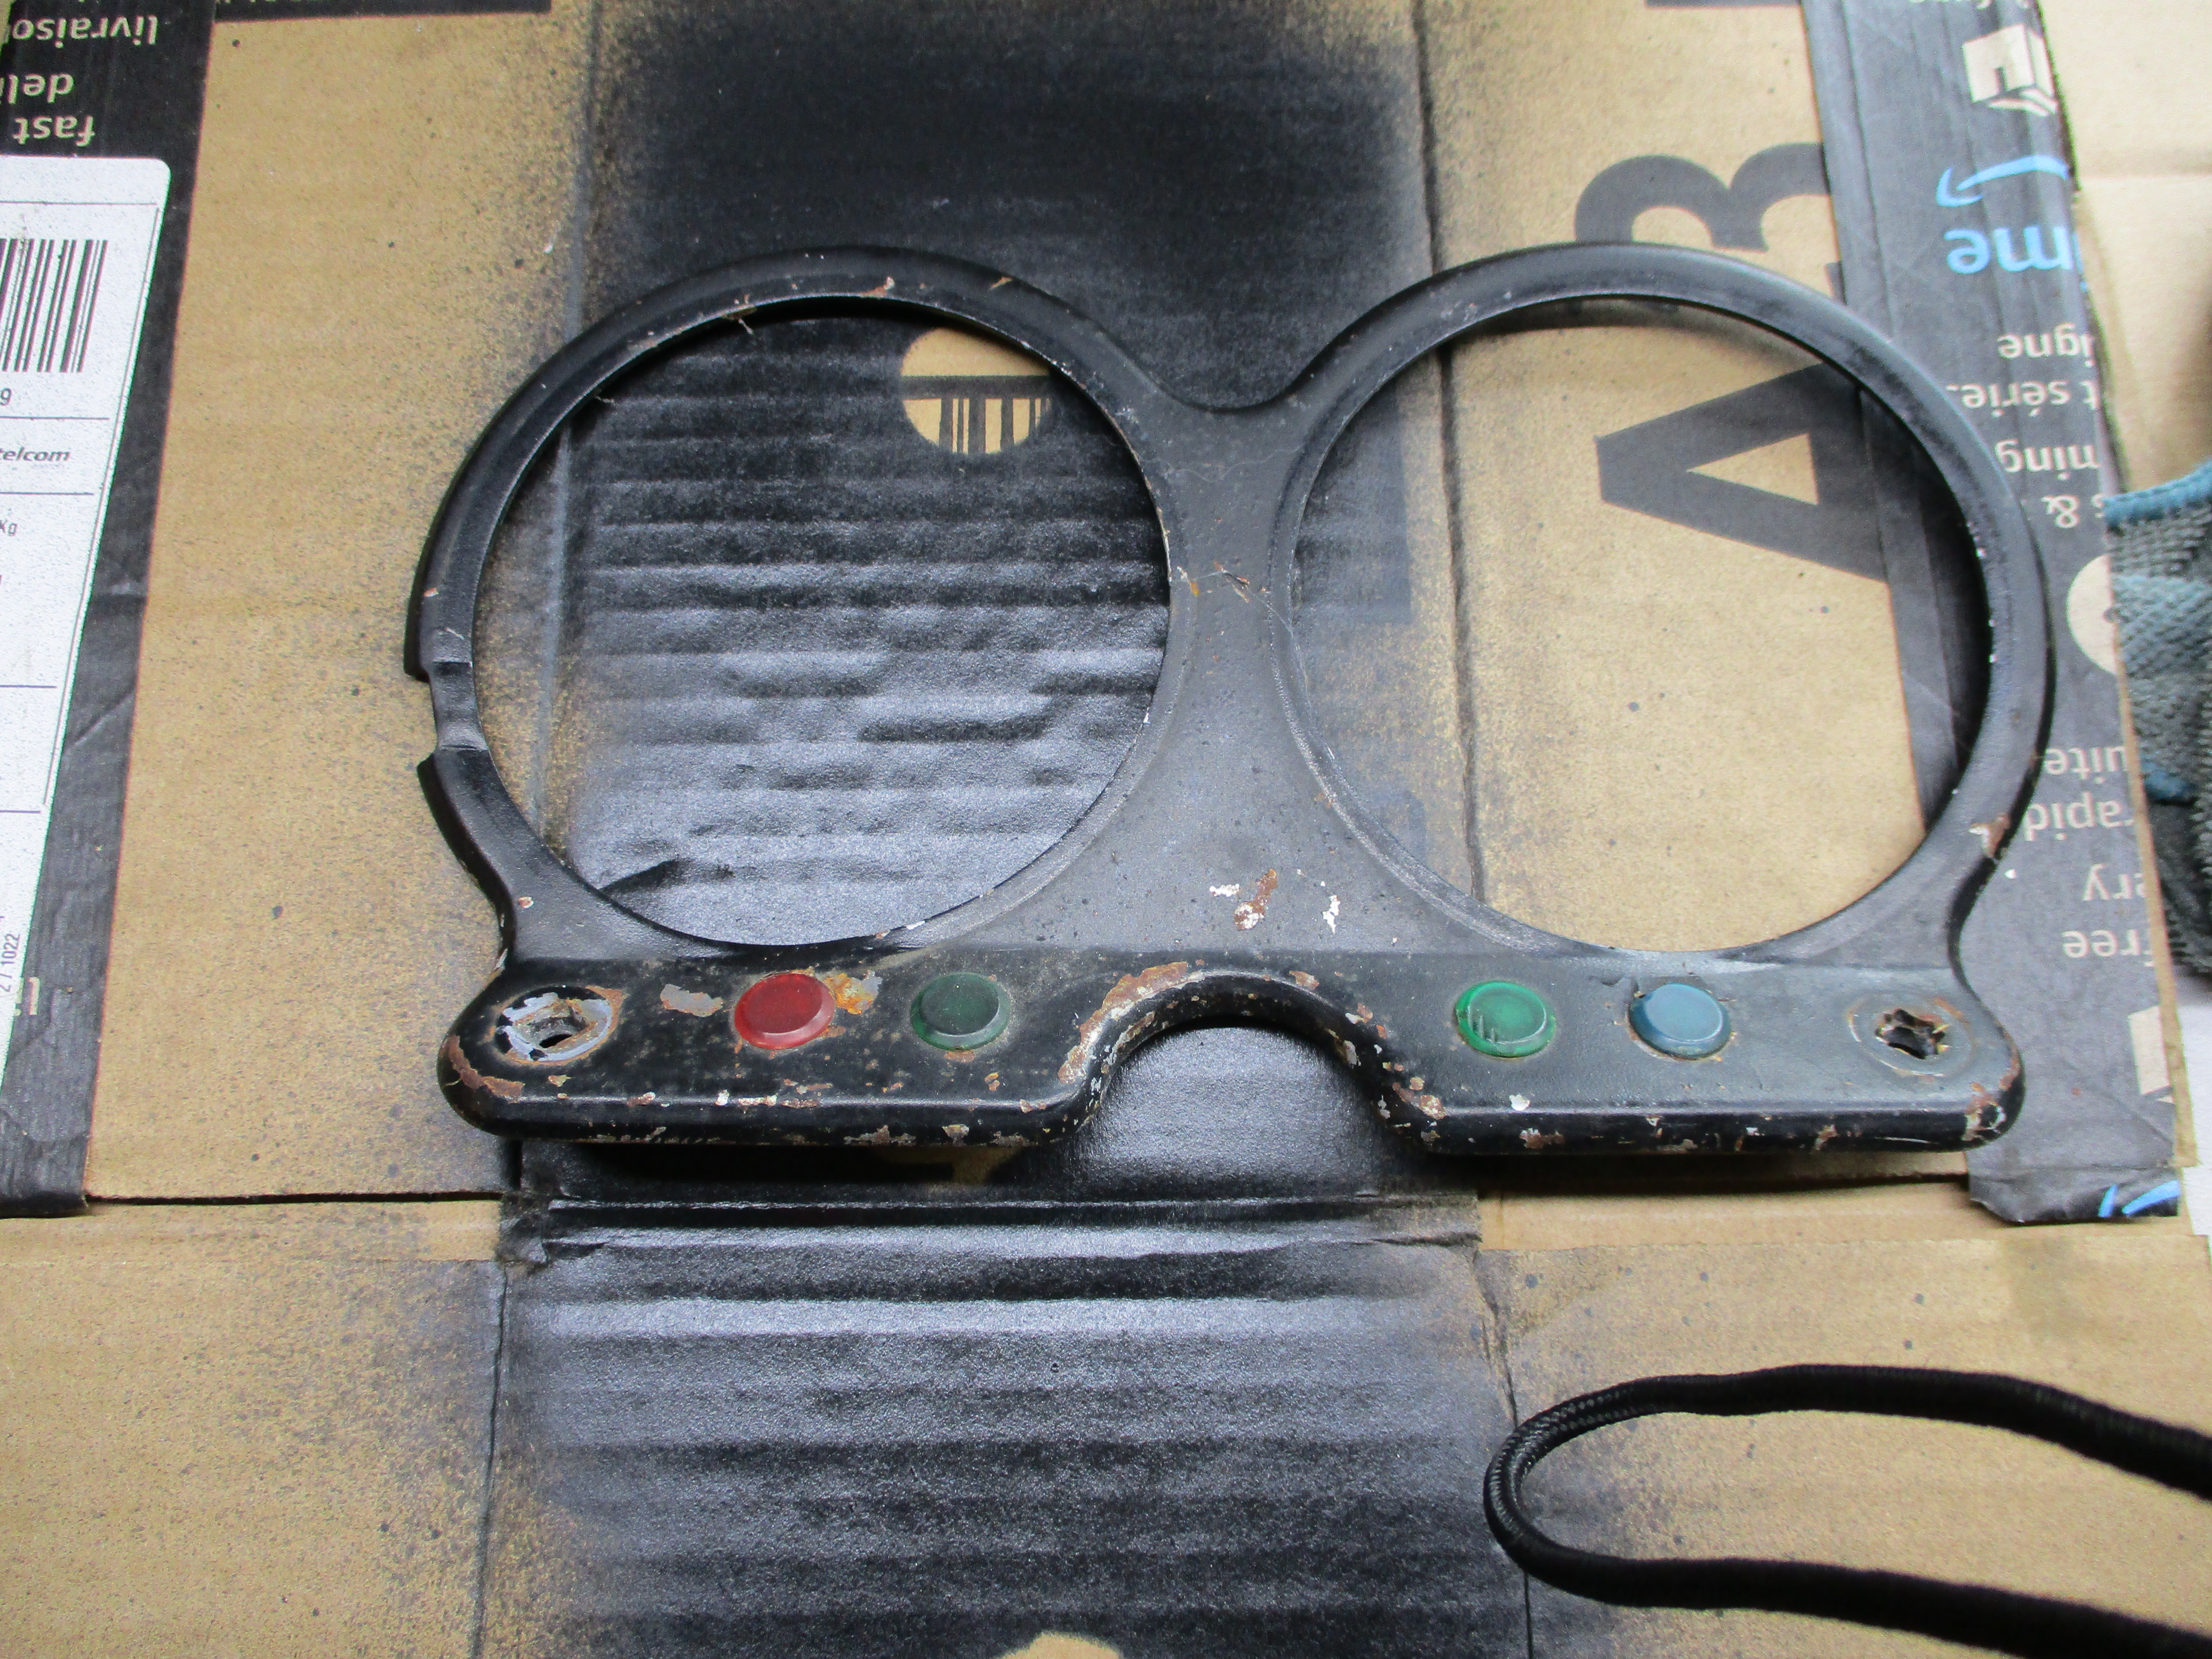
Taking apart the gauge cluster revealed a large resident spider which really surprised me. The speedometer gauge had been badly repaired and I needed to reattach the protective front lens. Someone had put an LED replacement bulb in the turn signal indicator and that was messing with the relay, so I fixed that. The light tubes that the idiot lights shine through was rusty so I cleaned that up and painted them. The gauge mounting plate was rusty and chipping paint so that got sandblasted and painted too.

The controls were mostly ok, I took apart and greased the turn signal switch because it felt stiff.
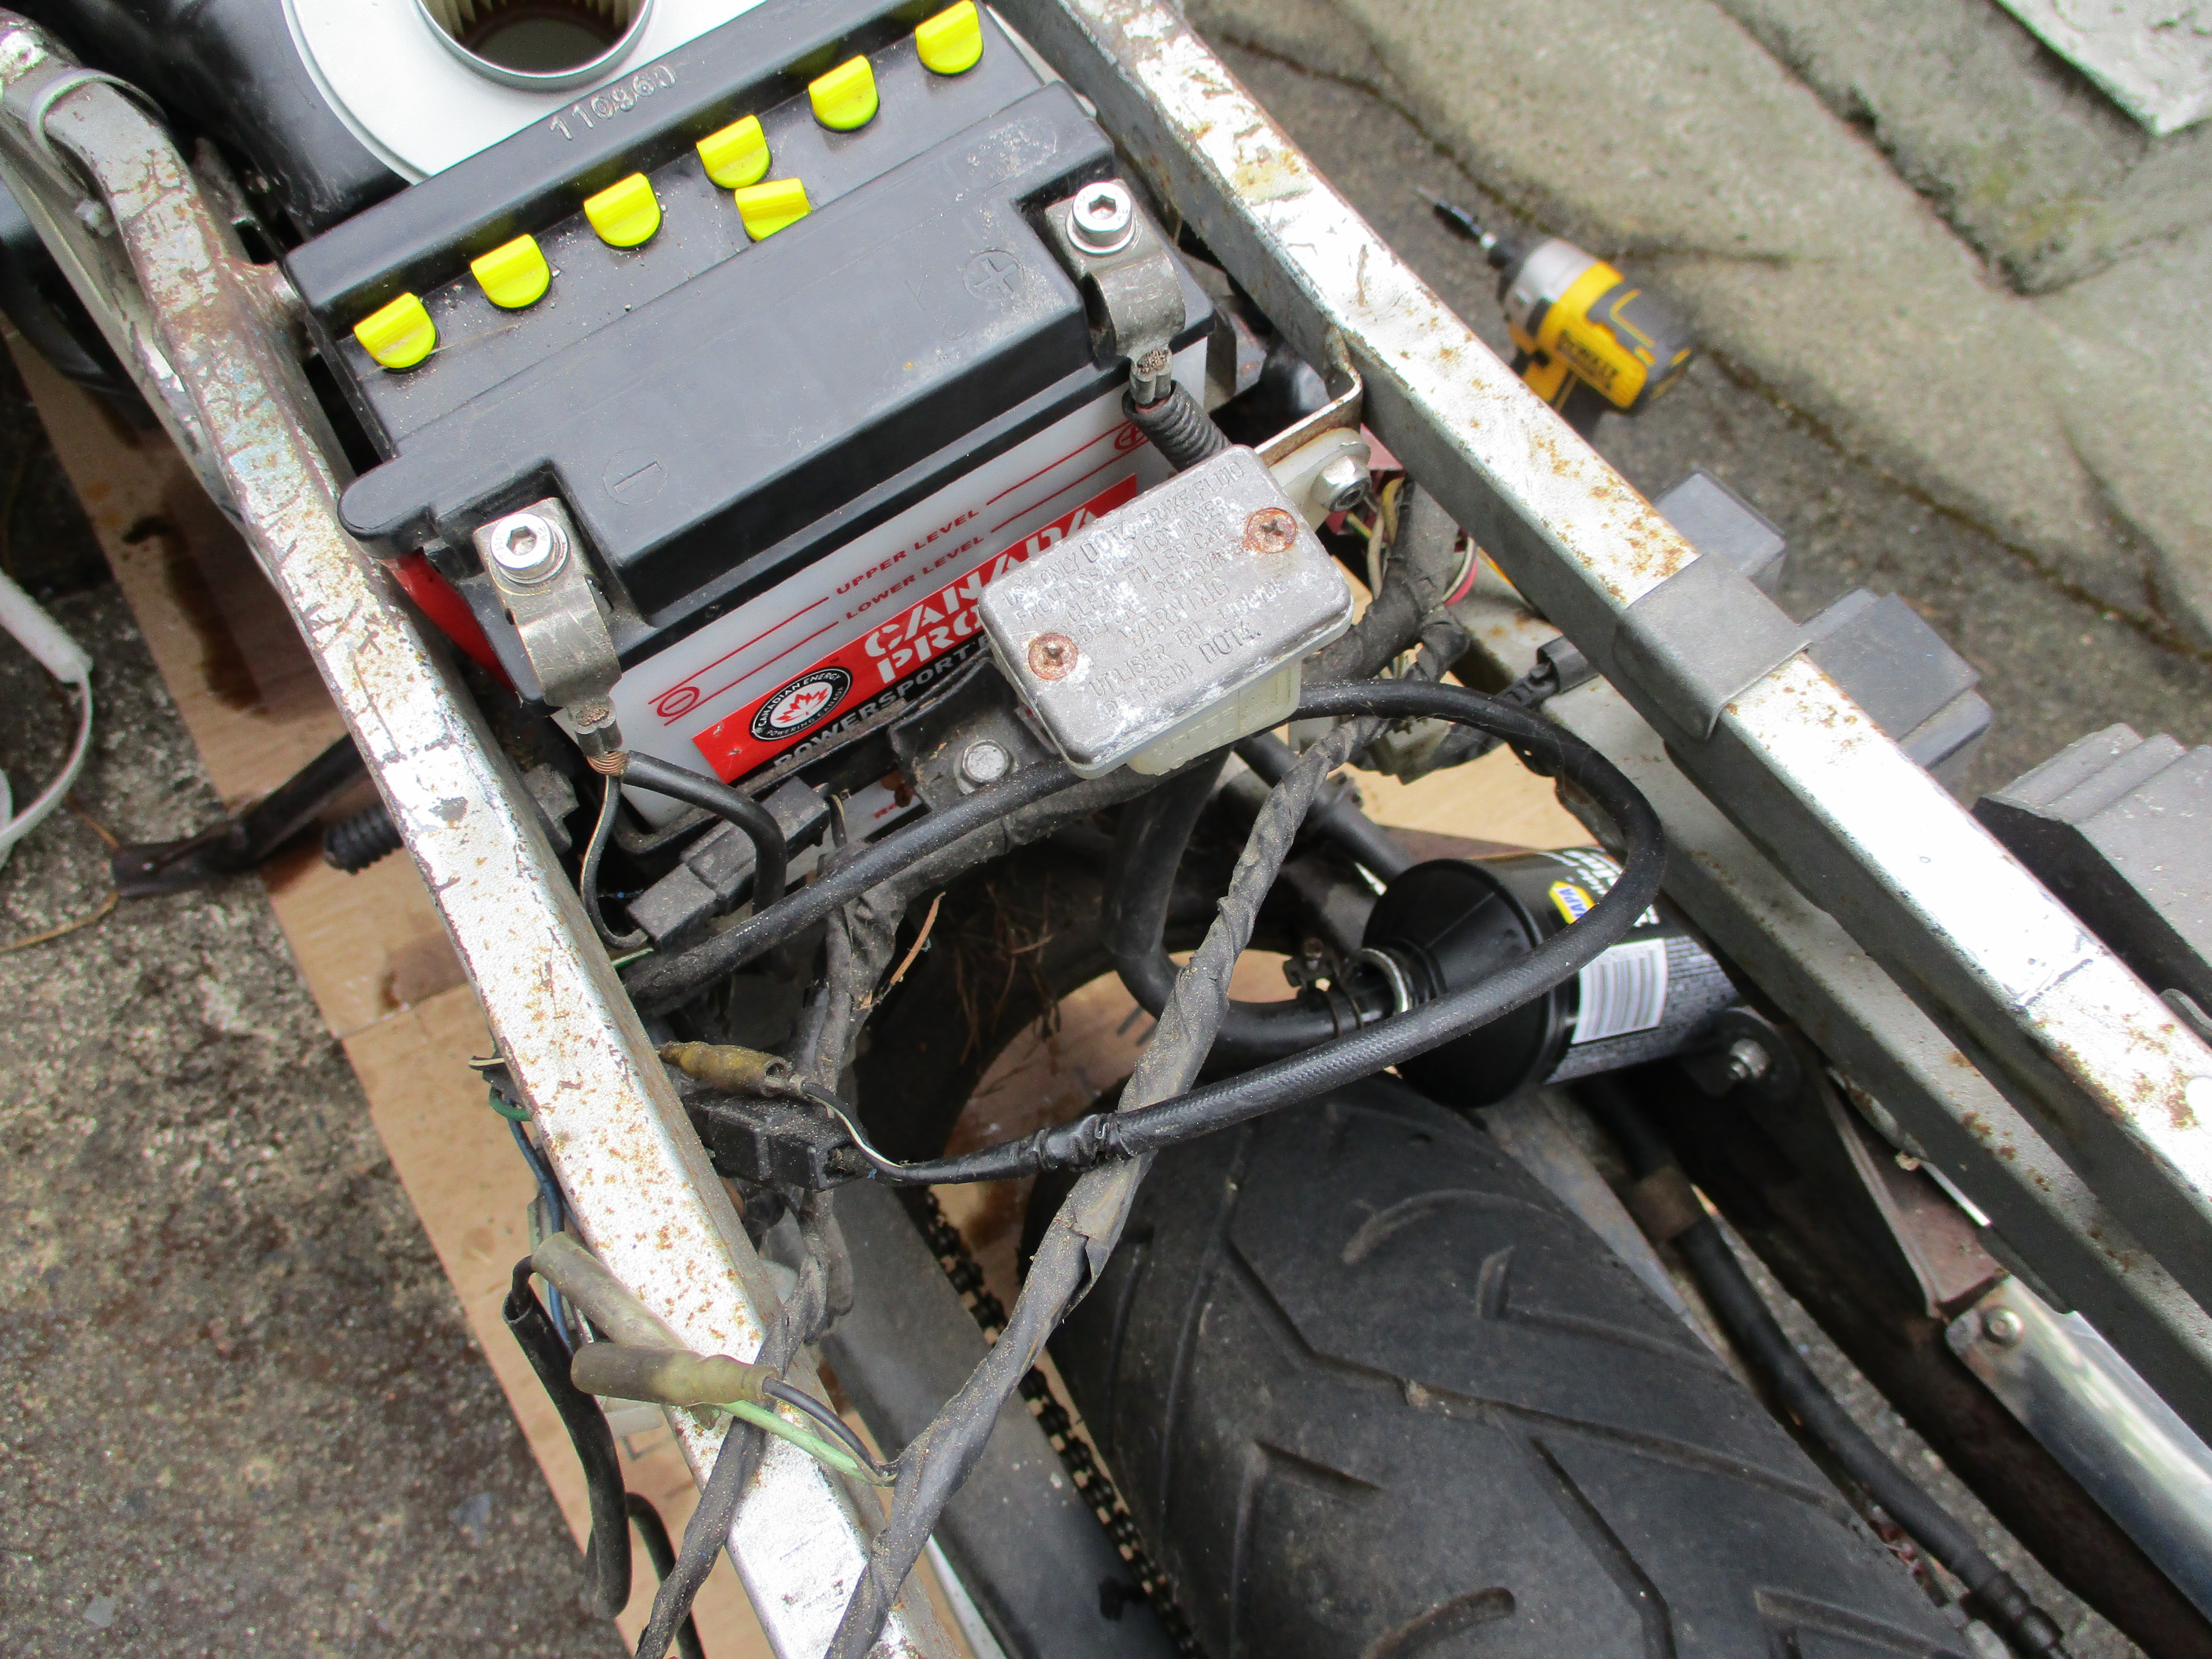
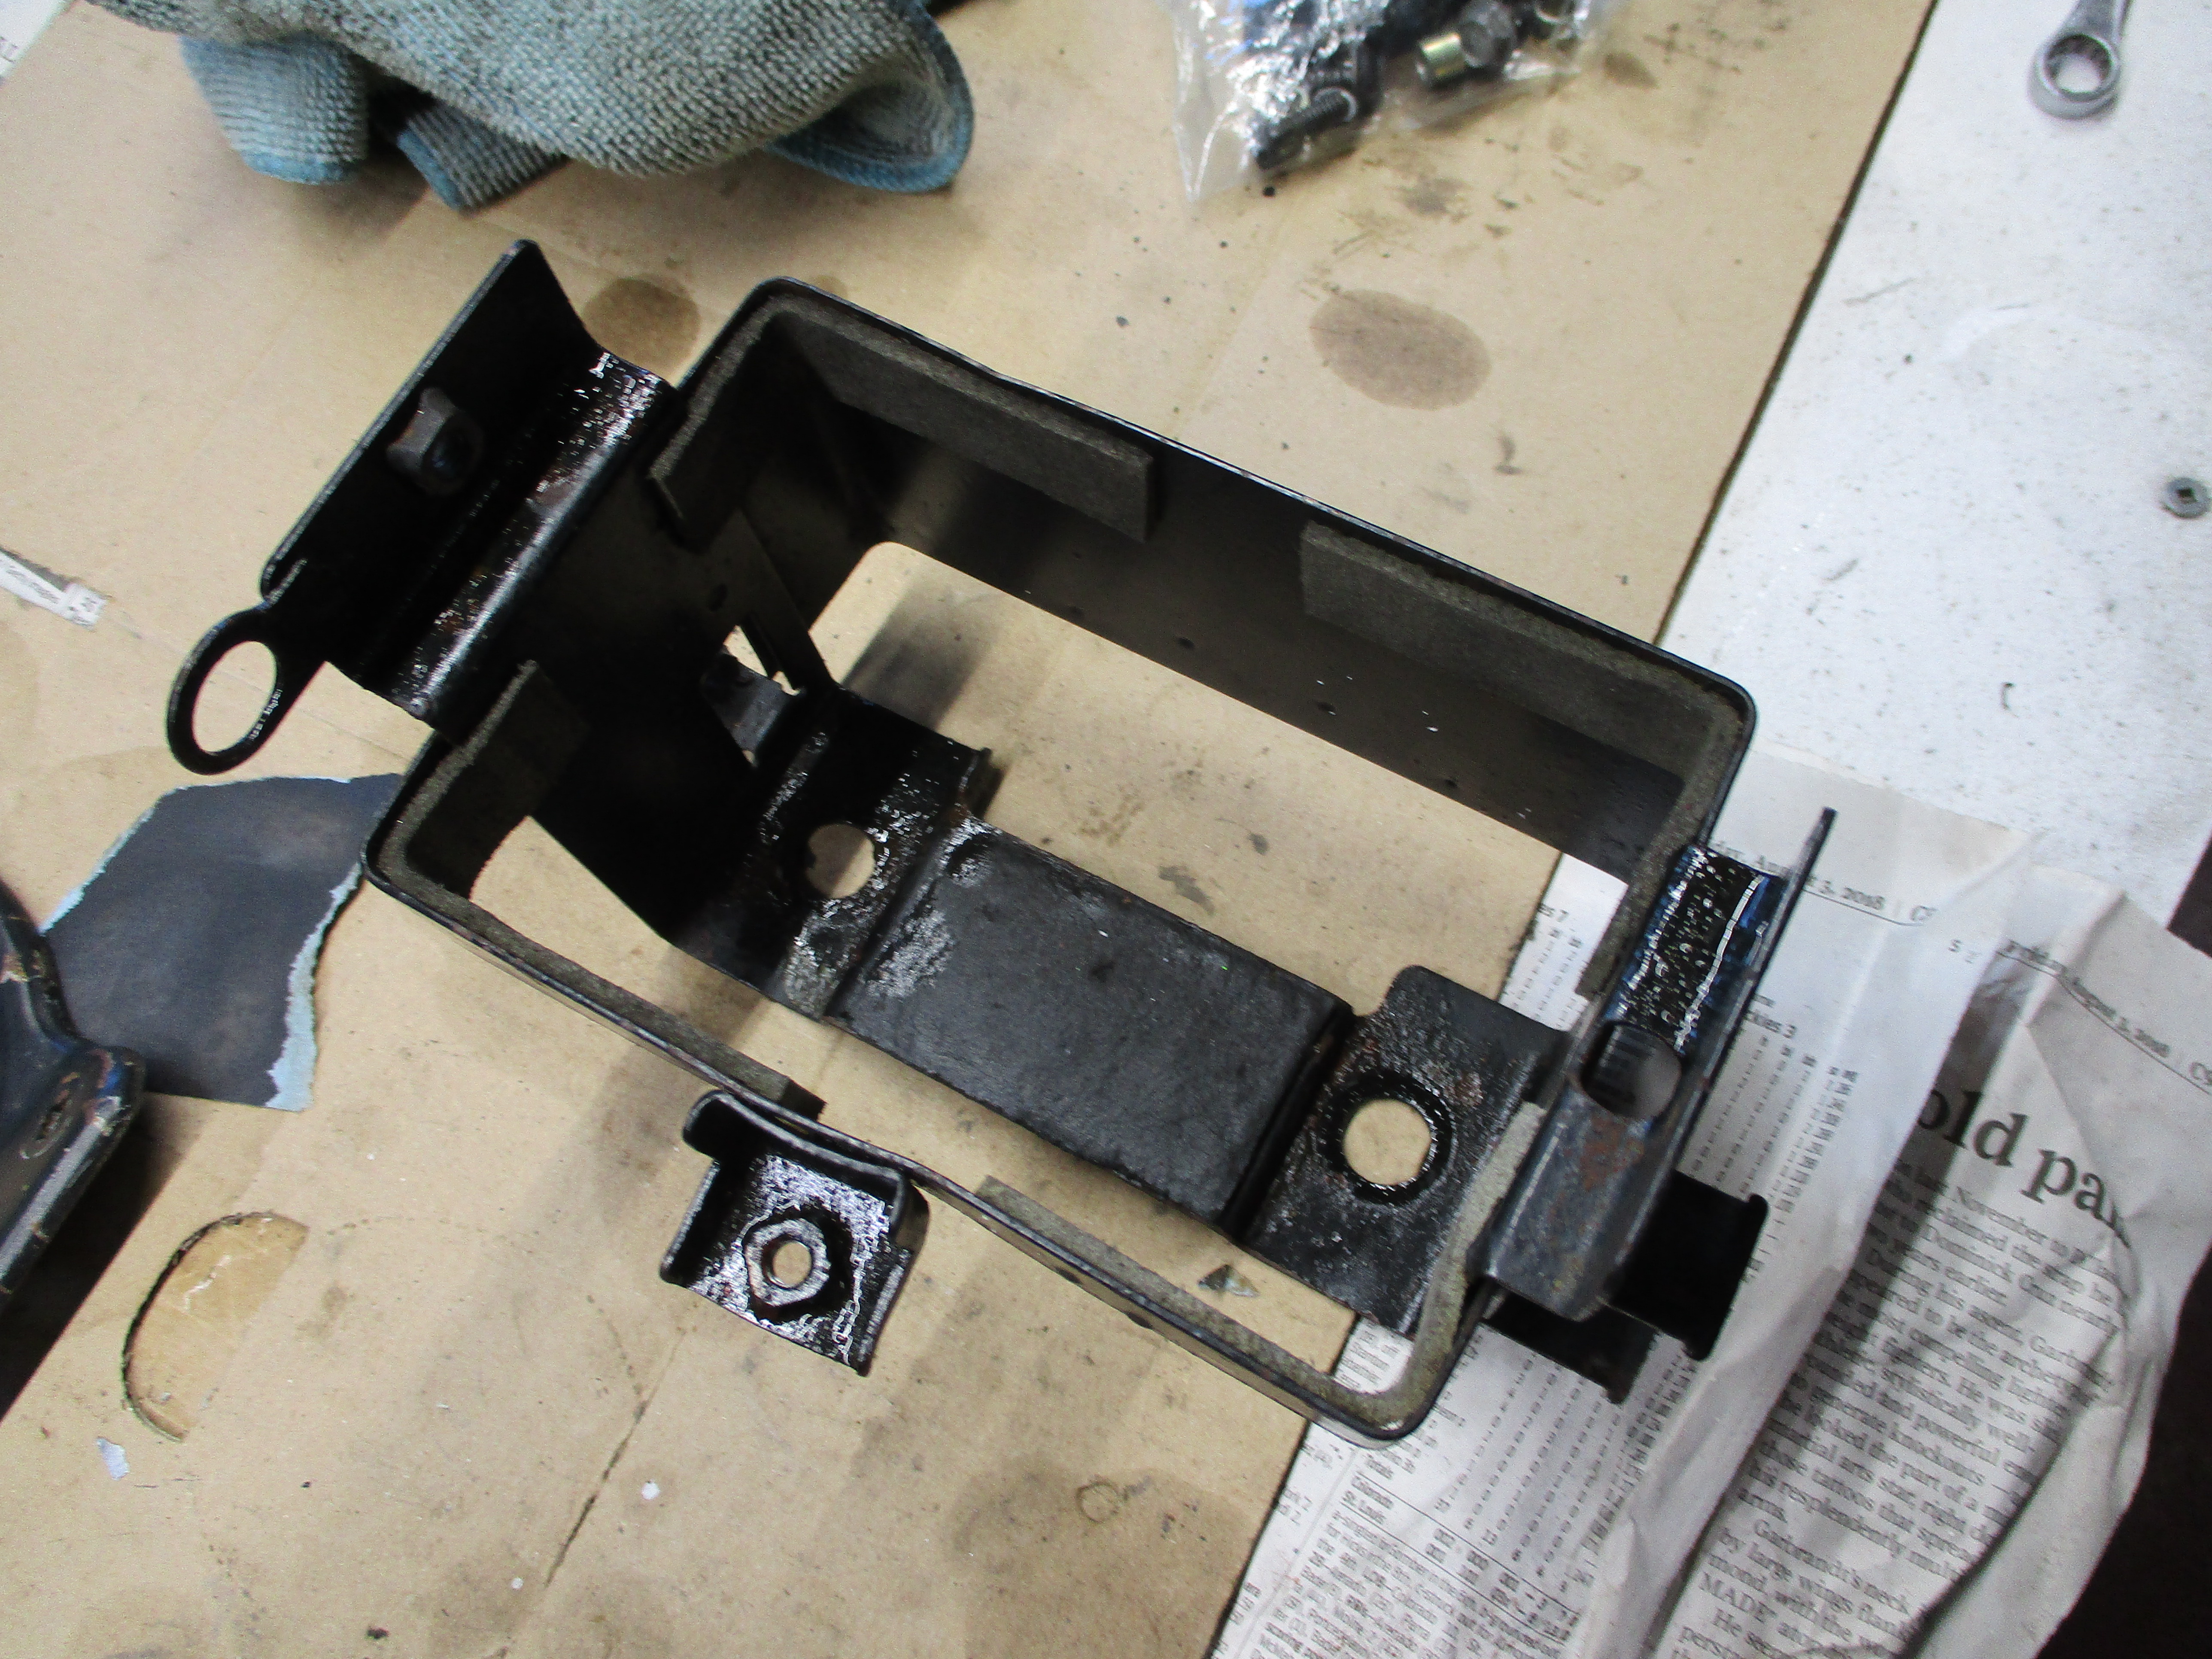
The electrical system was in ok shape but the routing had been screwed up substantially and there were many mounting clips and brackets missing. I had tested a majority of its functions before disassembly and most things worked.

No insulating boot on the battery positive terminal... I bought a new one and replaced it. The battery is a newer AGM sealed type.
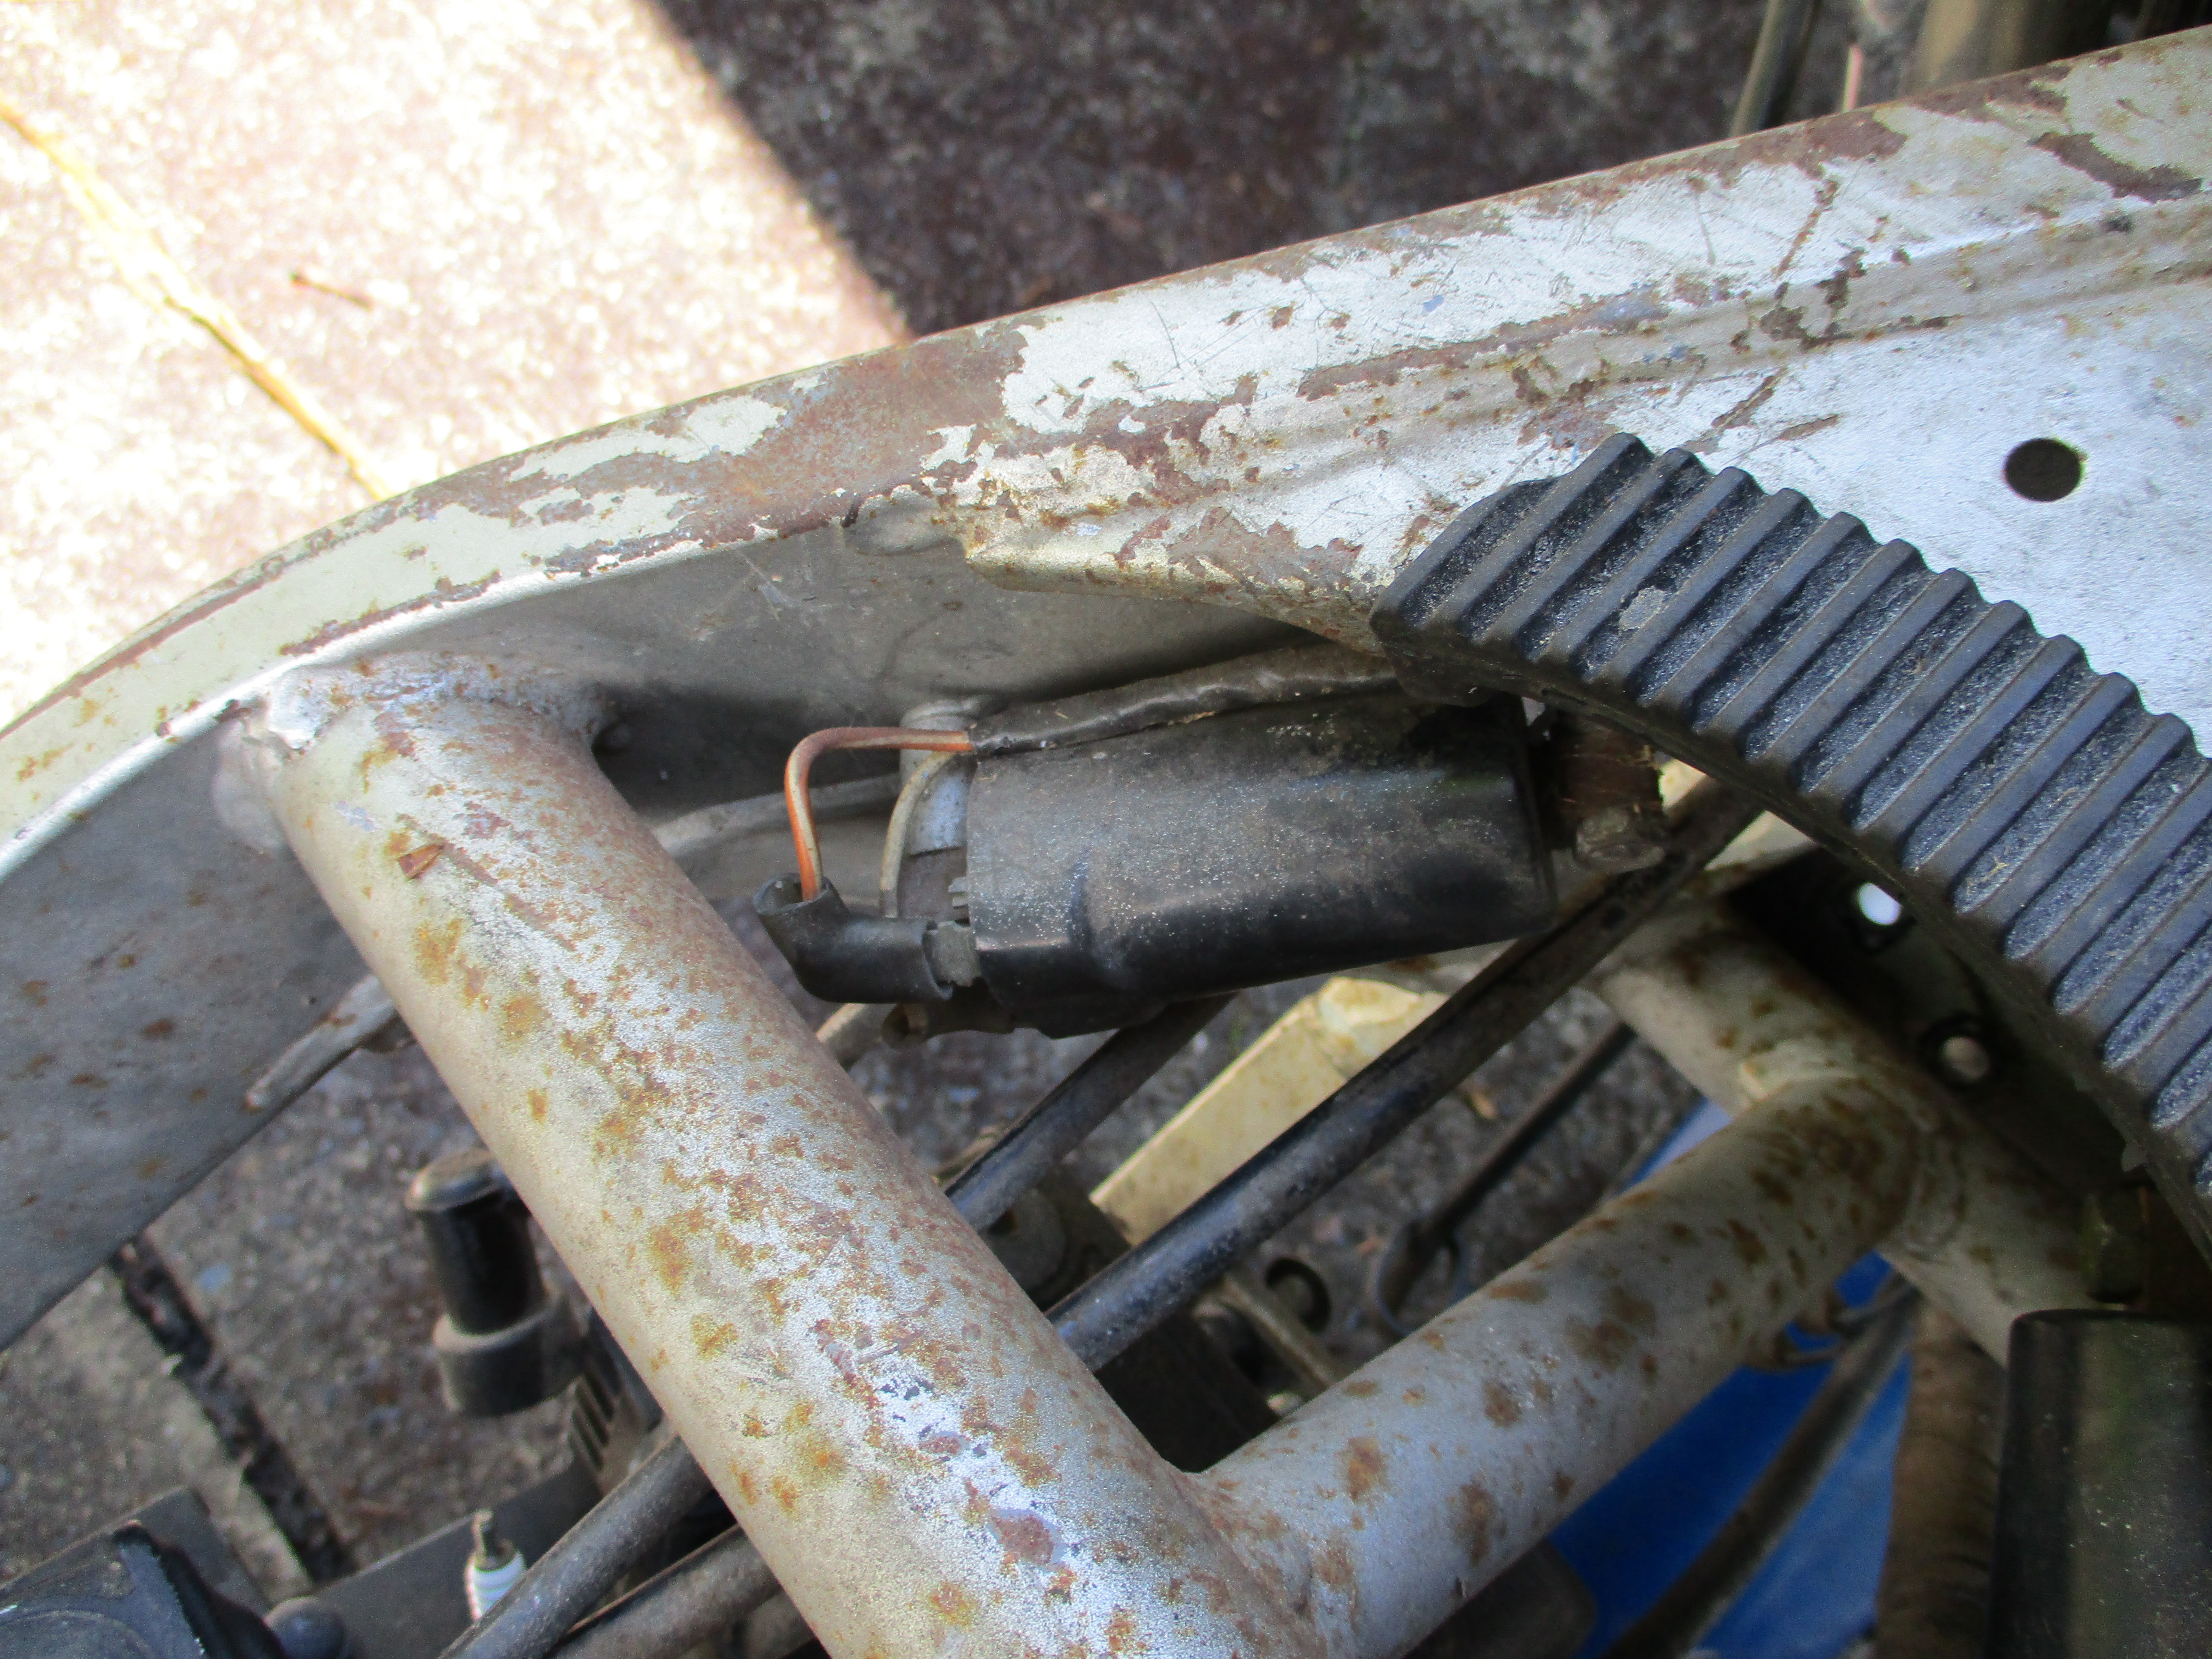
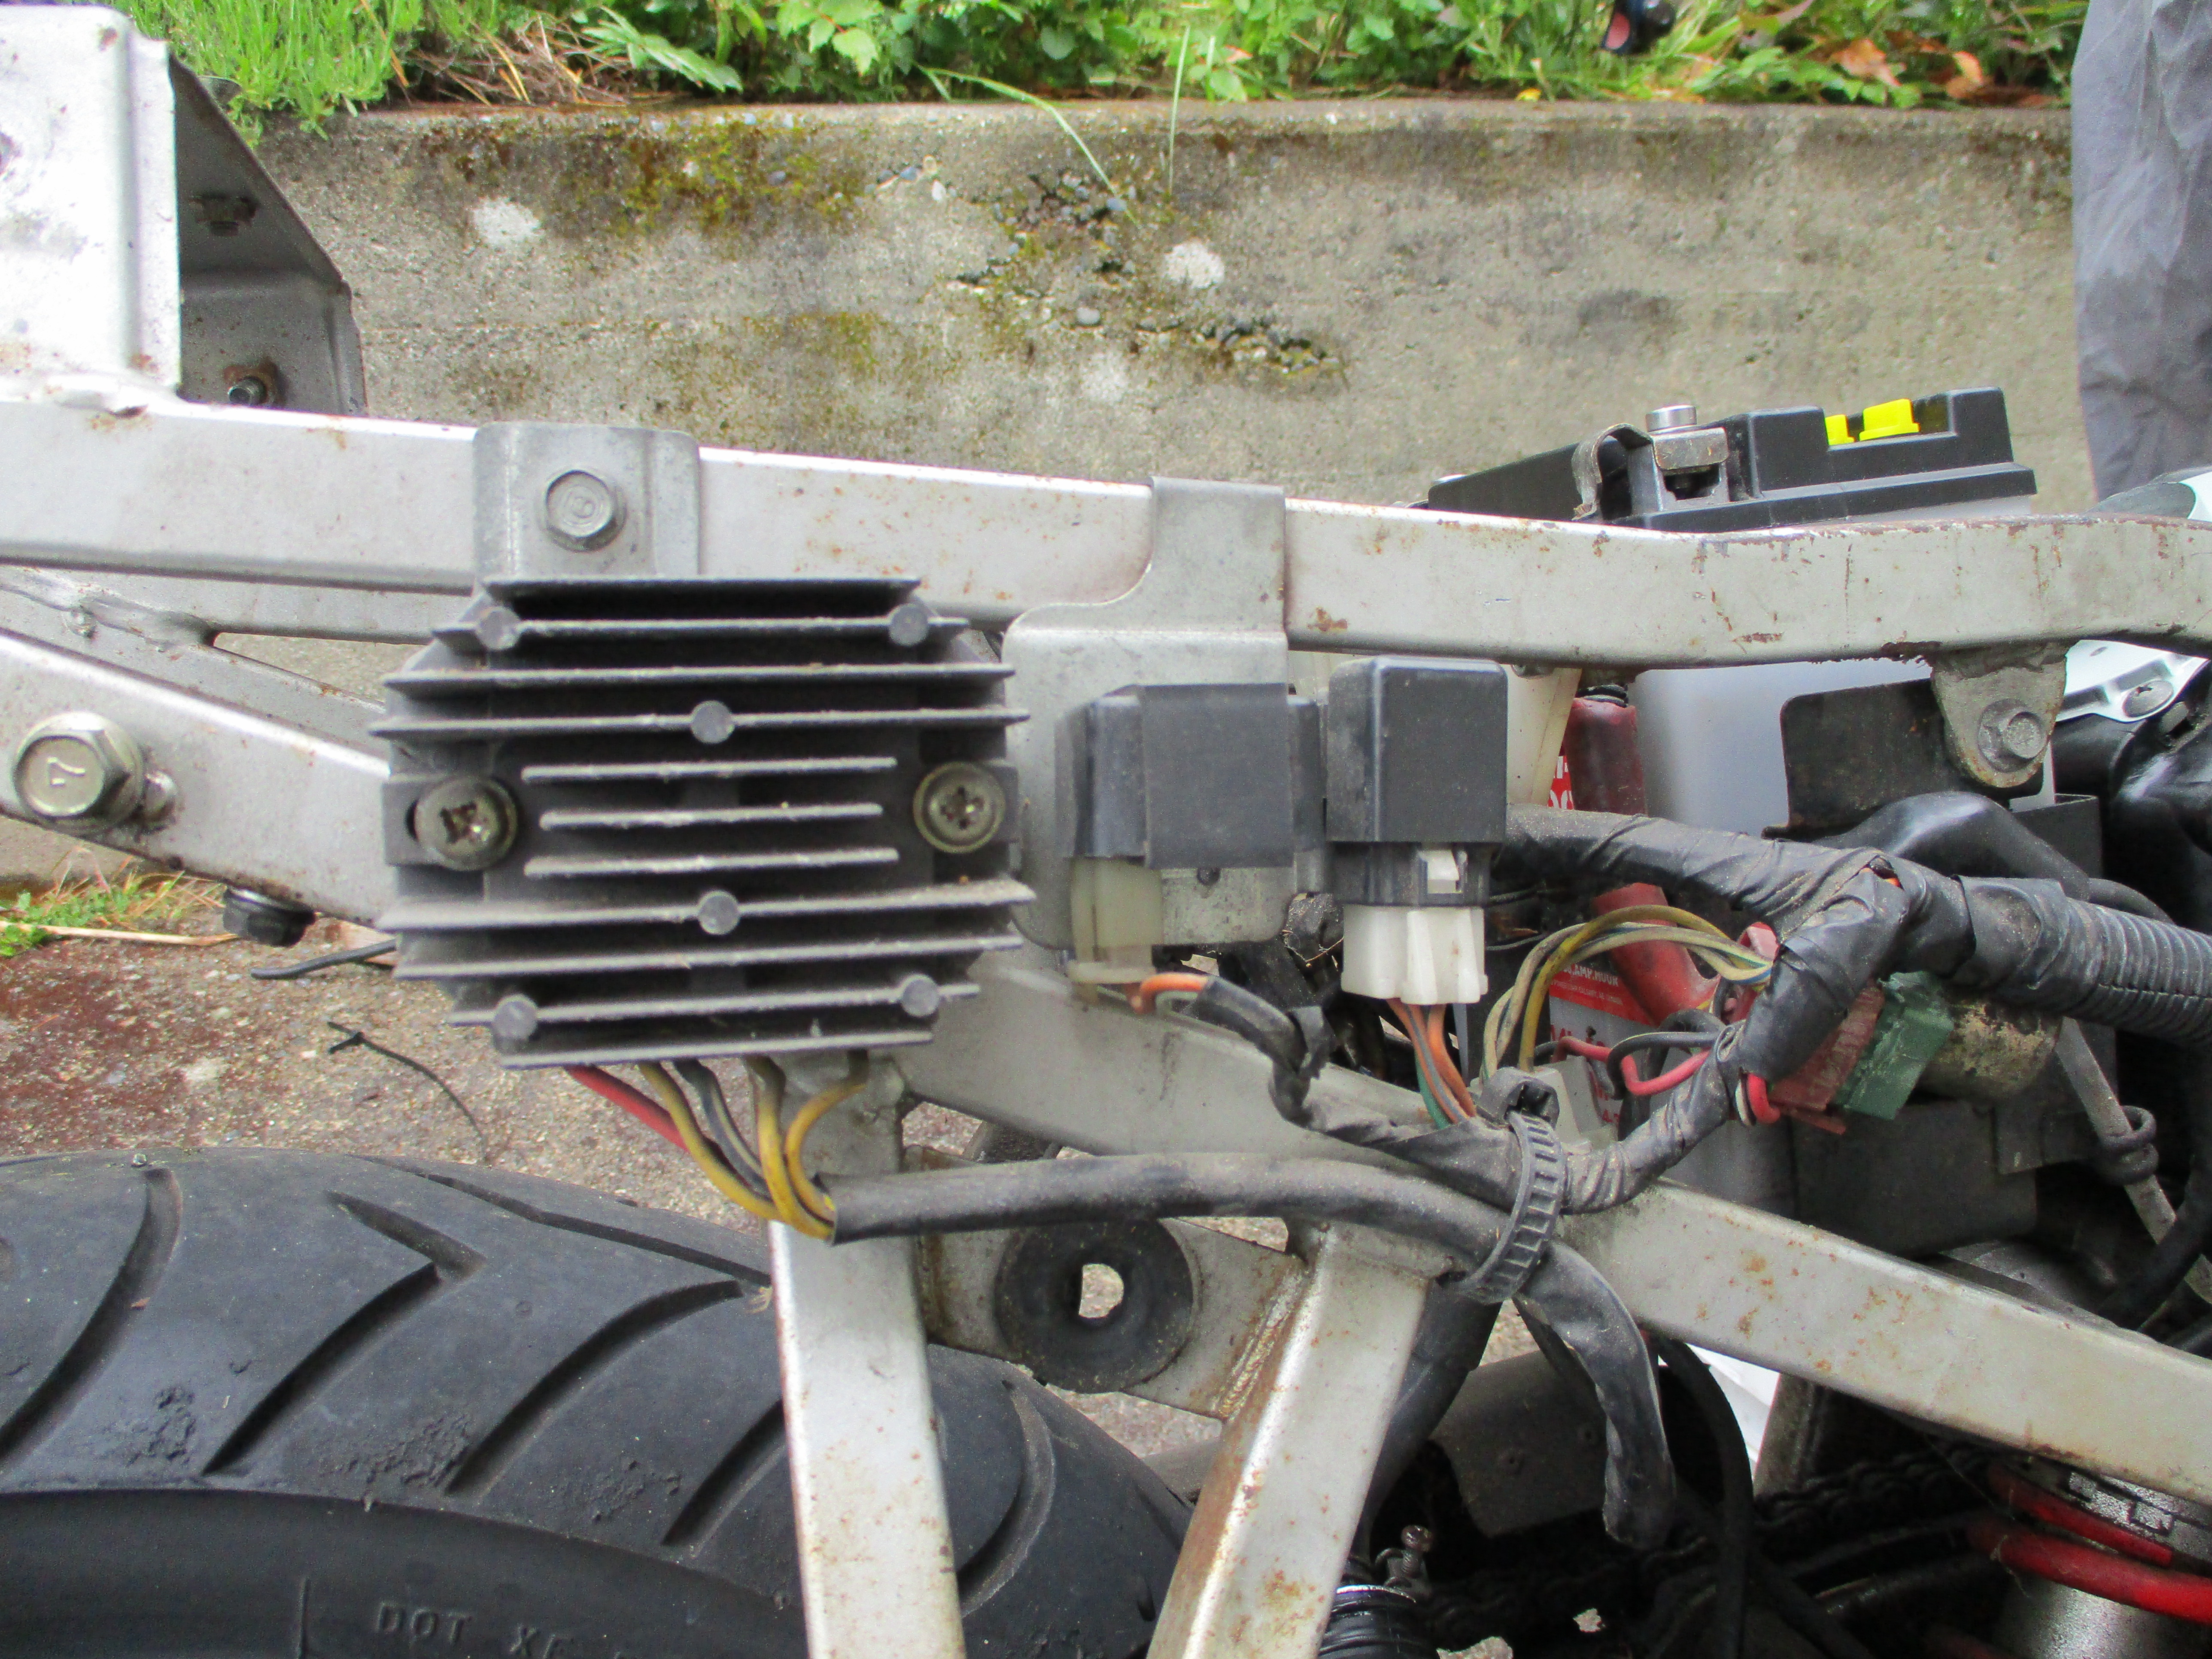
After liberating everything I bench tested as many individual components as I could. One of the ignition coils was slightly out of spec so I bought a good used replacement. The regulator/rectifier was not shorted internally. The stator was in spec. The neutral switch worked. The kick stand safety switch worked. The ignition timing circuit was ok. It looked like the oil pressure switch was not working so I bought a new one, but then it decided to start working again after I ran the engine for a while.


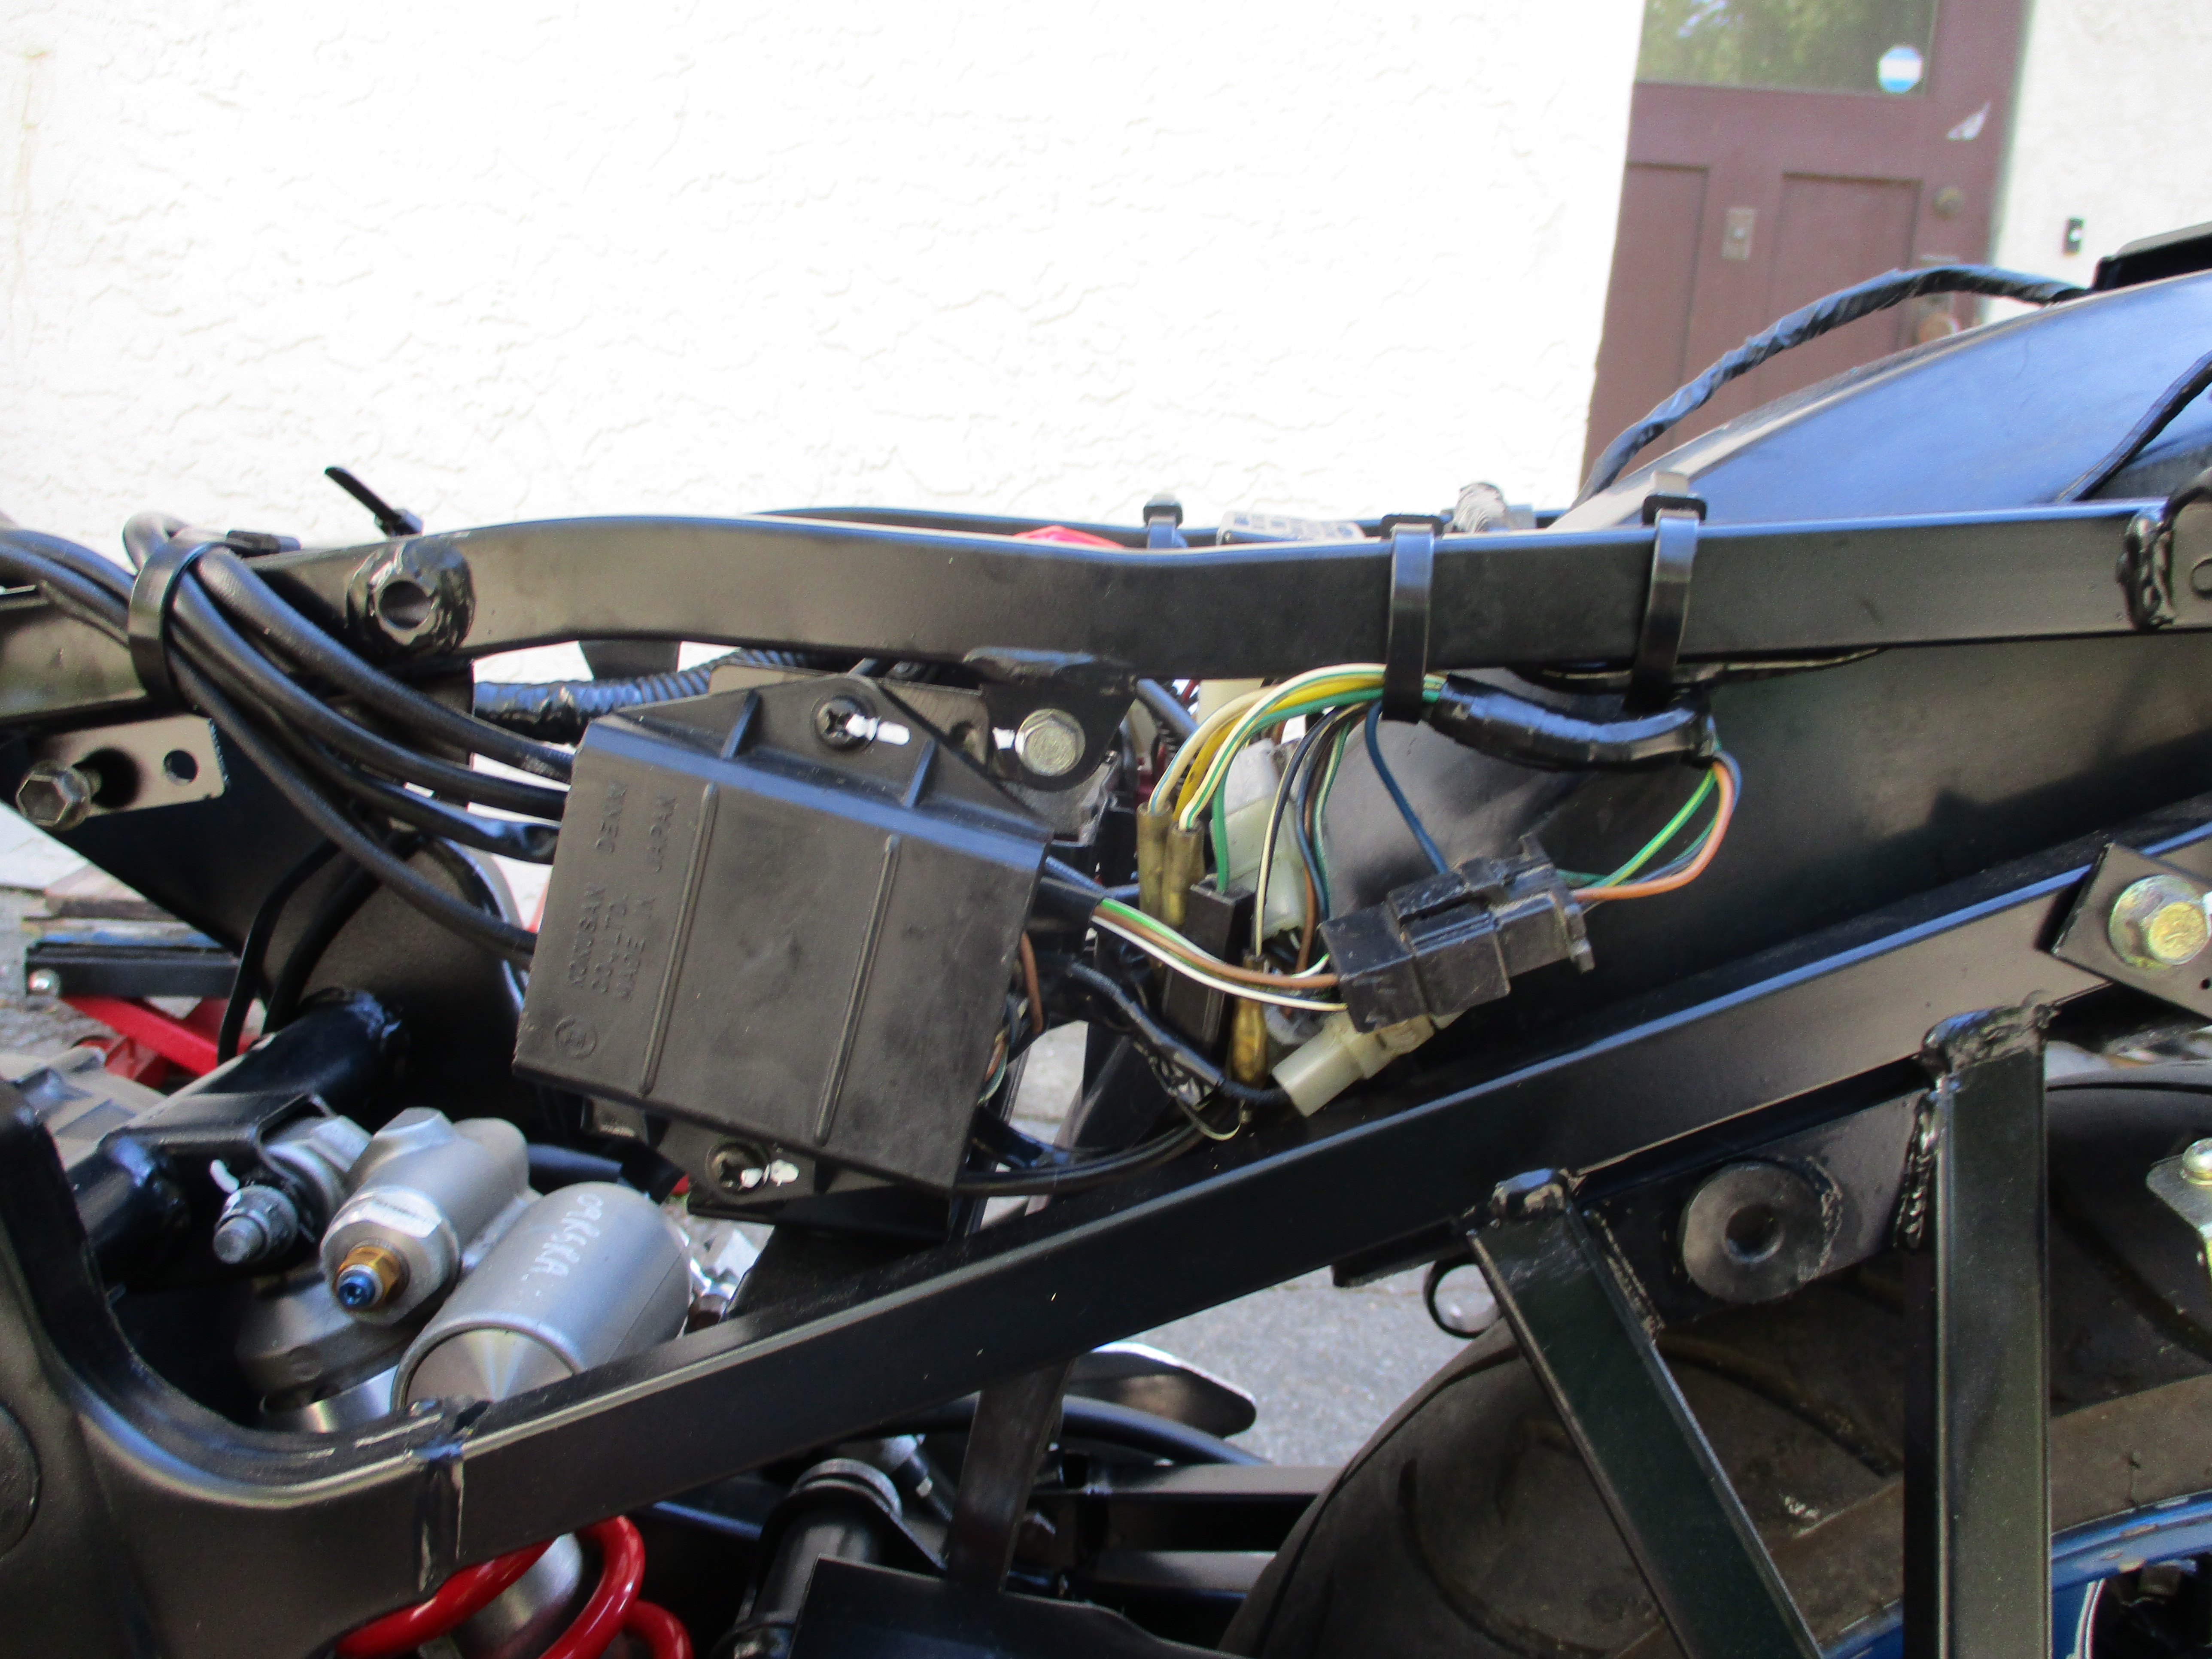
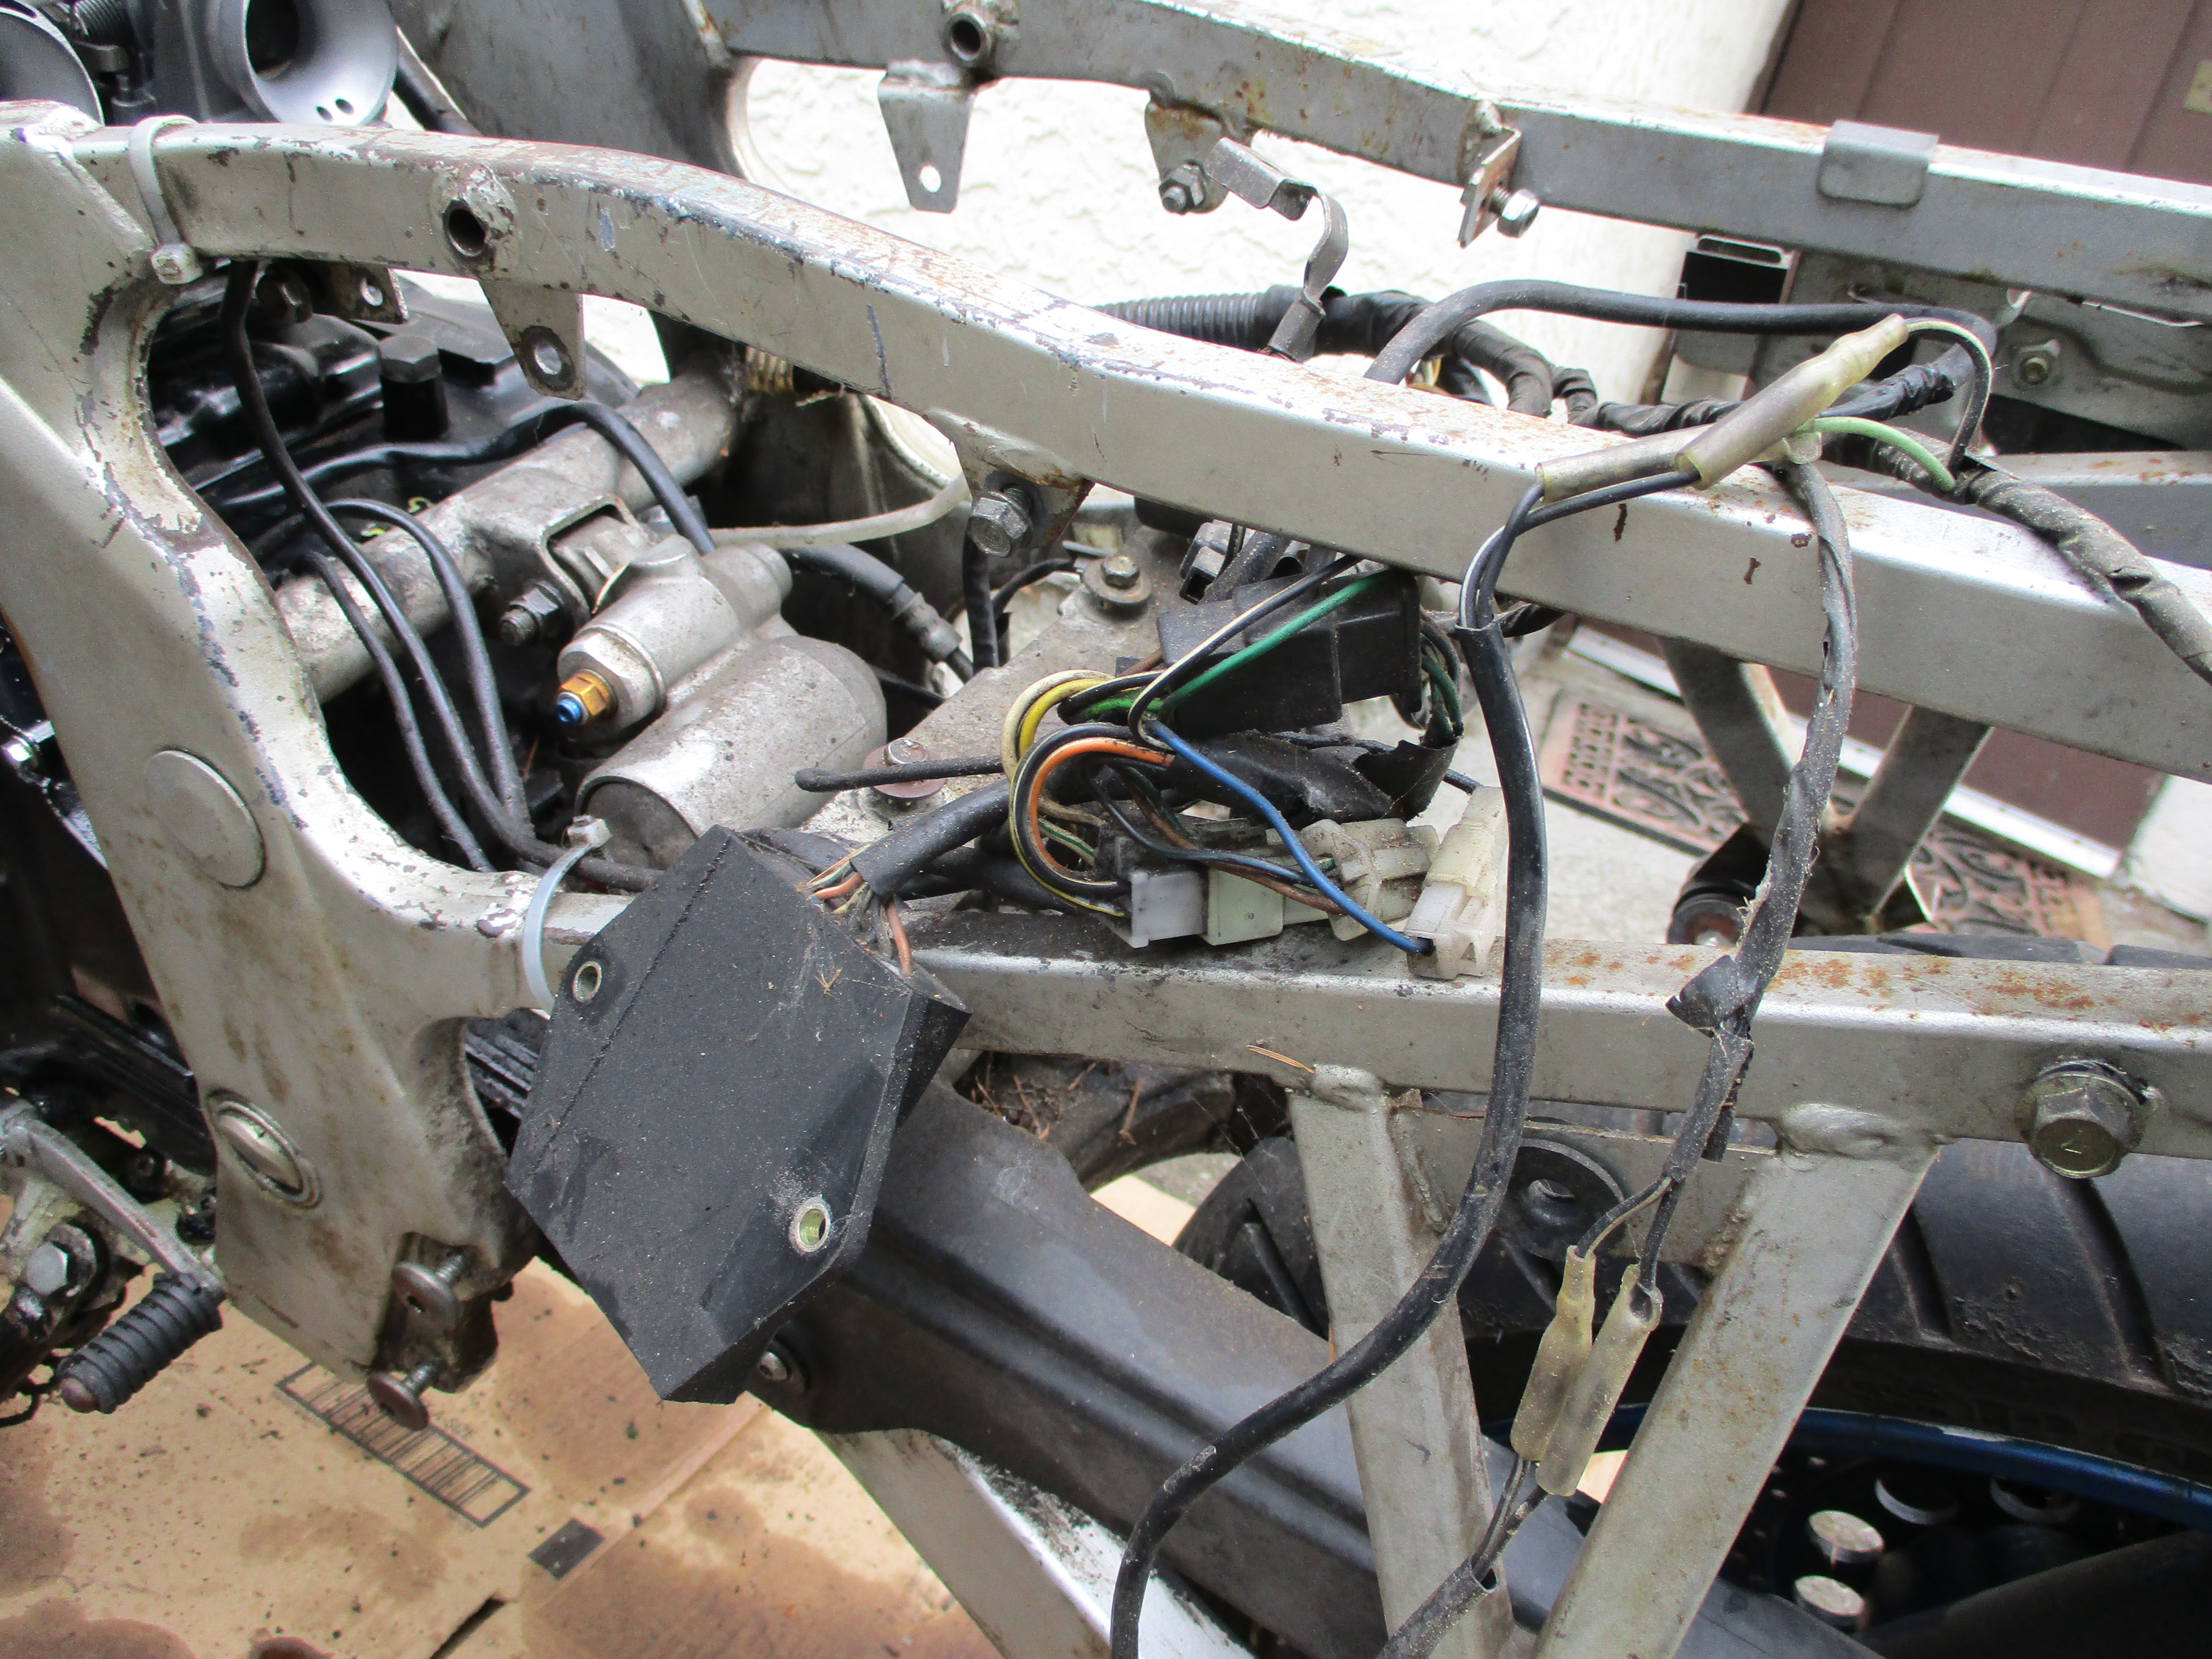
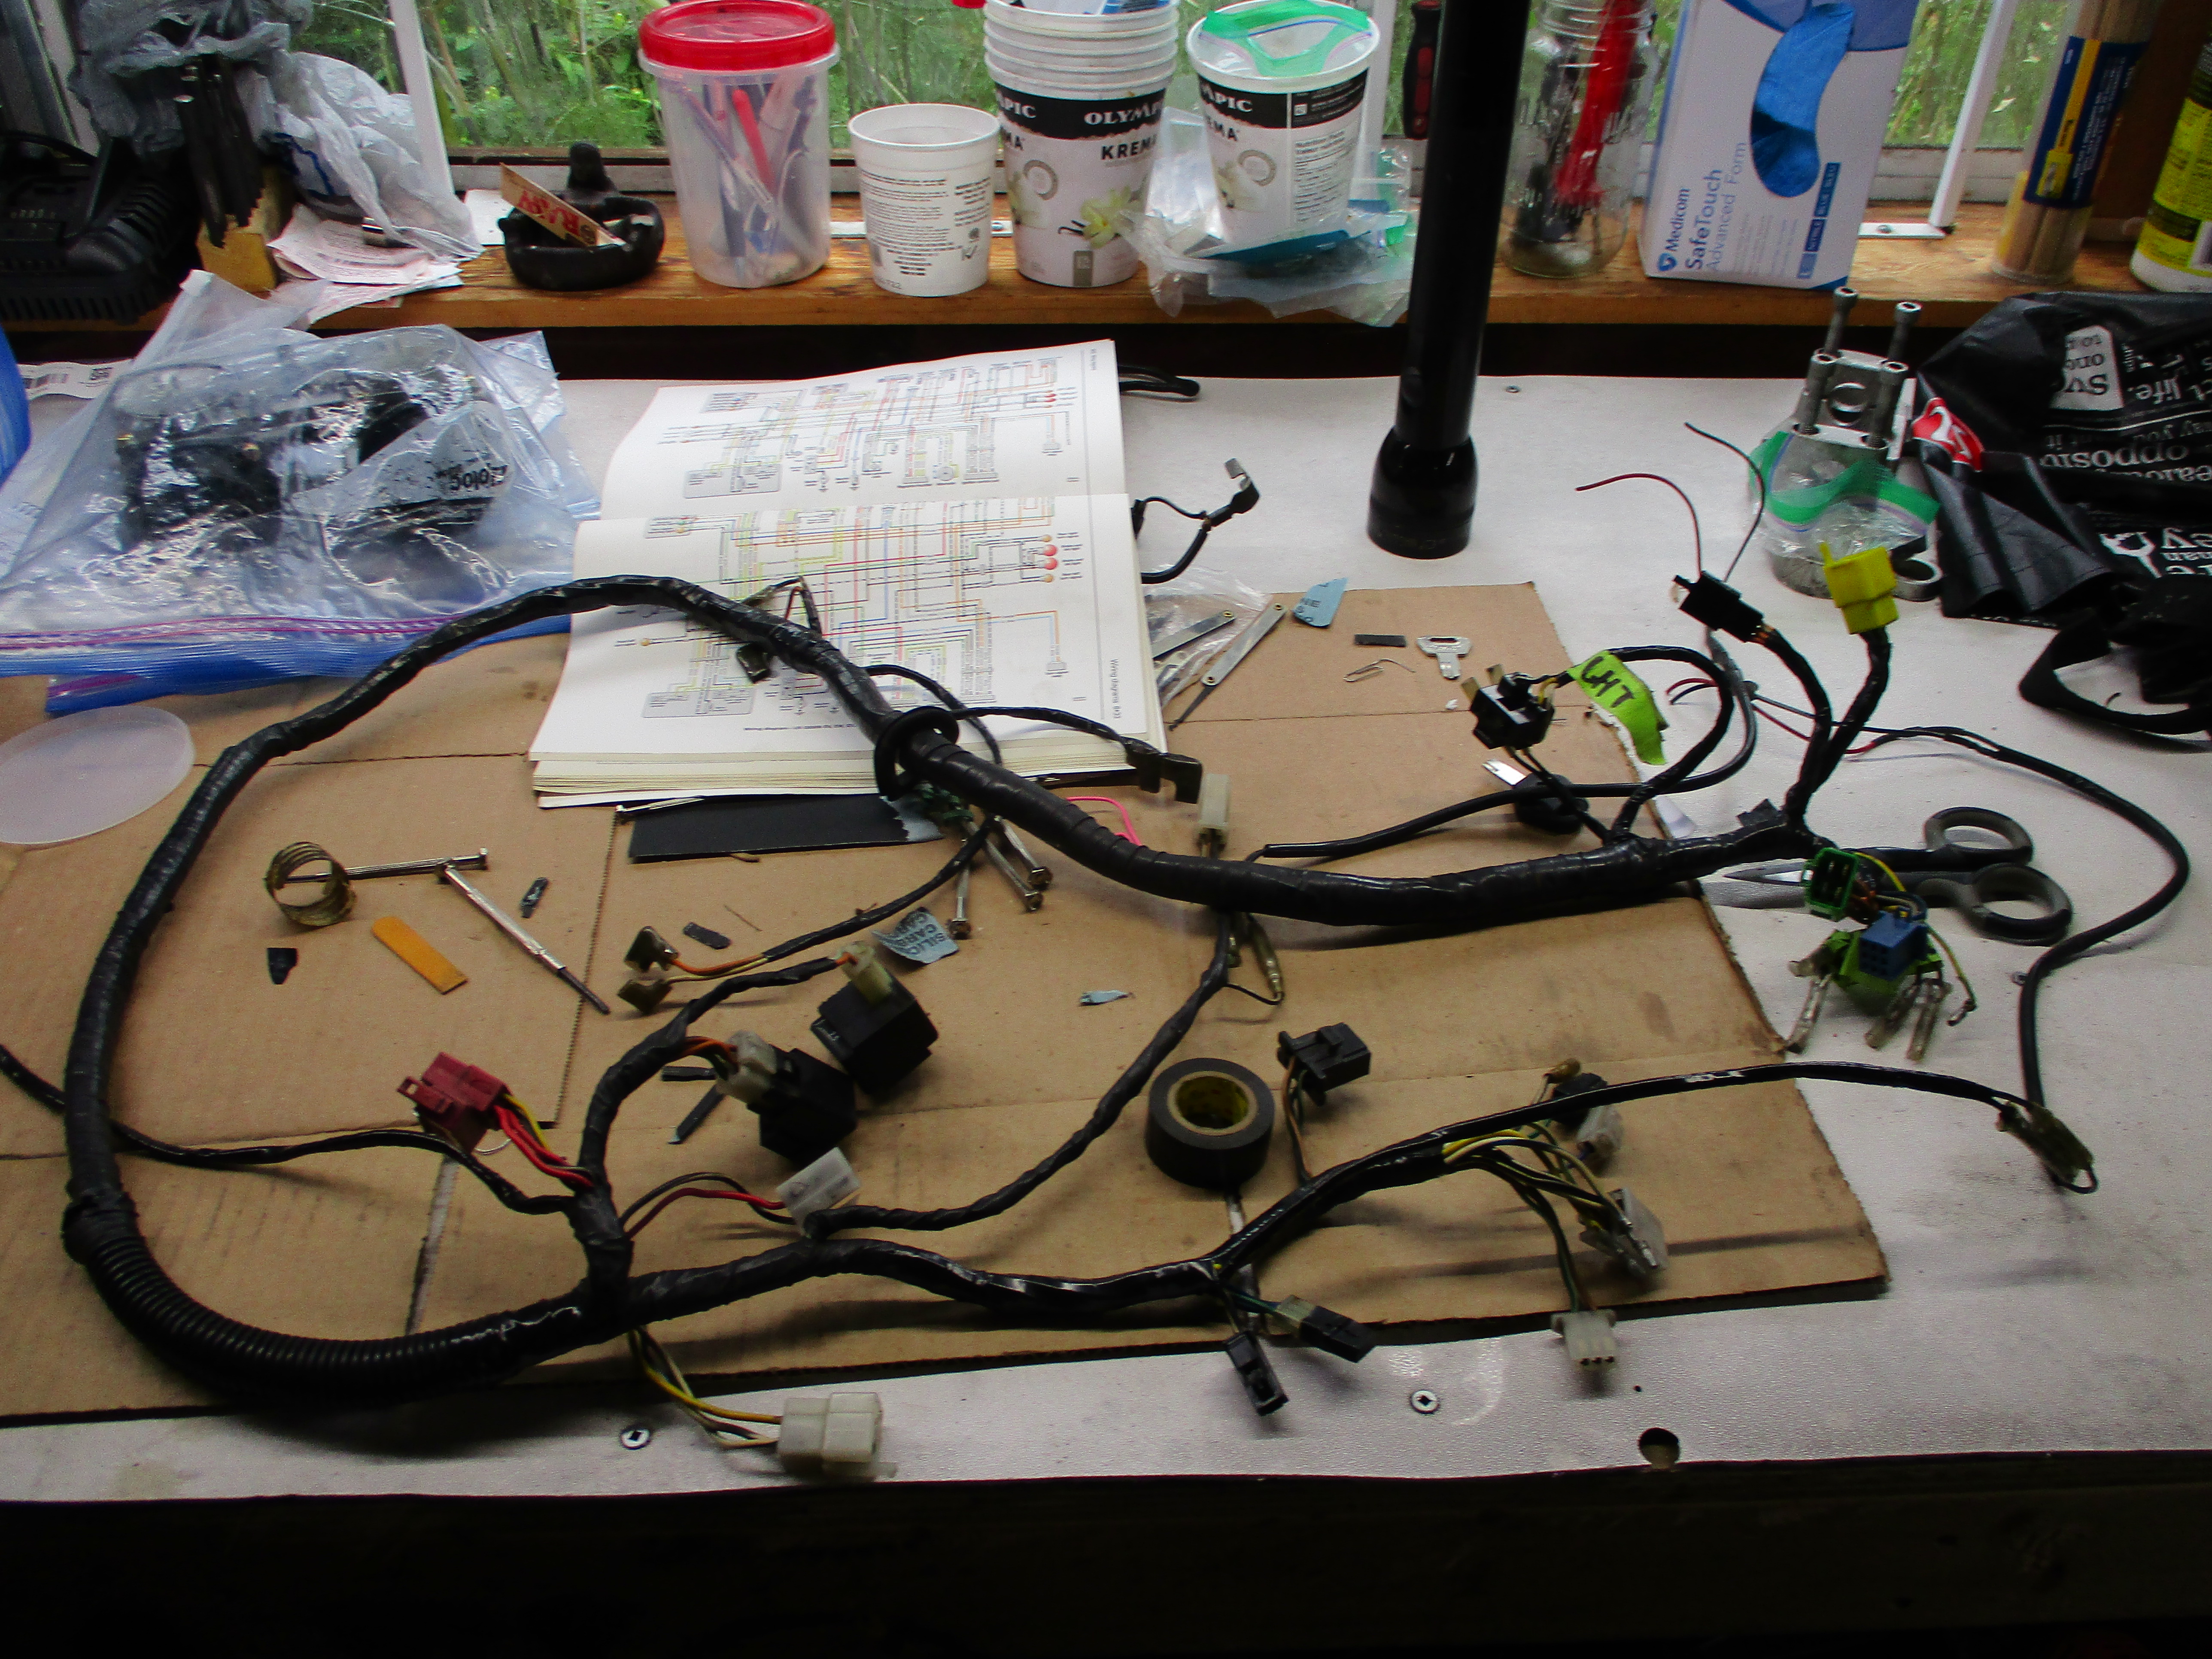
The main wiring harness looked ok but needed some re-taping and cleaning in spots. I continuity tested most circuits. I pulled apart the important terminal connectors, cleaned them, and checked they made good firm contact to their opposite sex partner terminals.
I replaced the red ignition solenoid terminal connector with a new one because the old one was chewed up and missing its clip legs.
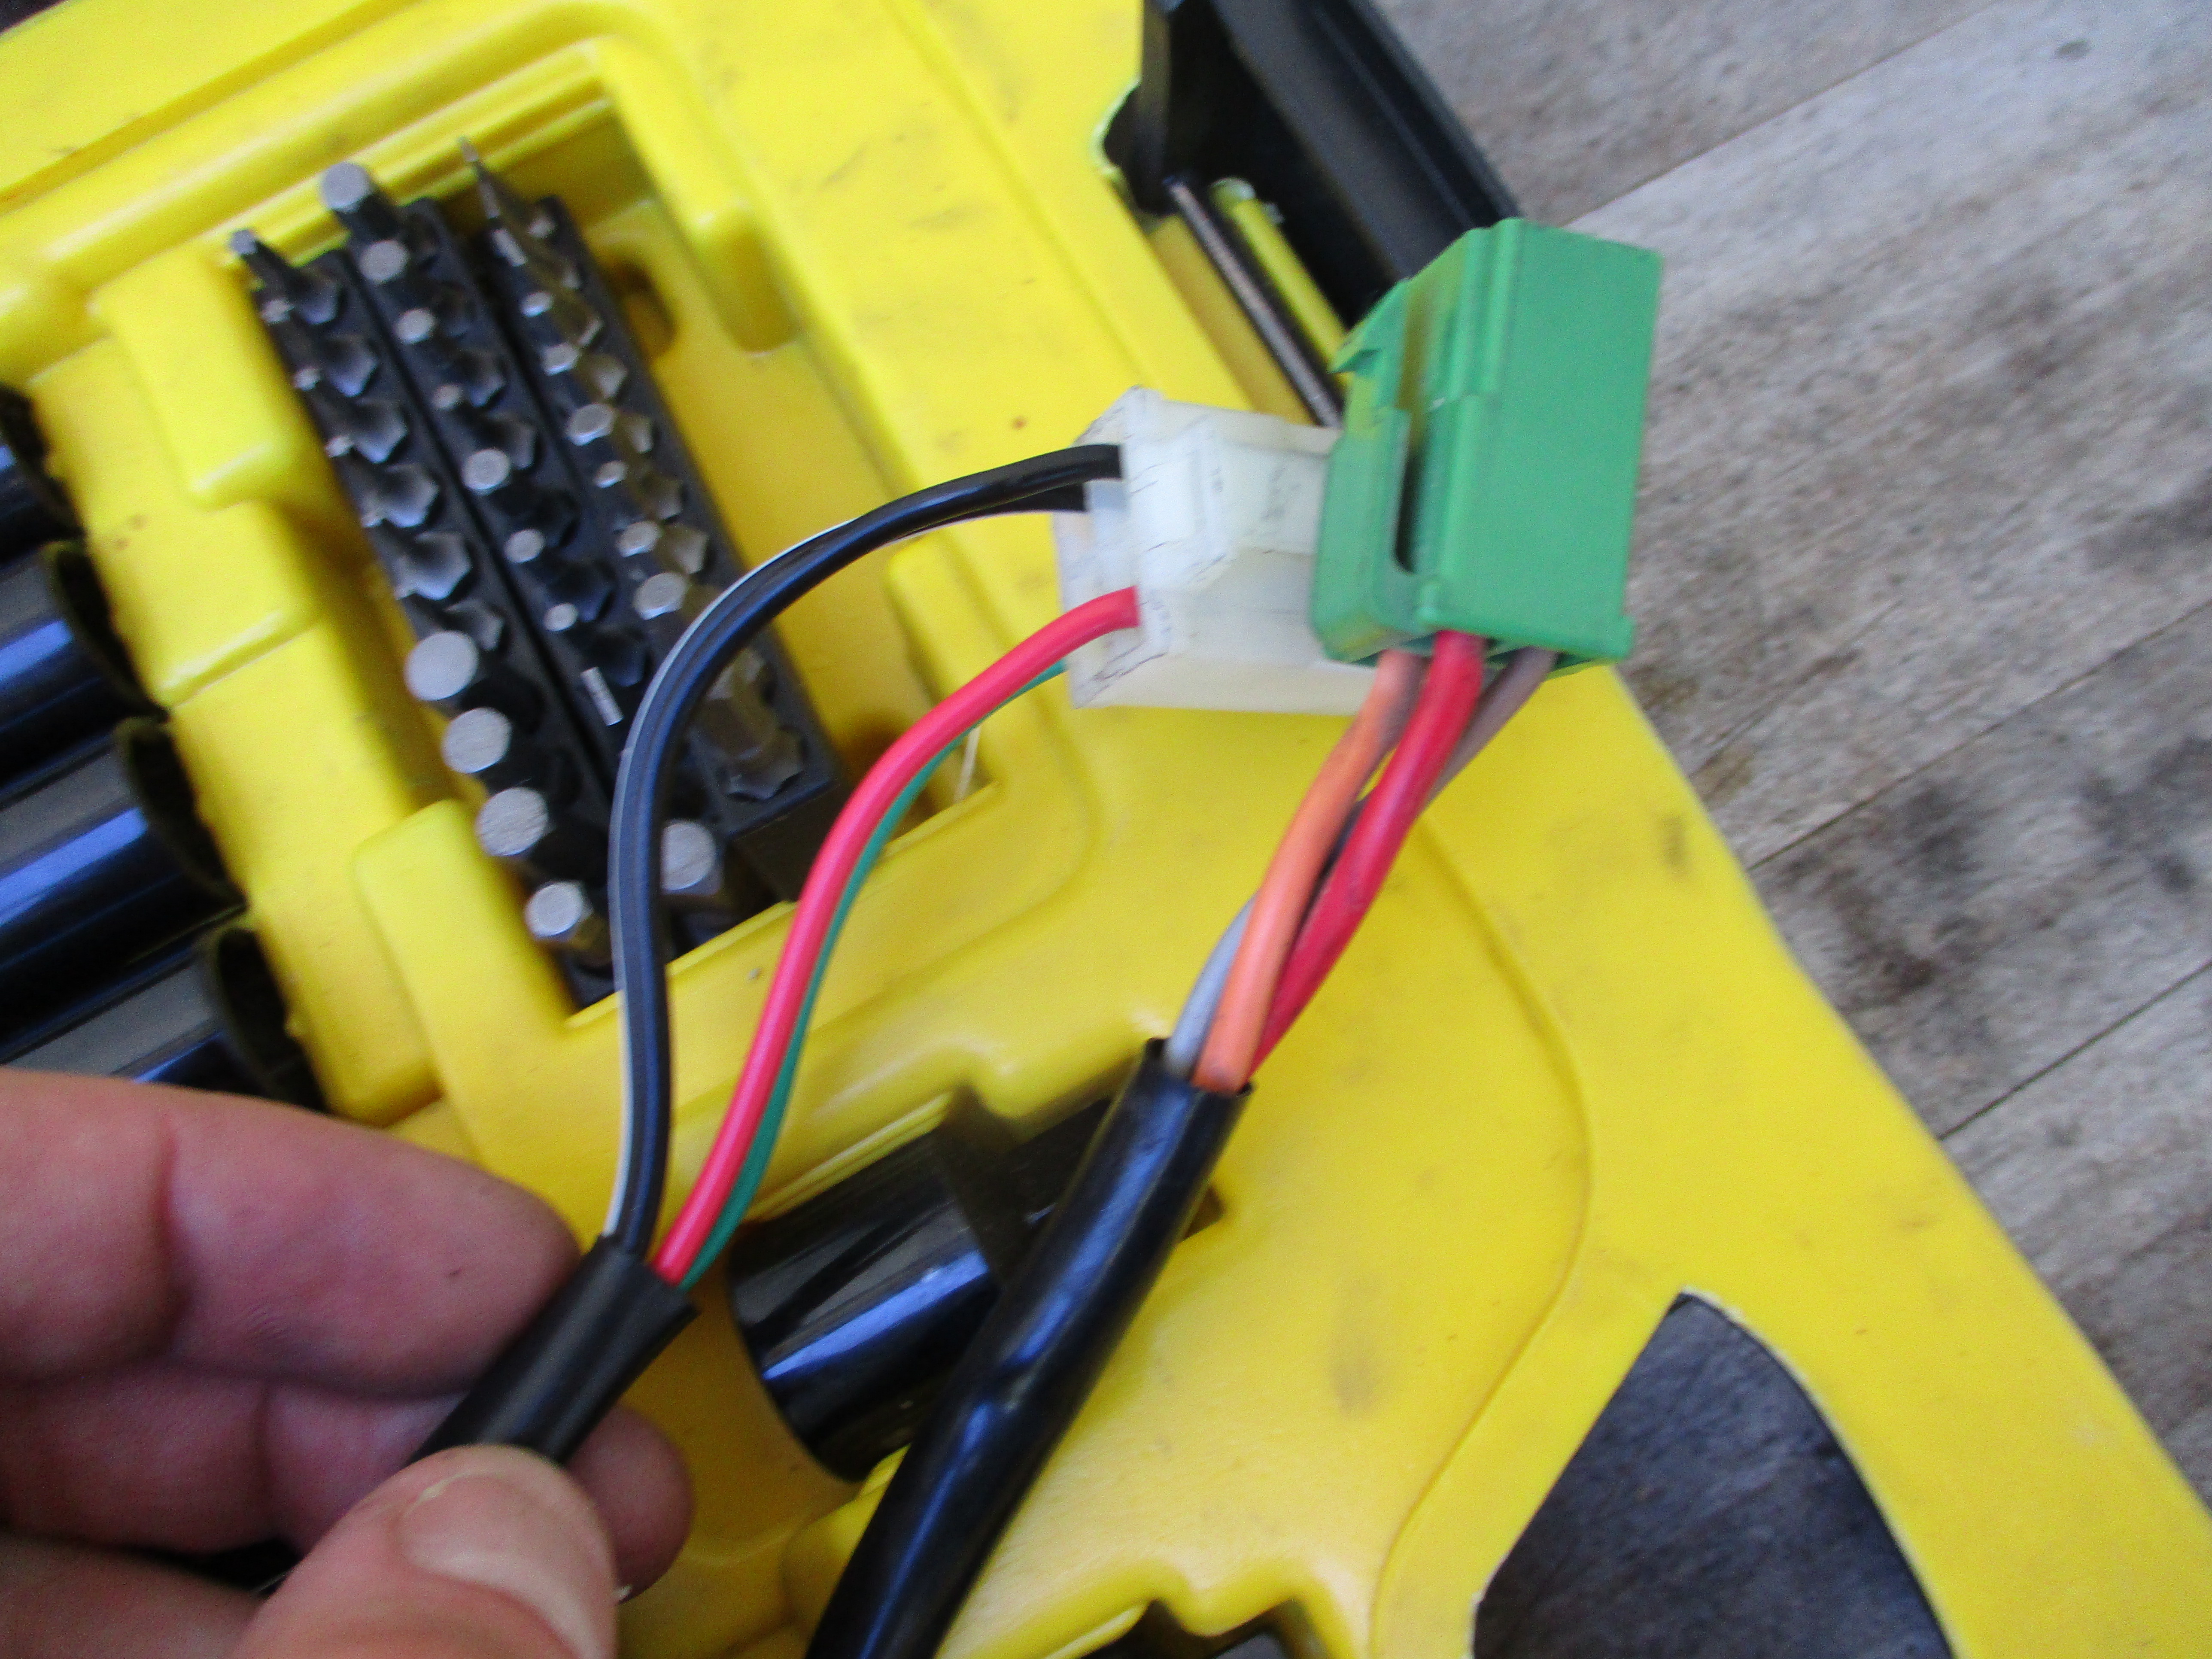
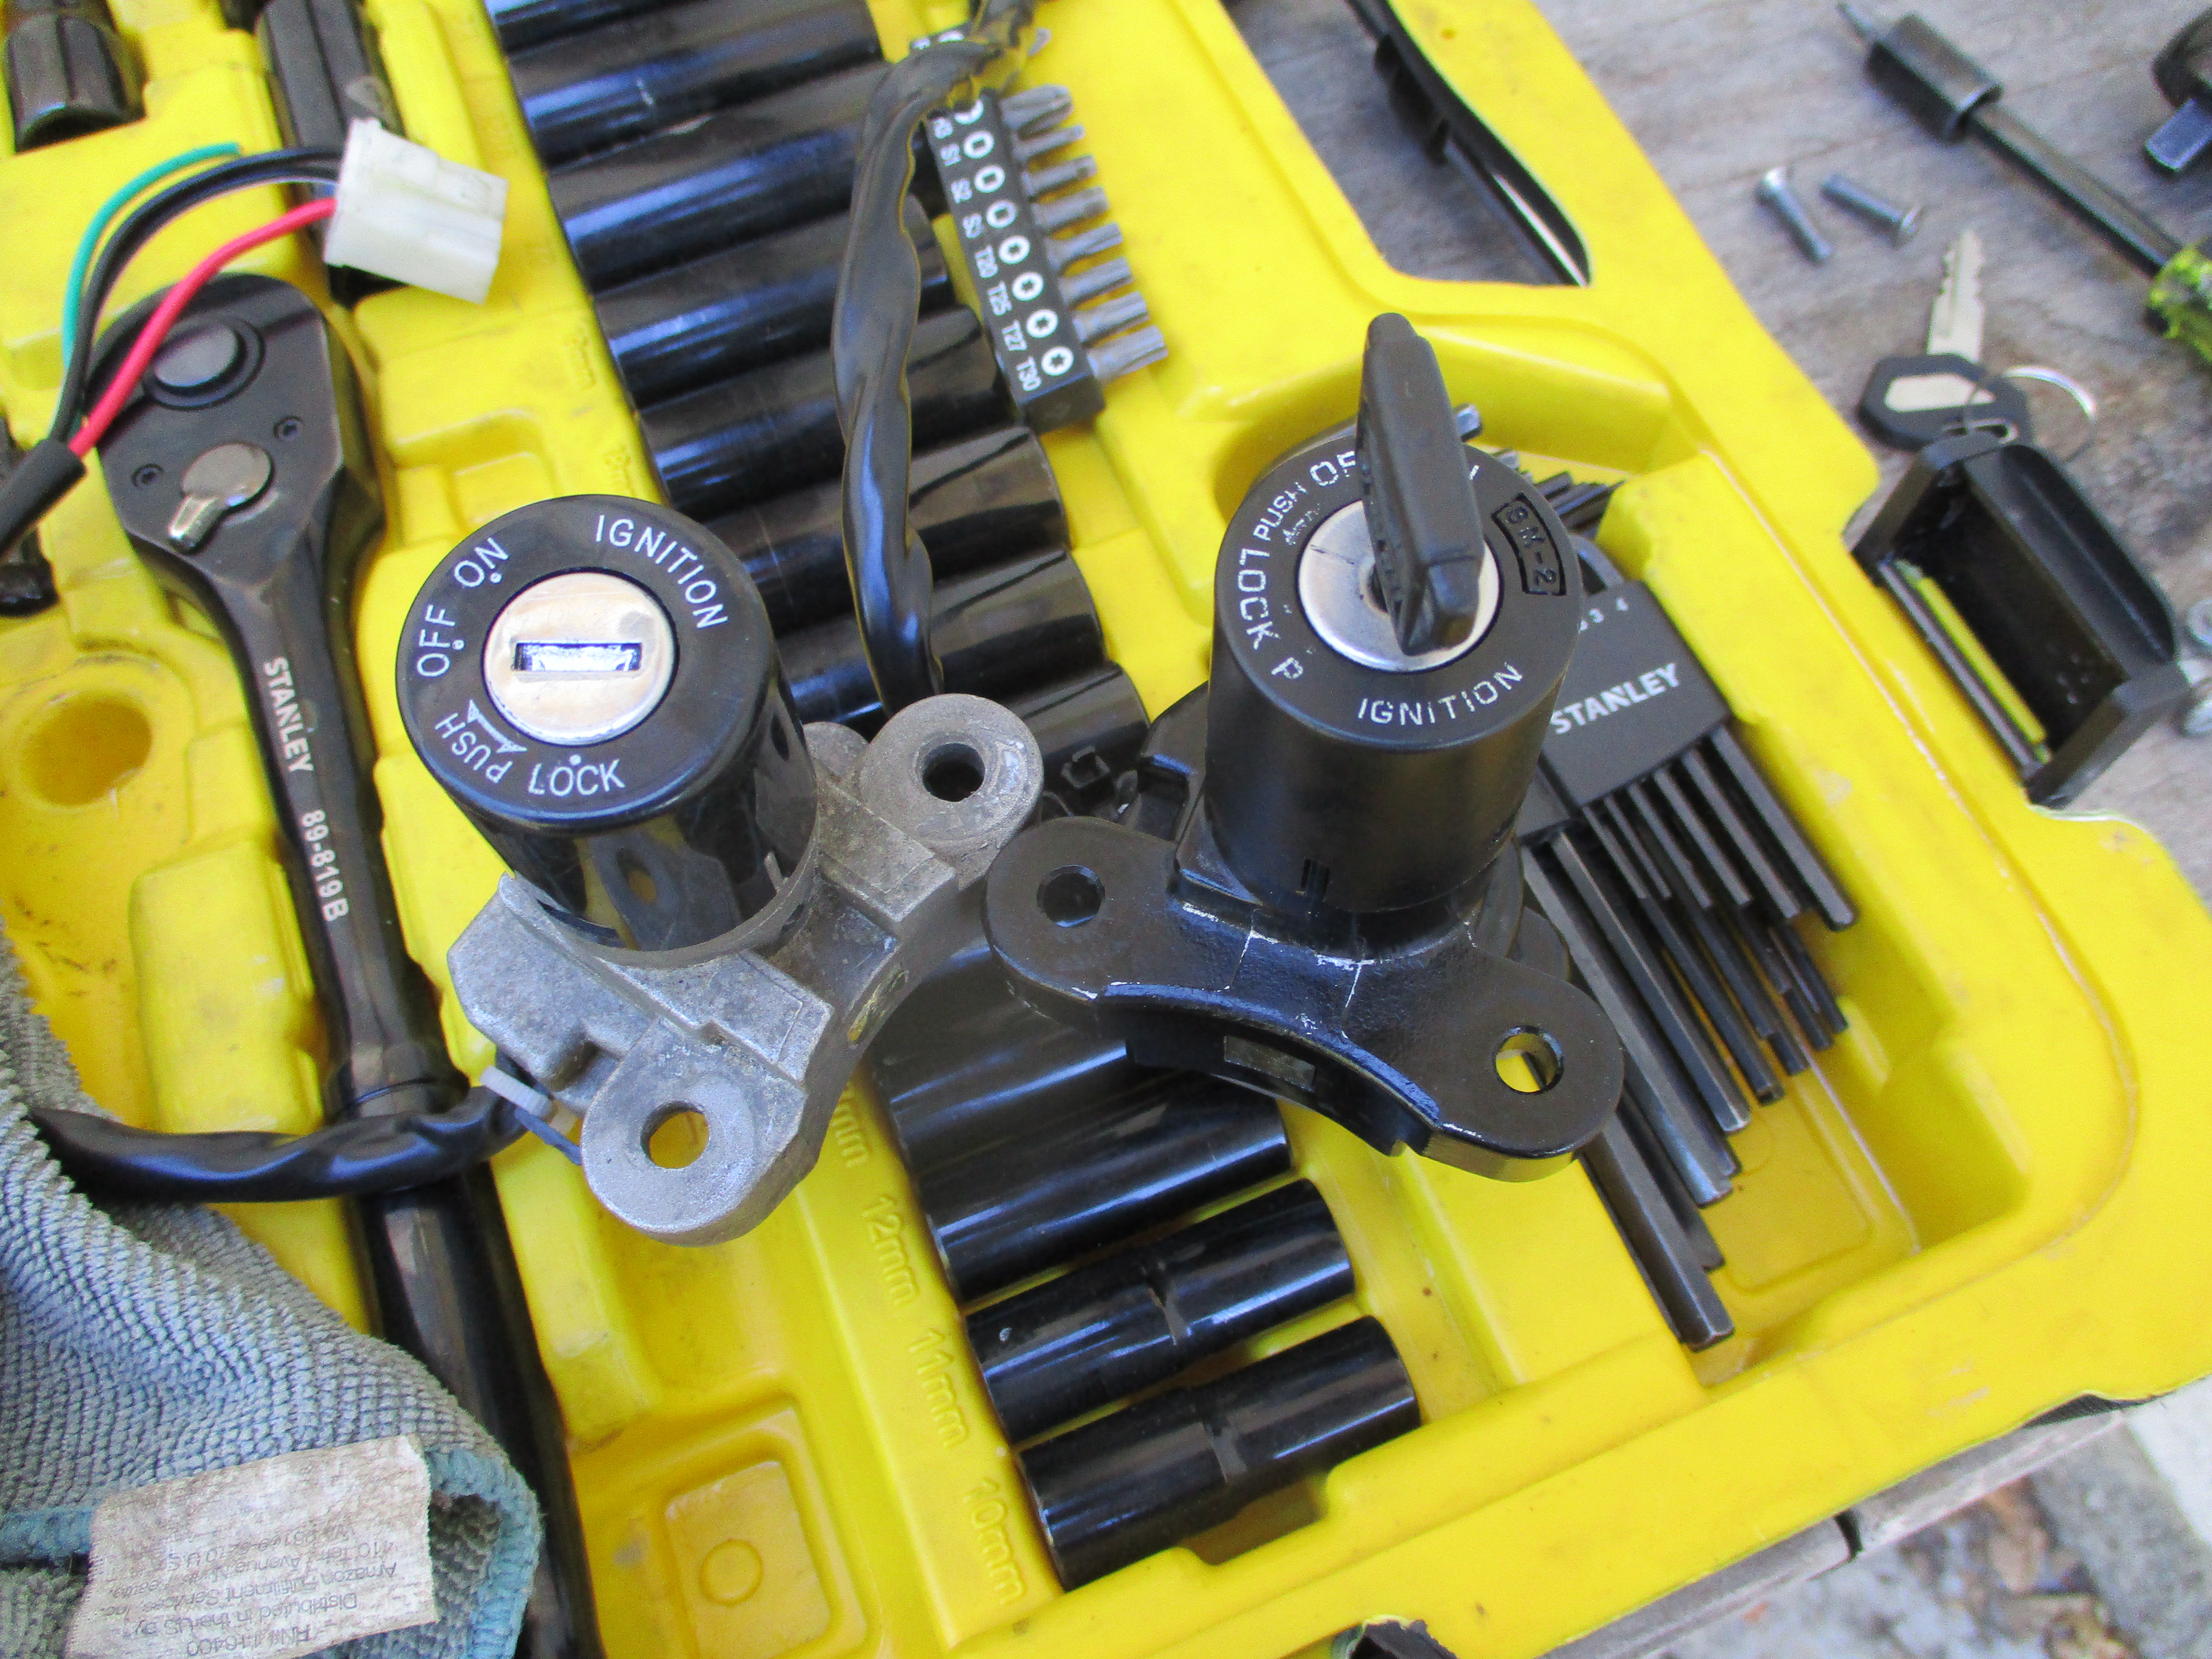
There was an issue with the rear taillight not working. After troubleshooting it looked like the ignition switch was the problem. These motorcycles have a 'parking light' feature where you can lock the steering but also keep the taillight active. But this ignition did not have this feature, nor did it activate the taillight when the key is in the 'On' position. After disassembling the ignition switch I found the poorly made Amazon replica simply did not internally connect the way the wiring diagram specified.
After sourcing a used replacement ignition from the motorcycle junkyard it worked as the wiring diagram stated it should. The wiring on the OEM ignition was much stouter, another shortcut taken by the cheap replica. After having the replacement ignition rekeyed I installed it, and the rear taillight works again. The cheap replica had the wrong wire colors, too. The green connector is OEM, white is the replica.
That is it. The motorcycle works well now after approximately $1100 in parts, paint, and sandblasting. I changed the oil with Rotella T6 and rode it.