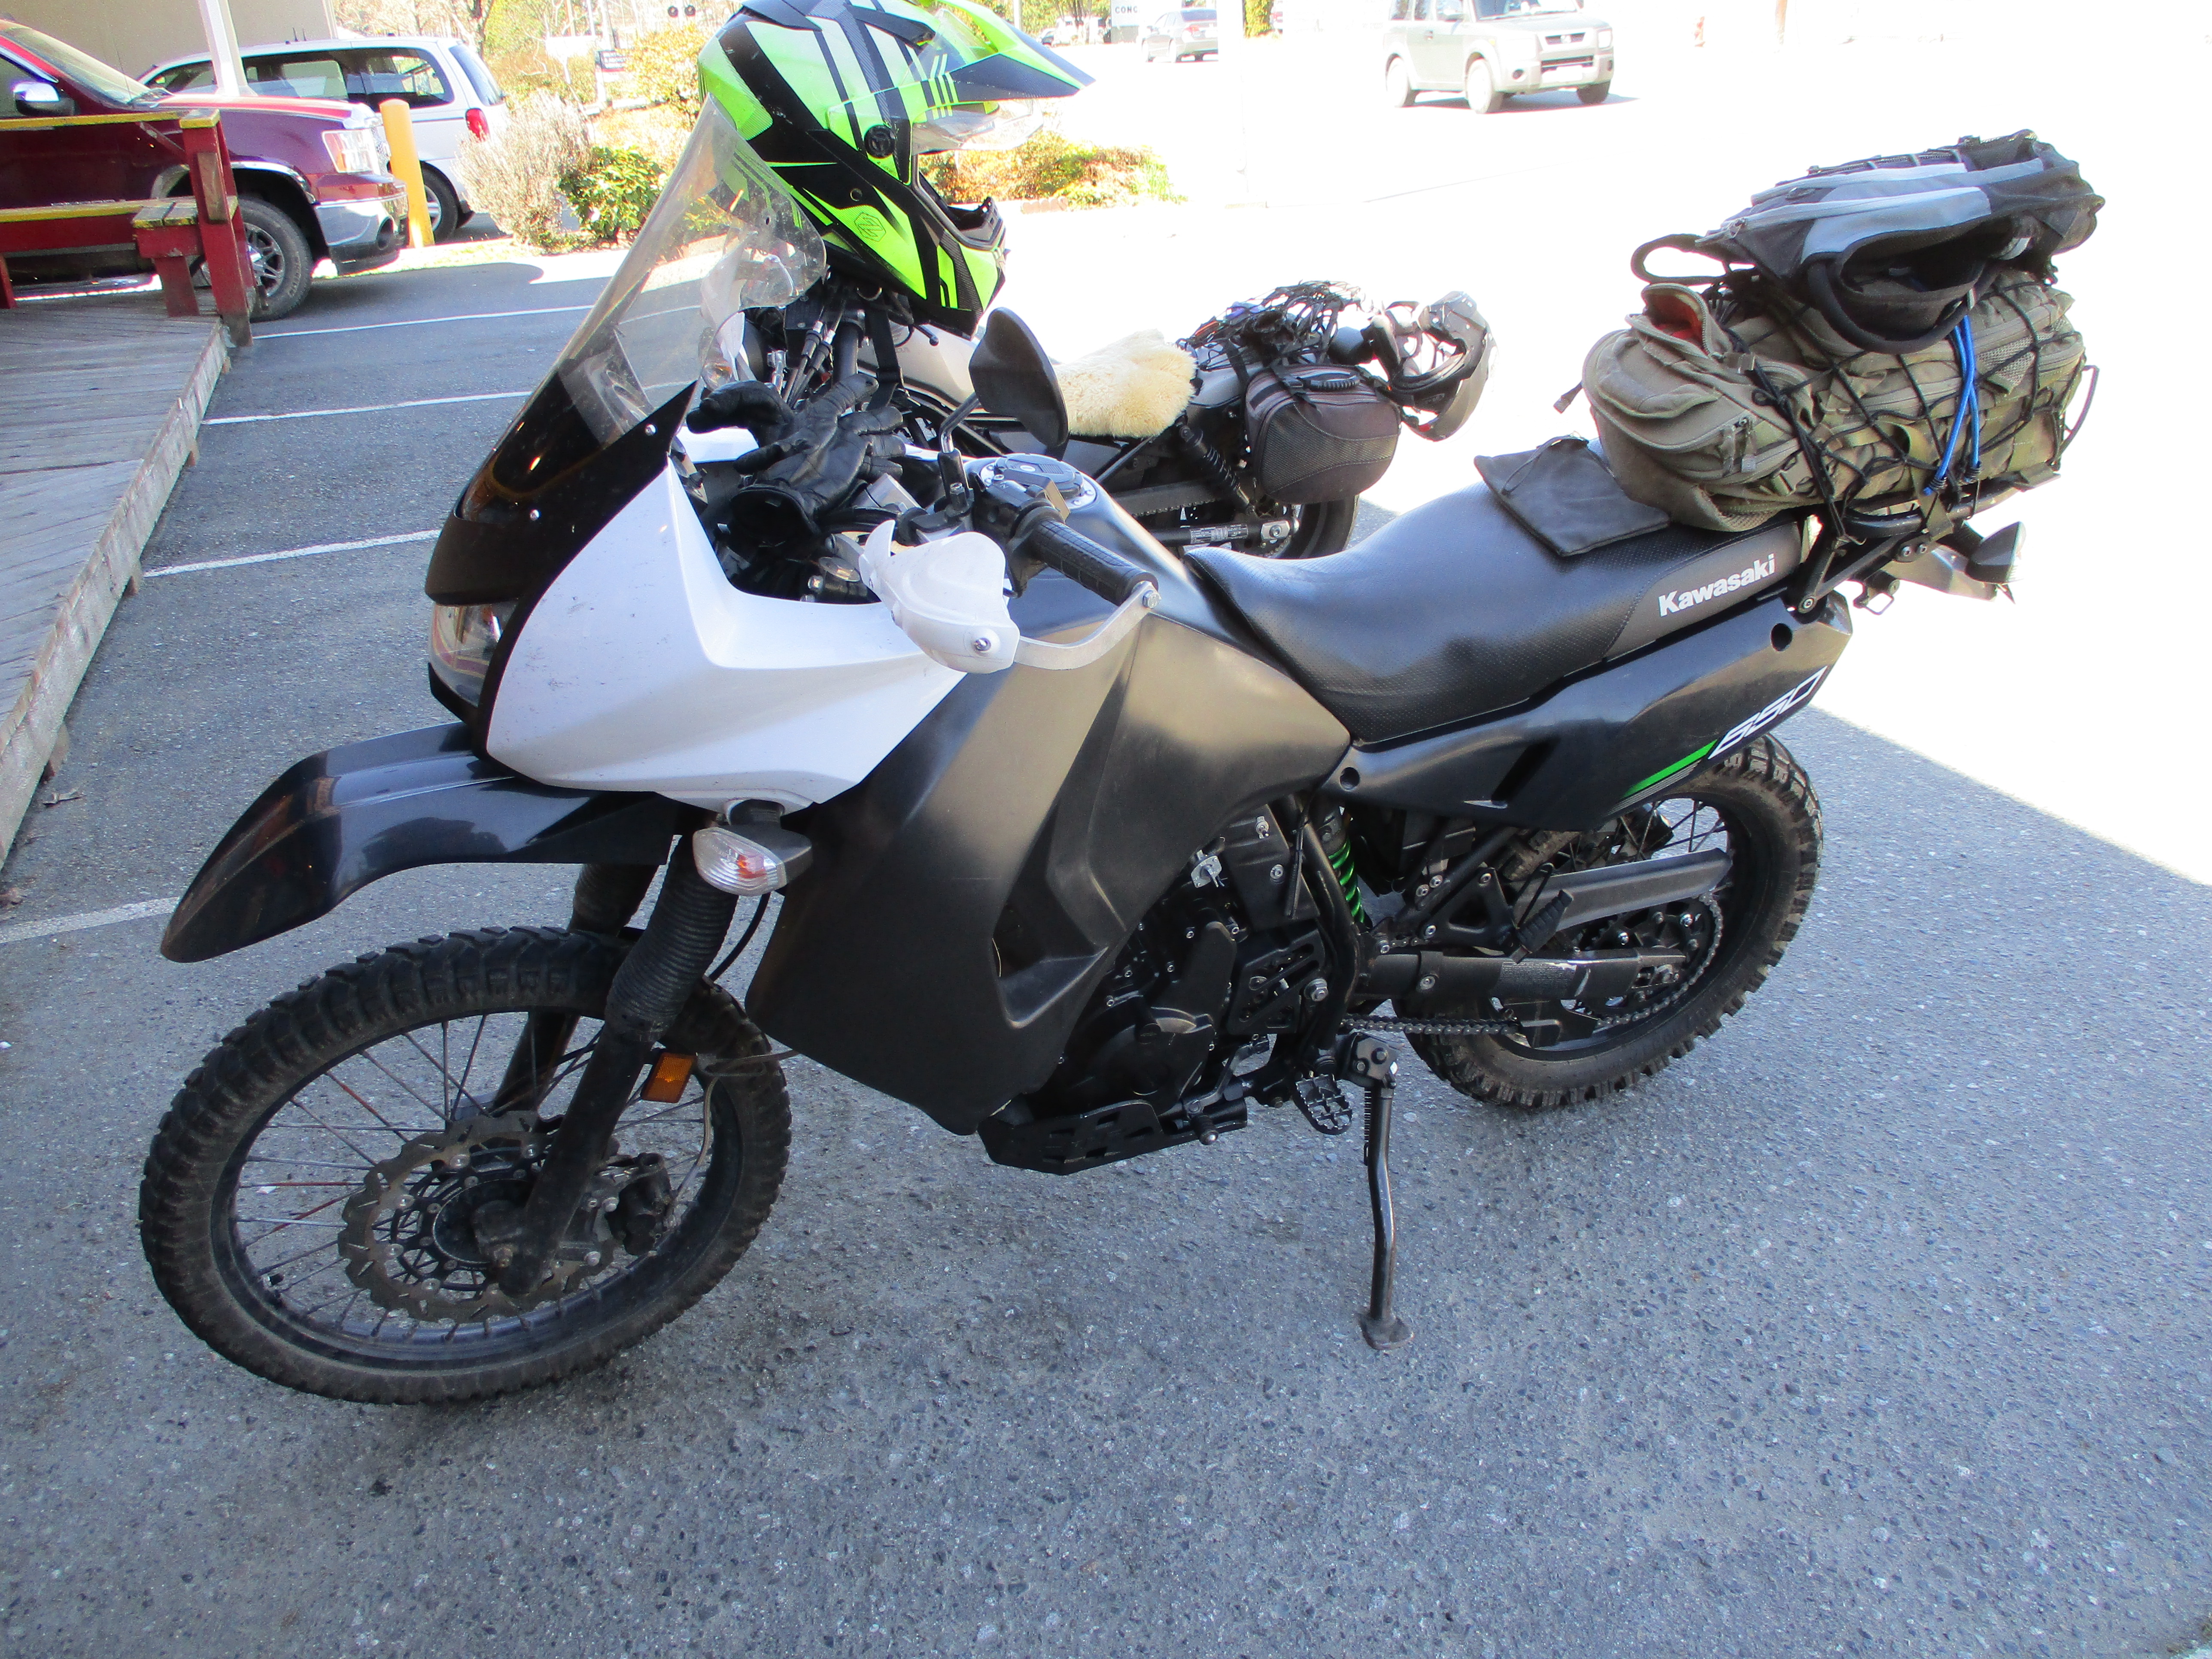
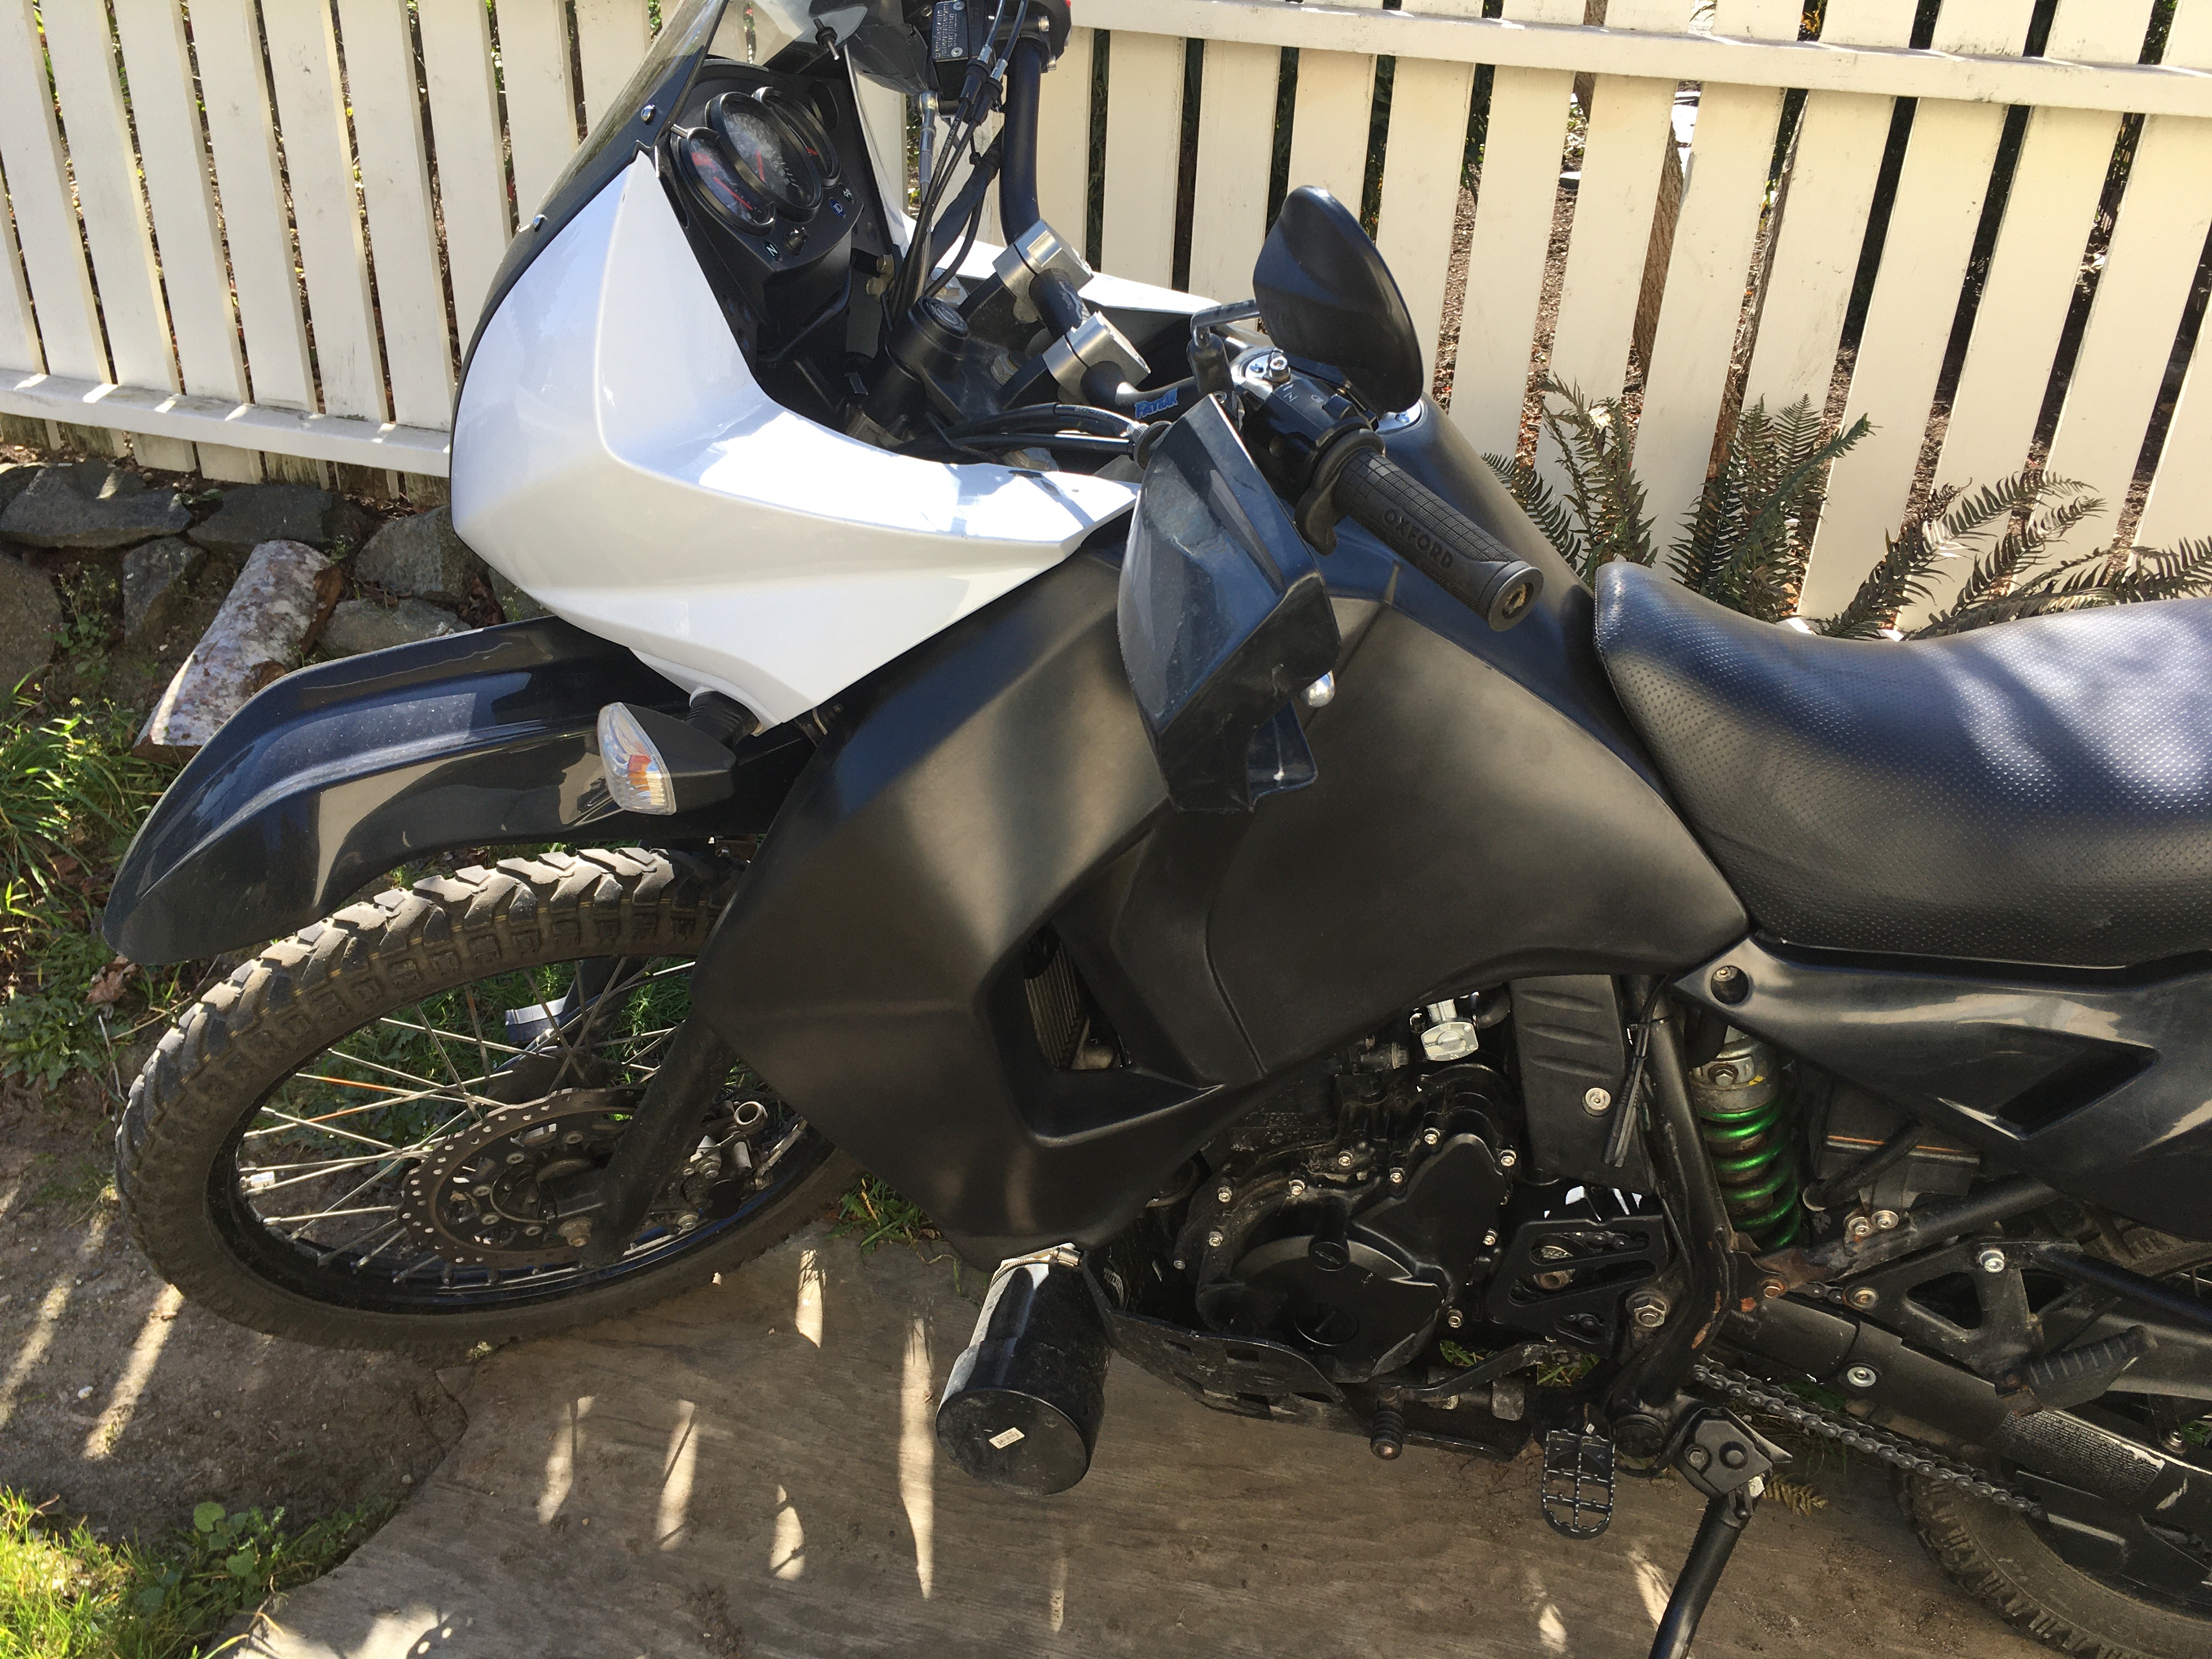
This is my 2015 KLR650, bought brand new in Calgary March 2017. It has been a reliable motorcycle but has needed some maintenance over the years.
| Date: | January 11, 2020 |
| Odometer: | 73516 kilometers |
| Cost: | $120 for bars and grips |
| Time: | 2 hours |
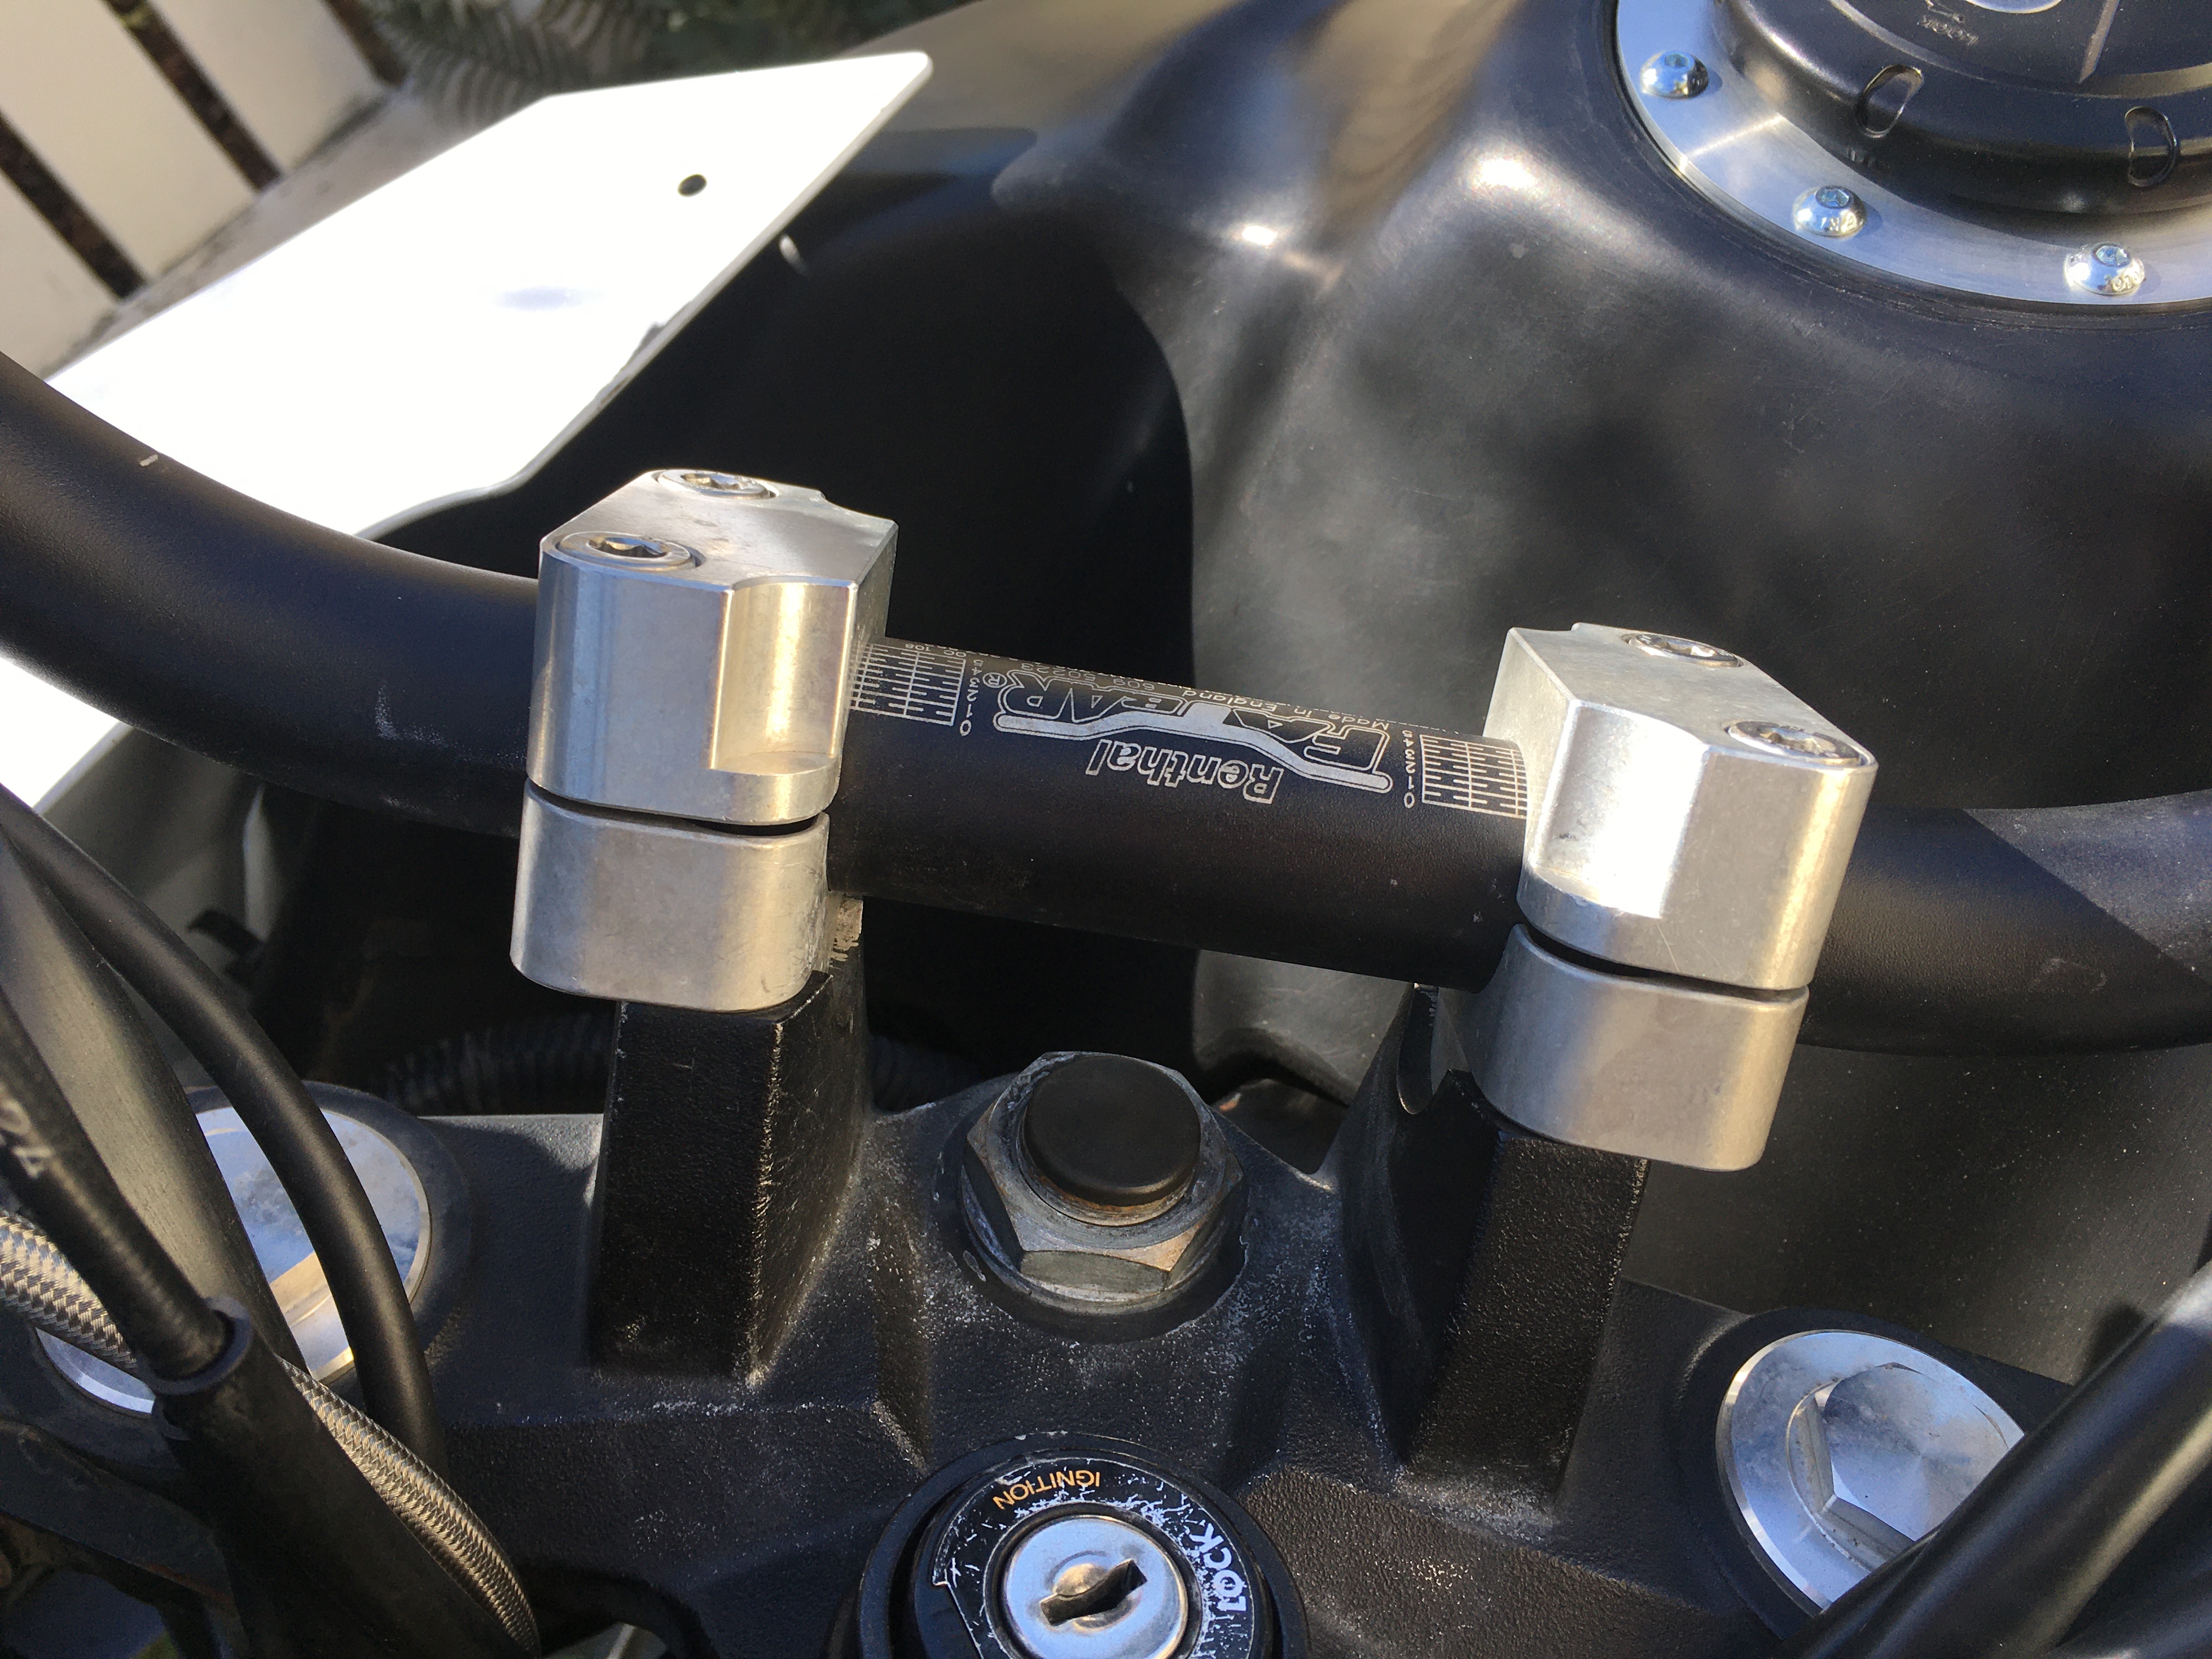
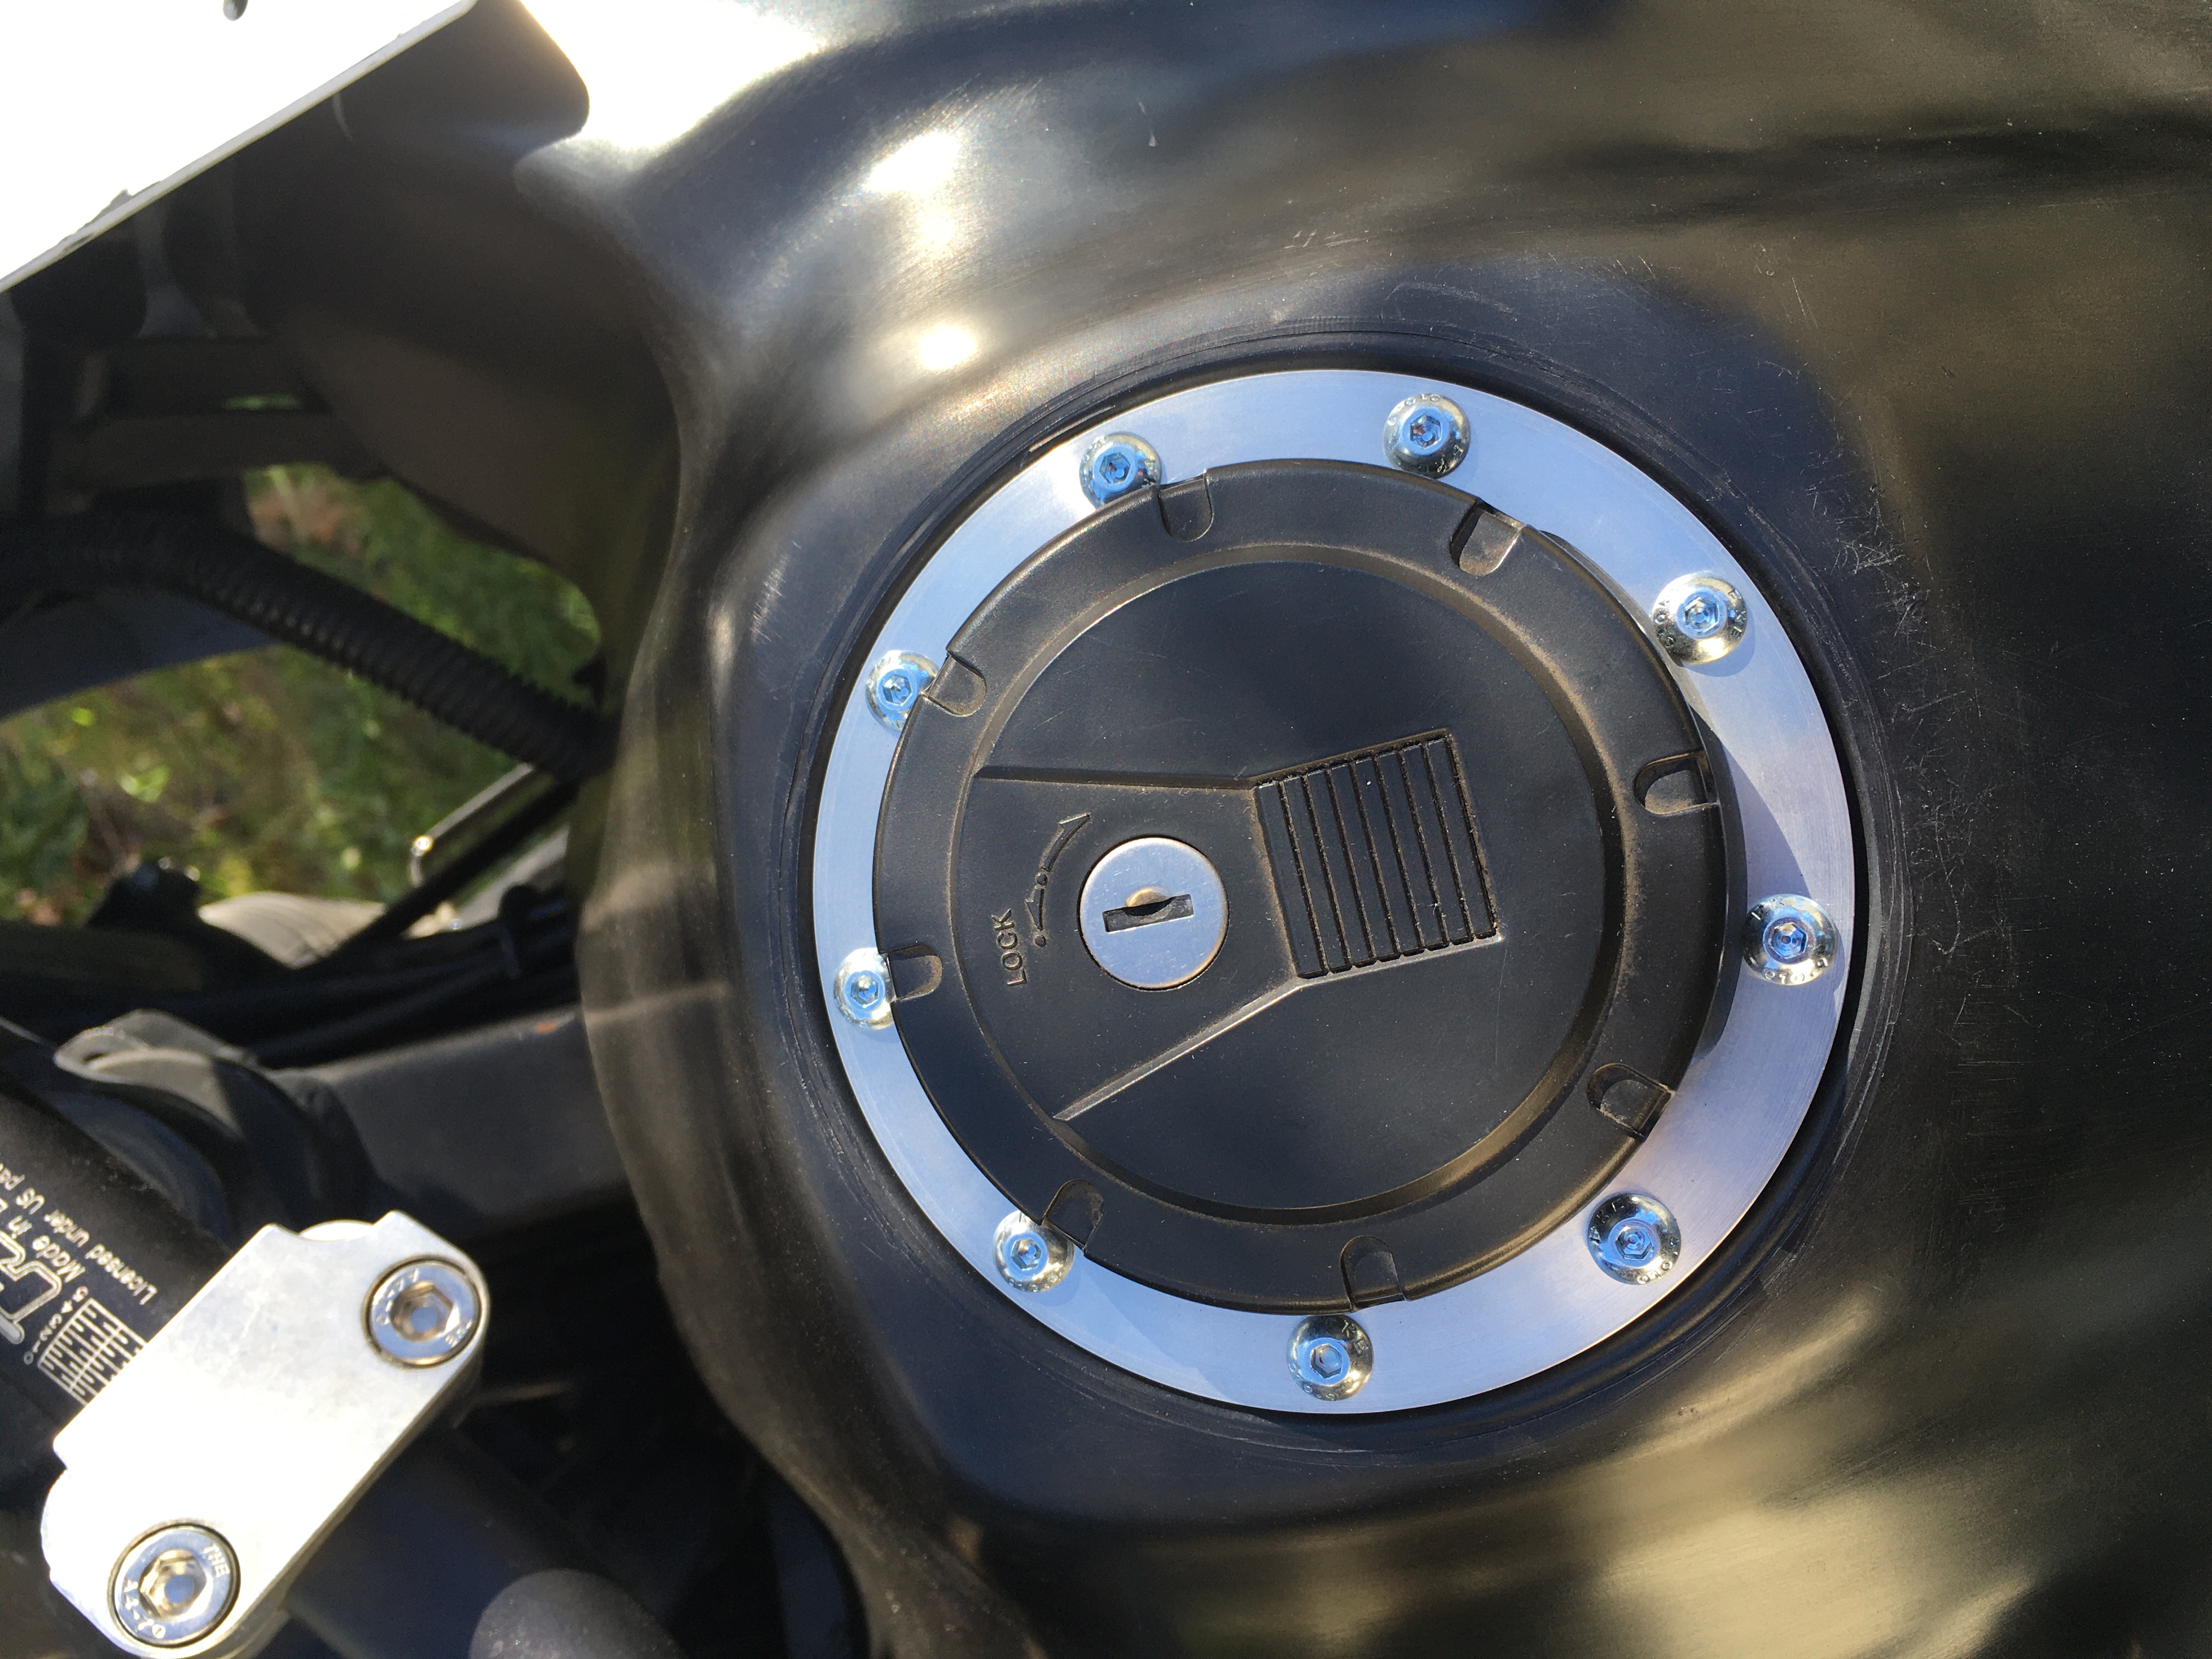
Found second hand Renthal fatbars and risers. Removed old melted heated grips and controls from old handle bars, then reinstalled the controls on the new. Installed new heated grips.
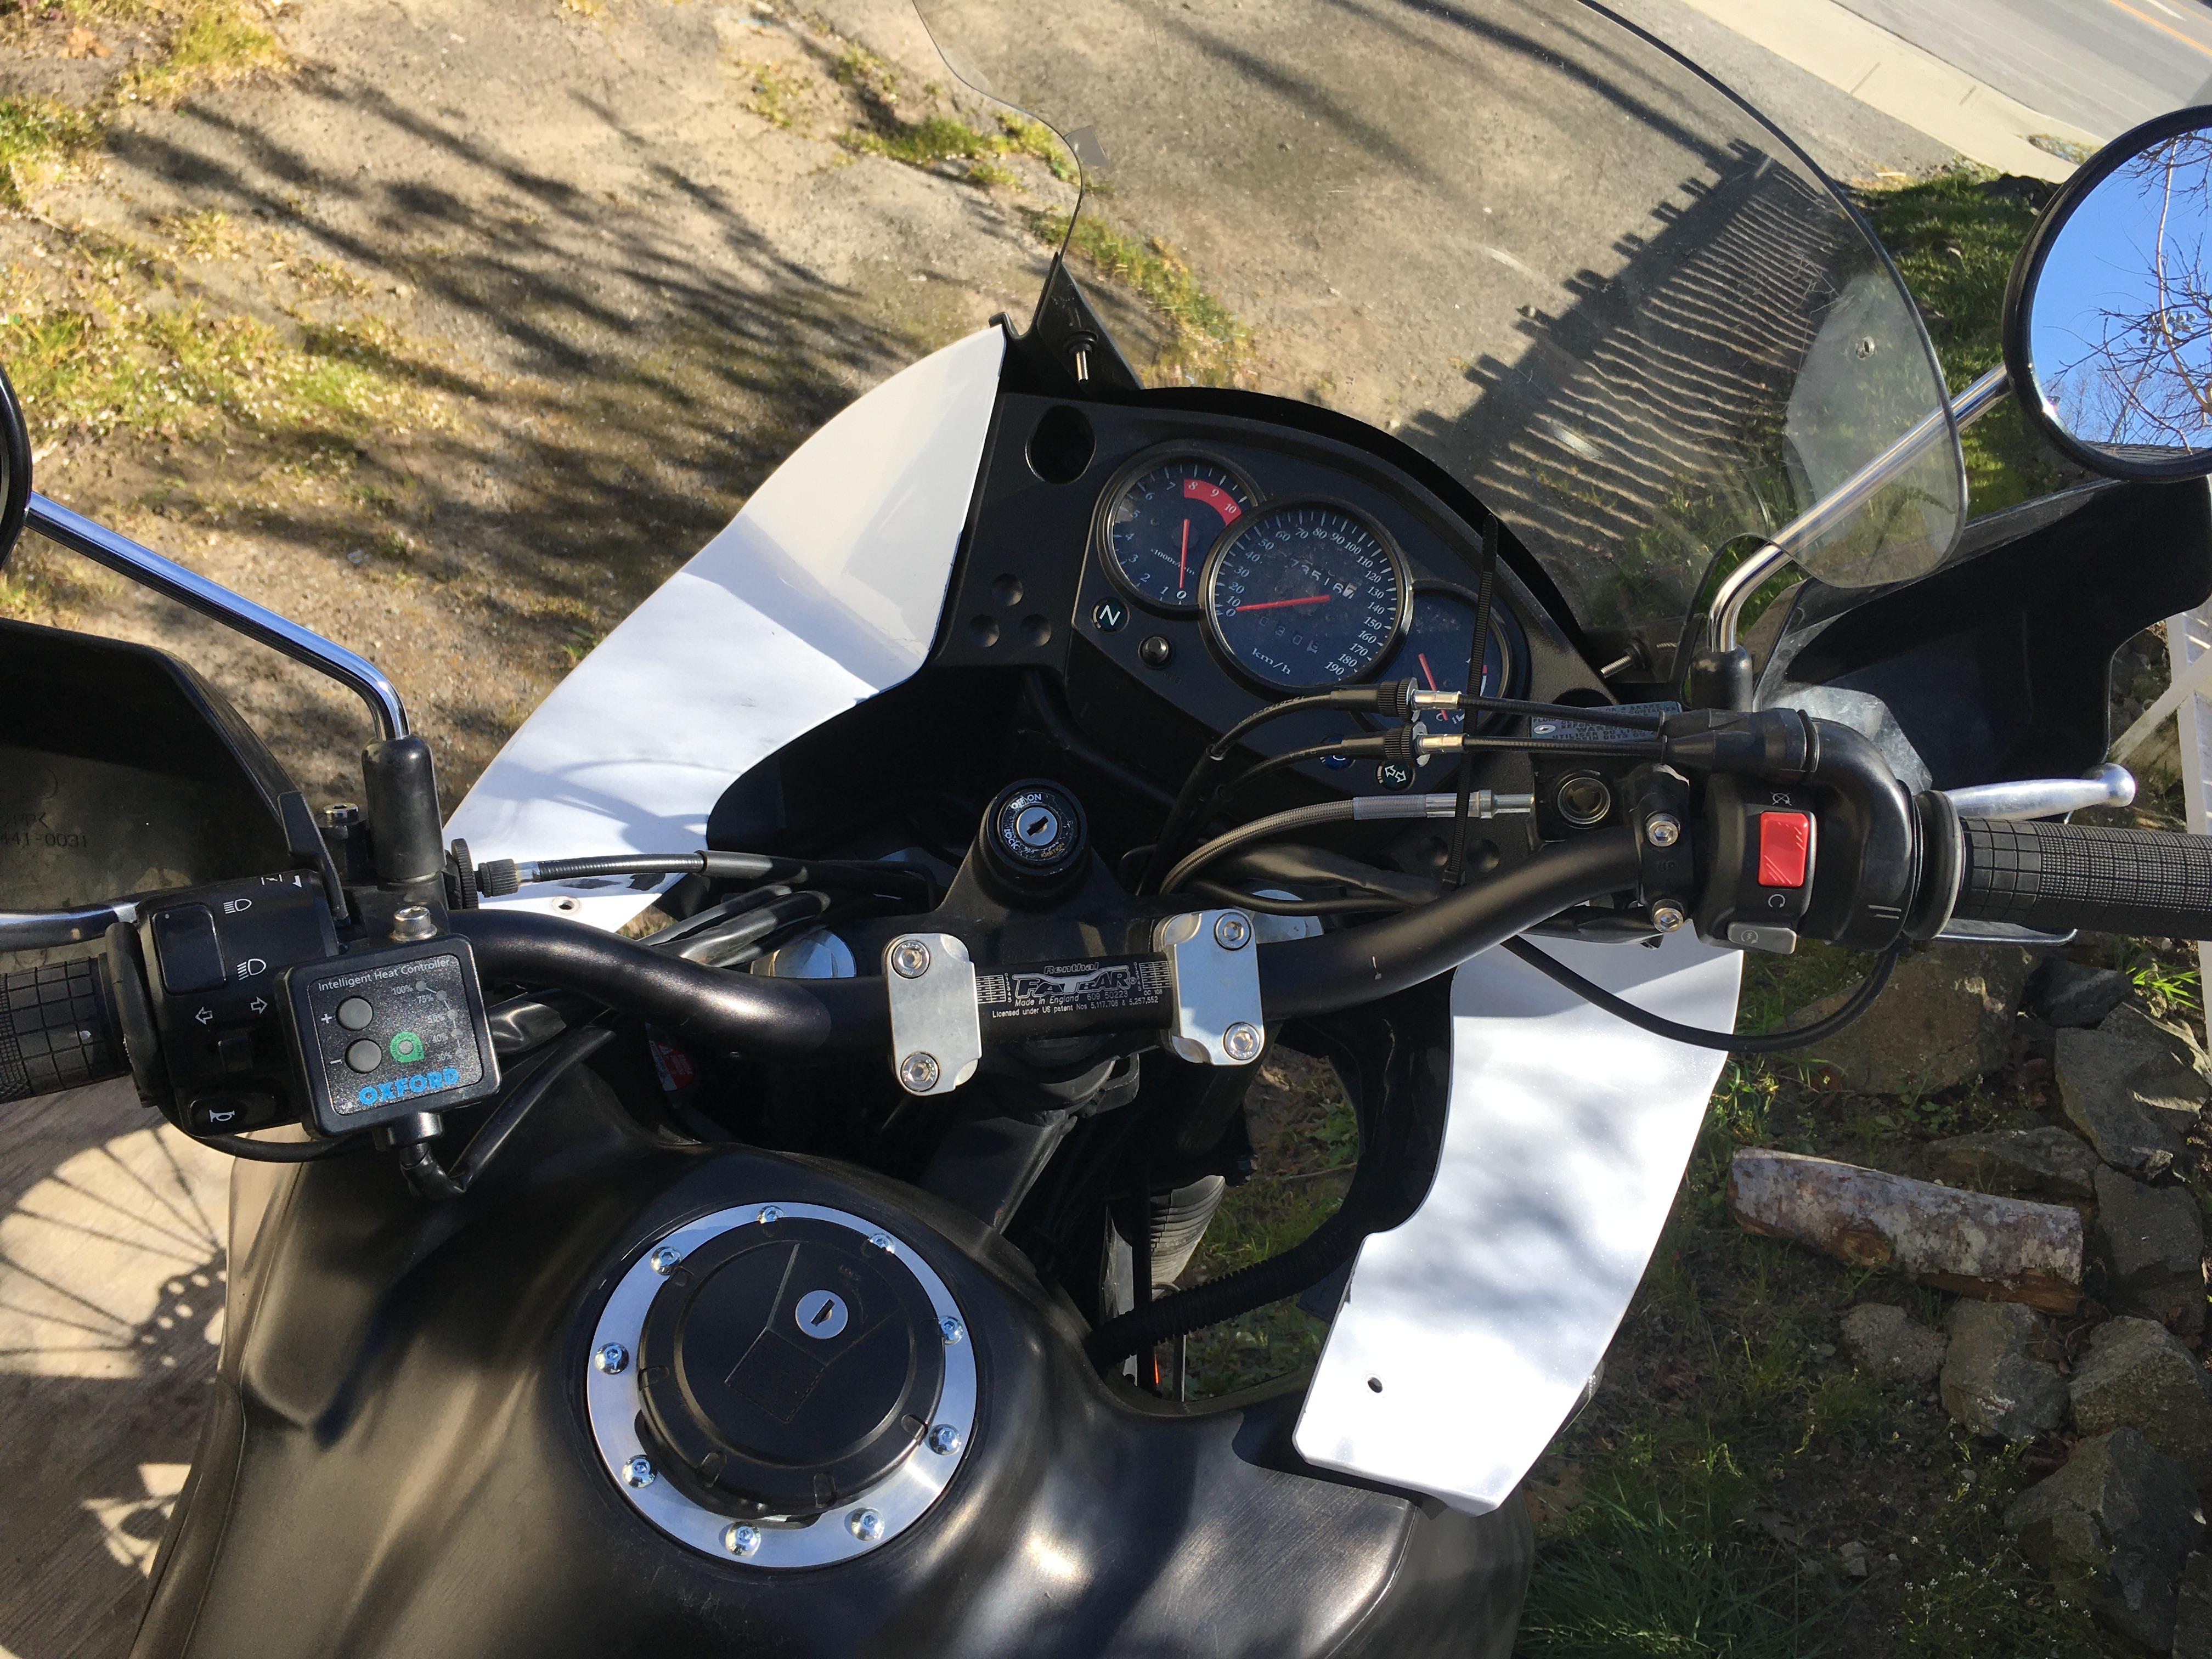
The Renthal fat bars have a clamping diameter of 1-1/8" but skinny out to 7/8" at the bar ends allowing compatibility with existing controls but being stronger in the middle. These special adapter risers were needed as the KLR bar mount diameter is 7/8".
Also checked battery.
| Date: | March 7, 2020 |
| Odometer: | 73000 kilometers |
| Cost: | $200 for chain and sprockets |
| Time: | 3 hours |
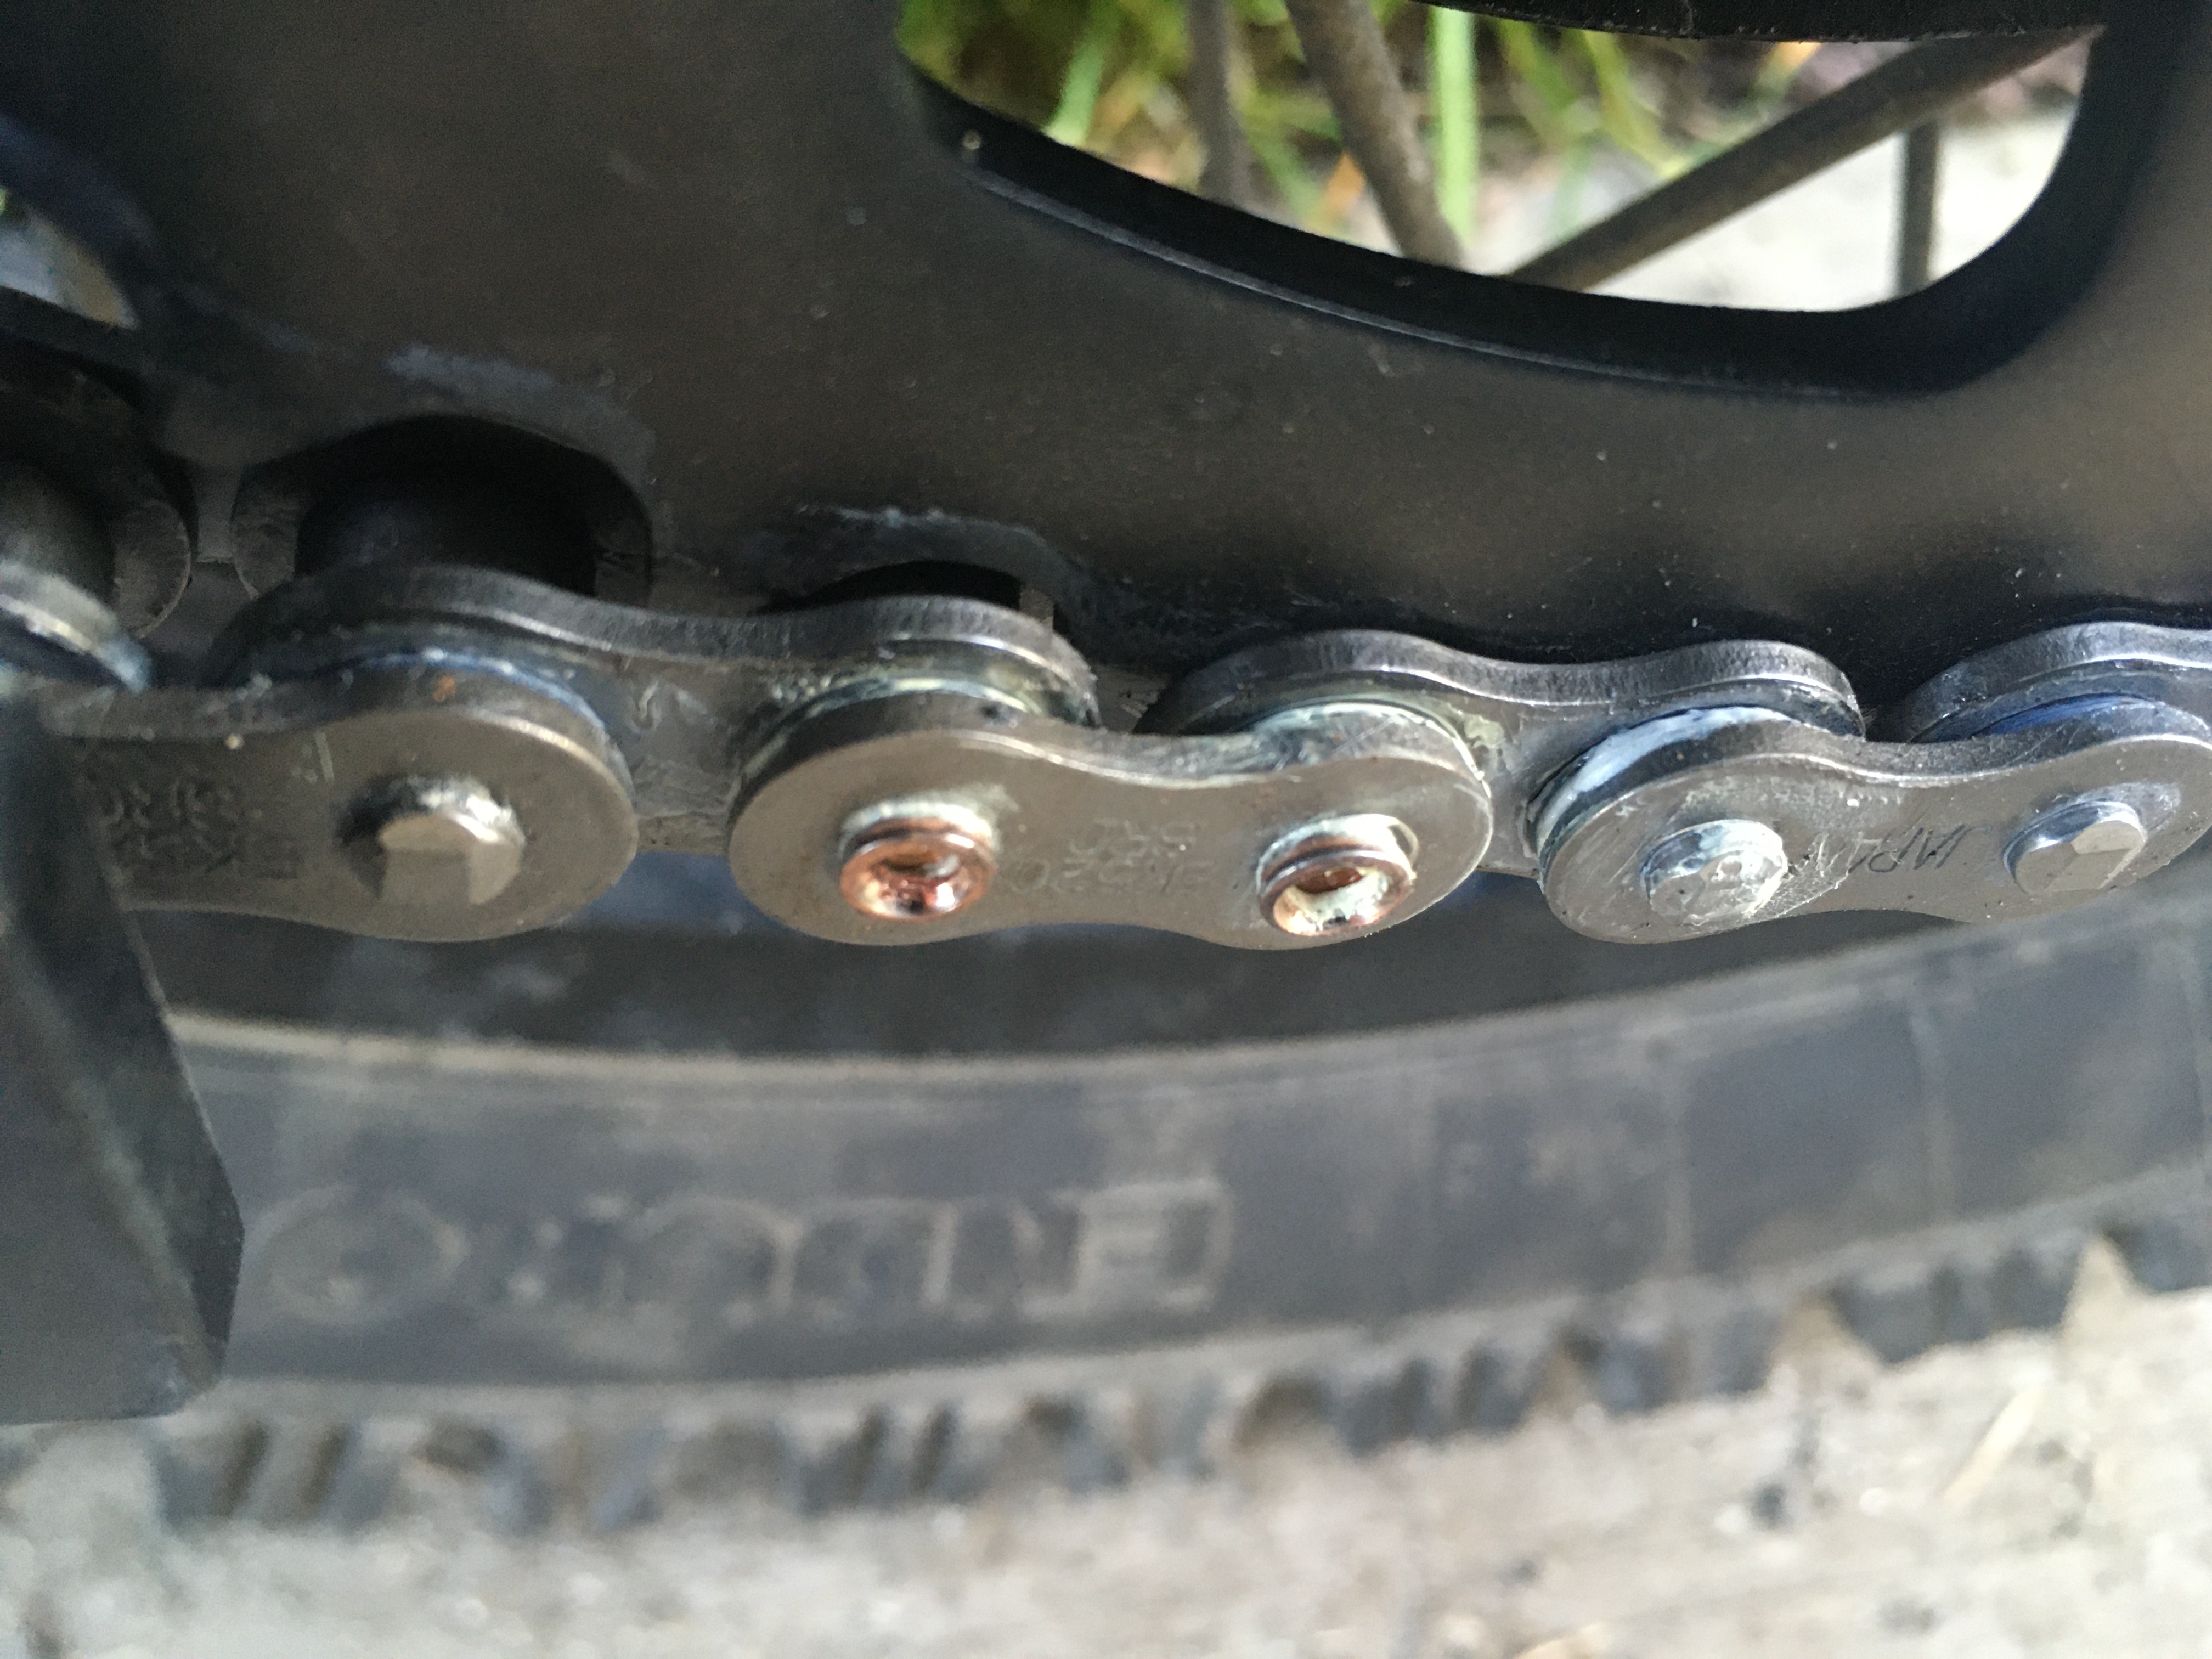
Replaced chain and sprockets after 23000 kilometers. The old stuff was some after market brand I cannot remember the names of. The replacement parts were OEM Kawasaki. The chain had stiff links in it for a while and was getting loose quickly after each tightening.
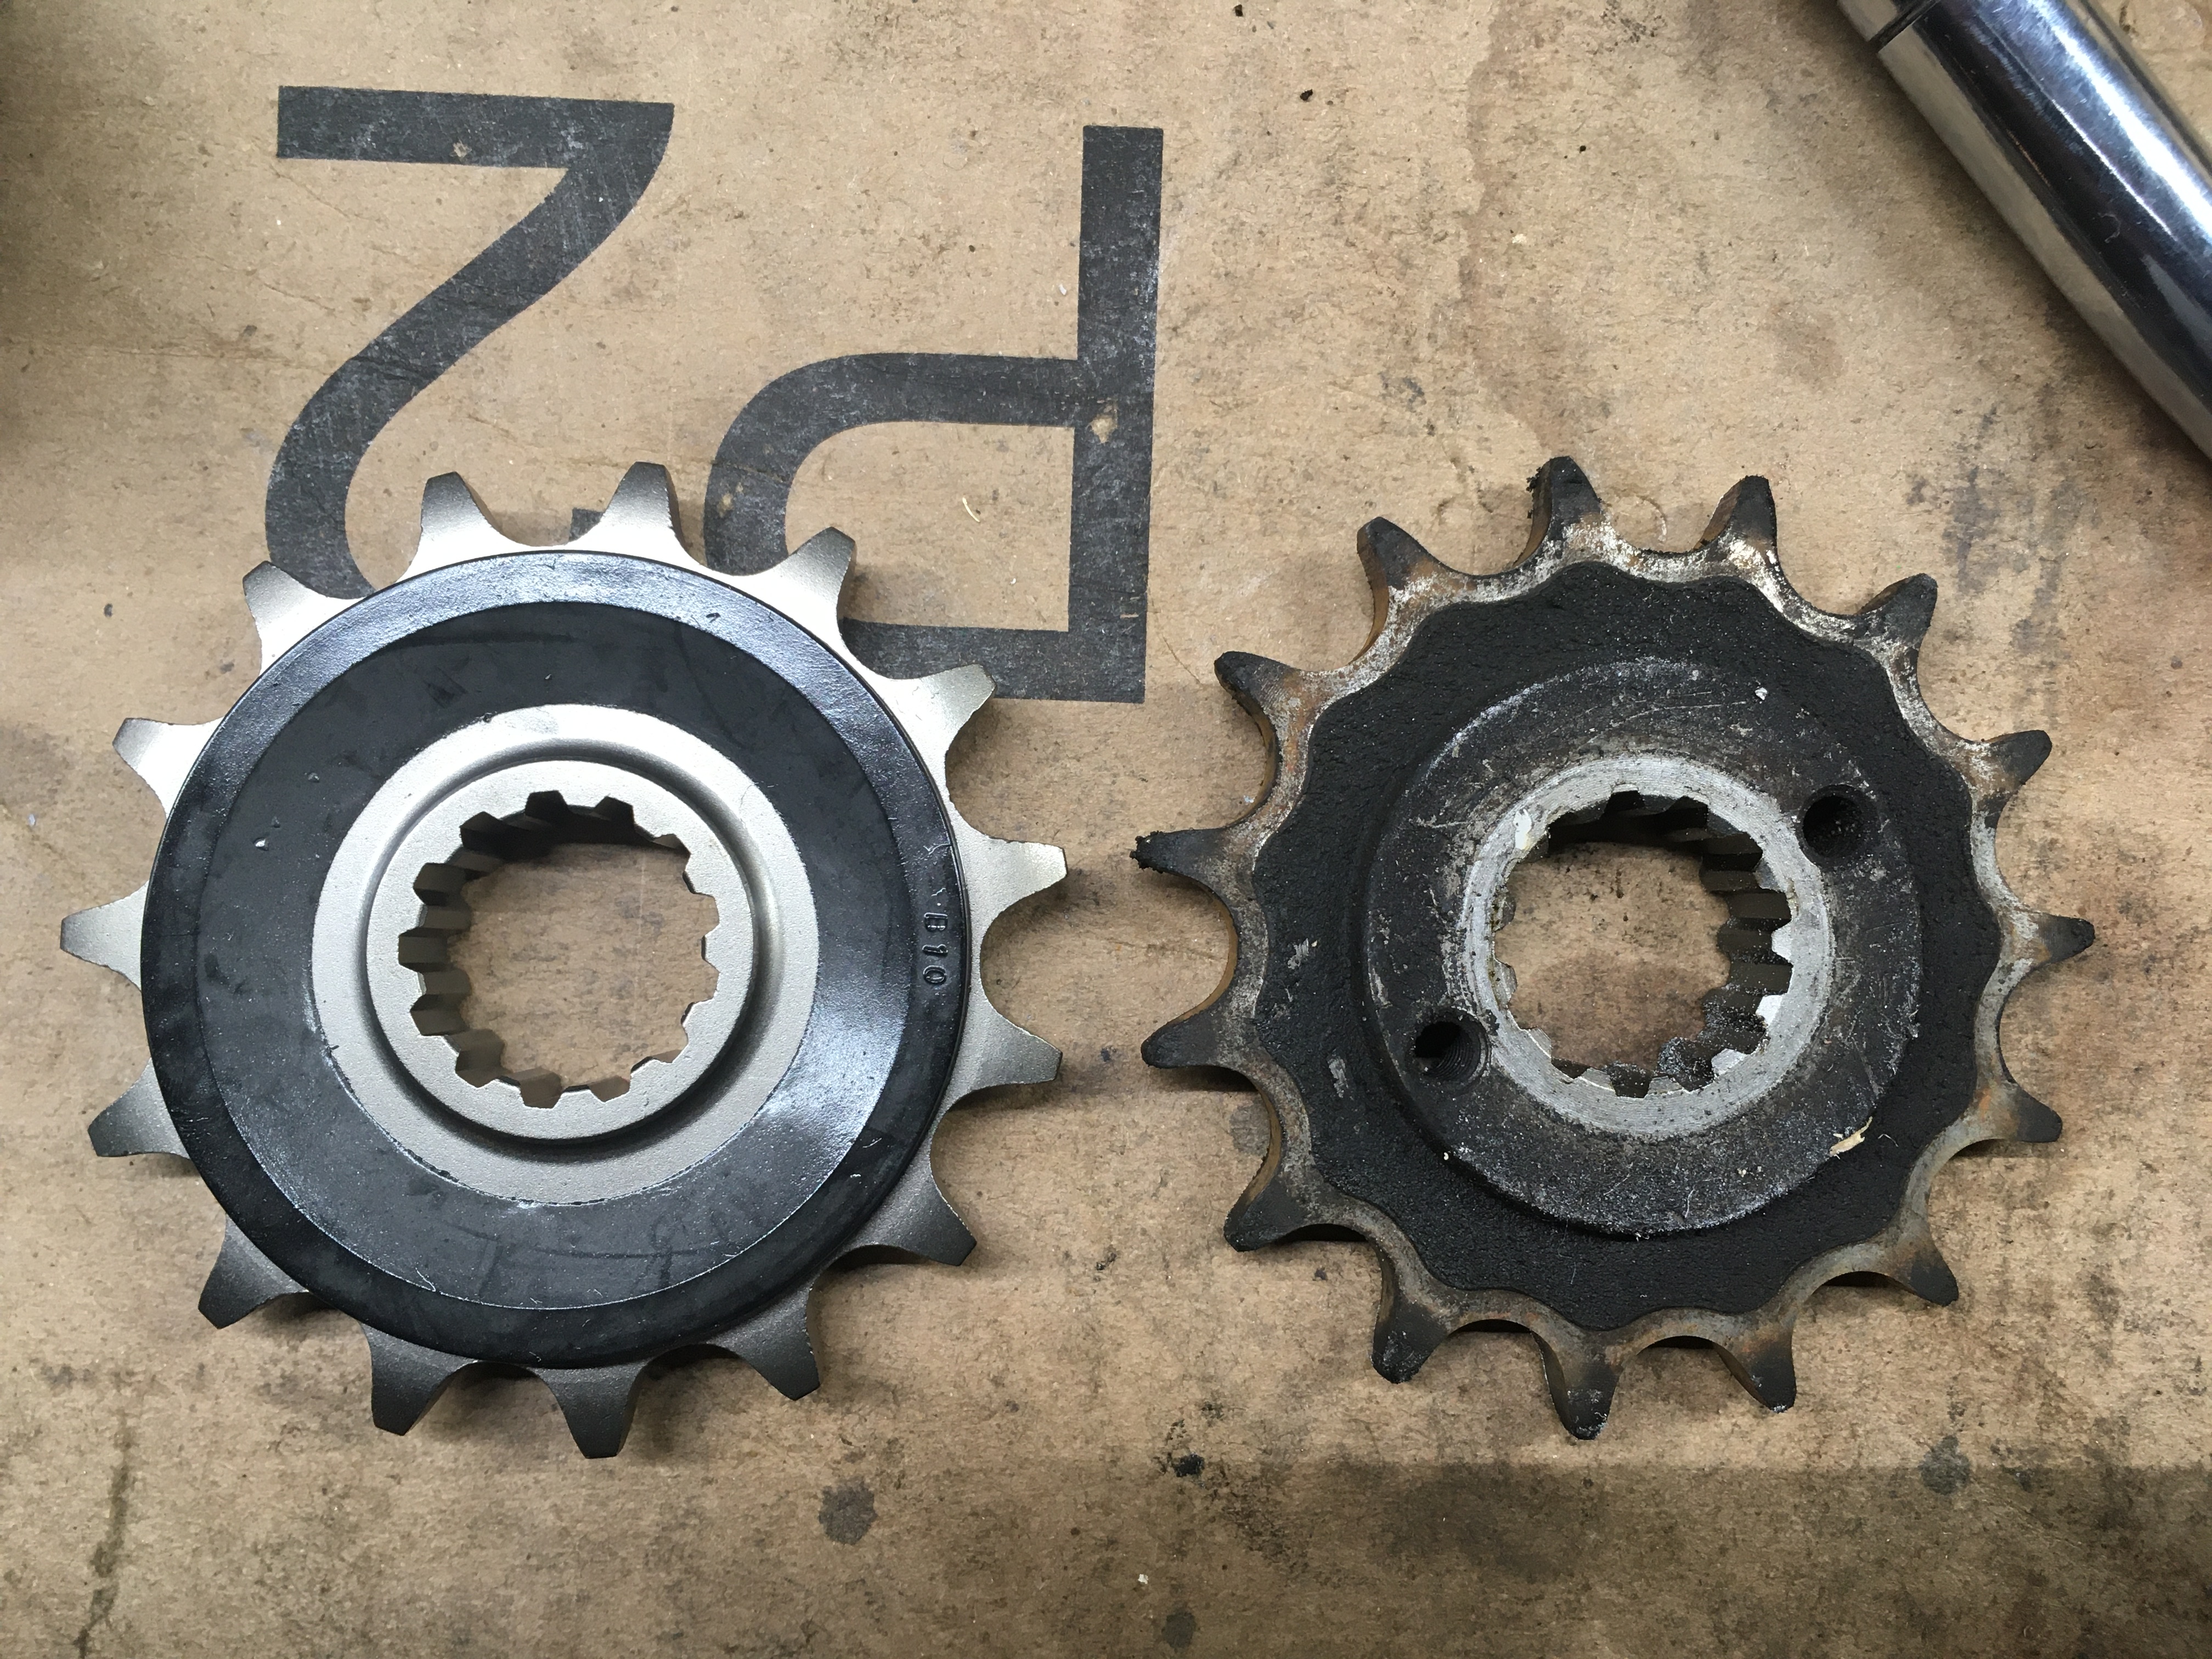
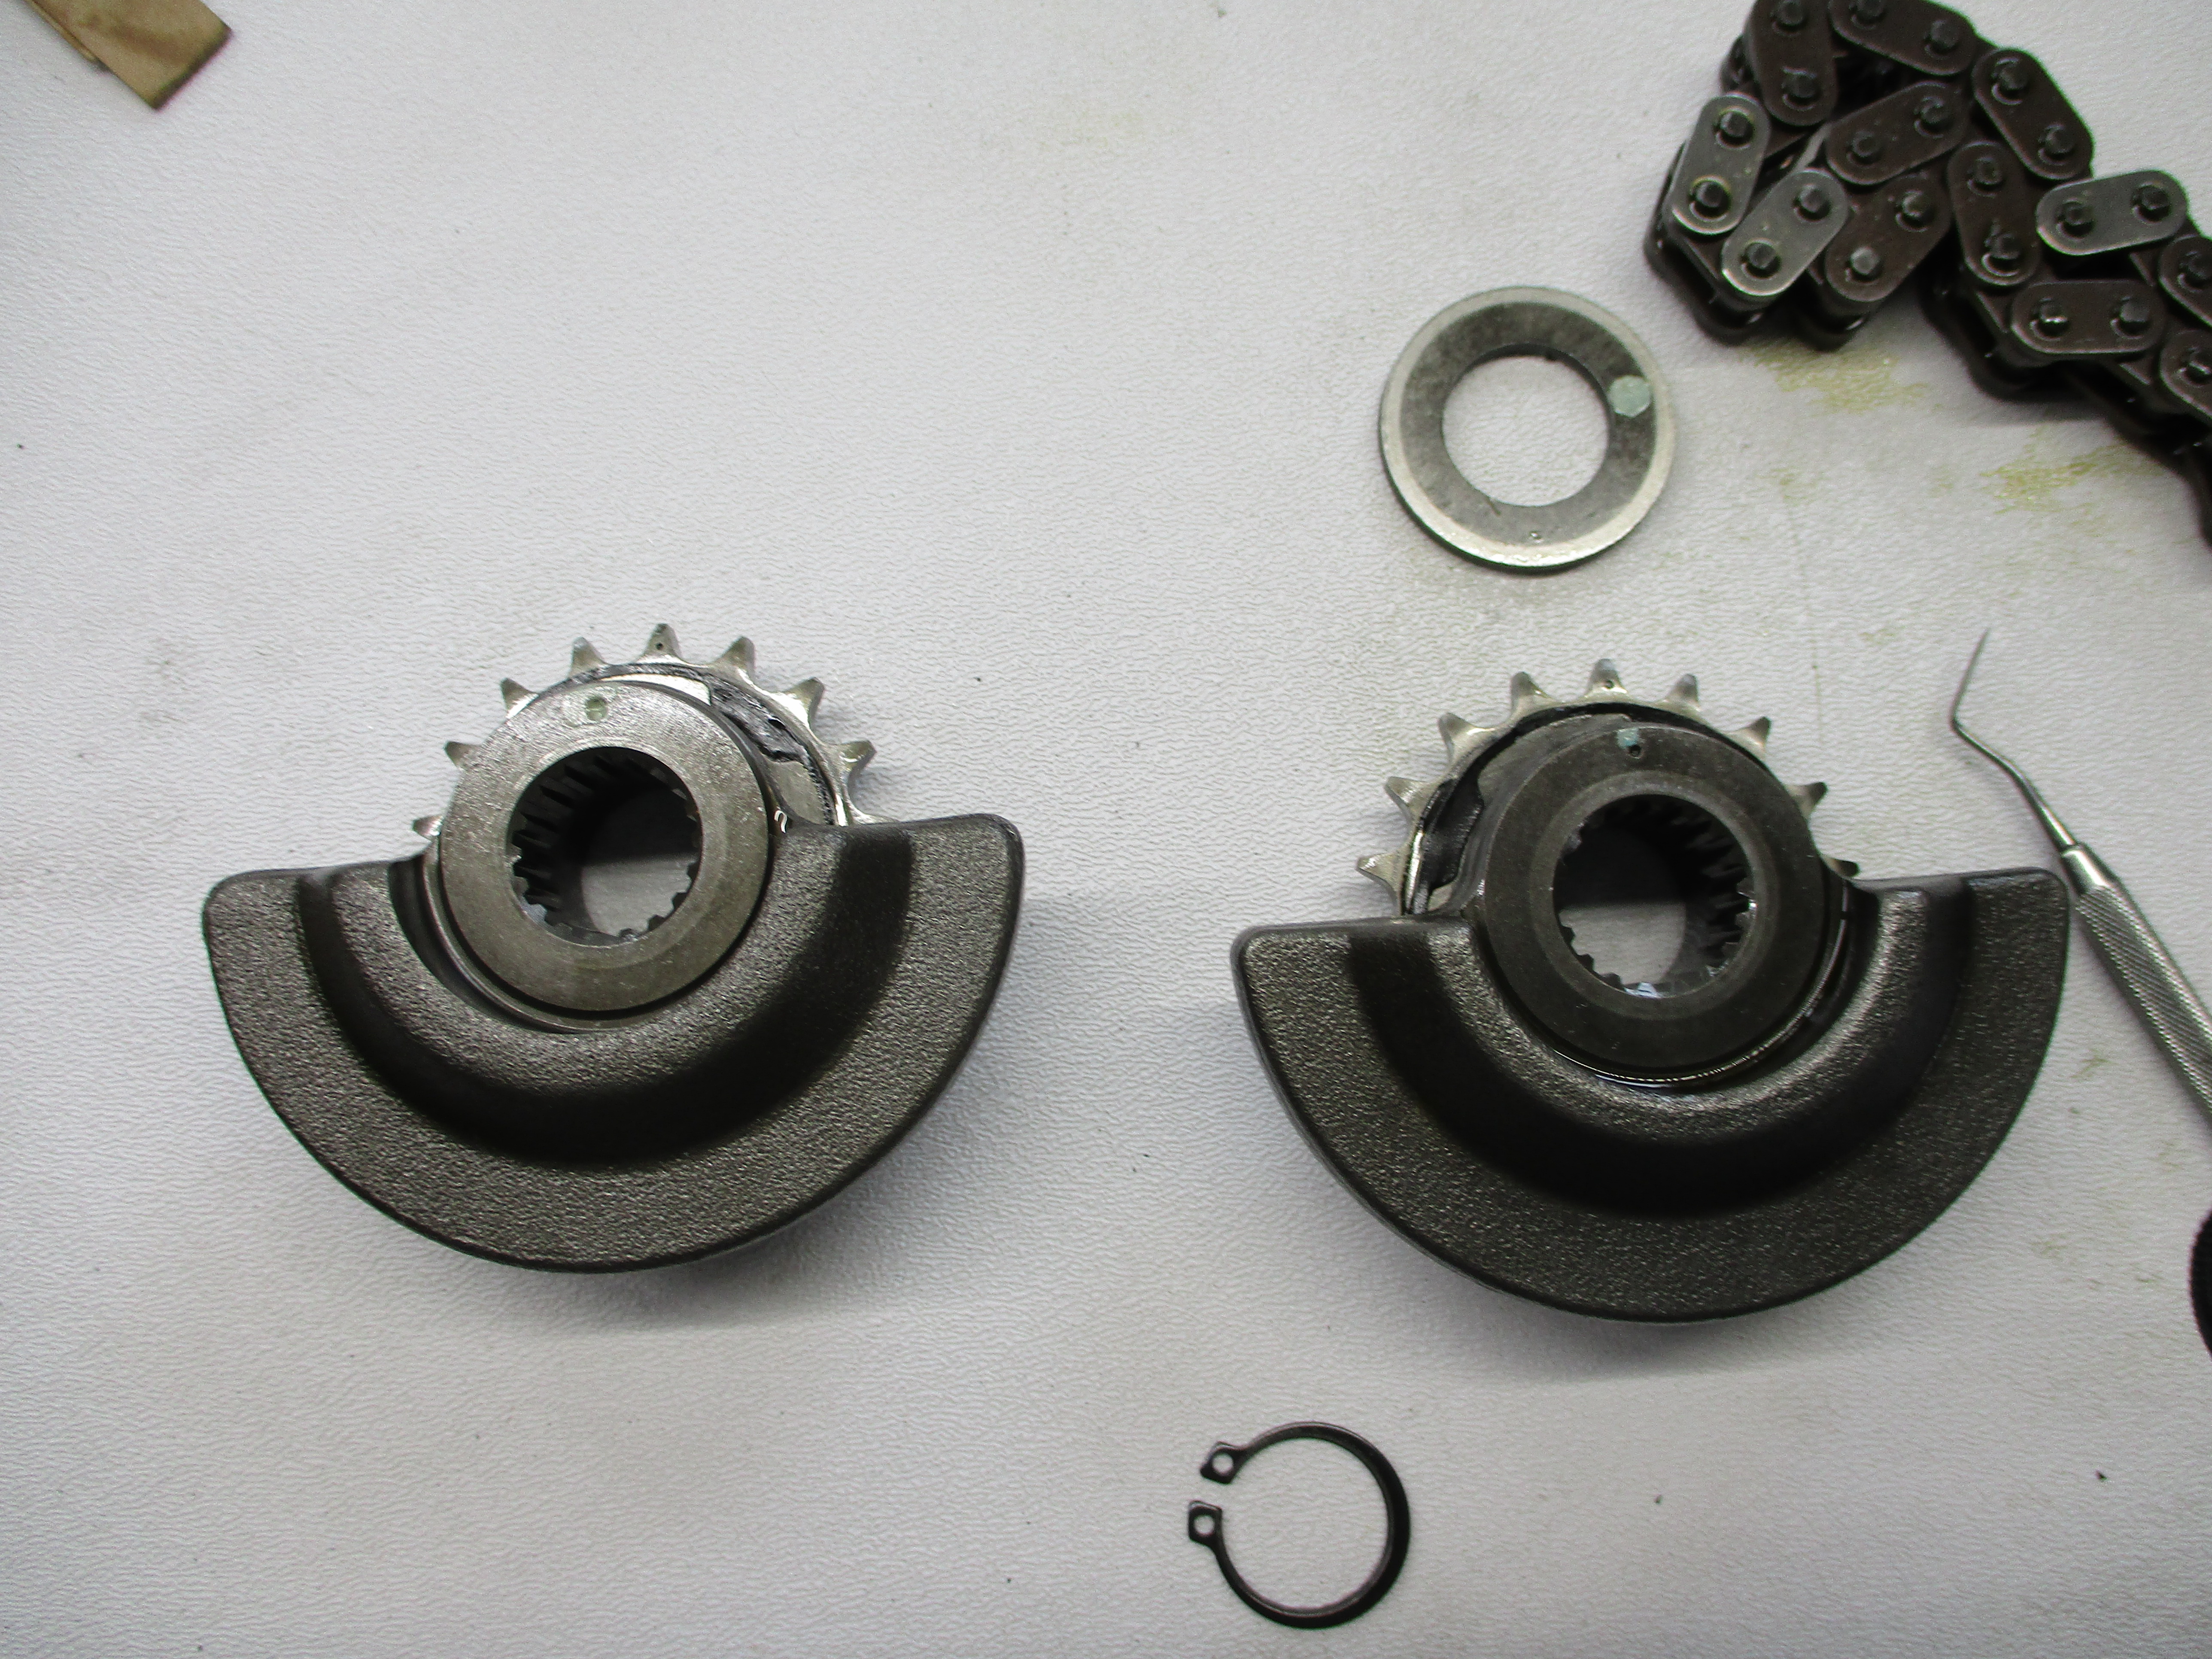
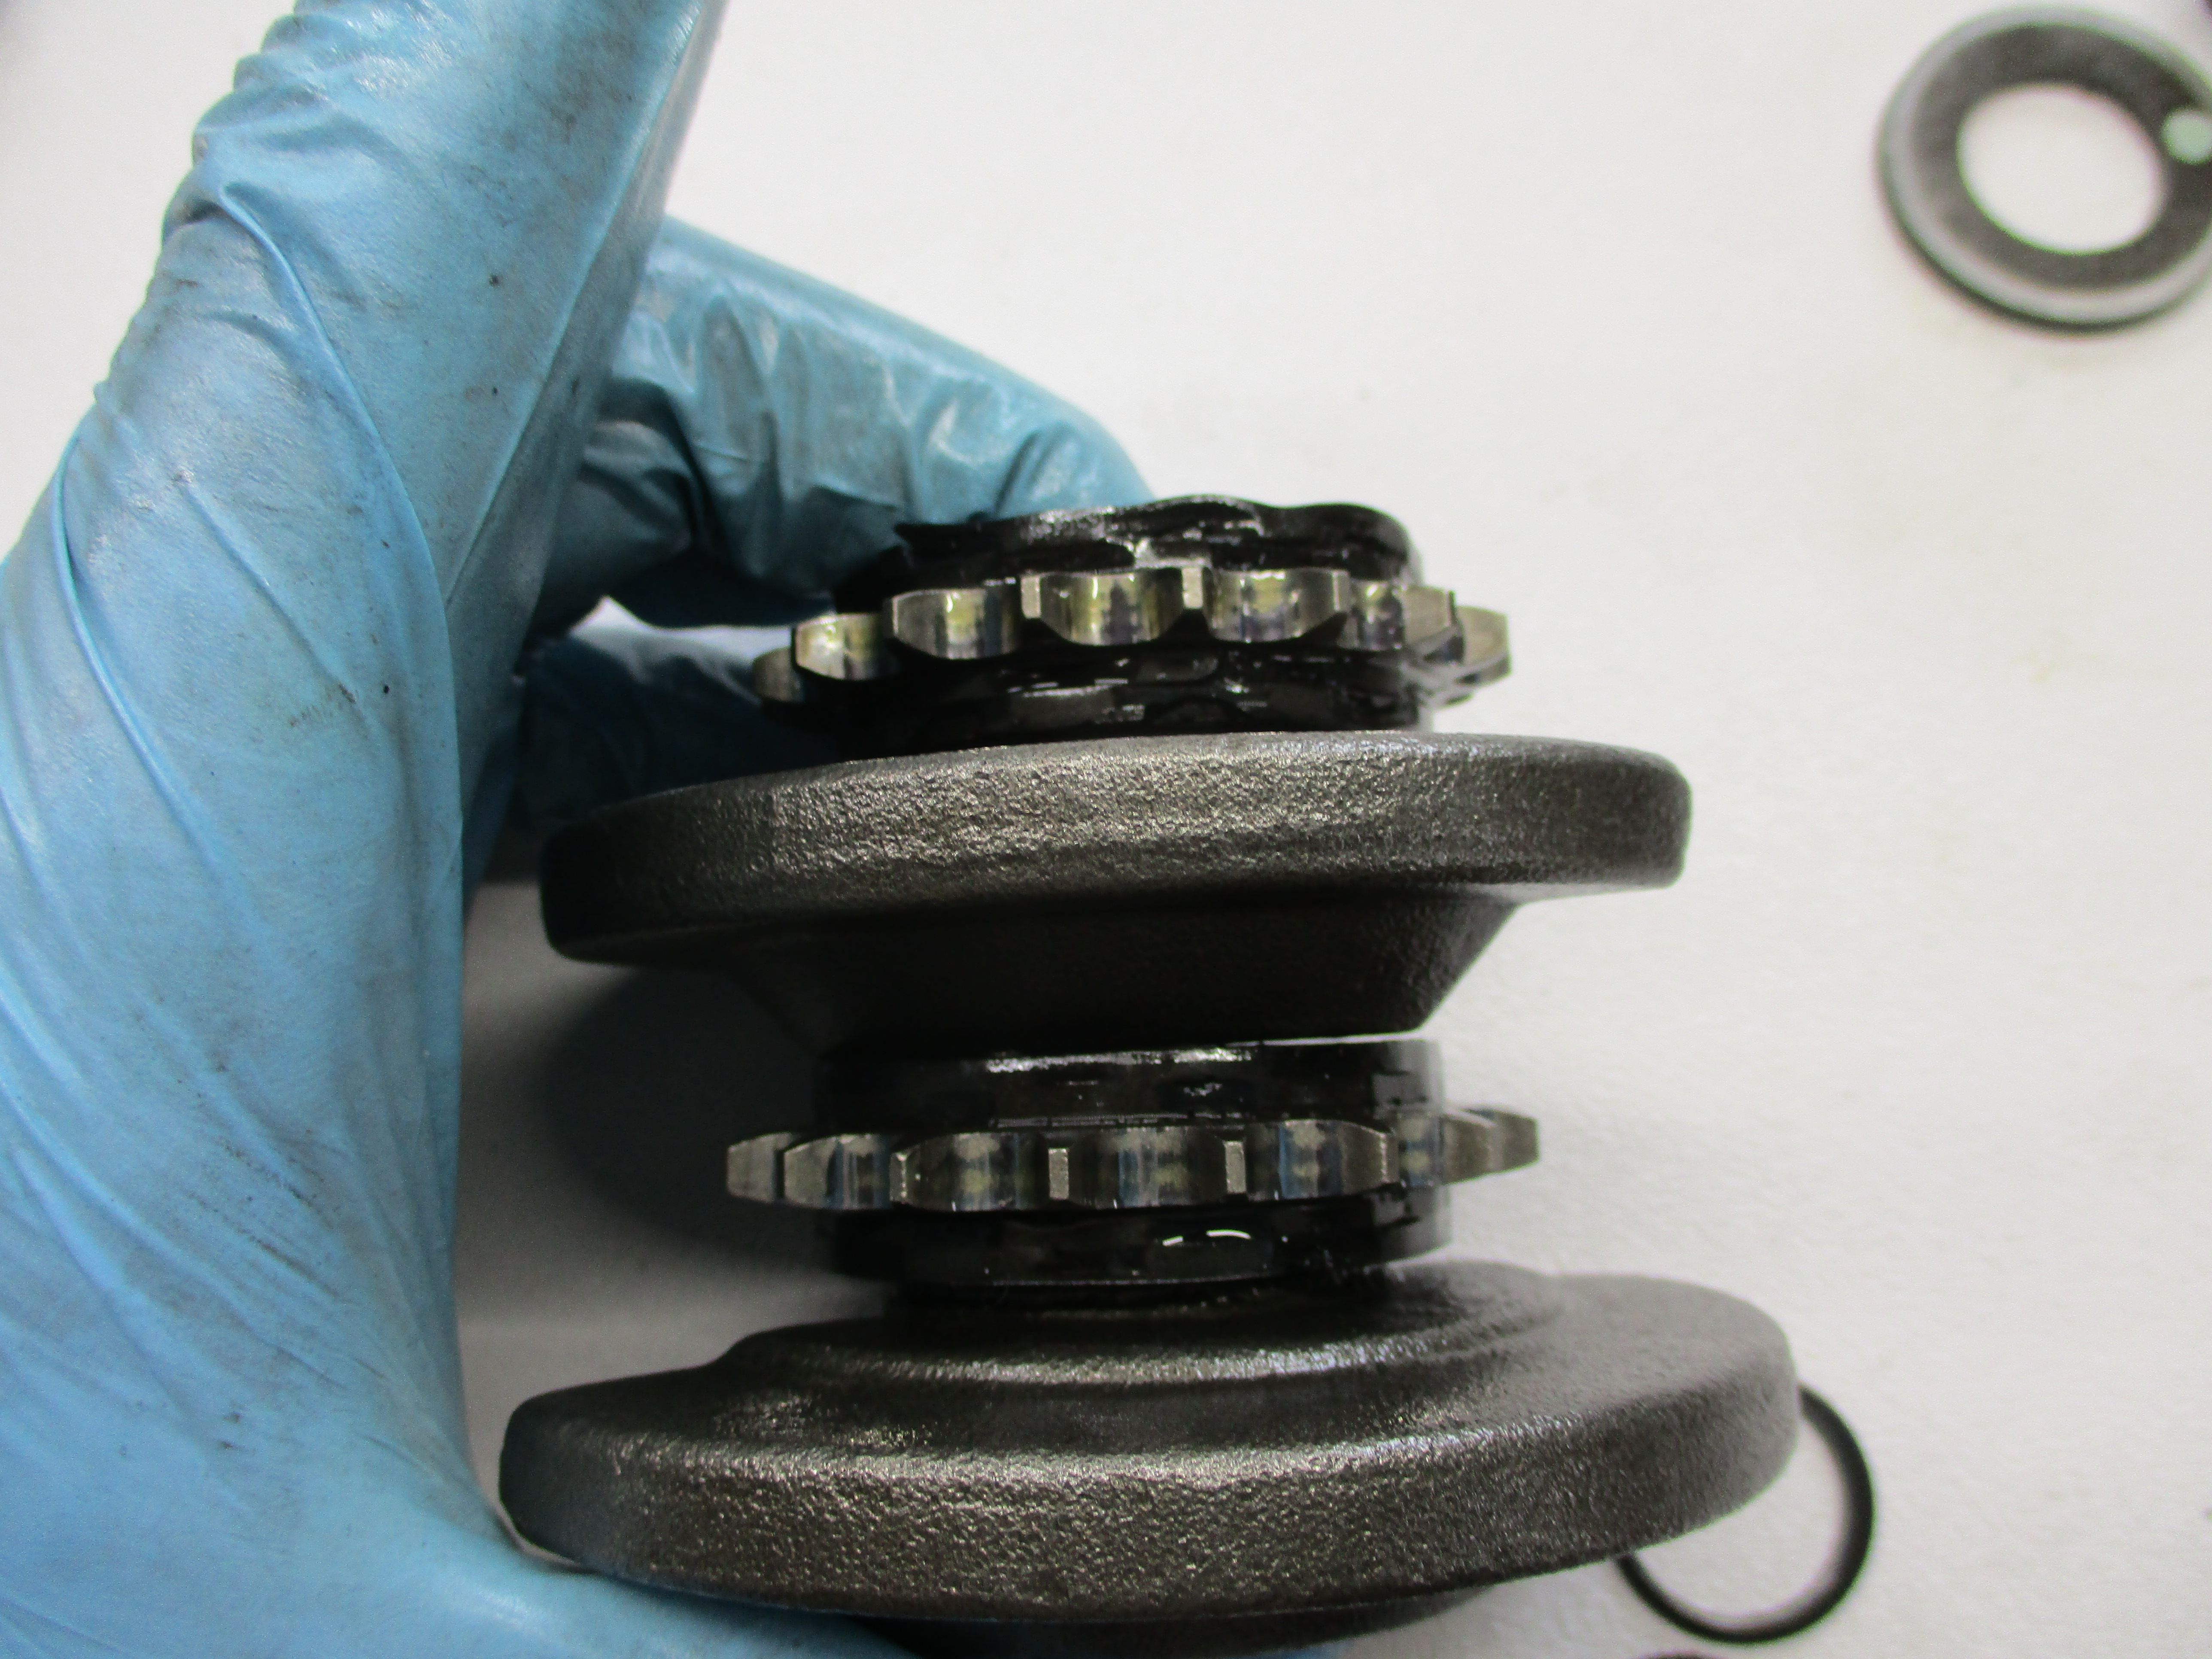
The front sprocket is quite worn, and the teeth were starting to get pointy and bent:
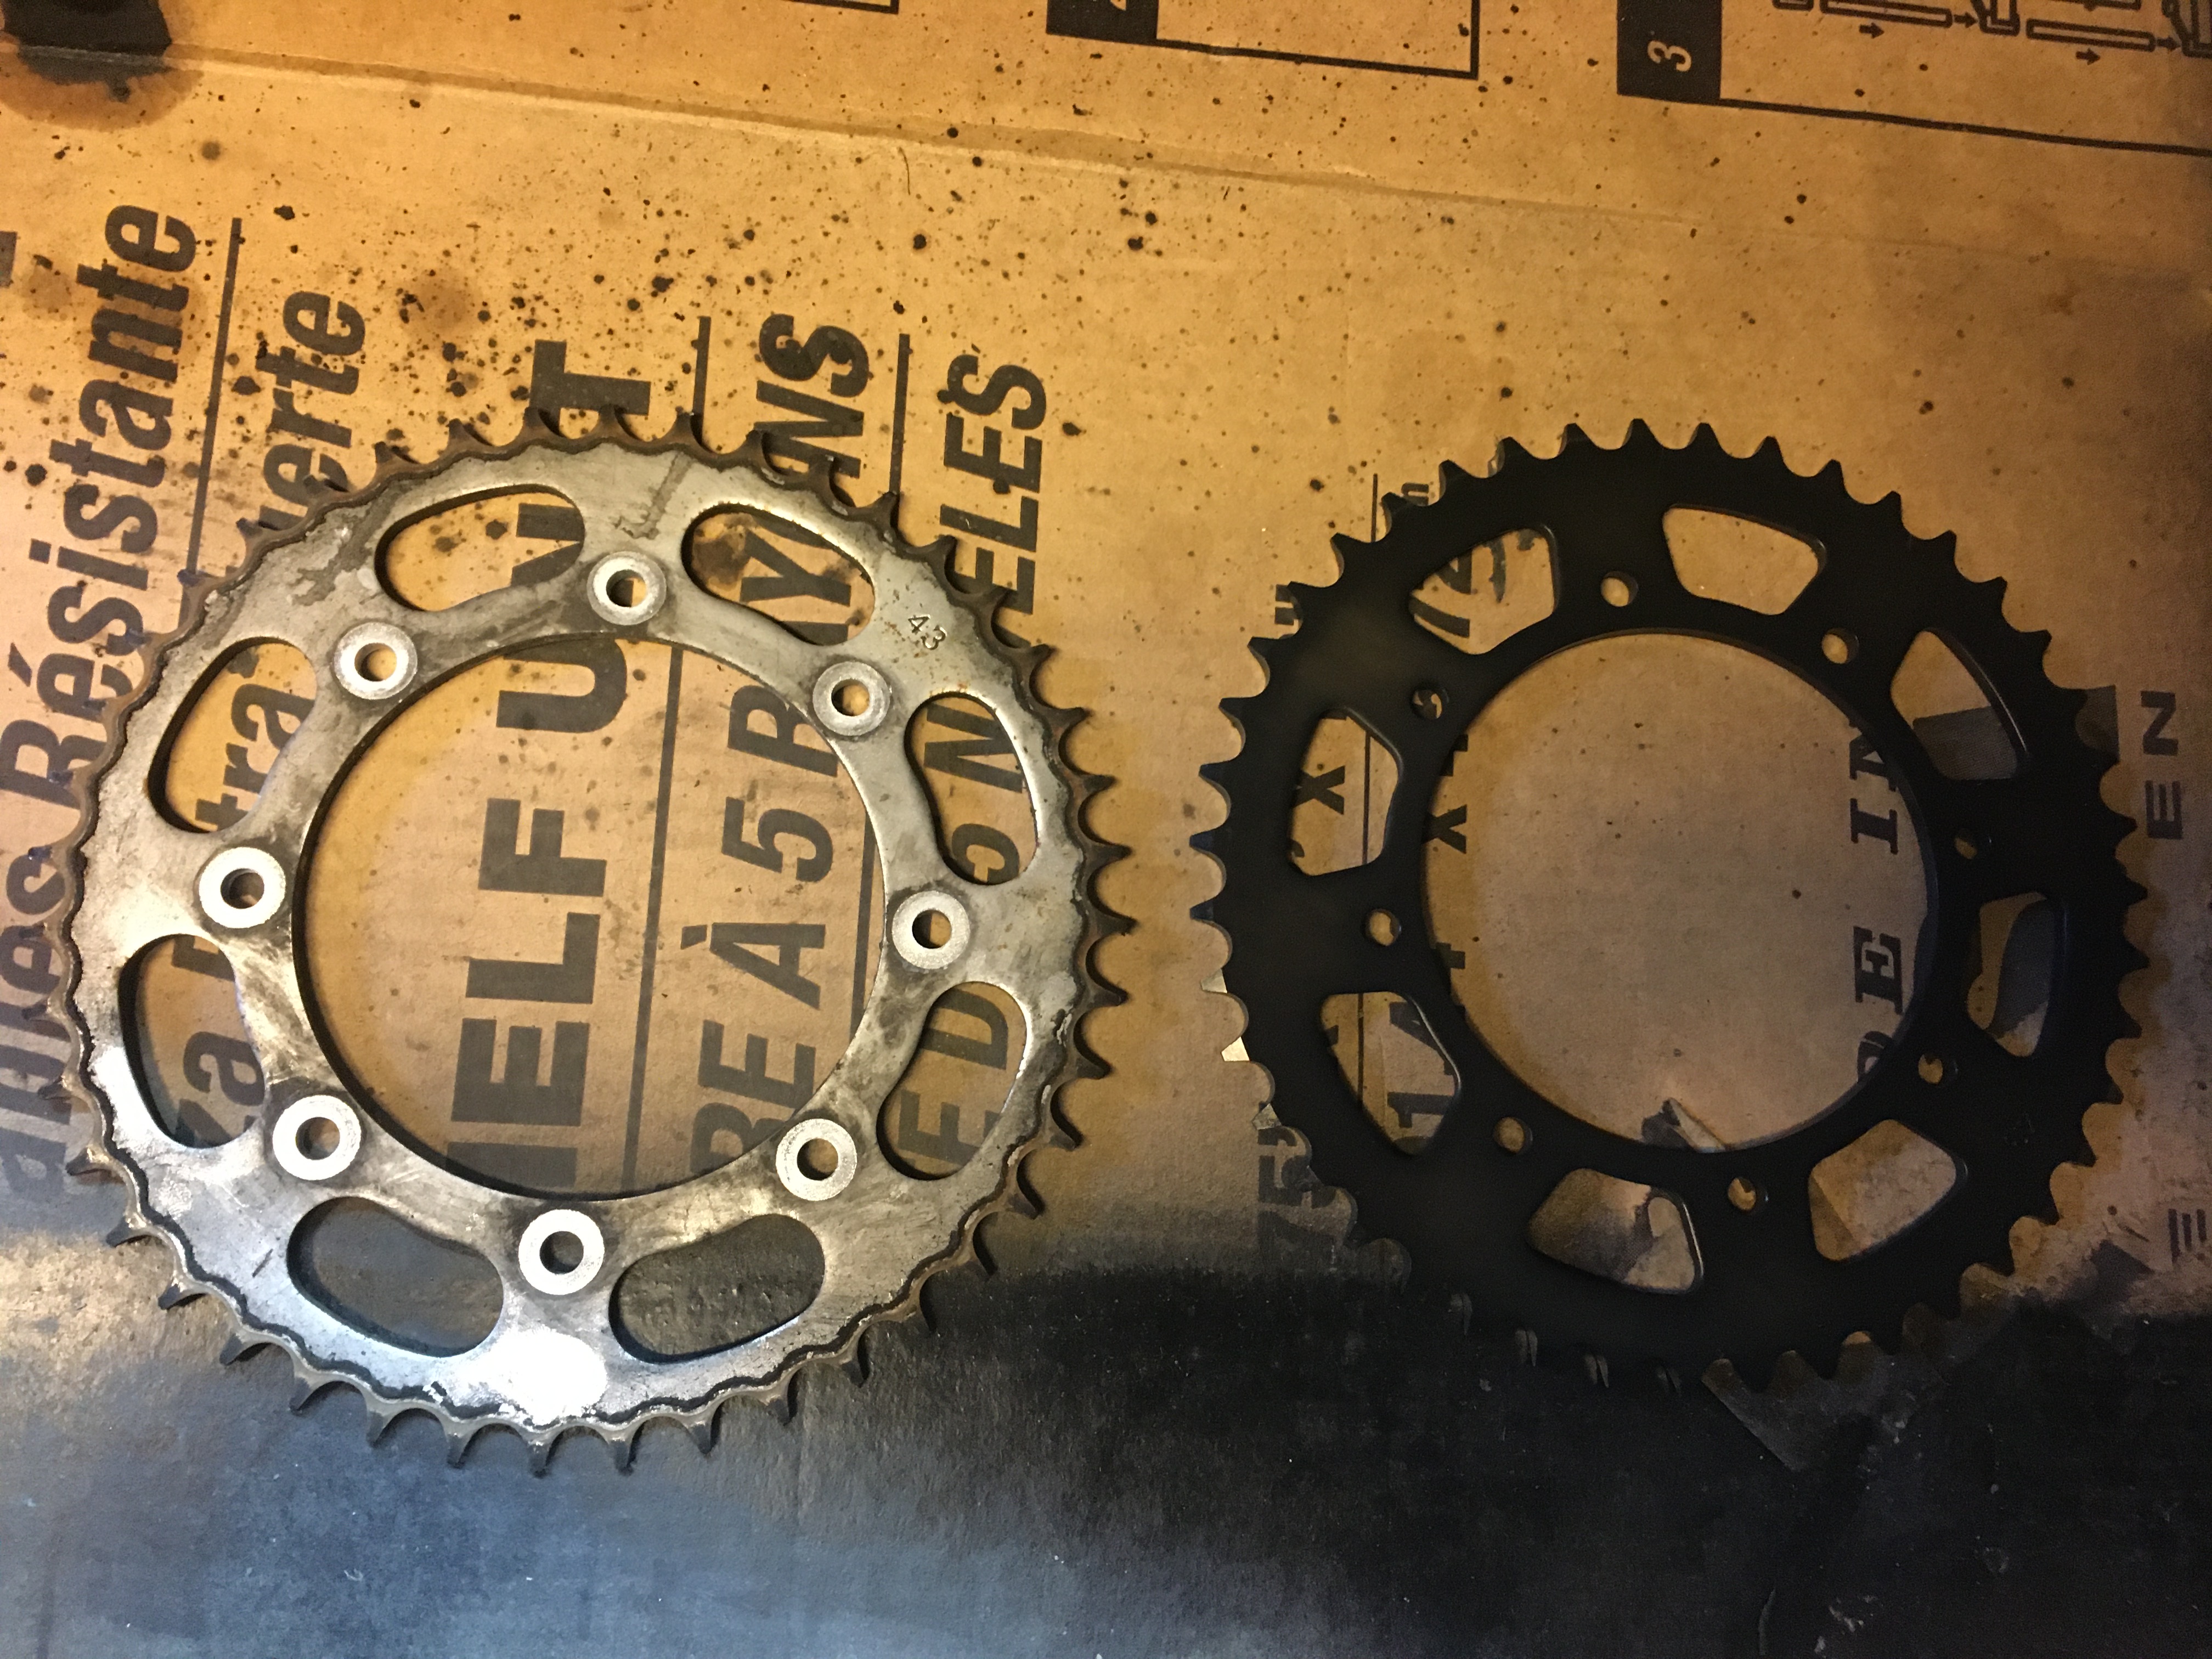
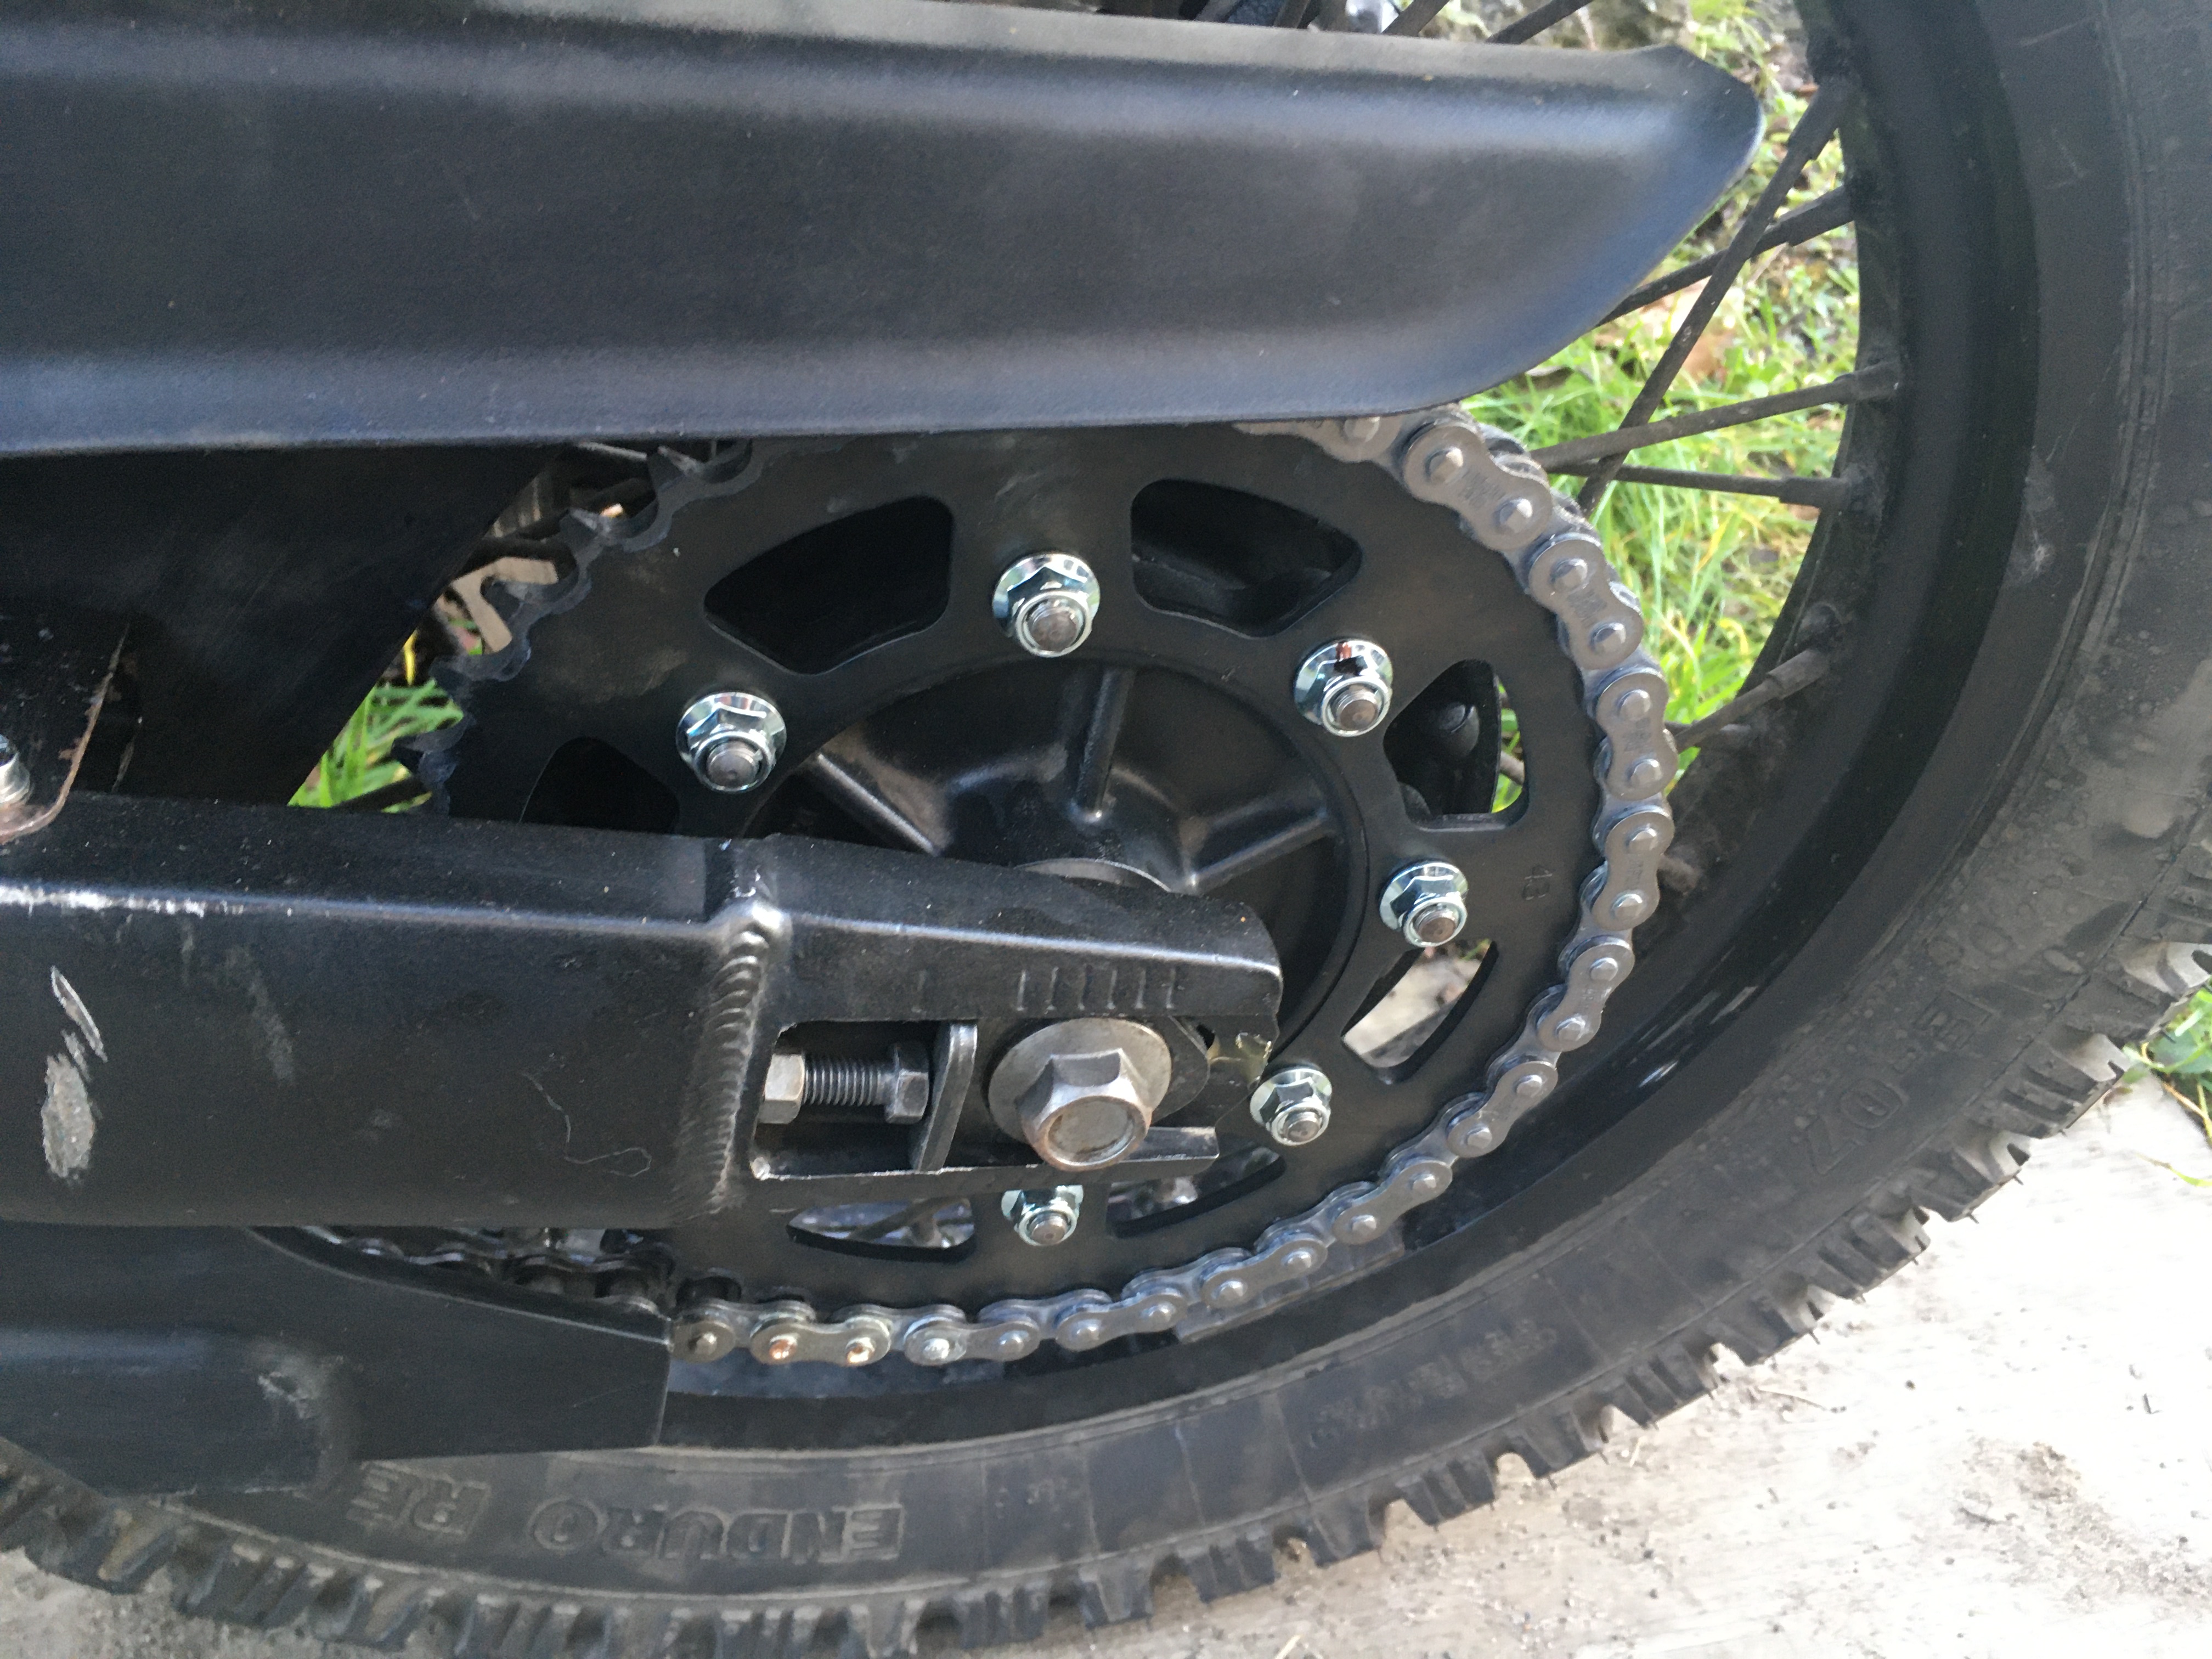
The rear sprocket looked better but everything needs to be replaced as a set:
Among the normal stuff you would expect a replacement kit to contain the Kawasaki kit came with a new front sprocket locking tab washer and 8 rear sprocket nuts.
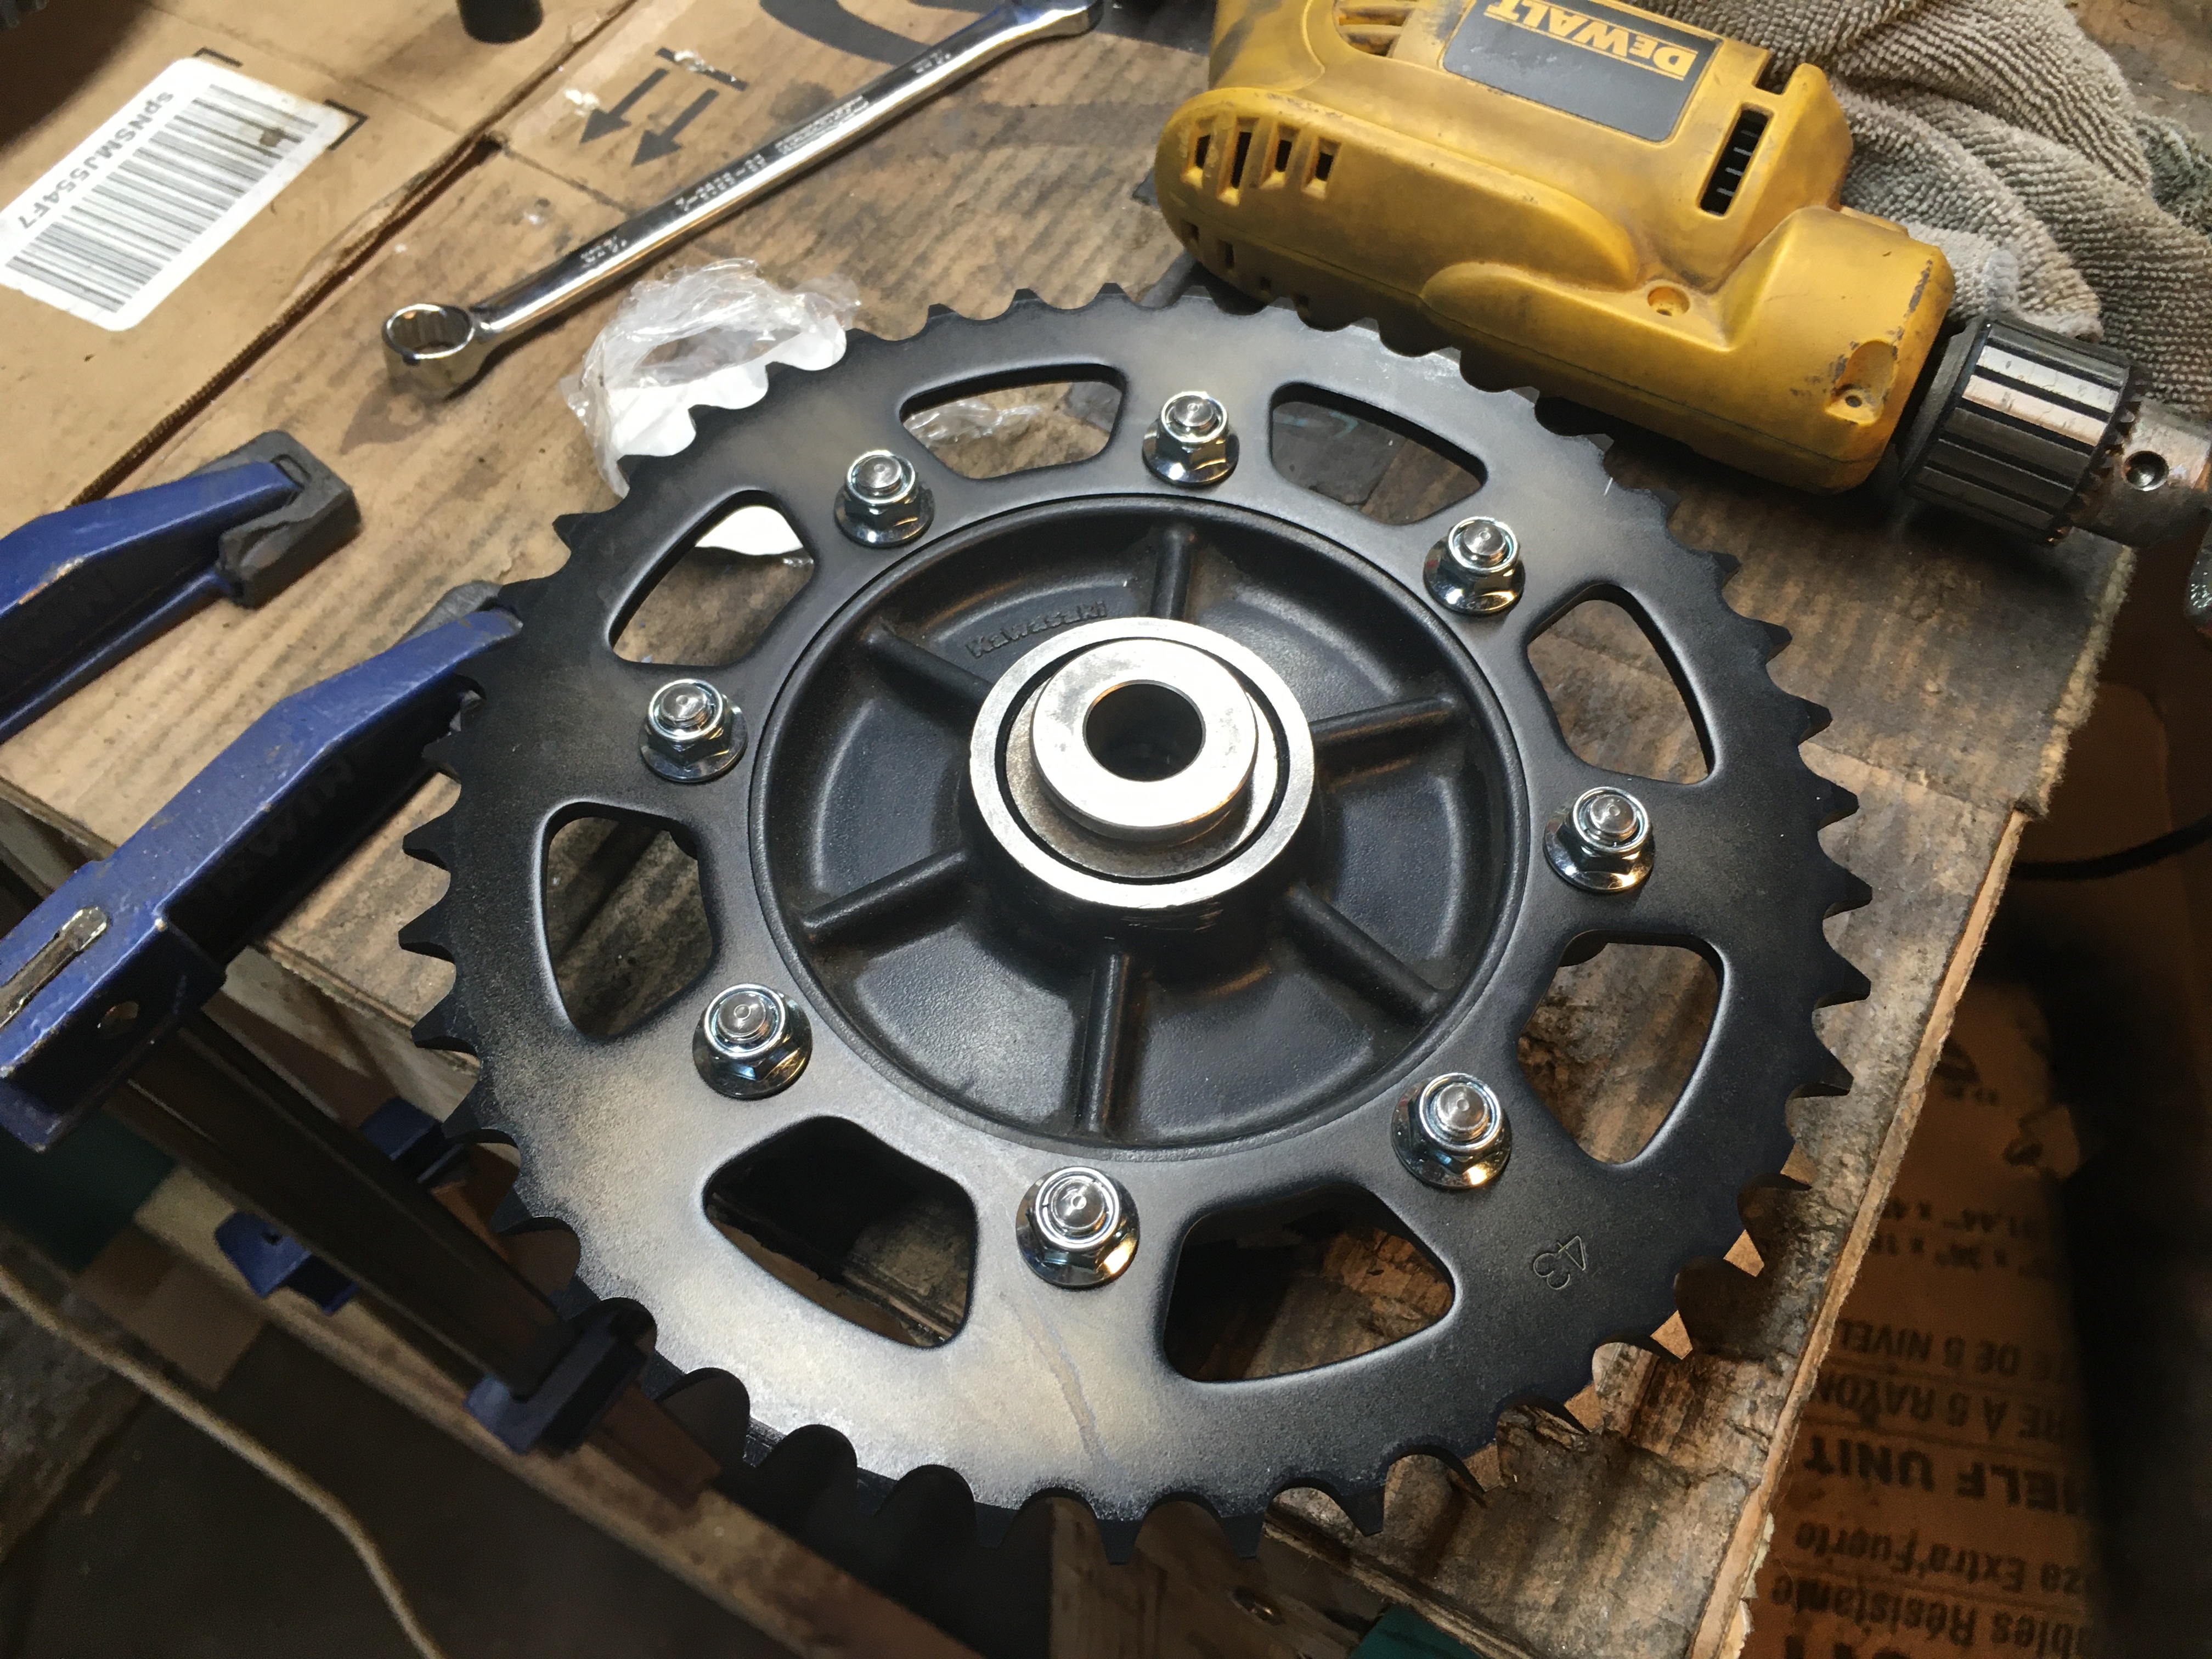
Here's the back sprocket mounted to the cleaned up hub. I like the look of the black sprocket too:
I had trouble getting the new master link on, and I ended up ruining my first master link by first pressing the plate too far onto the pins then trying to back it off with a screwdriver, ripping an o-ring in the process. I made sure to gradually ease the plate on the second master link, using vernier calipers to compare the link width to its neighbor link.
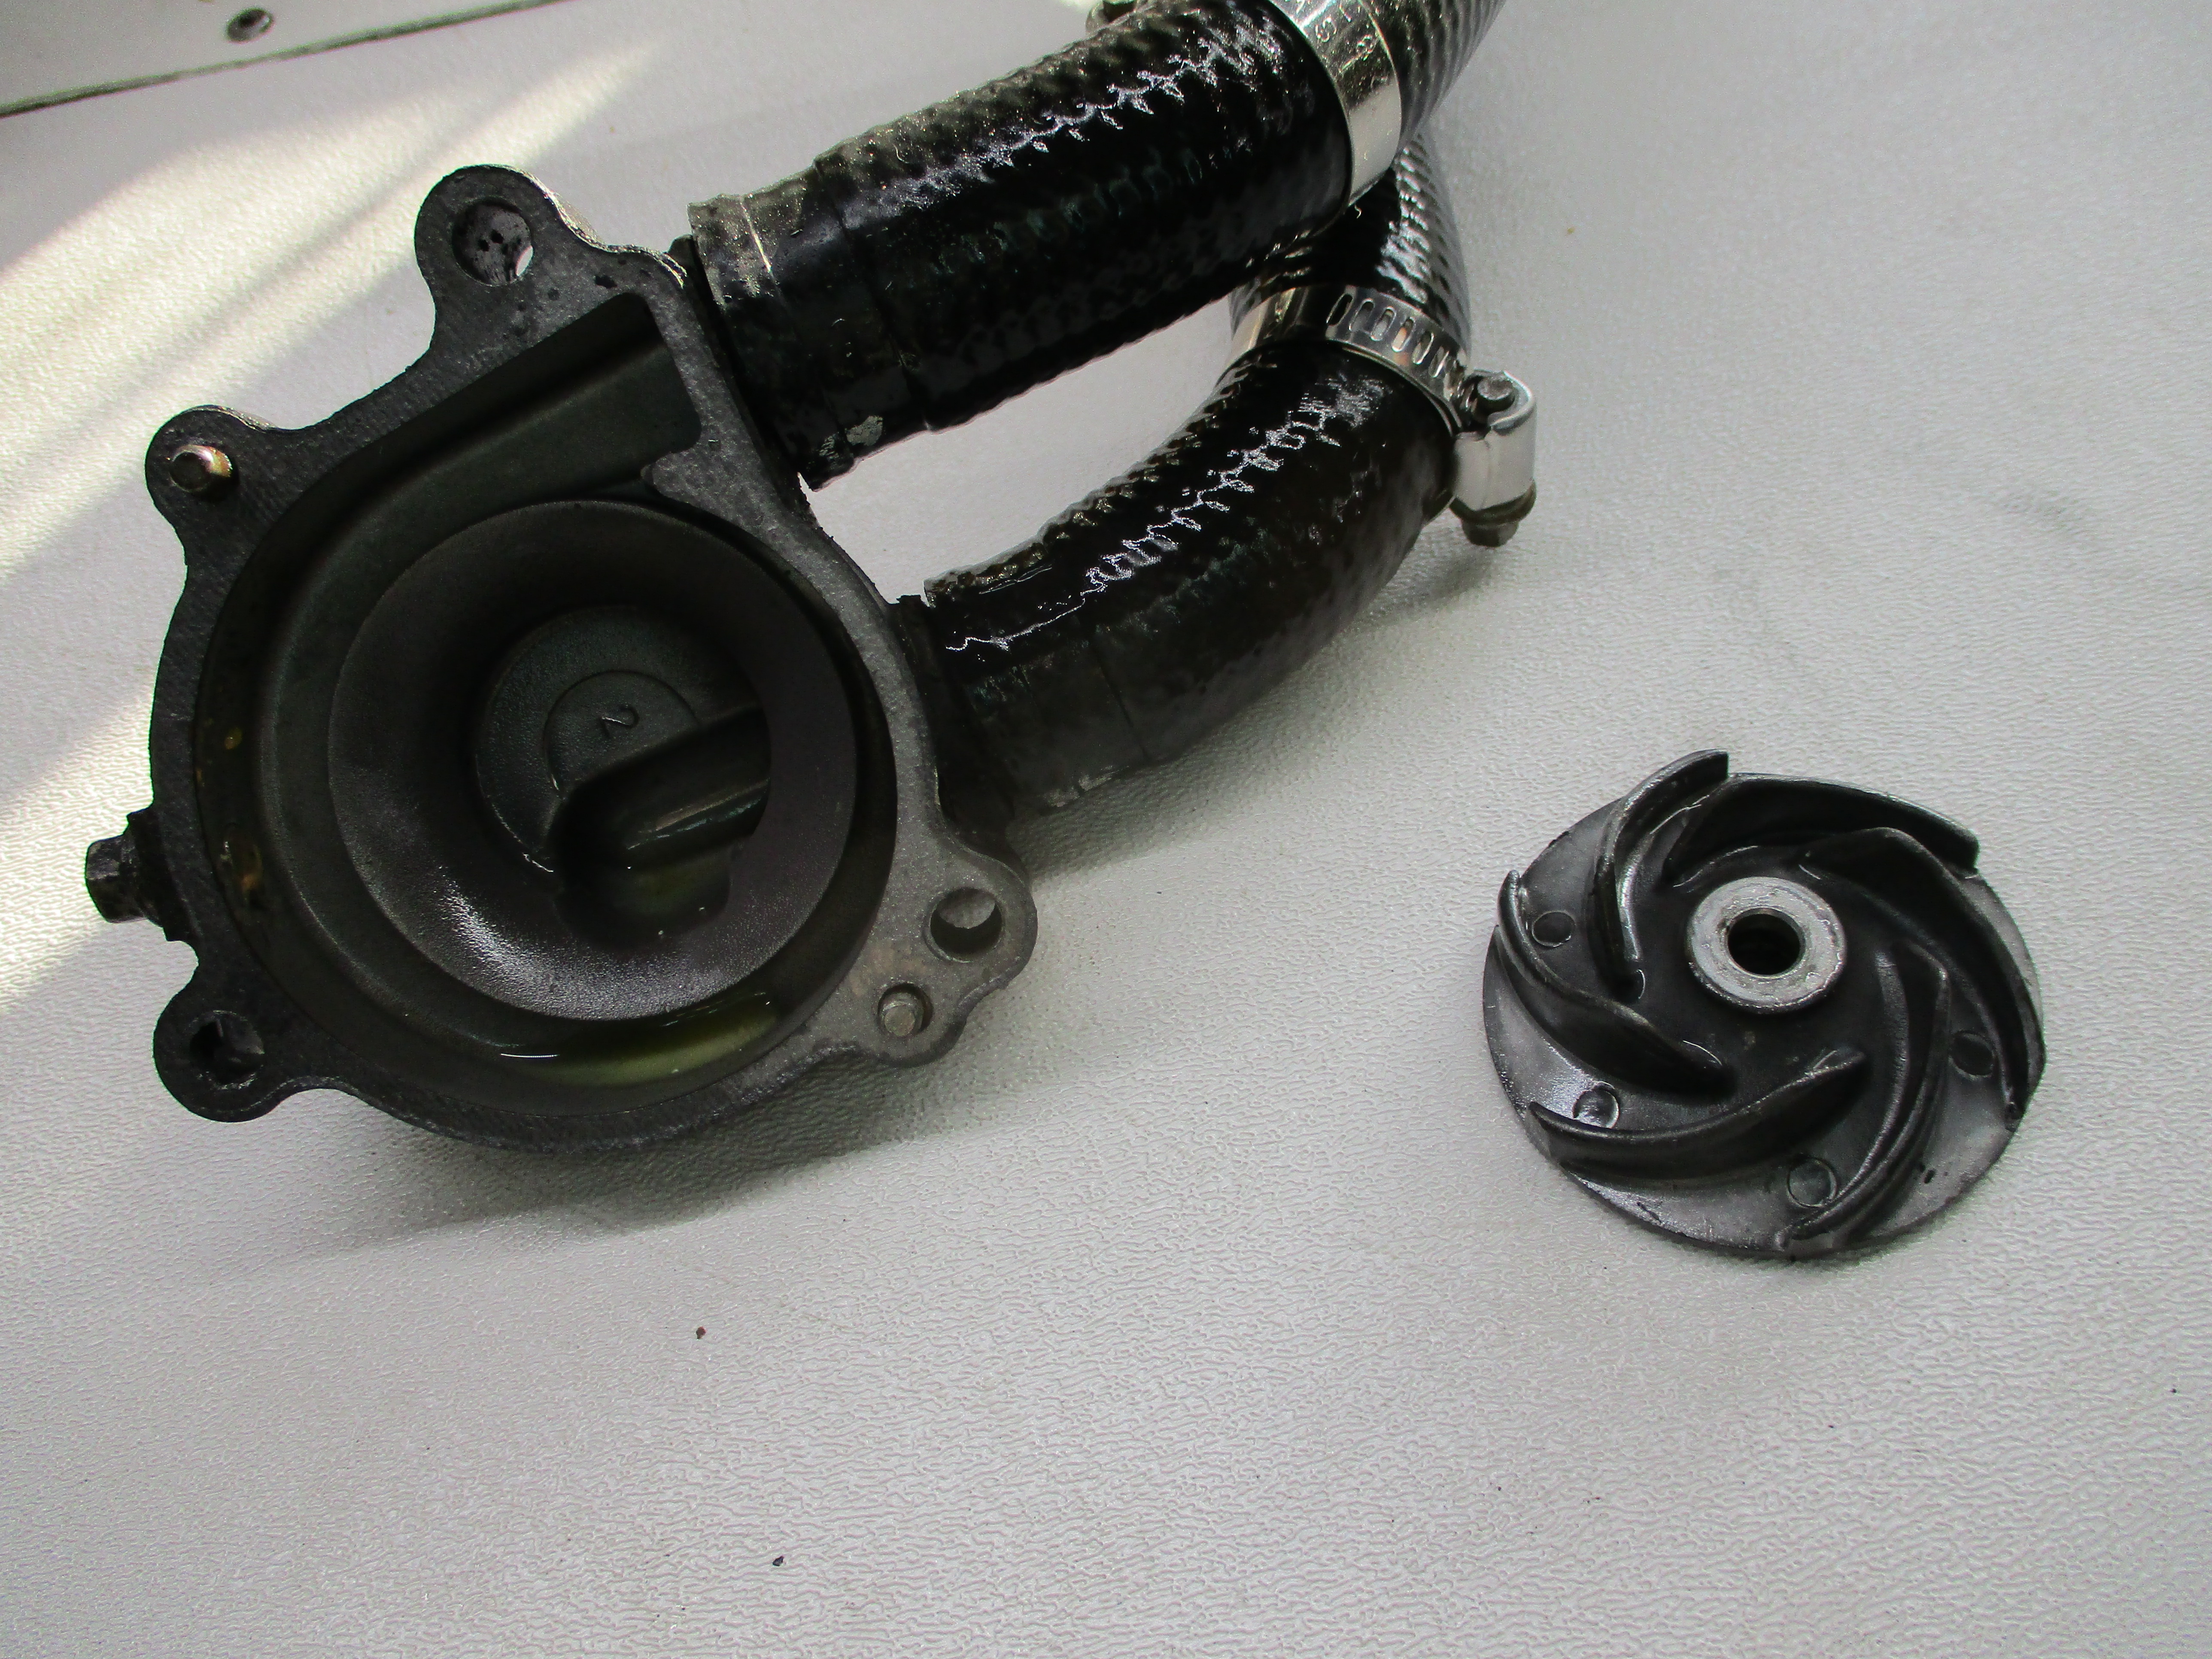
My cheap chain tool was not up to the task of flaring the rivets either. The riveting hammer kept bending, so I filed it with ever increasing taper to try and reduce the load on it. After doing this 3 times I consulted the internet, which suggested using a ball bearing instead. I did not have any on hand but I had an old rusted bearing from the boats sea water cooling pump. I smashed that apart and obtained a ball bearing which I used in the cheap chain tool. Which worked.
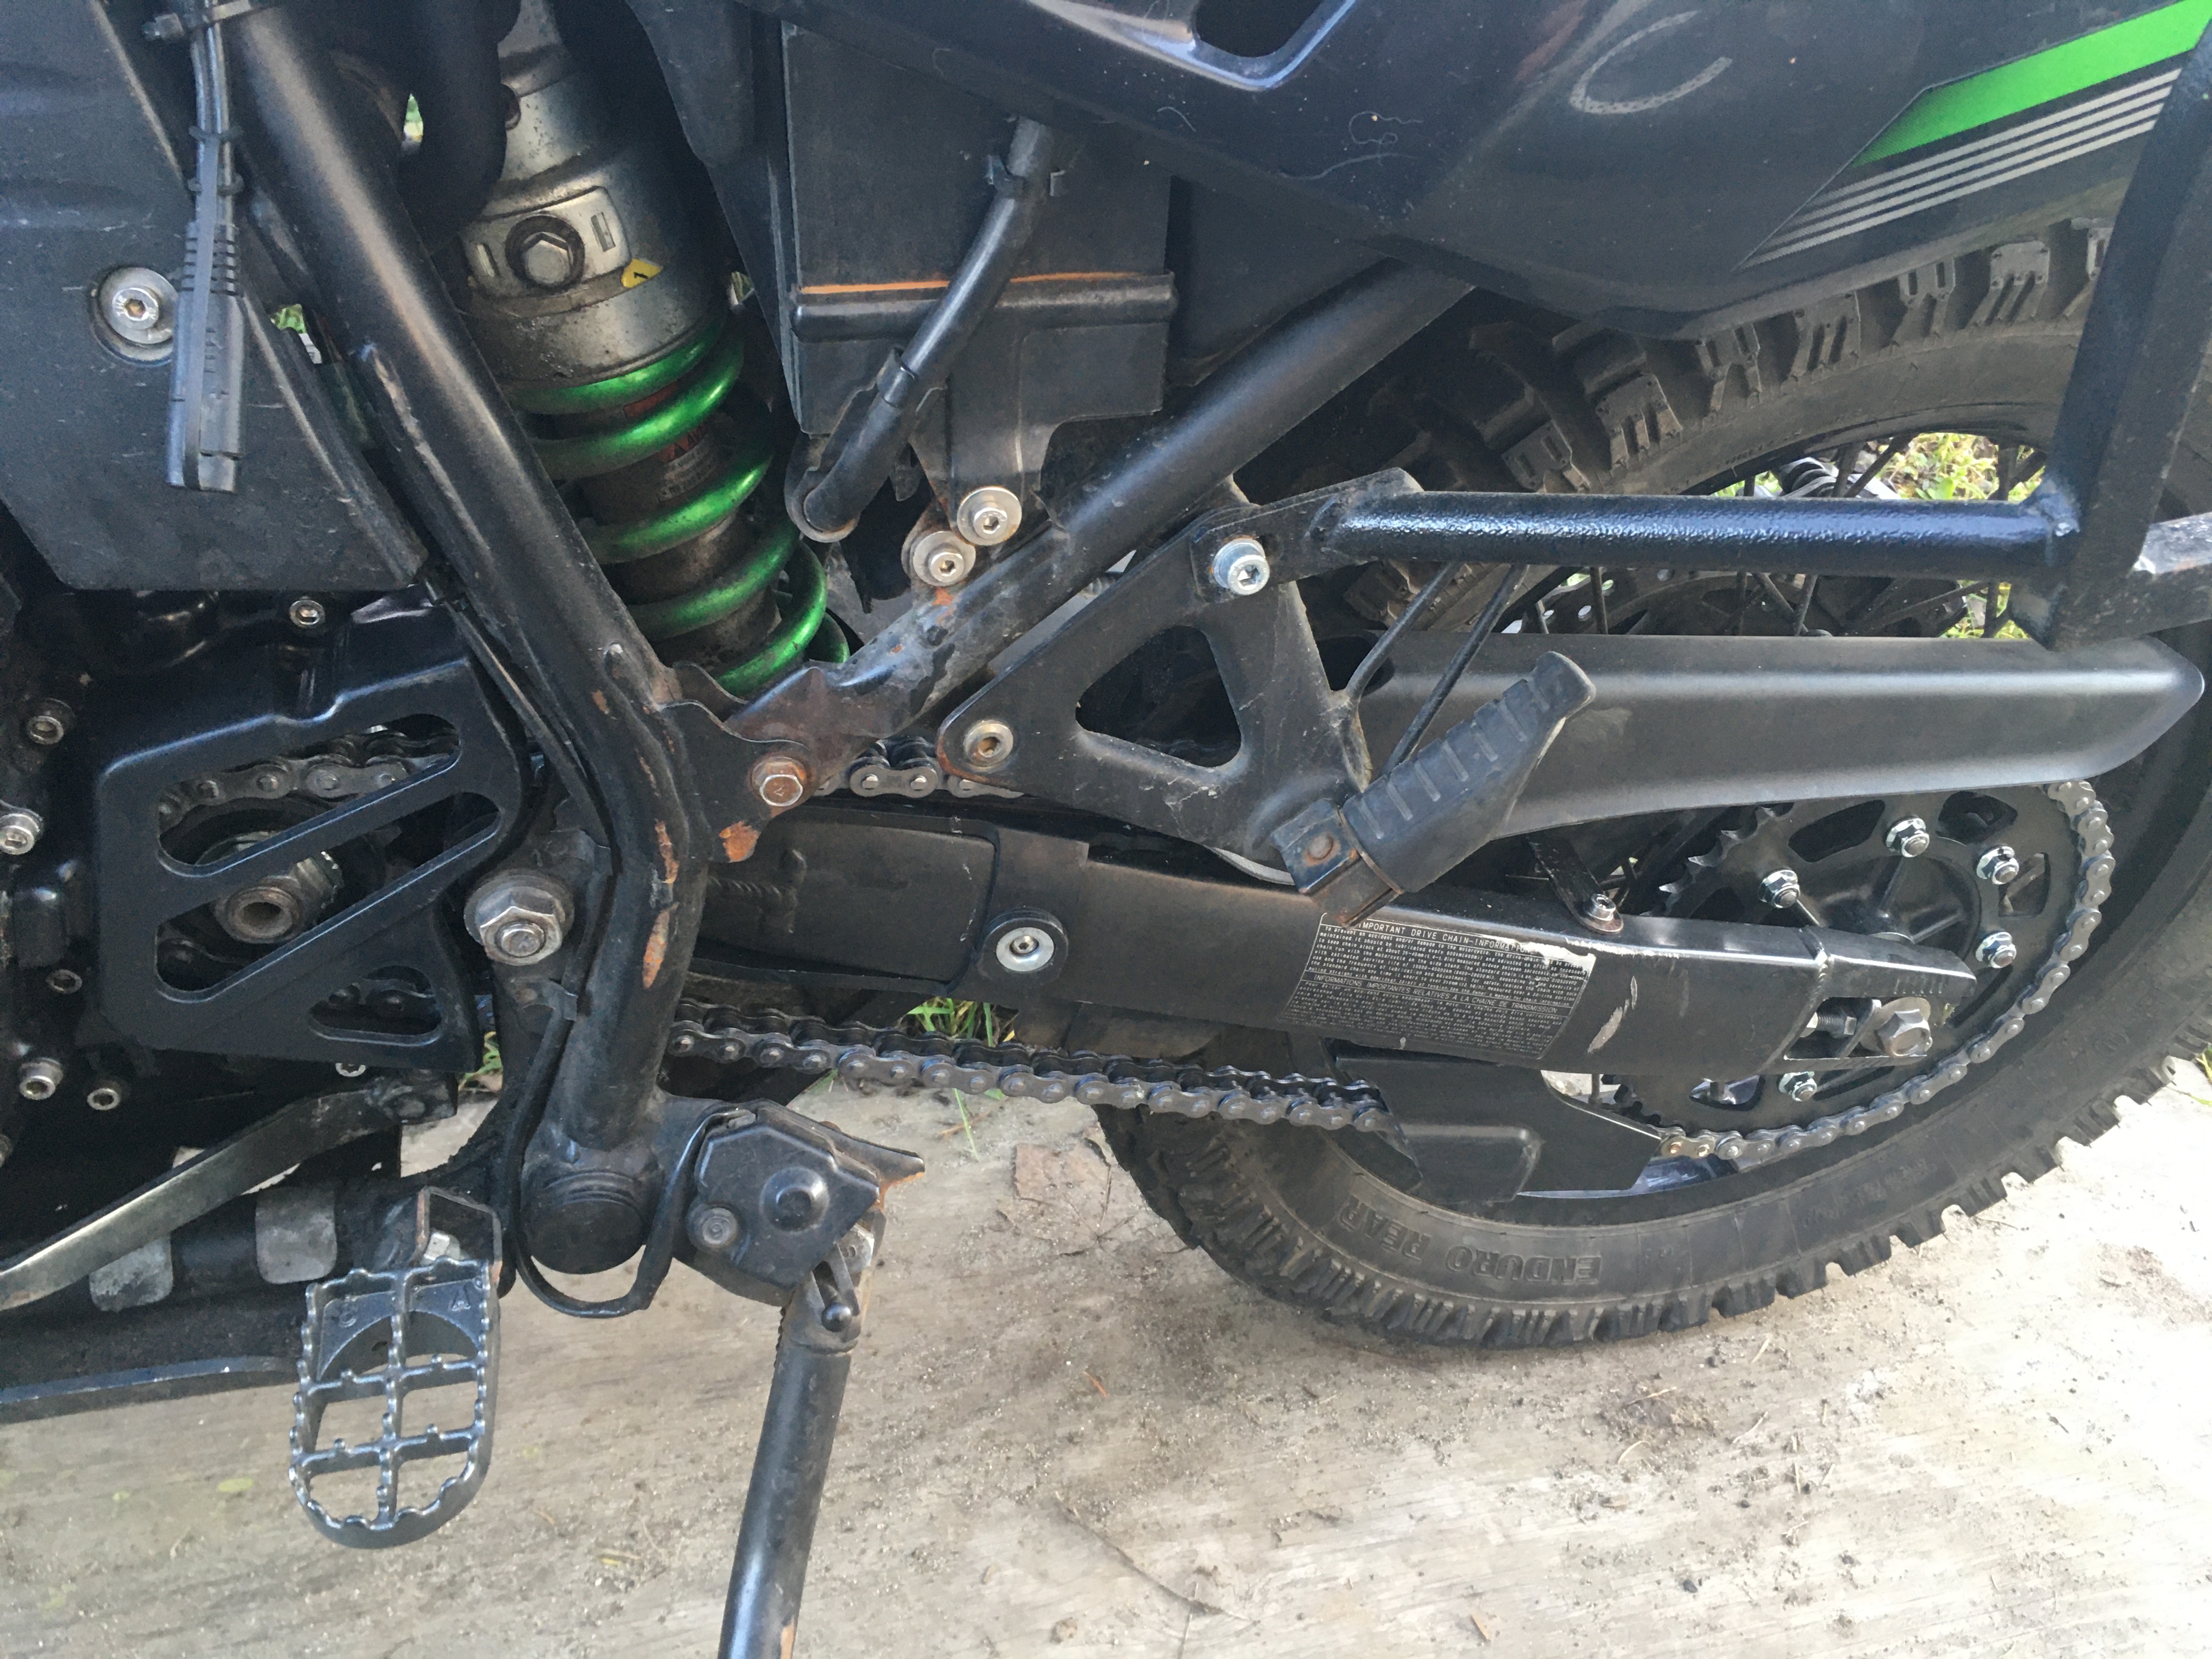
Here's the final product:
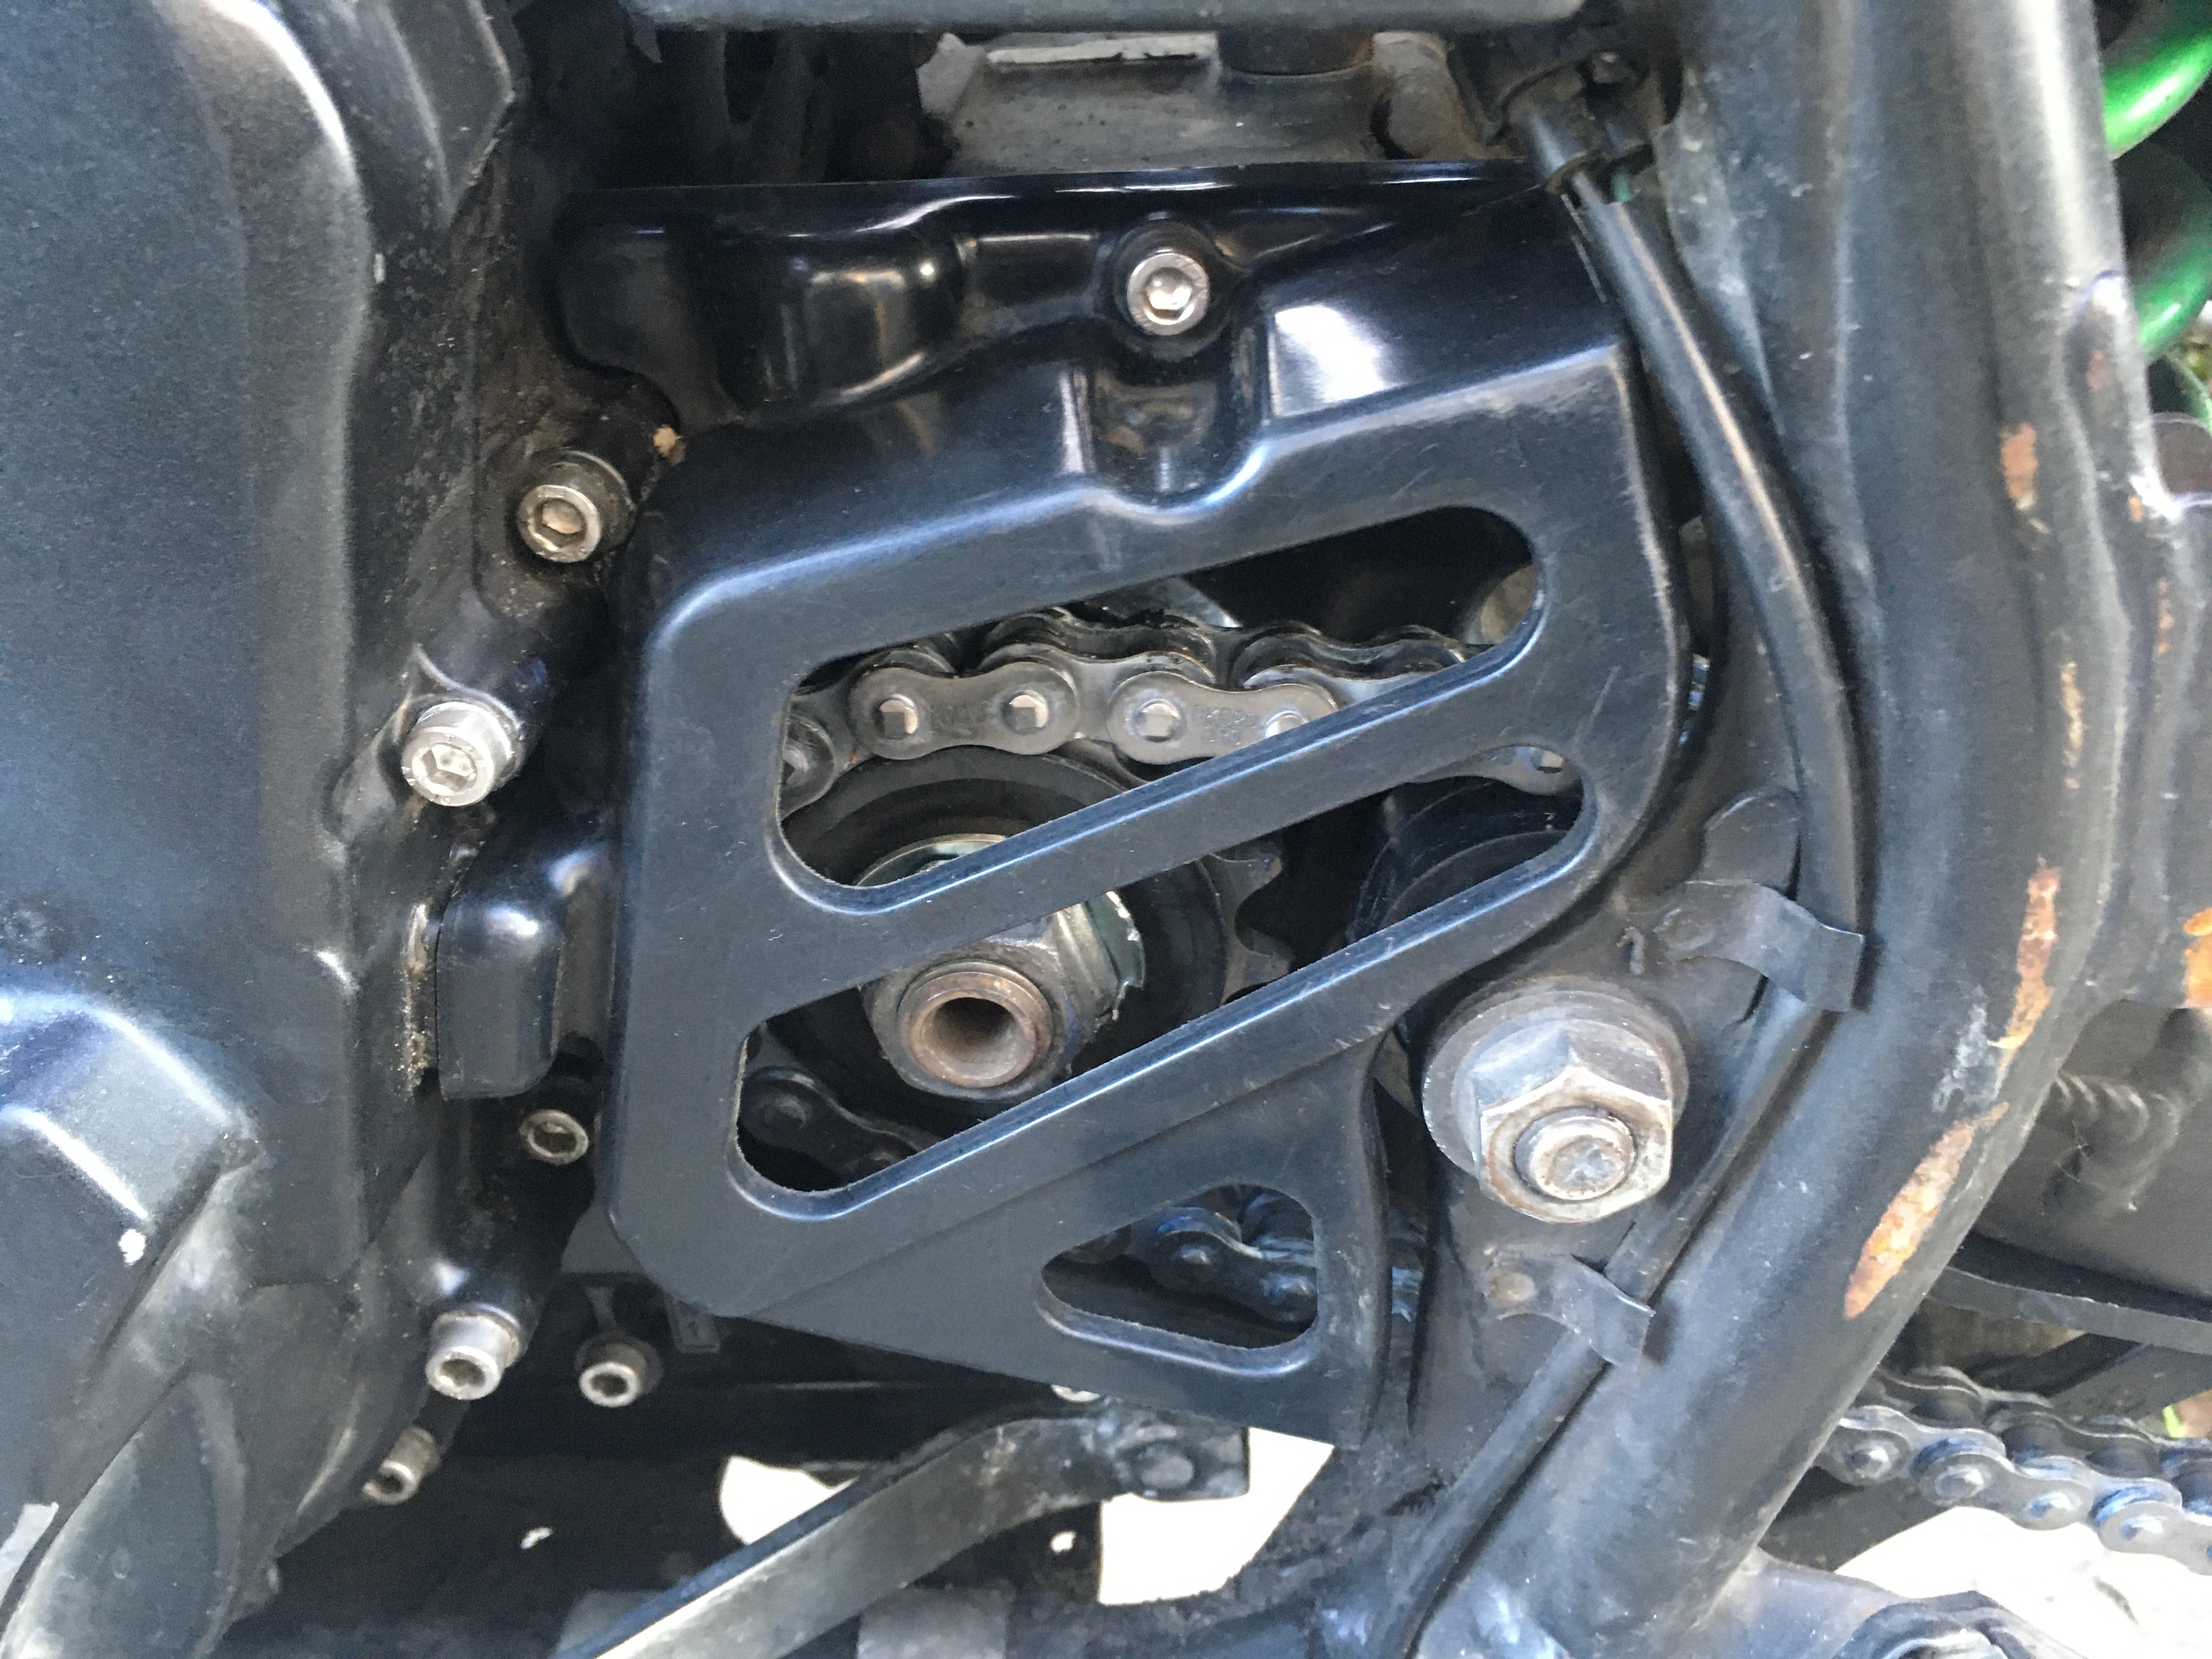
I ended up taking off and cleaning the chain guides/follower, upper and lower chain guard, front sprocket guard and cleaned behind the front sprocket. There was lots of dirt and road gunk.
| Date: | March 13, 2020 |
| Odometer: | 73000 kilometers |
| Cost: | $0 |
| Time: | 1 hour |
Valve clearance check performed after approximately 40,000 kilometers. Everything was in spec, exhaust valves were similar to last check.
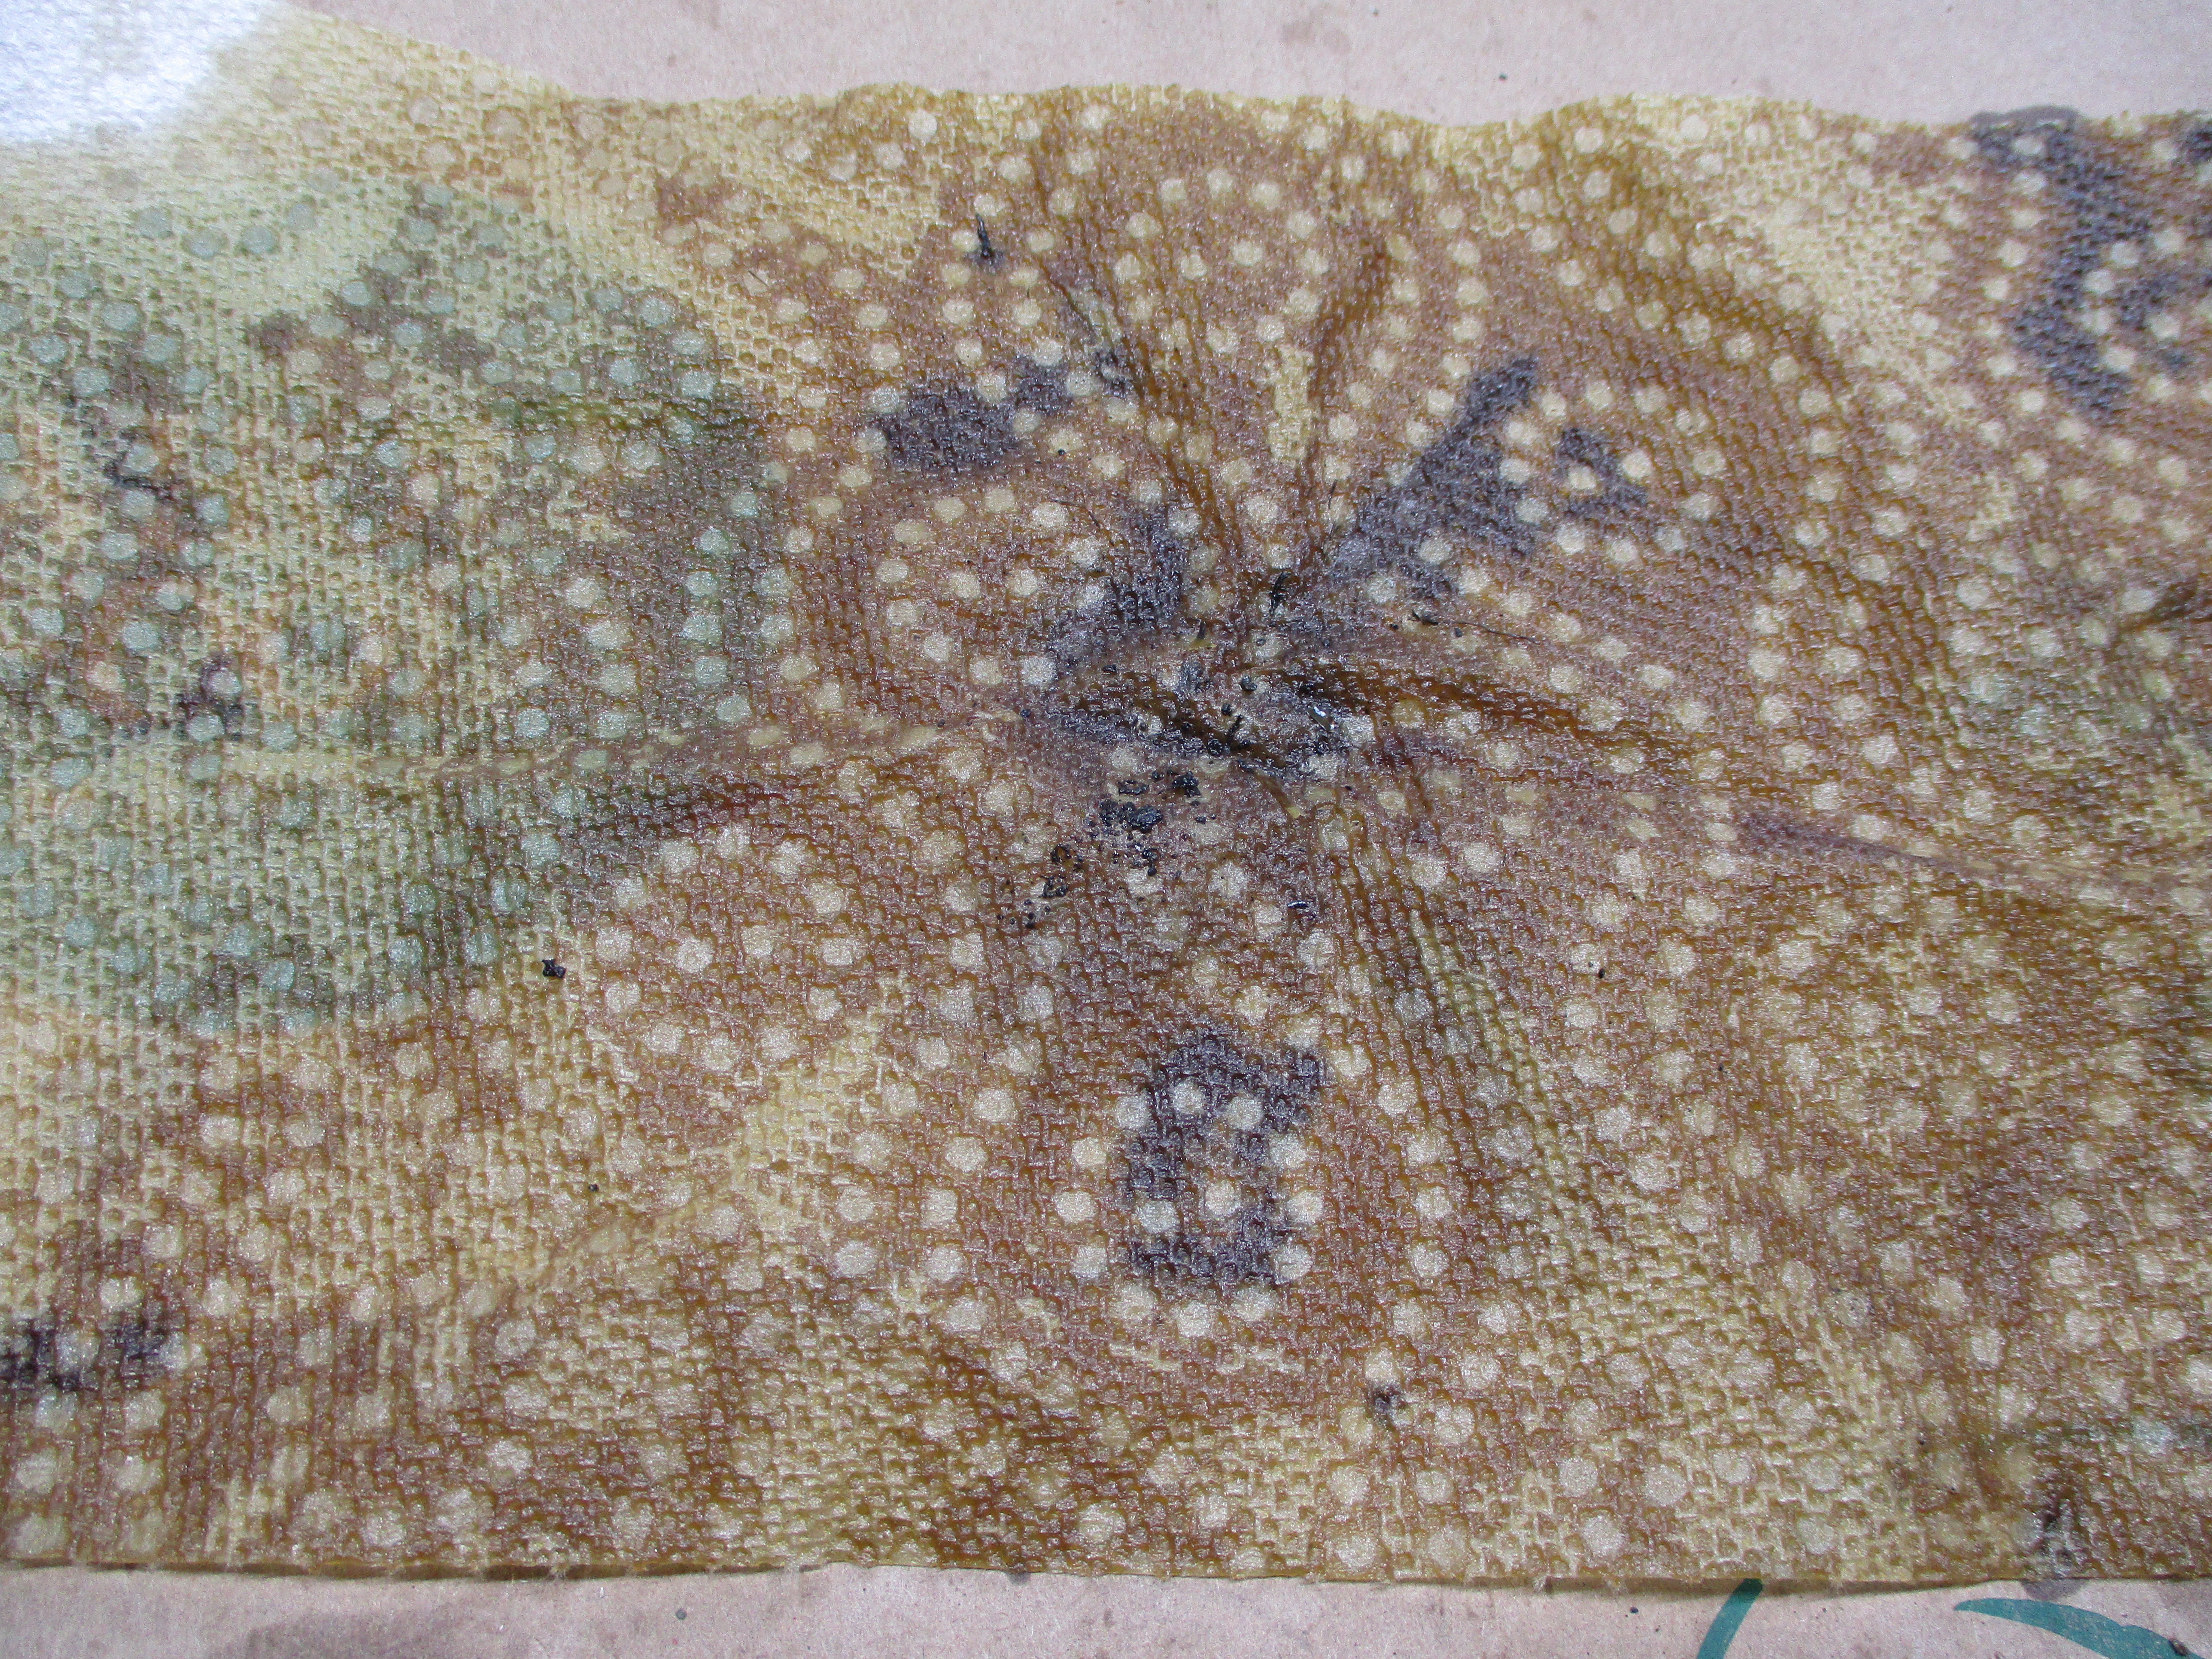
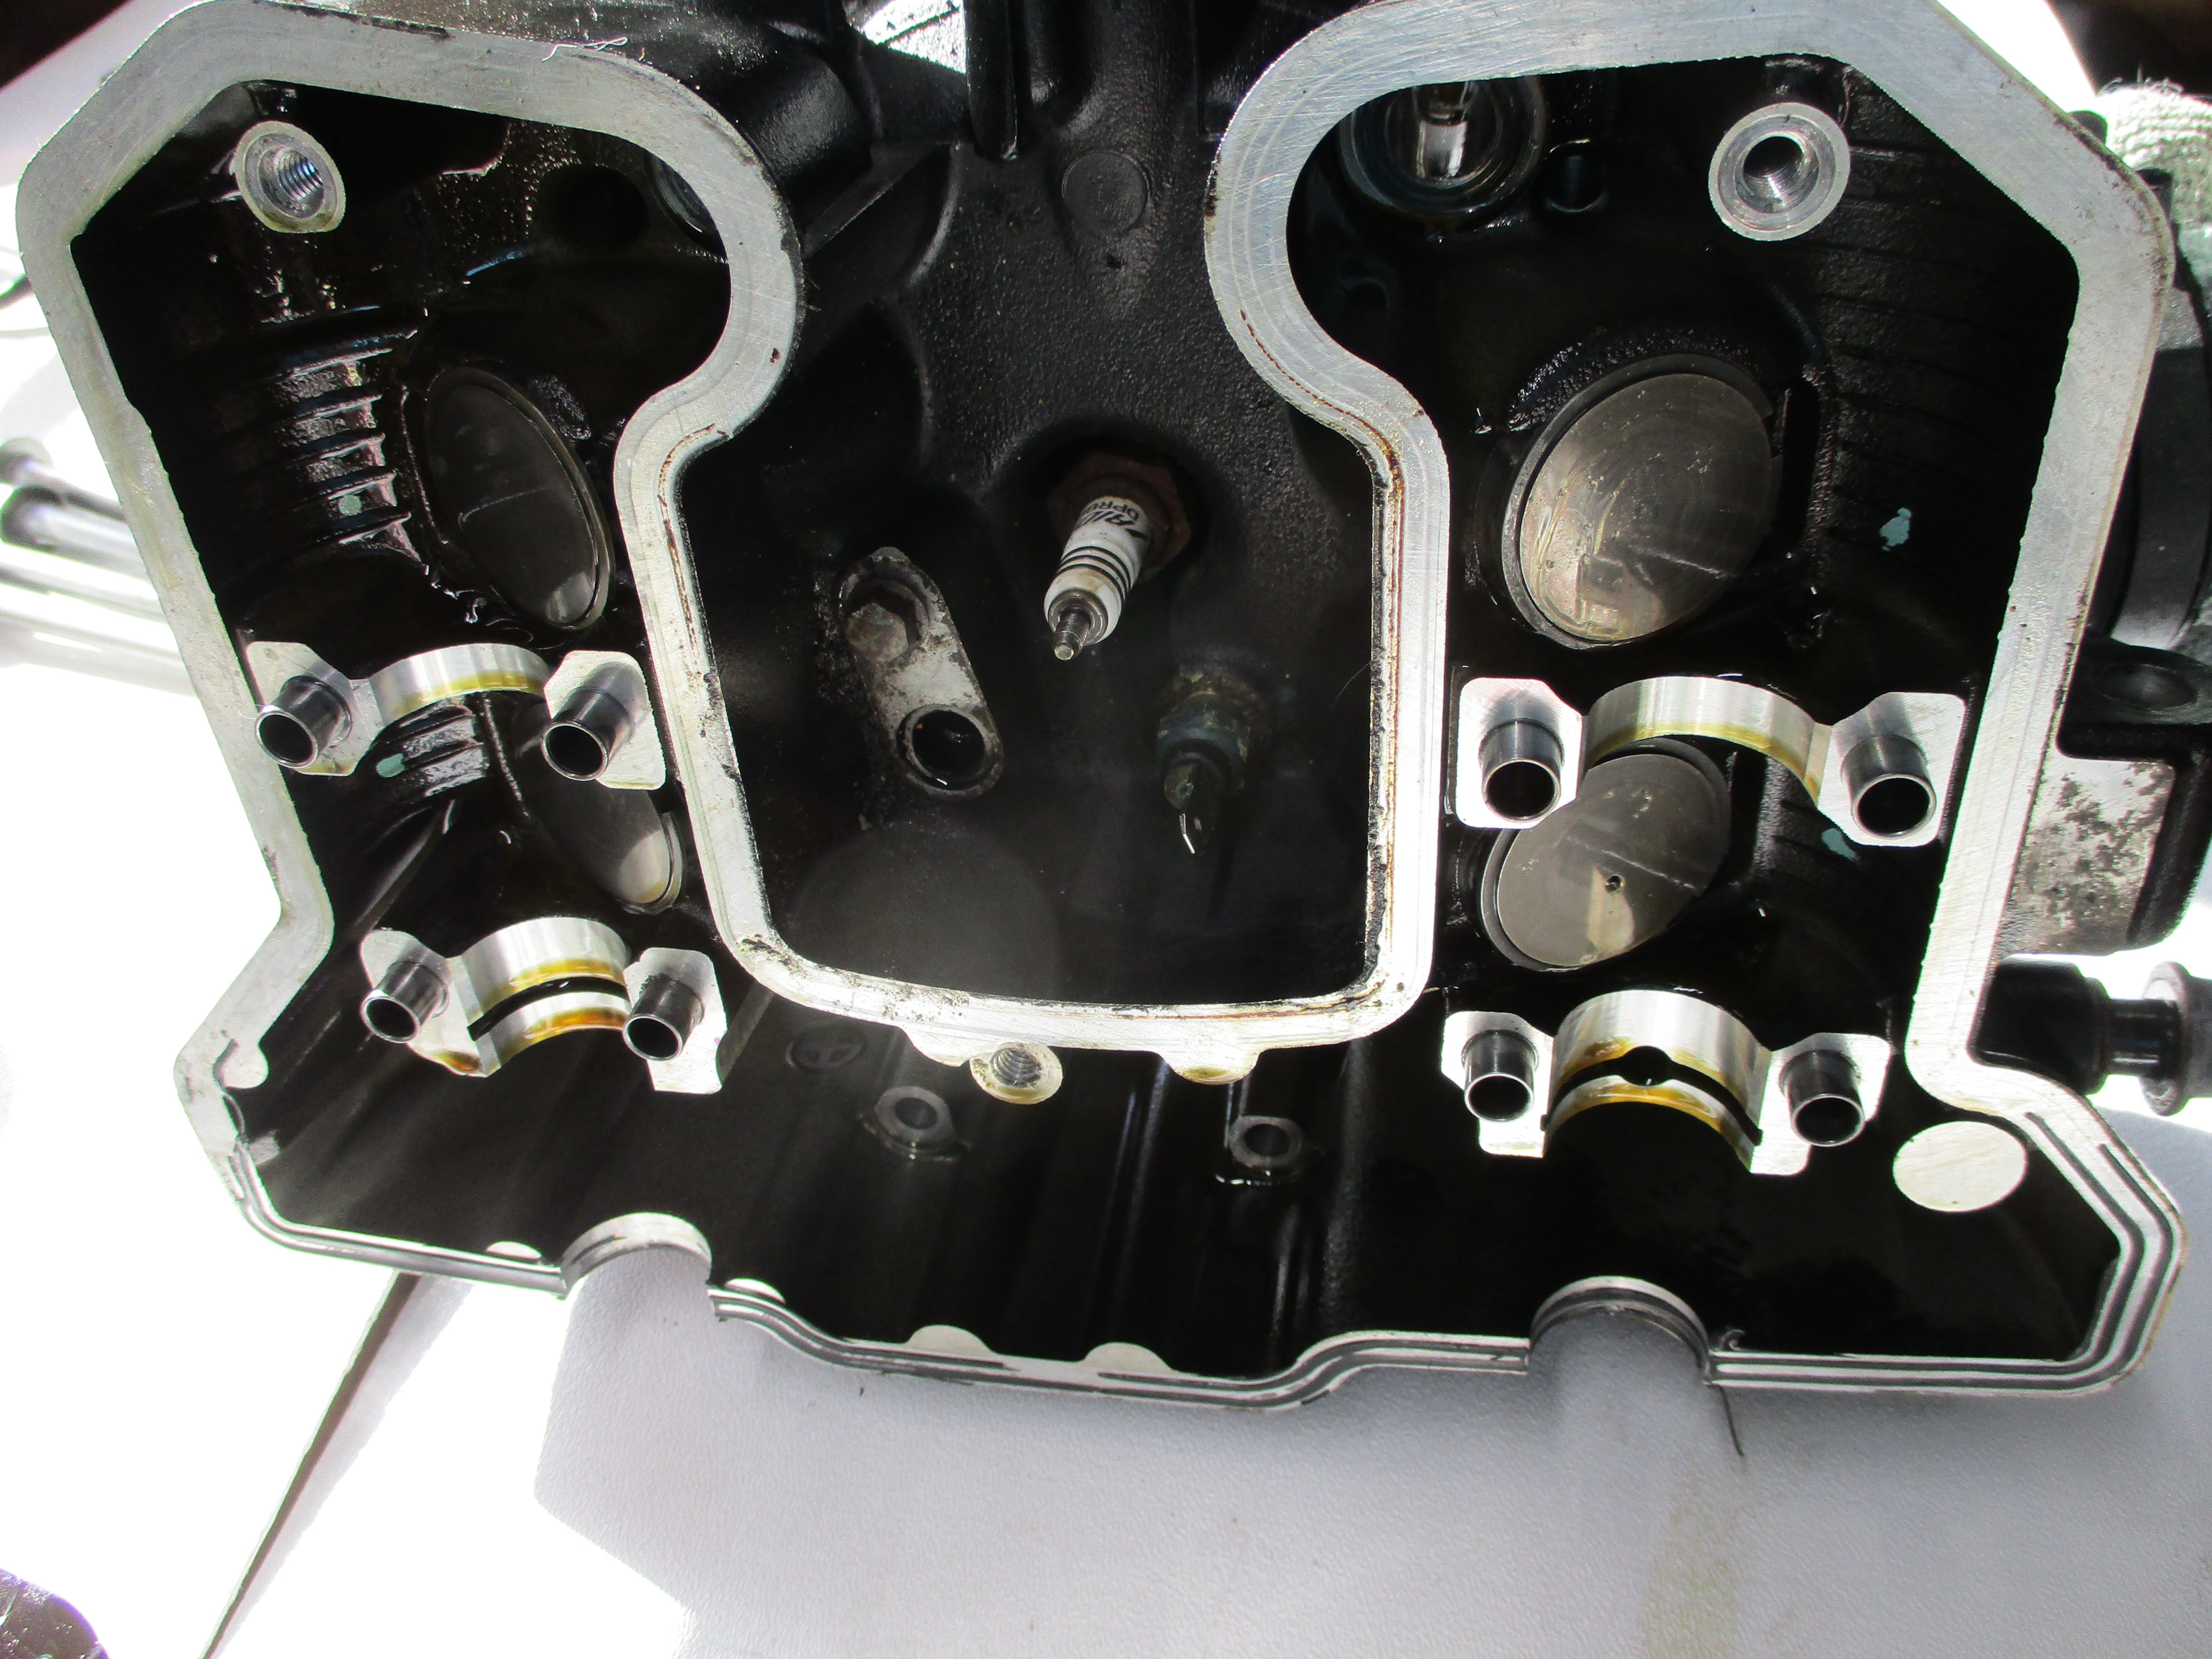
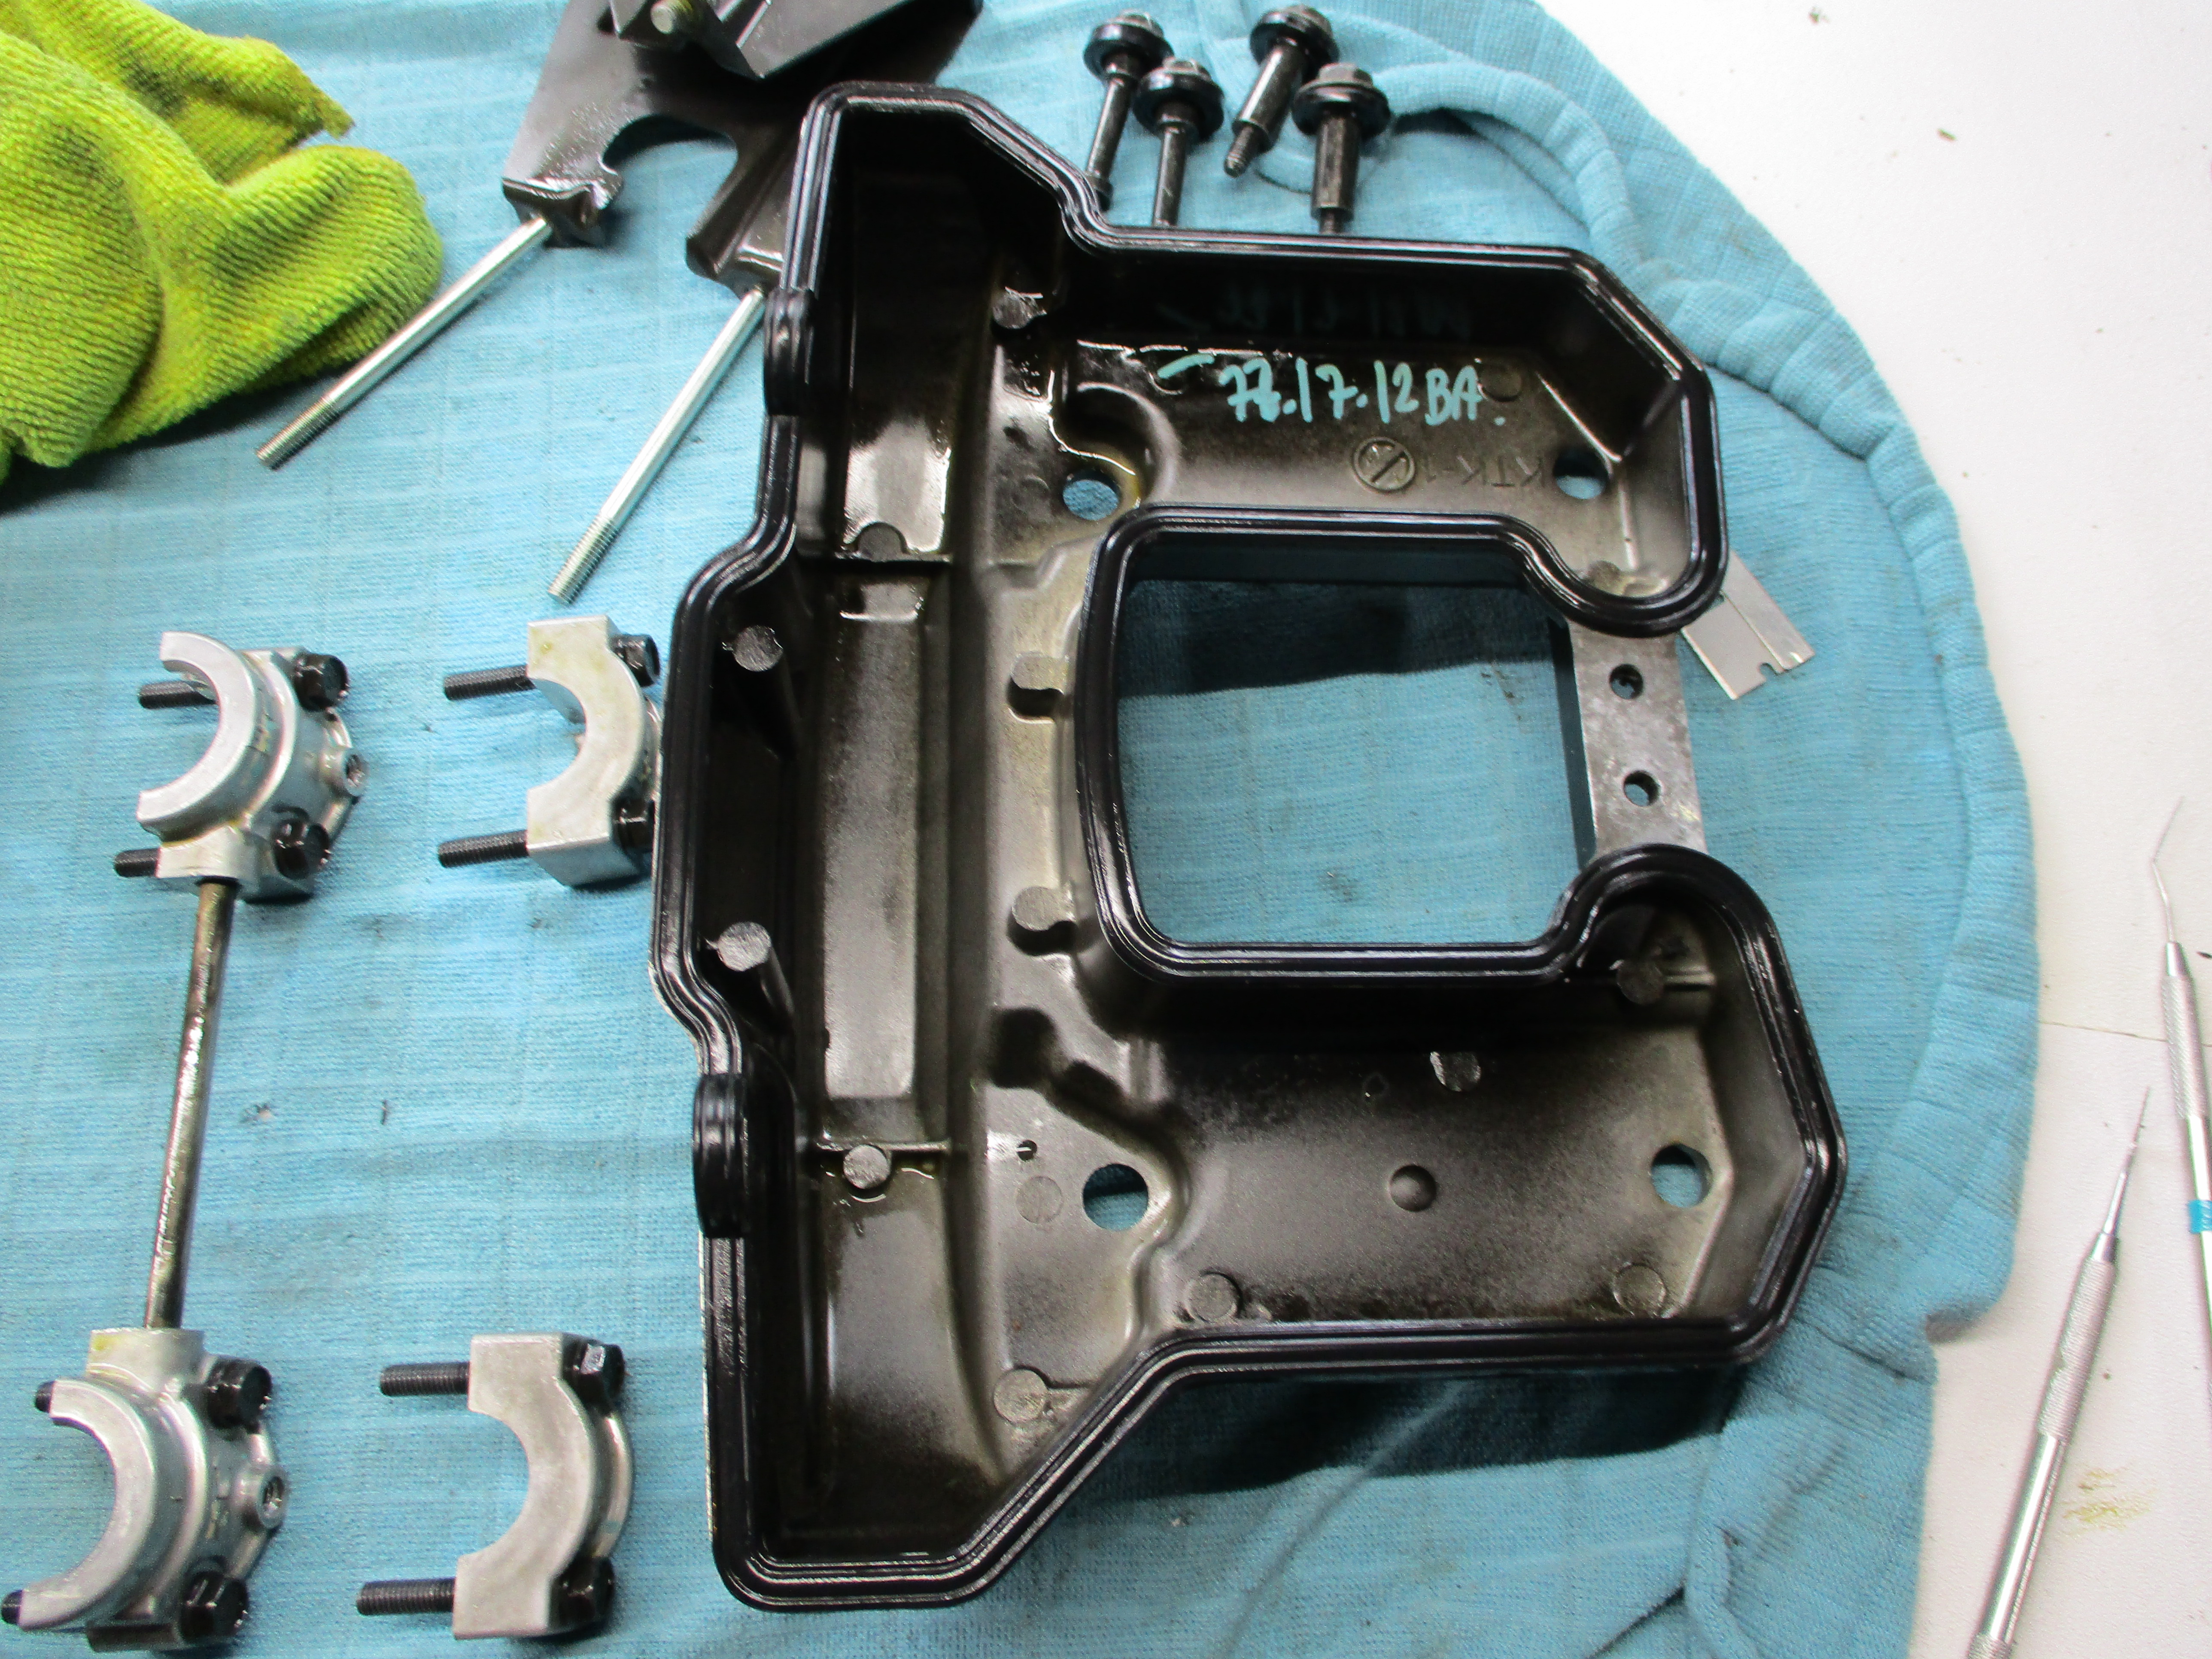
The valve cover gasket is still original, and you can still see the original writing on the caps from the factory. The intake cam/valves are on the left and exhaust on the right:

The valve clearances I measured were:
| Exhaust | Inlet | |
| Port | 0.20mm | 0.127 mm |
| Starboard | 0.25mm | 0.127mm |
| Specs | 0.15 - 0.25mm | 0.10 - 0.20mm |
| Date: | March 14, 2020 |
| Odometer: | 73000 kilometers |
| Cost: | $850 for IMS 10g tank |
| Time: | 4 hours |
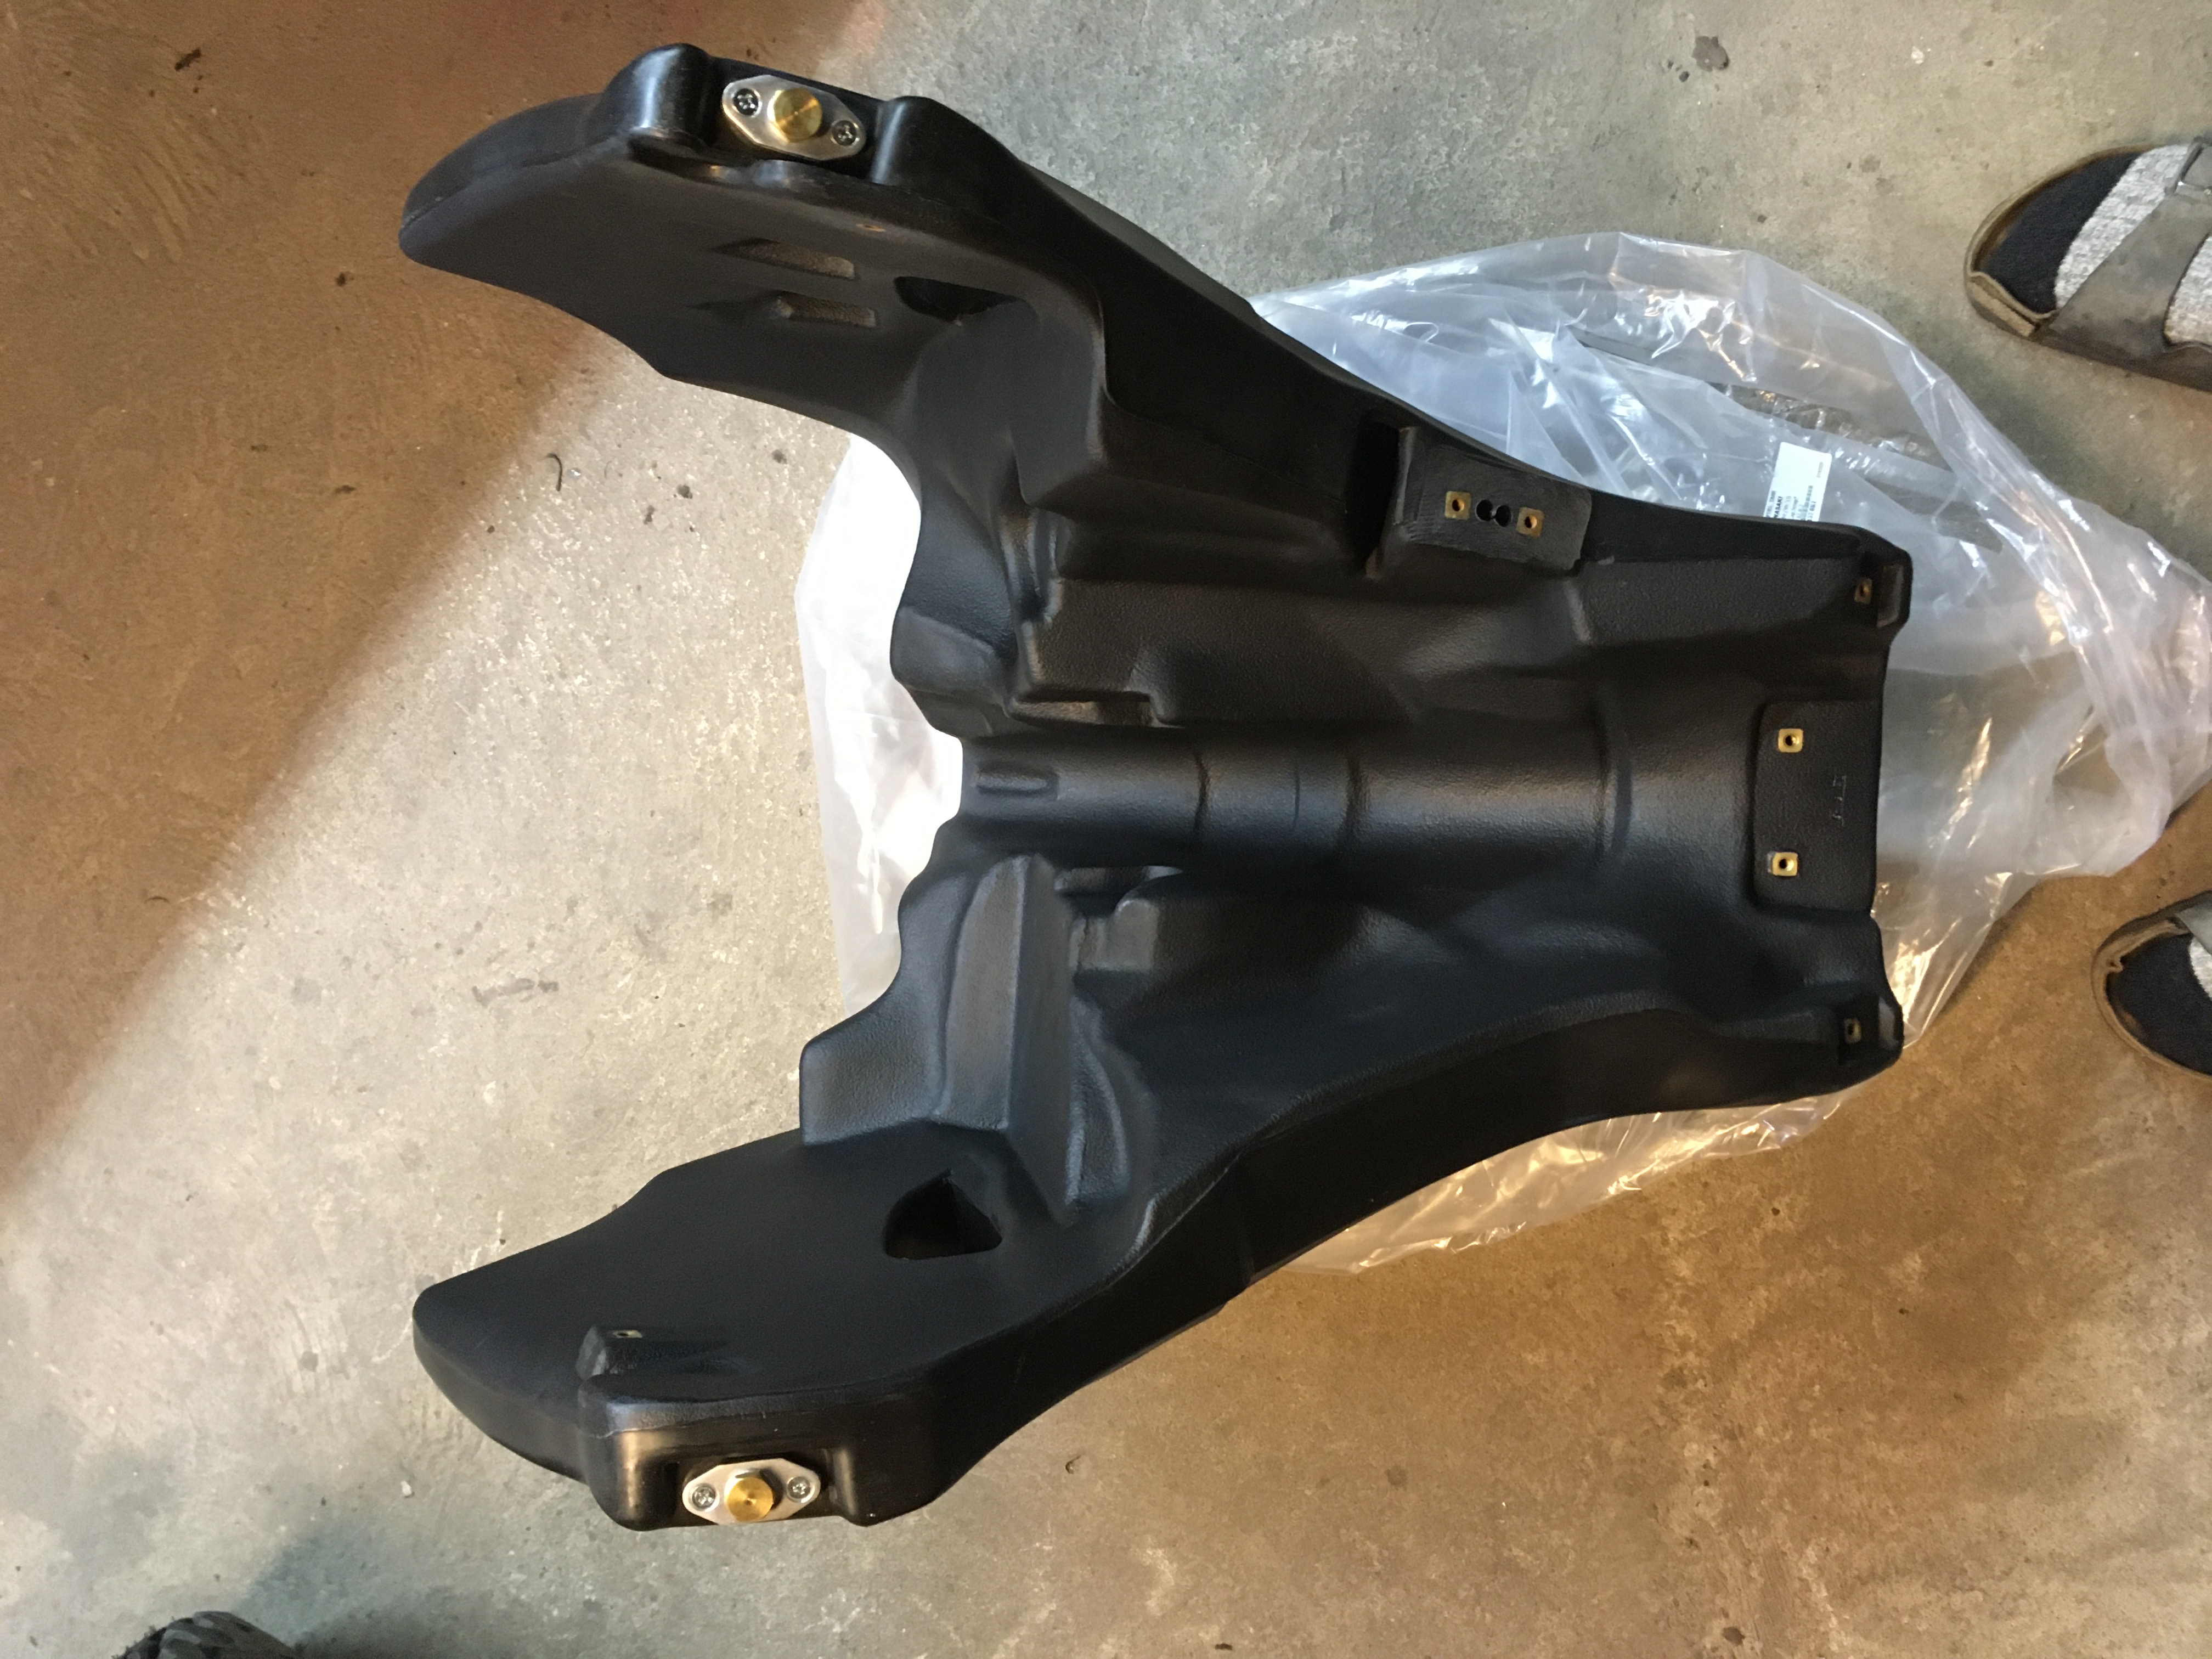
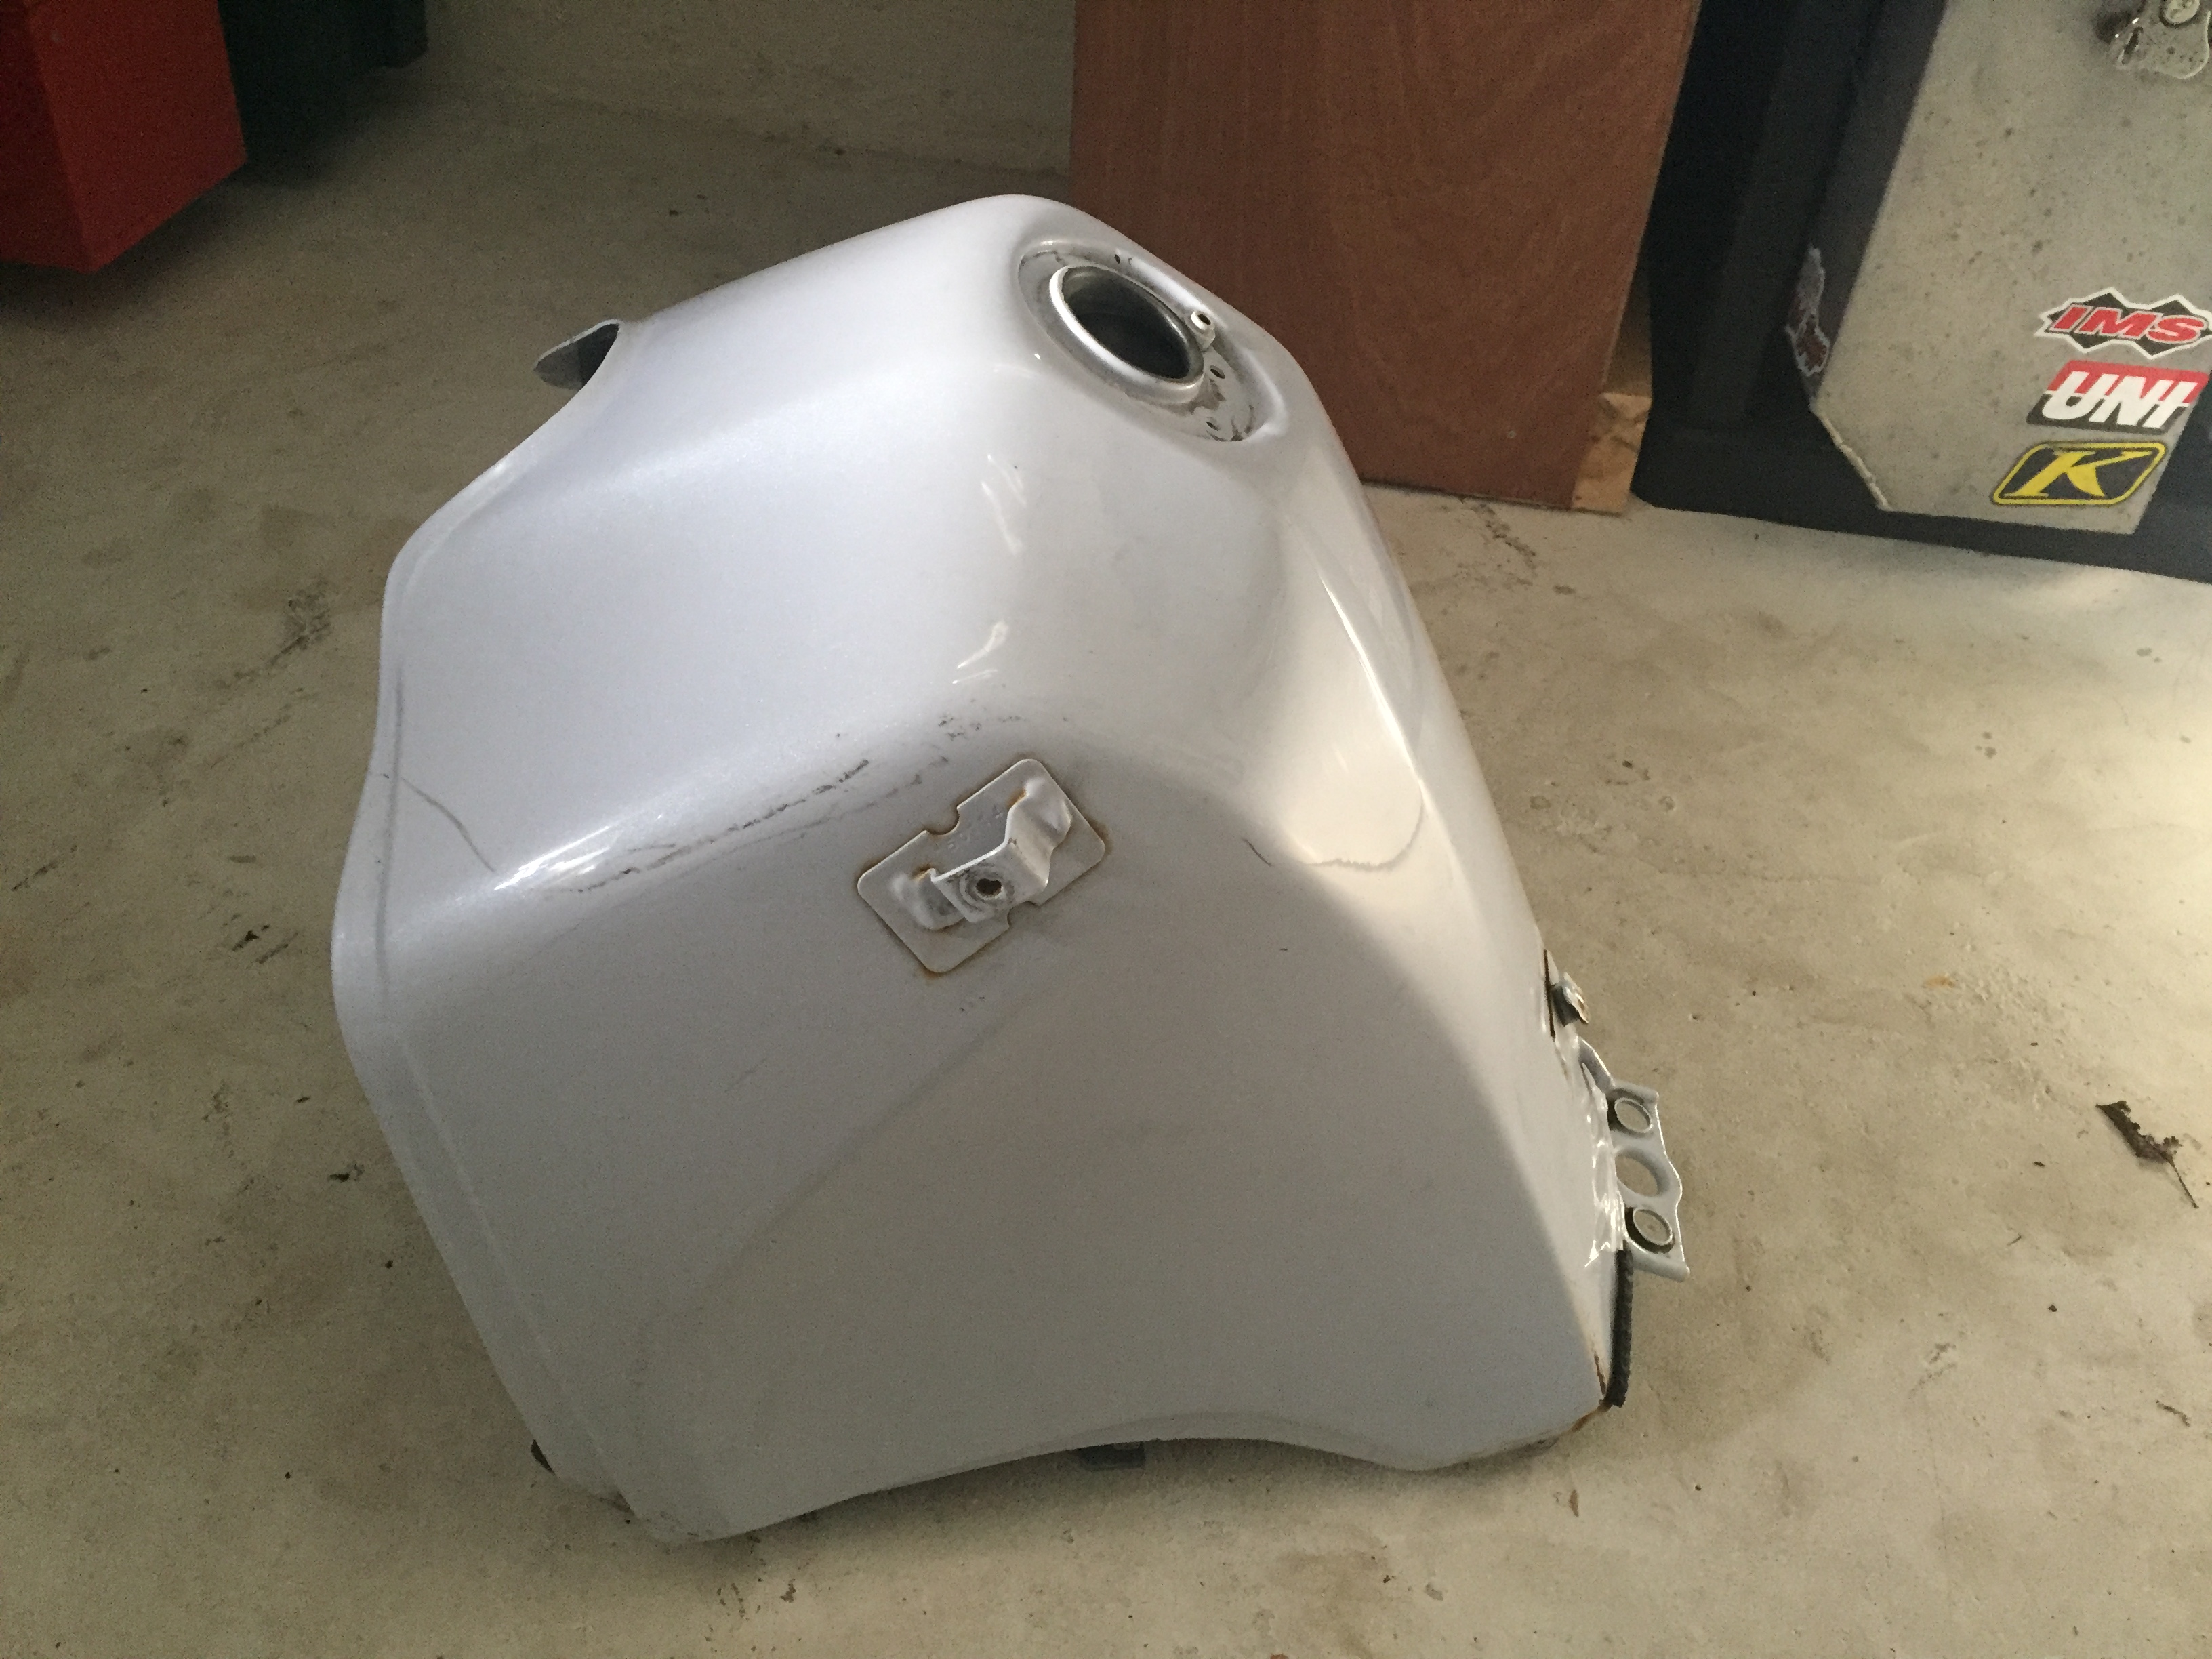
I bought the IMS 10 gallon gas tank, it was about $850 CDN to my door. I wanted it because I will be doing some very remote riding soon, and because it carries fuel lower and forward when you fill it with the same amount of fuel (22L) that the stock tank contains. It also acts as 'crash bars' as crazy as that sounds.
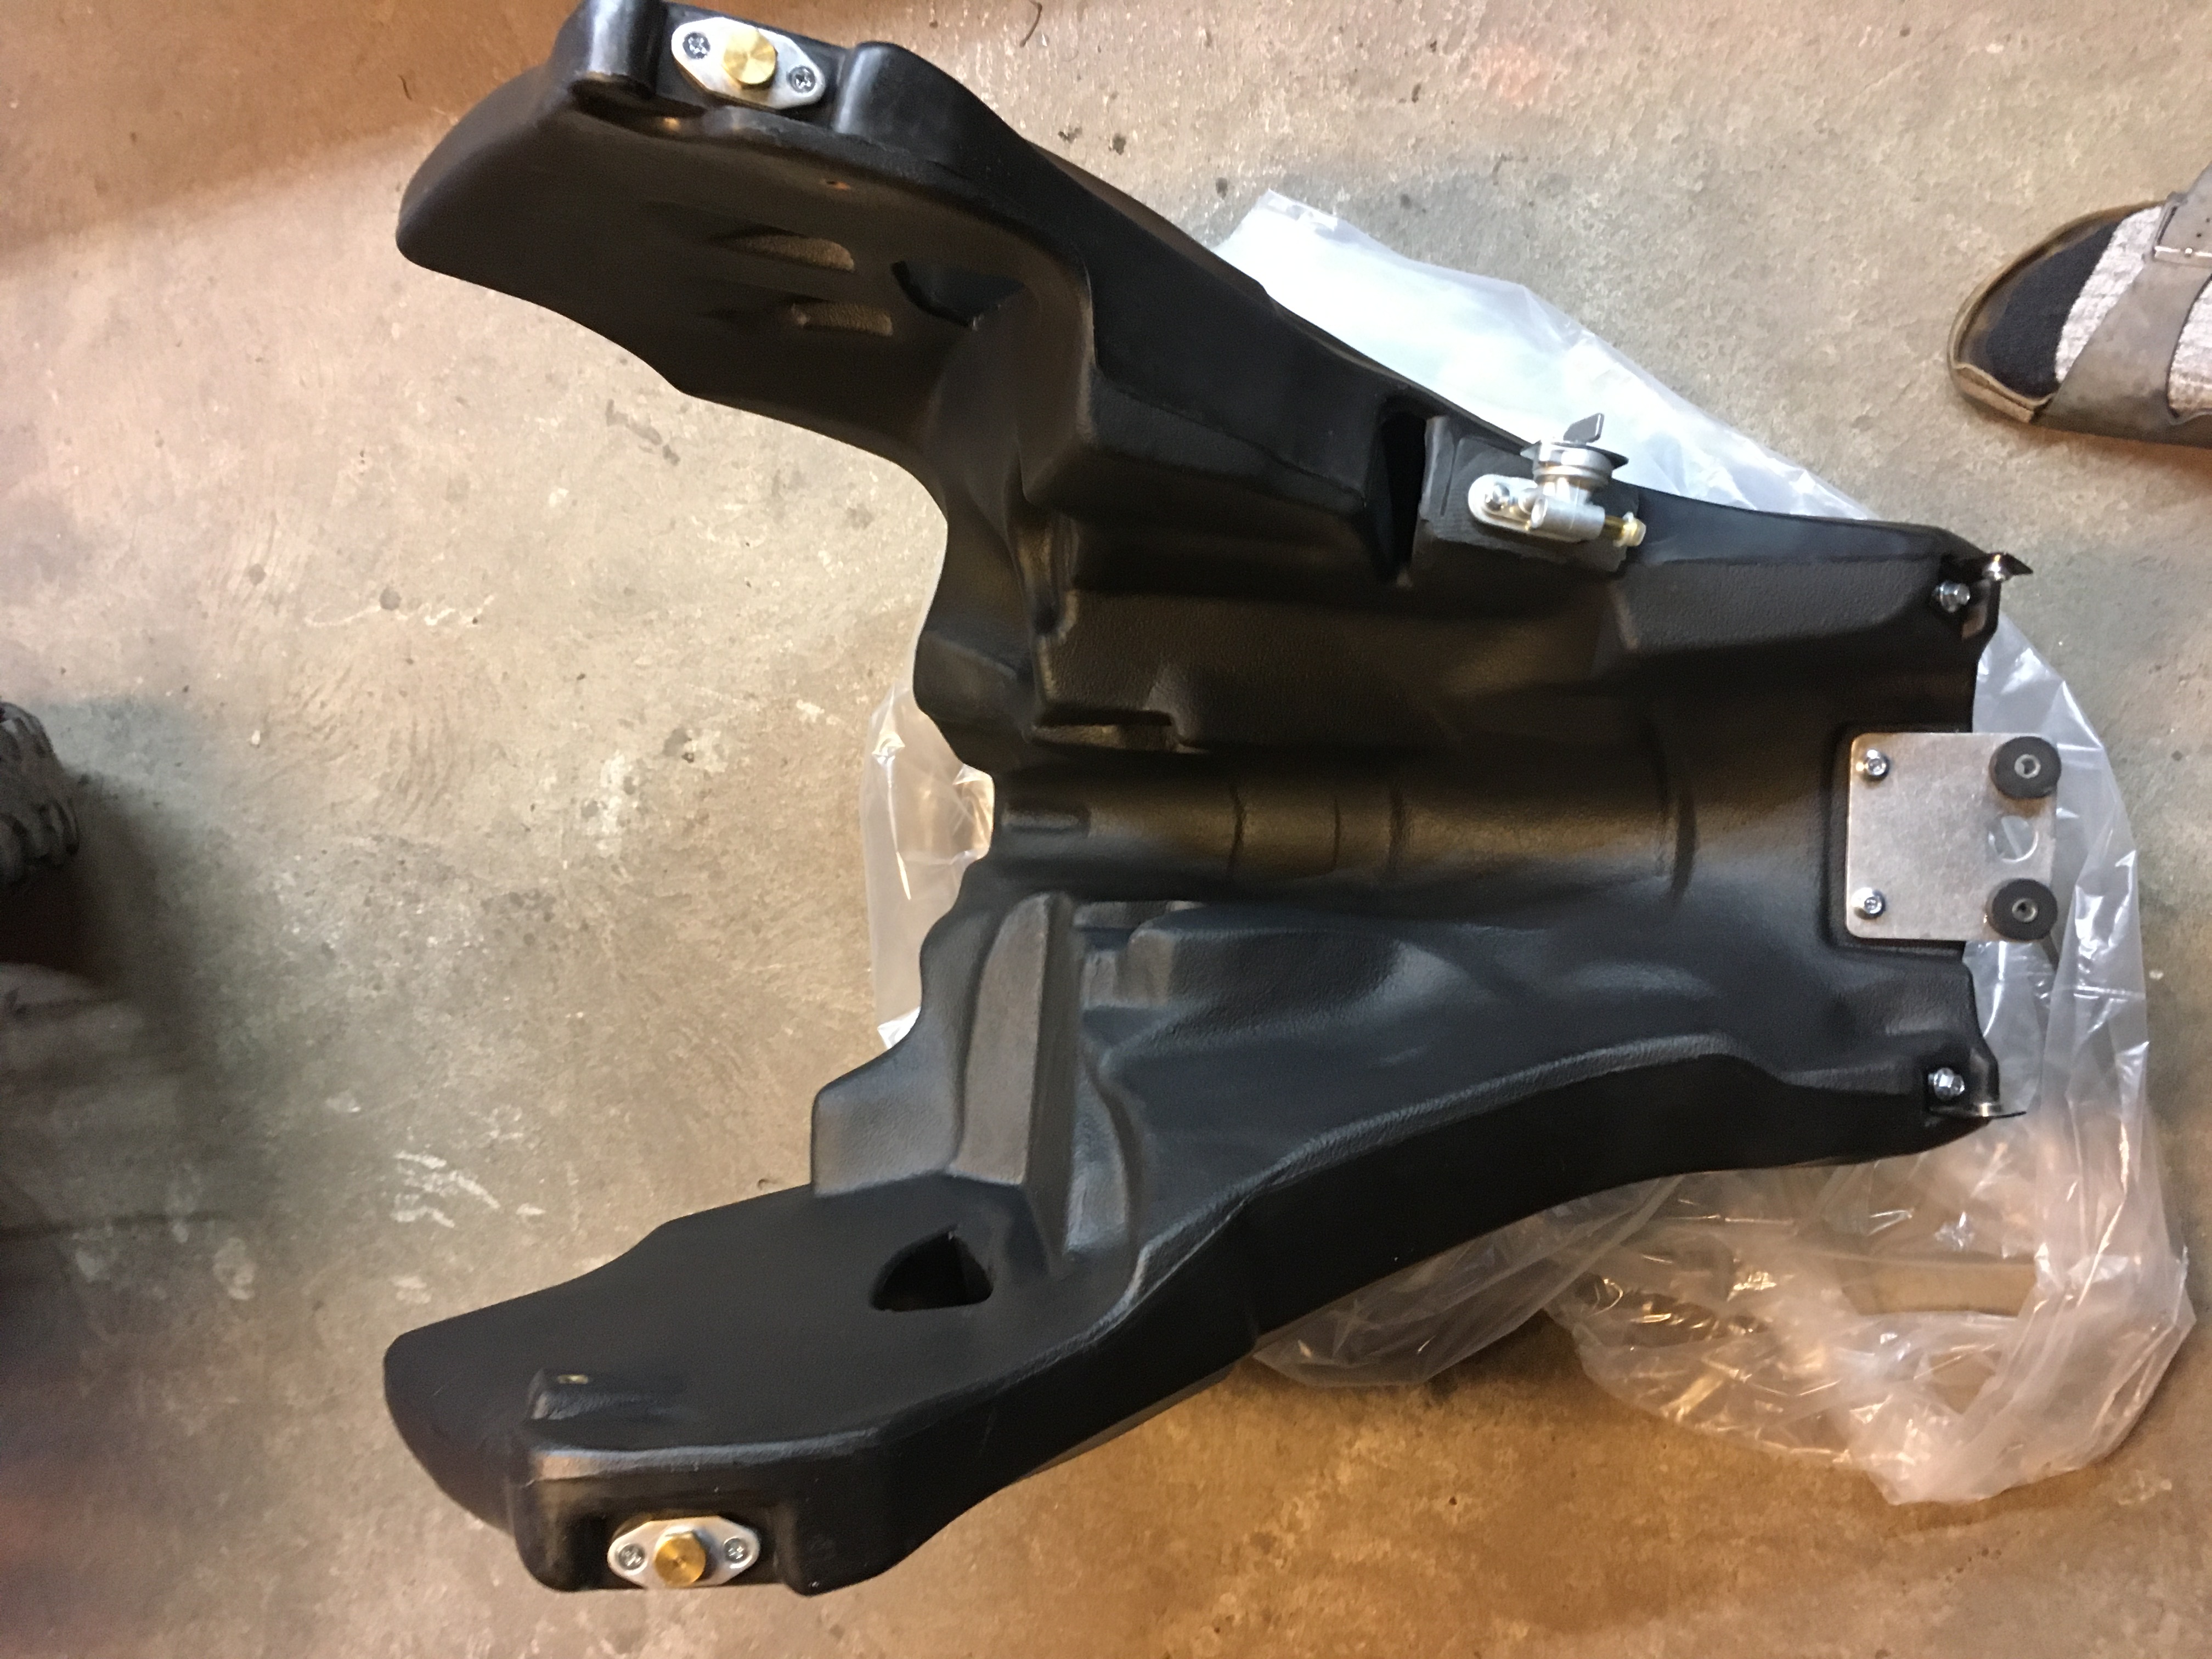
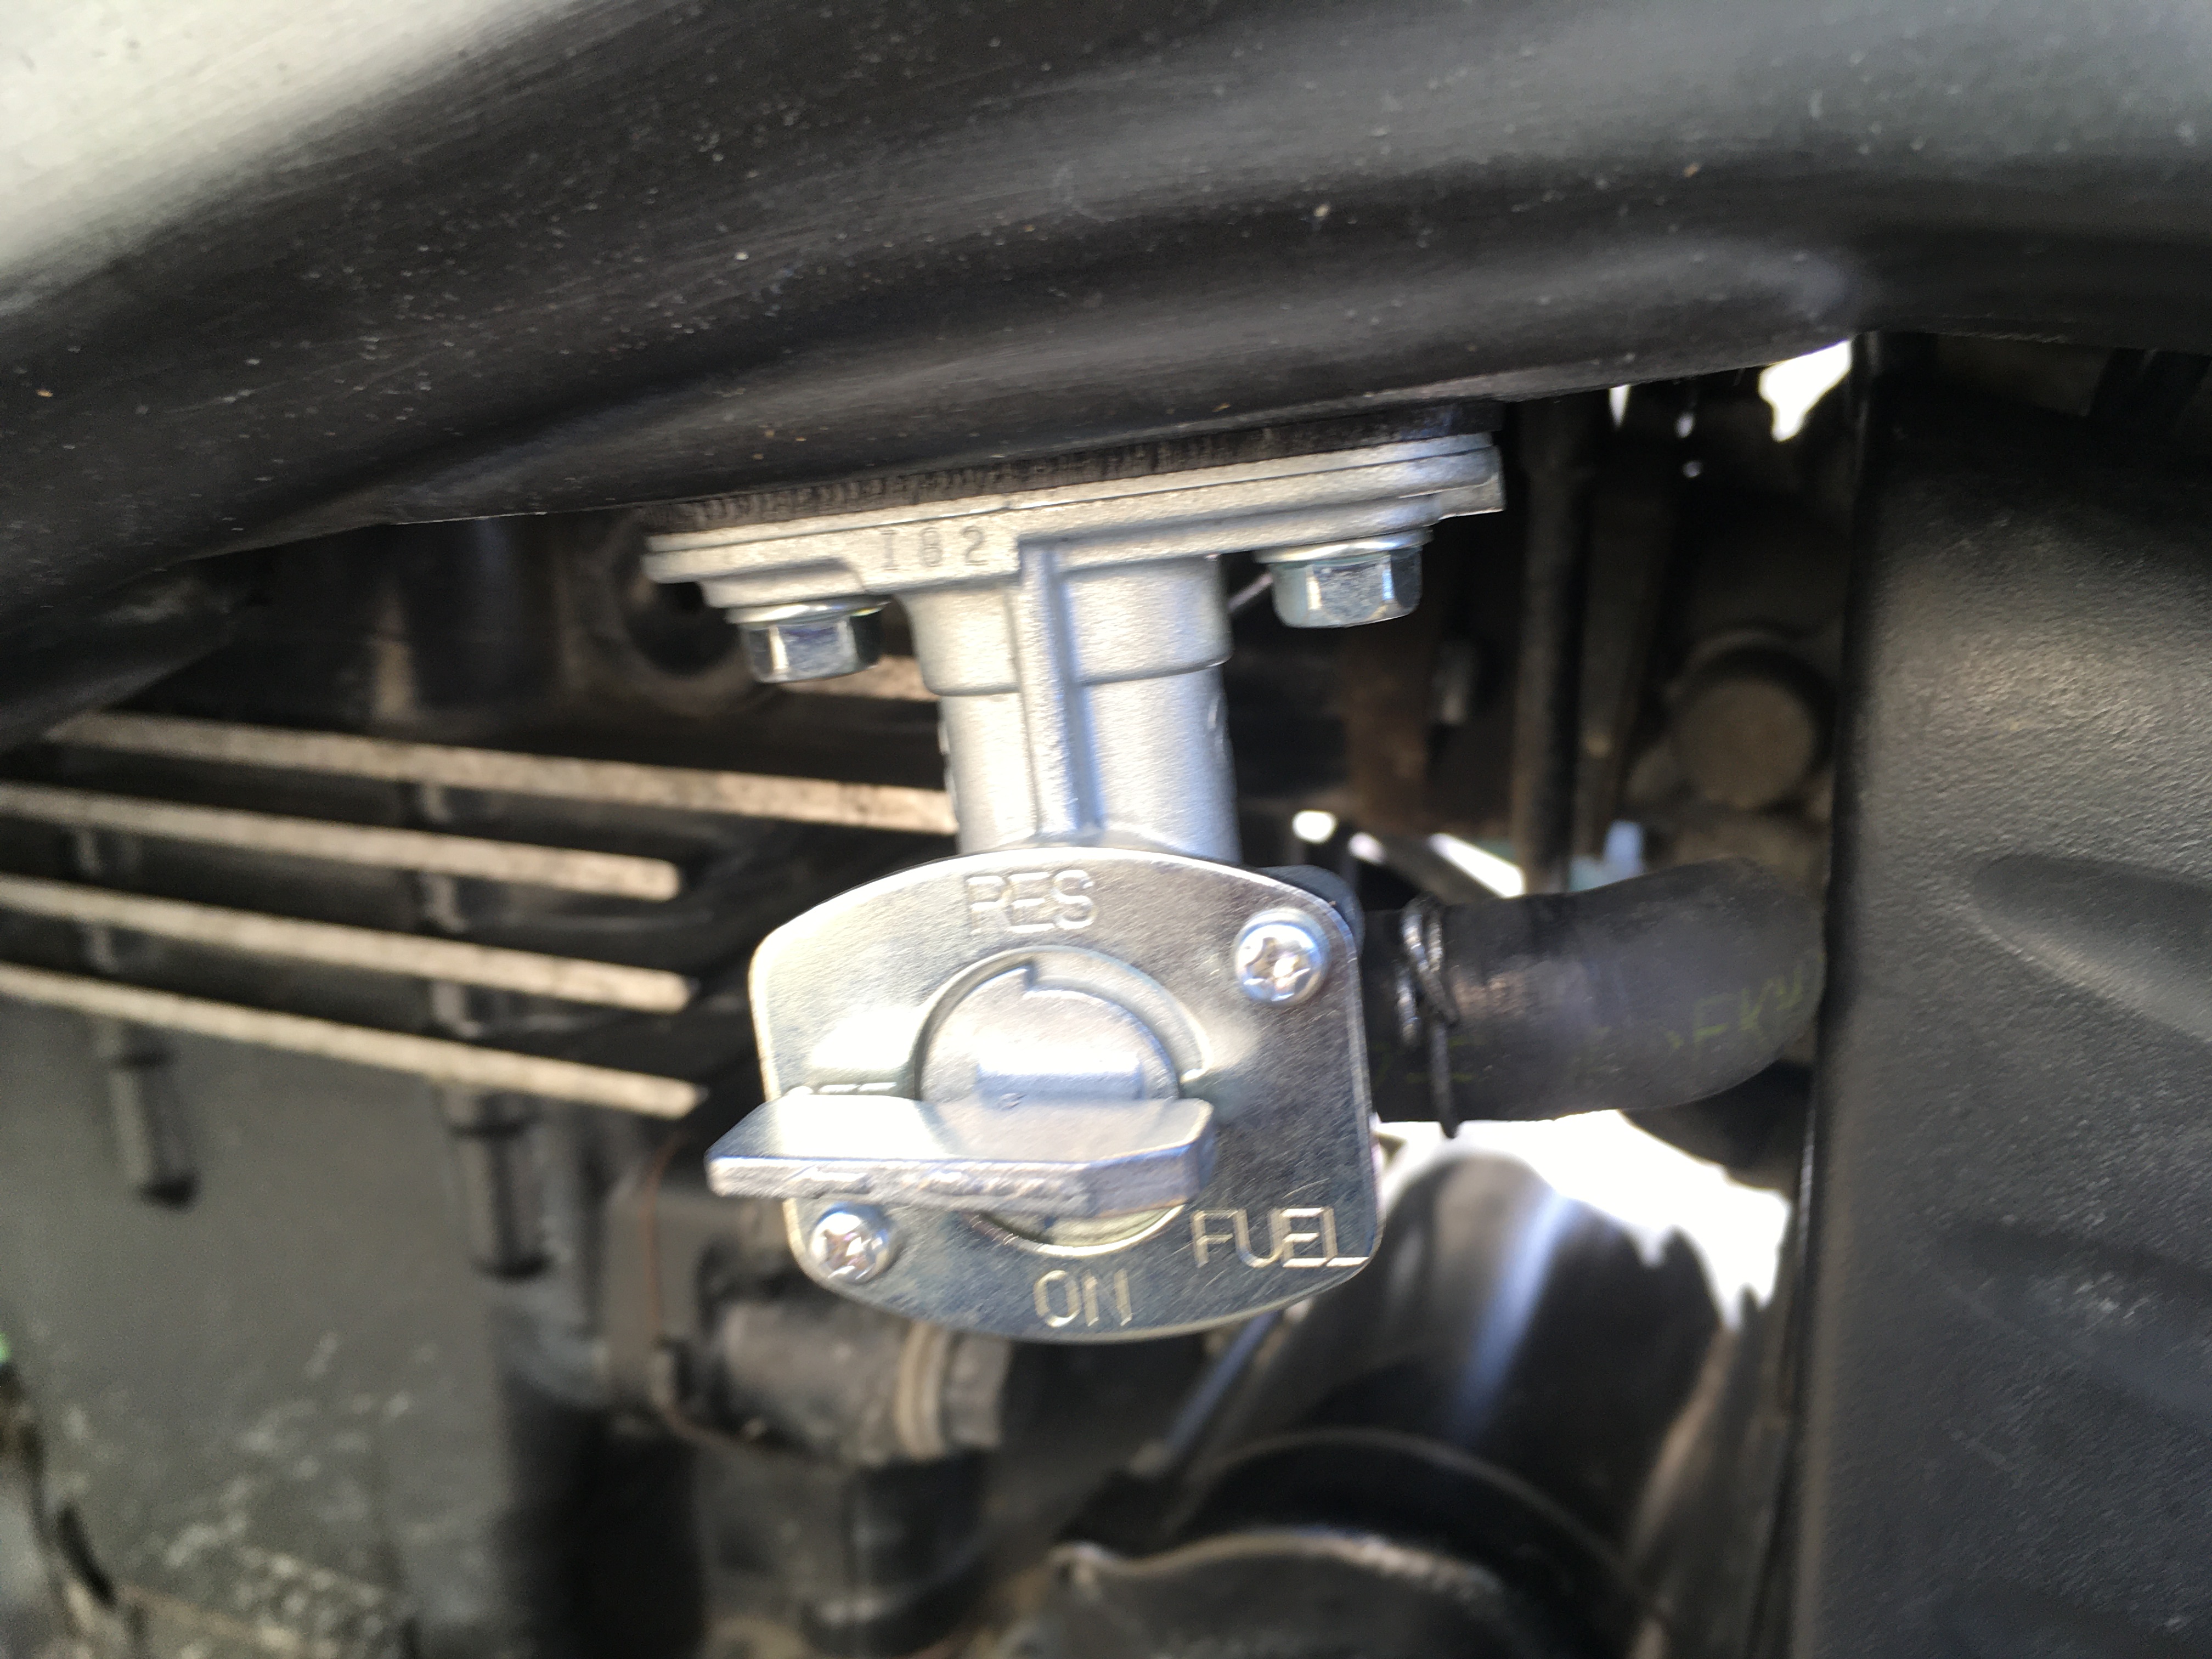
Installation took about 6 hours but I was taking my time and cleaning things while I had access to them. I could have used the original KLR petcock but I had bought a manual petcock from Eagle Mike while ordering other parts from him, so I installed that instead. The manual petcock is from Yamaha.
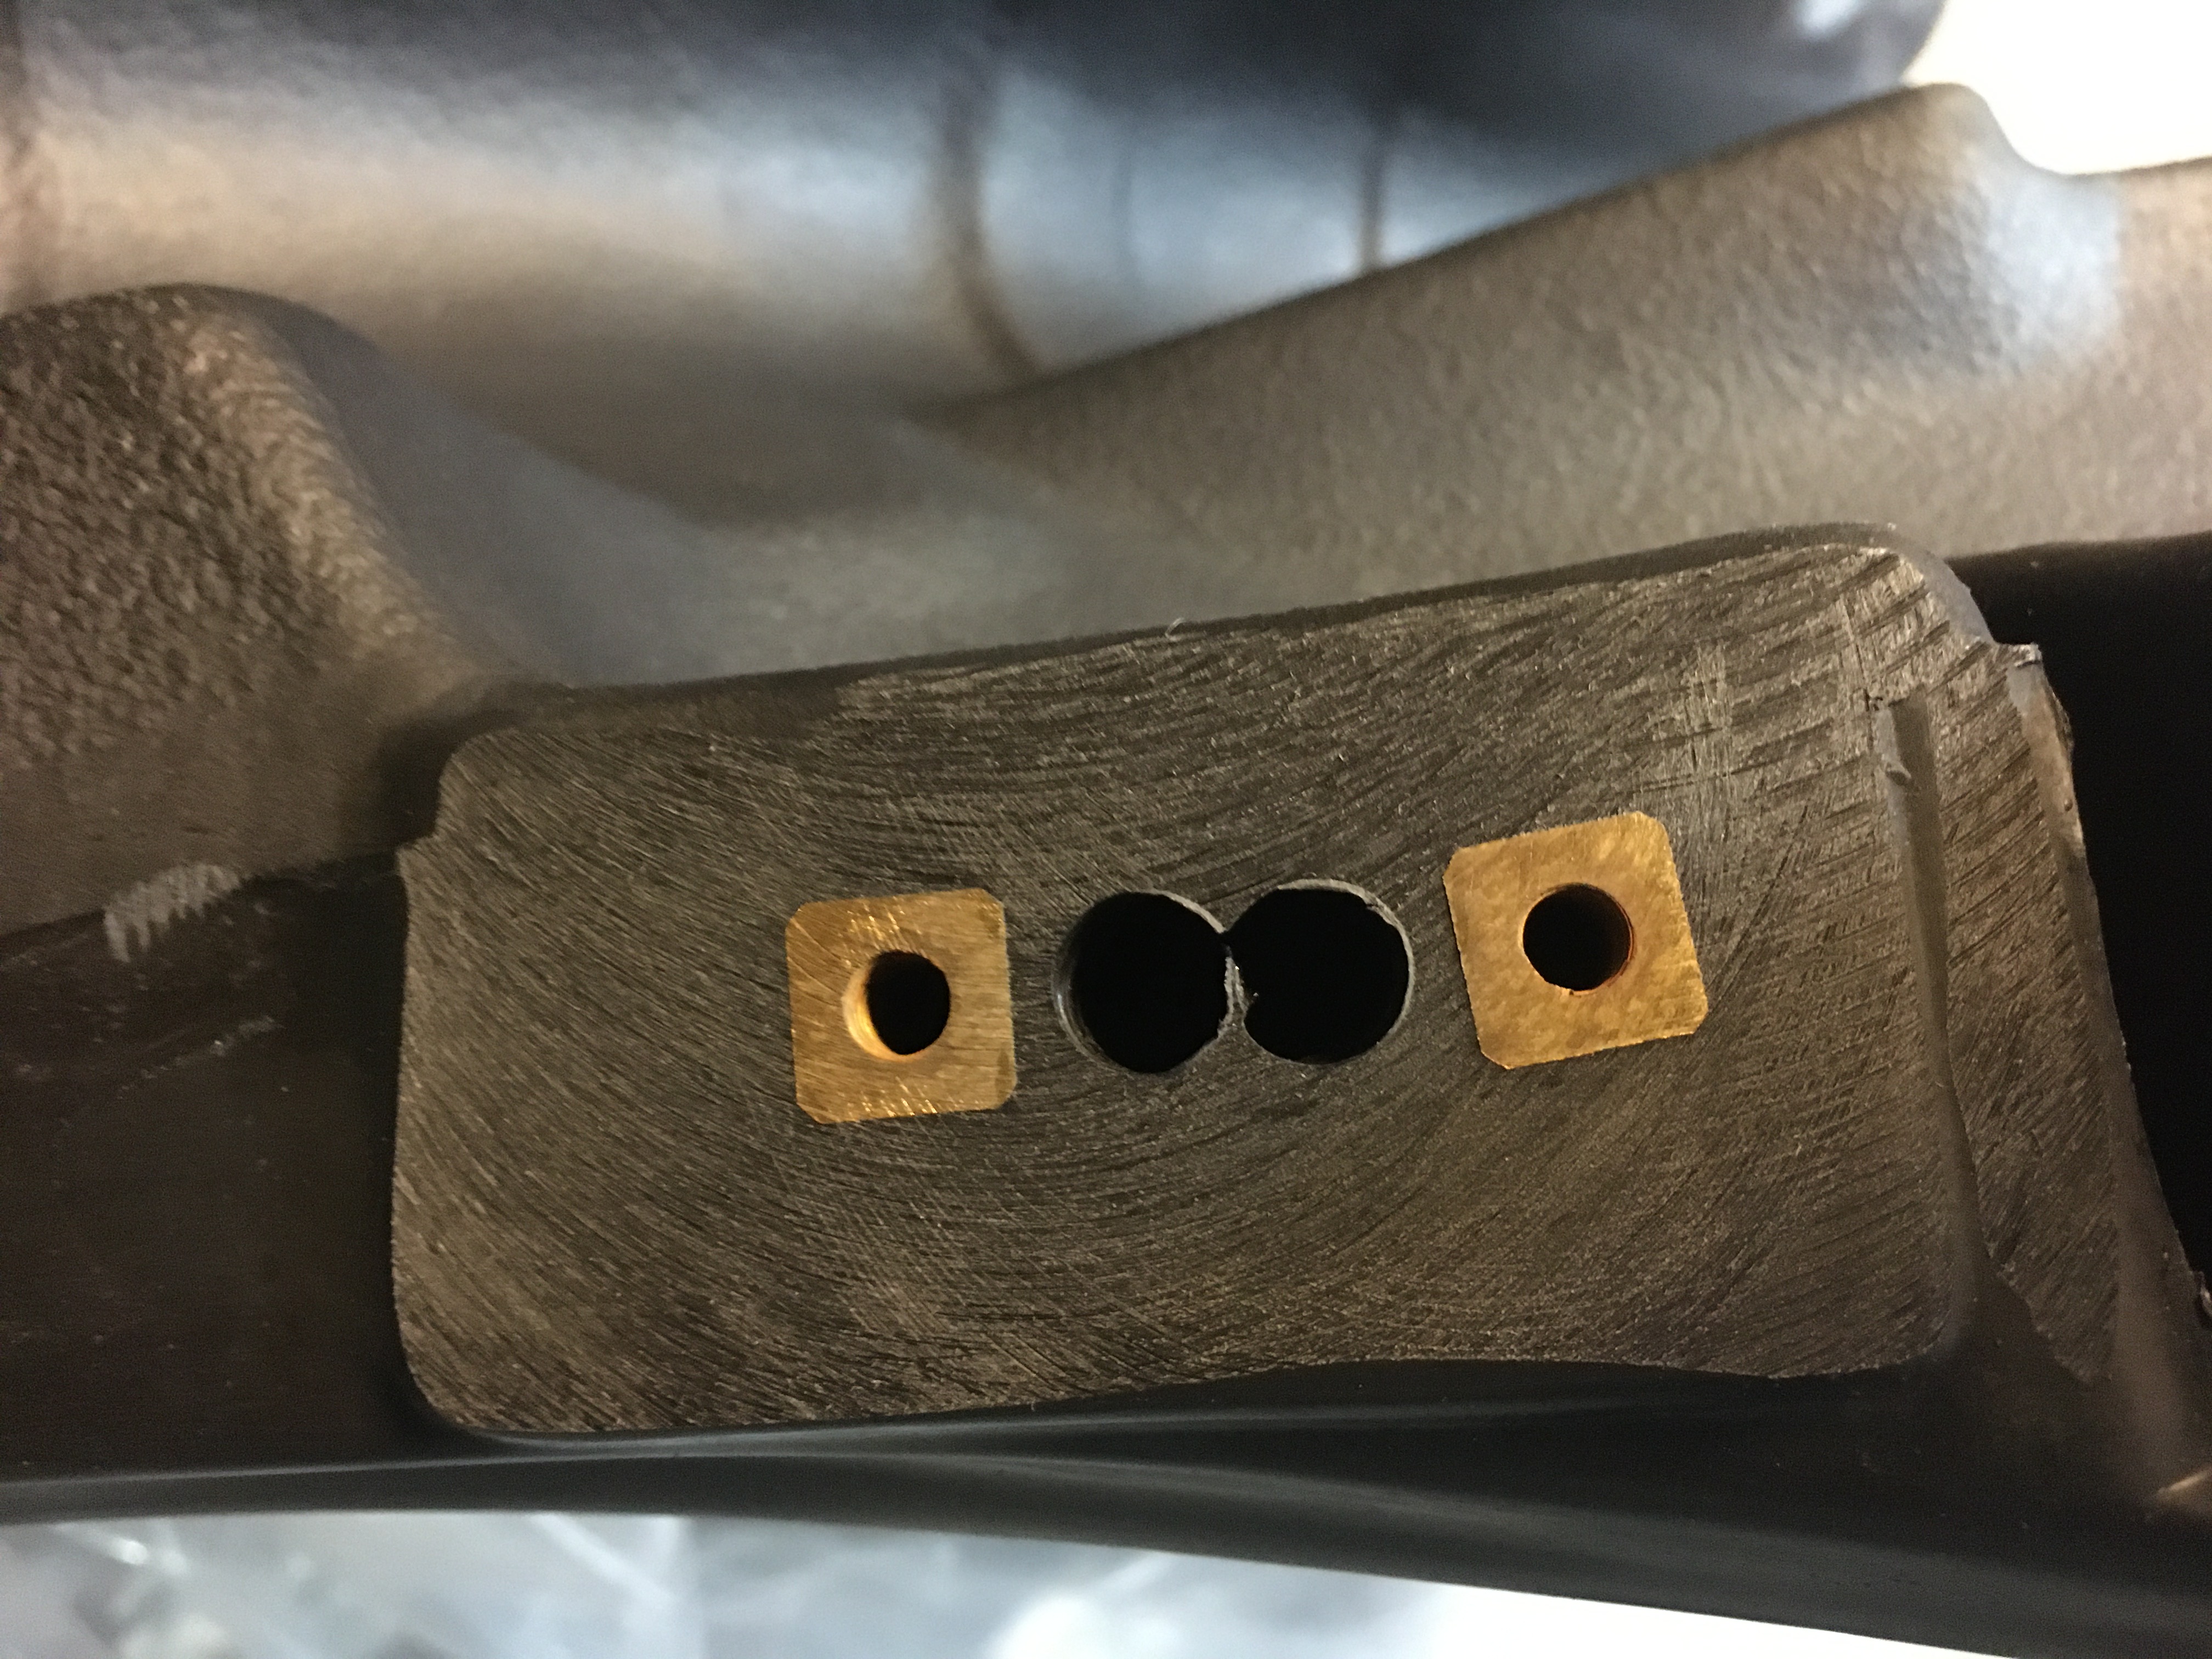
Here's the underside of the tank. The brass fittings at the top left and right are banjo style fittings that have hoses connected to them inside the tank and serve as the suction locations for the internal lift pump.
With the petcock installed:

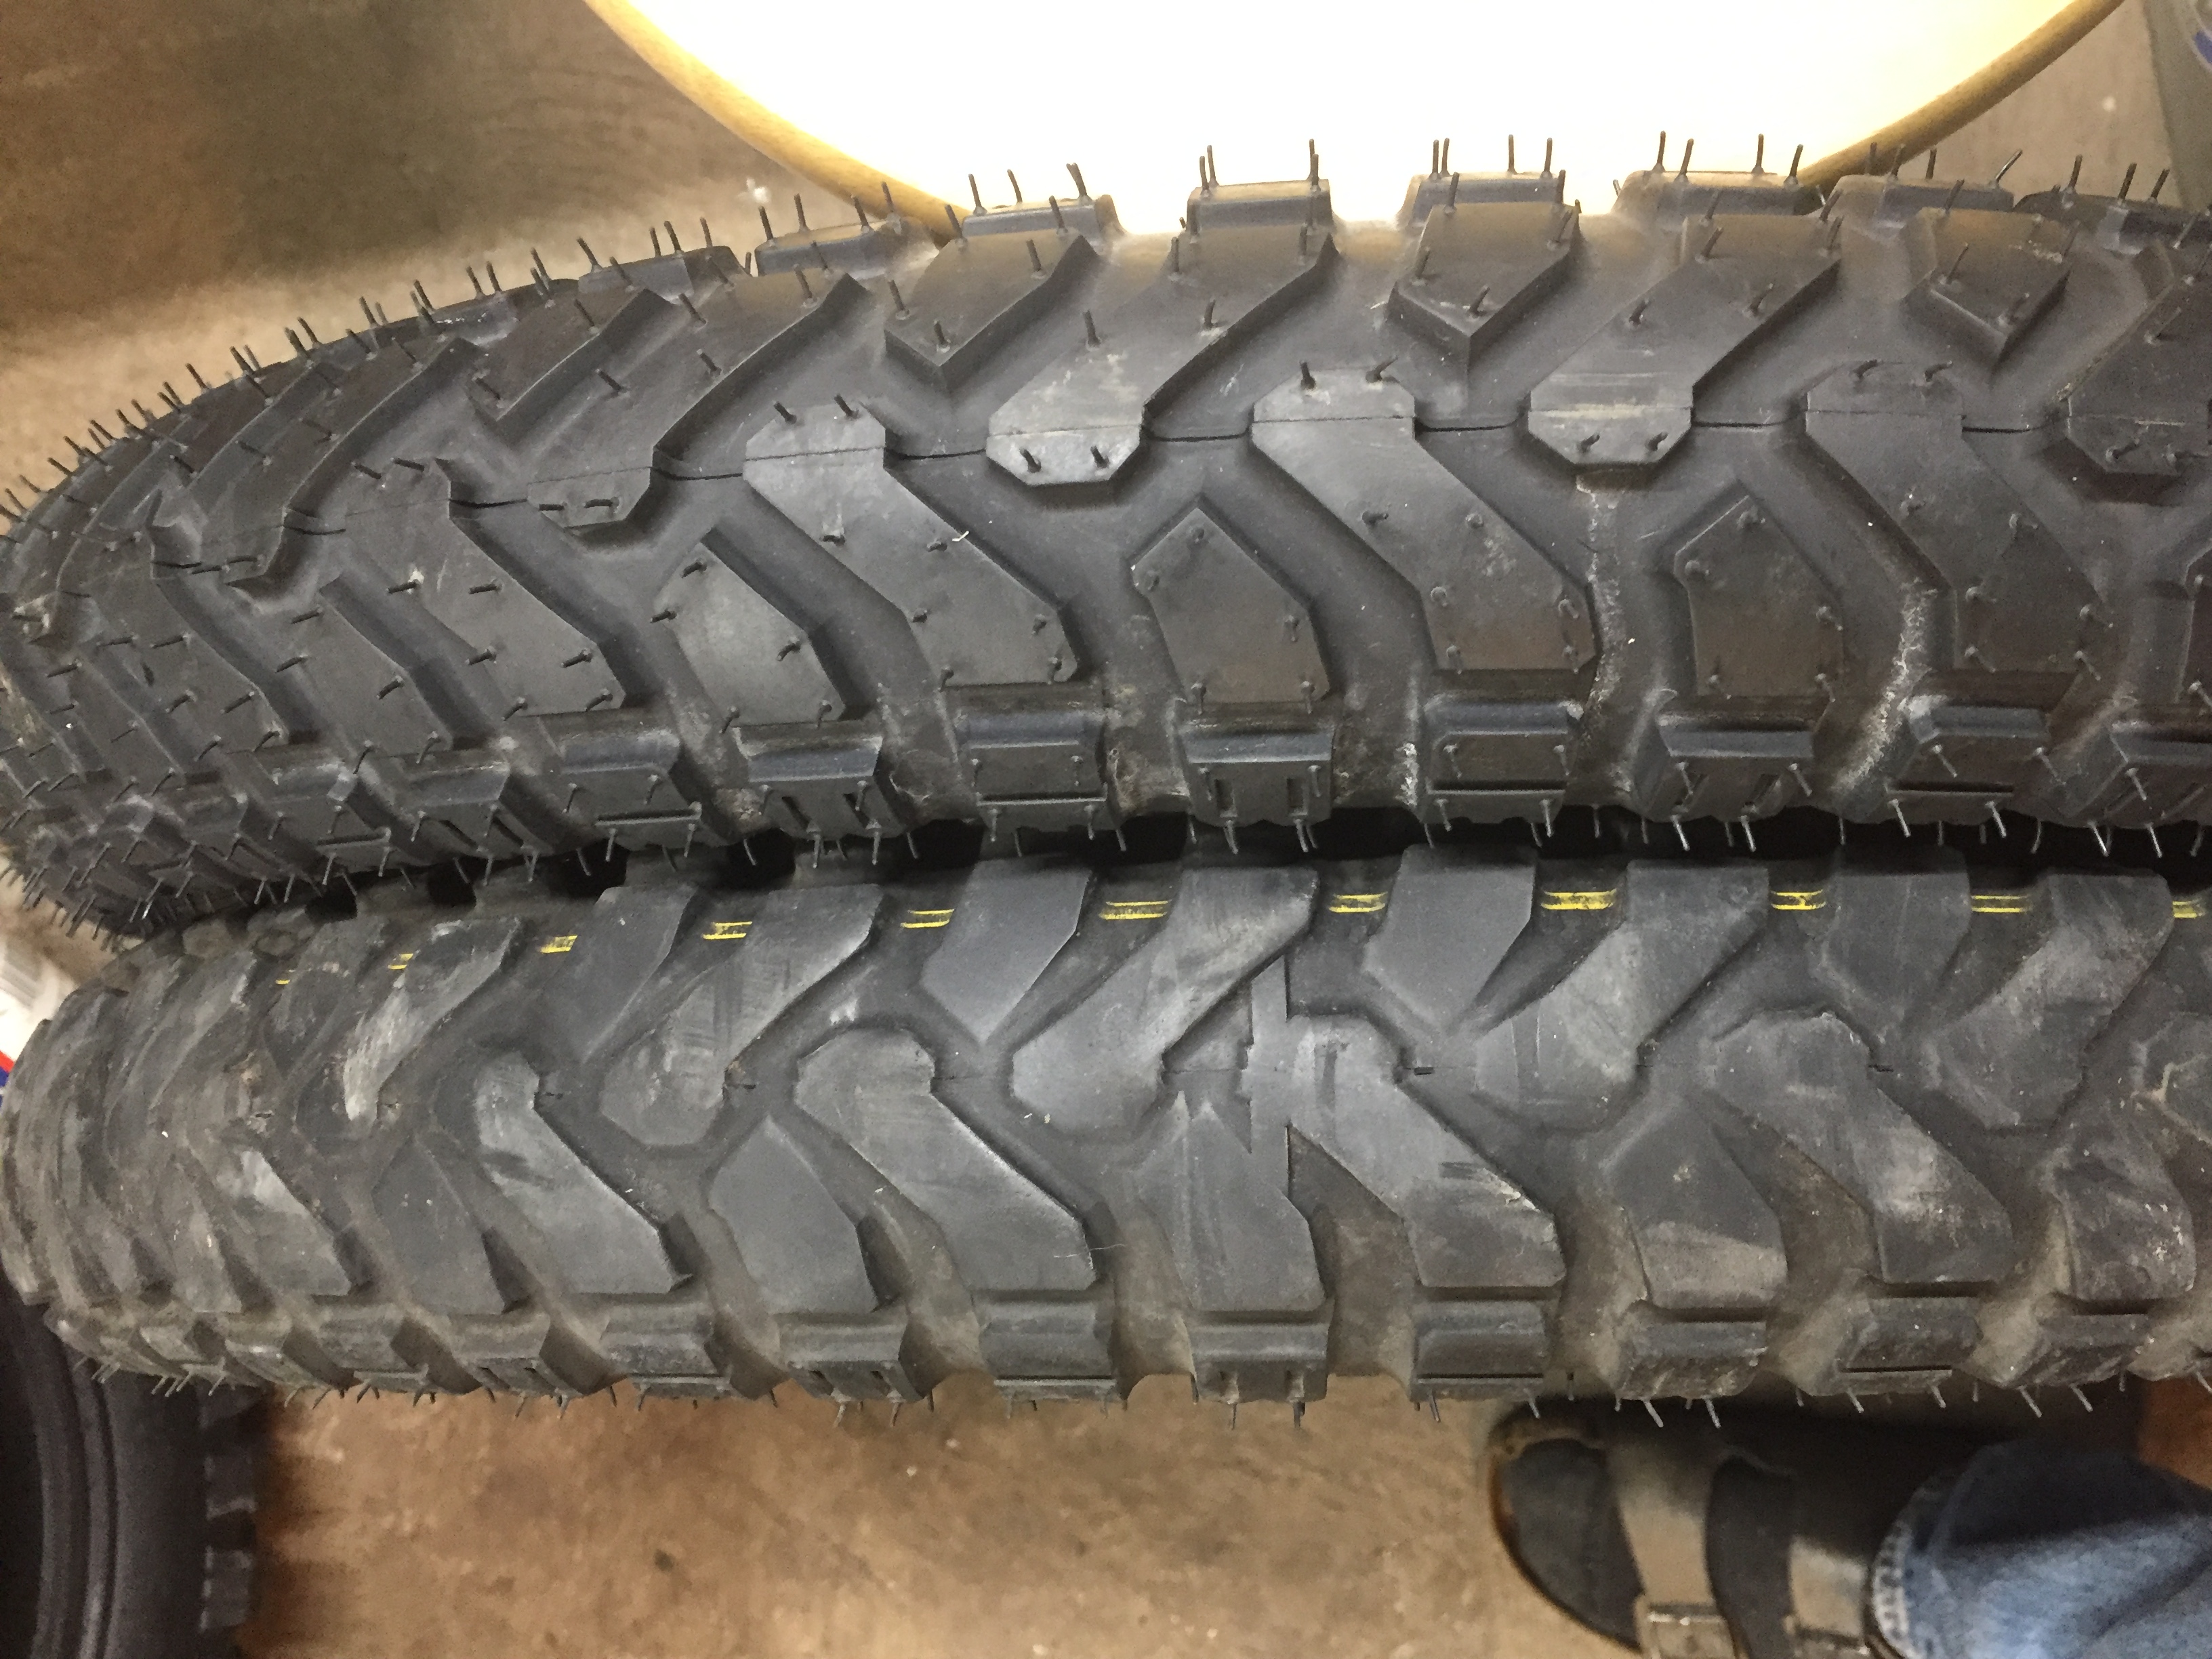
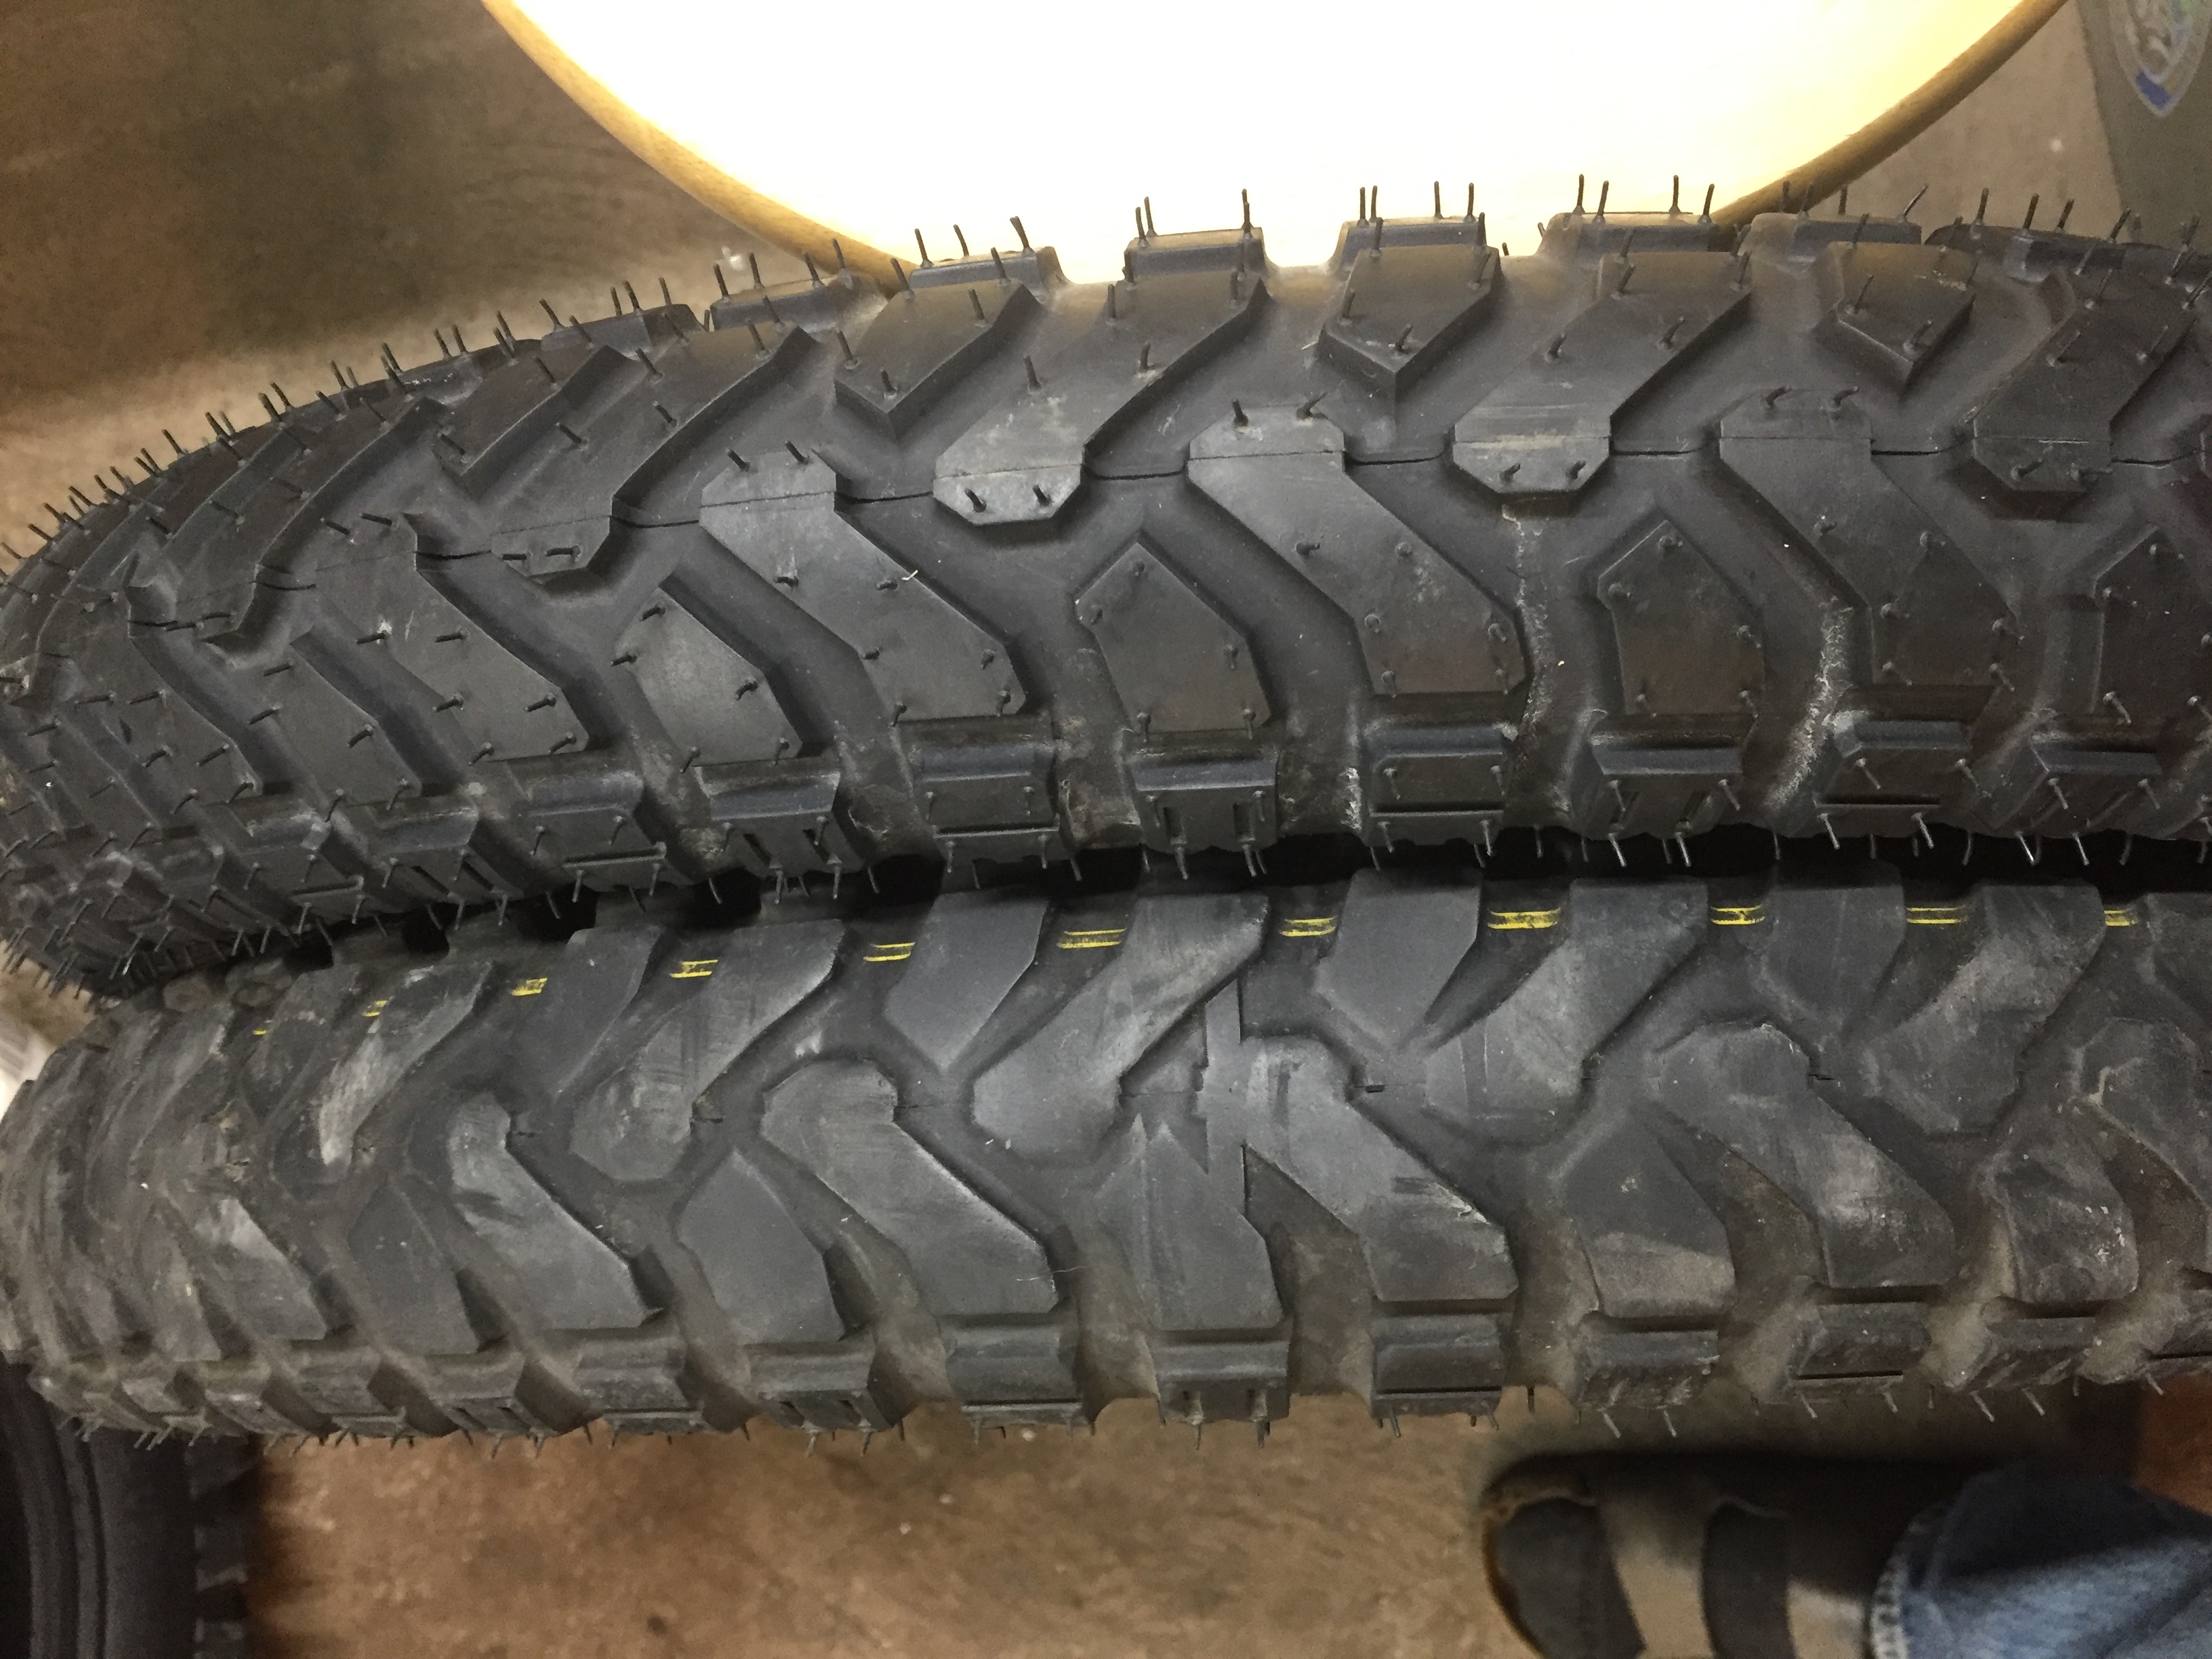
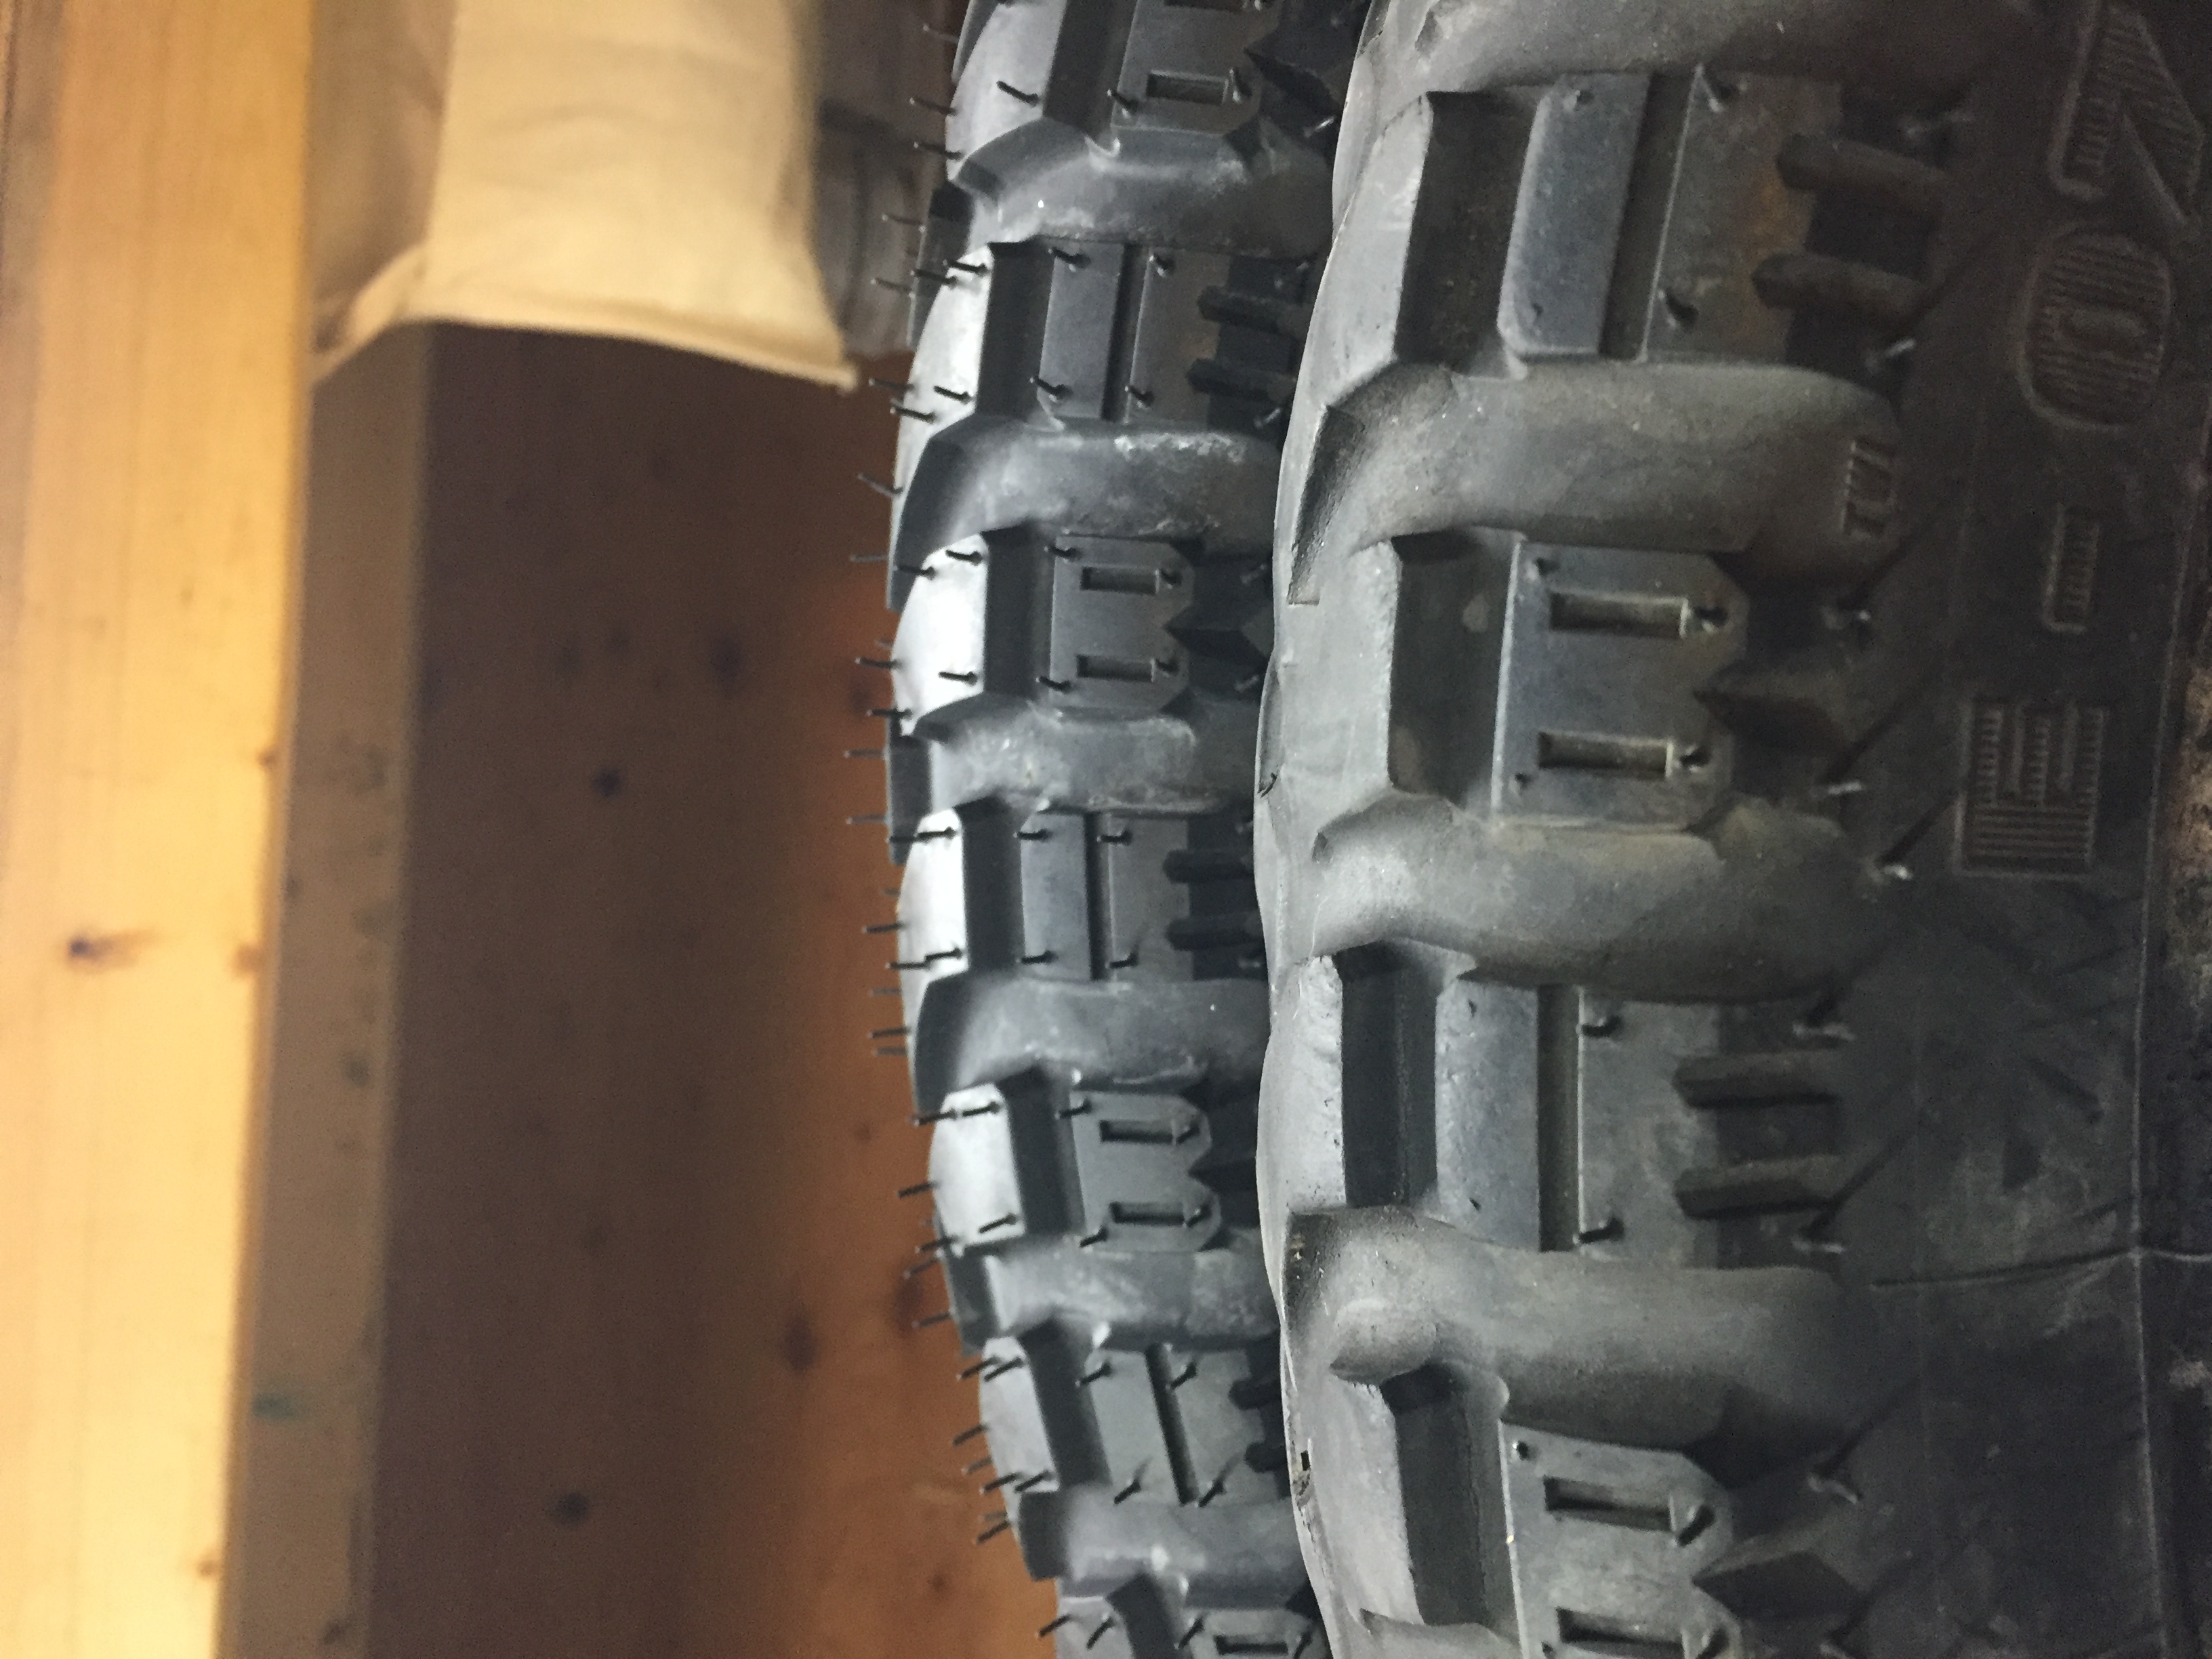
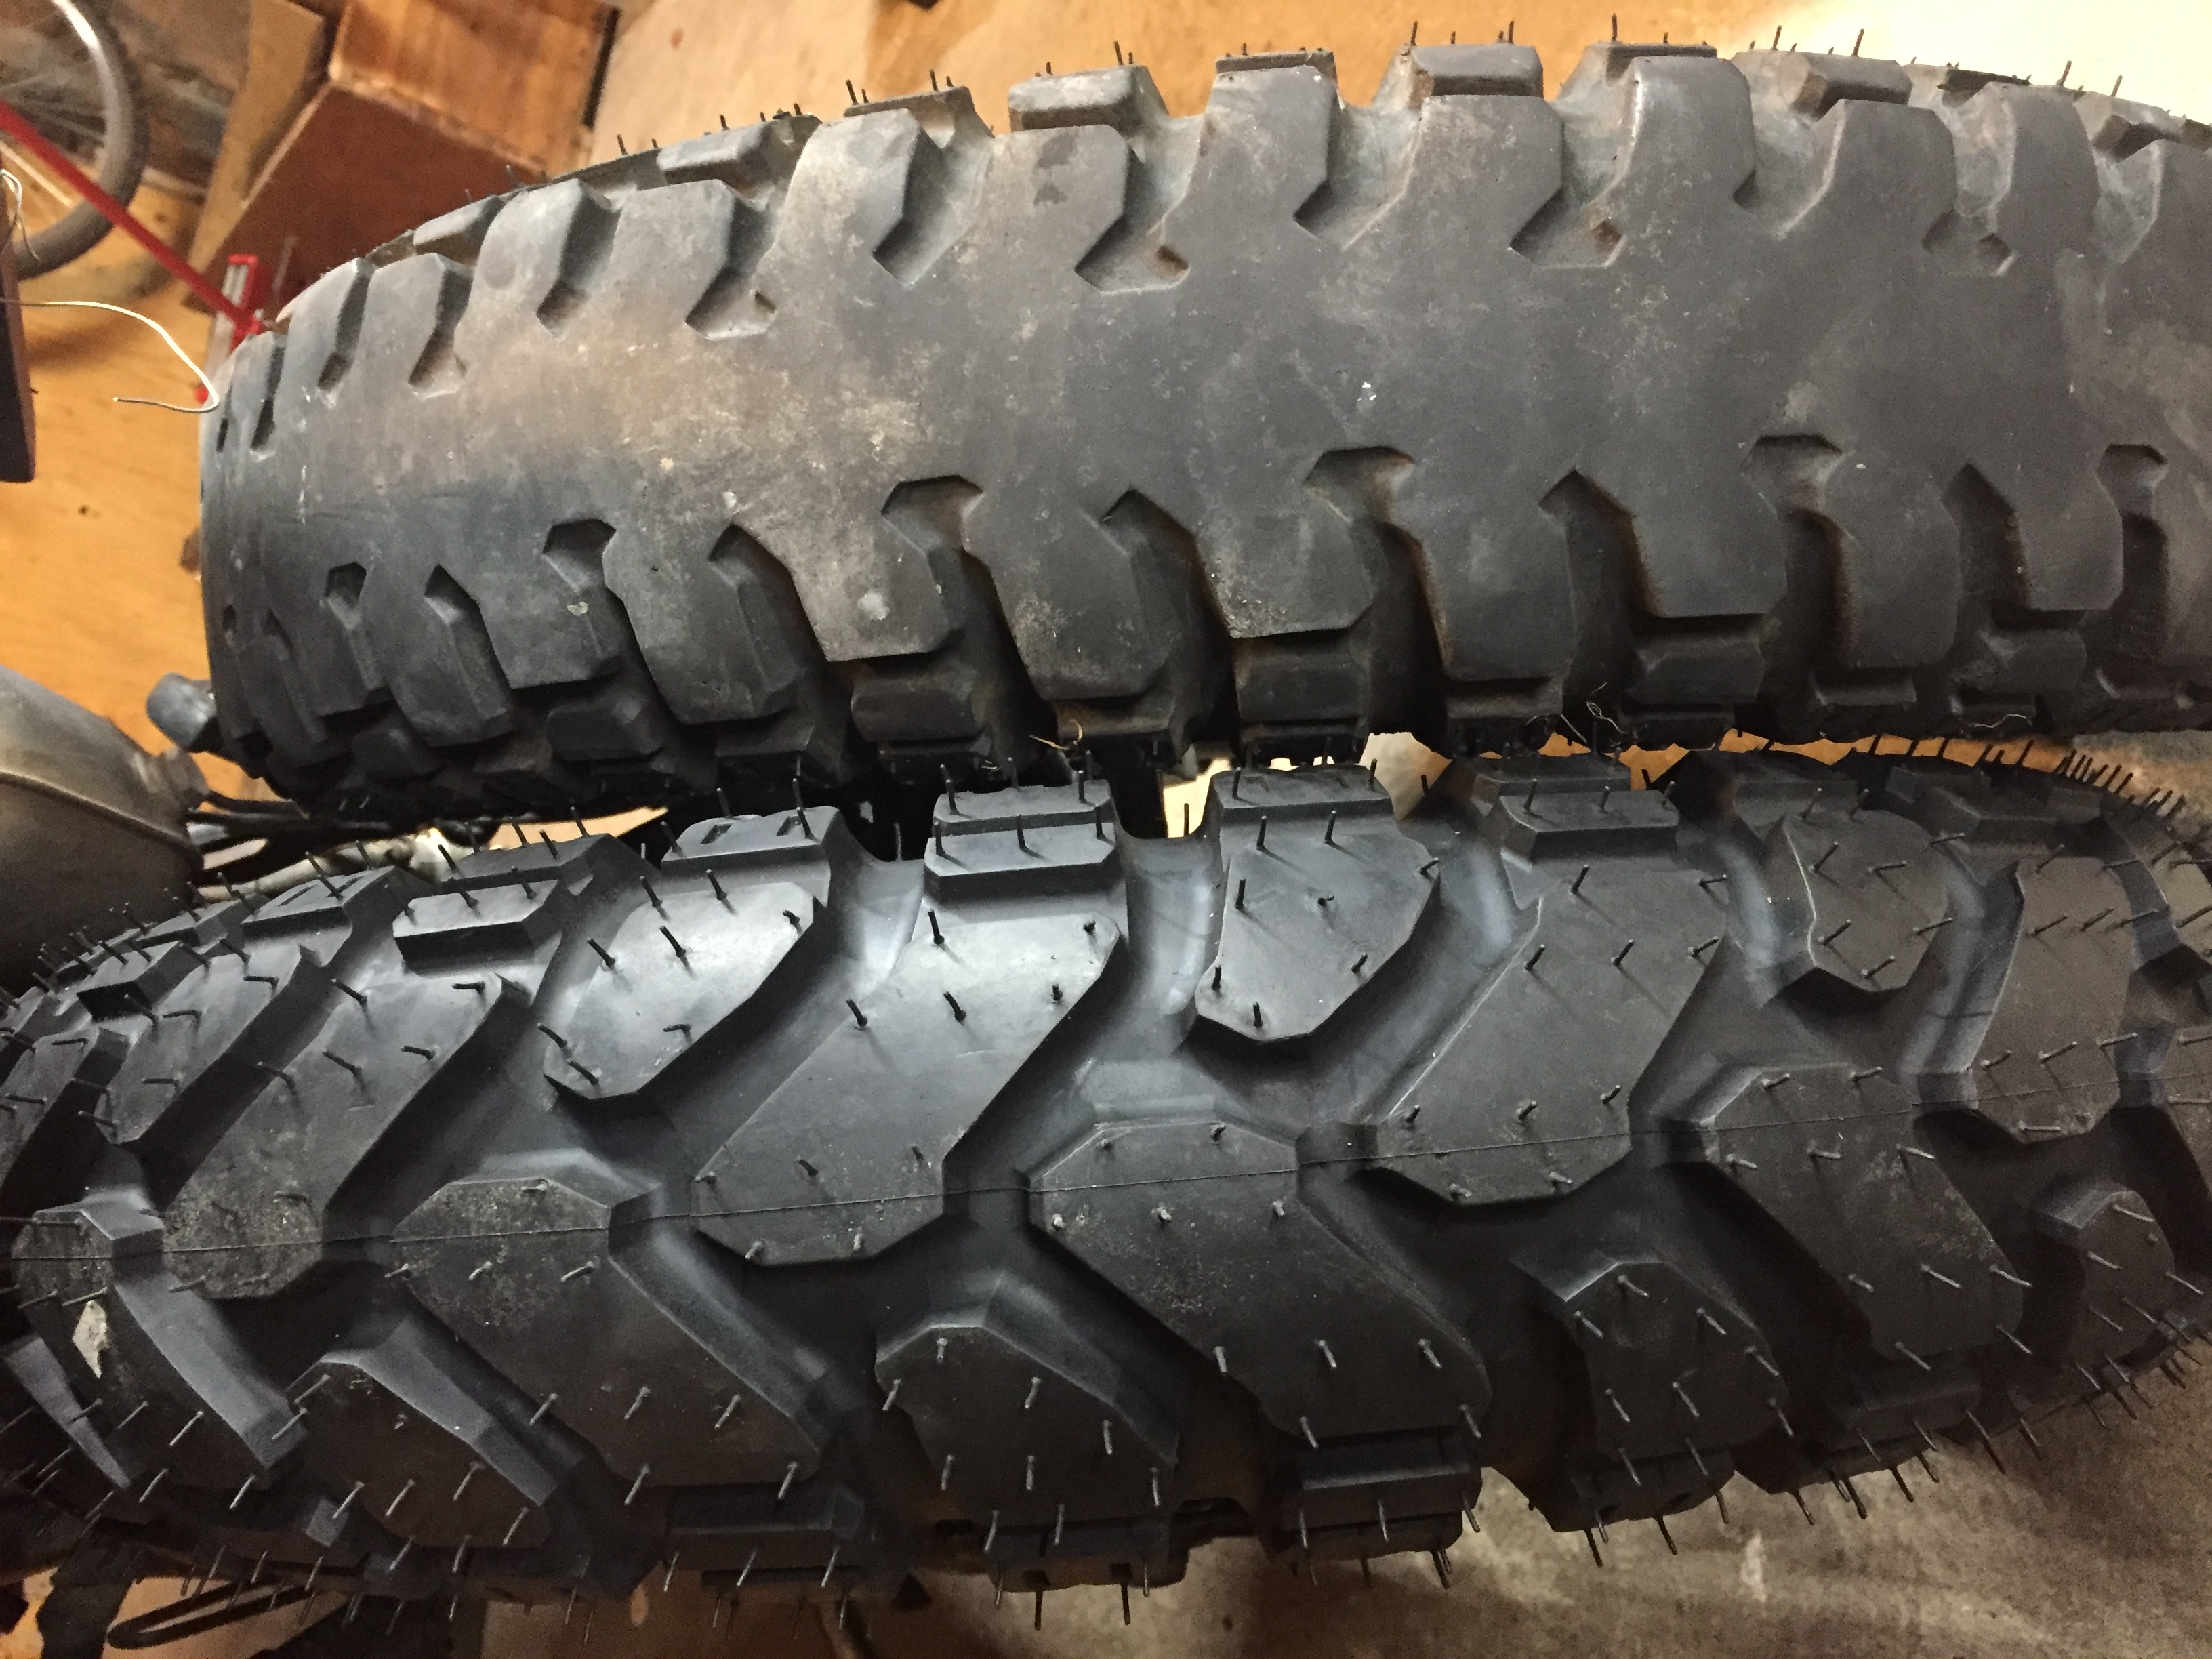
| Date: | Summer 2020 |
| Odometer: | 75000 kilometers |
| Cost: | $250 for tires |
| Time: | 8 hours |
| Date: | July 29, 2020 |
| Odometer: | 80000 kilometers |
| Cost: | $20 for oil and filter |
| Time: | 1 hour |
The magnetic drain plug had some metal dust residue on it. The oil filter did not have any visible particles in it. I refilled with Shell Rotella T6 heavy duty diesel engine oil and put in a new oil filter.
I also did these ancillary tasks:
| Date: | September 2020 |
| Odometer: | 80000 kilometers |
| Cost: | $400 for engine and carburetor |
| Time: | 1 hour |
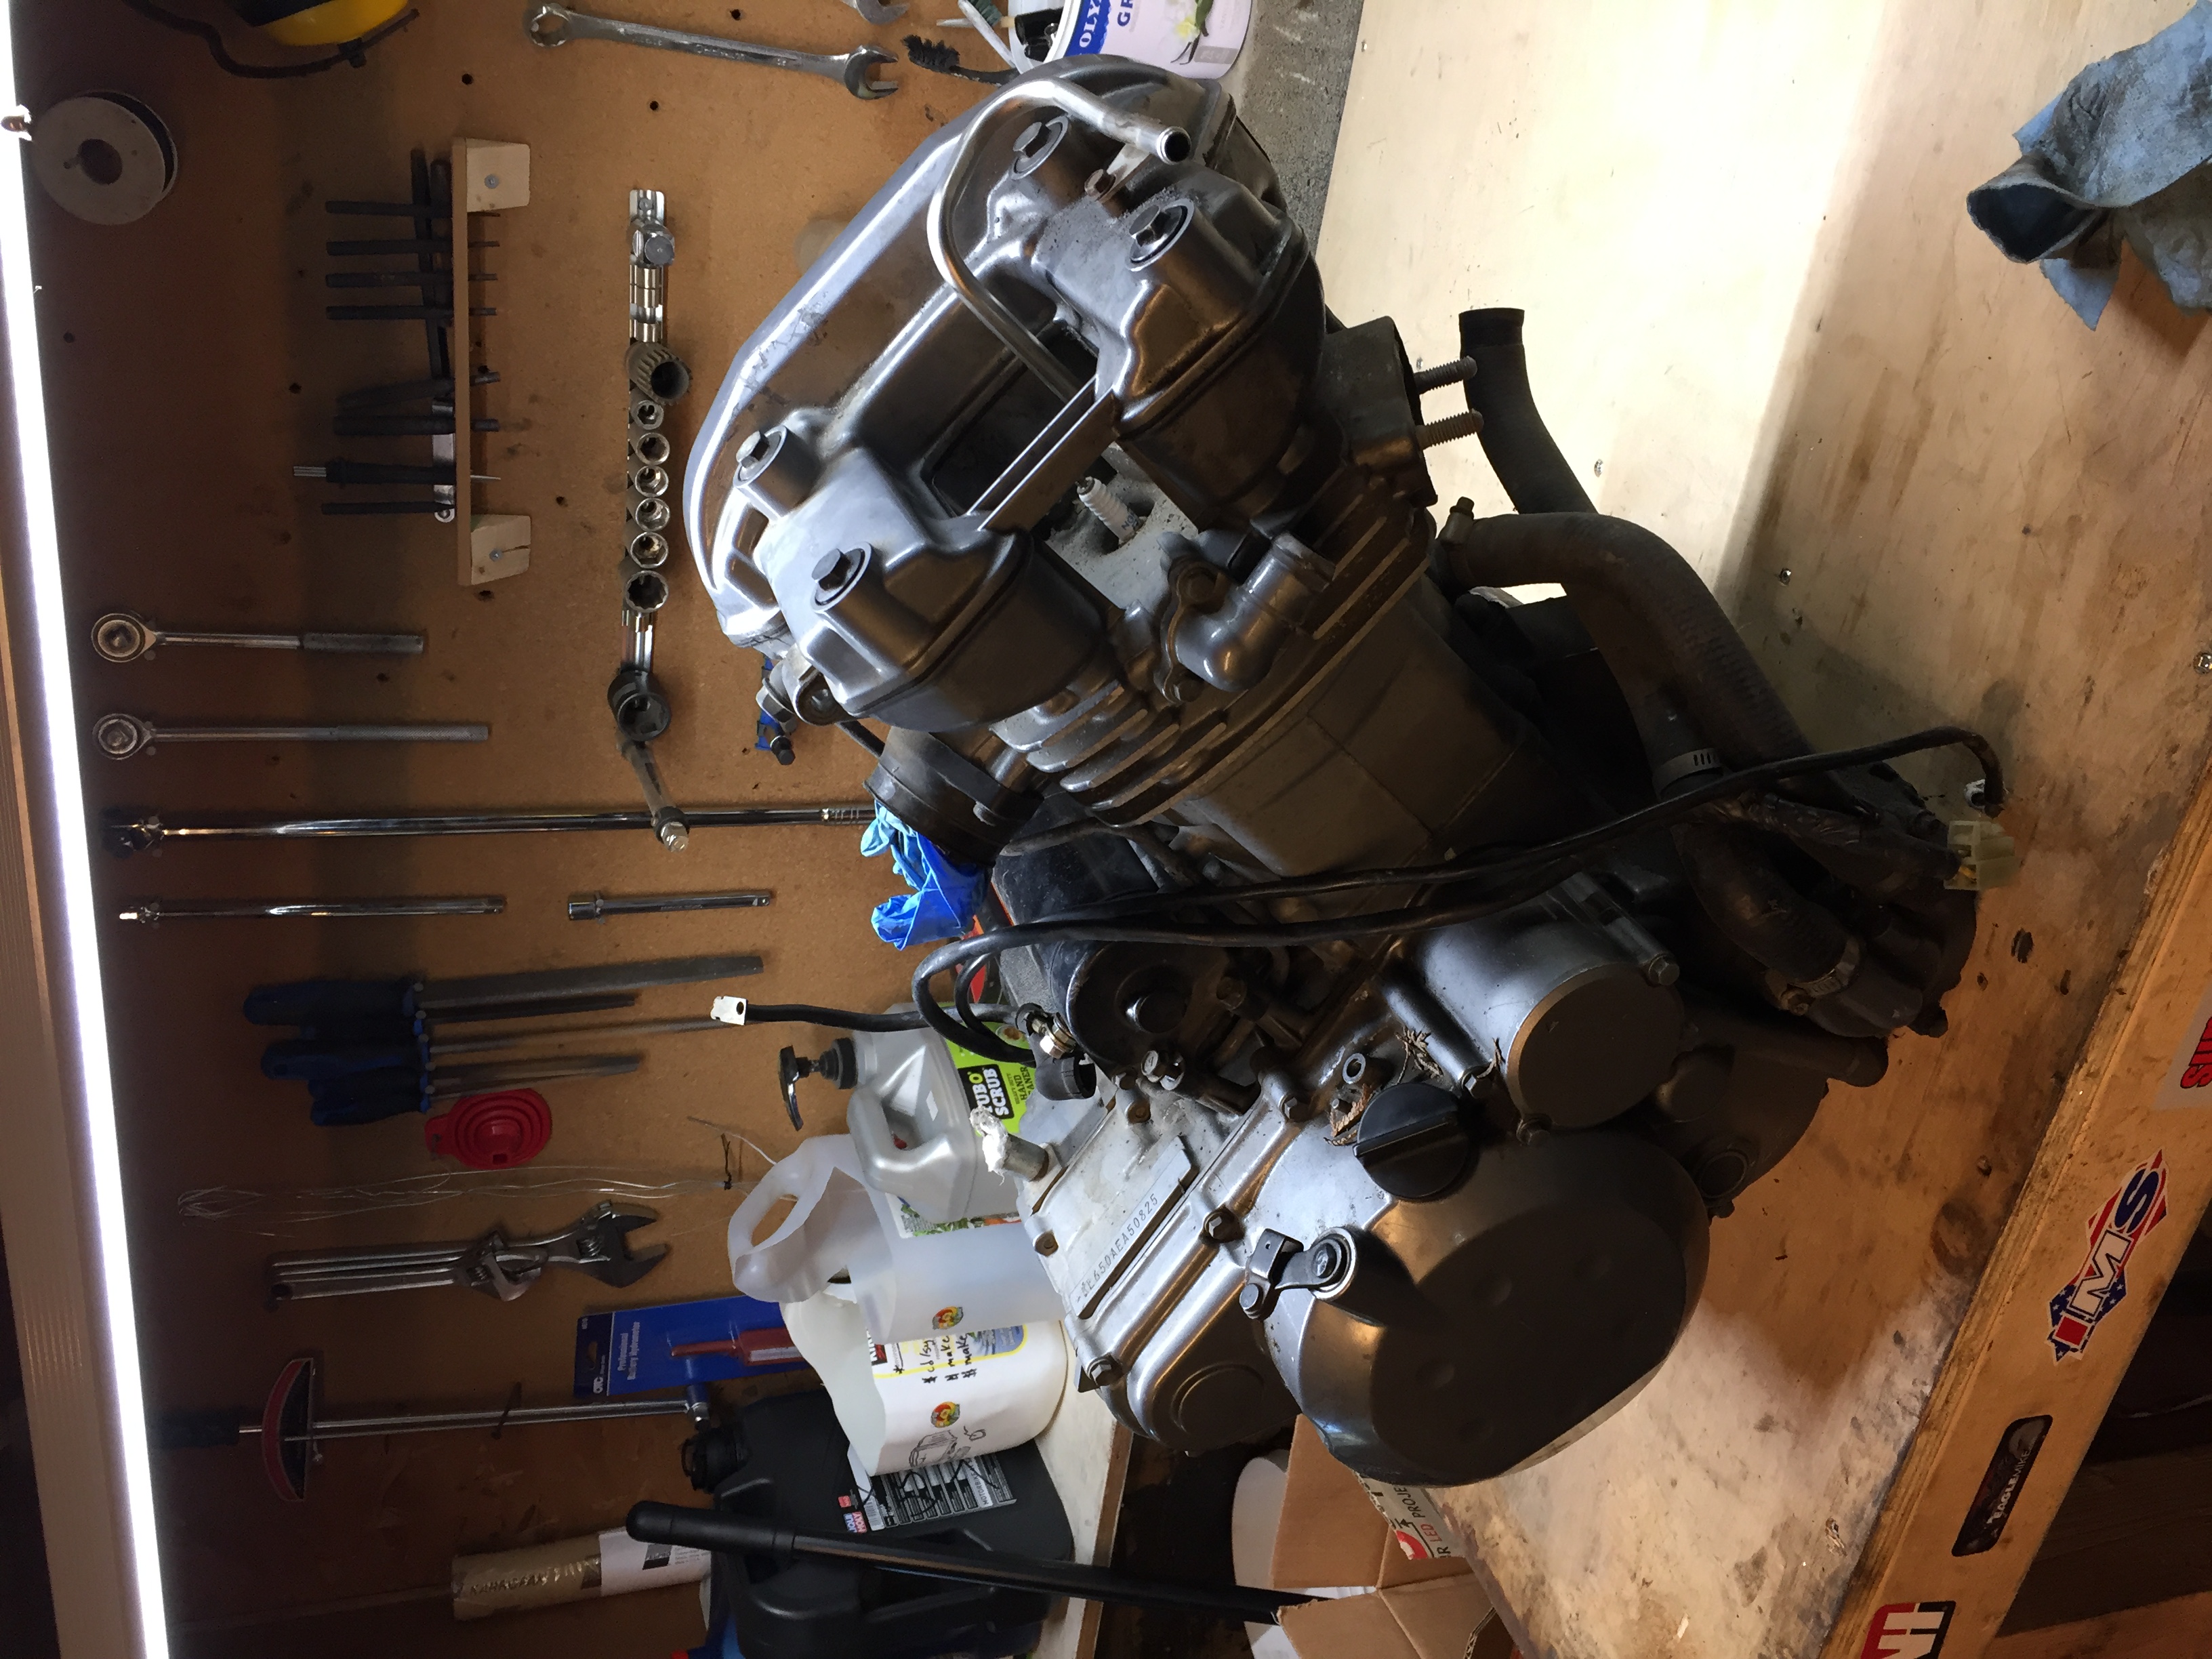
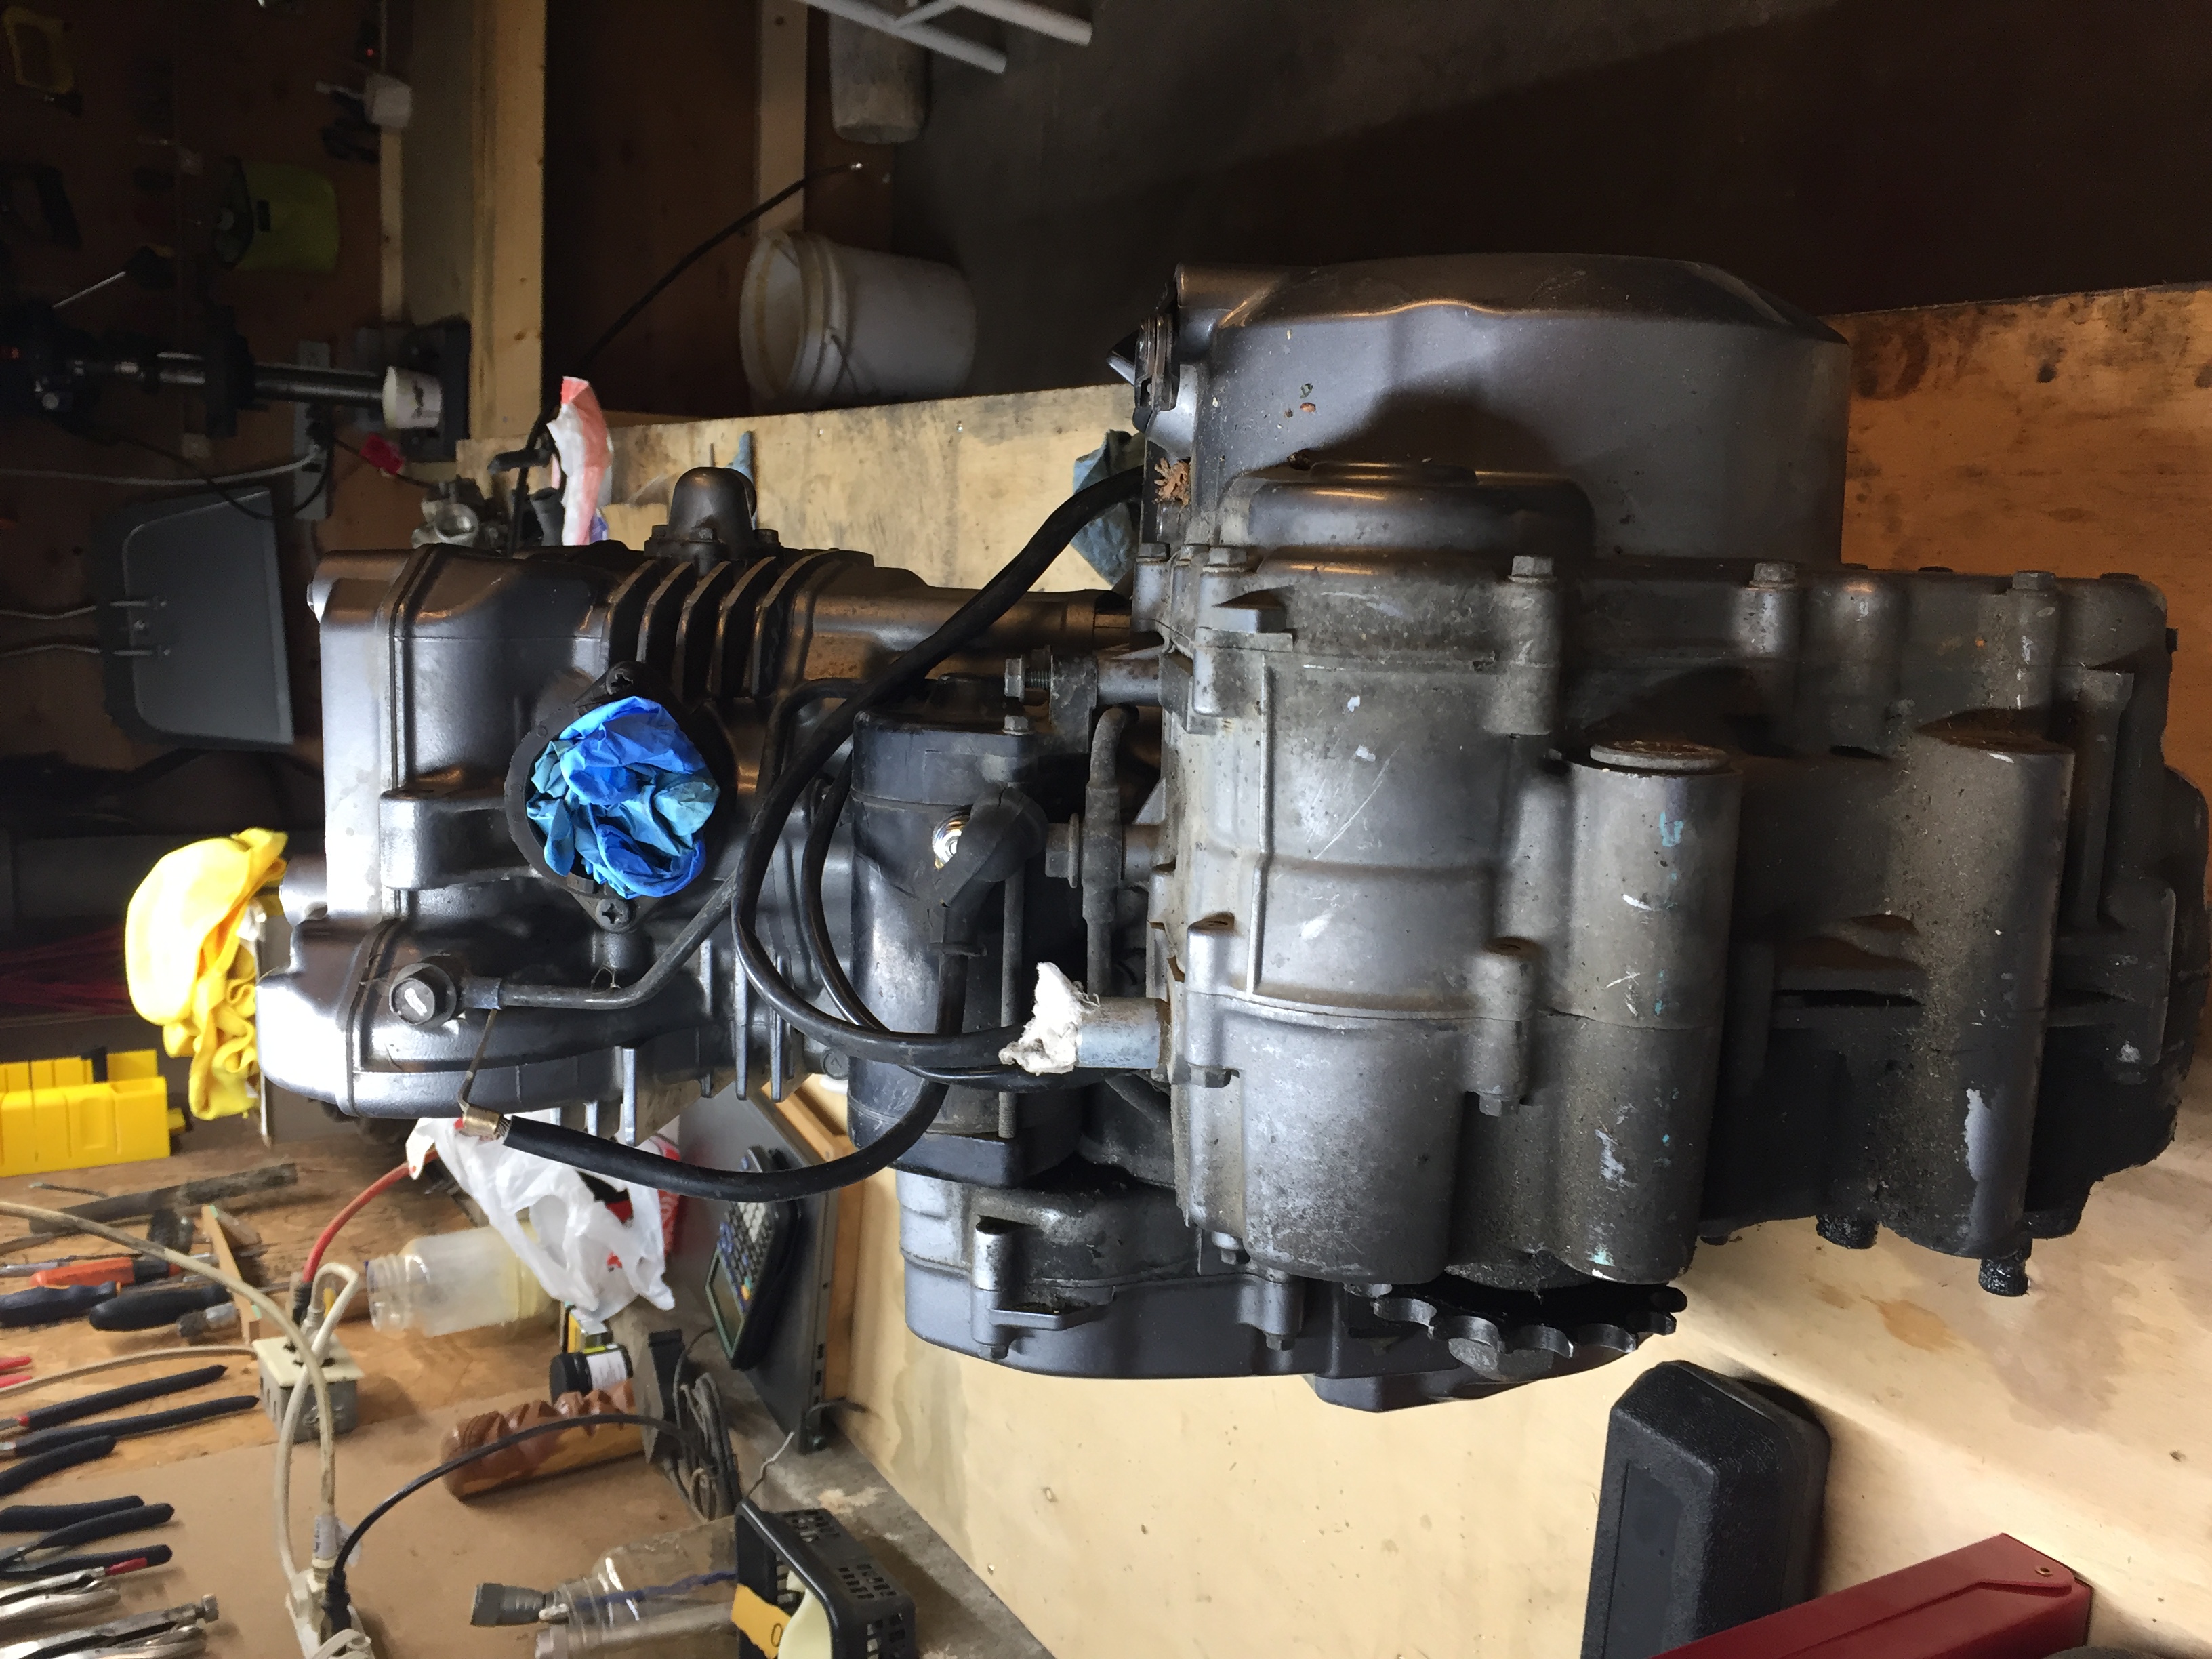
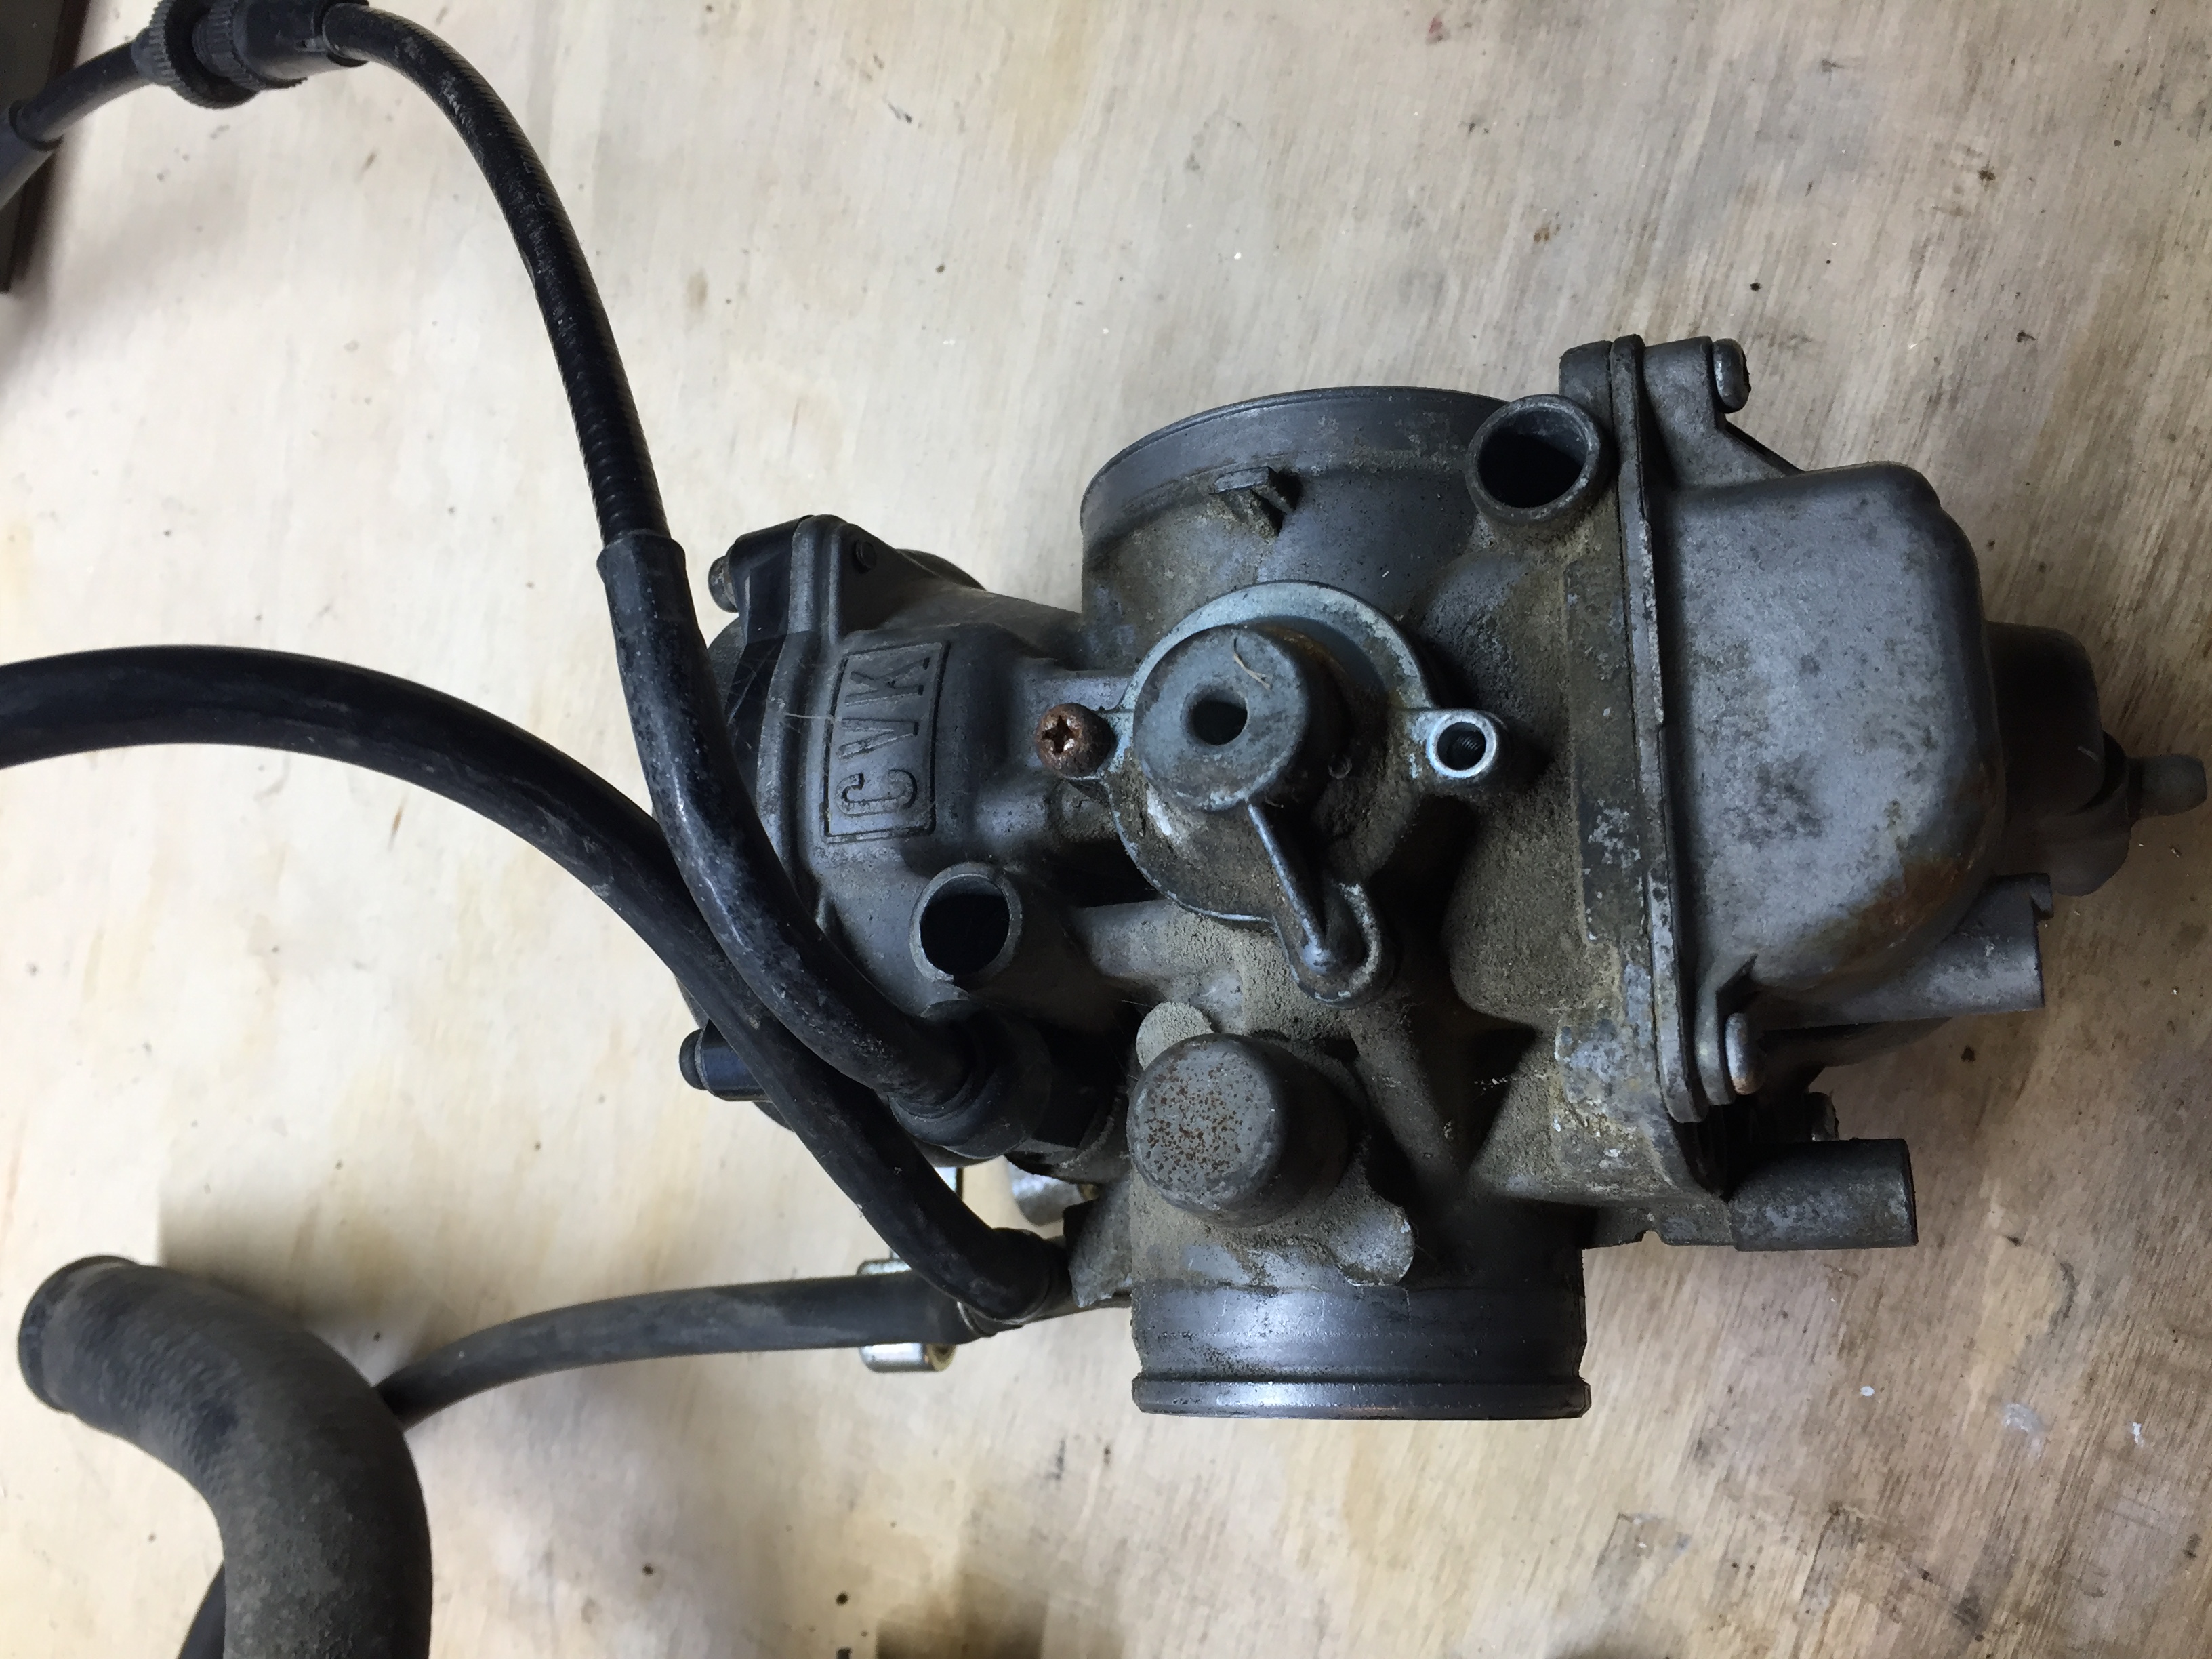
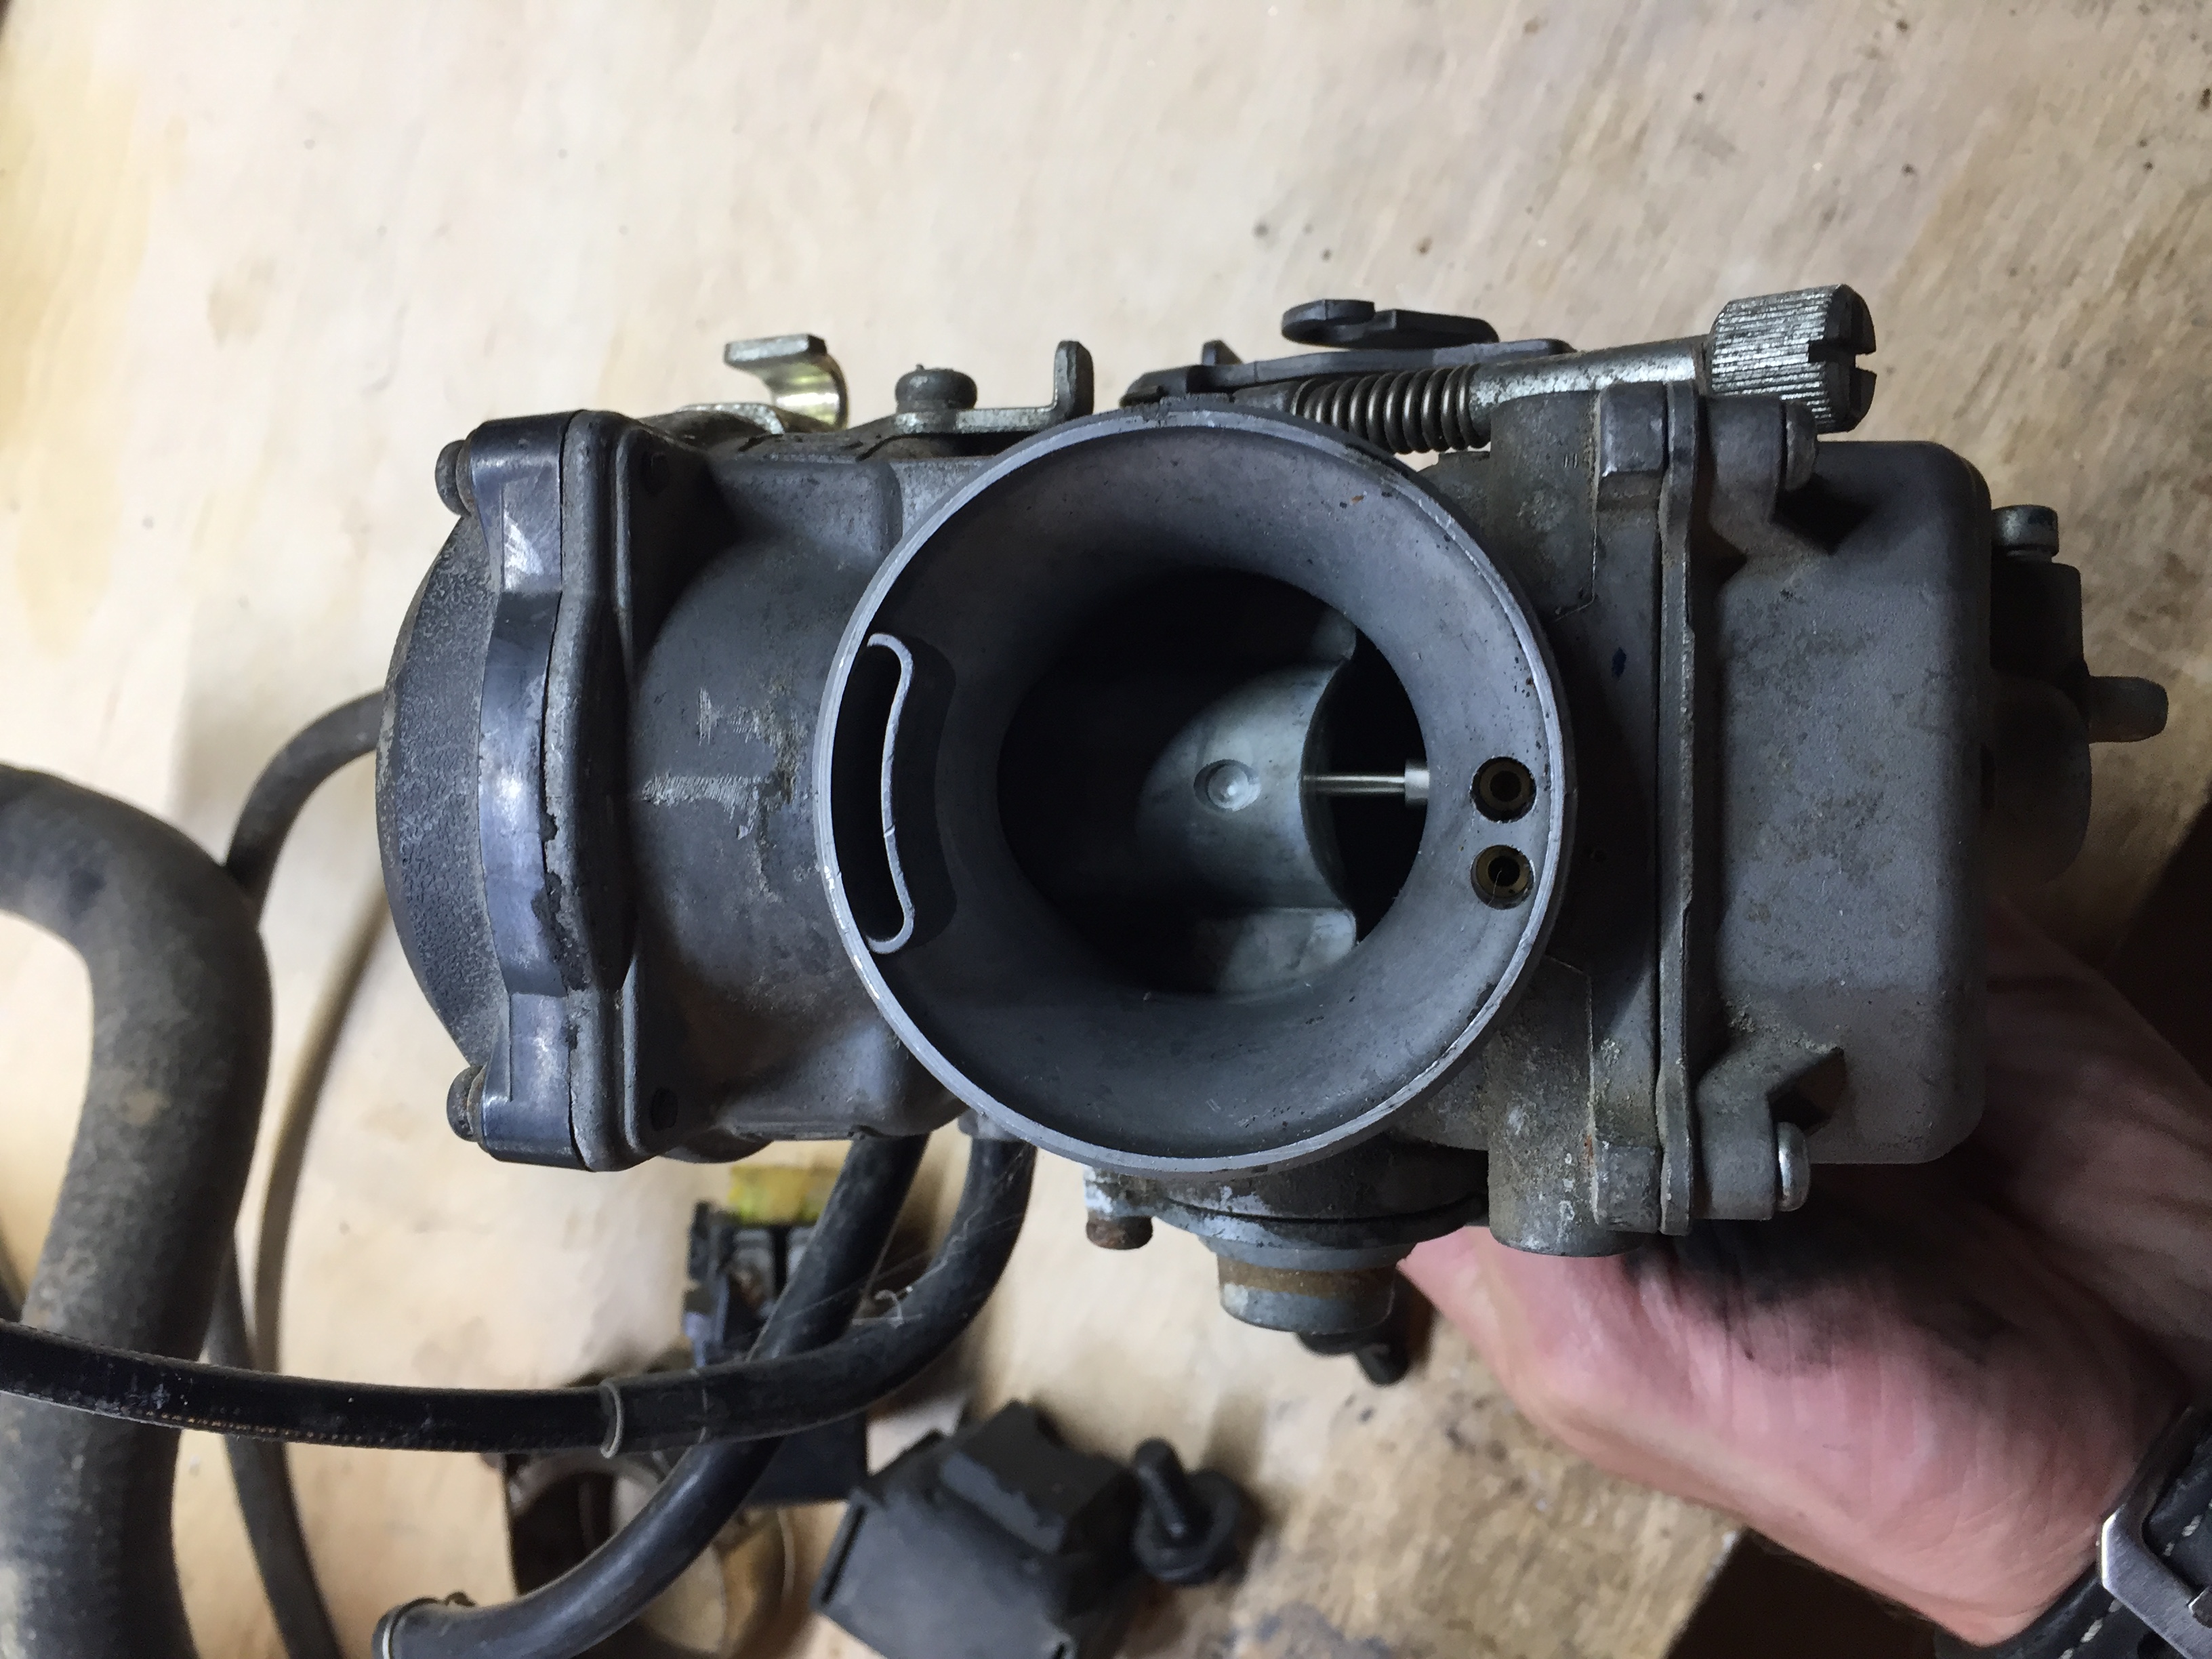
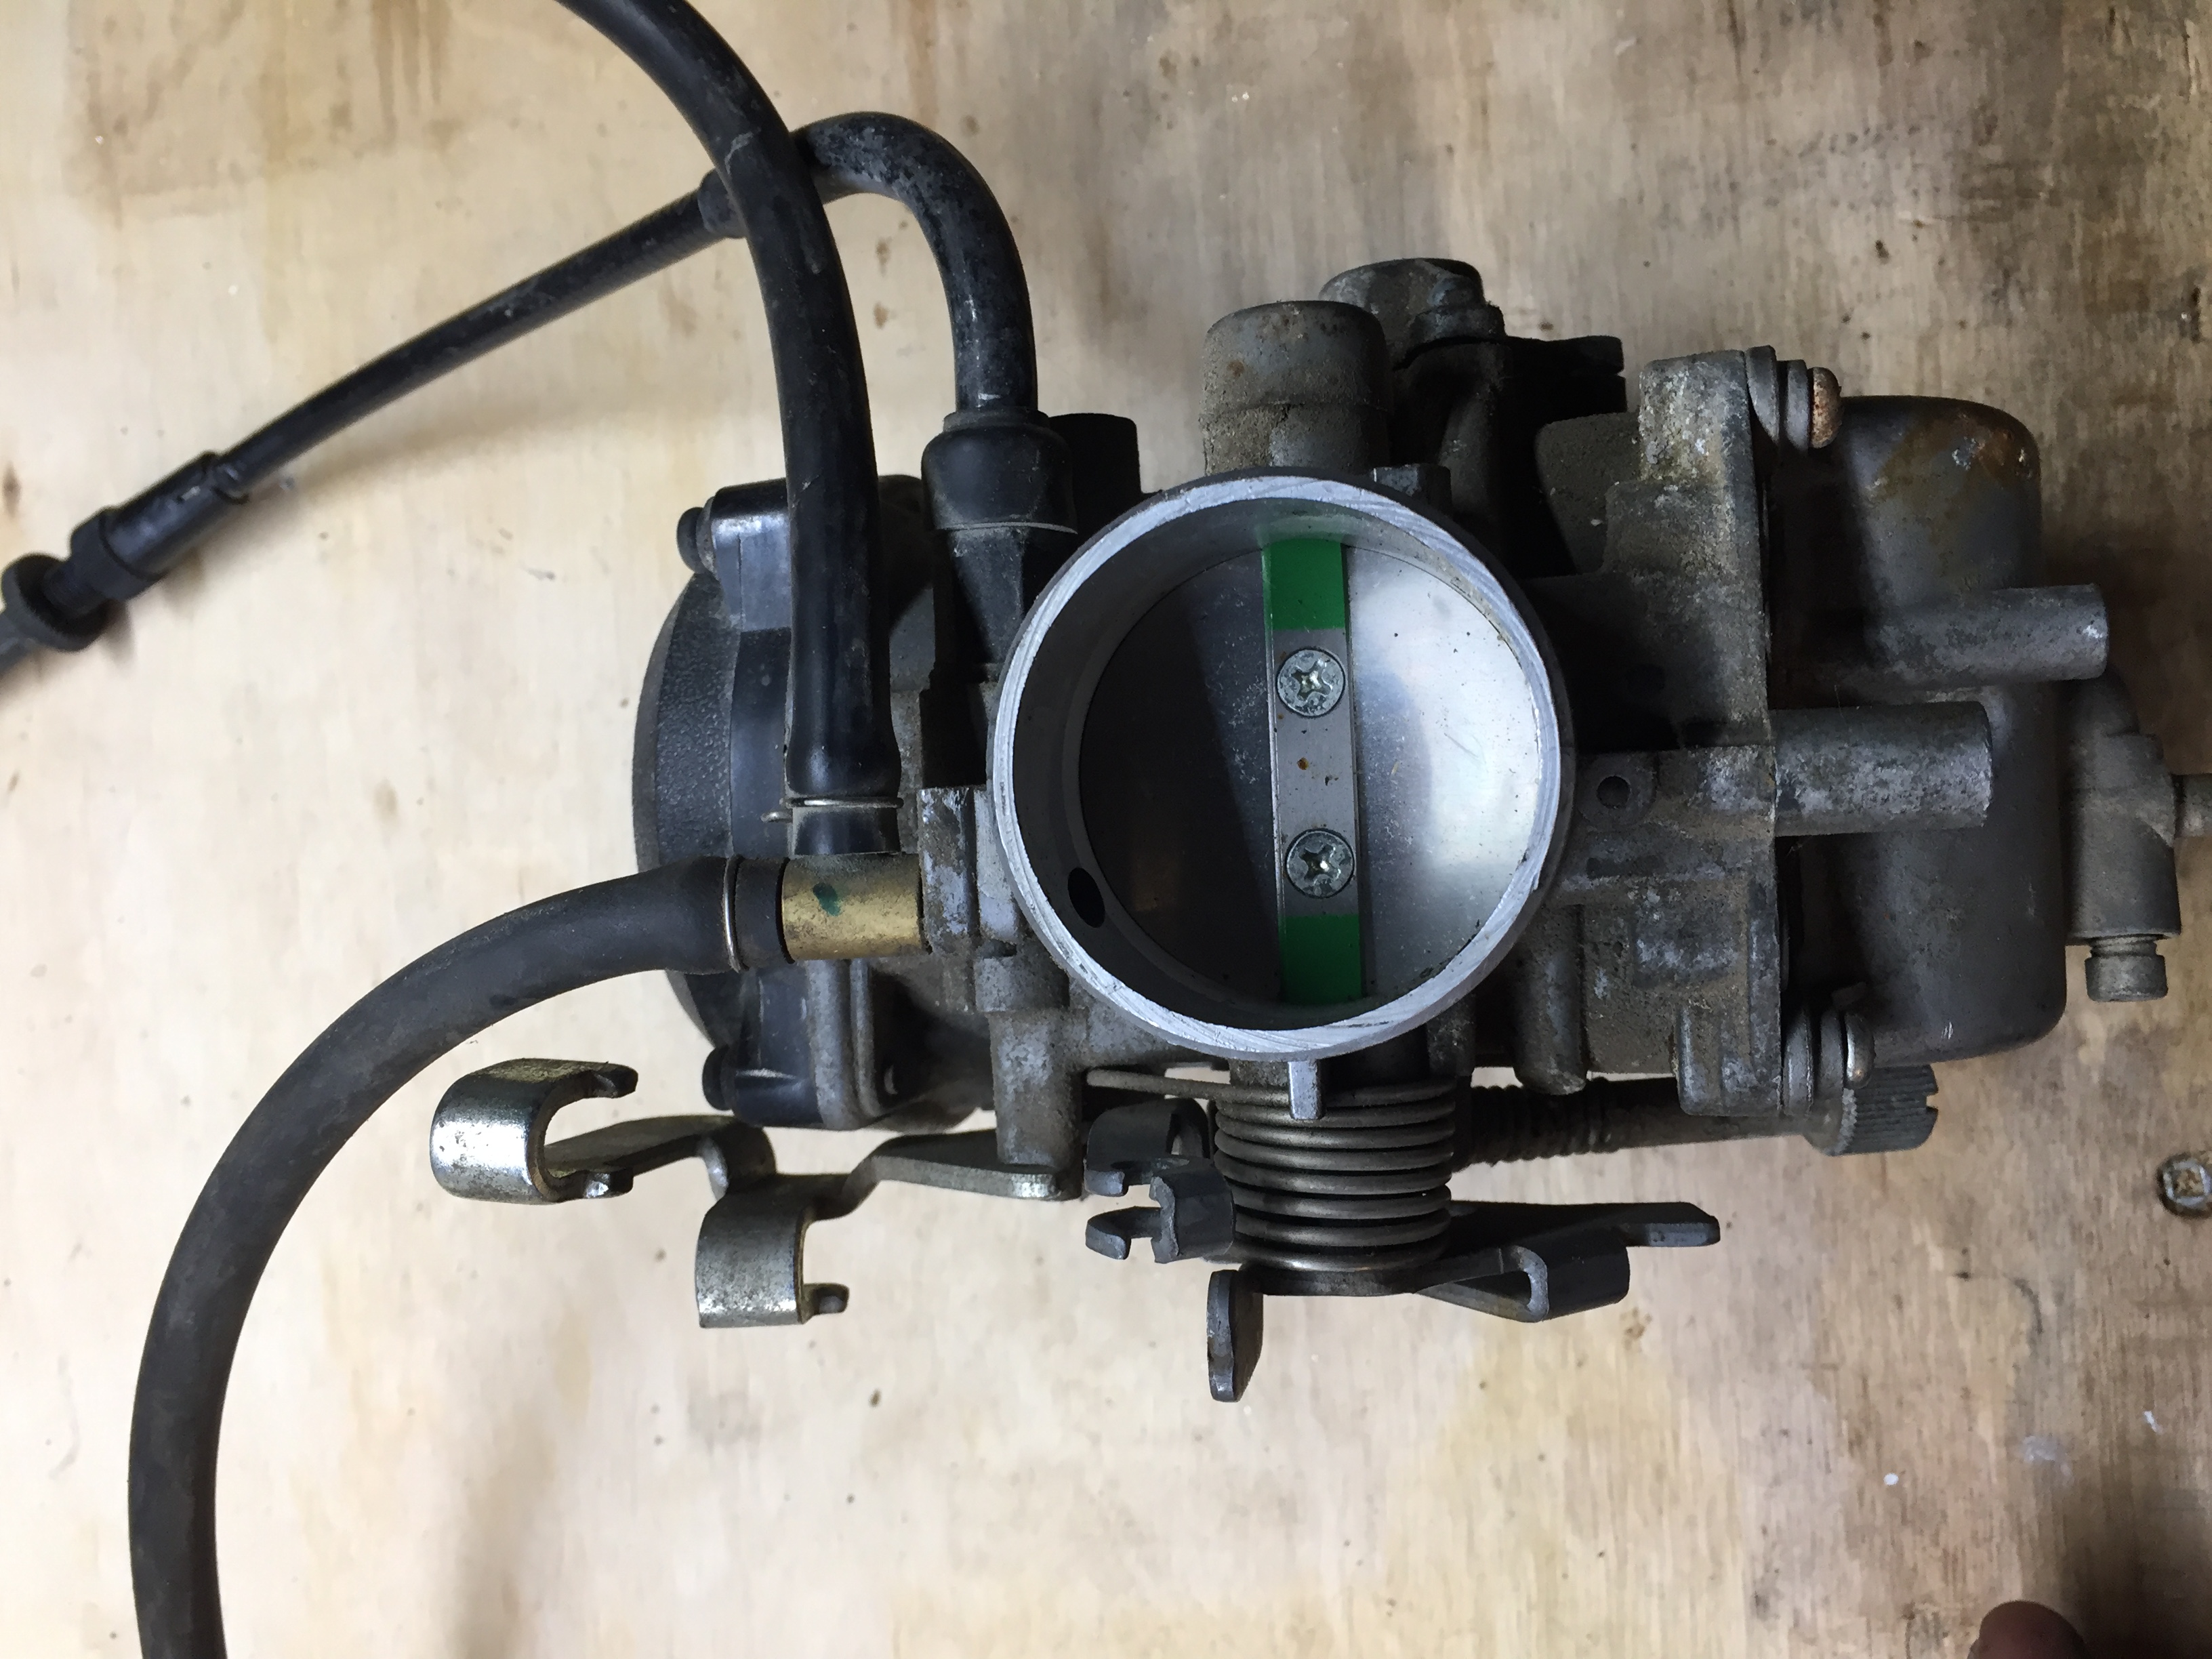
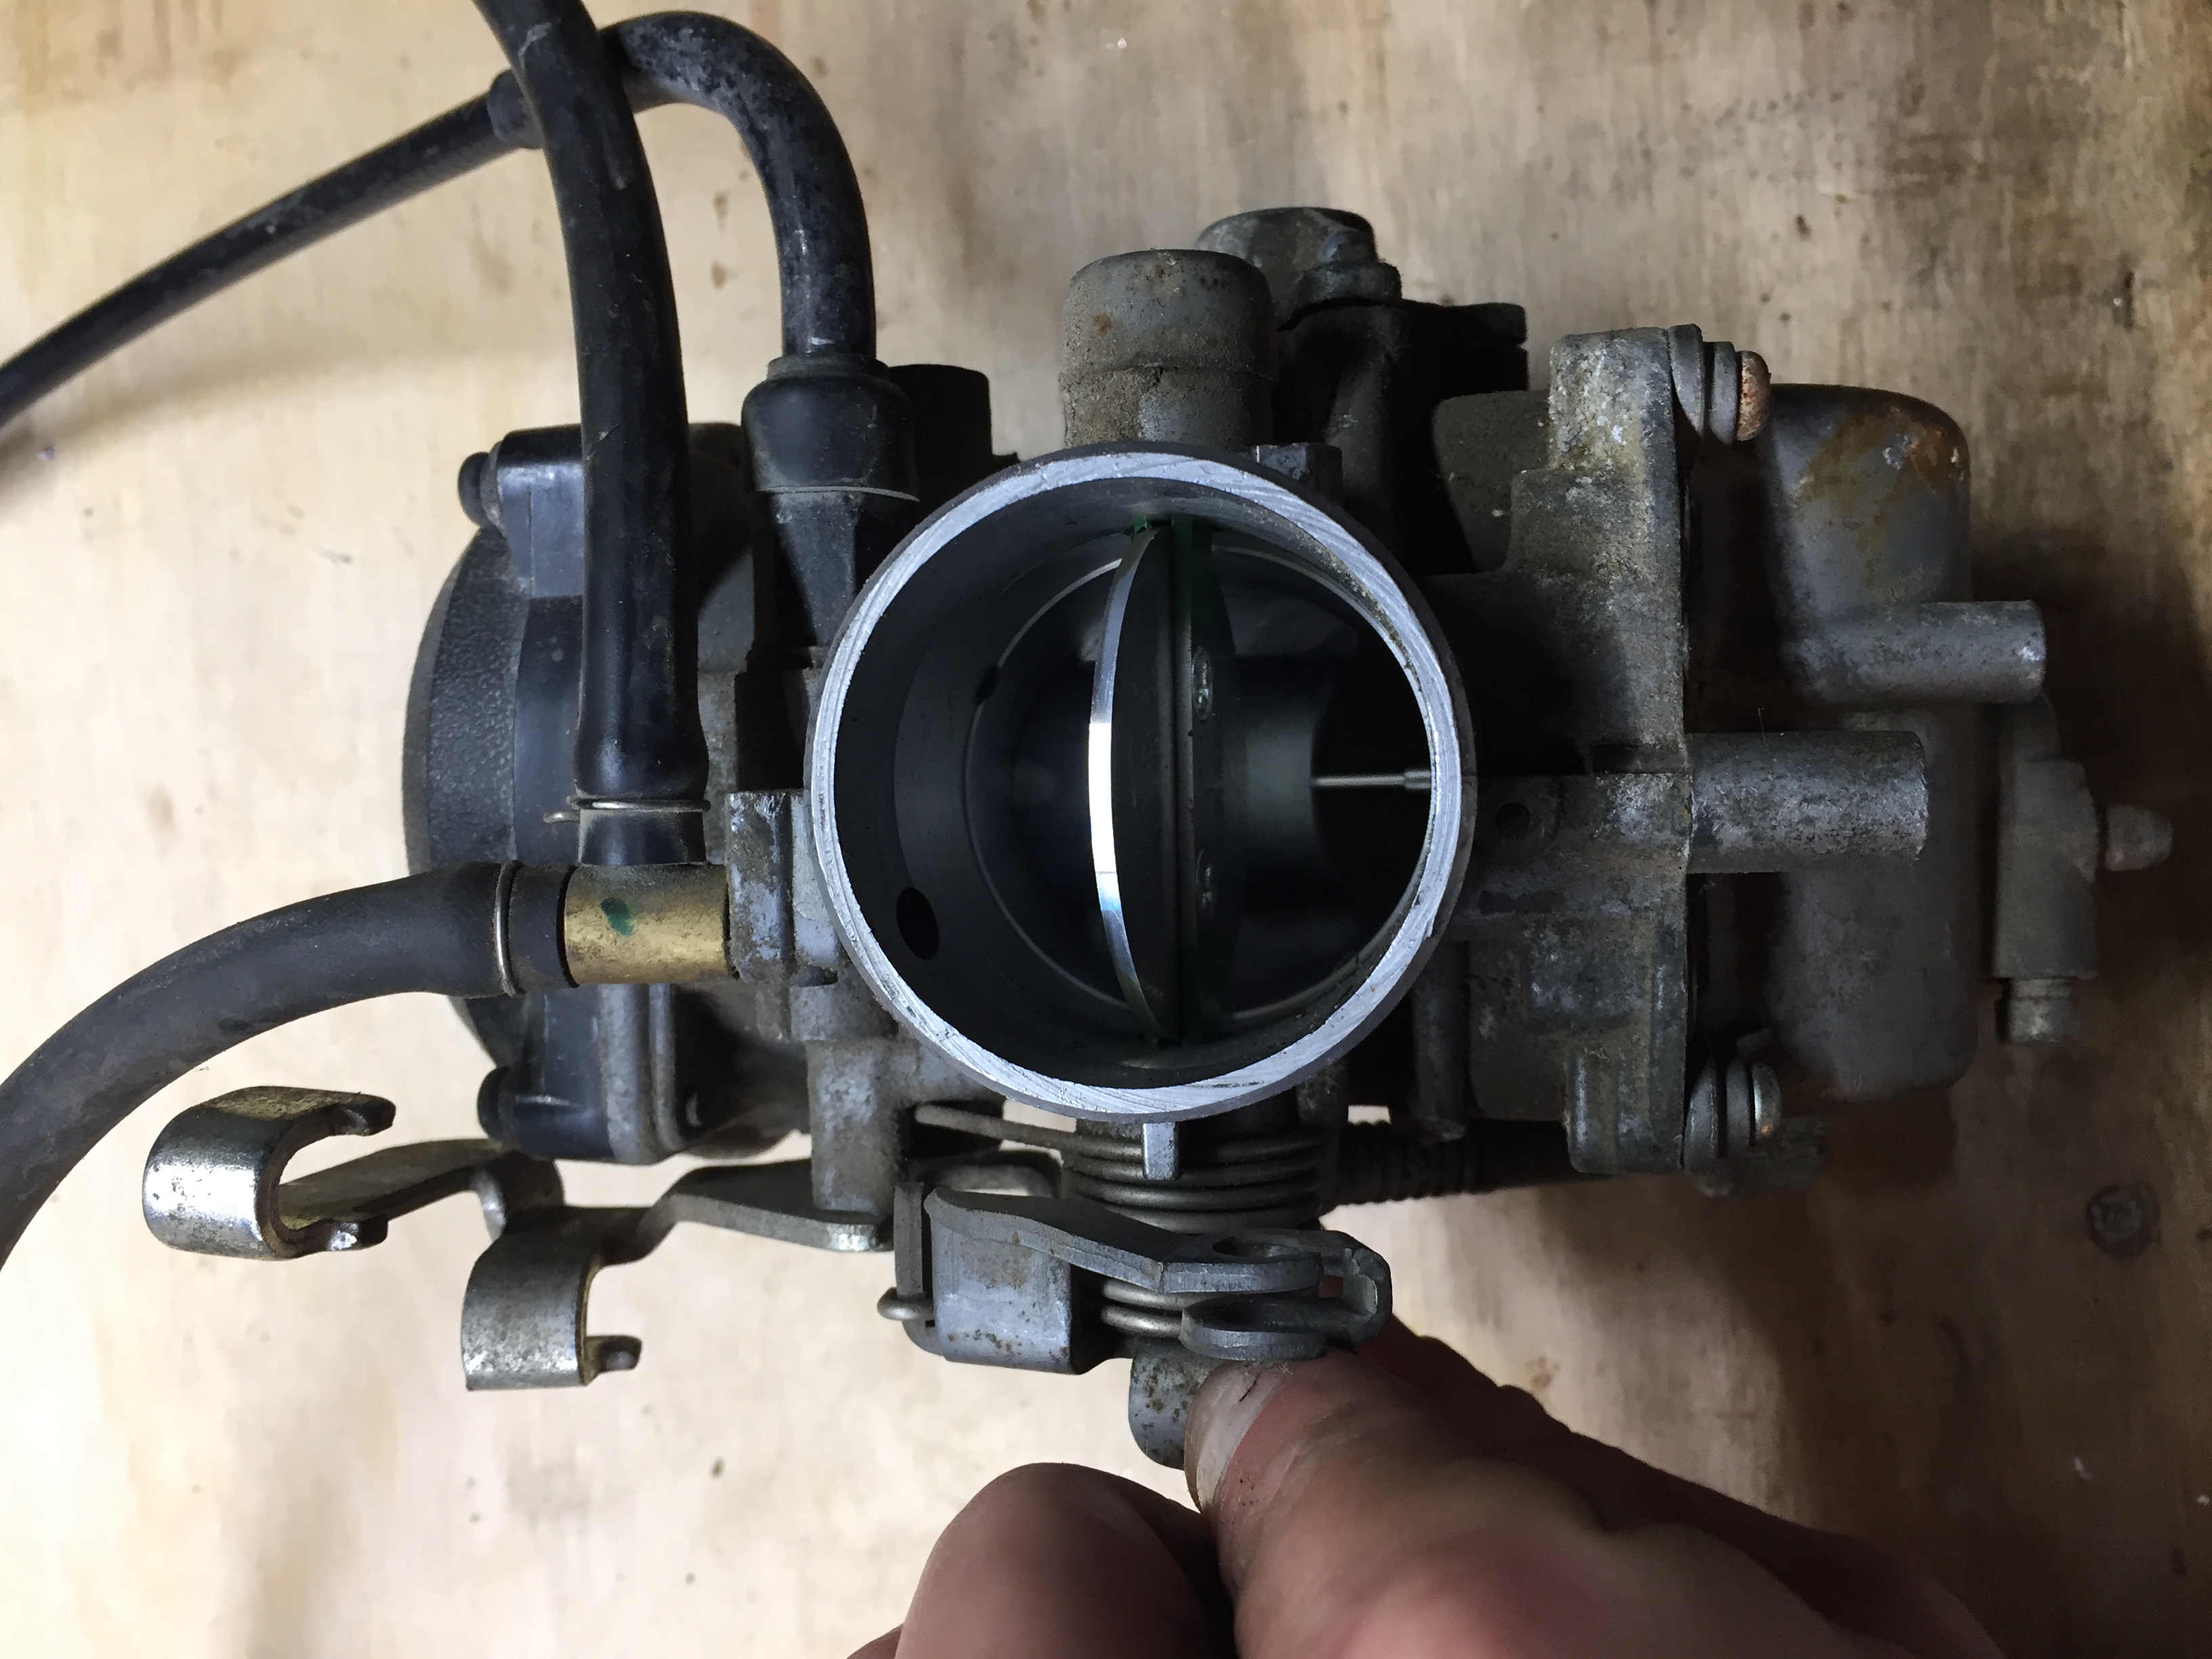
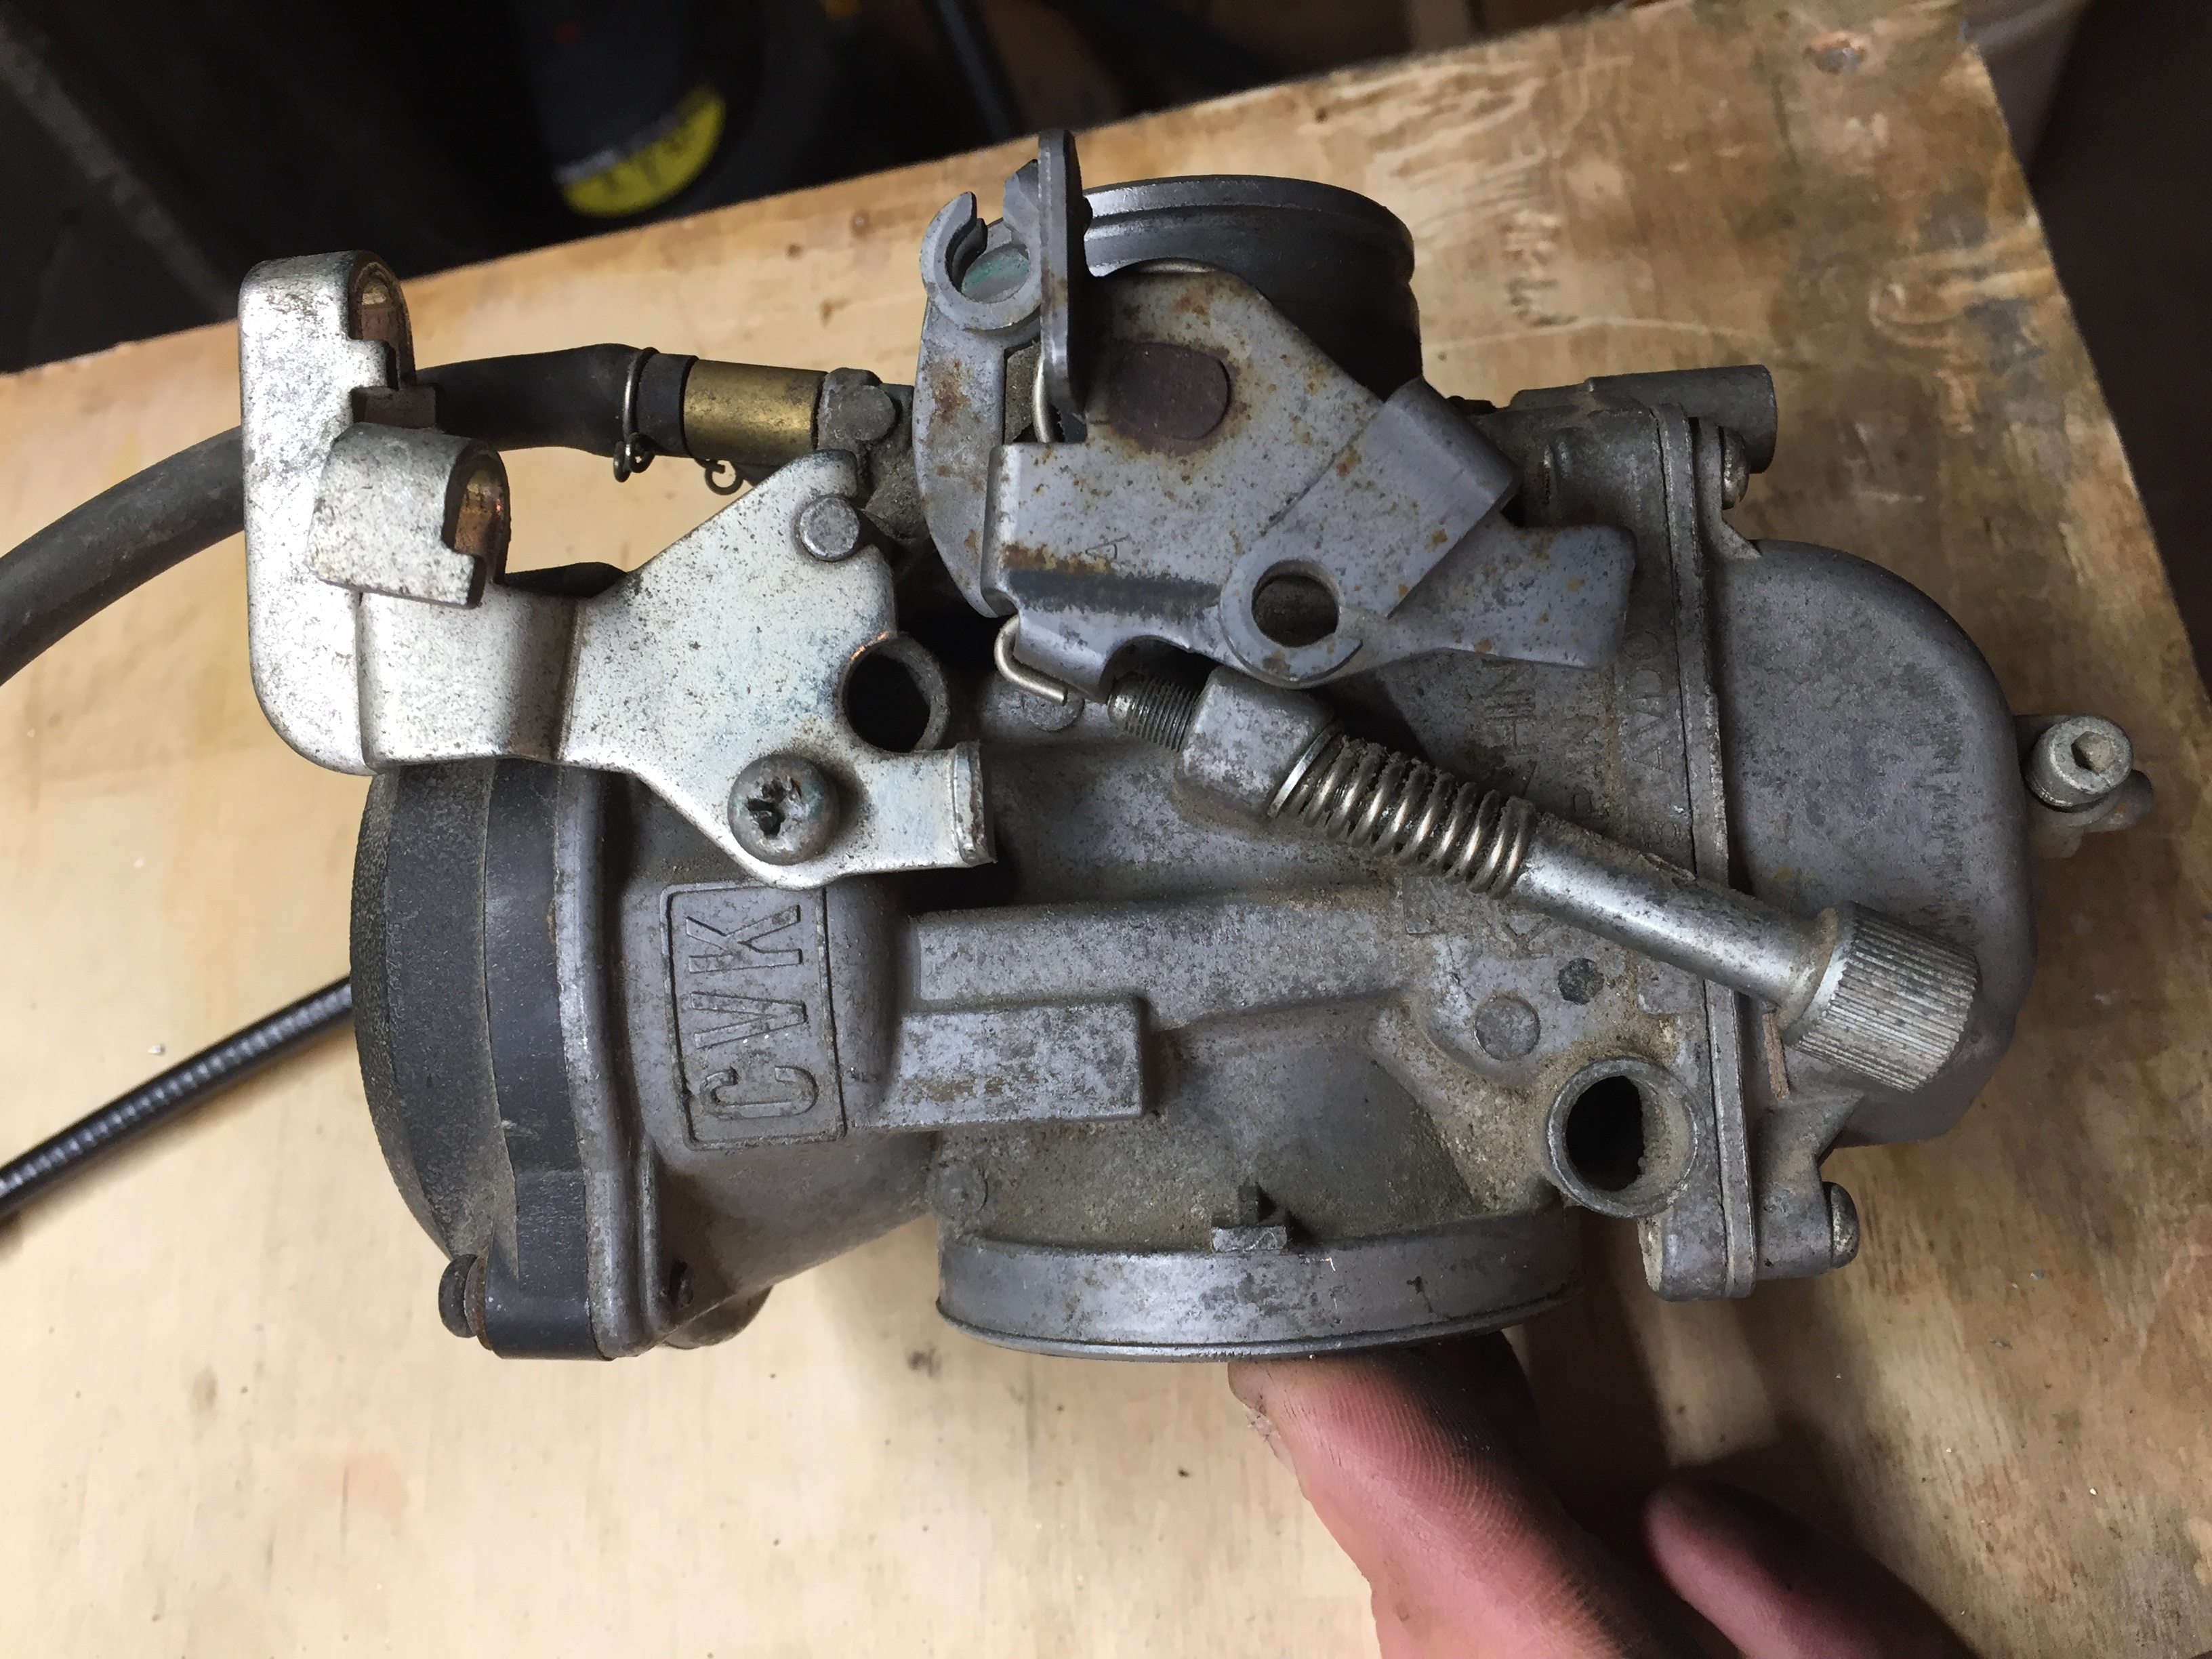
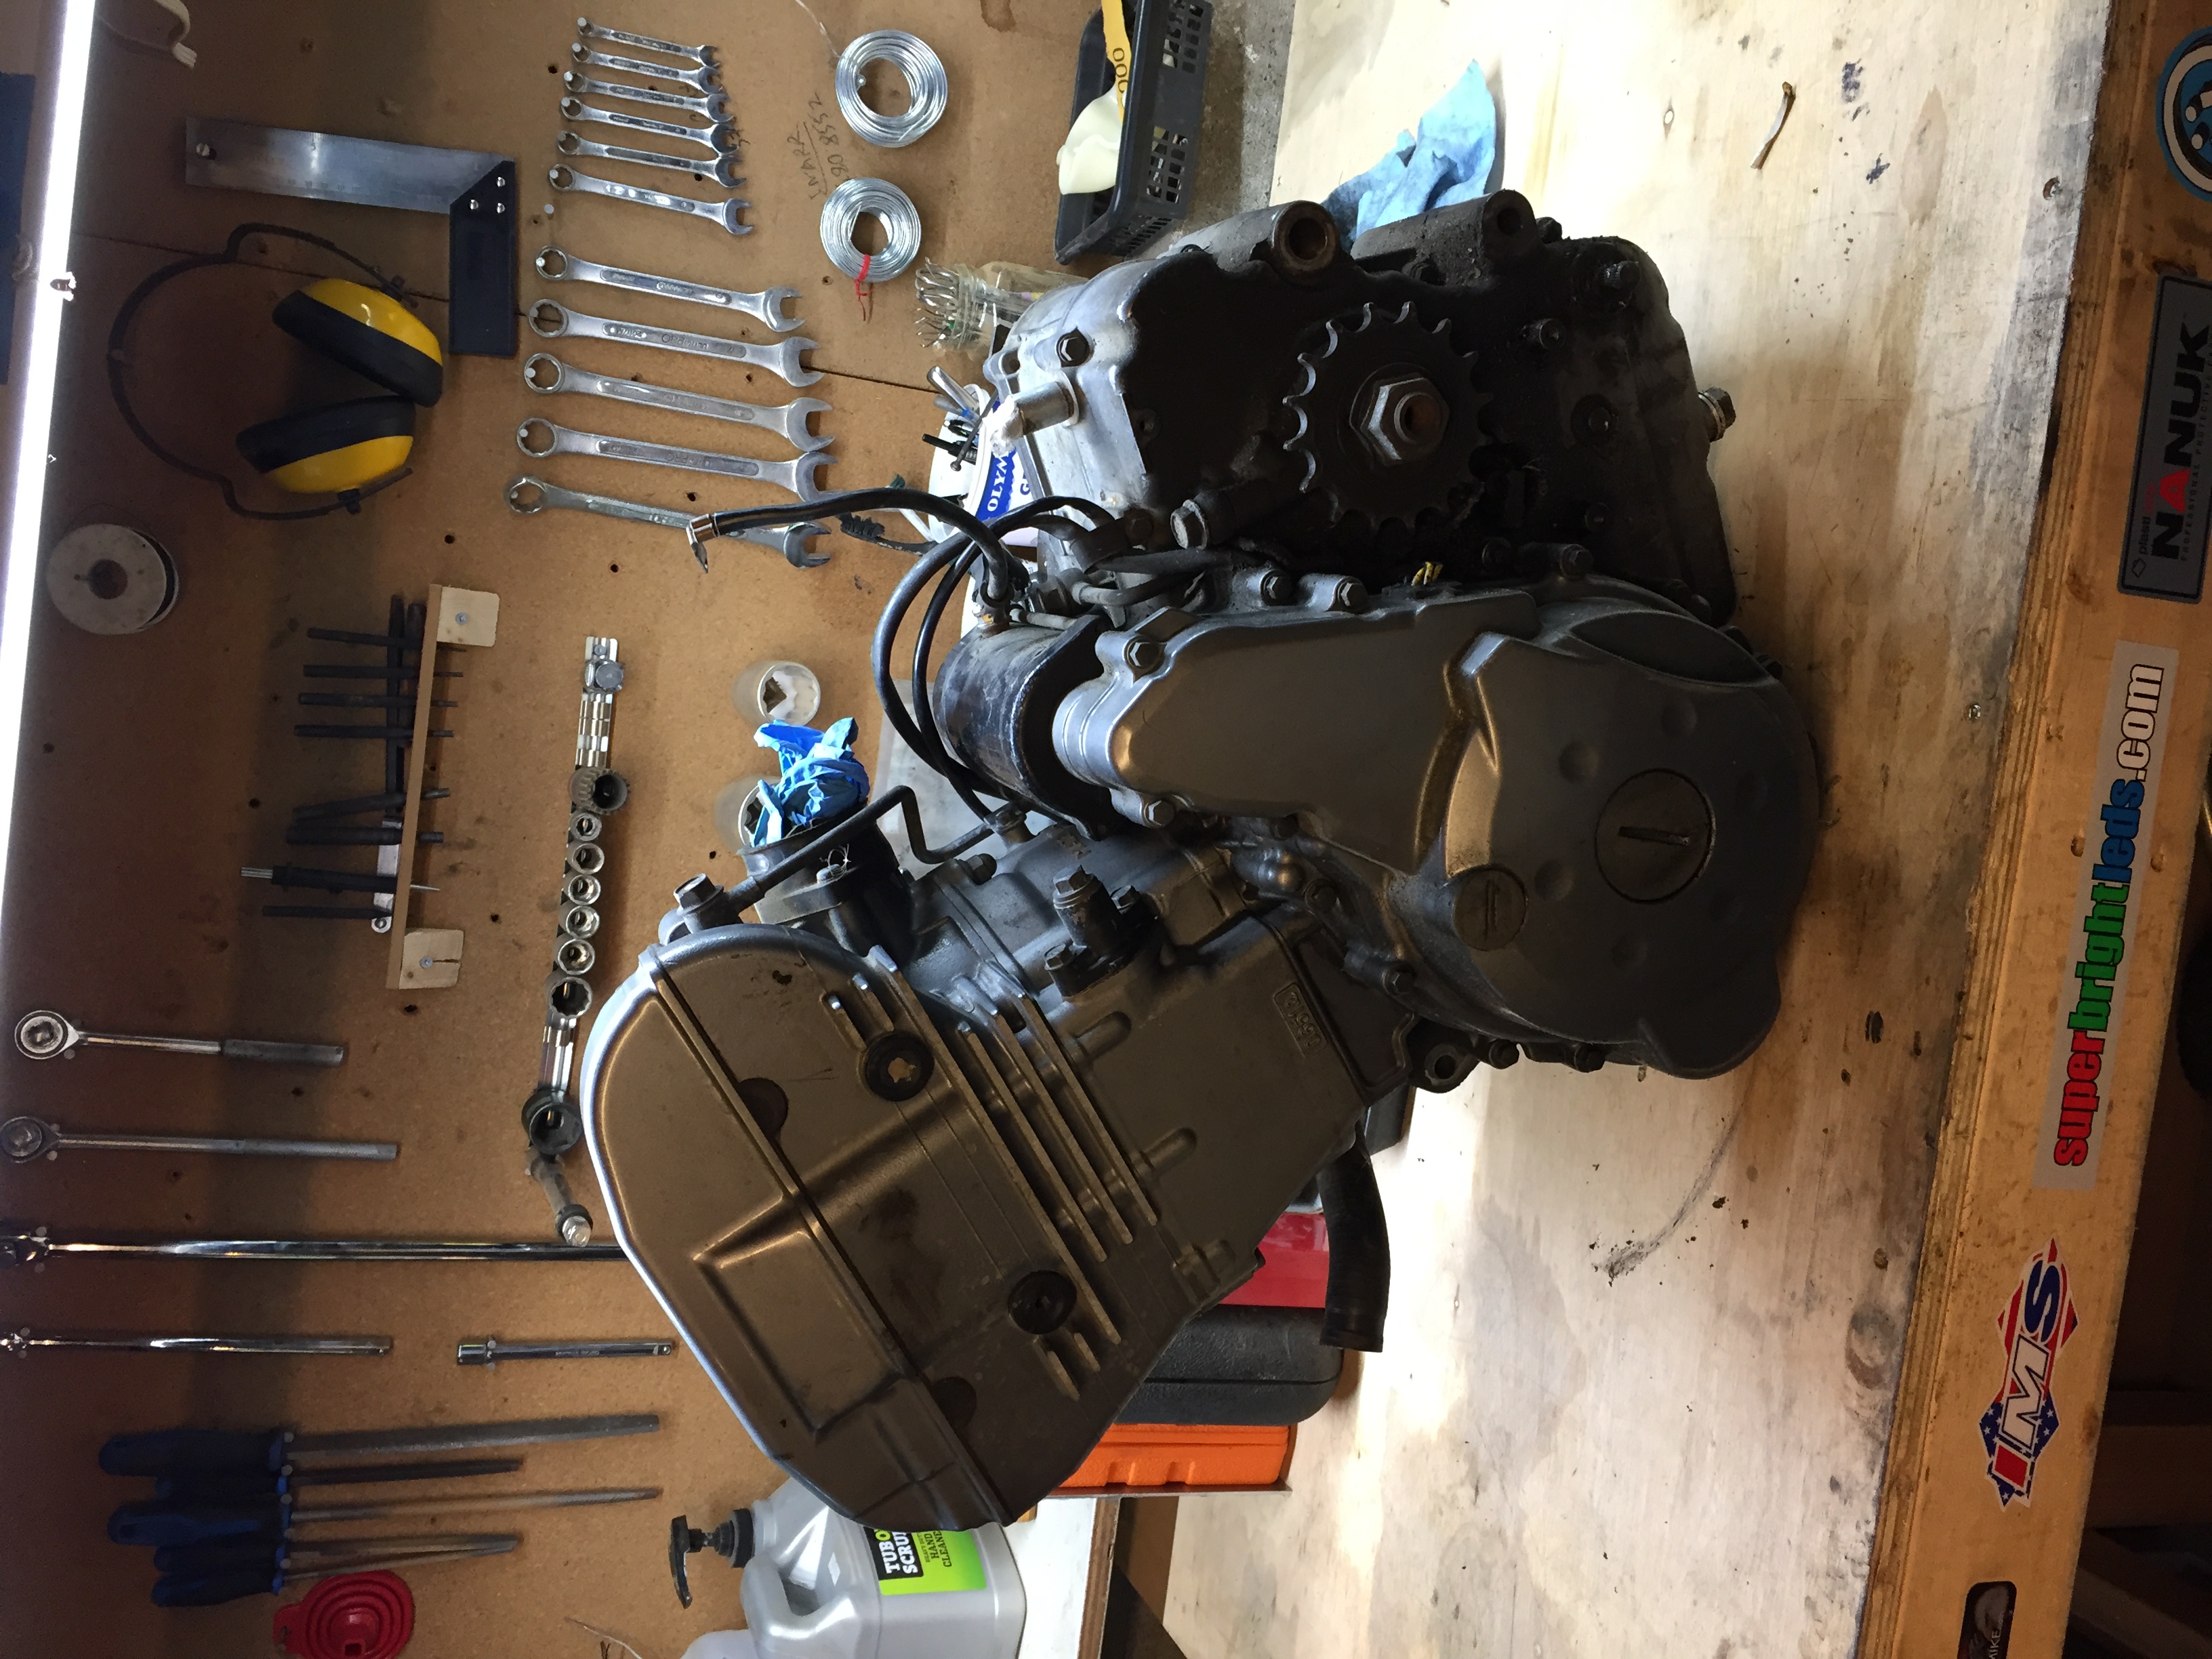
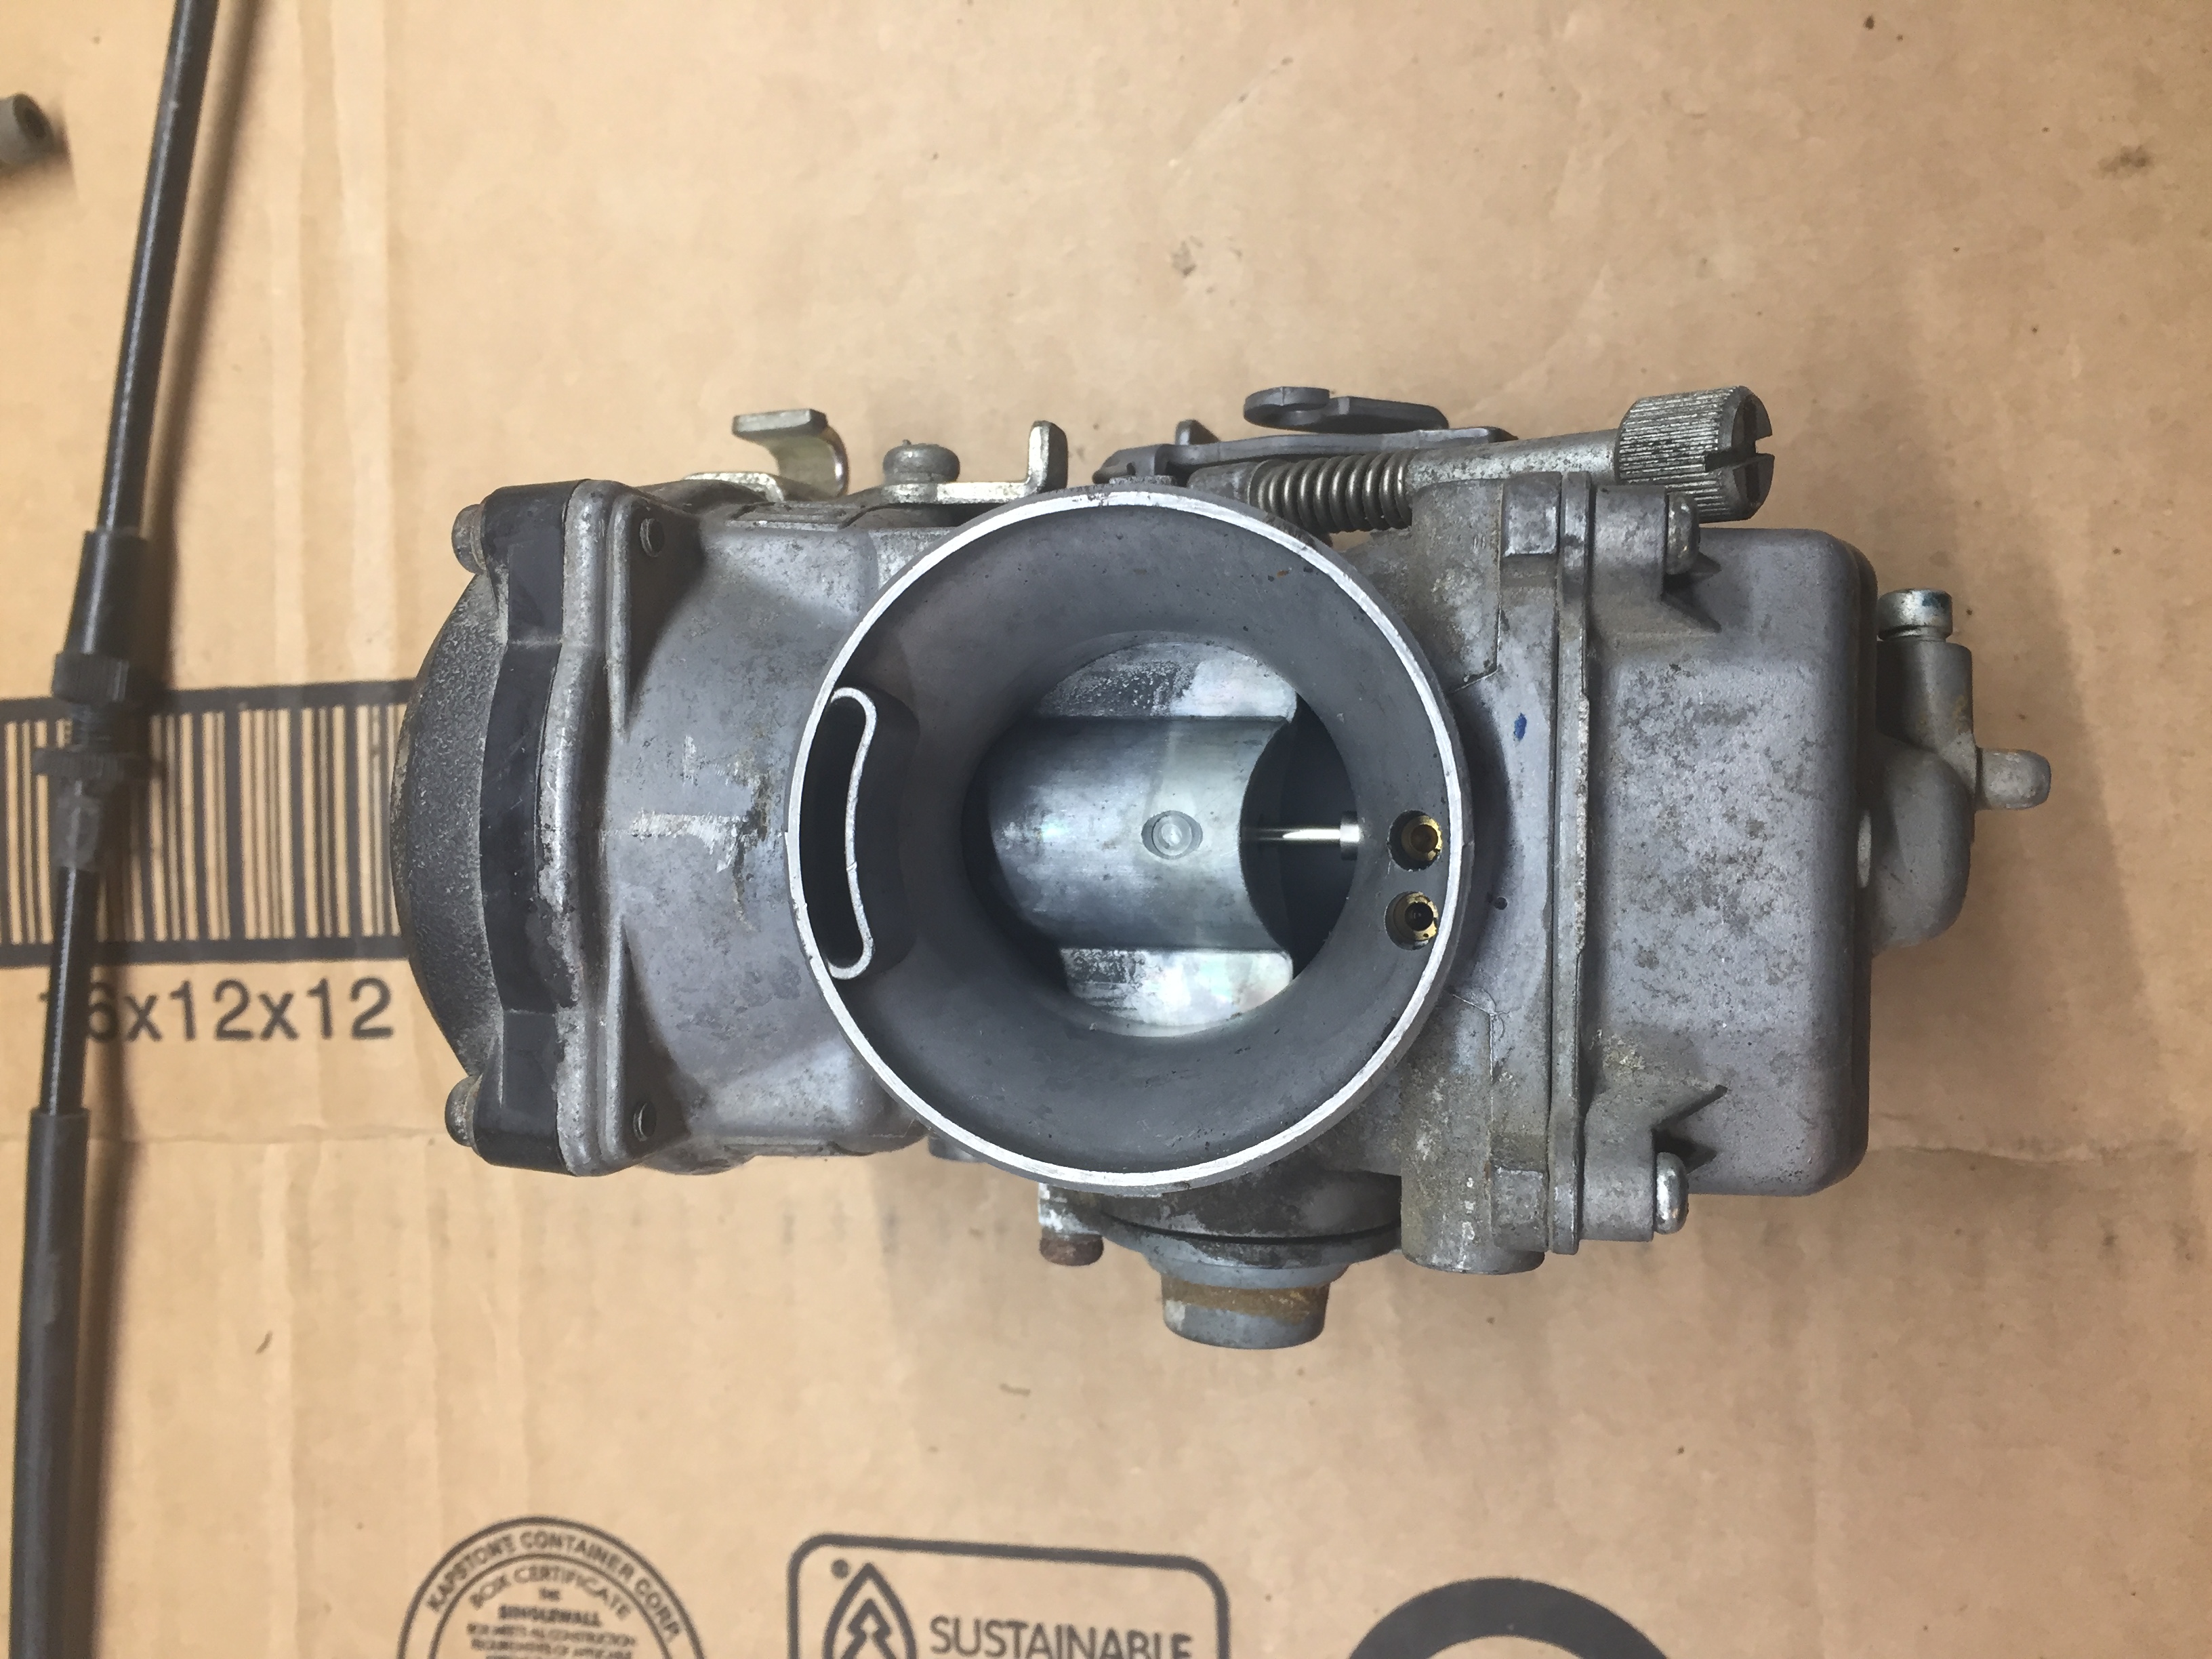
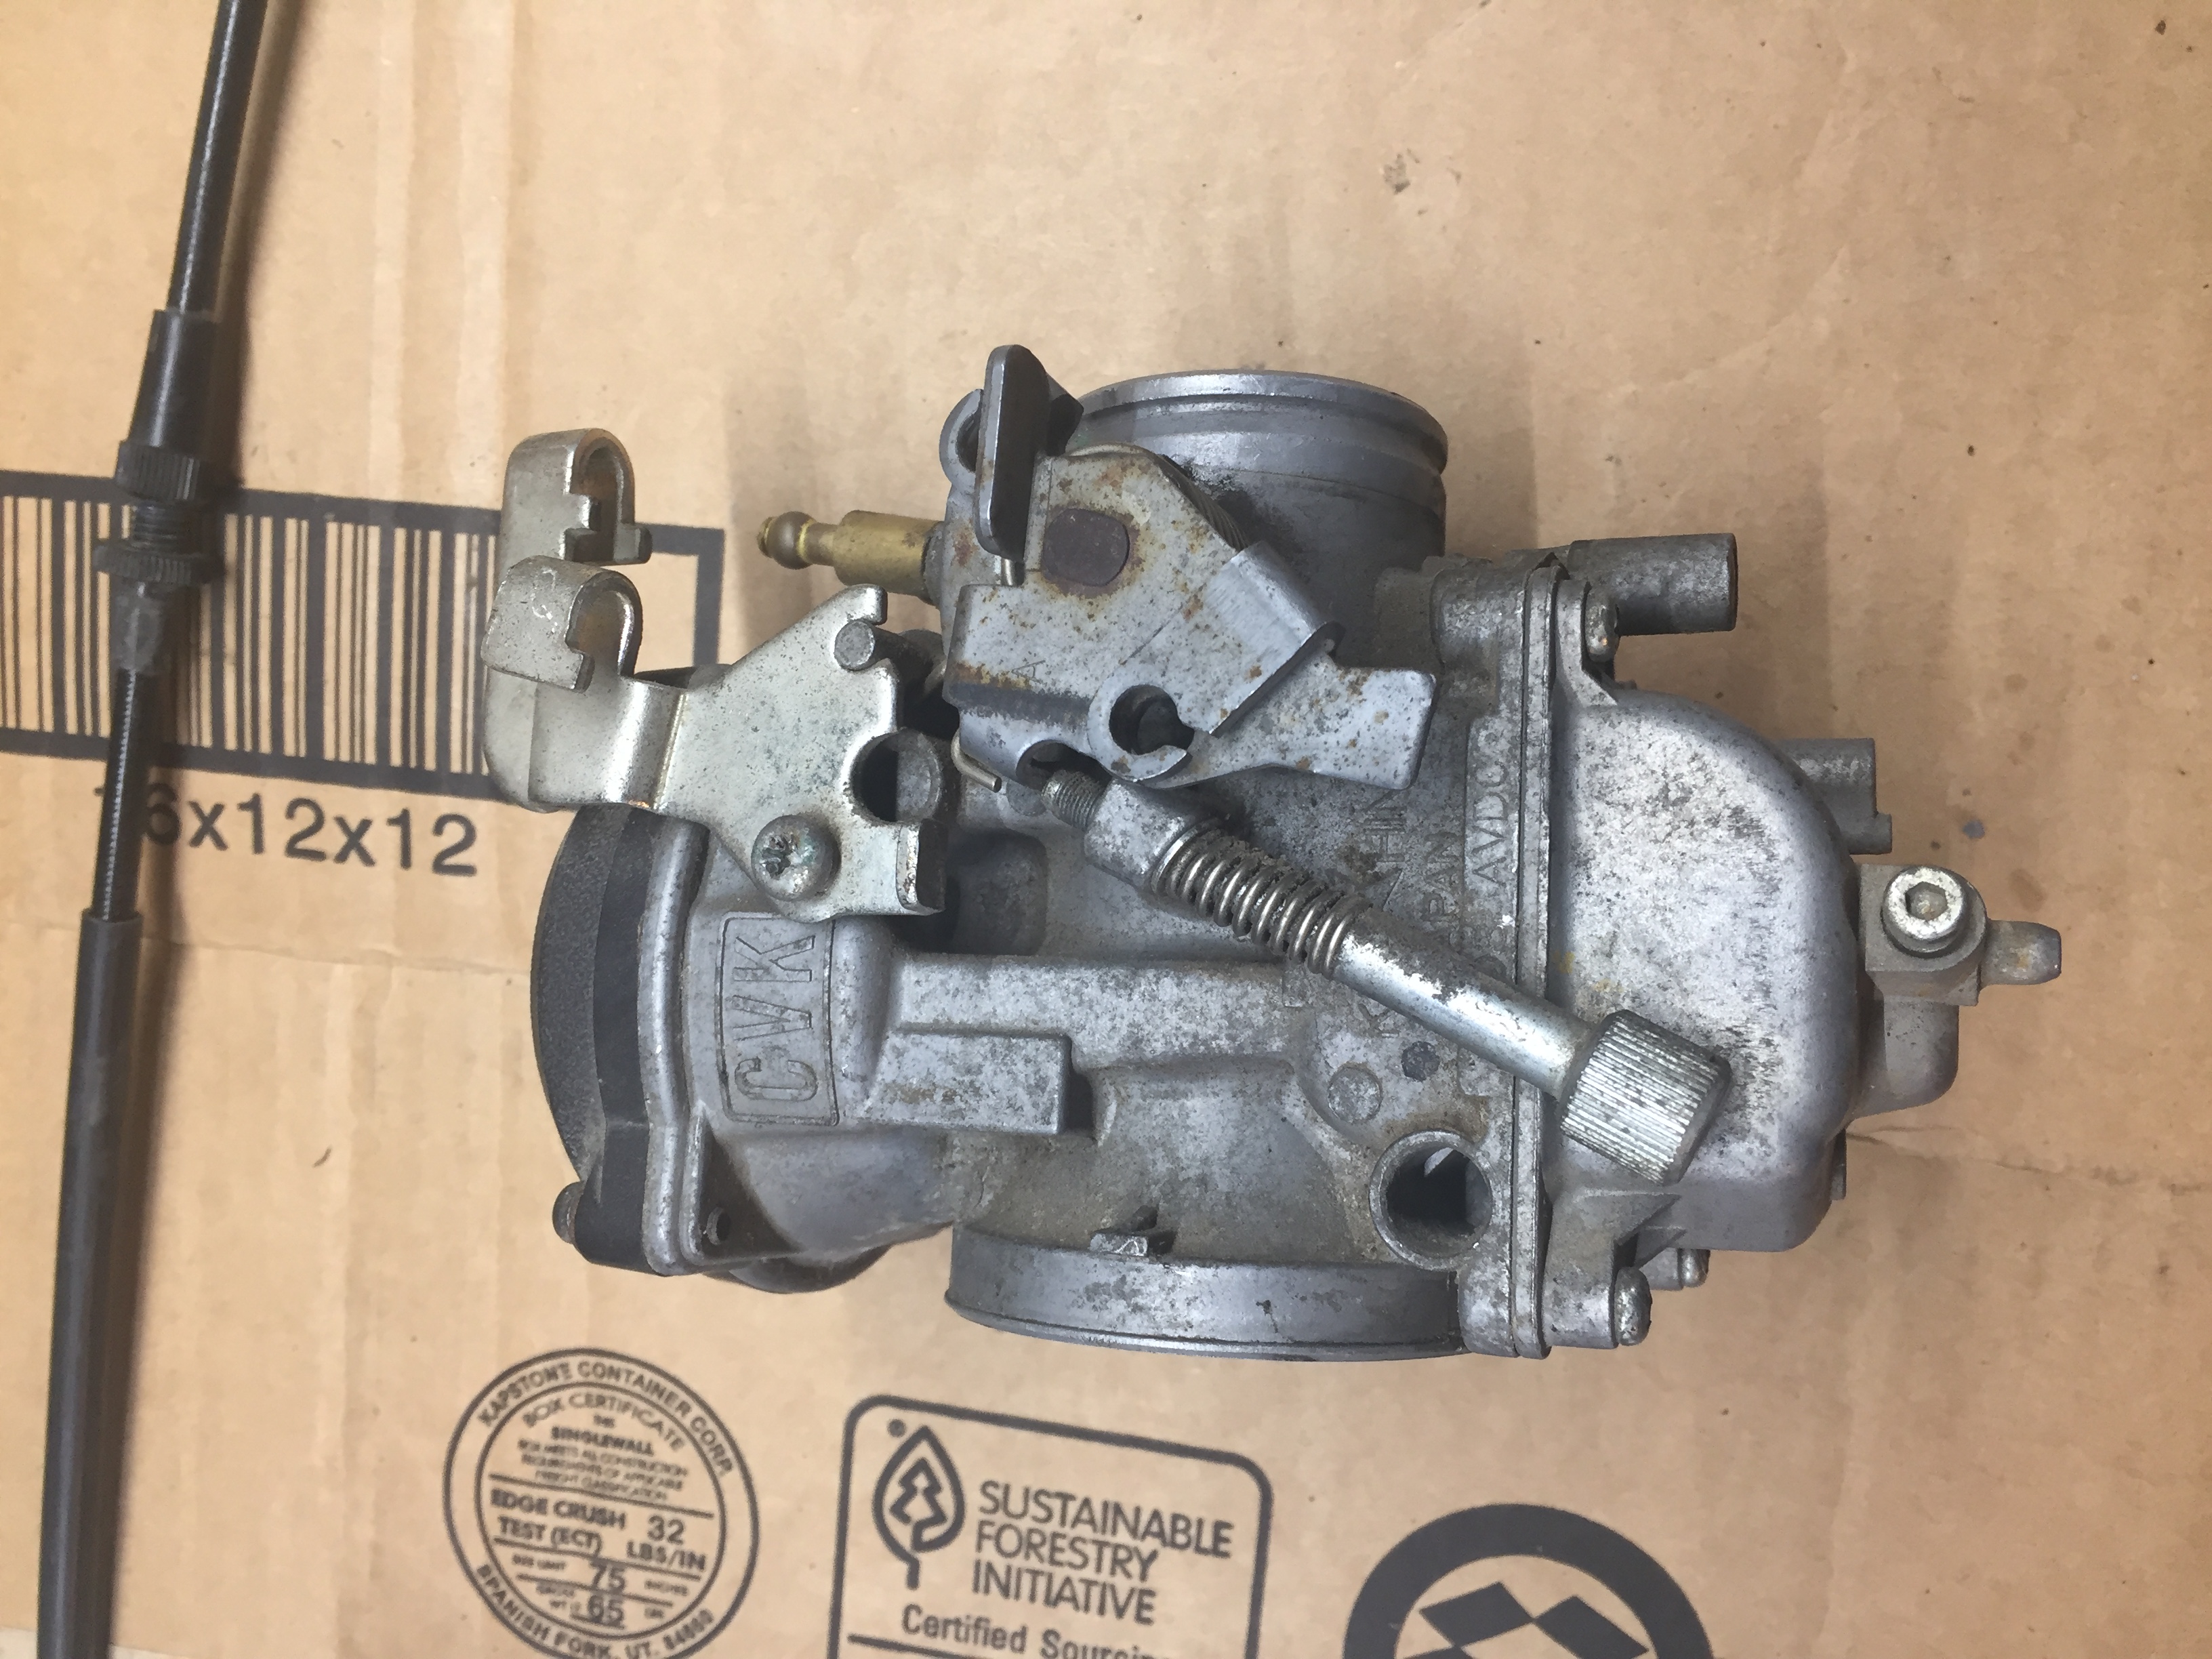
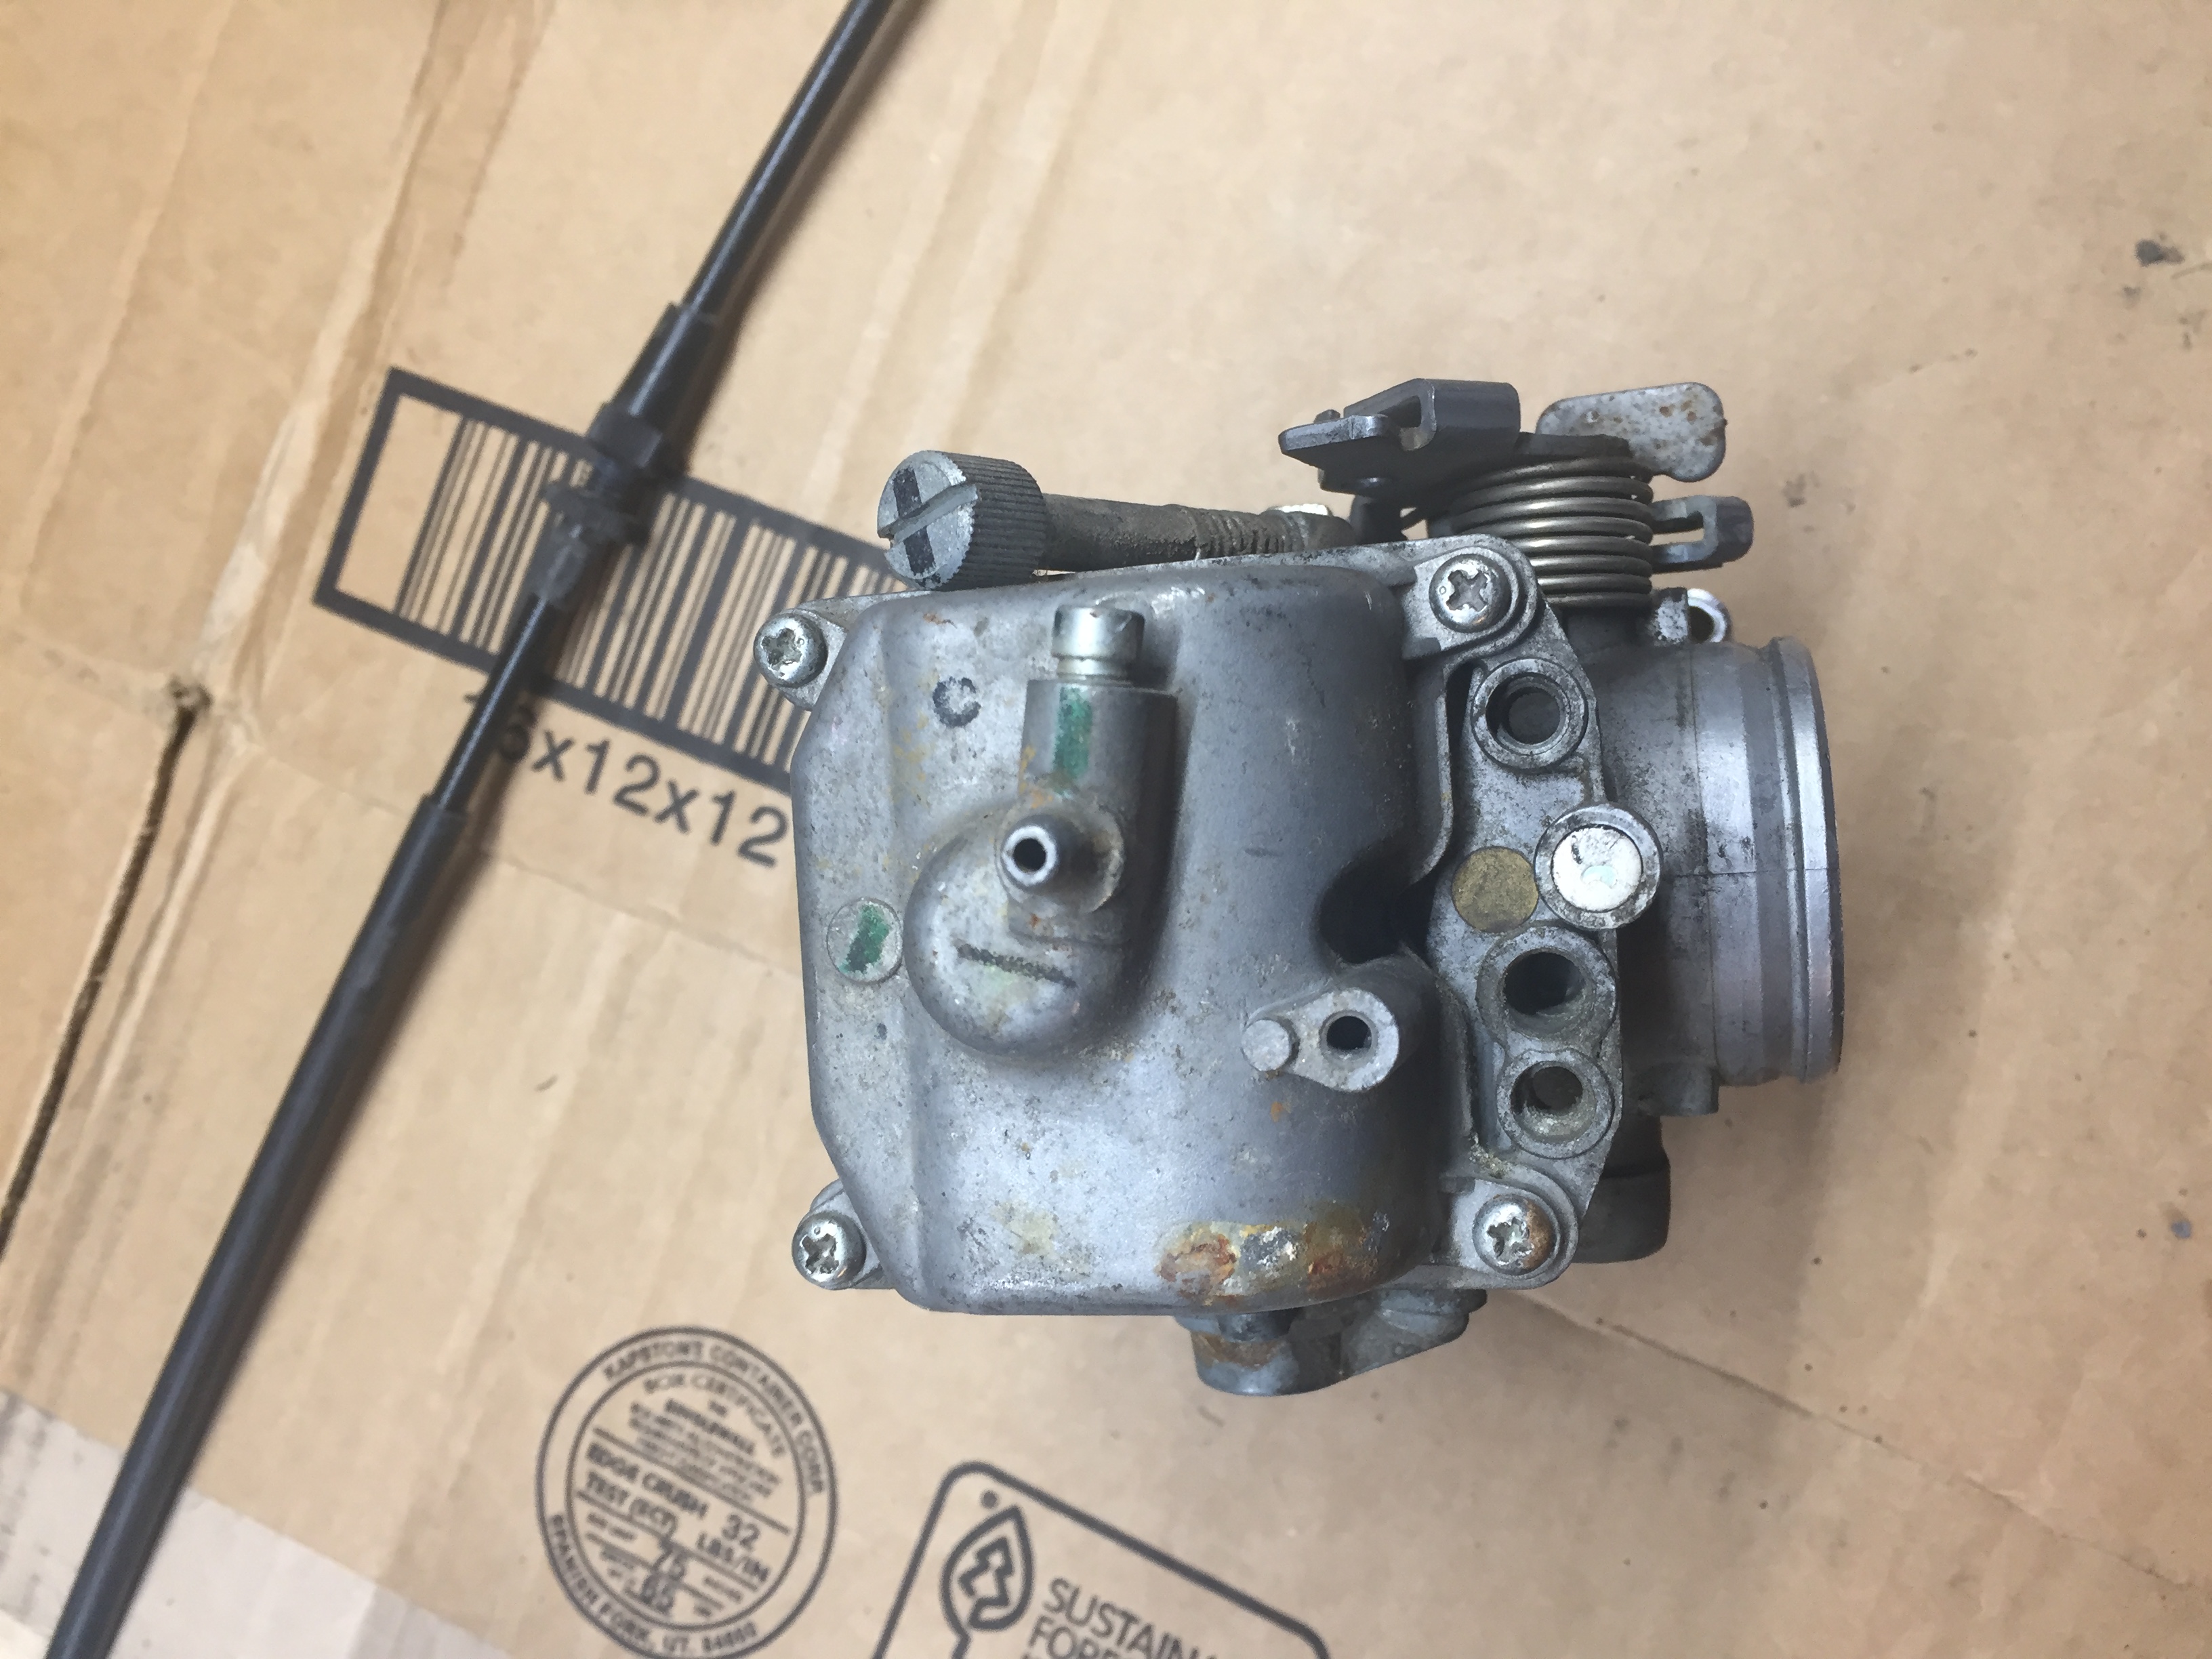
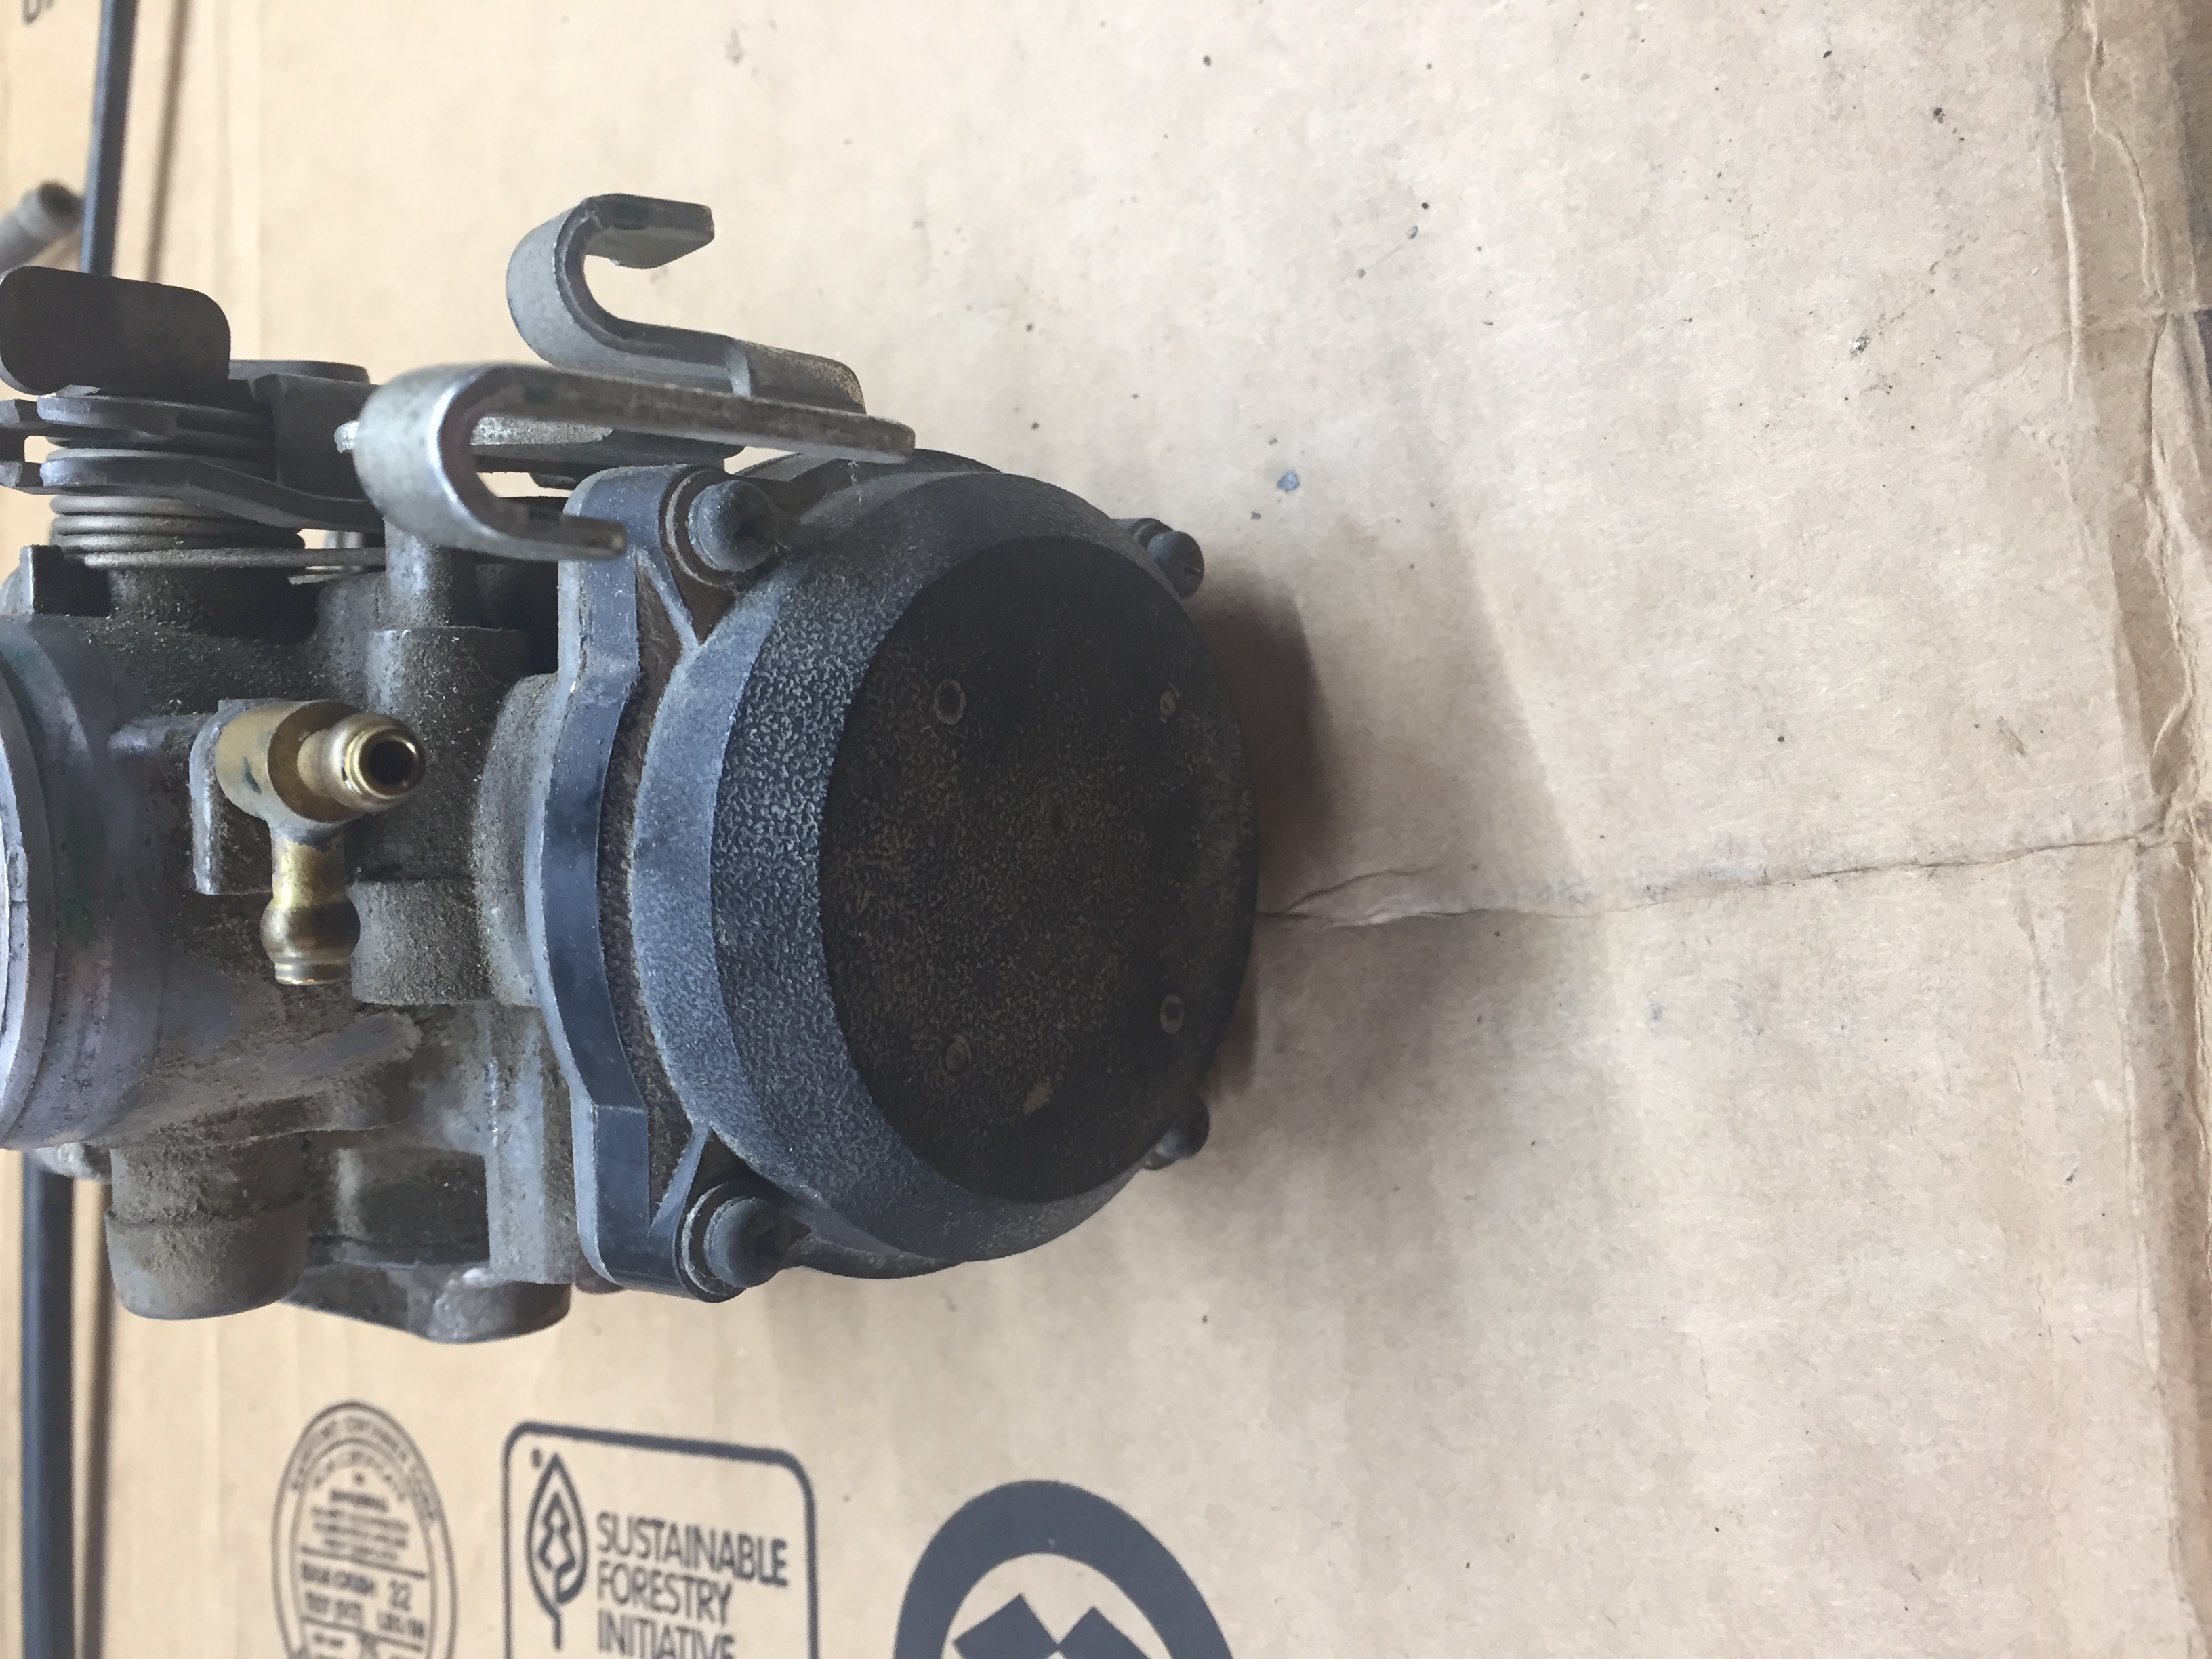
I bought a spare engine and carburetor.


| Date: | October 2020 |
| Odometer: | 85000 kilometers |
| Cost: | $300 for new discs |
| Time: | 4 hours |
The service manual calls to renew the rubber components in the brake systems at 48000 kilometers which was way overdue. The caliper and master cylinder rebuild kit I had was from `All Balls'. I had sourced this years ago for replacement brake pad slide pins.
My discs were under the 4.5mm service limit and after finding out how much OEM replacements were ($400 for front, $250 for rear) I decided to get aftermarket ones instead. There's options available, but the Tusk discs looked the best to me, especially the oversize 320mm front disc that I ended up purchasing. The oversize disc comes with a aluminum caliper relocation bracket that replaces the existing caliper bracket.
For each front and rear brake systems I did the following:


For the front brake I also replaced the caliper bracket with the new one. Fit and finish on it was ok. The performance improvement of the larger front brake is noticeable, but I still can't lock up the front wheel on dry pavement.
| Date: | November 2020 |
| Odometer: | 85000 kilometers |
| Cost: | $120 for rebuild kit |
| Time: | 8 hours |
What started out as a rear suspension lubrication job turned into the replacement of a couple completely broken needle bearings and their sleeves. It looked like their dust seals failed.
Pounding out the main swingarm pivot bolt was difficult as well.


| Date: | March 2021 |
| Odometer: | 89000 kilometers |
| Cost: | $500 for gaskets and tools |
| Time: | 2 weeks |
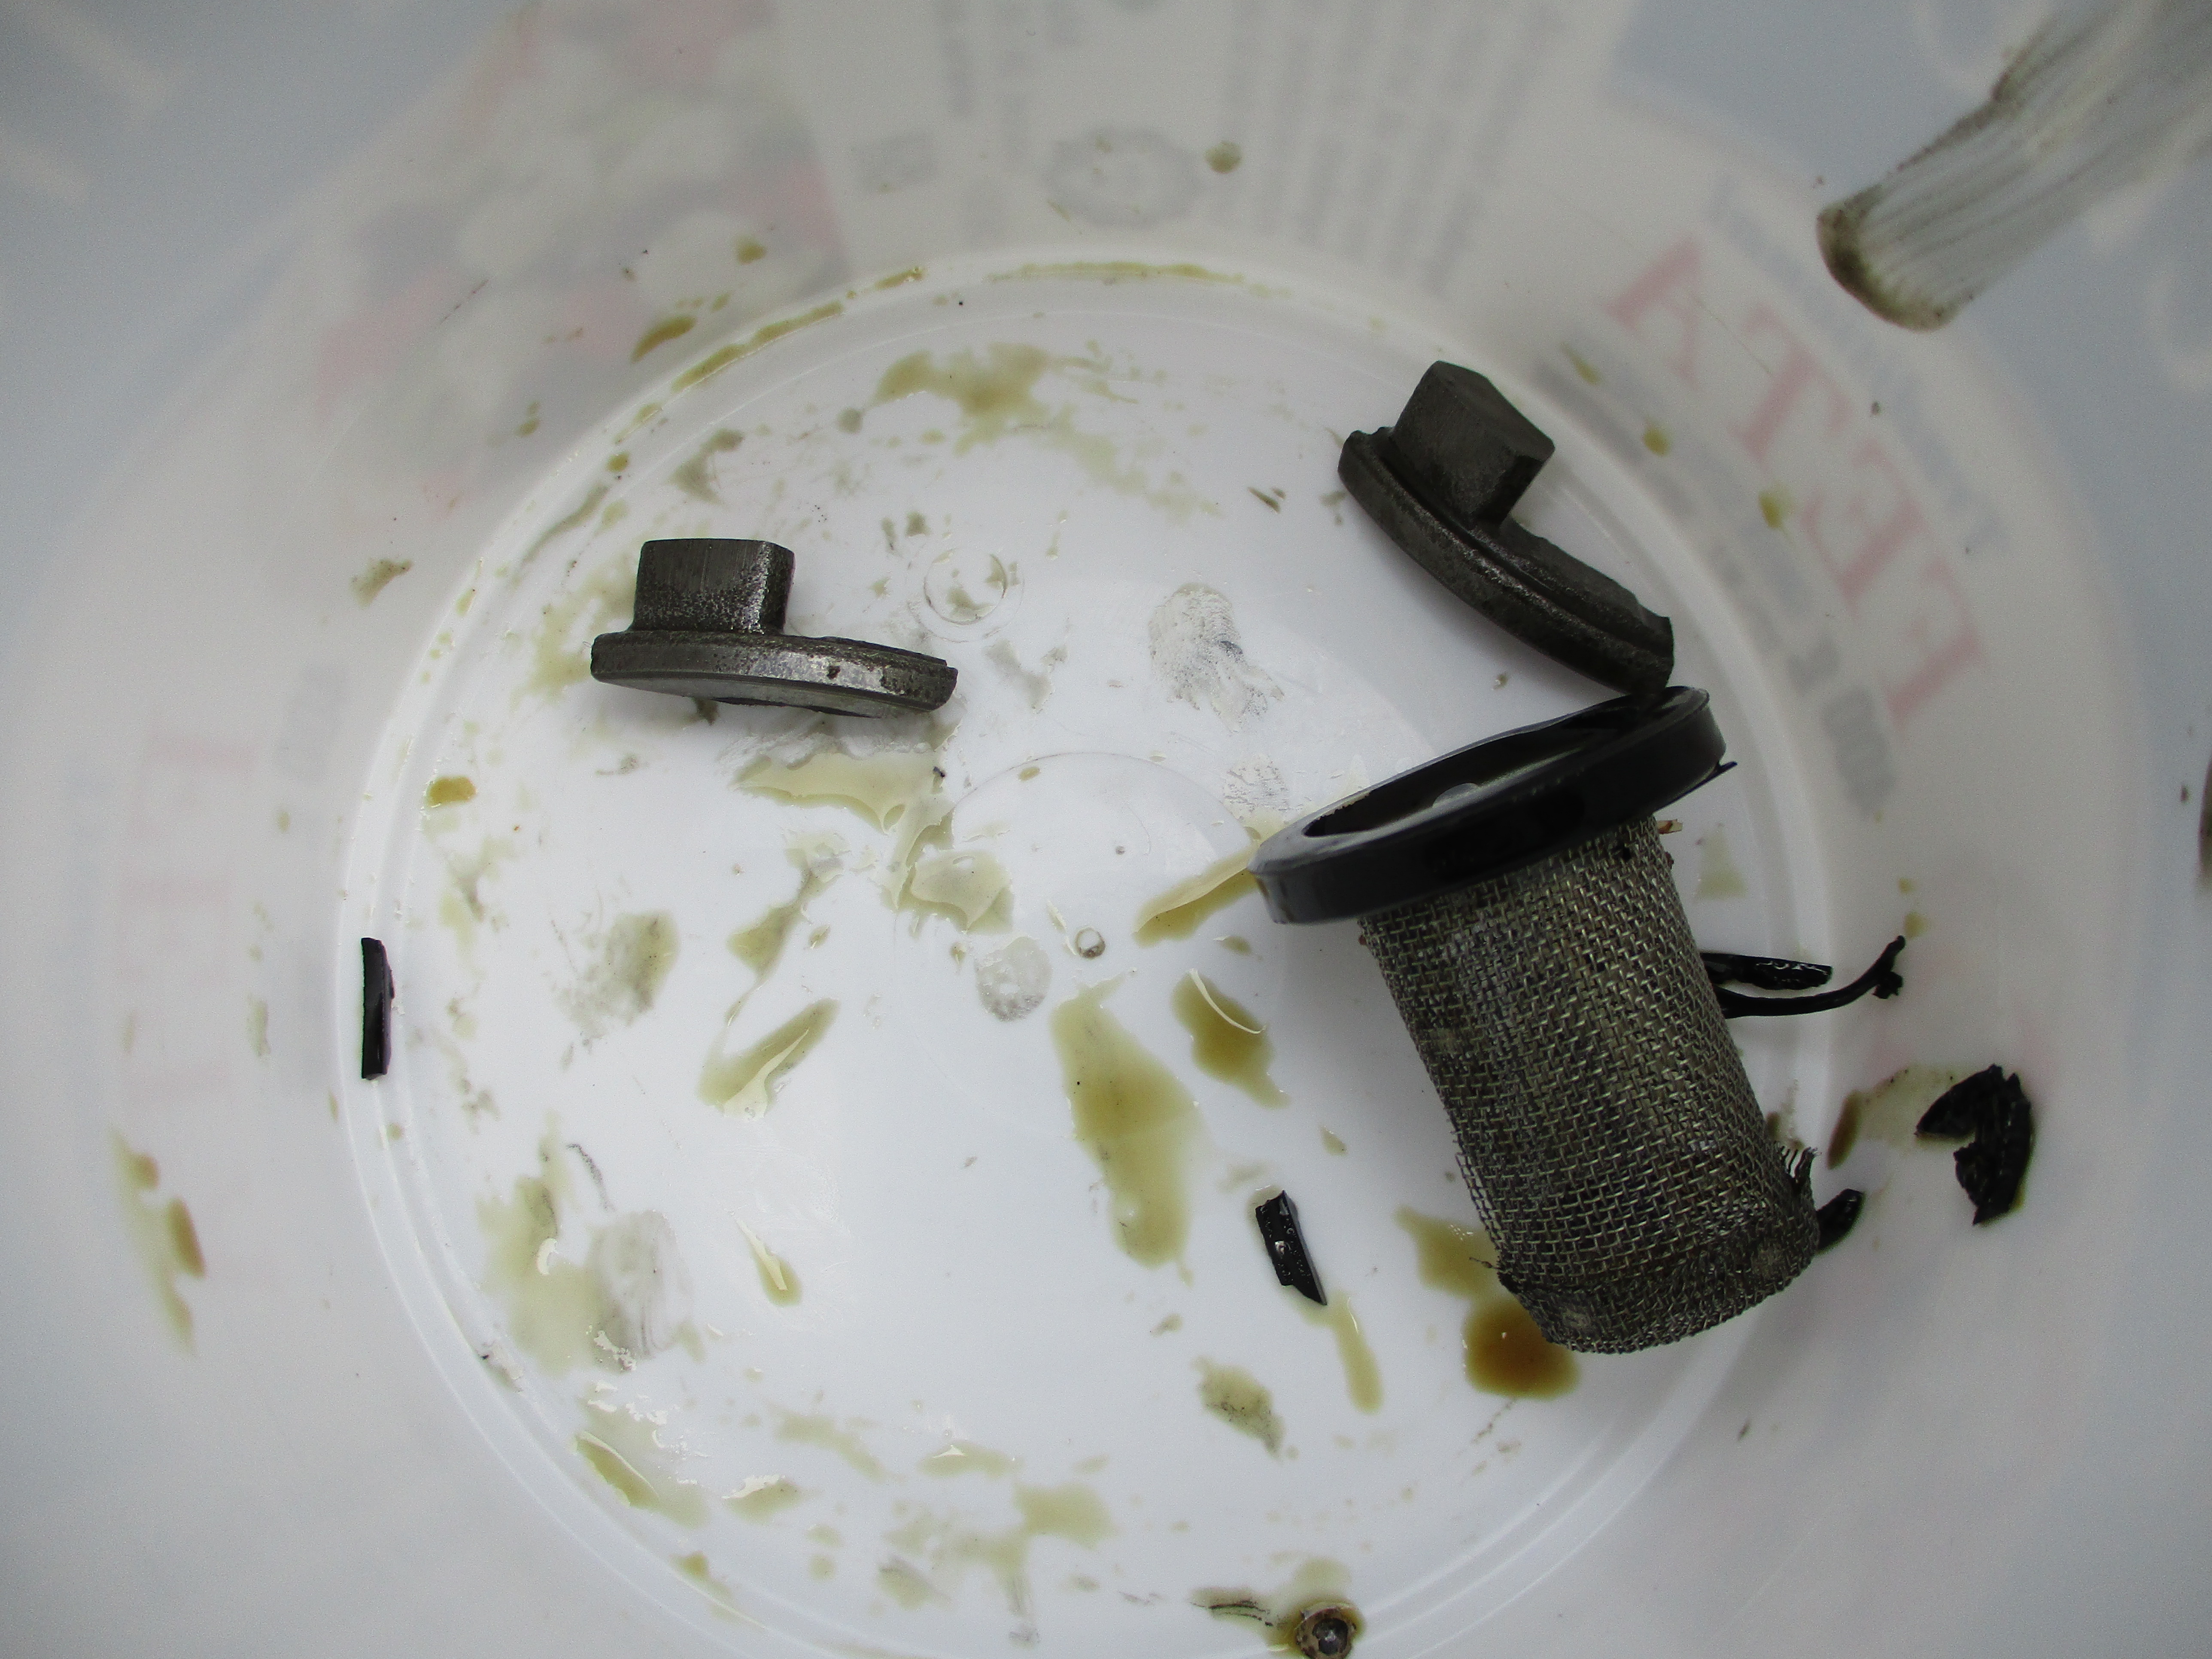
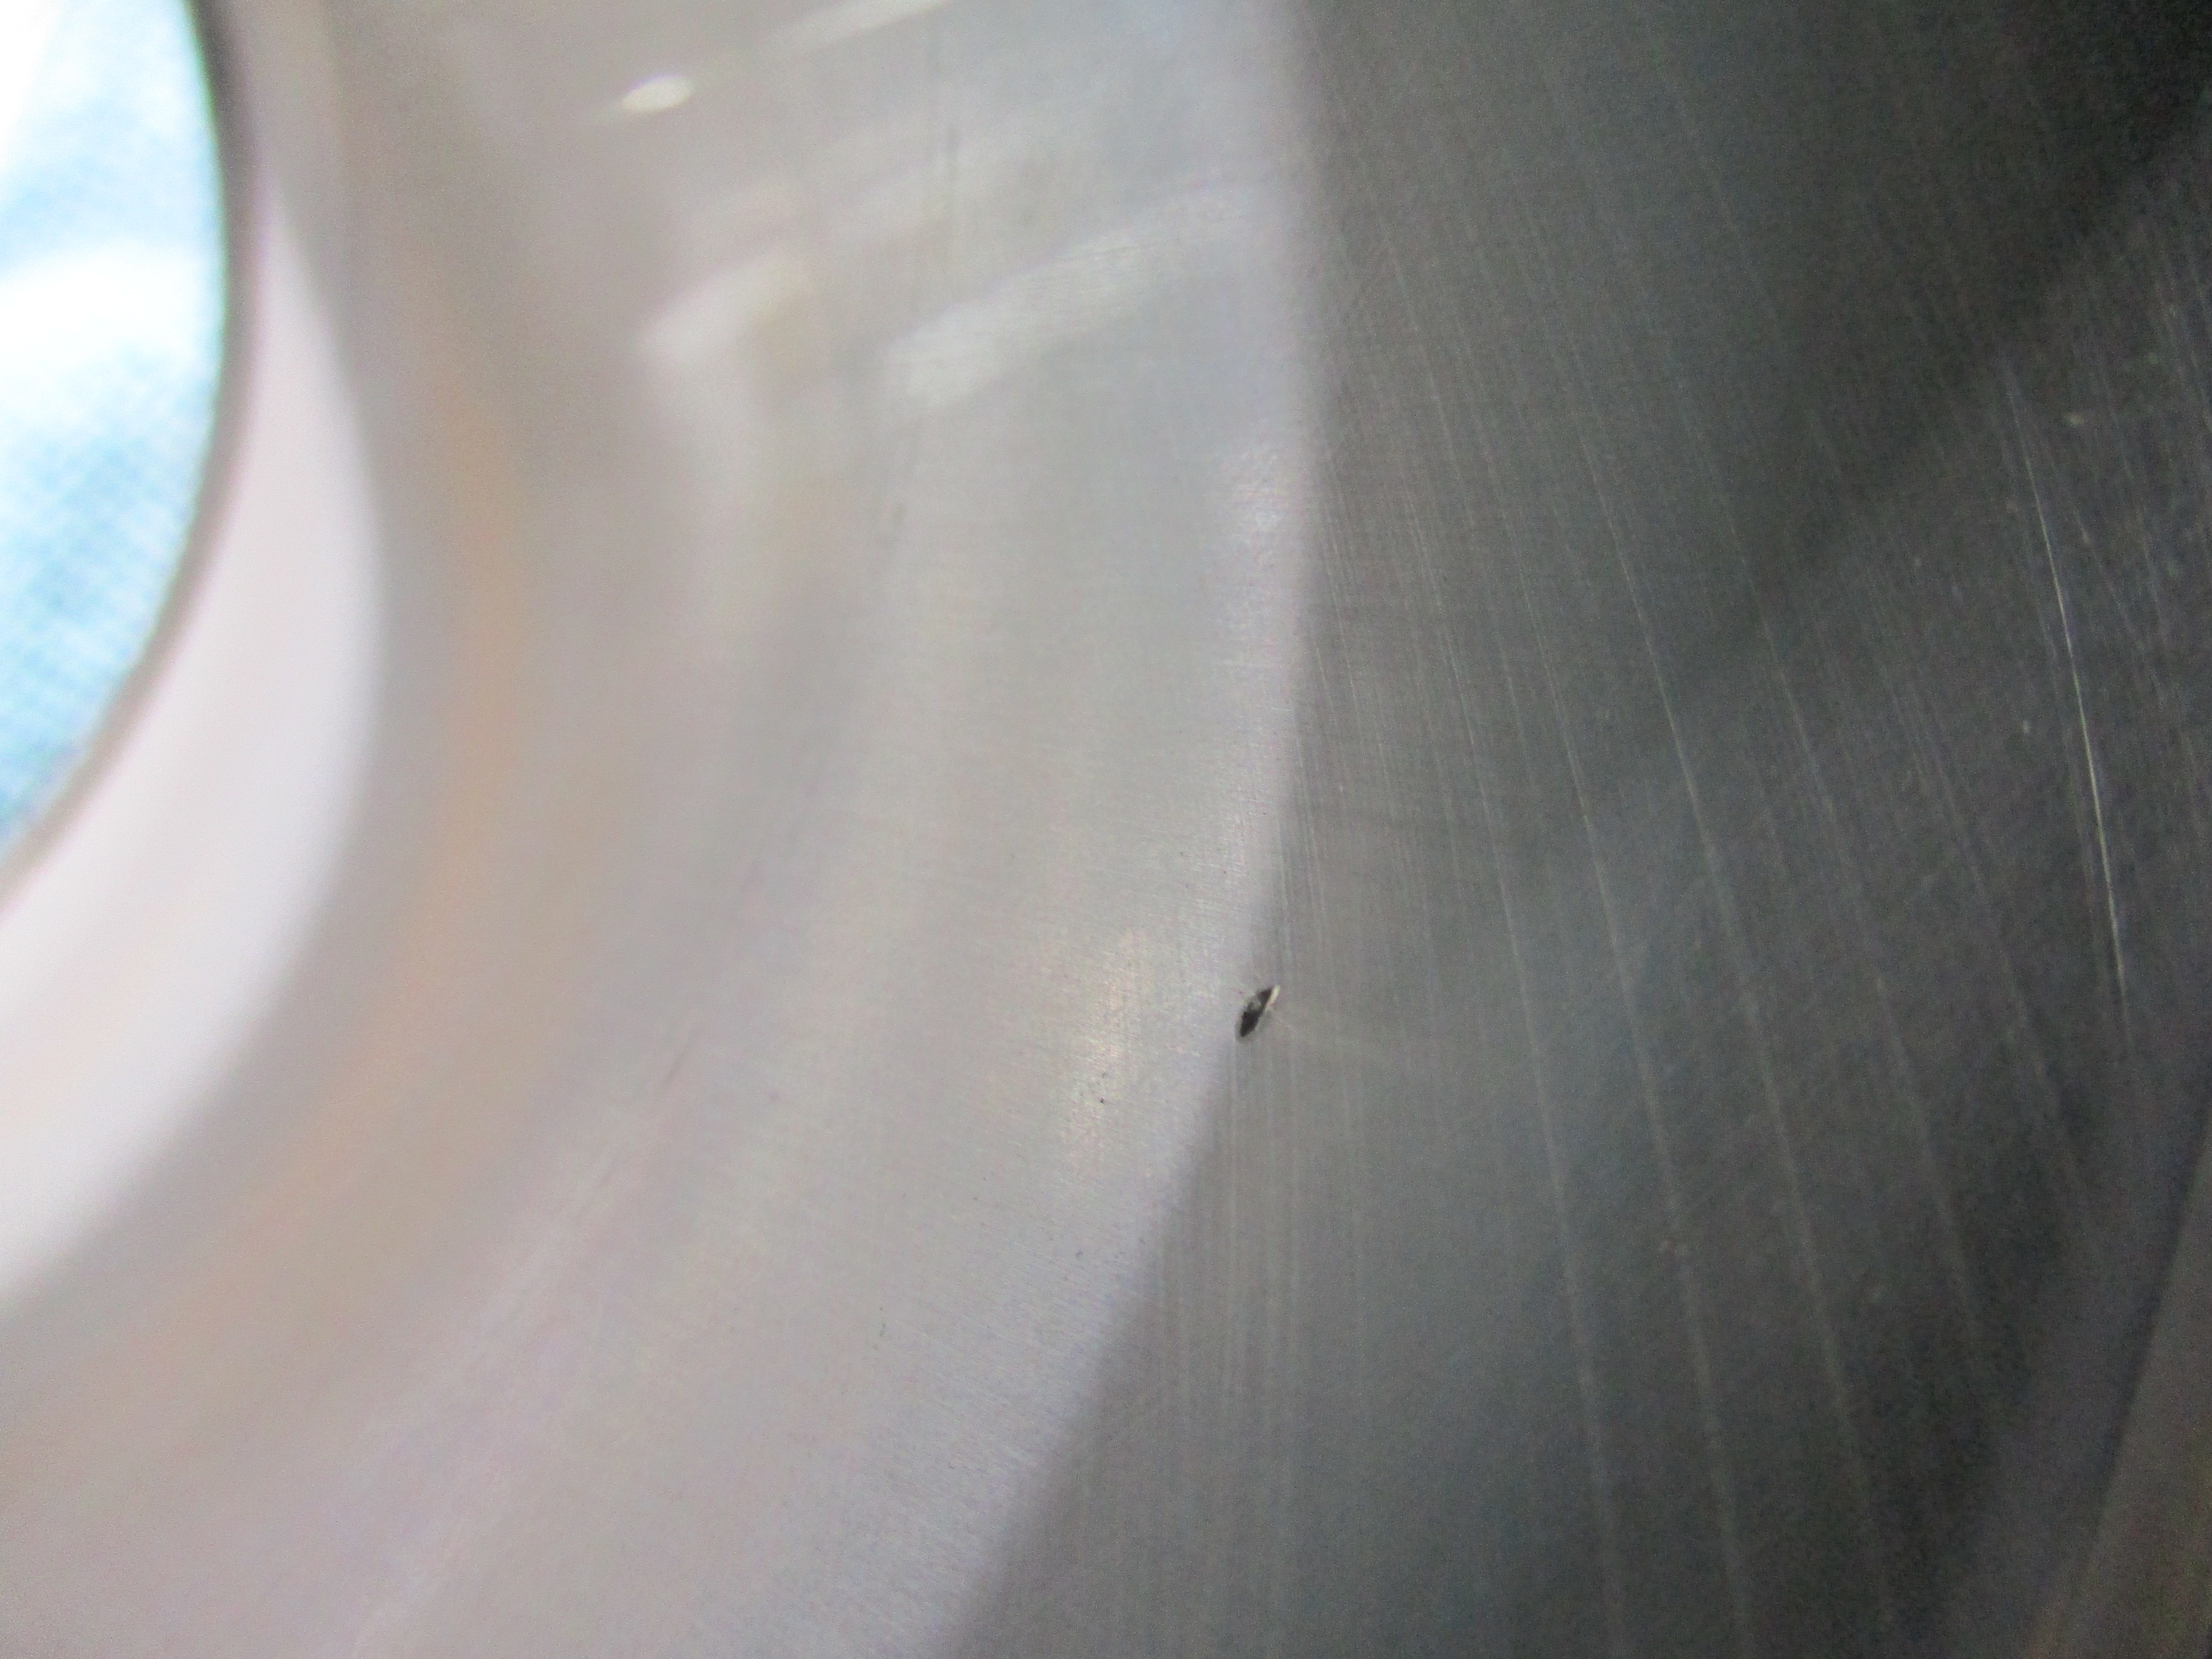
While changing the oil I noticed that the draining oil stream was forked. After it had finished I looked up into the drain hole and saw a large piece of metal. I tried fishing it out with a magnet but the piece was too big. Putting the used oil through a paper towel sieve did not show much swarf.
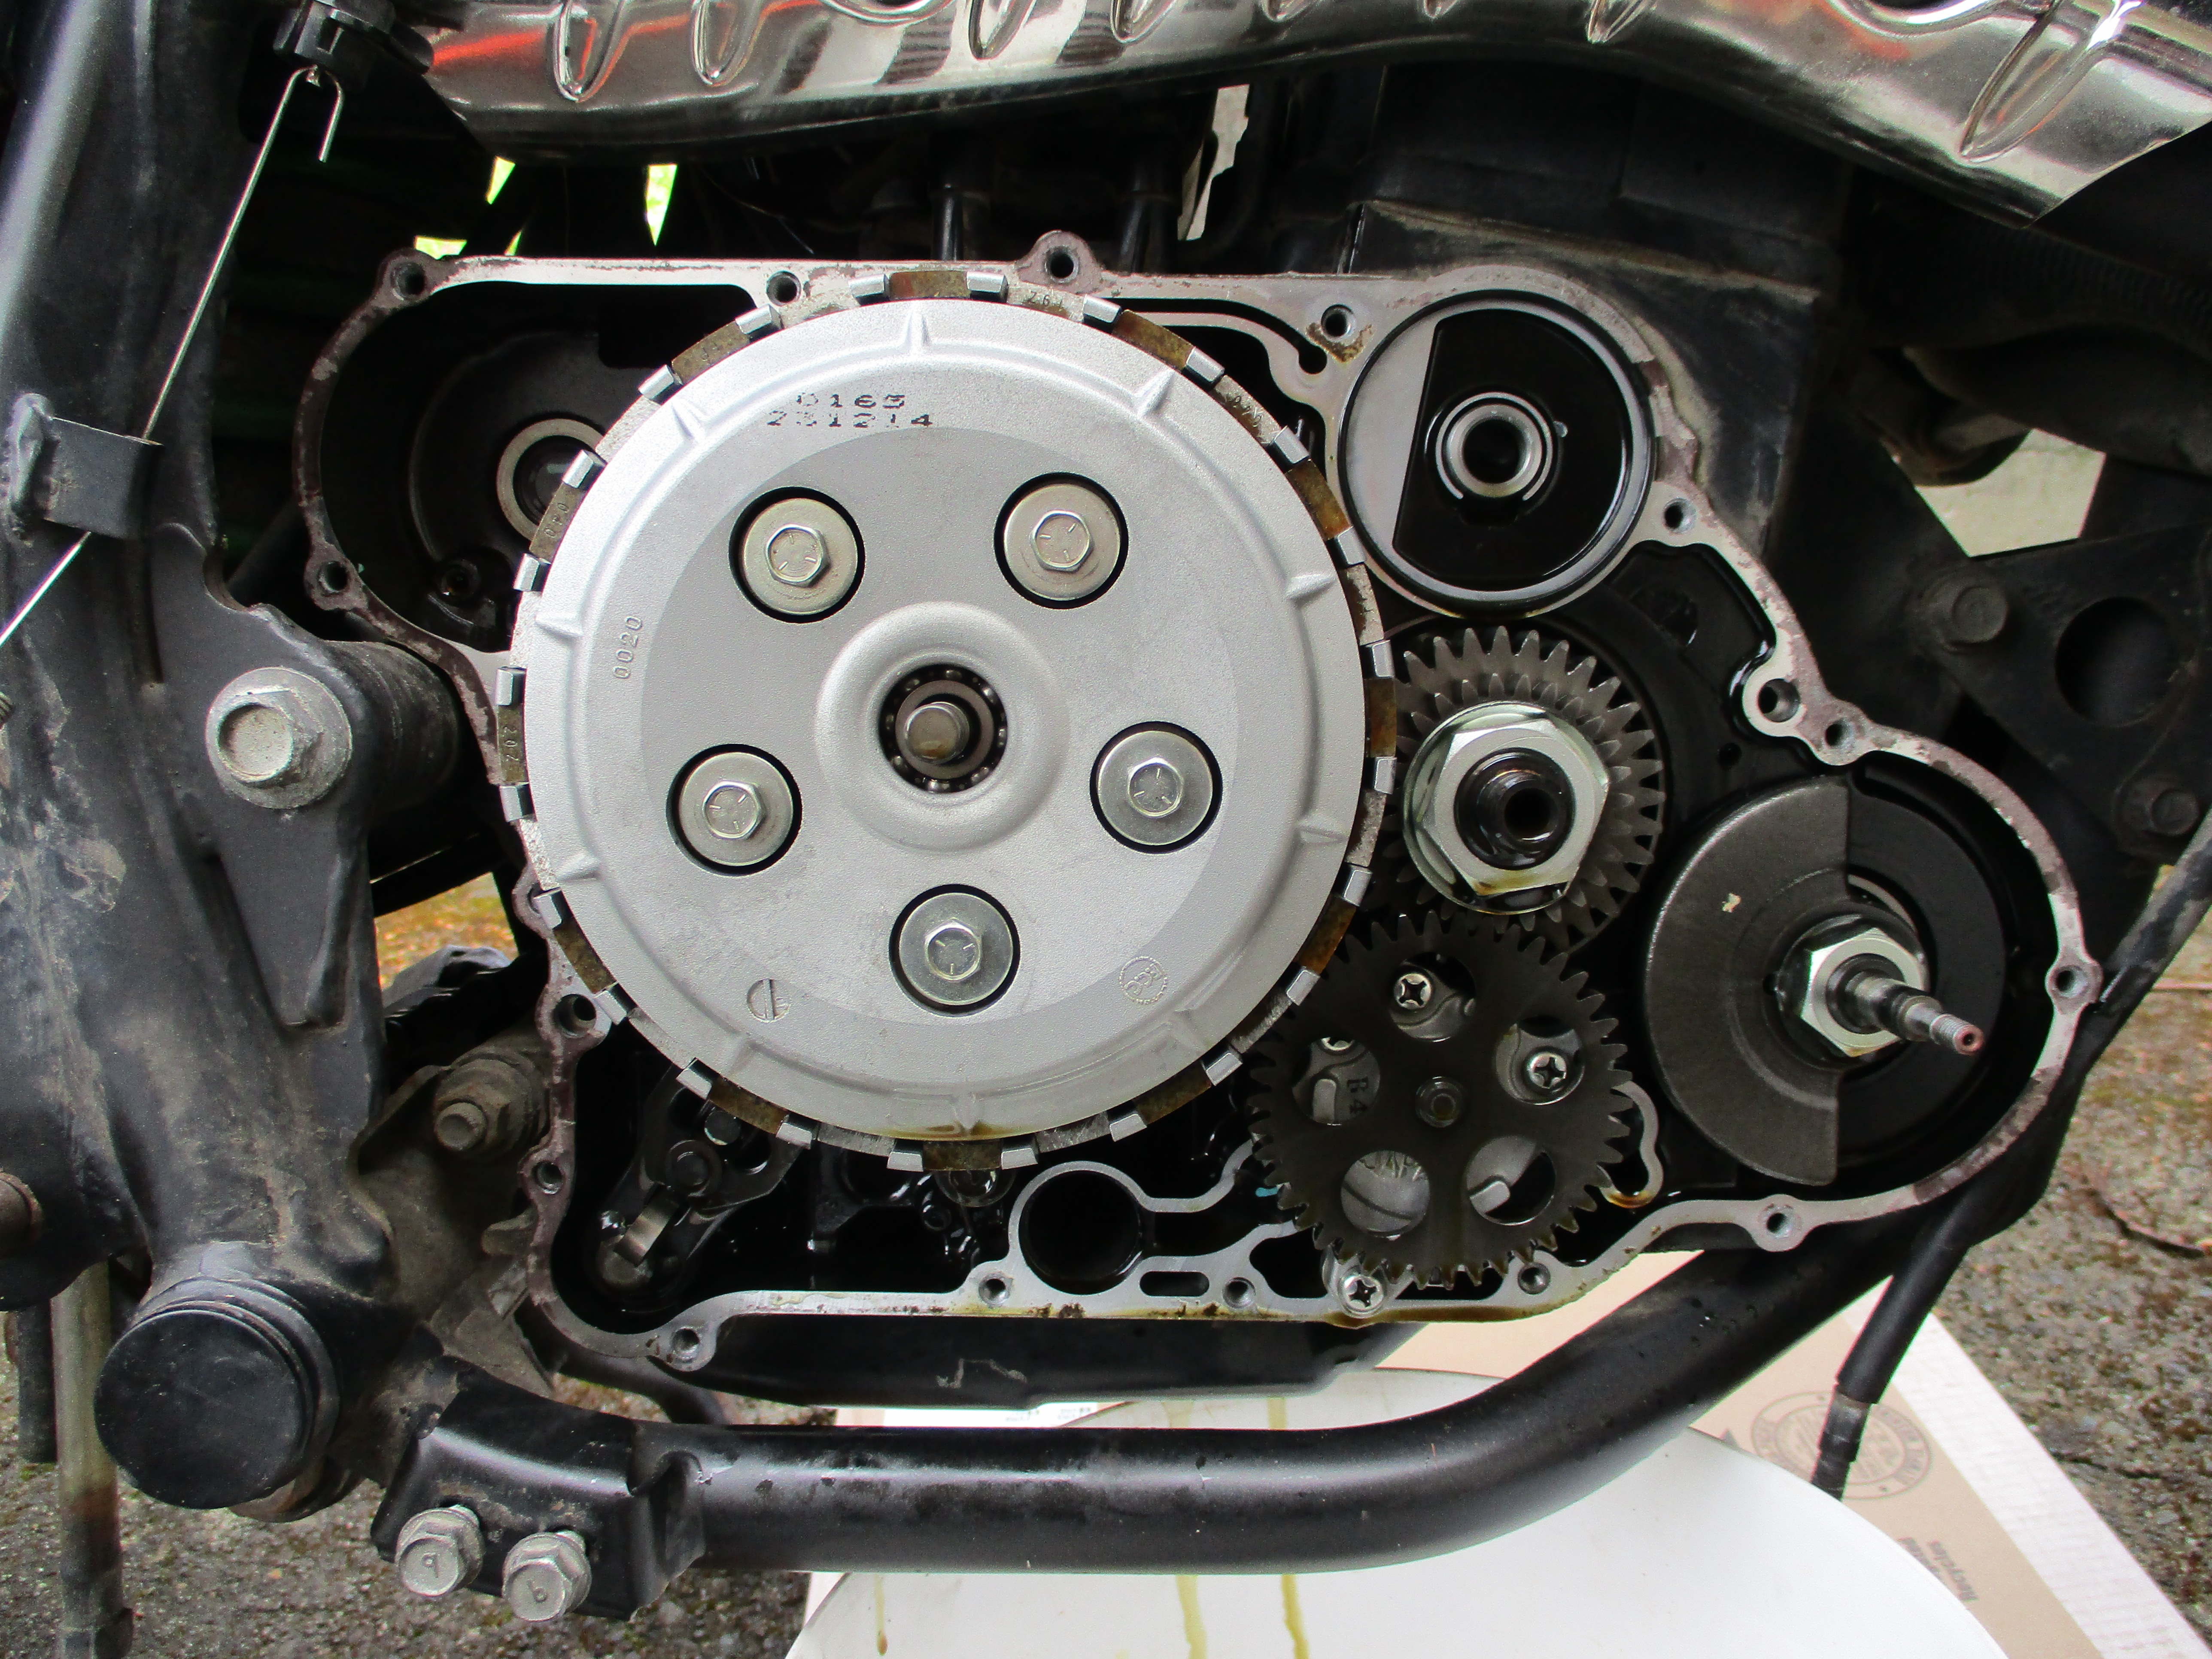
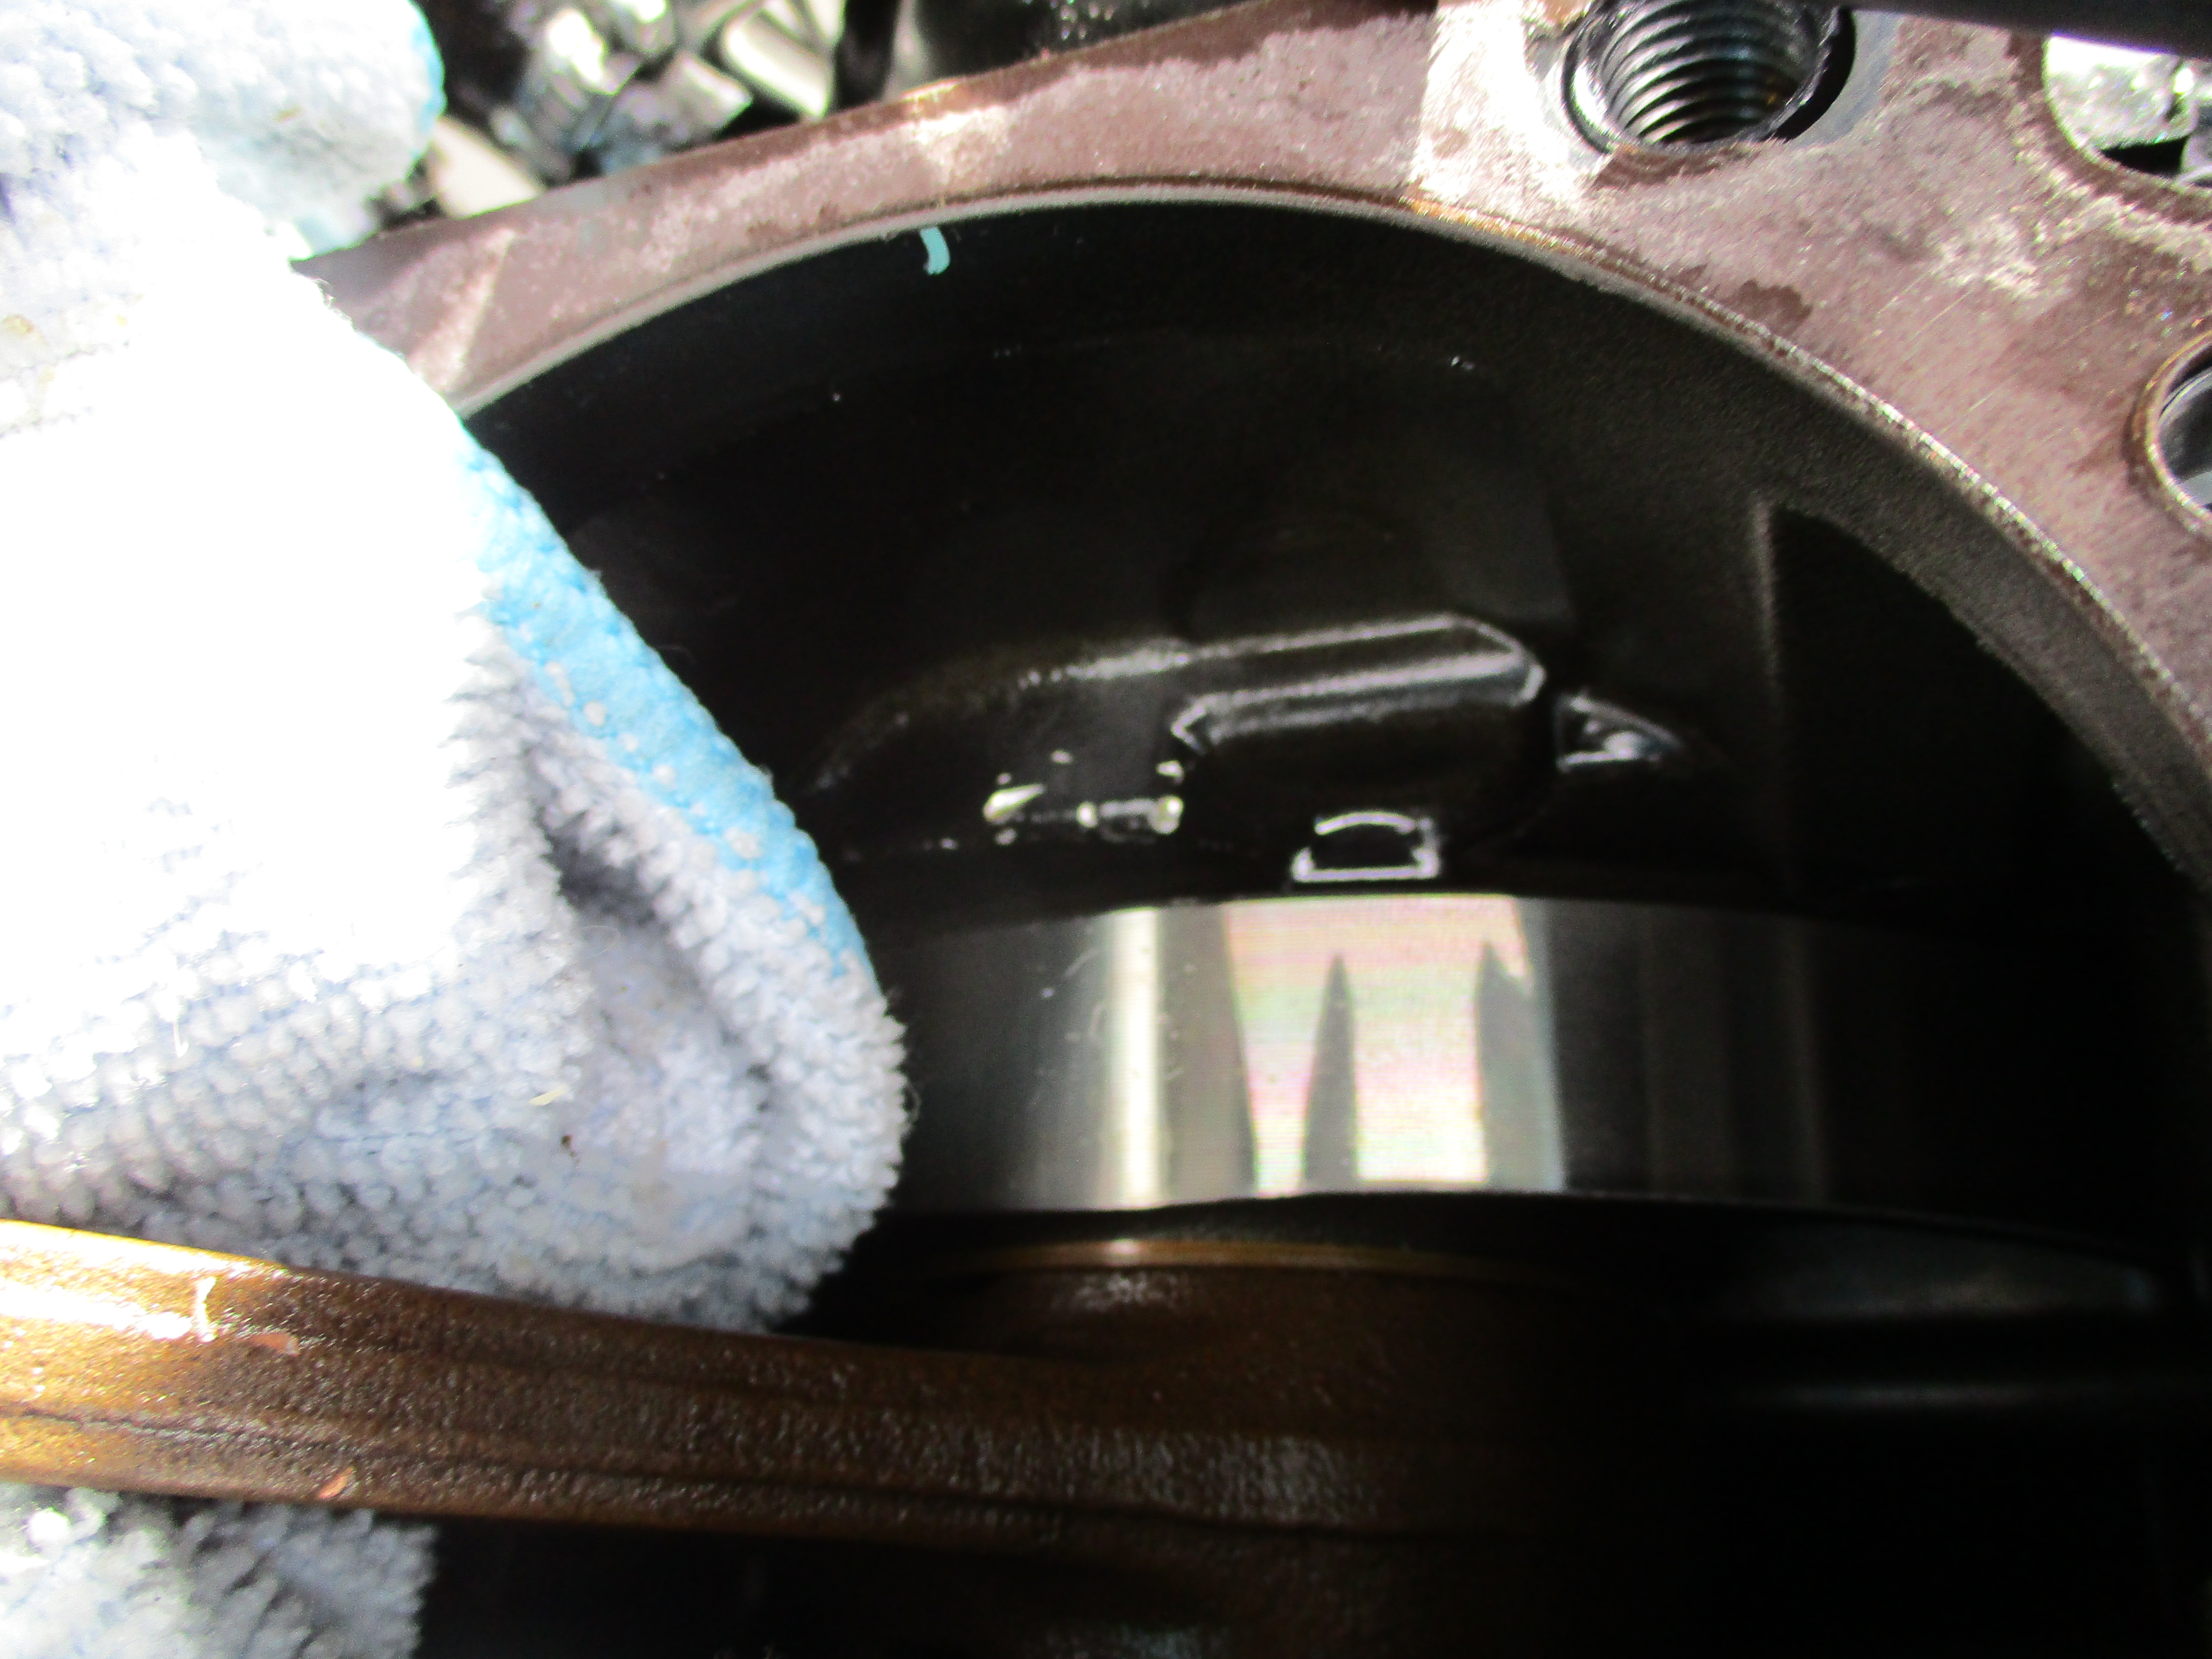
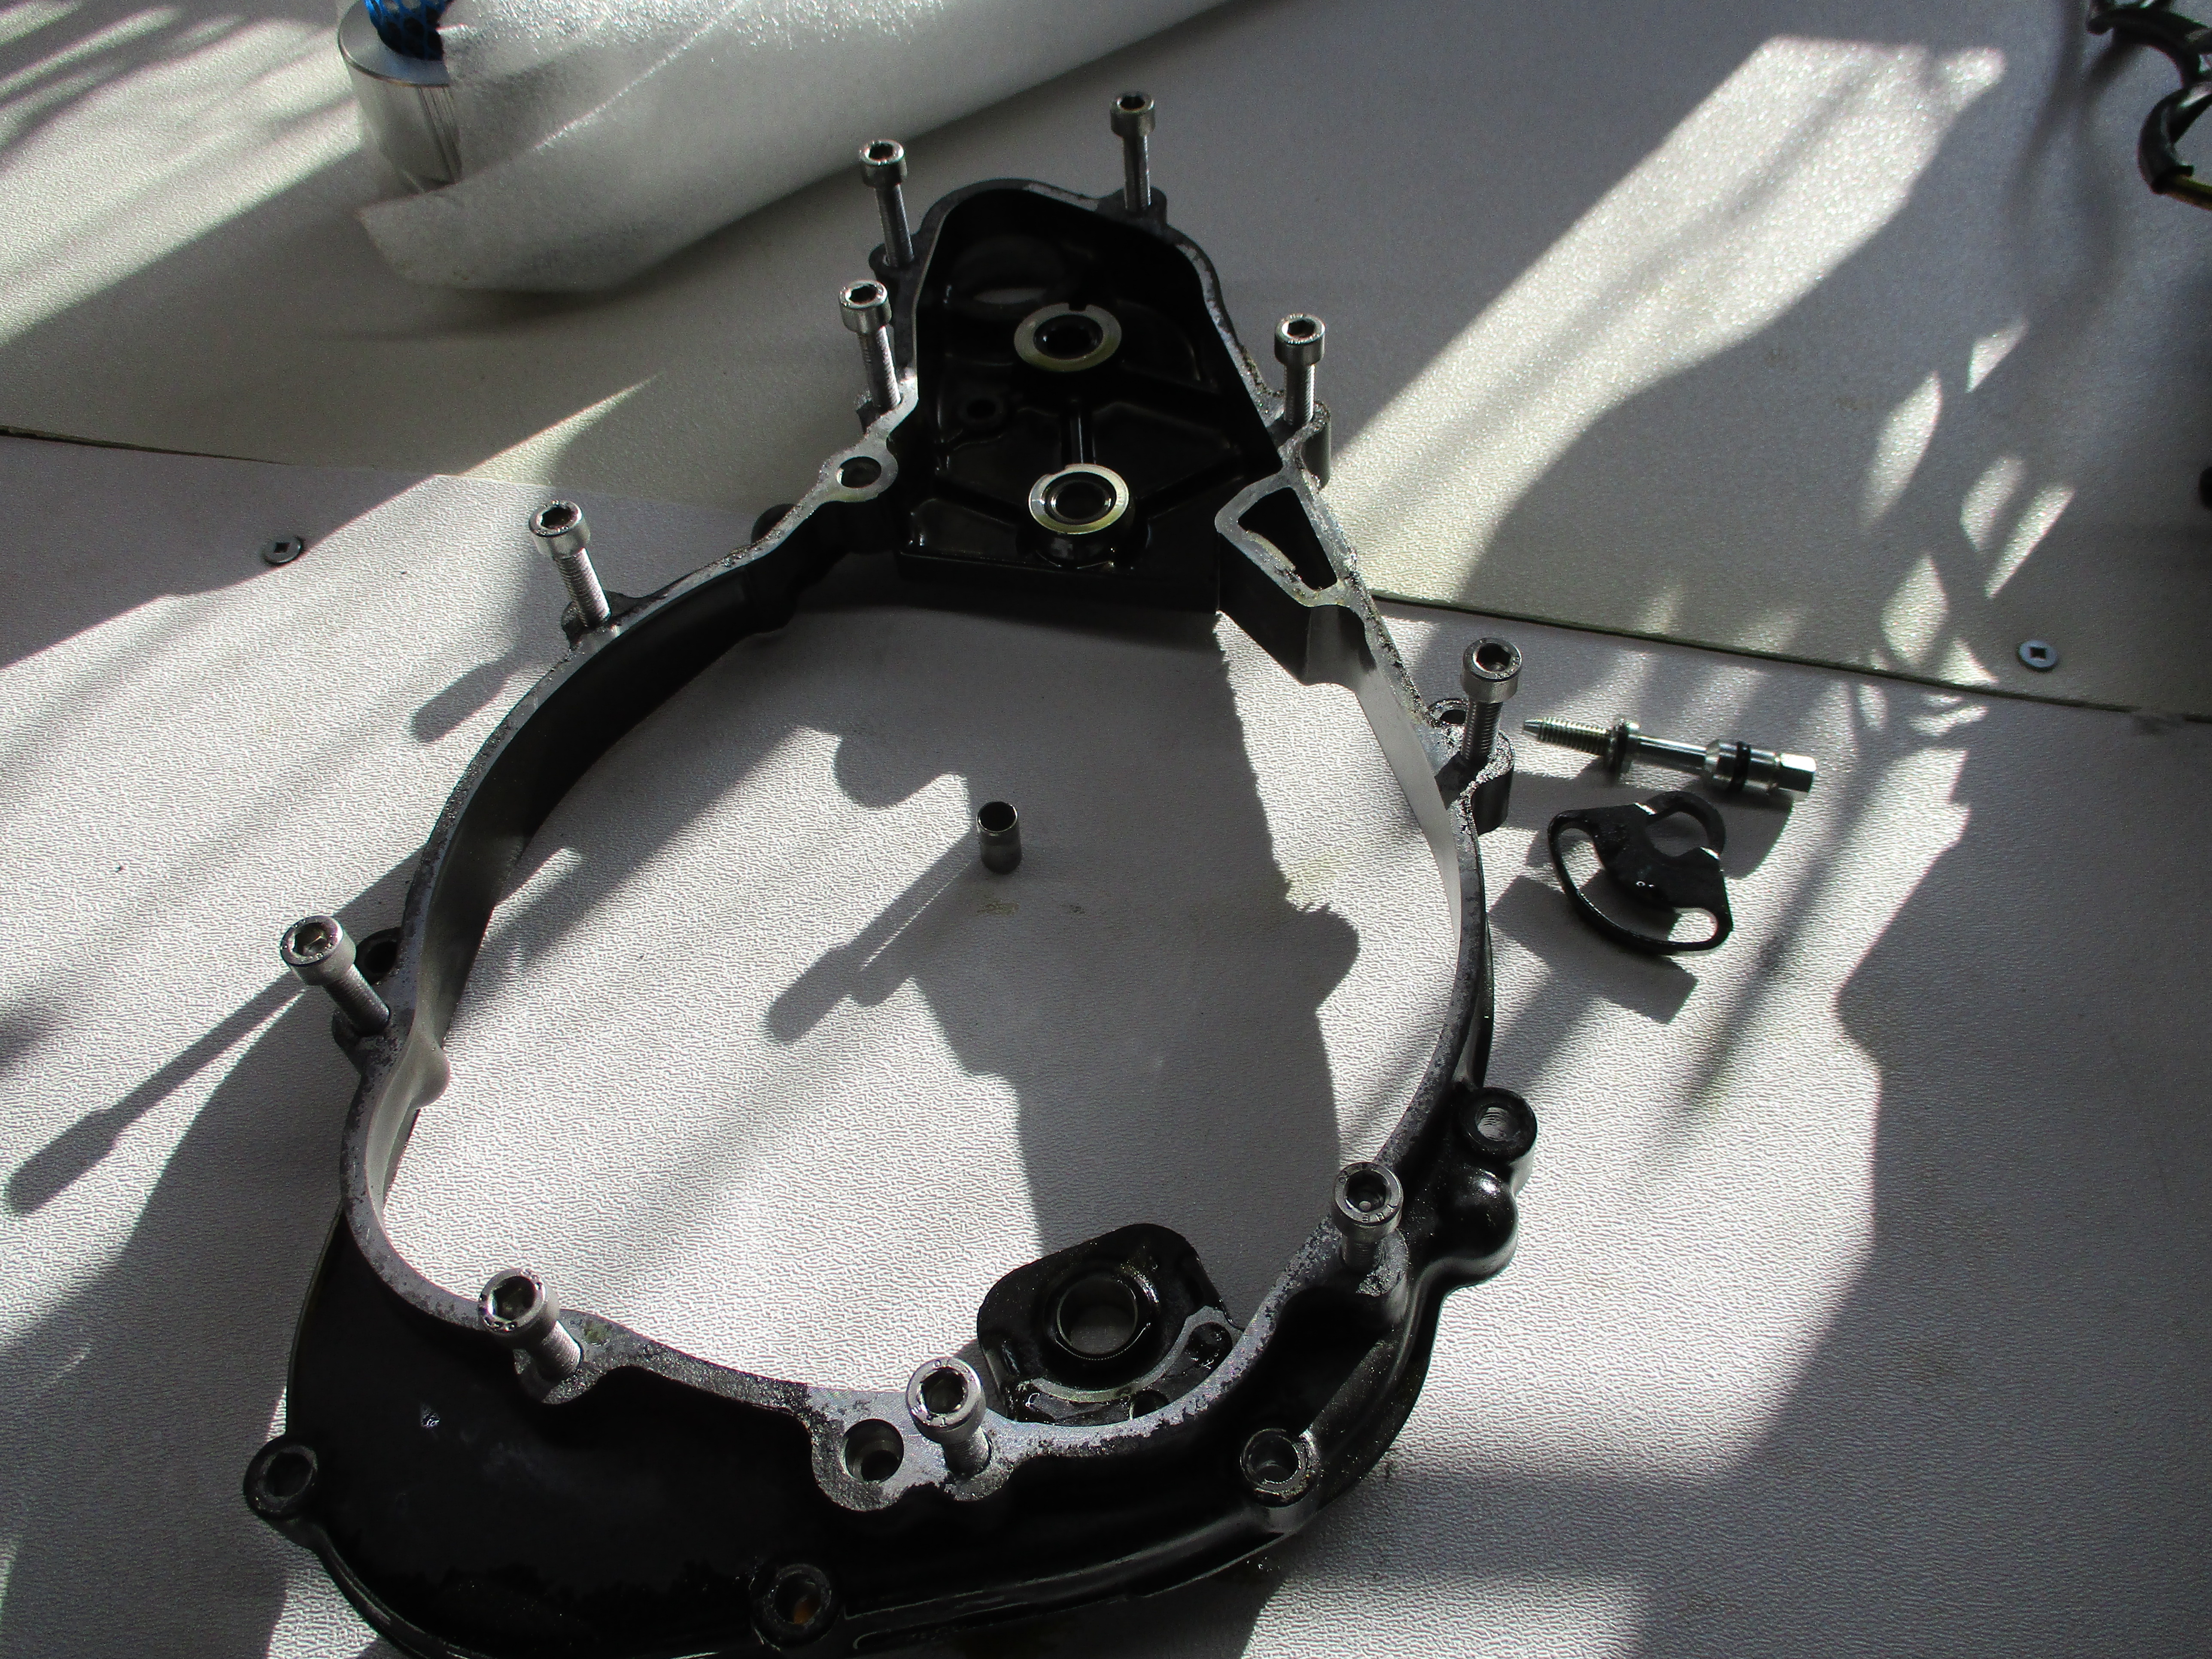
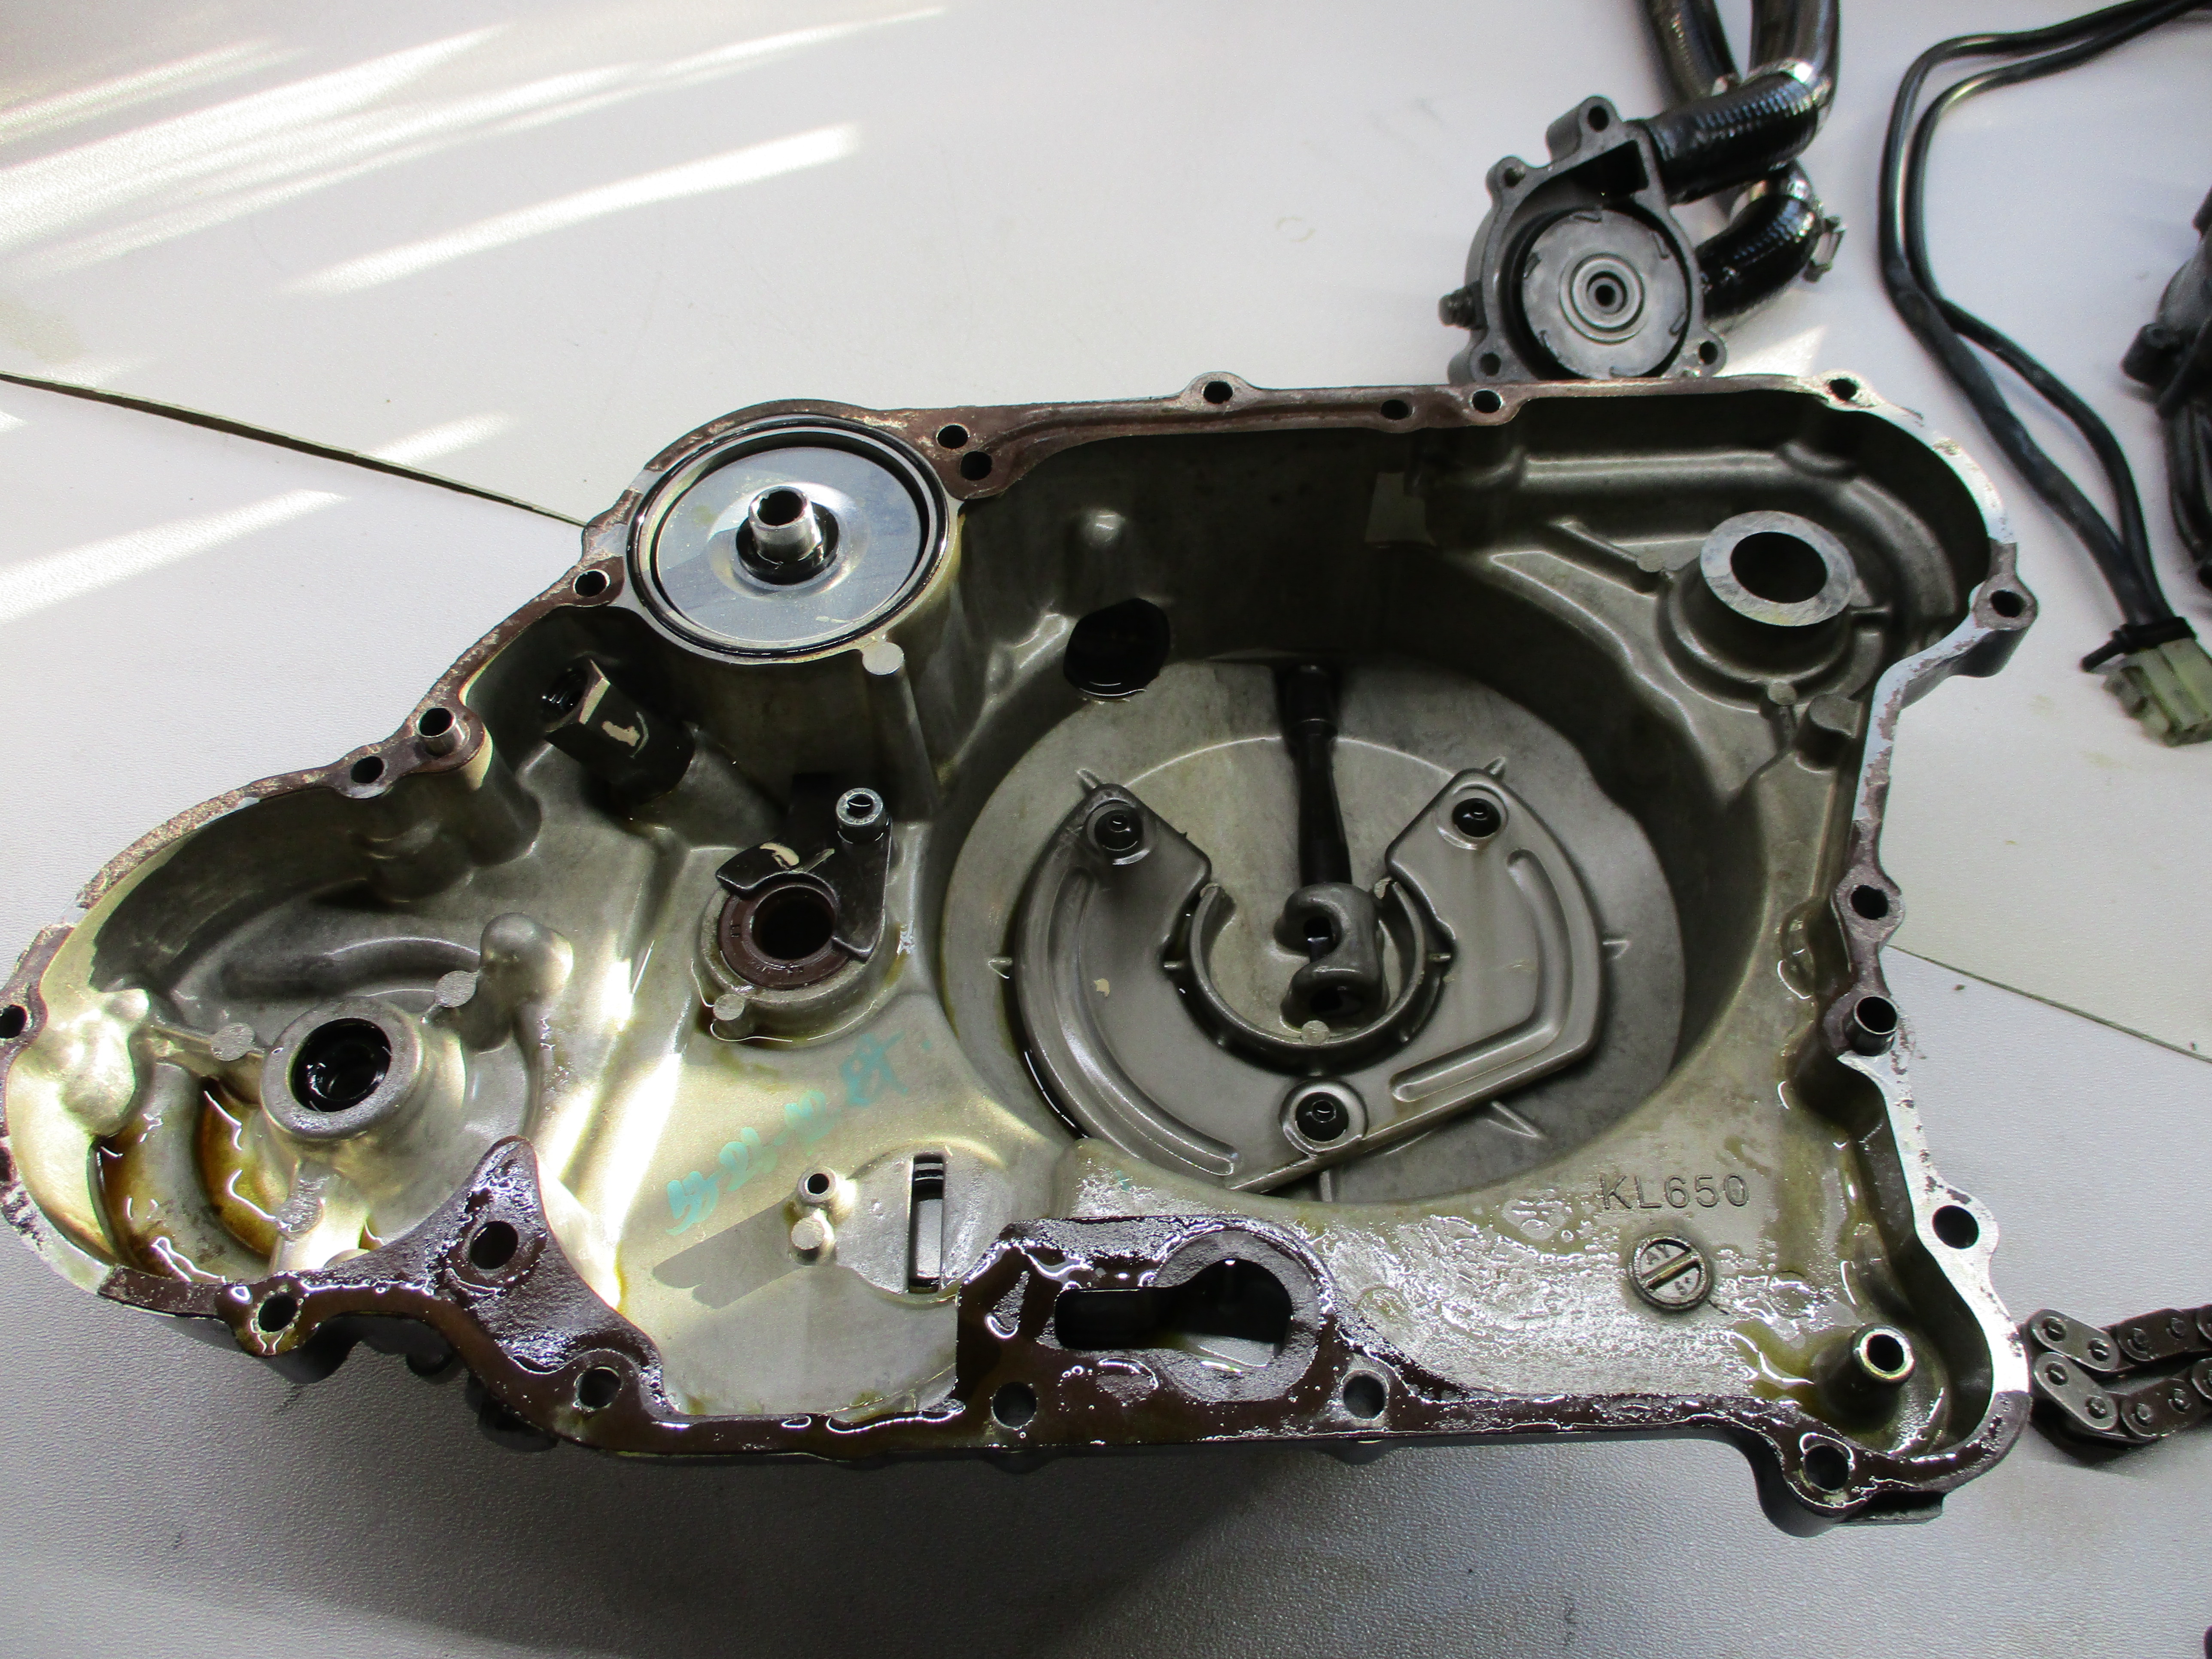
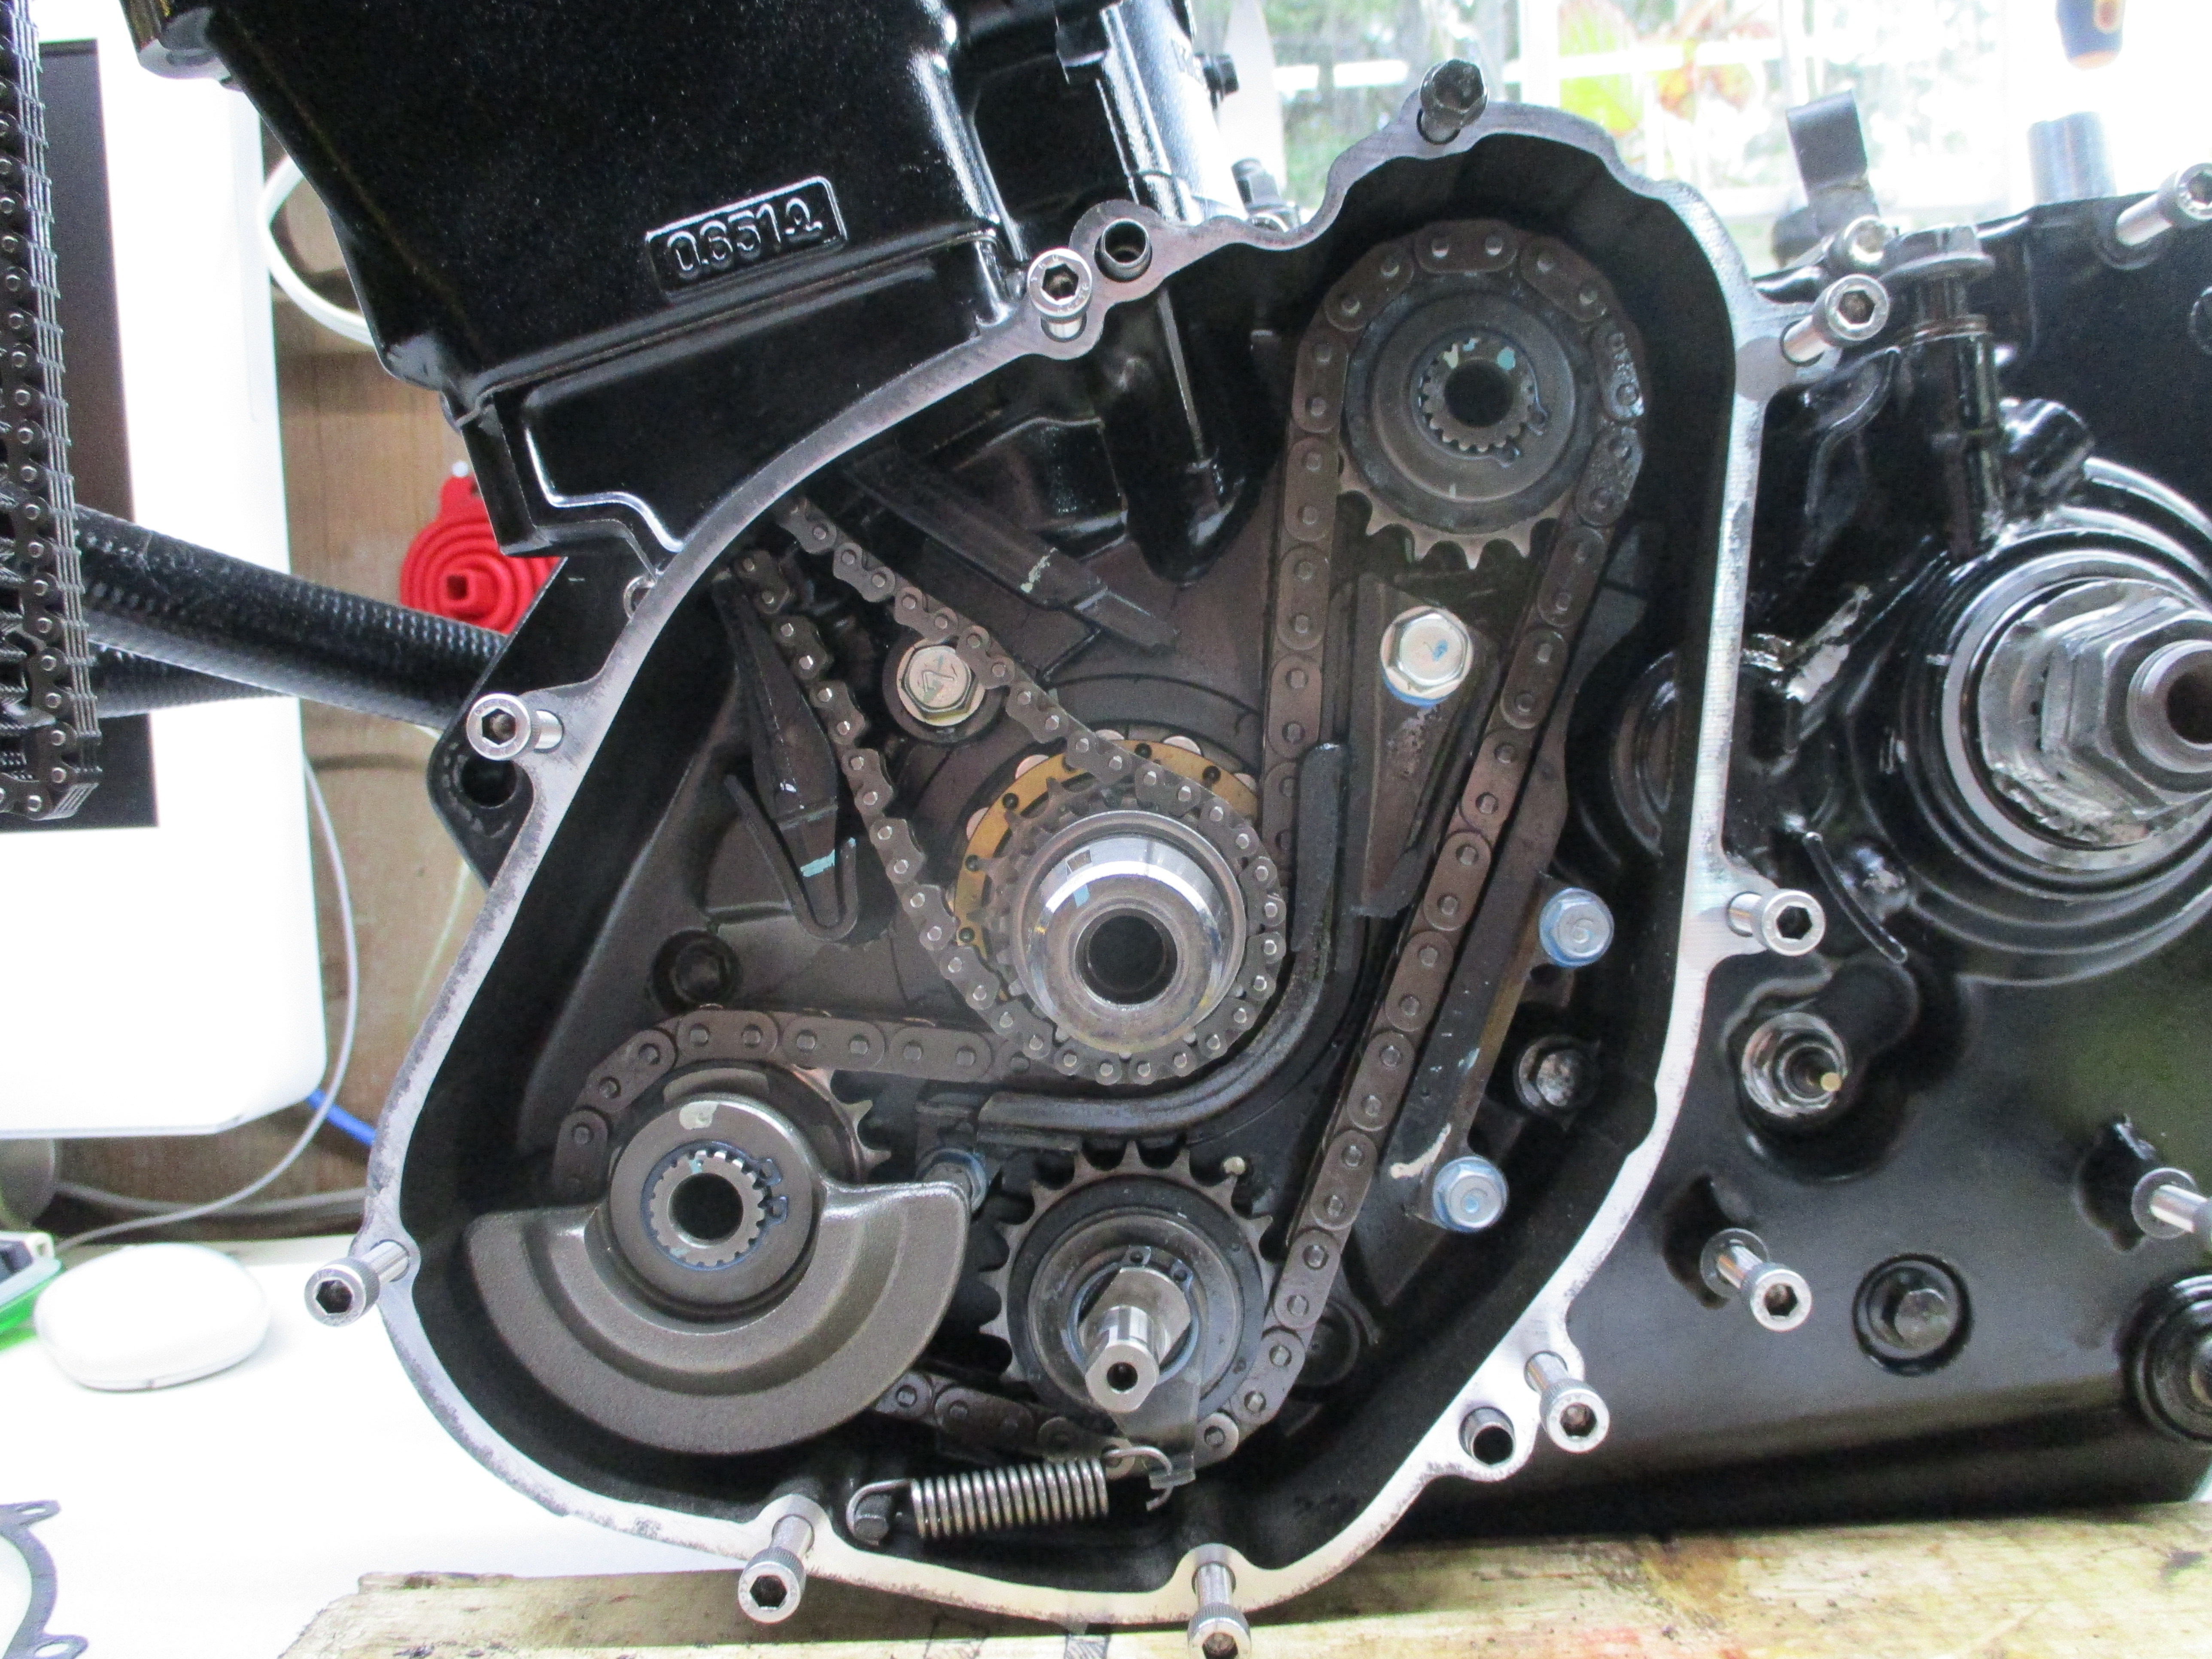
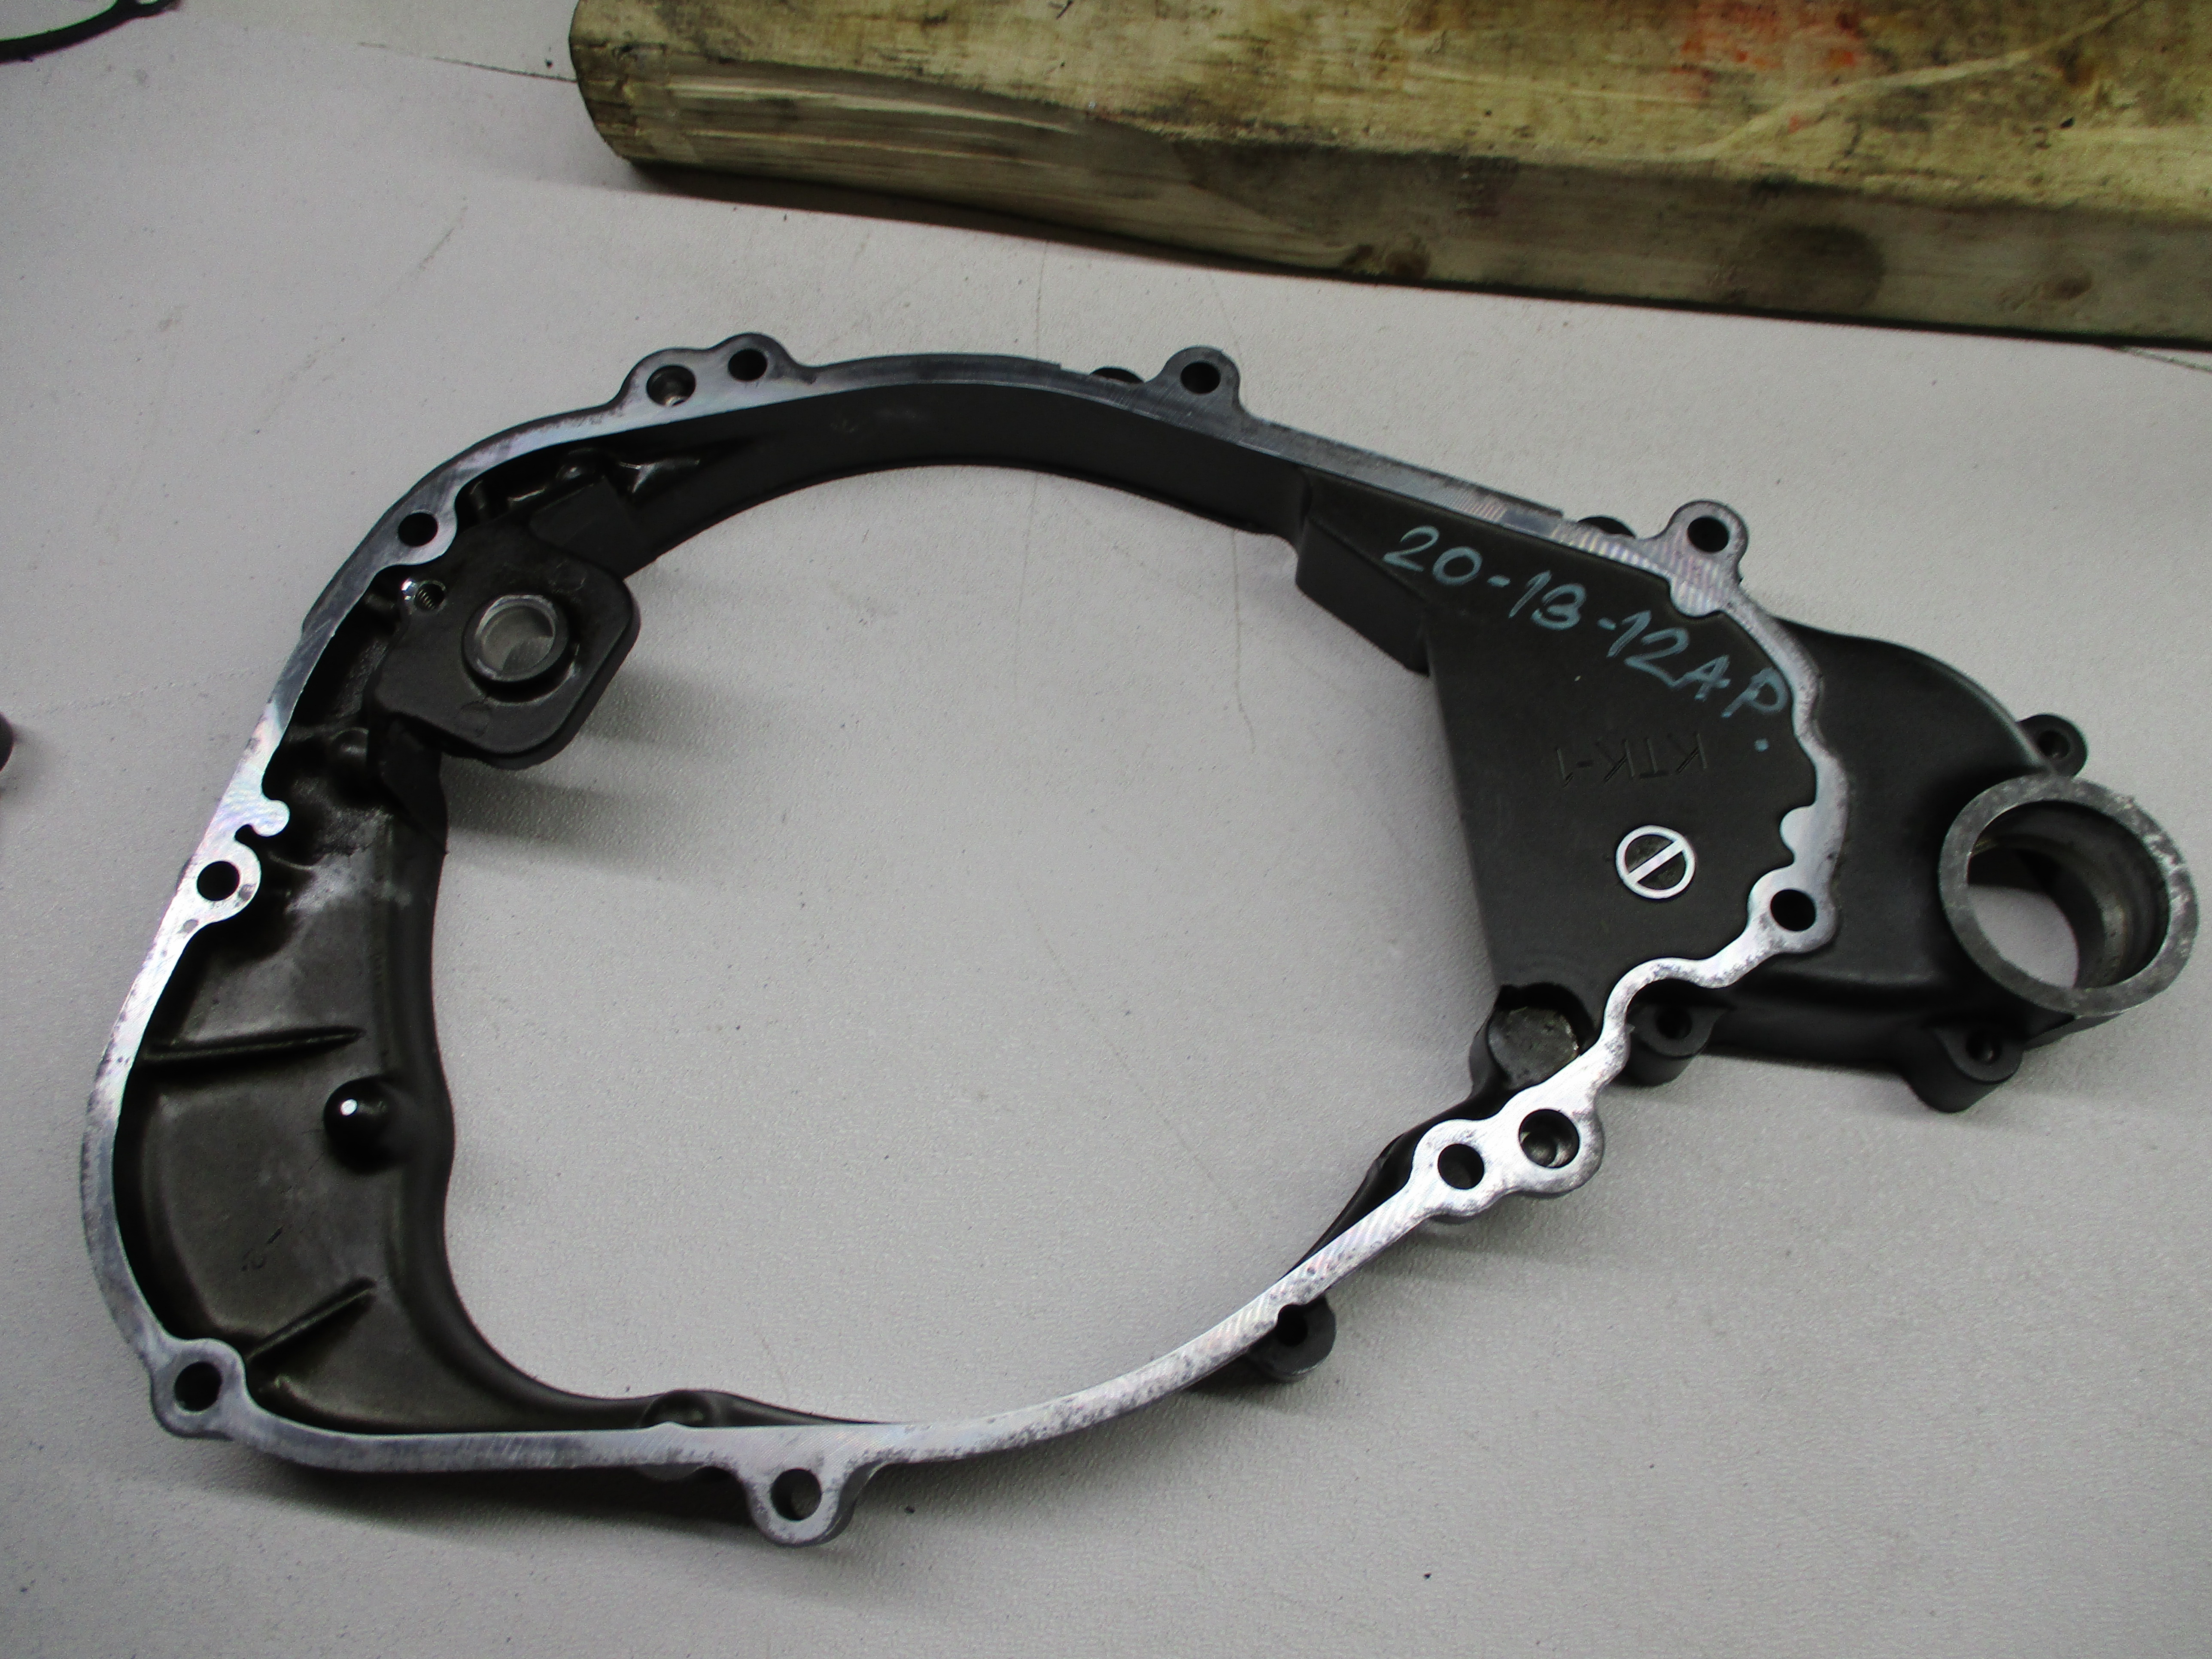
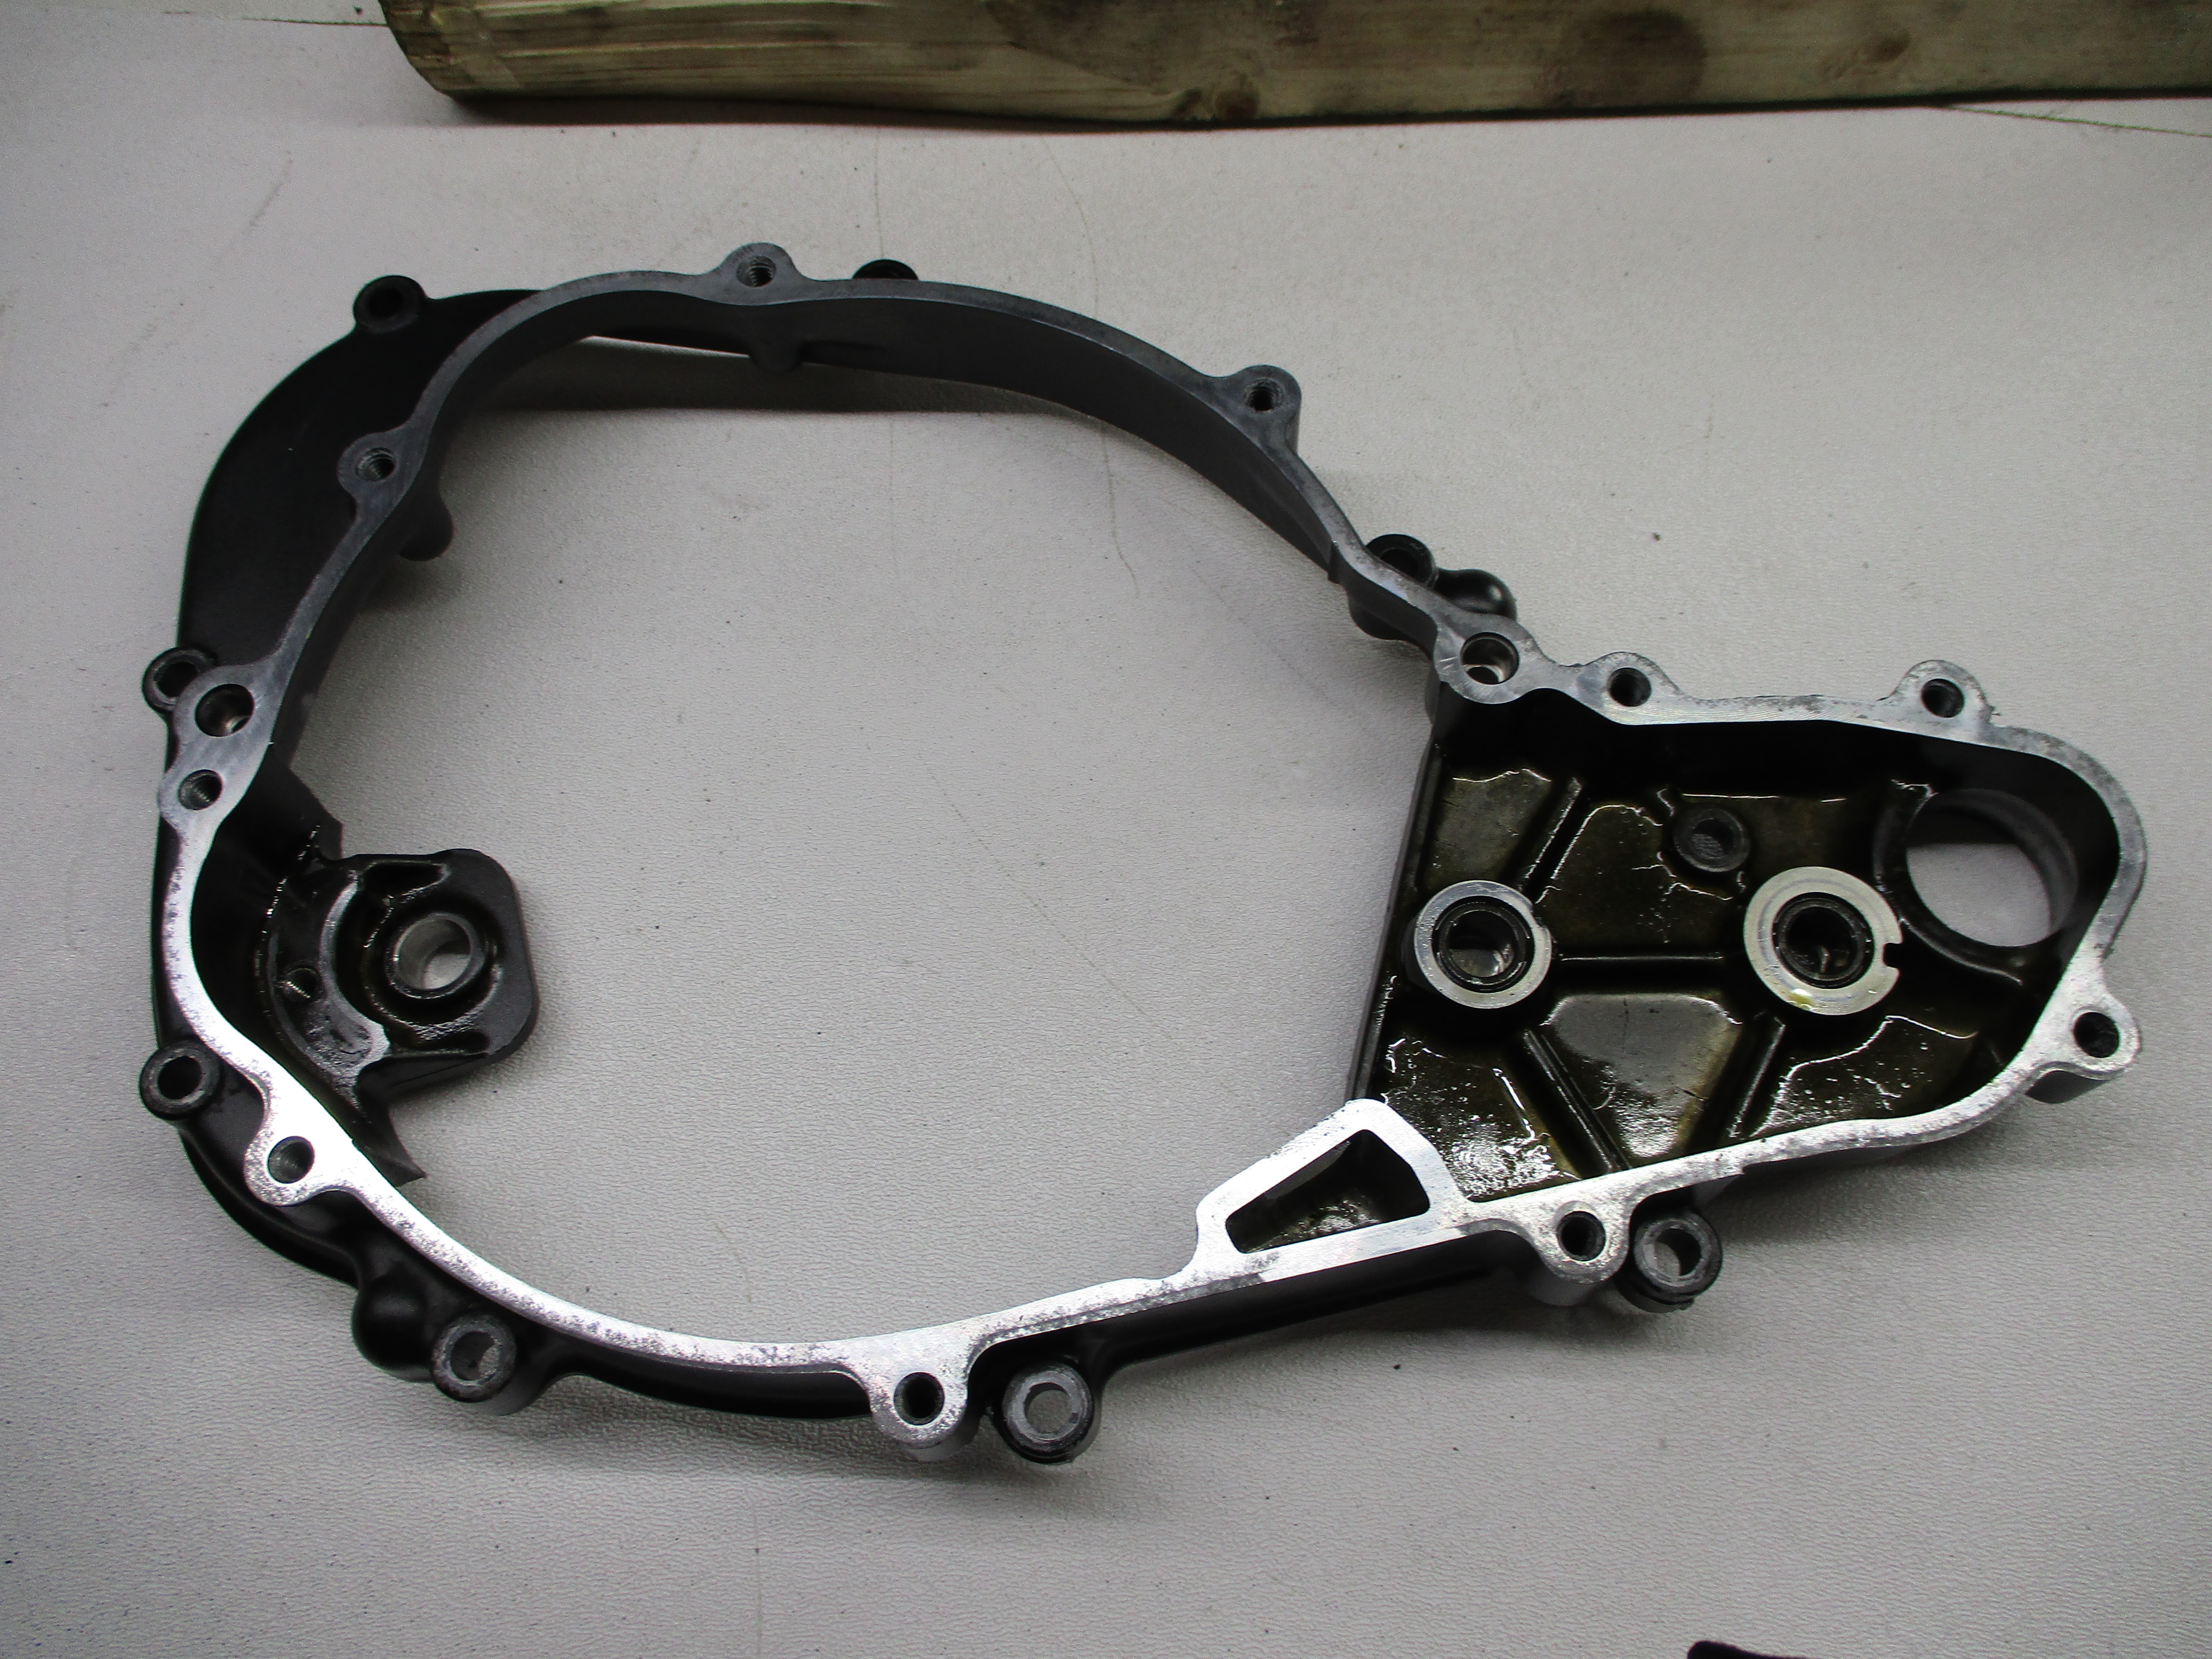
After consulting online resources I decided to pull the clutch cover off and fish for the piece using a magnet on a piece of wire. There is a hole about the size of a dollar that you can reach into the sump from. I caught the piece I had seen earlier almost immediately. At that time I did not yet know that it was a shift dog off third gear. I fished behind the oil screen while I was there and found another shift dog.
After figuring out where the pieces came from, splitting the cases was the only reasonable thing to do. I needed to replace at least third gear, possibly more depending on collateral damage. Note the motorcycle was functioning perfectly at this time, so I knew there was not any catastrophic damage, but splitting the cases was the prudent thing to do.
The first thing I did was order parts and tools. In all I needed:
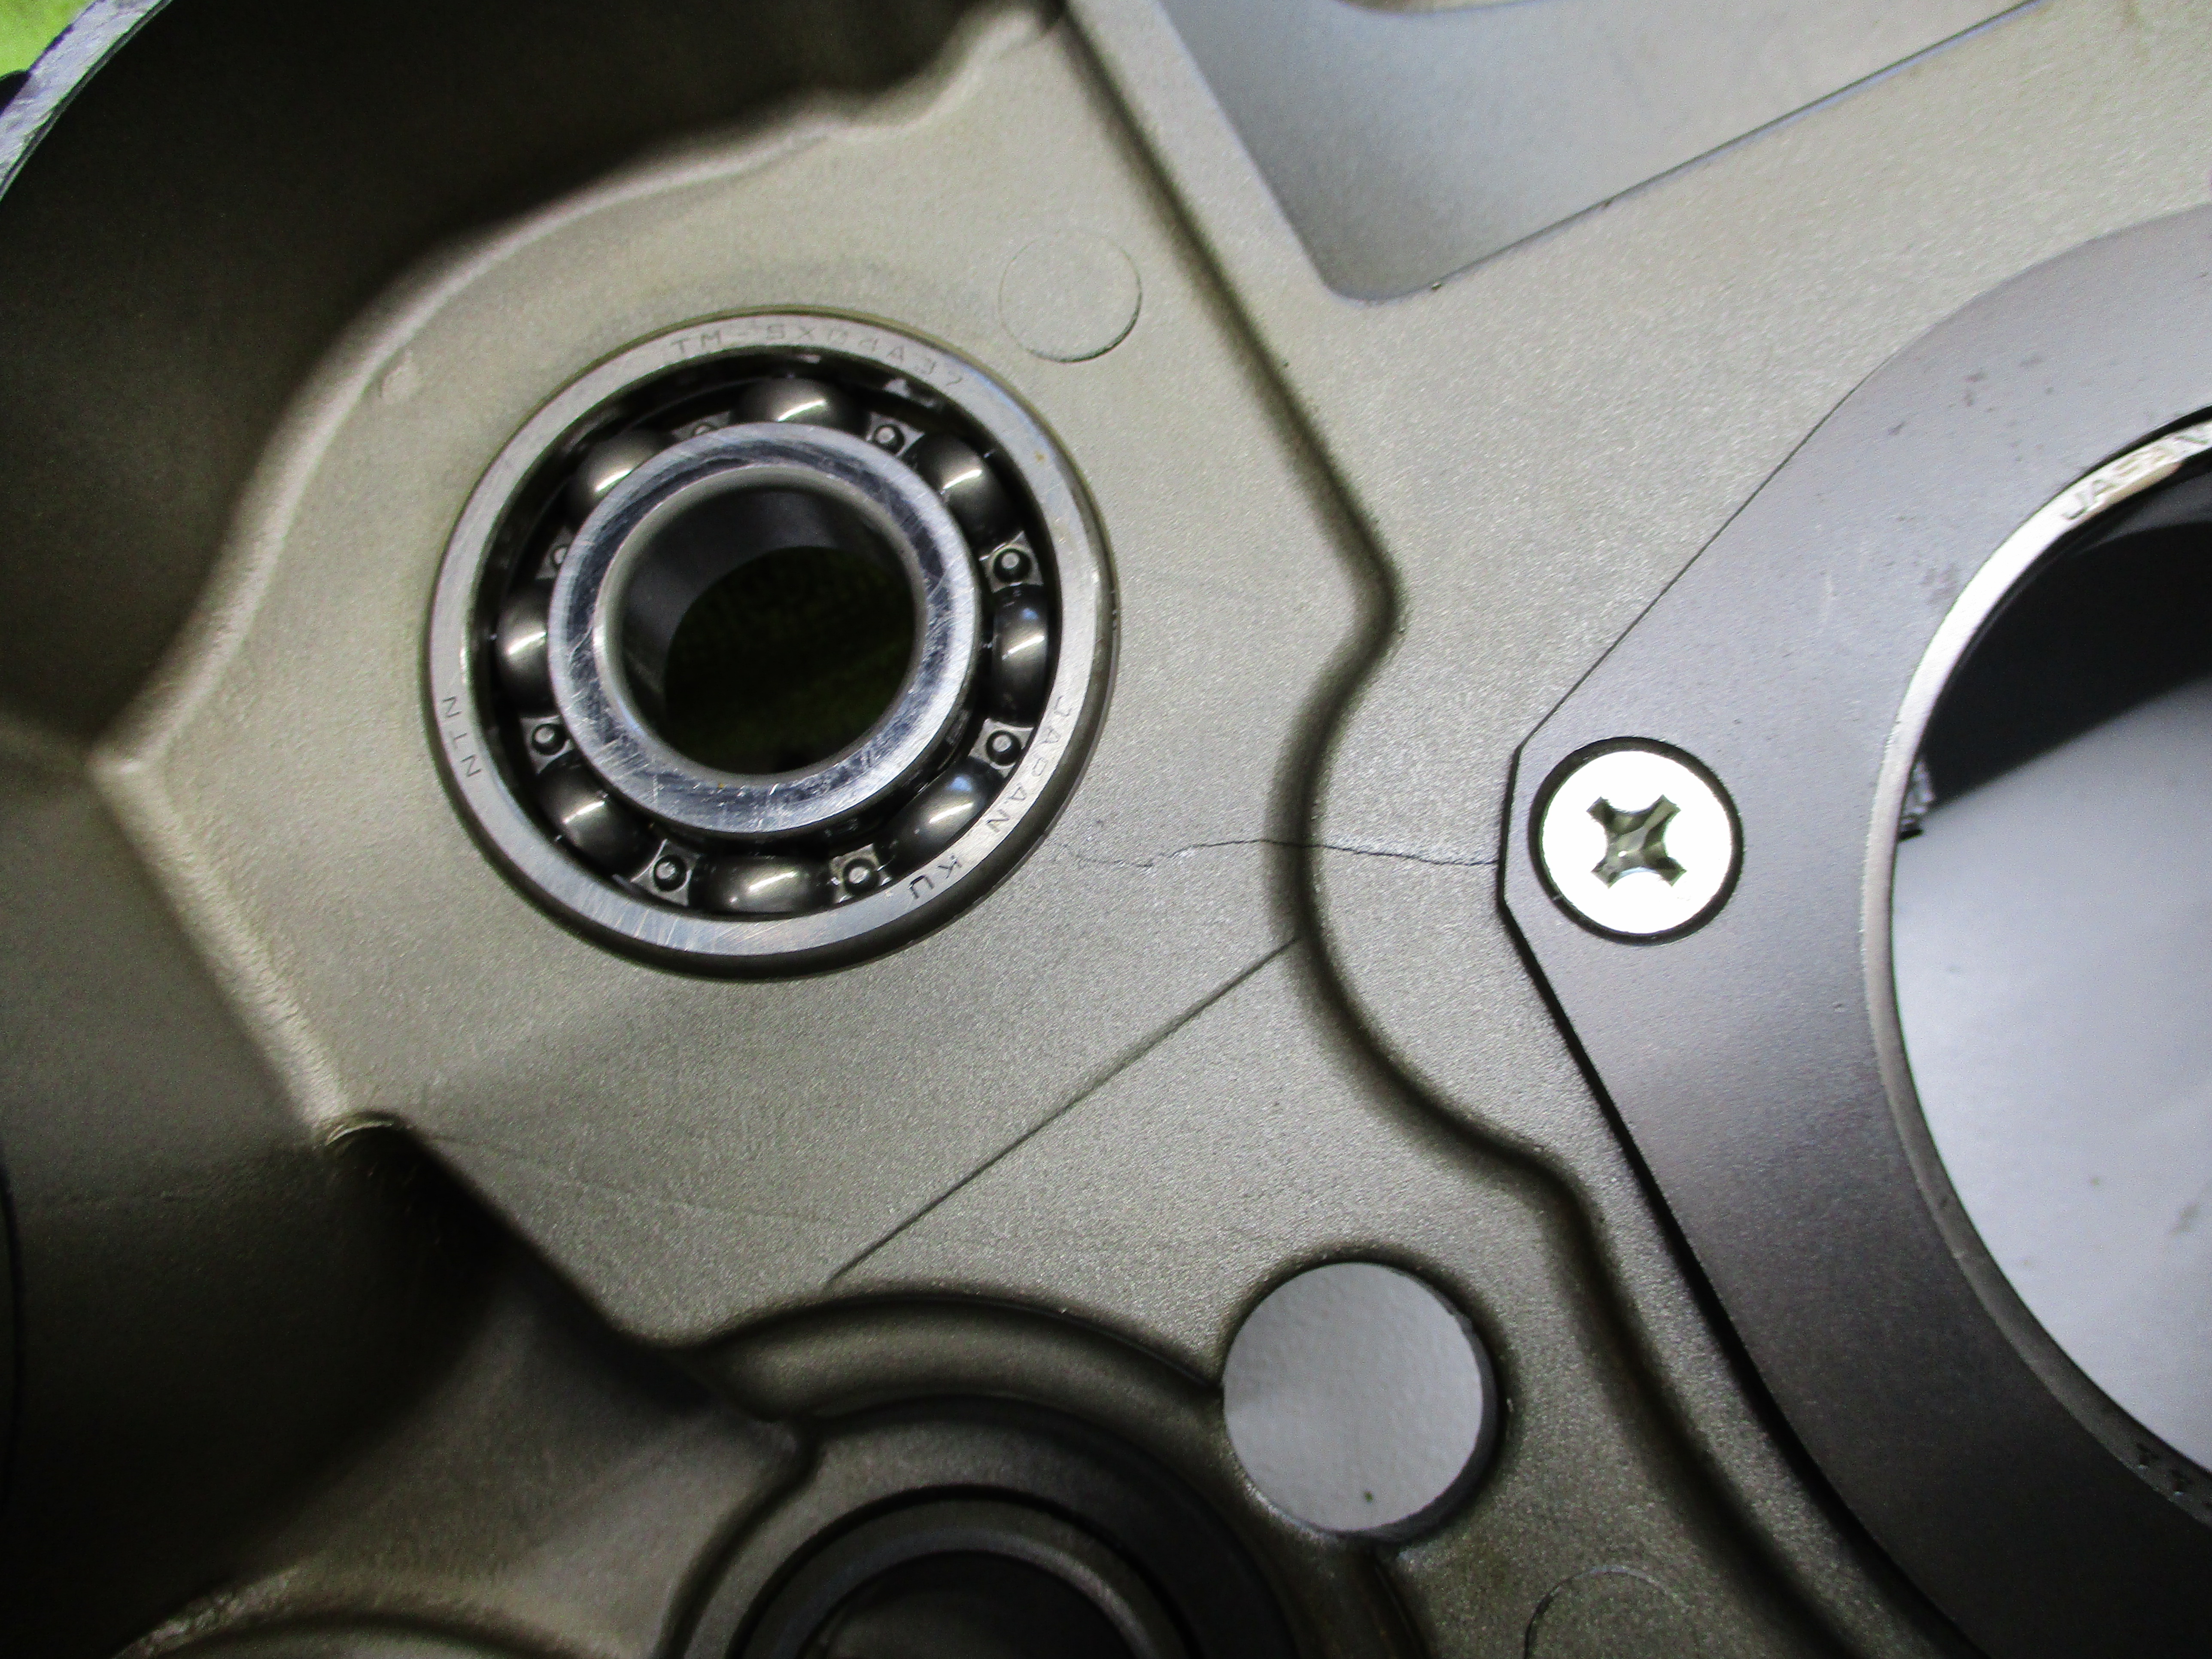
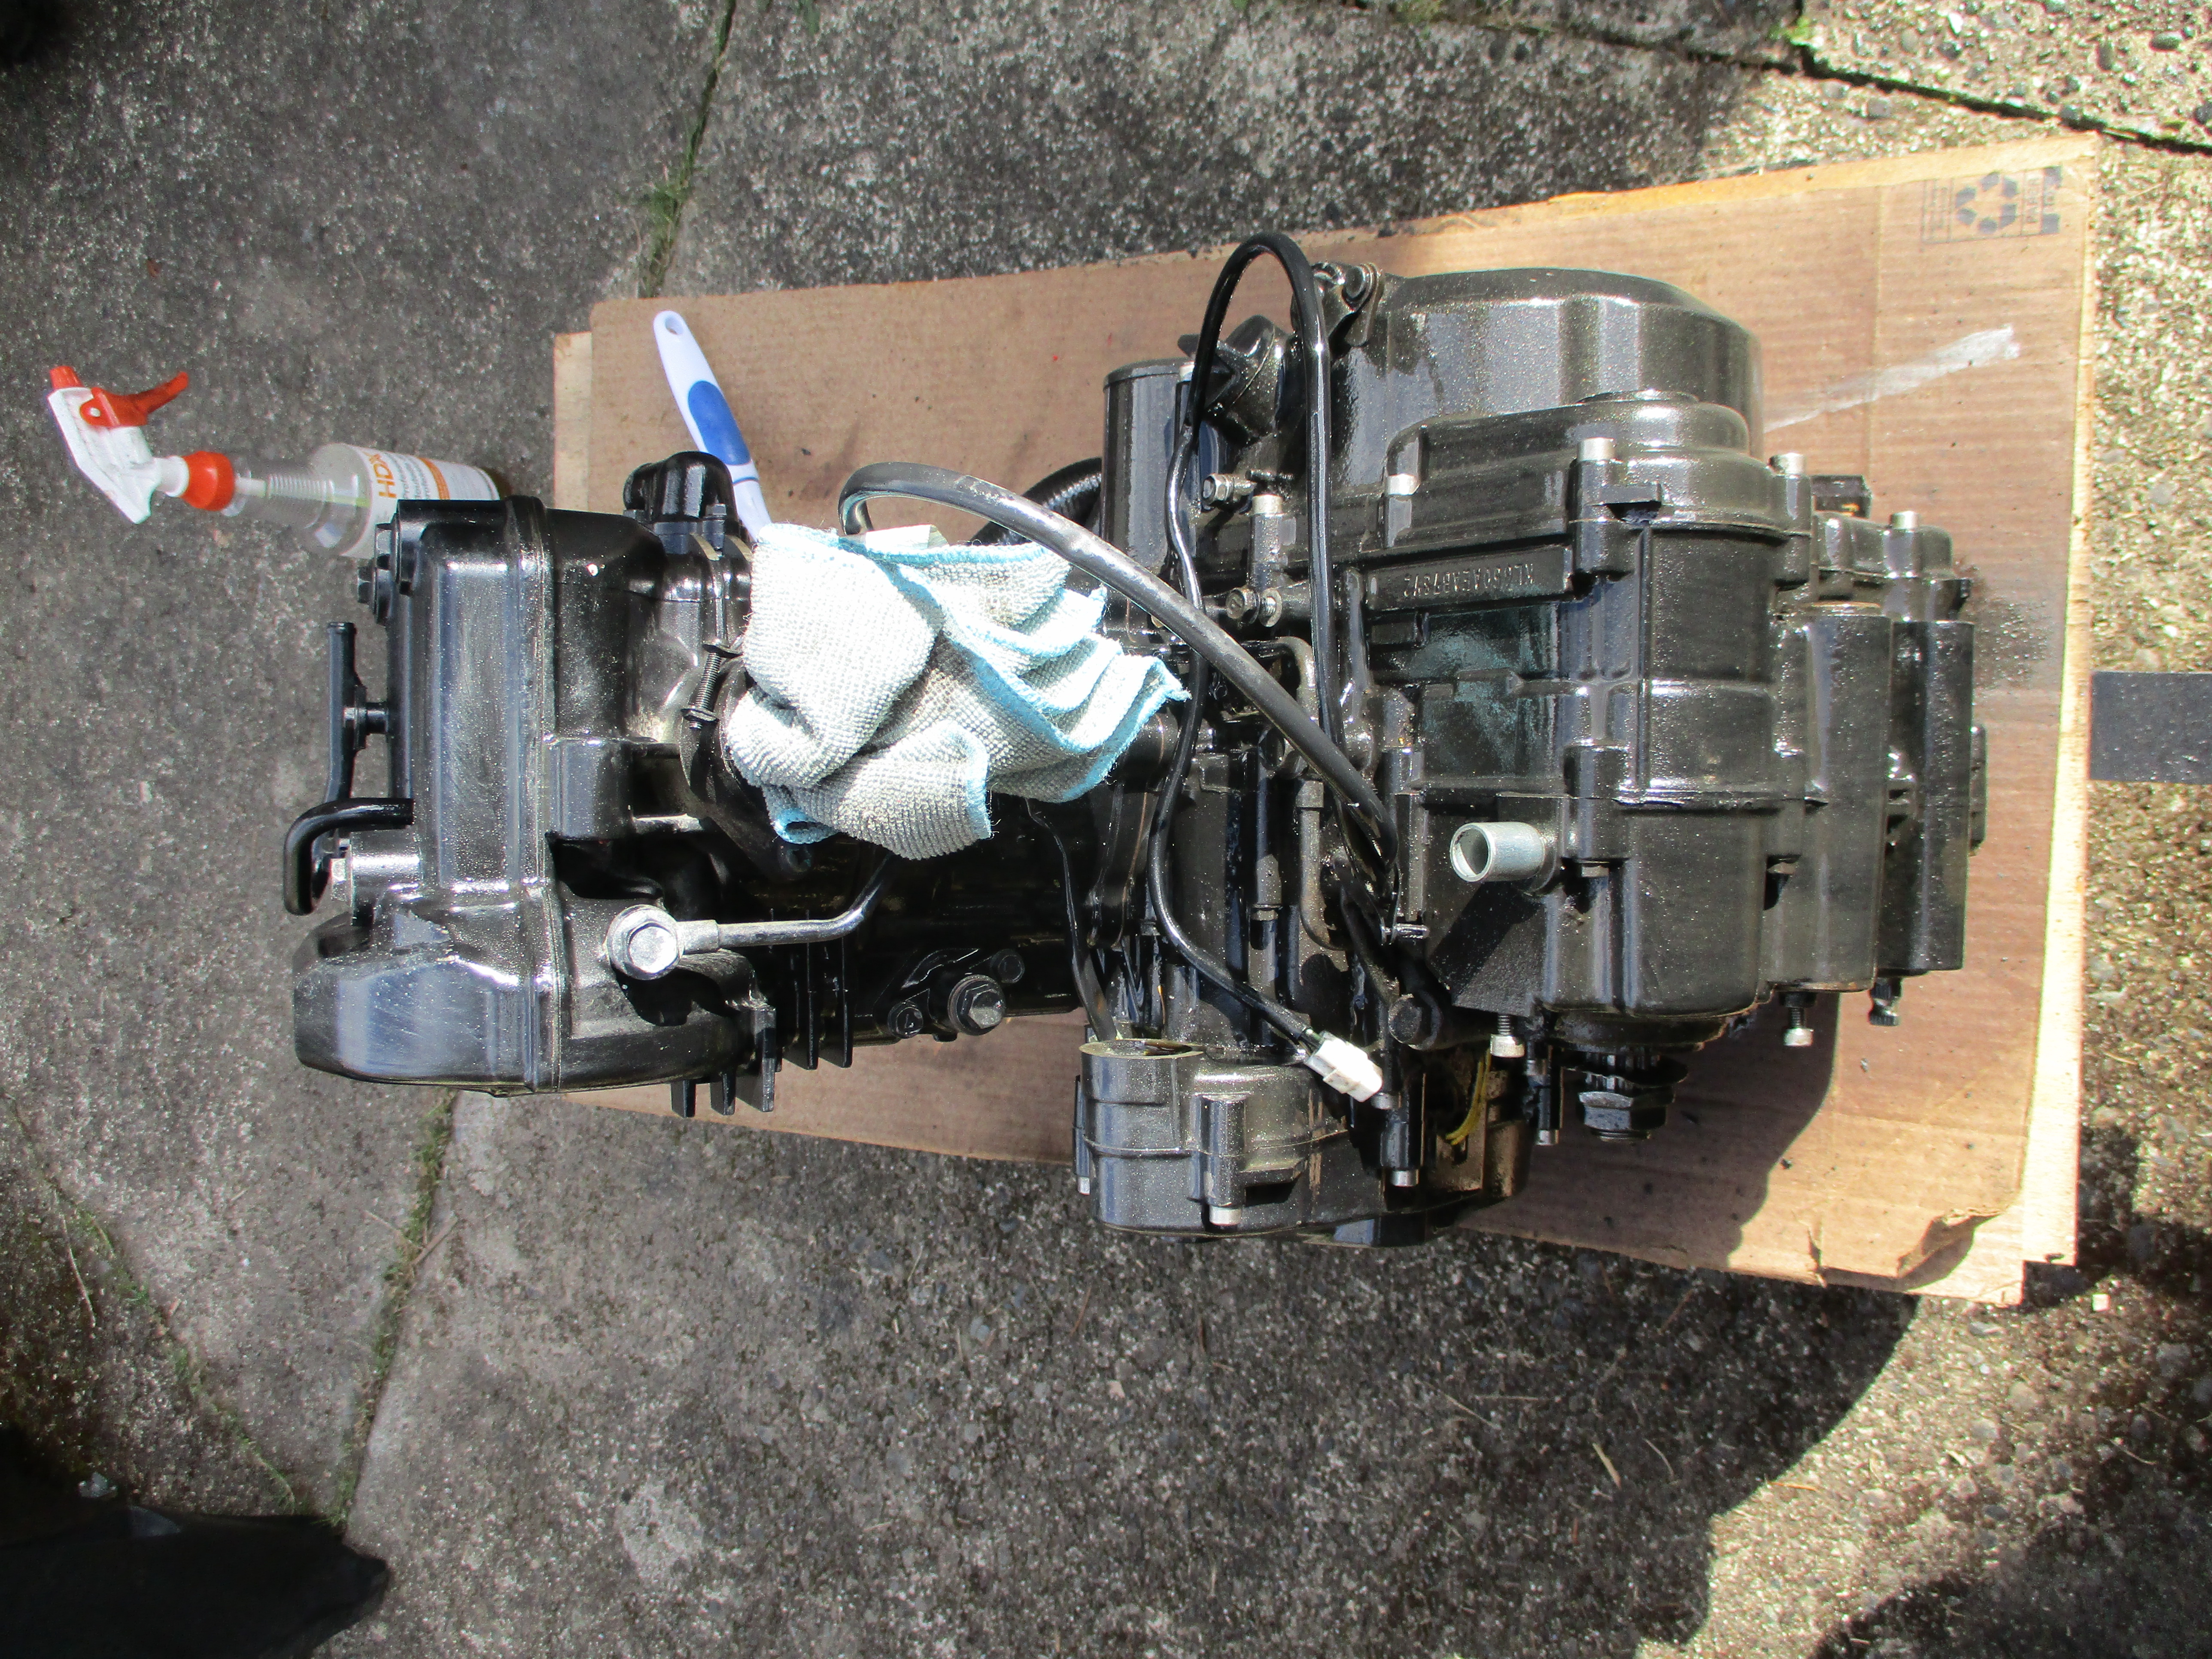
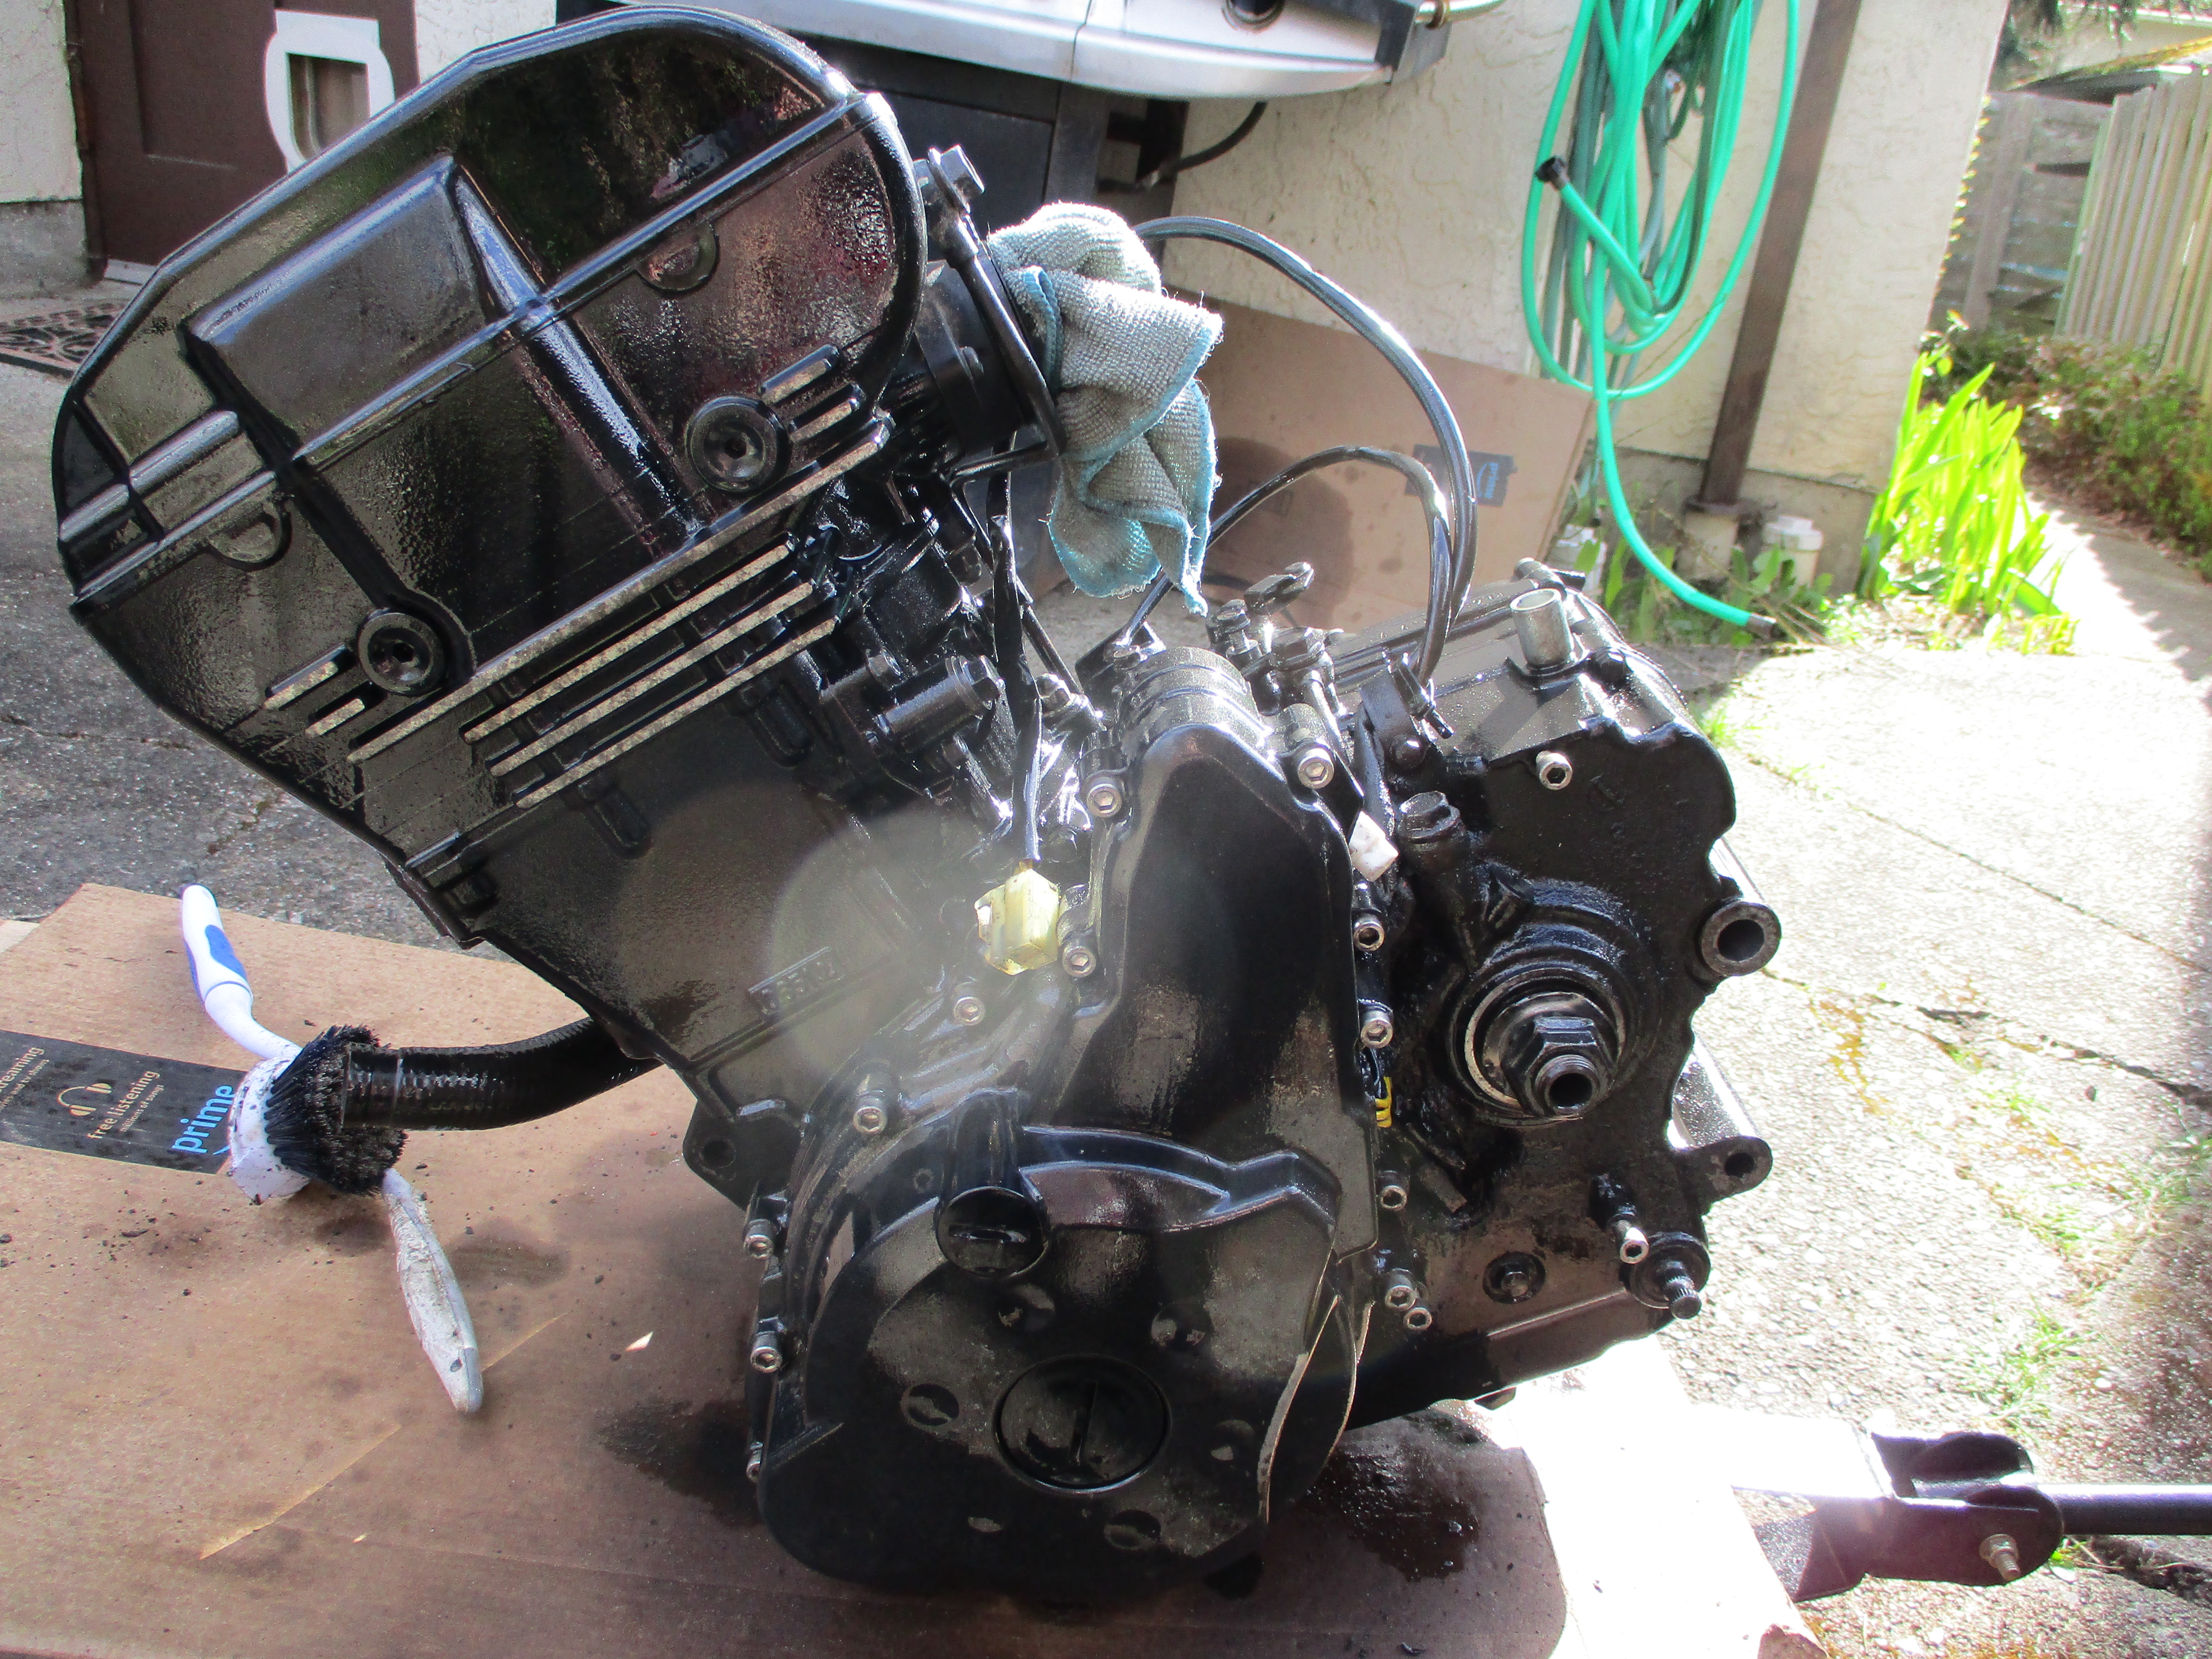
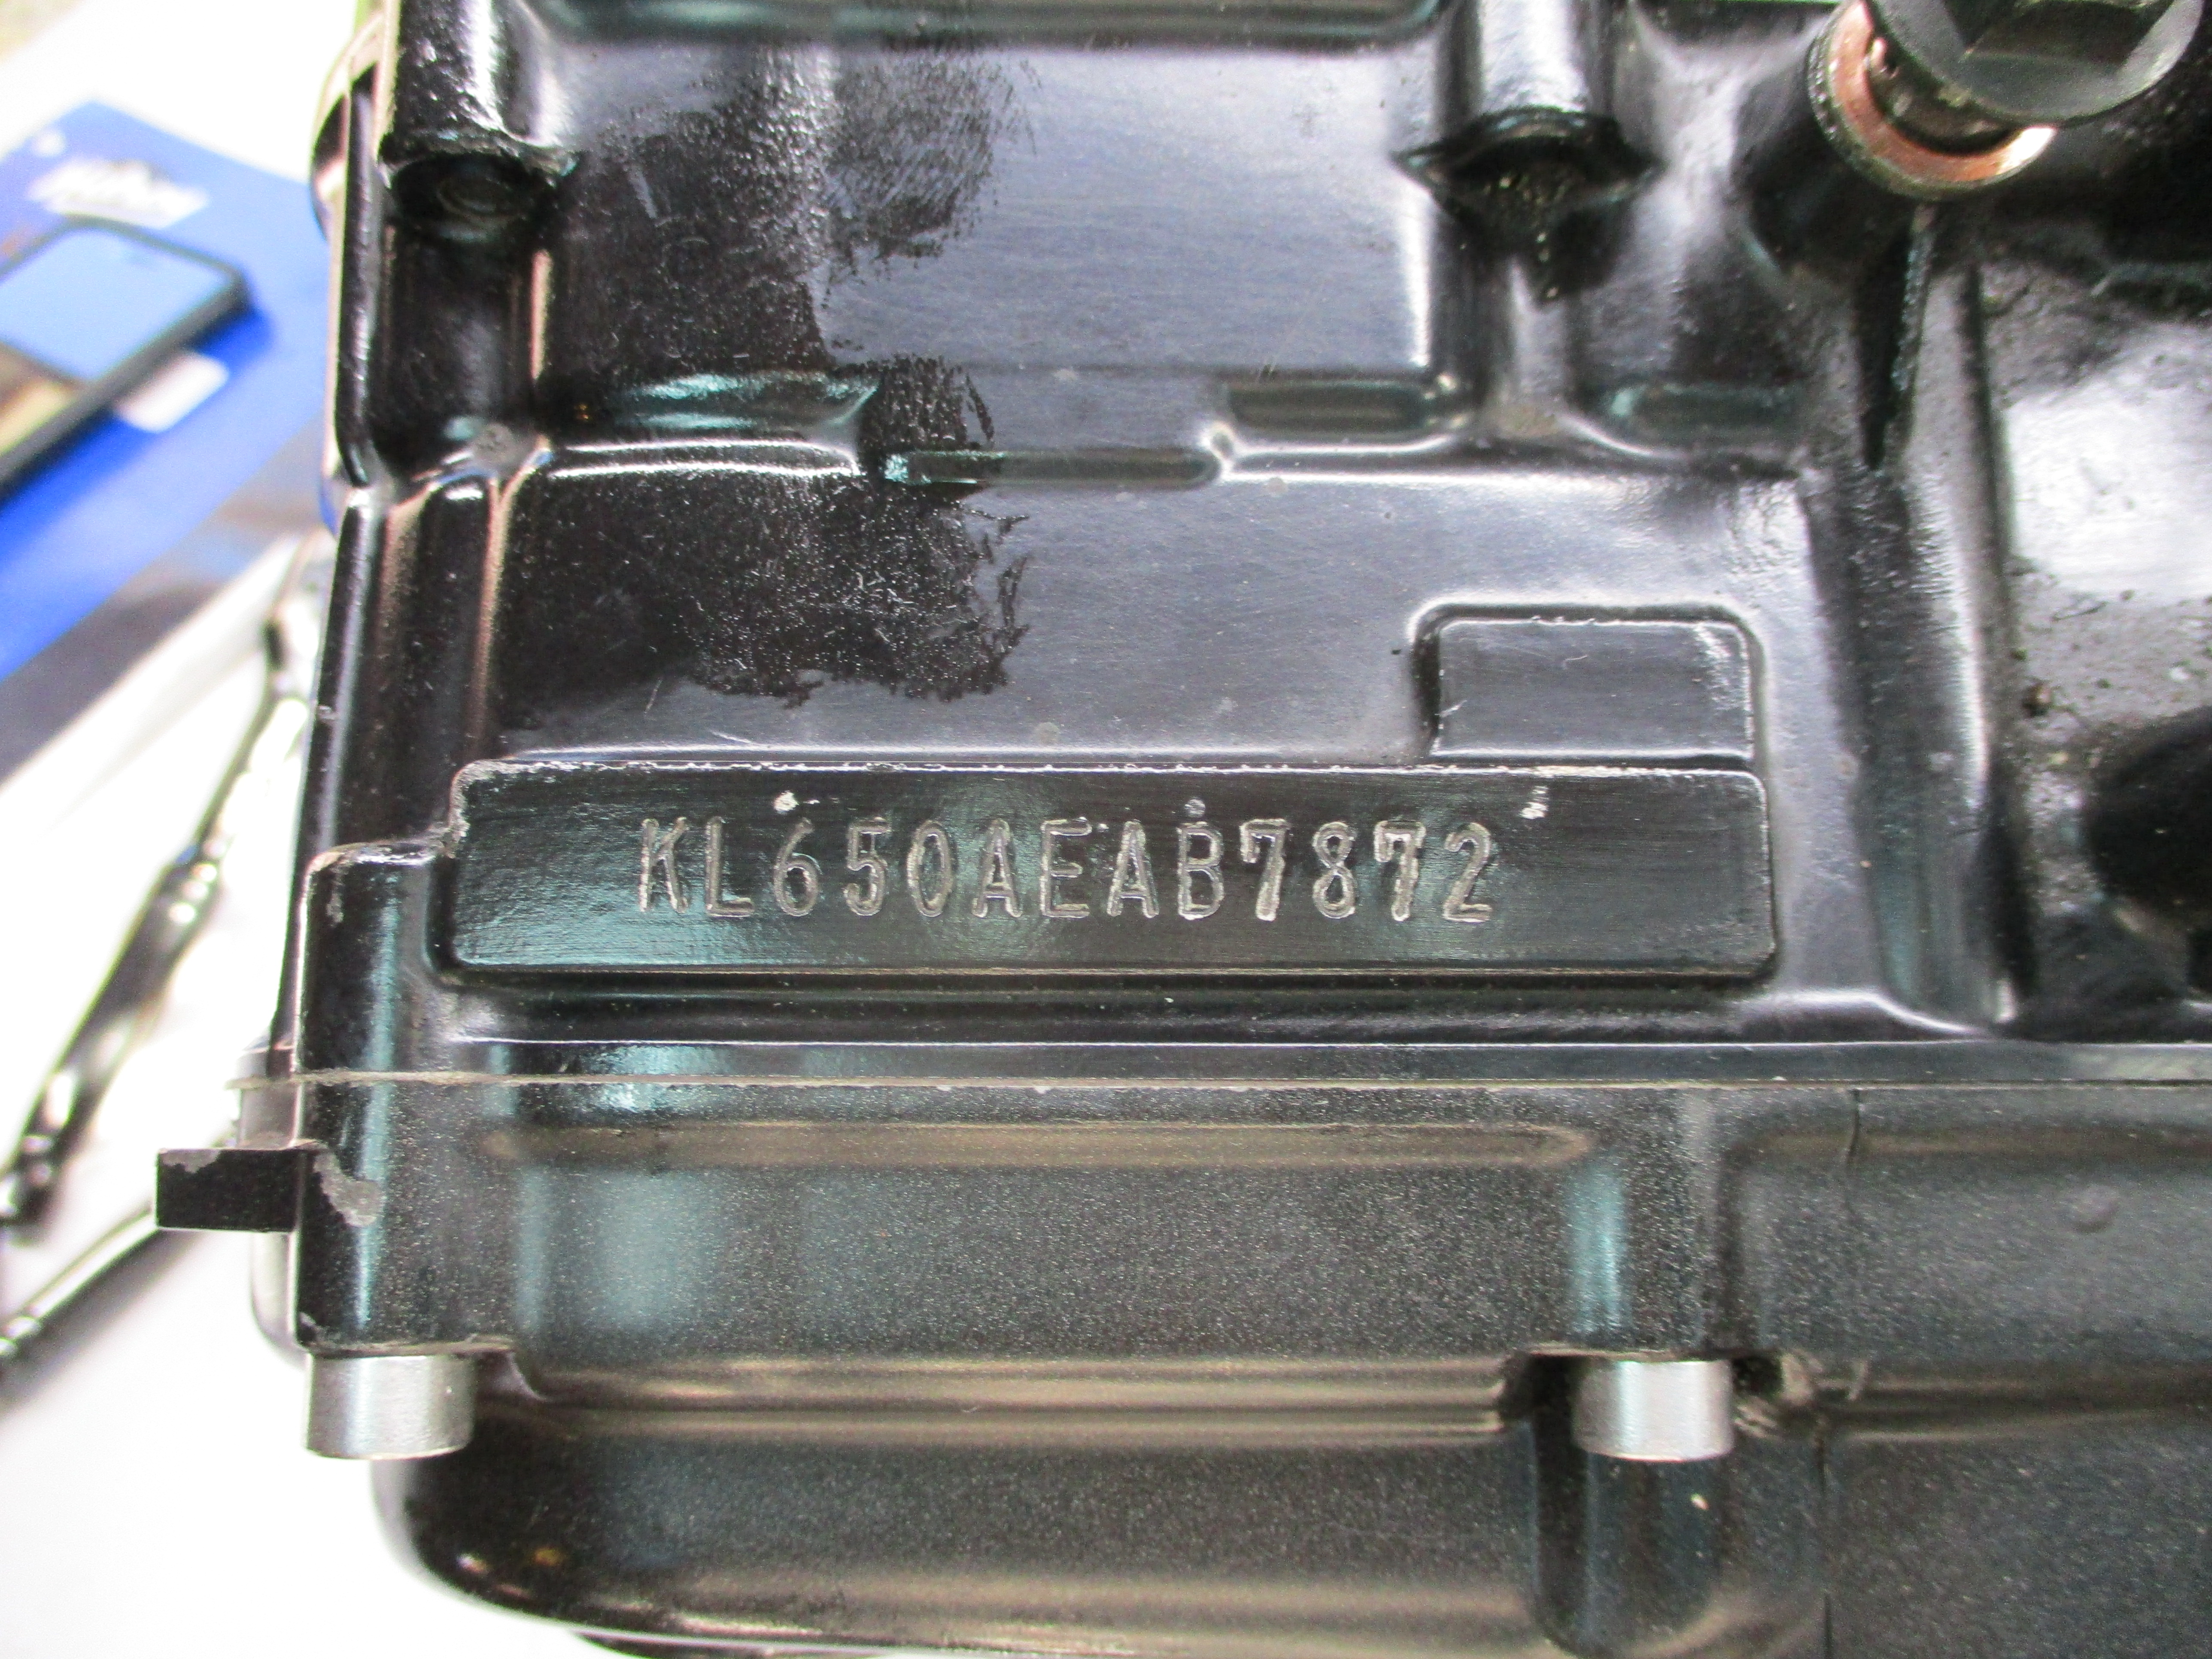
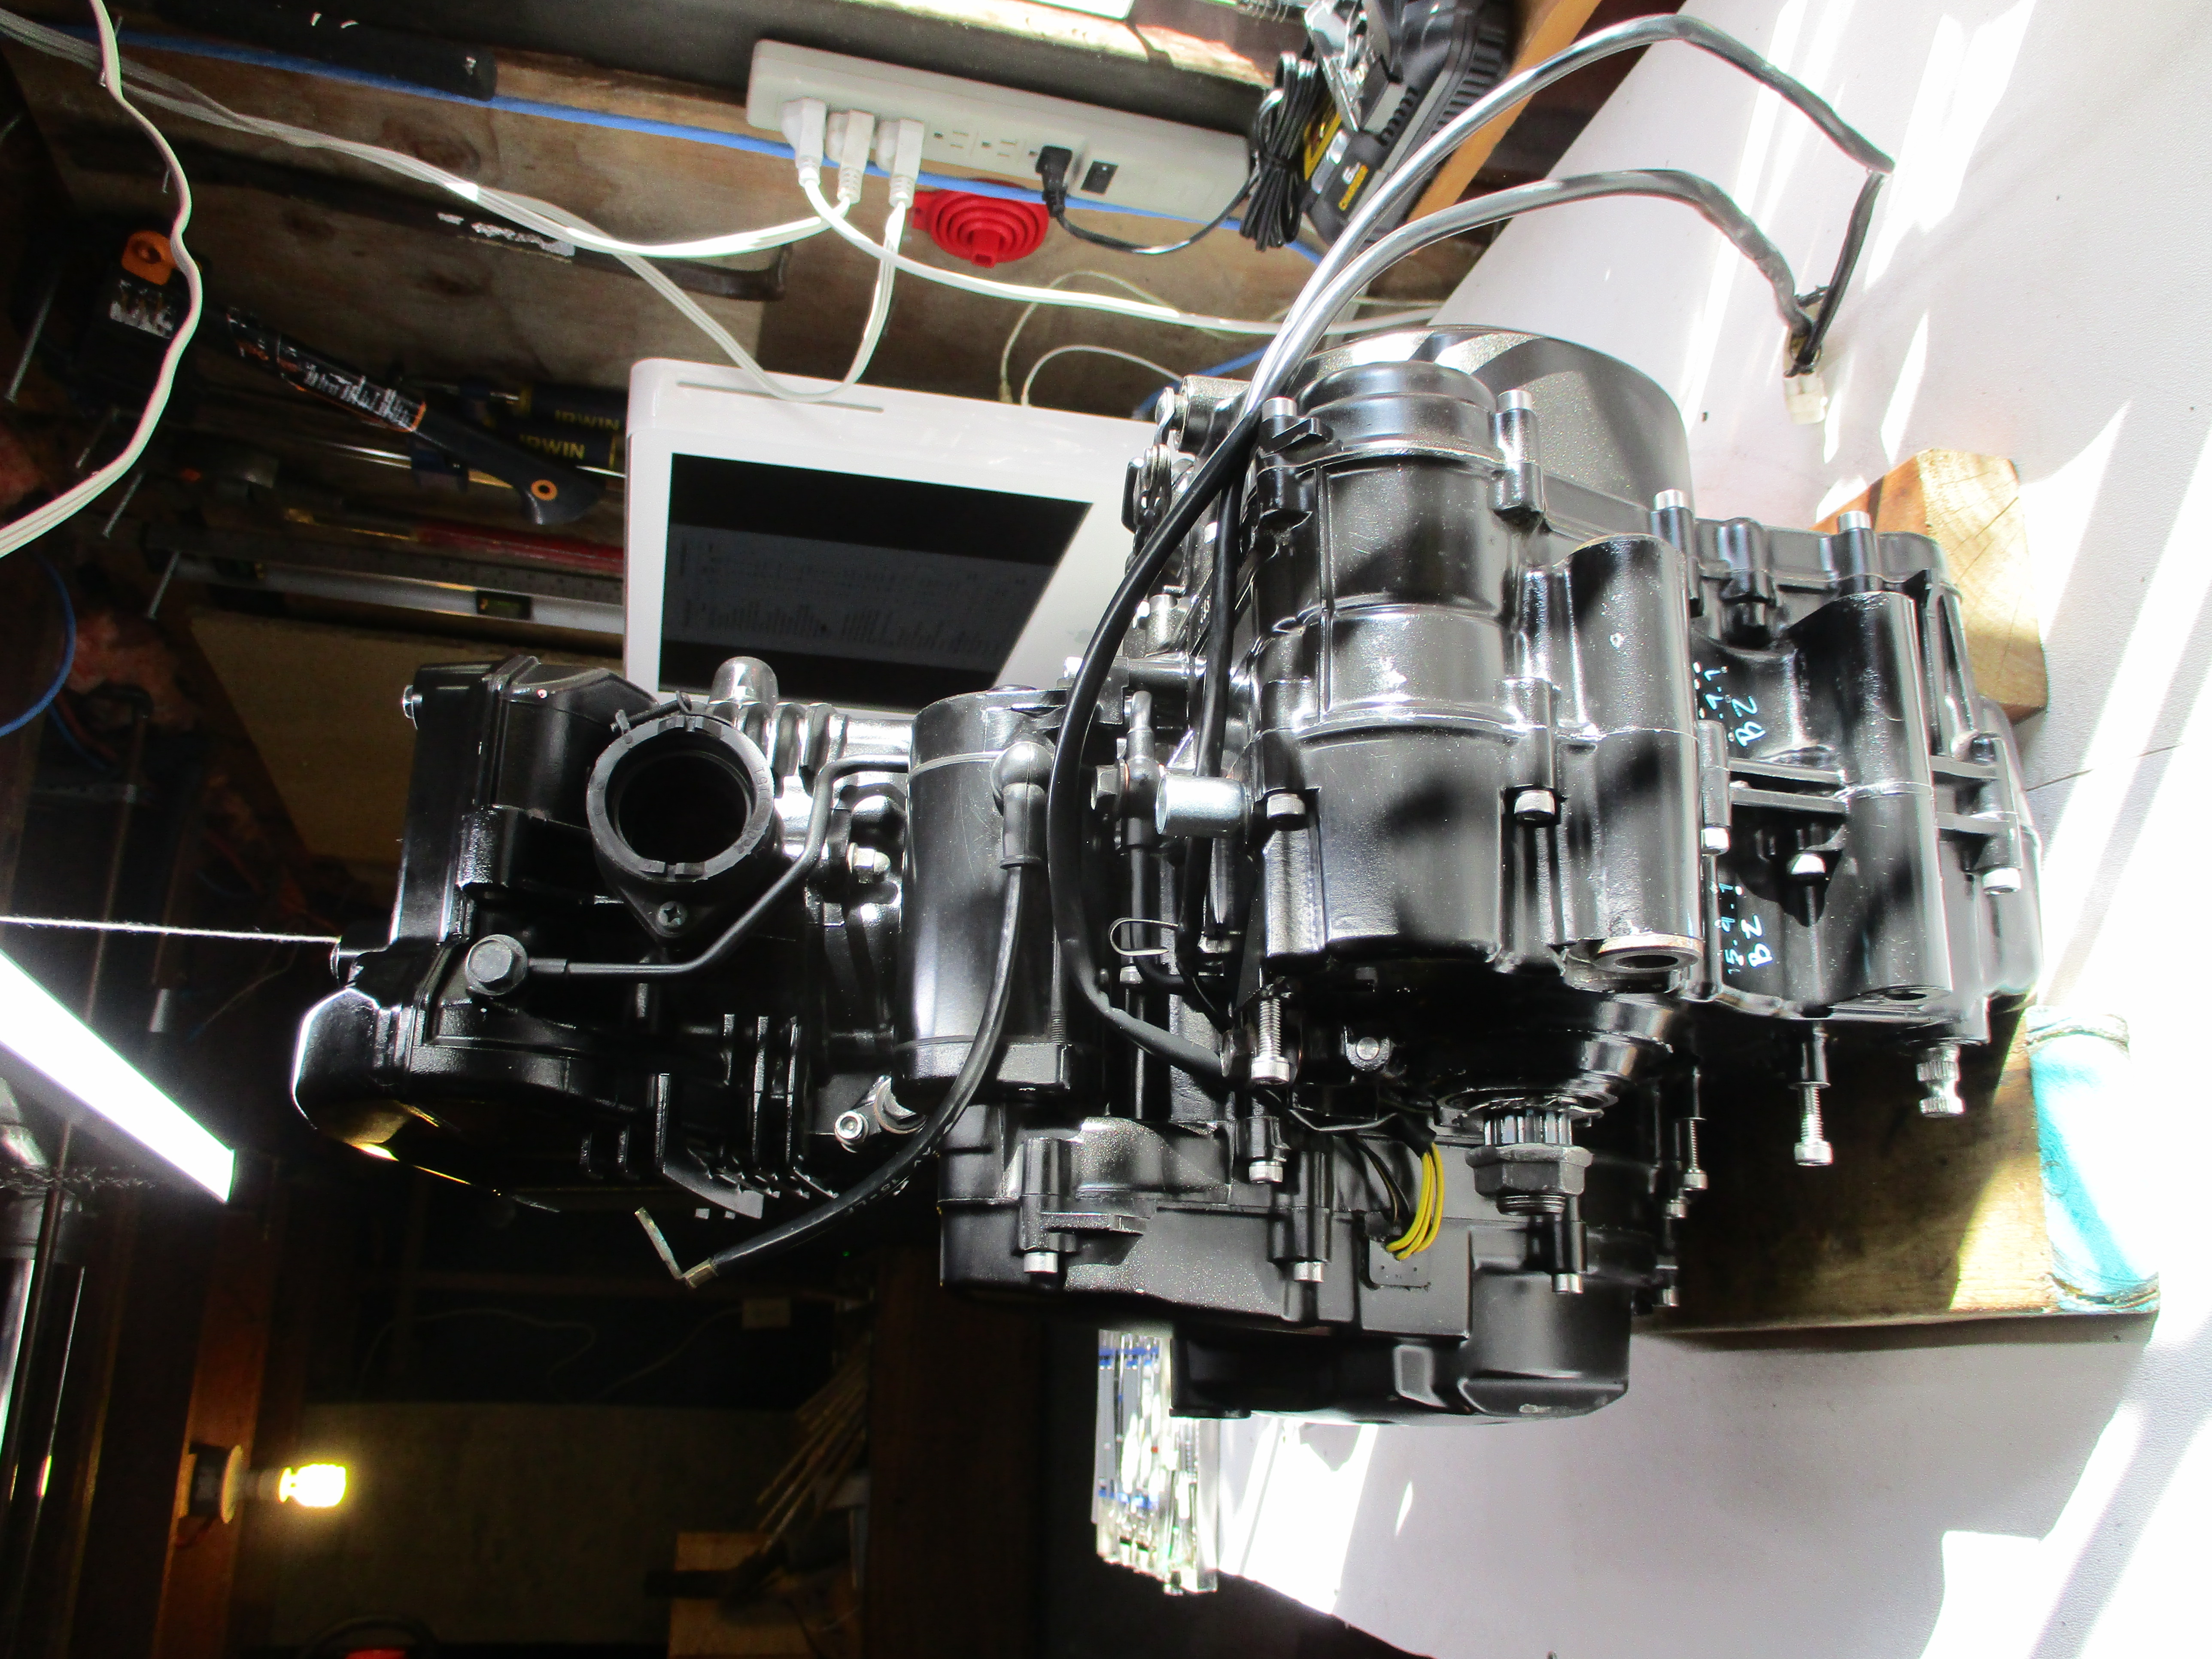
I have an extra 2008 engine I purchased last year and my plan was to take parts from it as needed, at least of course 3rd gear. I started by splitting its case and removing the entire transmission and clutch, then reassembling it. There was not enough bench space to have both engines open at the same time, even though I would have preferred that. I ended up finding a large crack in the inner left case of the spare engine between the upper rear balancer shaft bearing bore and crankshaft bearing bore. The transmission looked ok though.
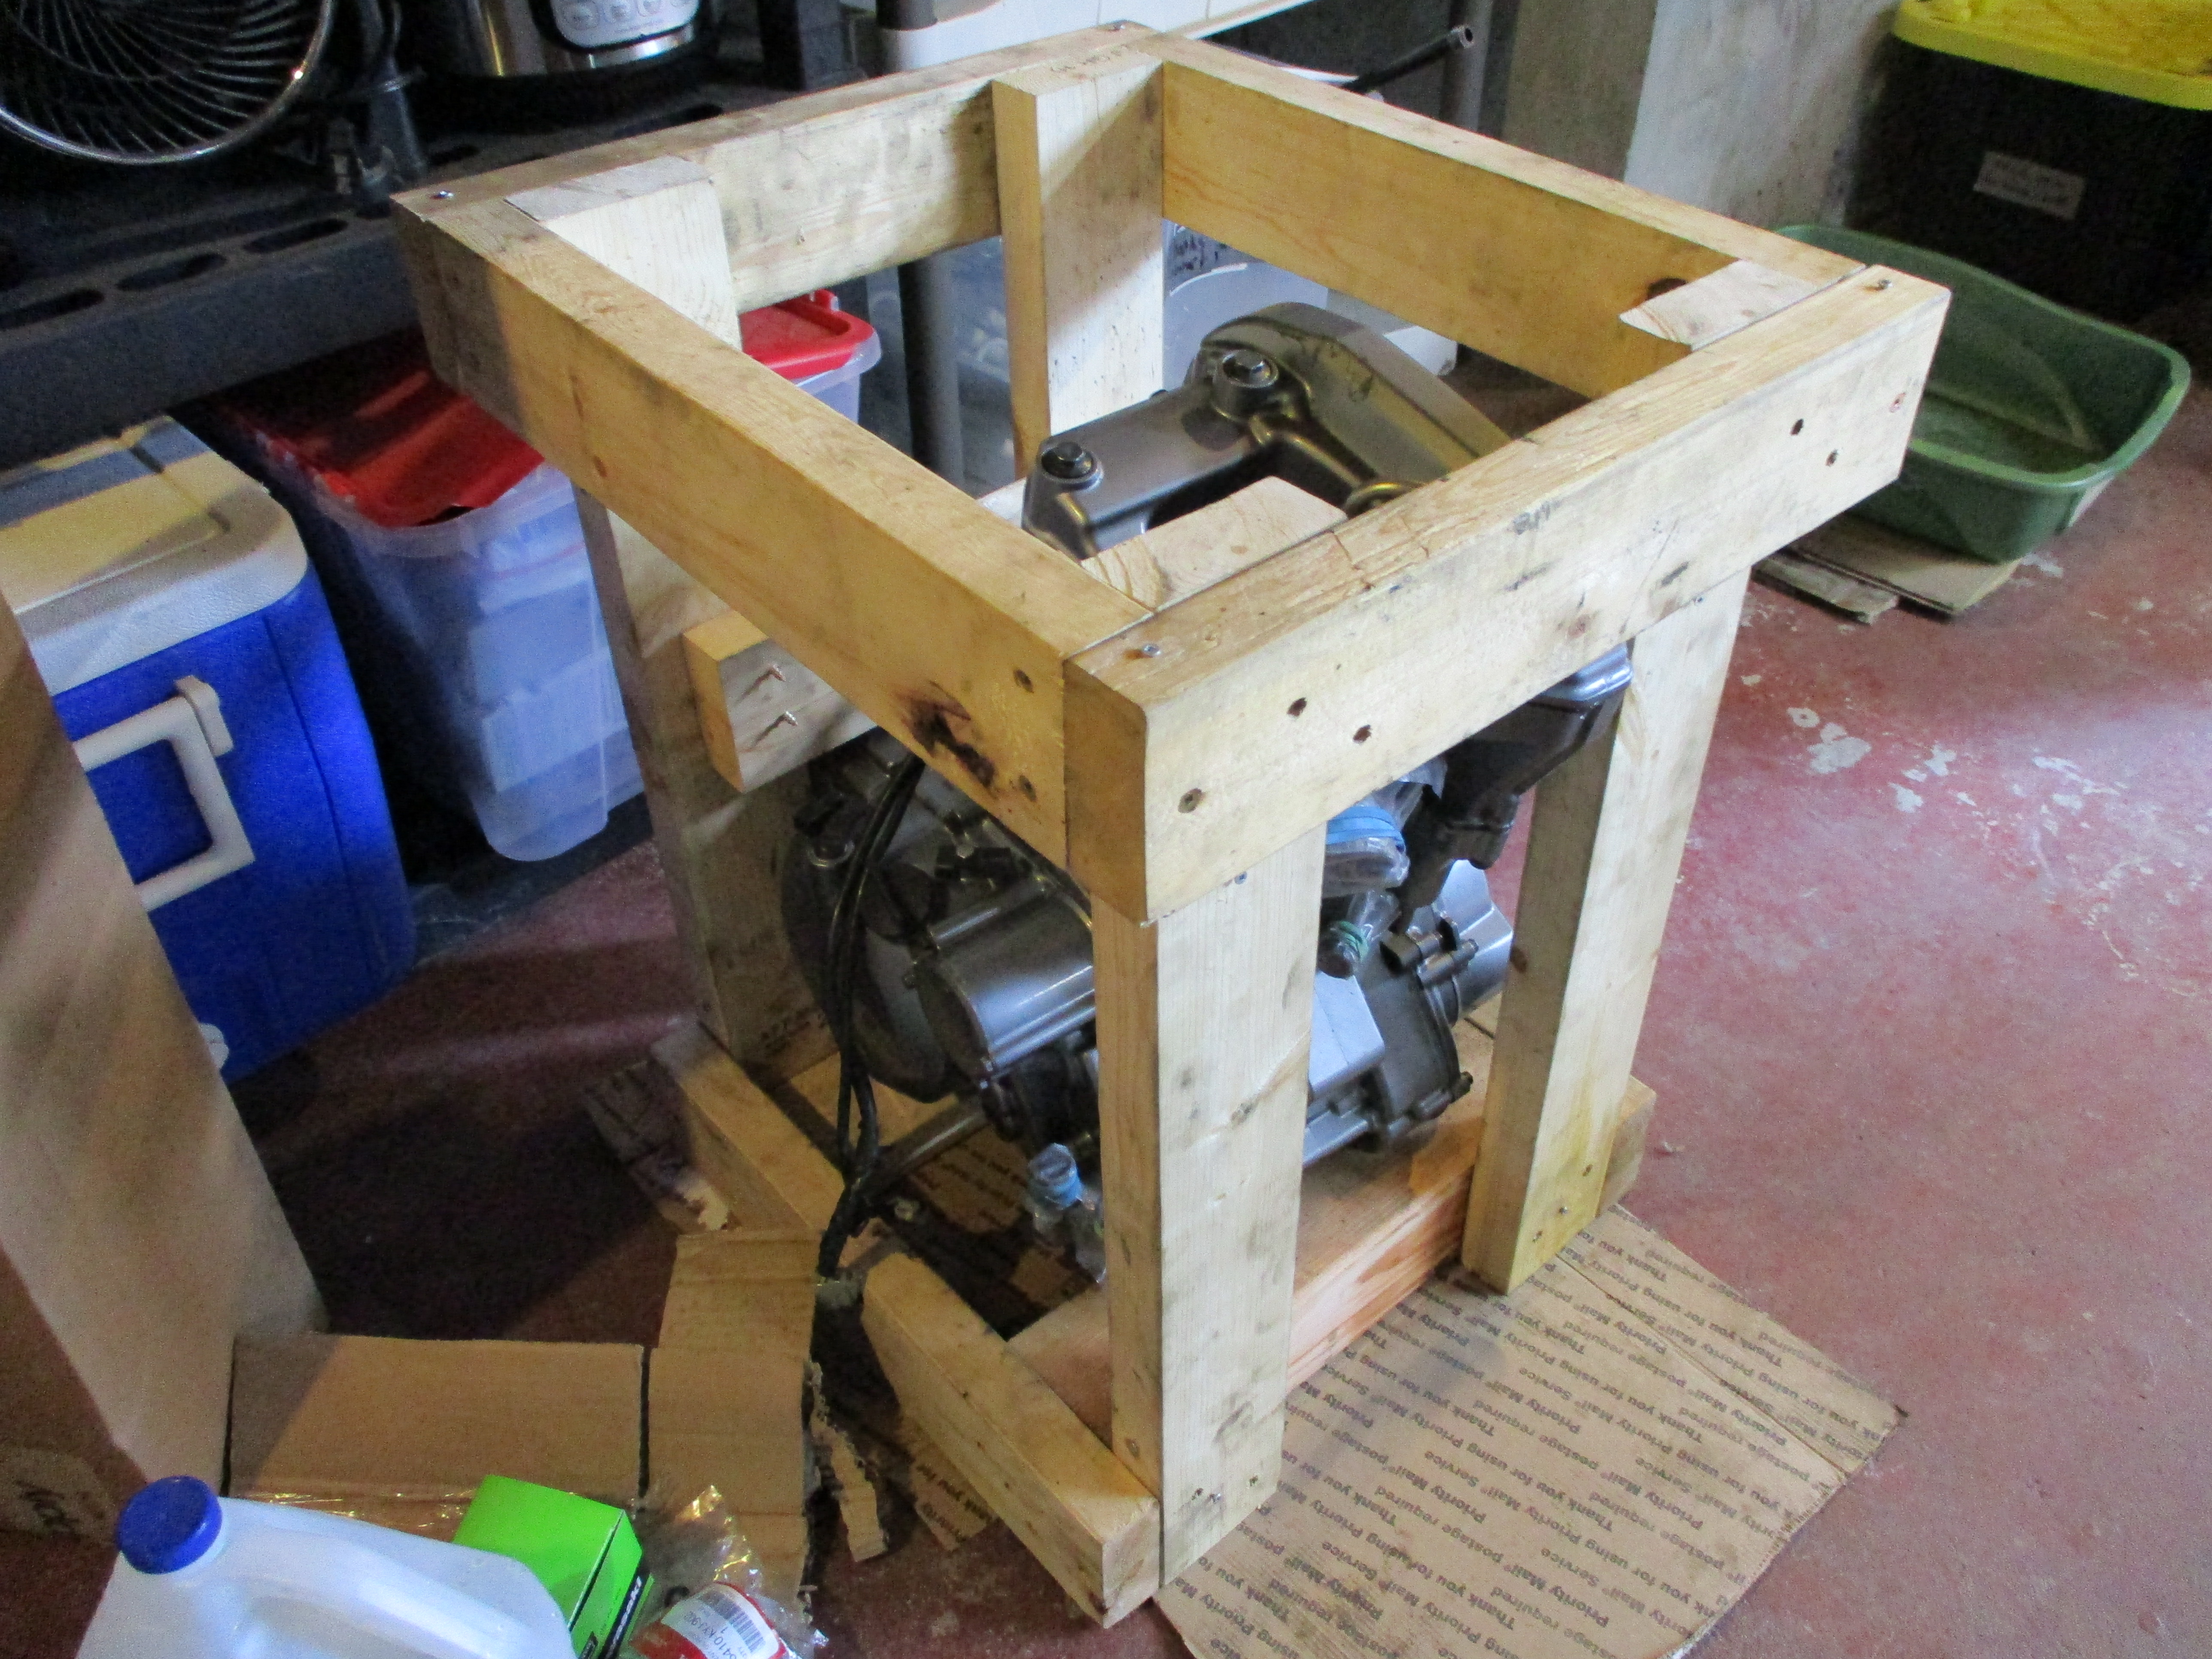
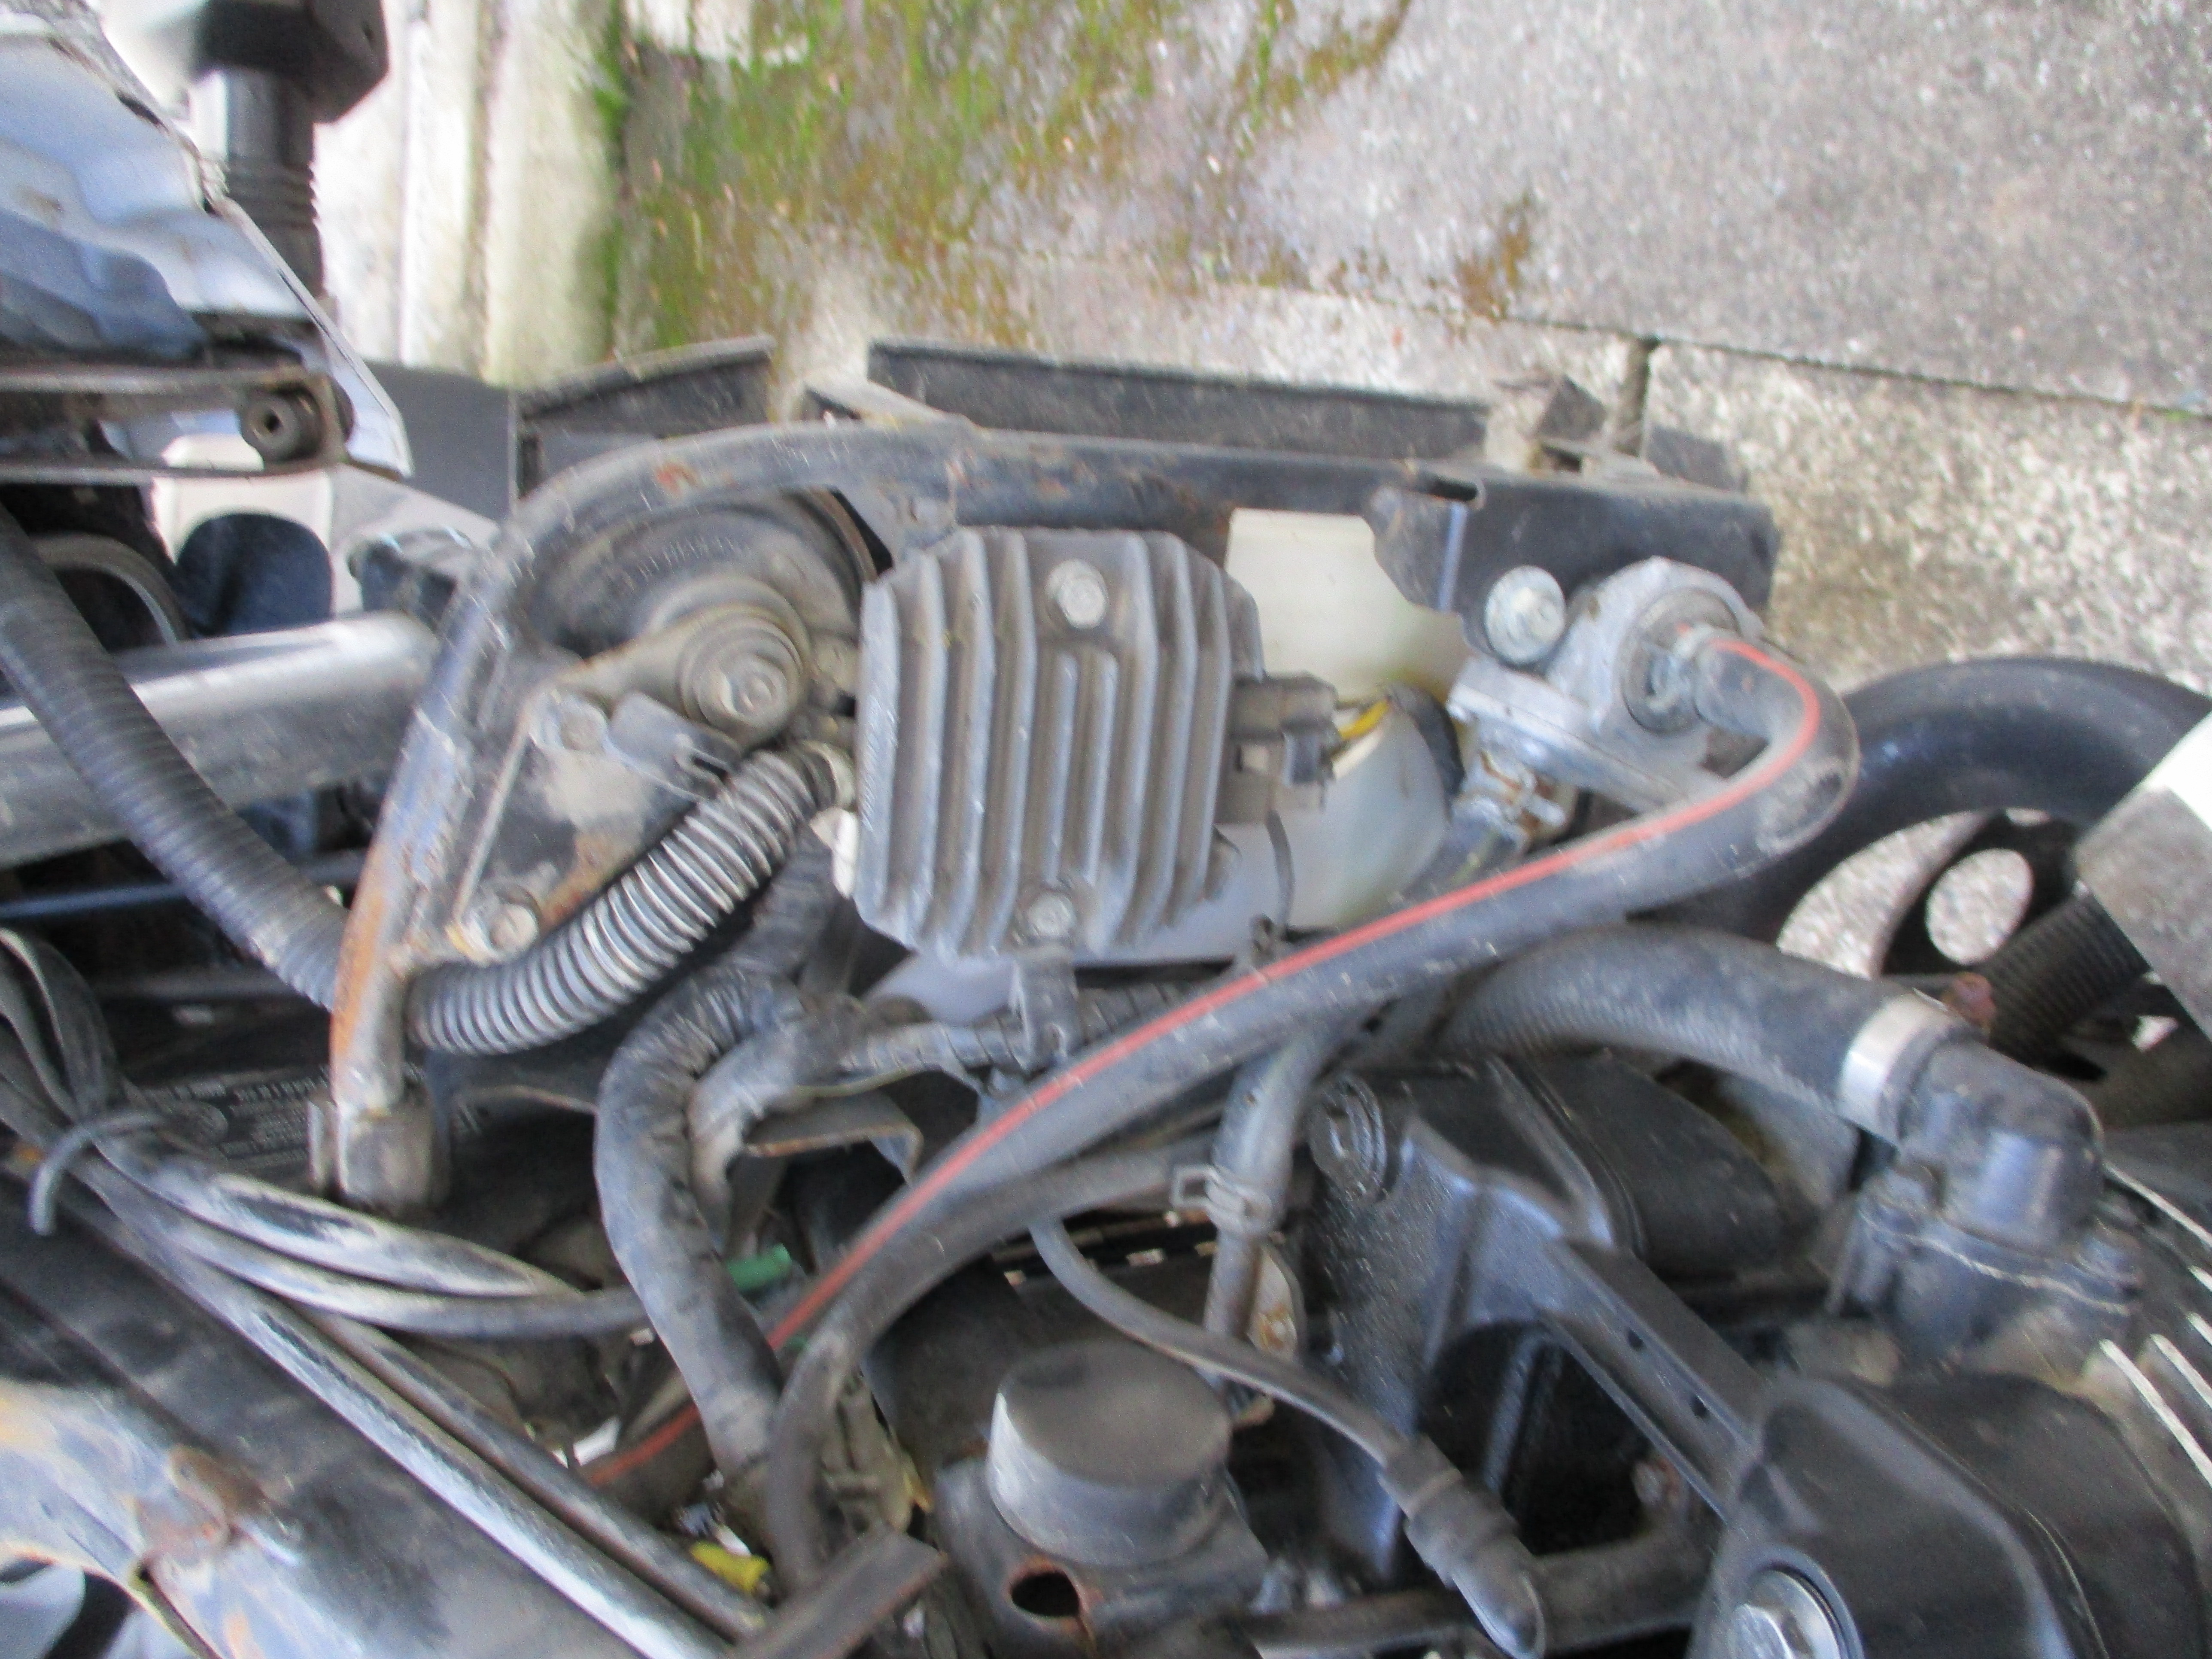
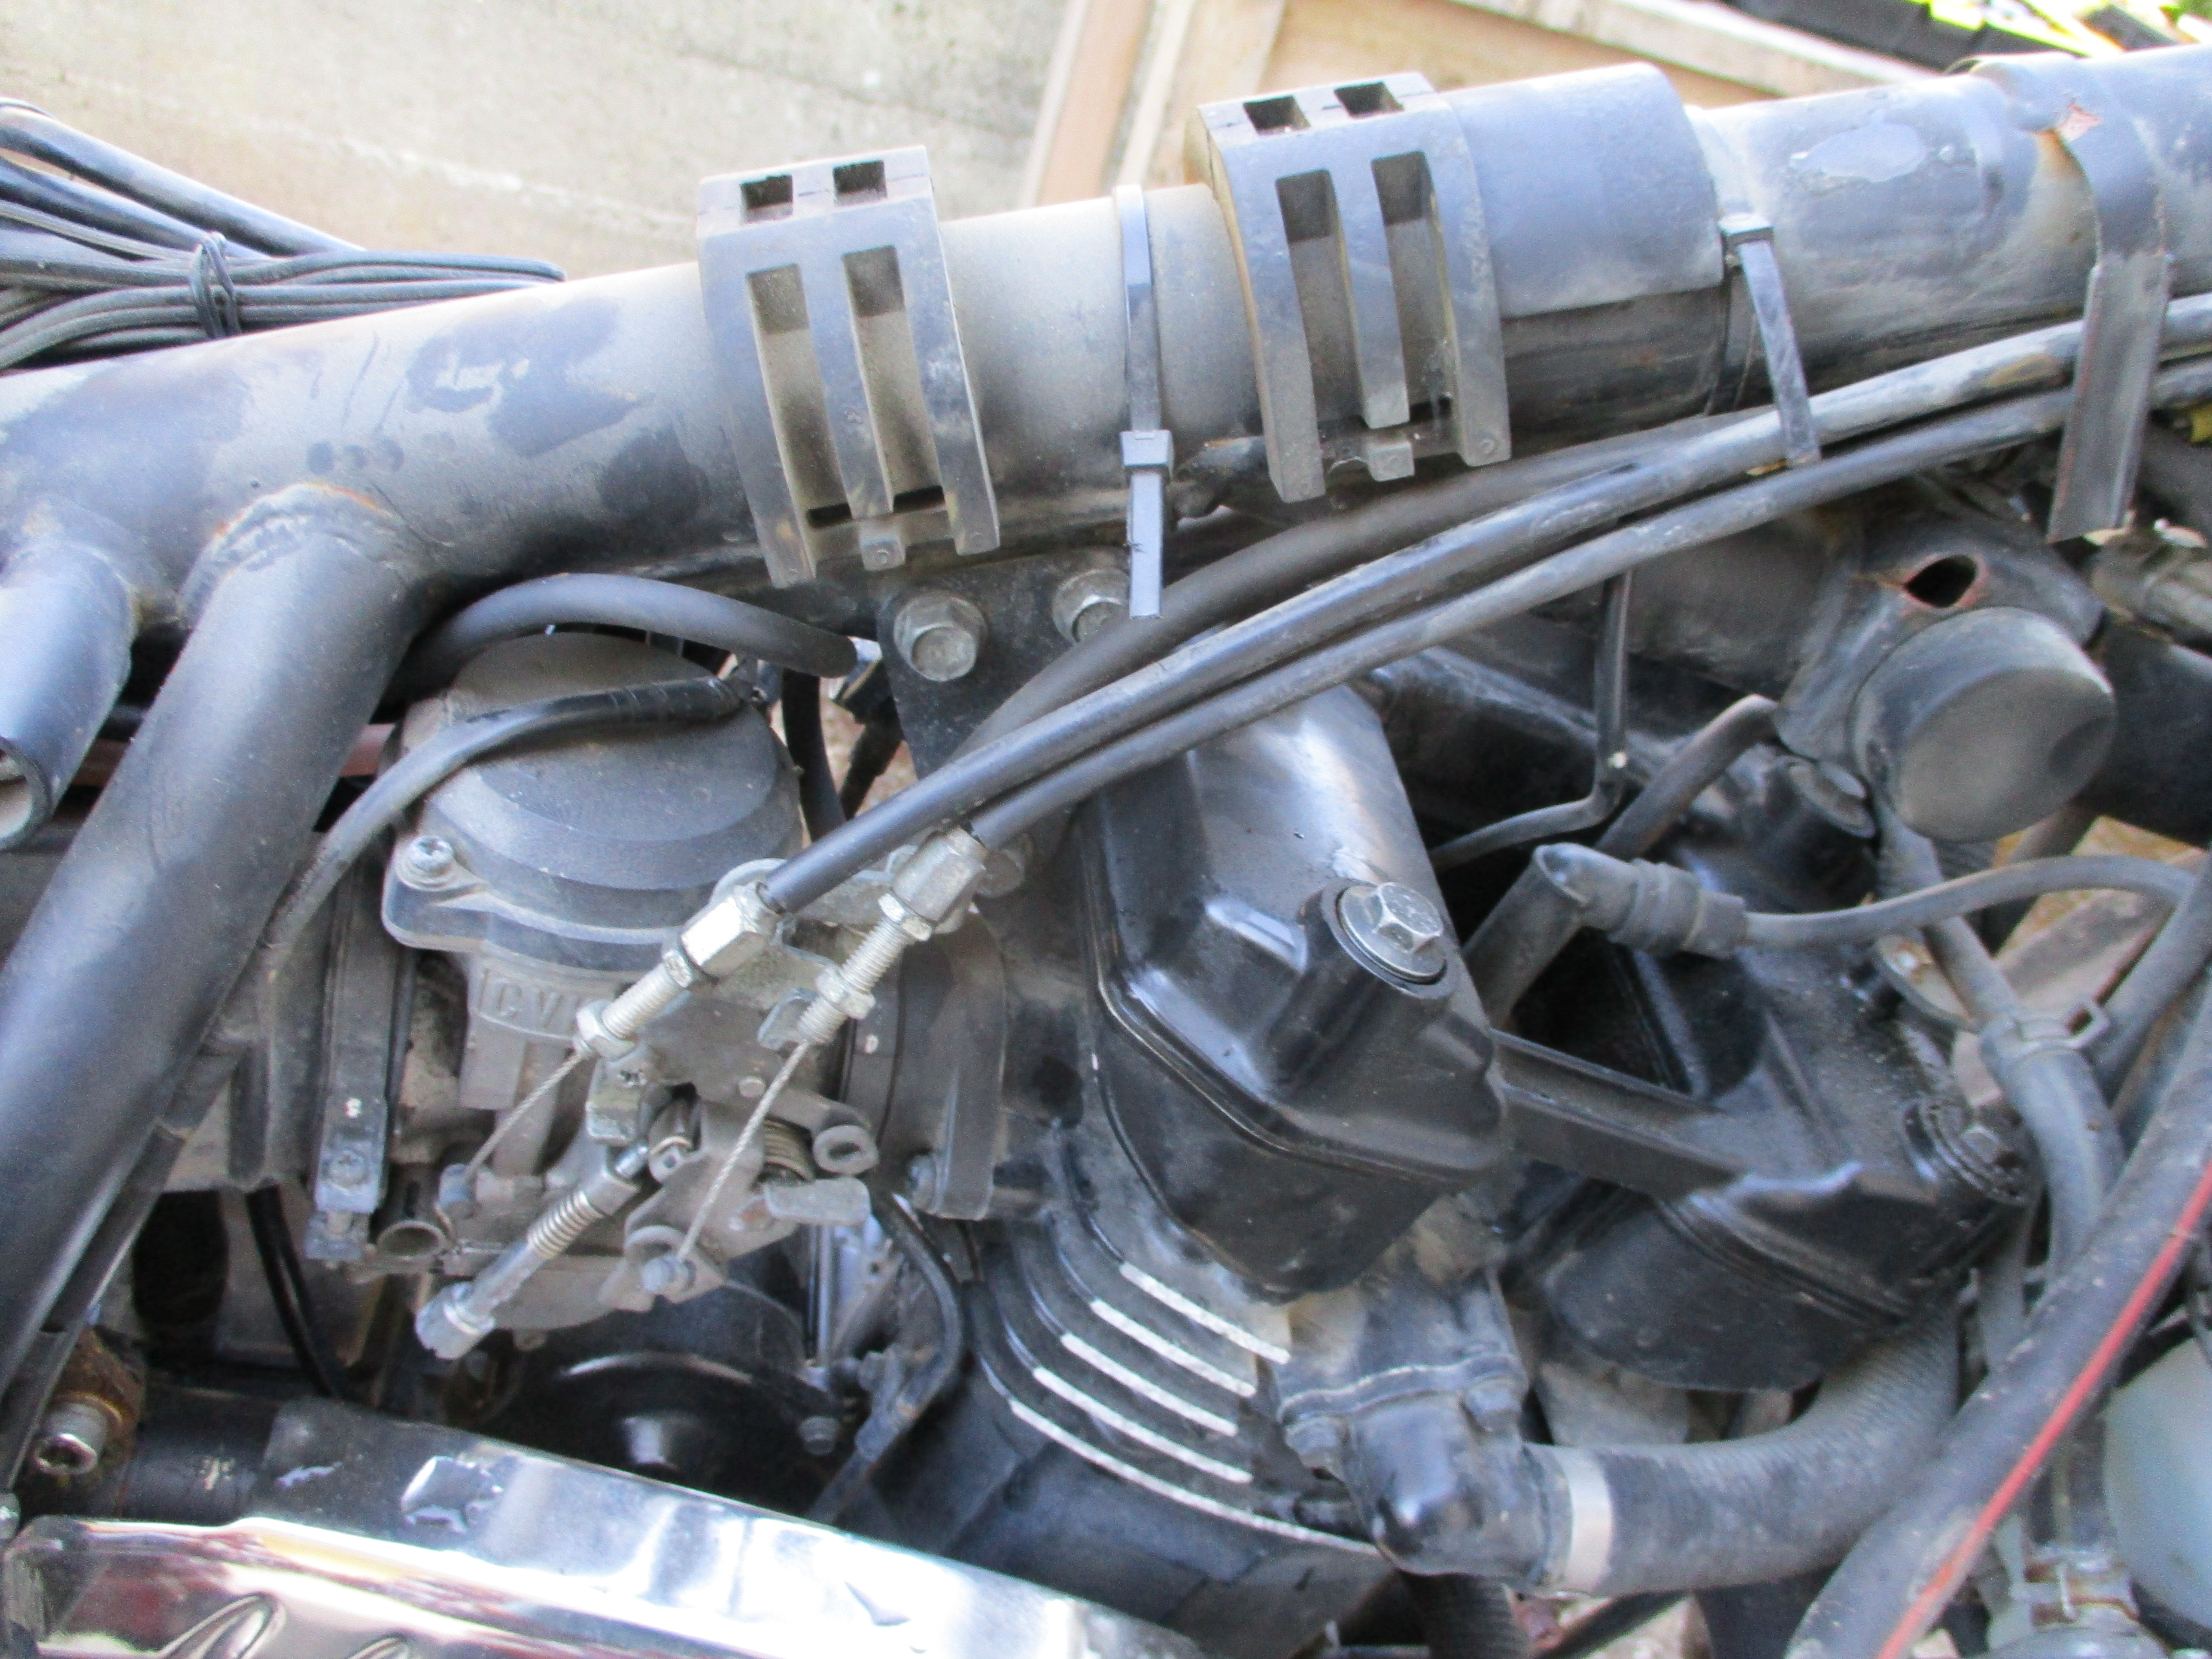
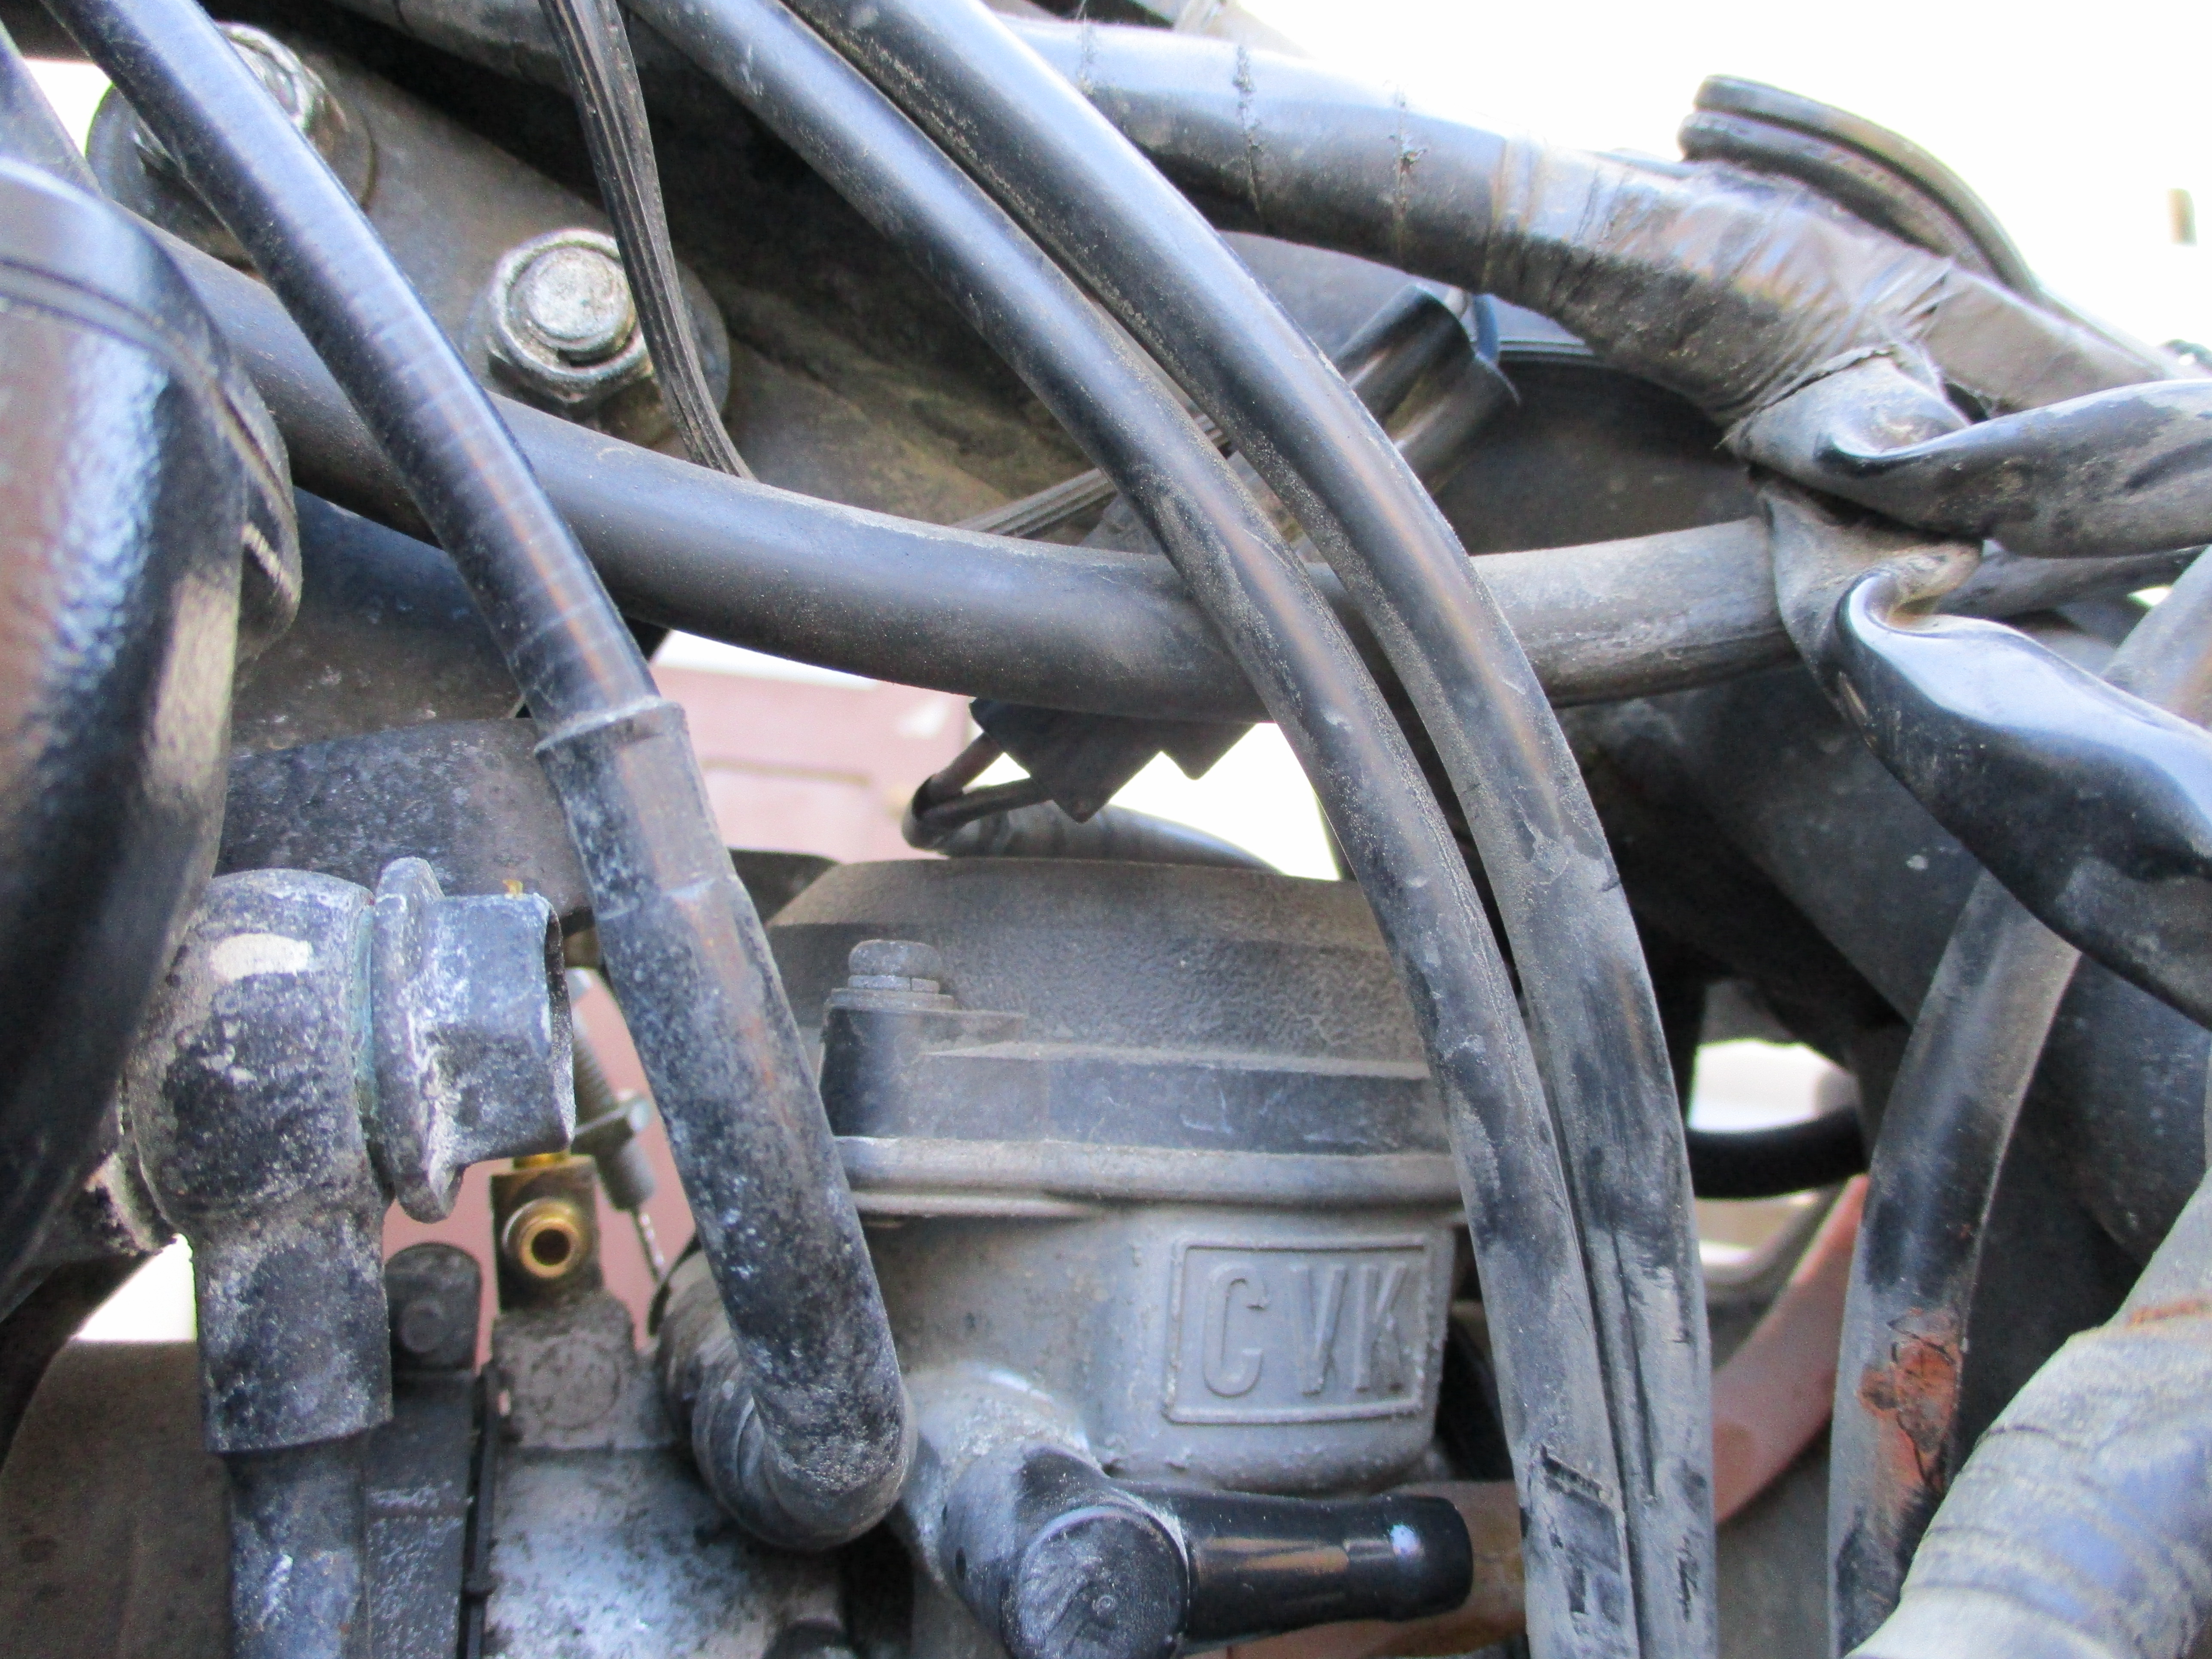
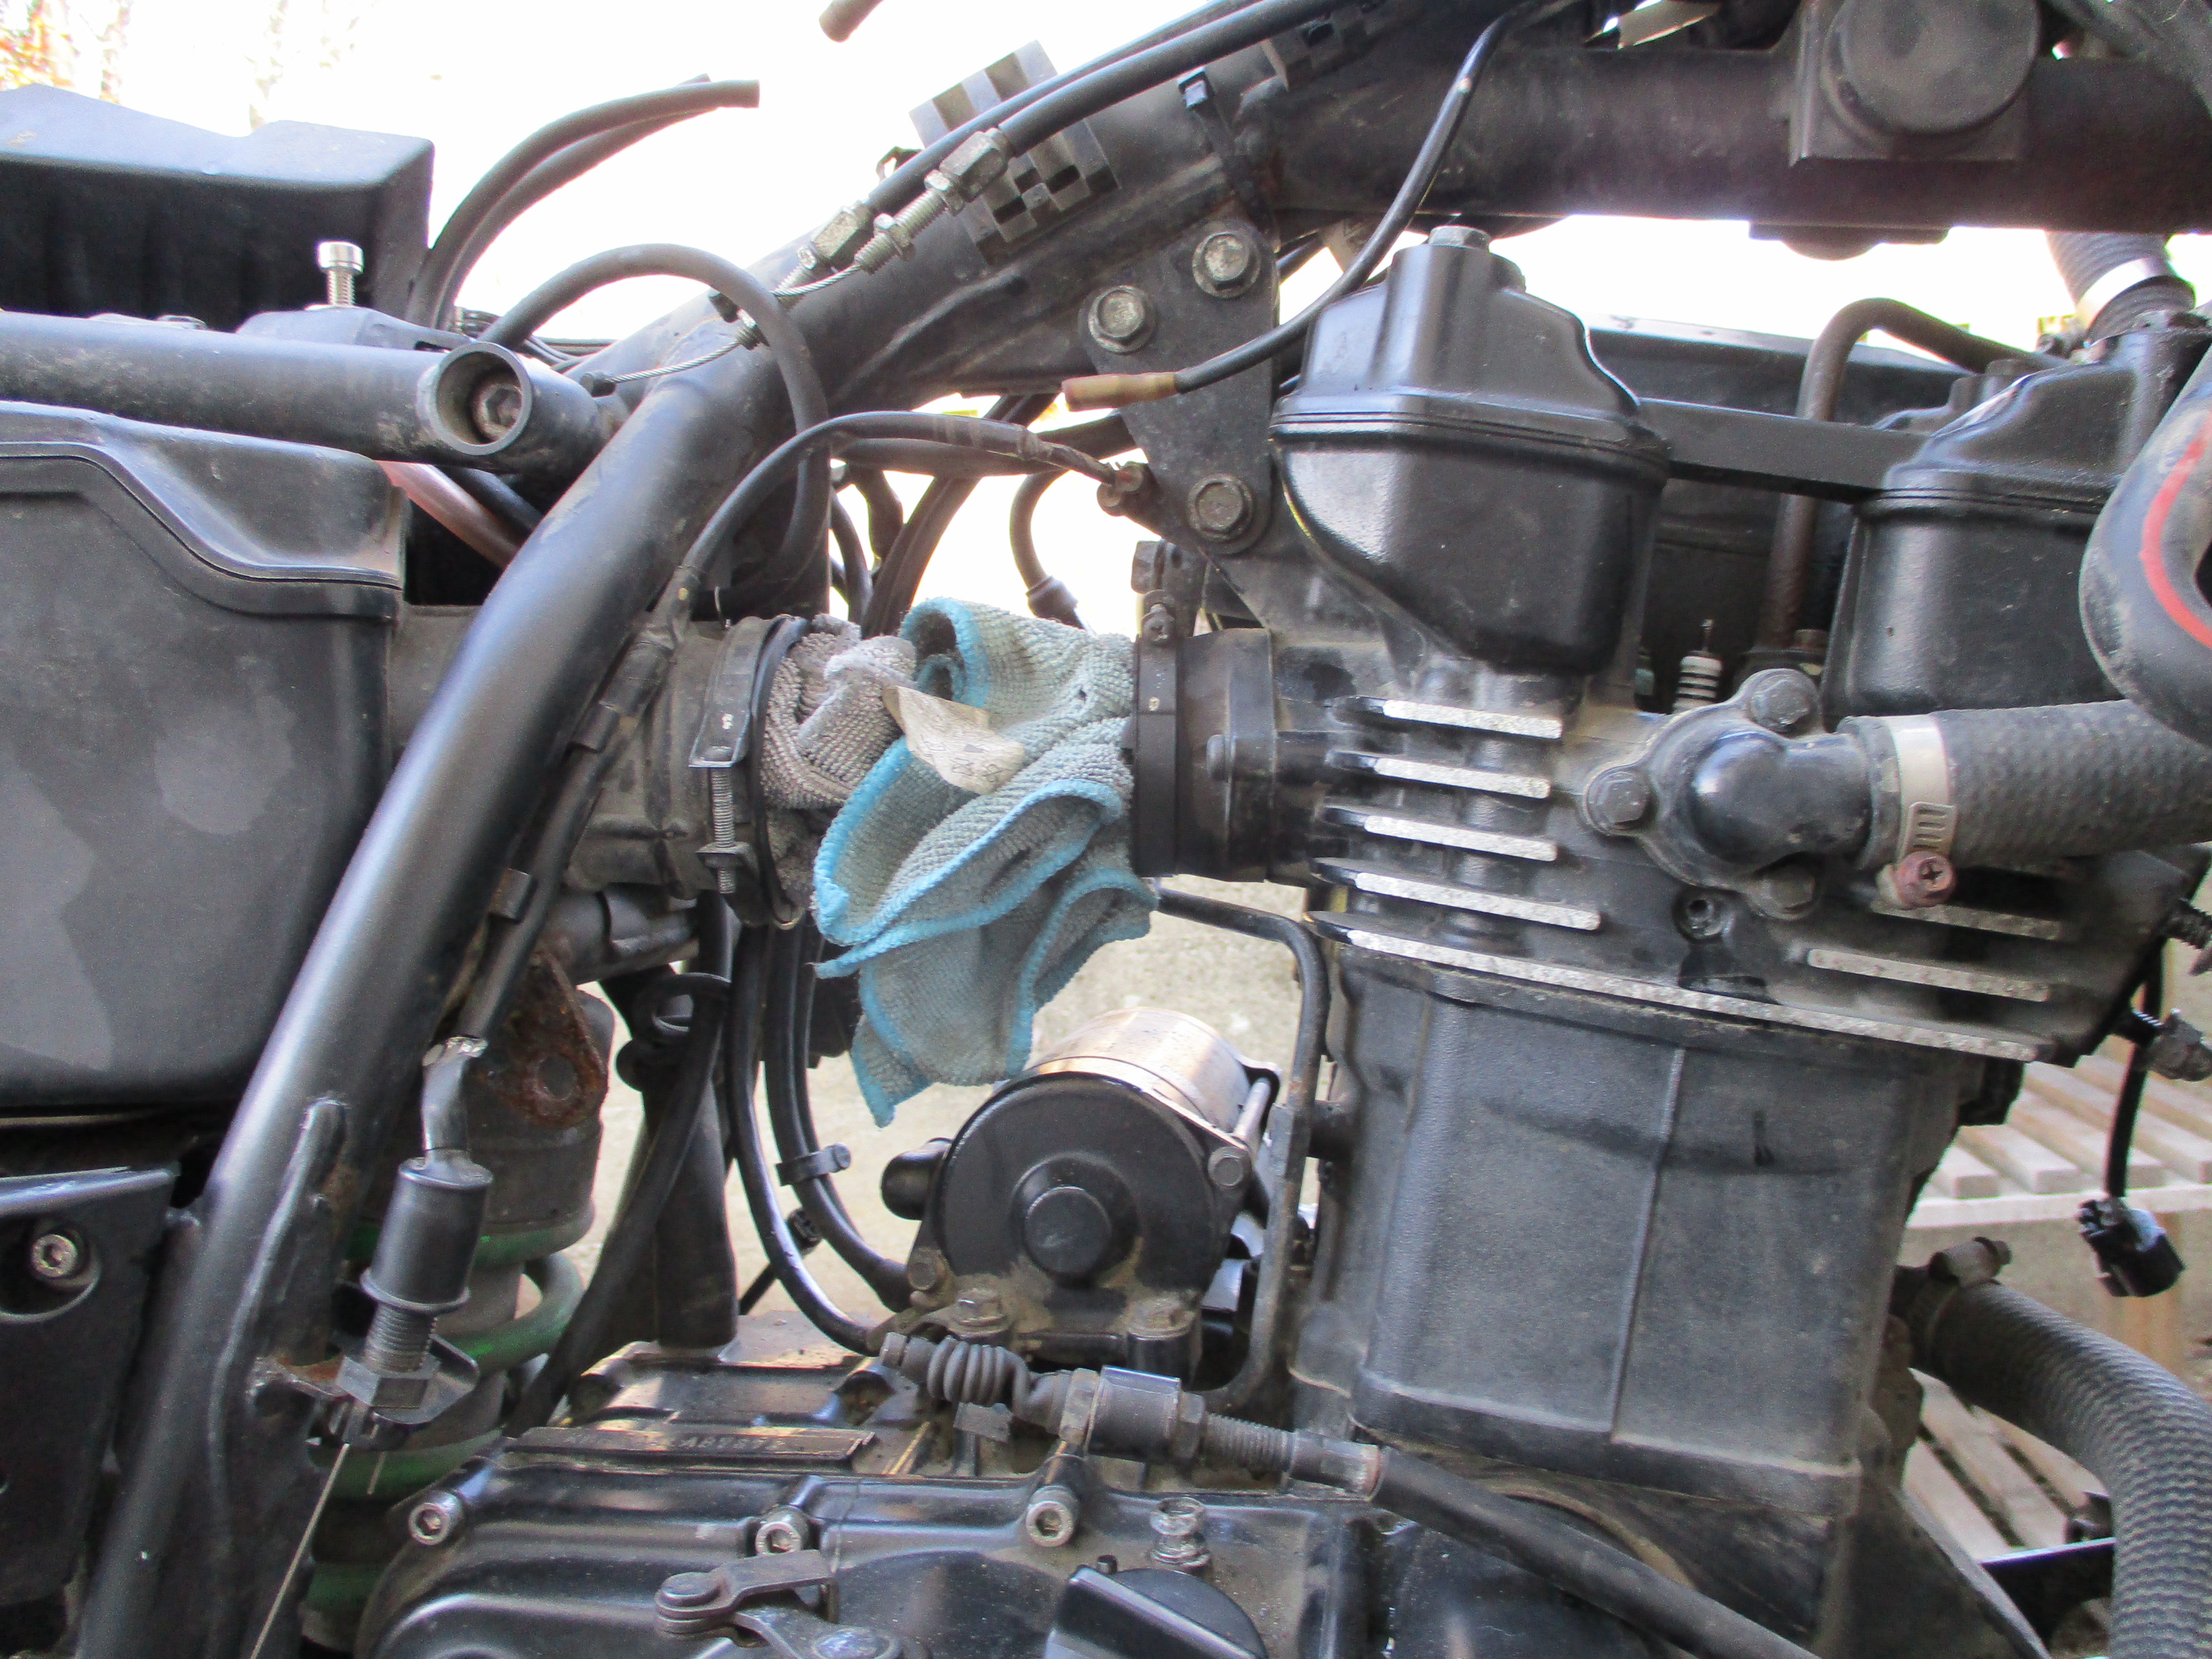
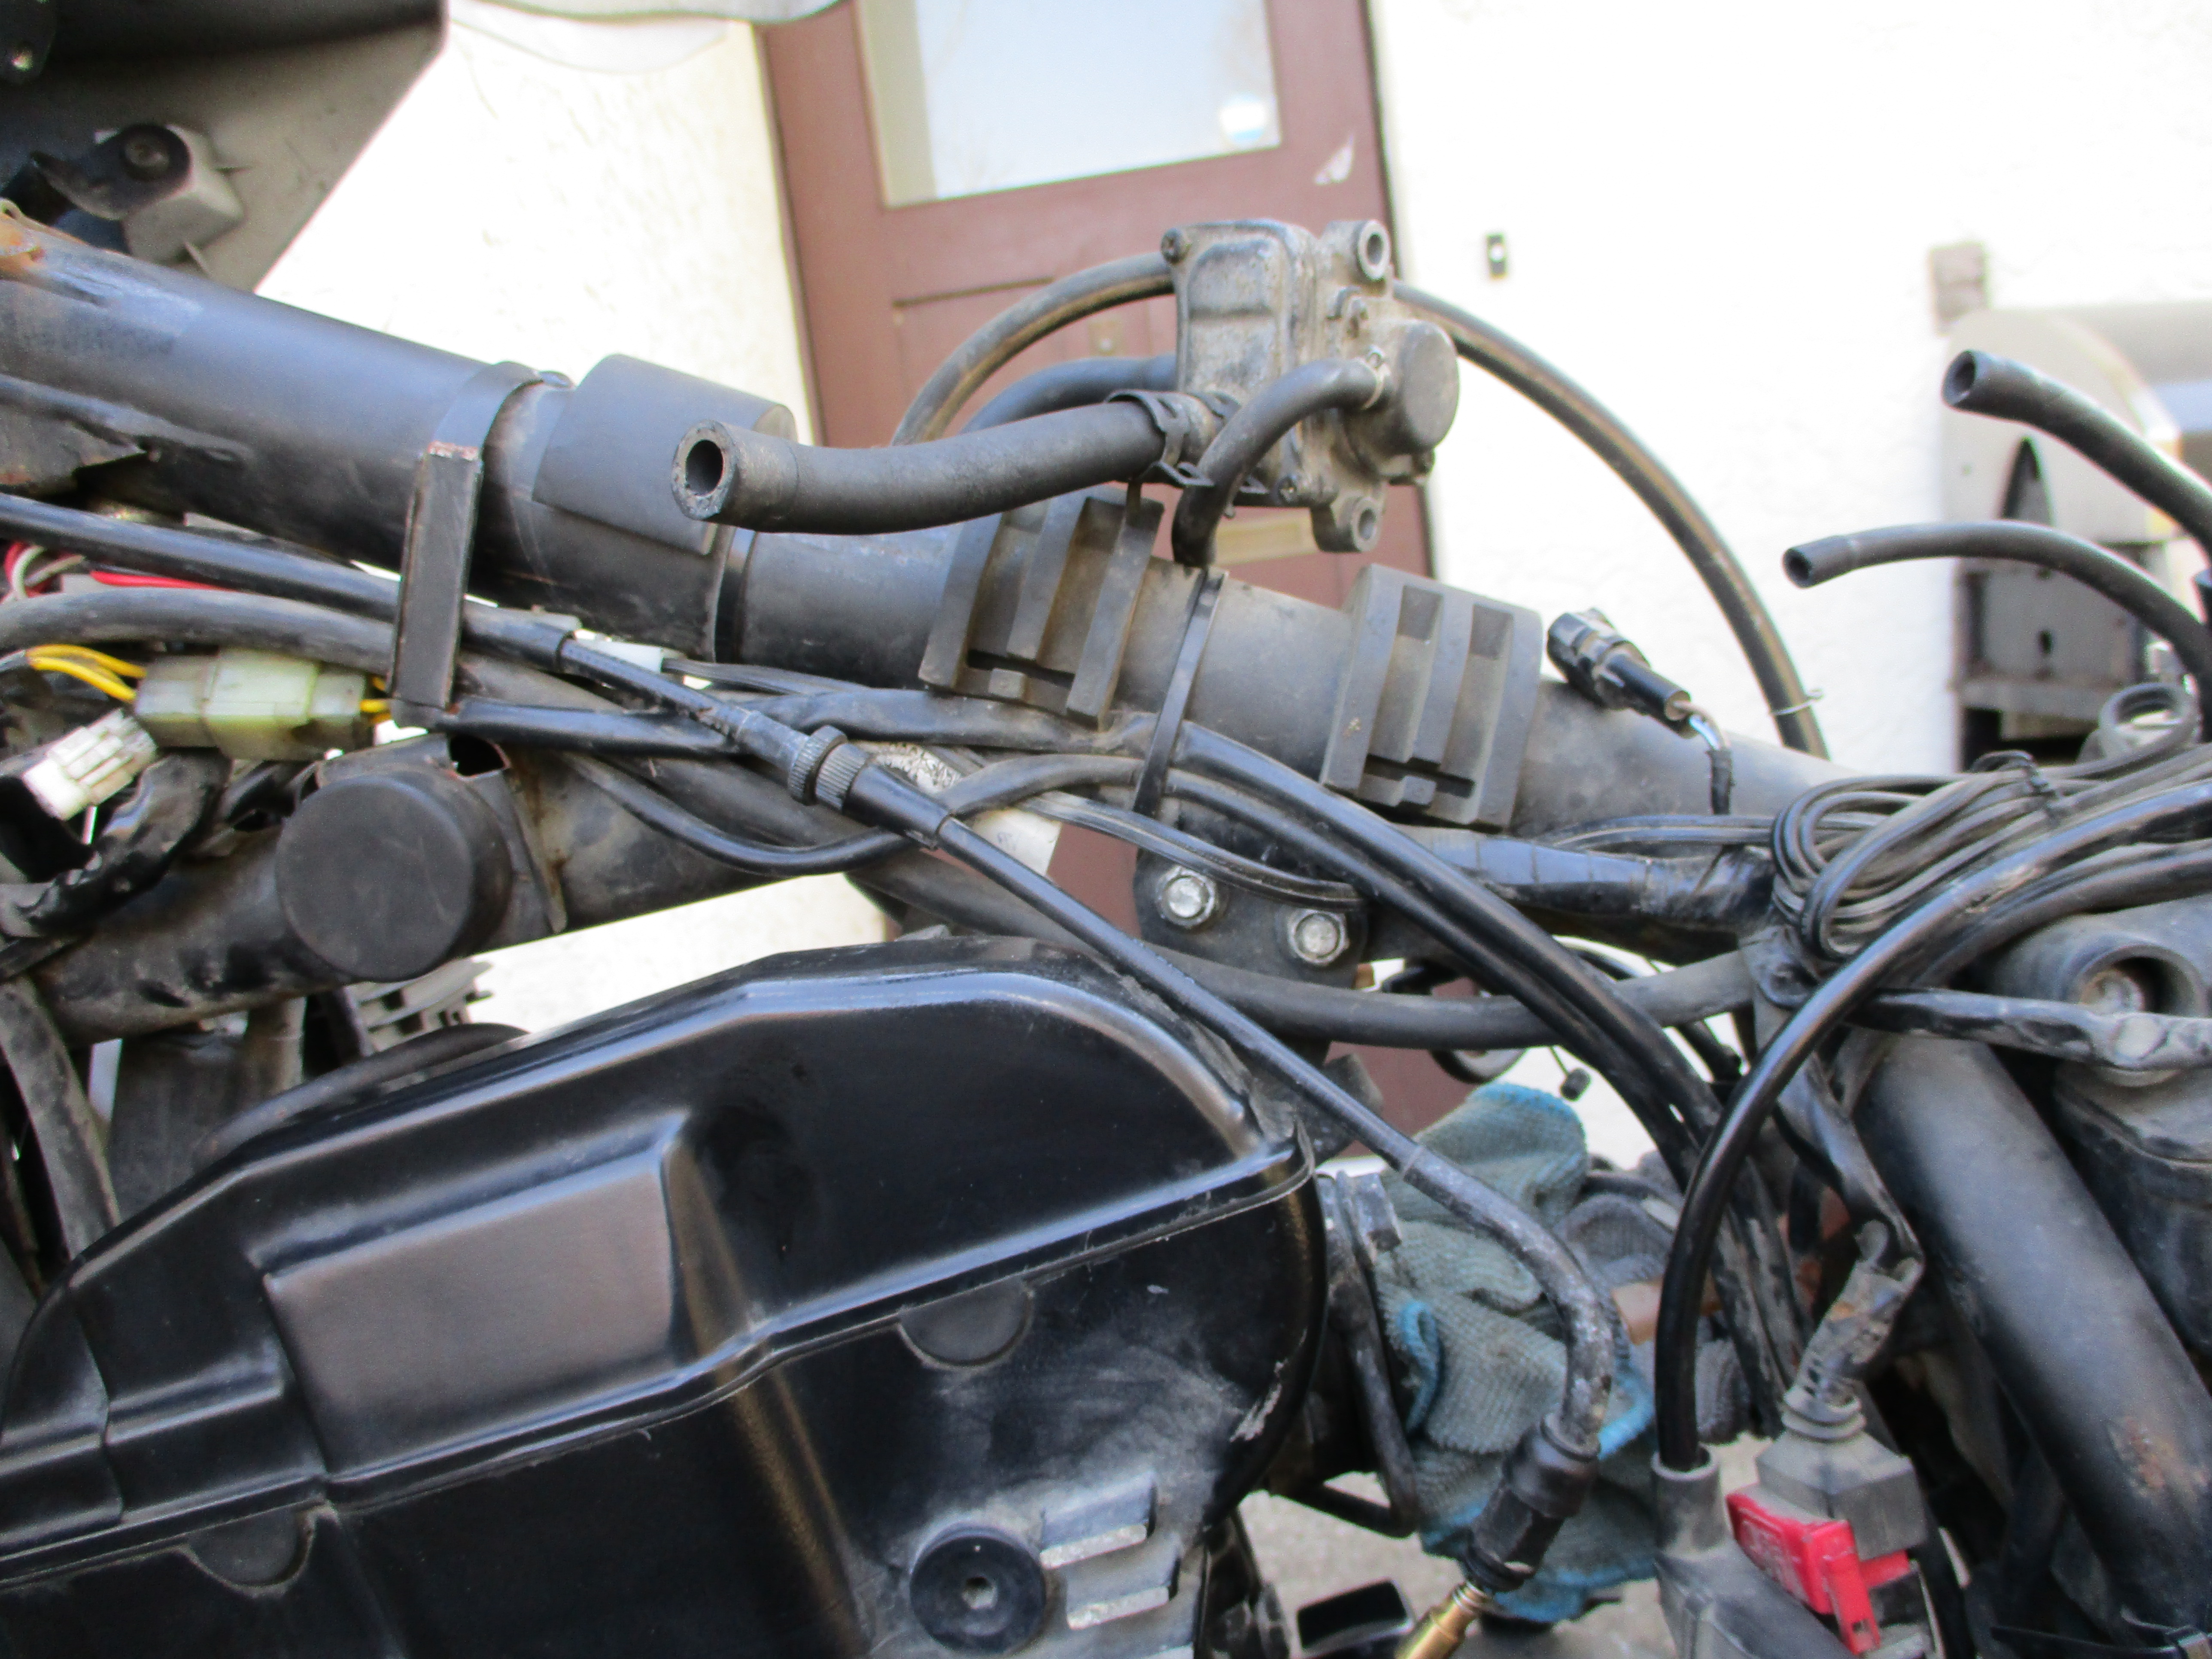
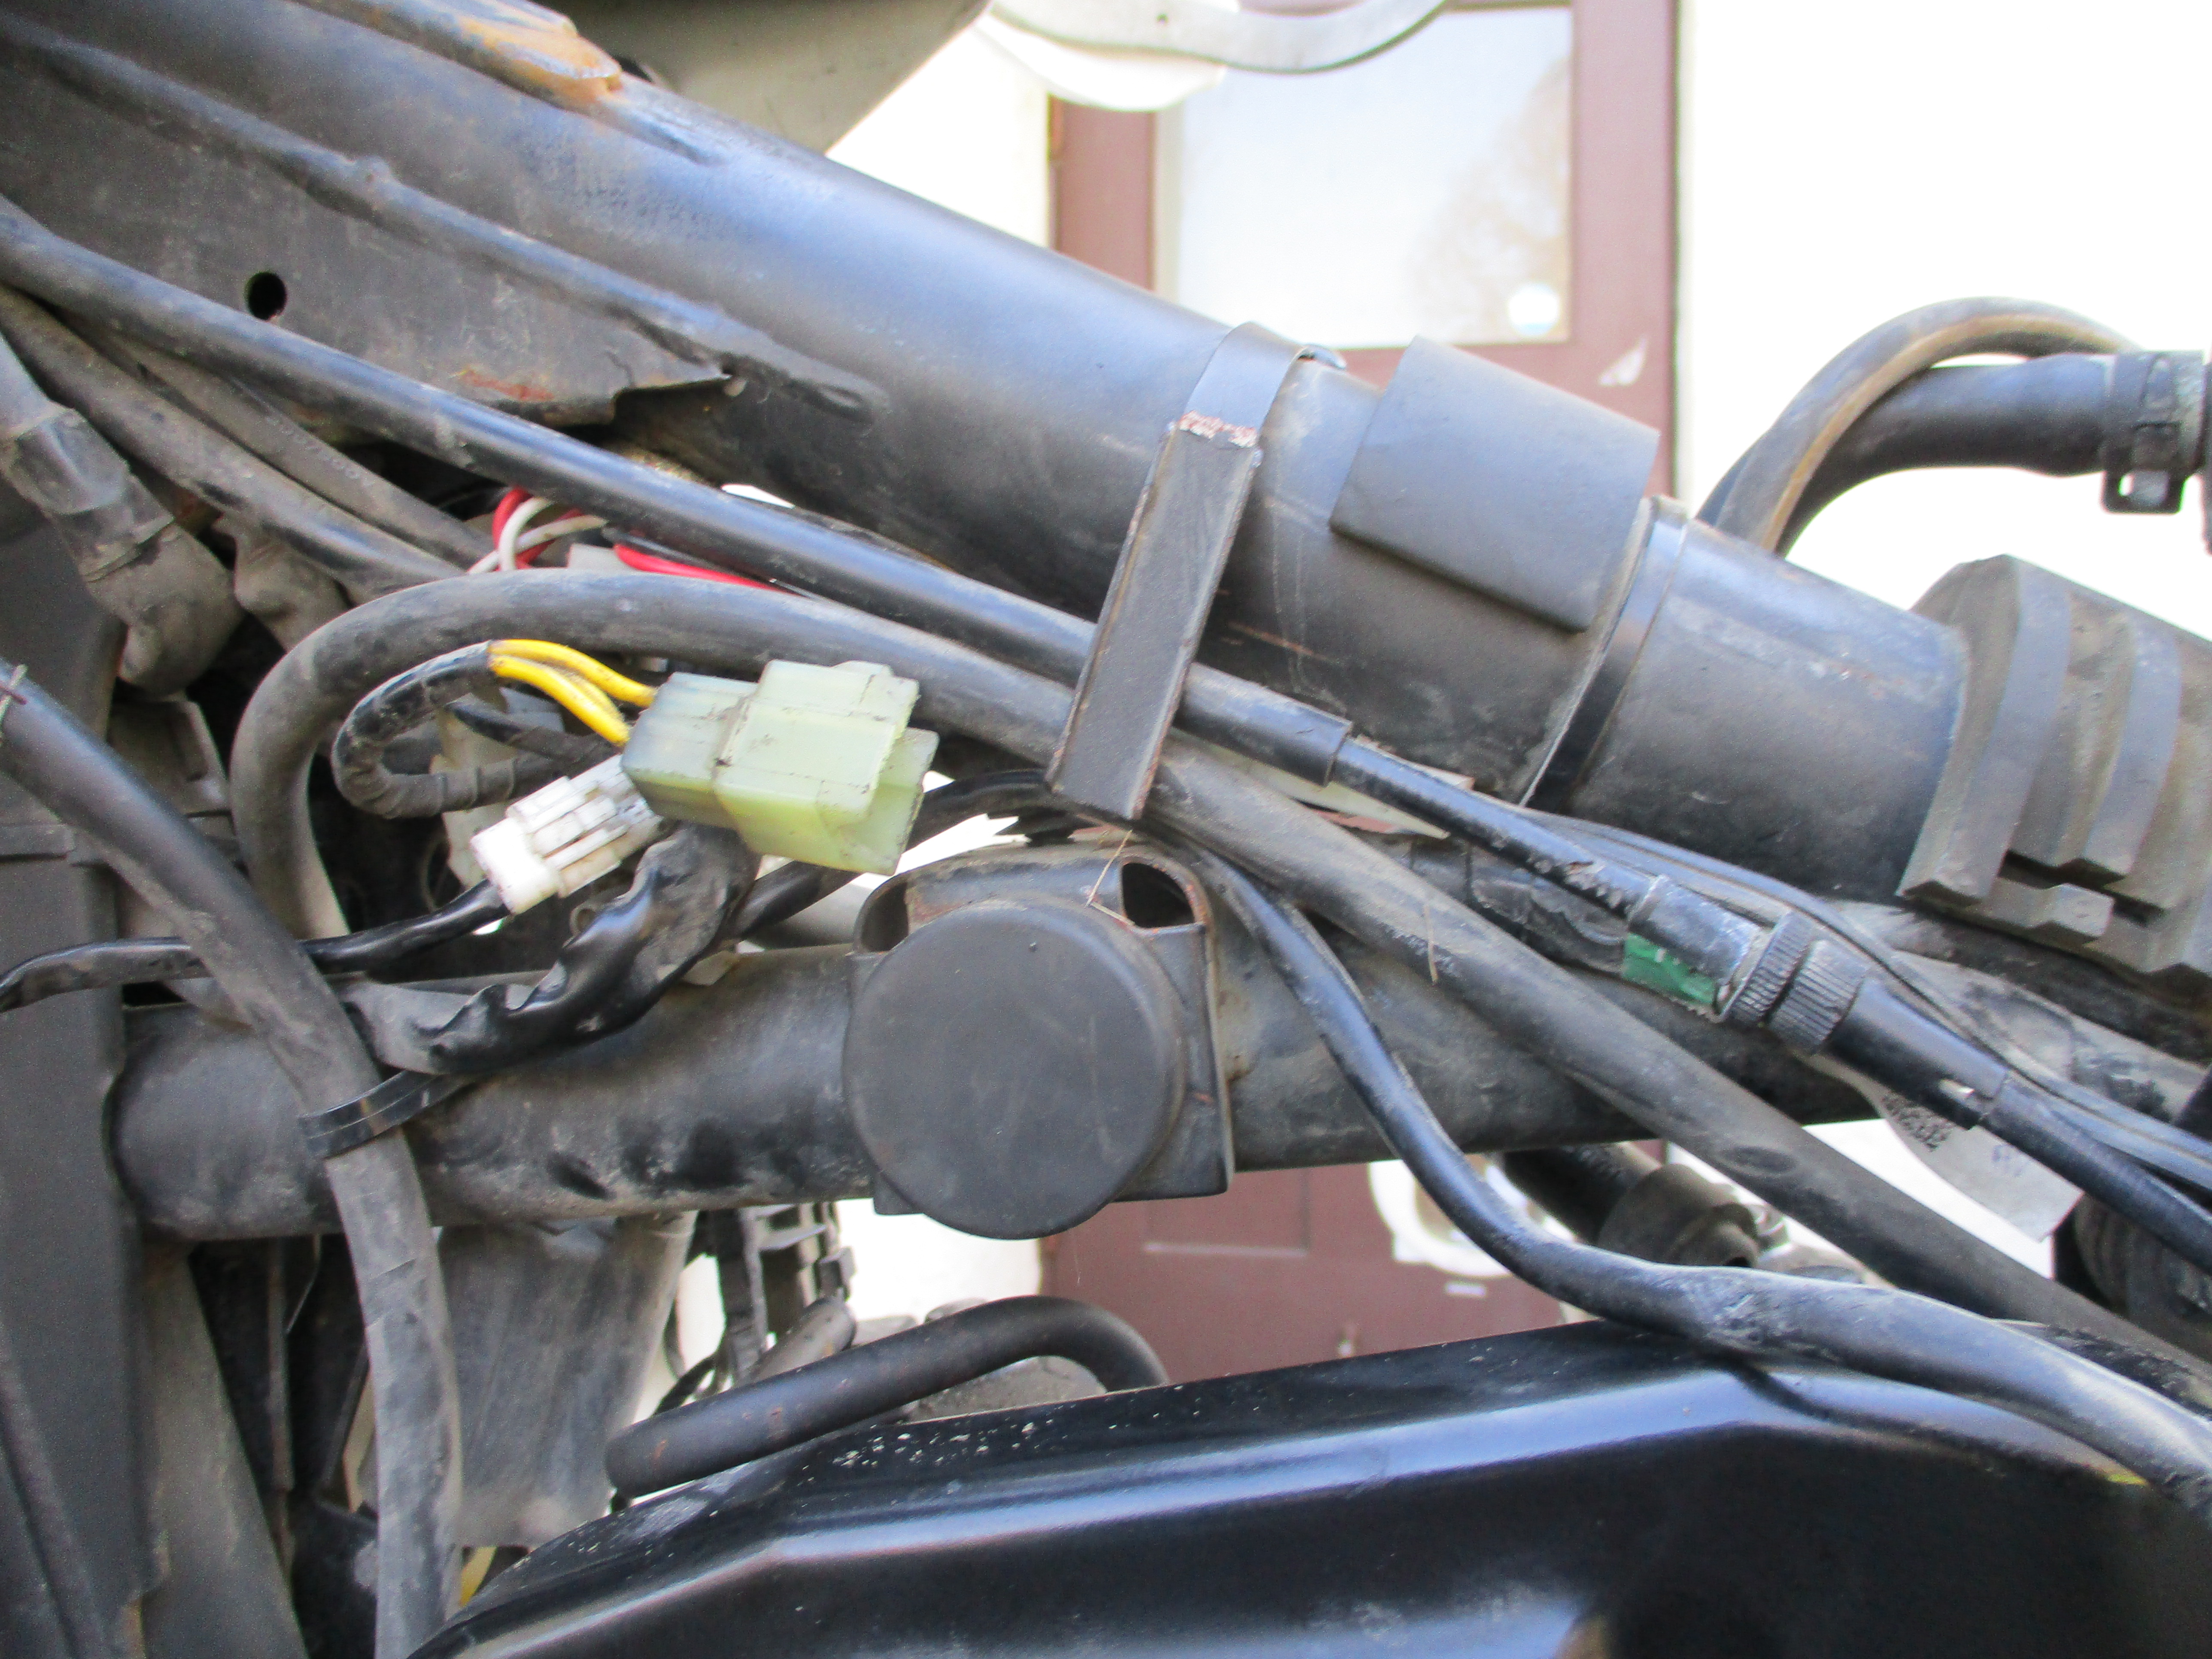
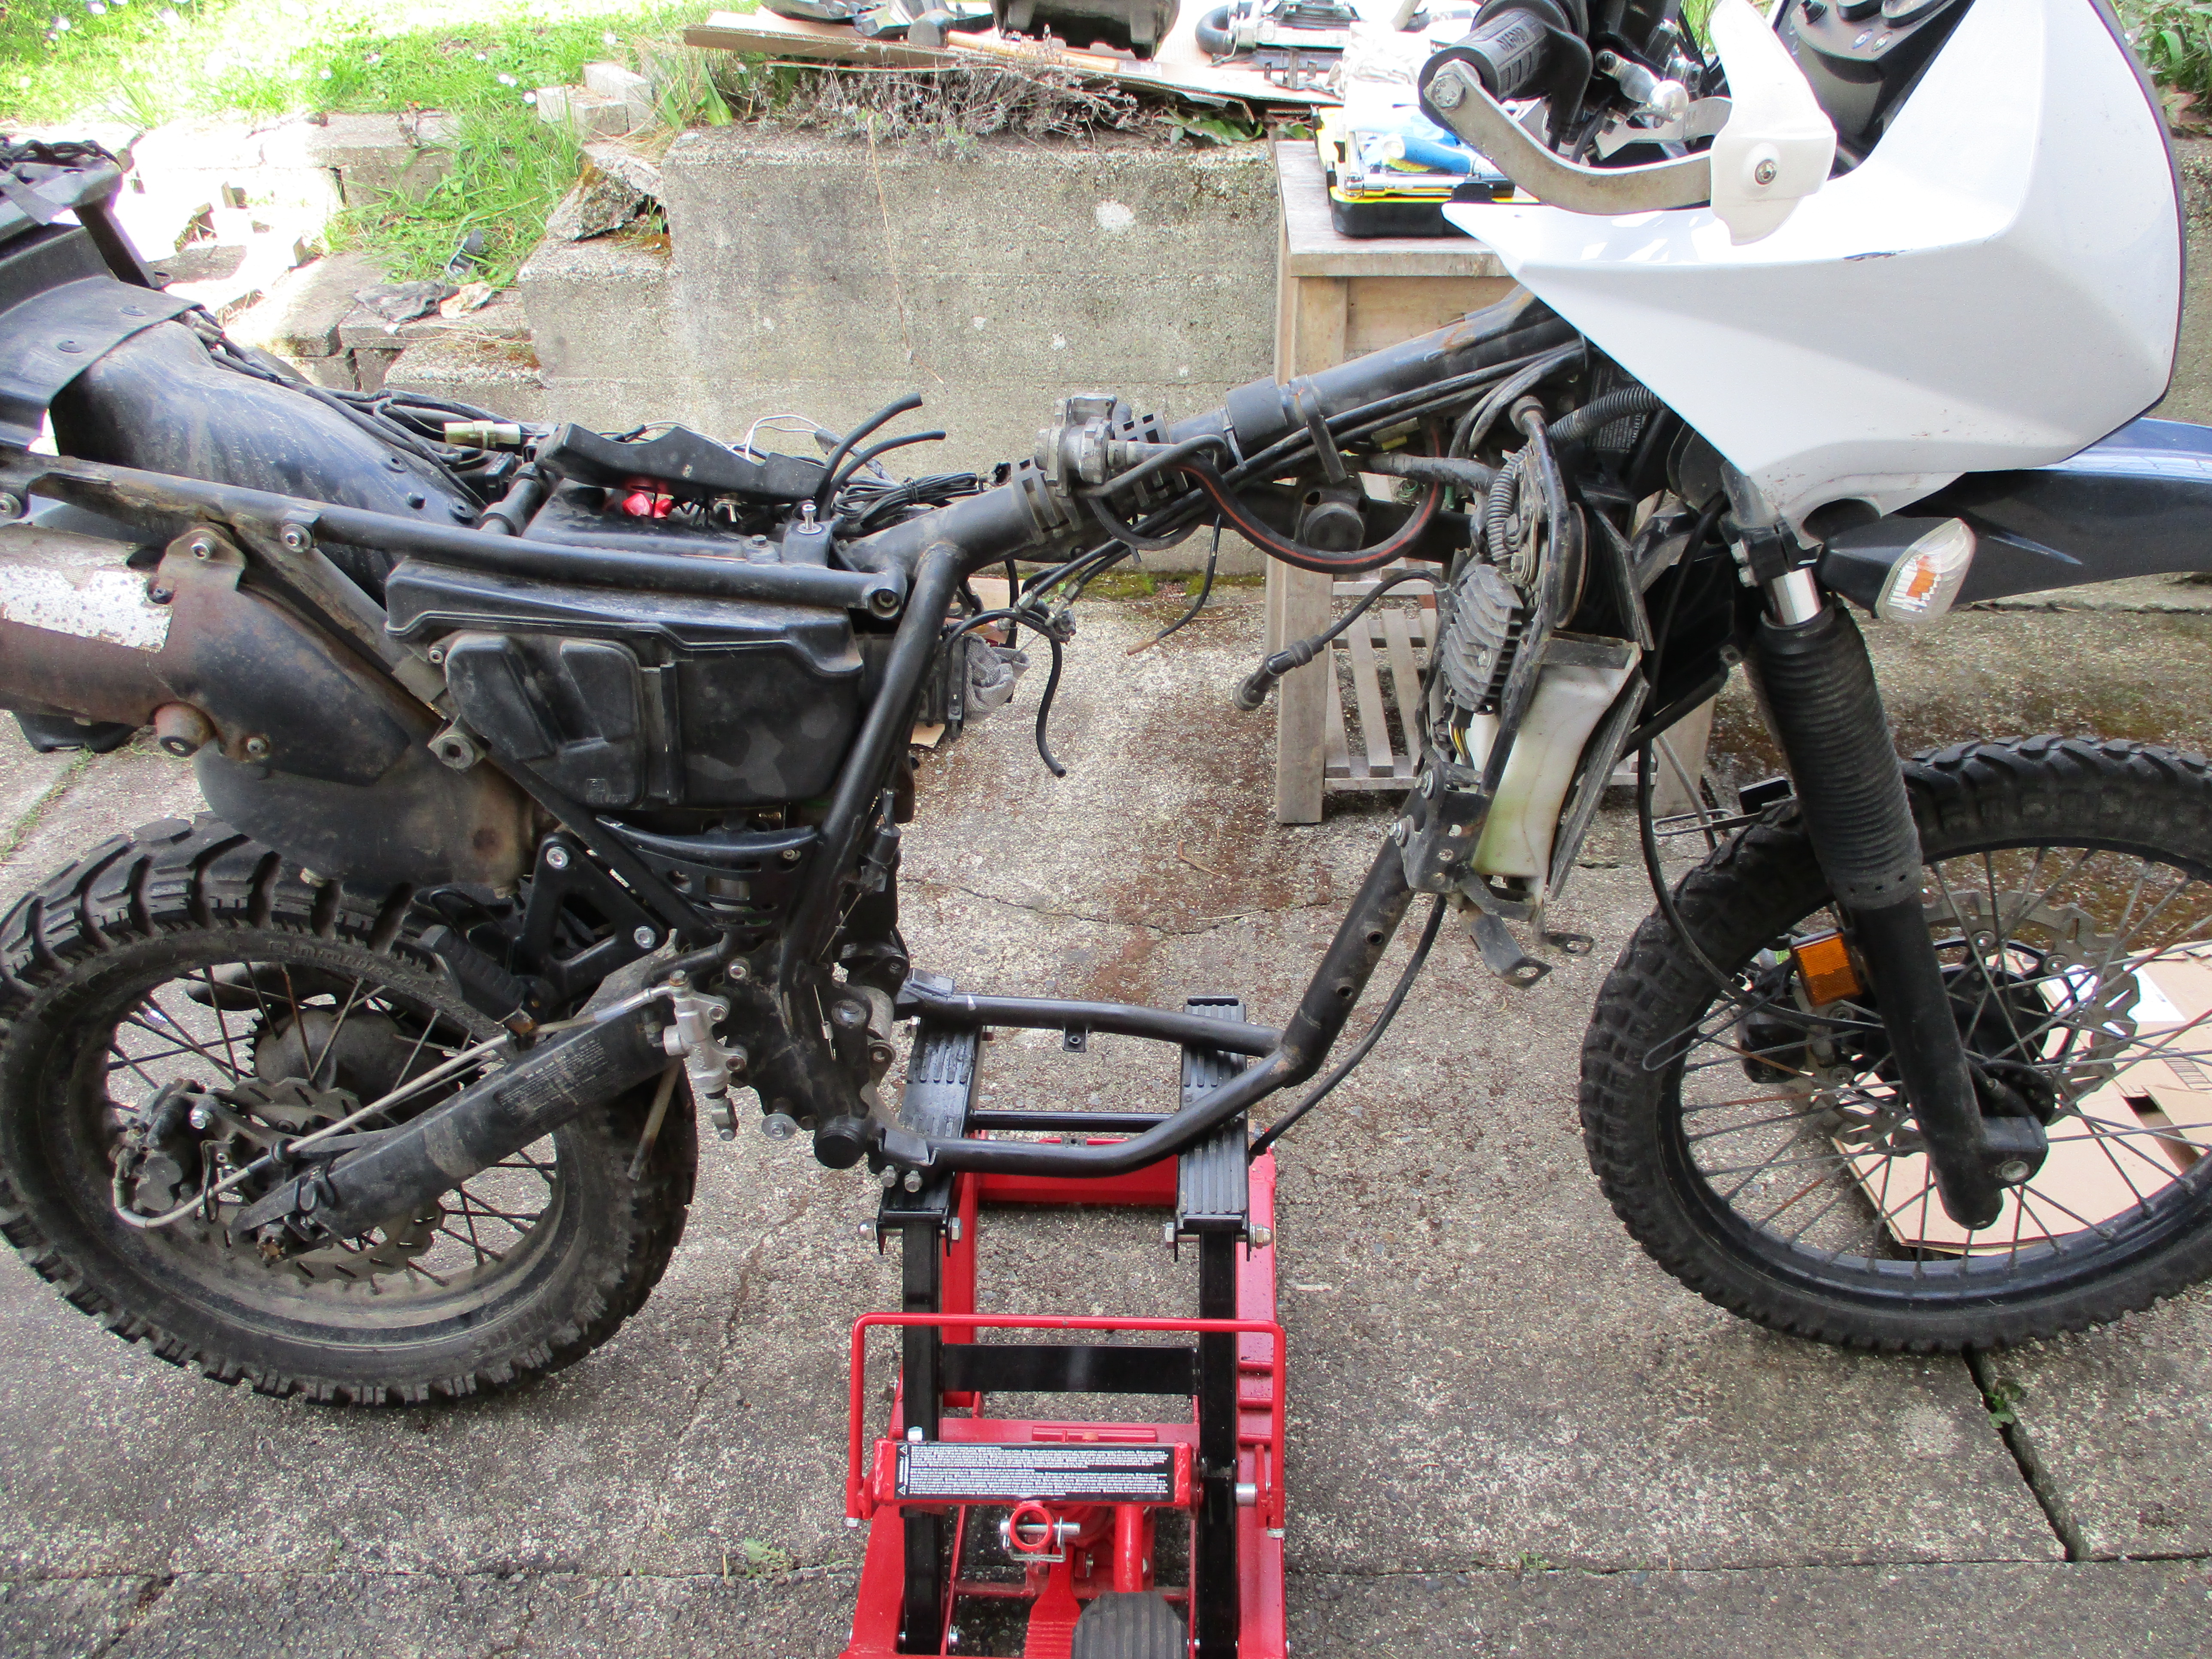
Removing the engine in my motorcycle was surprisingly easy, and provided a good opportunity to clean everything really well. I took lots of pictures of the wire and hose routing because it is quite complicated. I had the engine removed in about 4 hours.


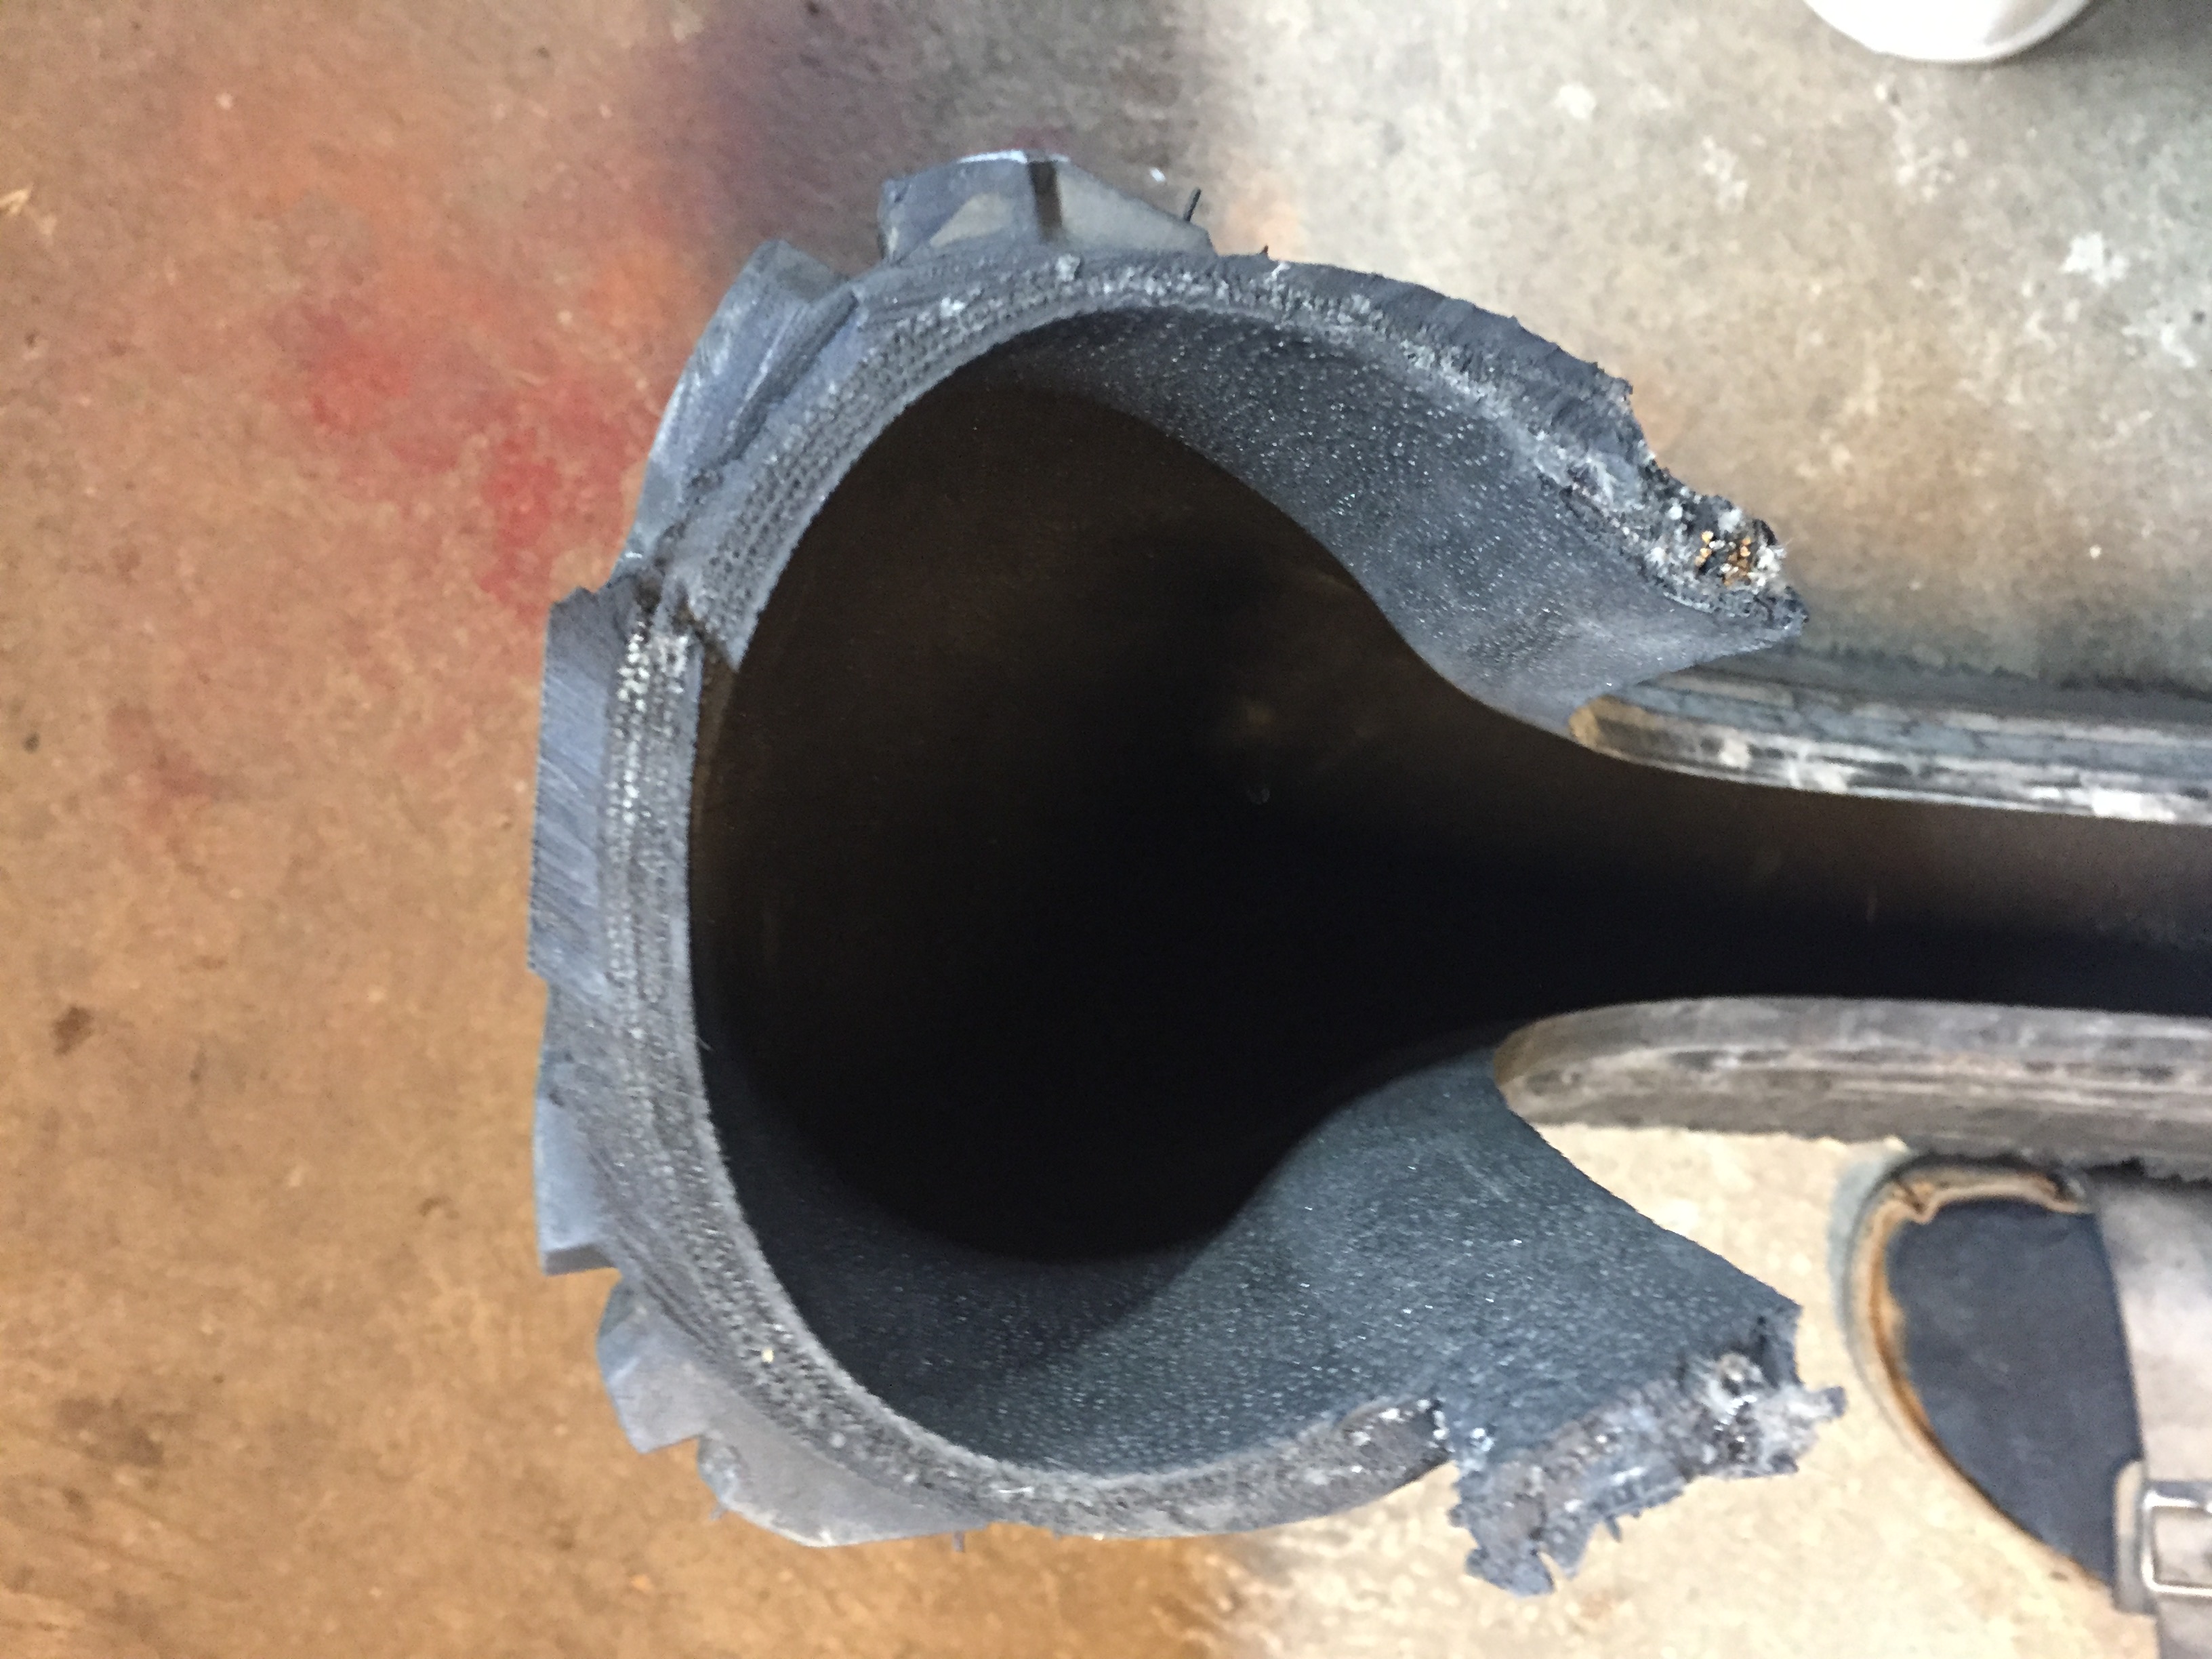
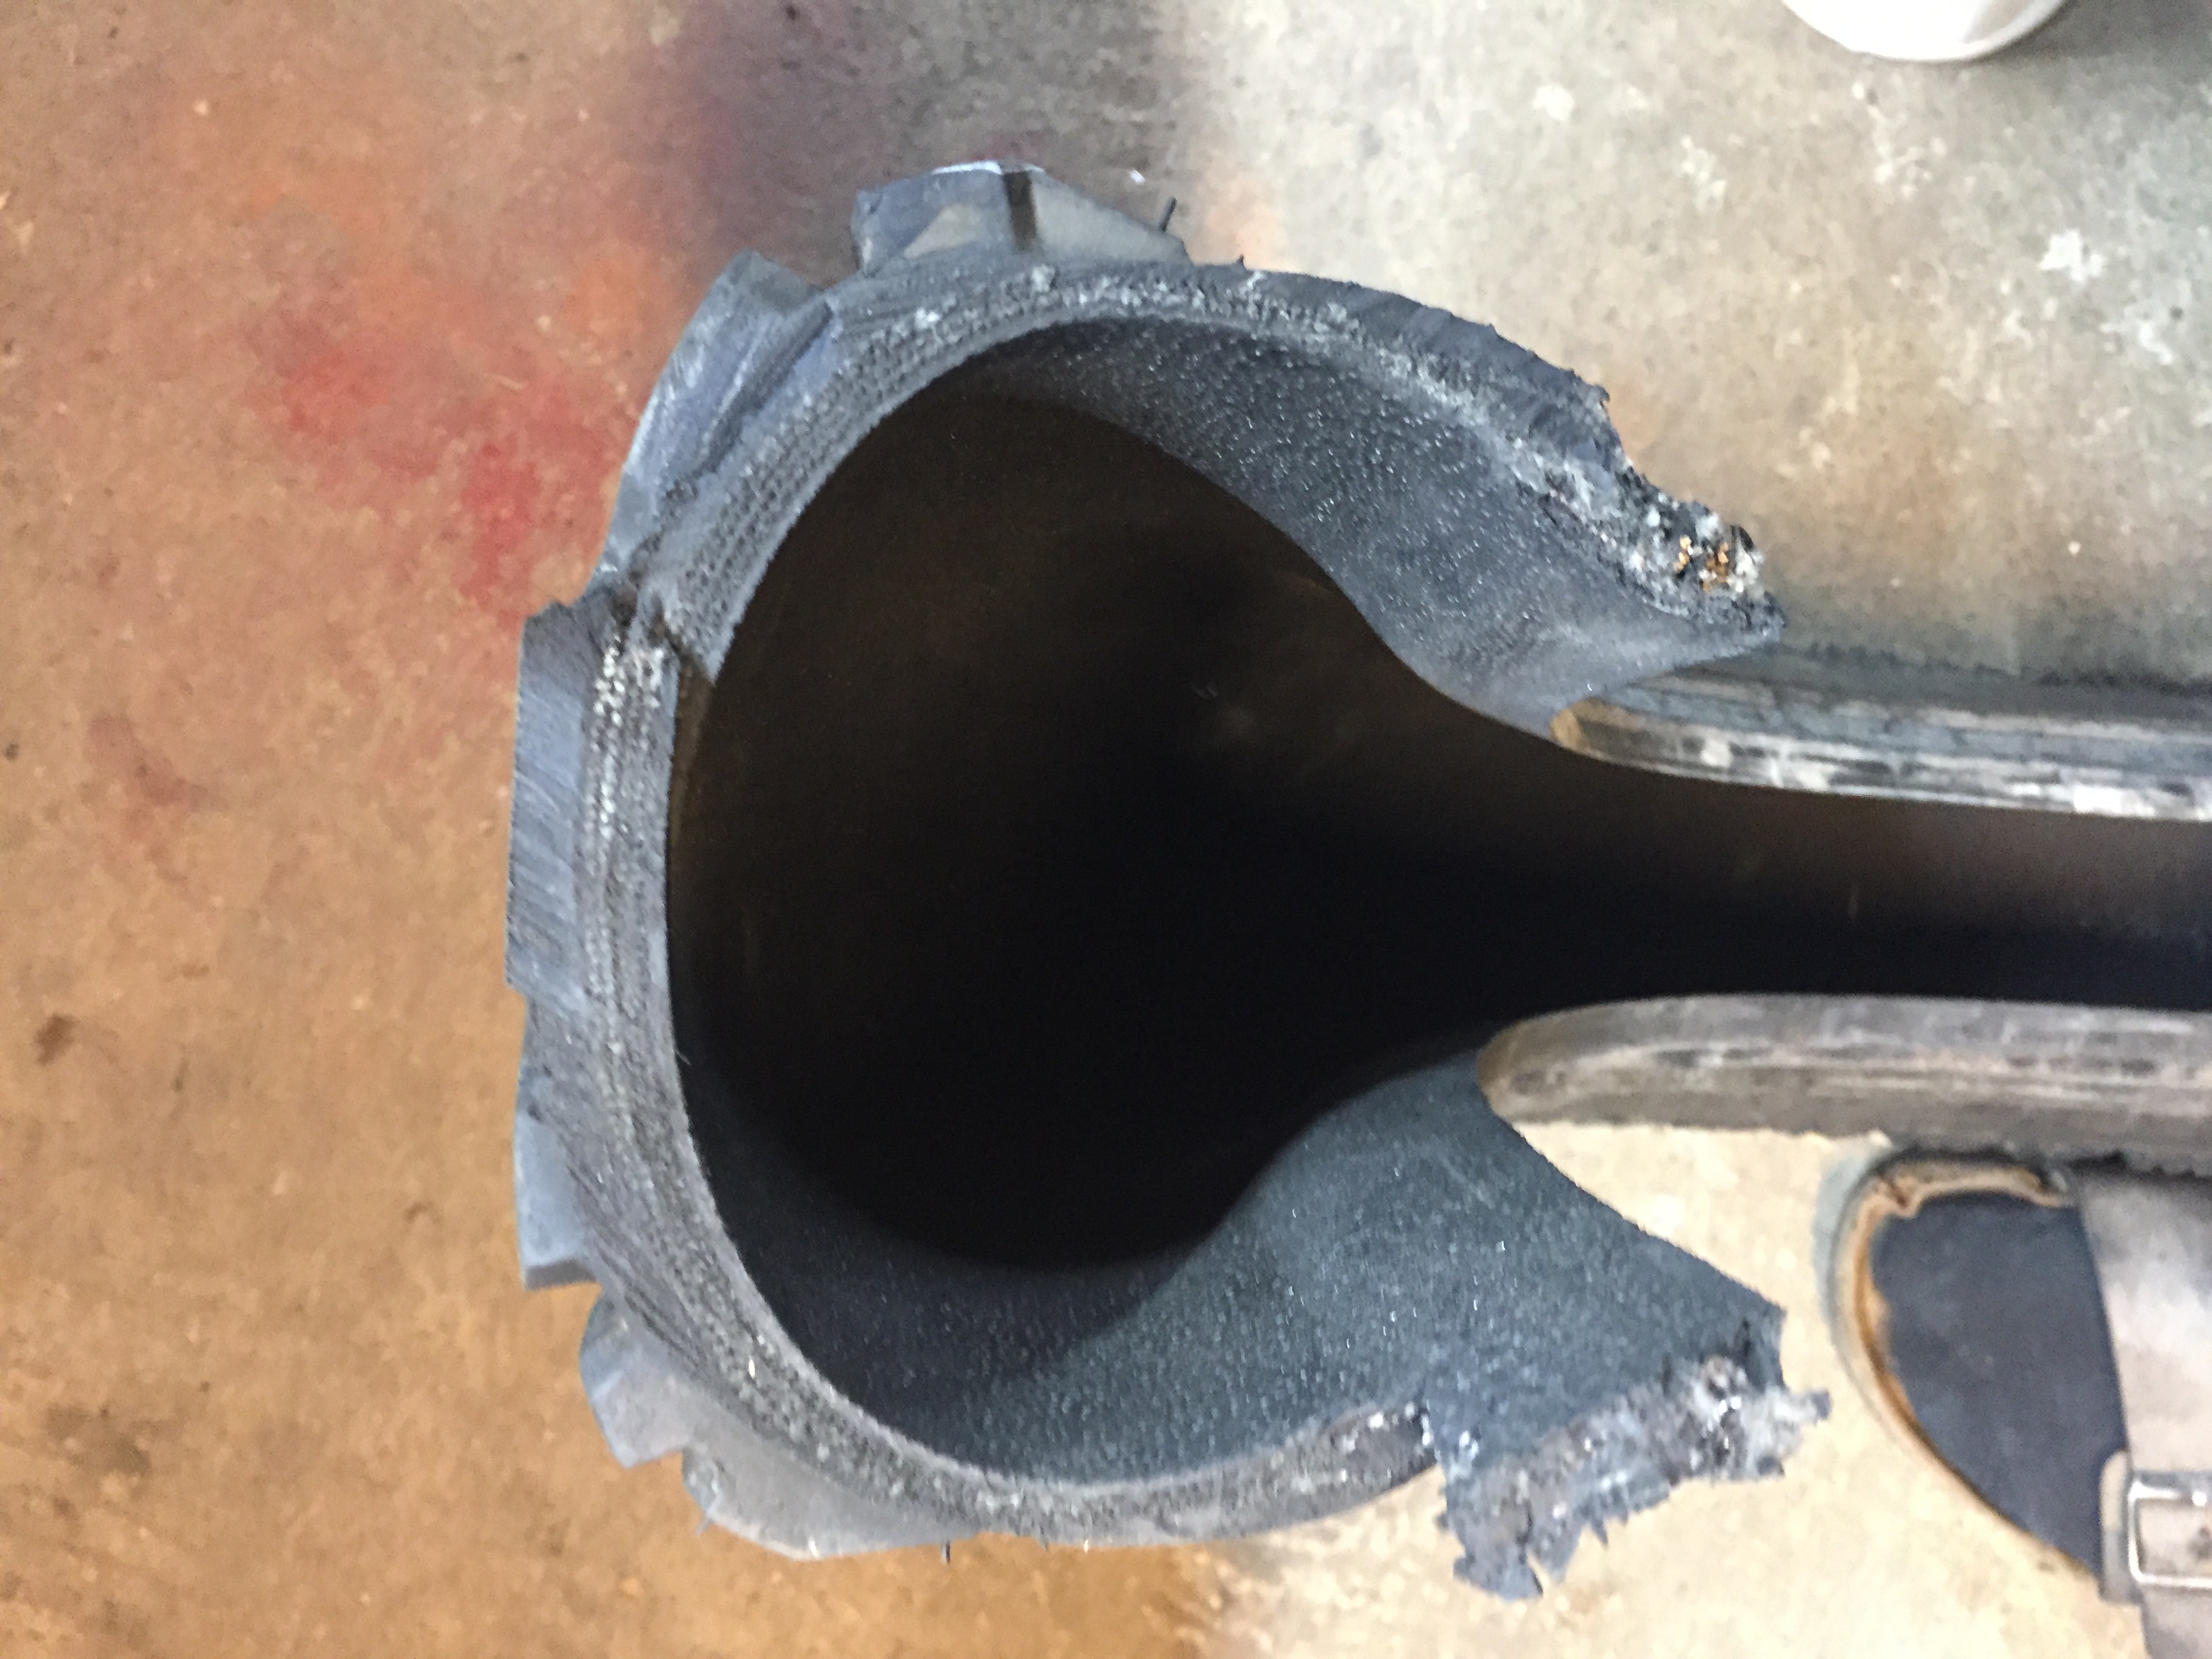
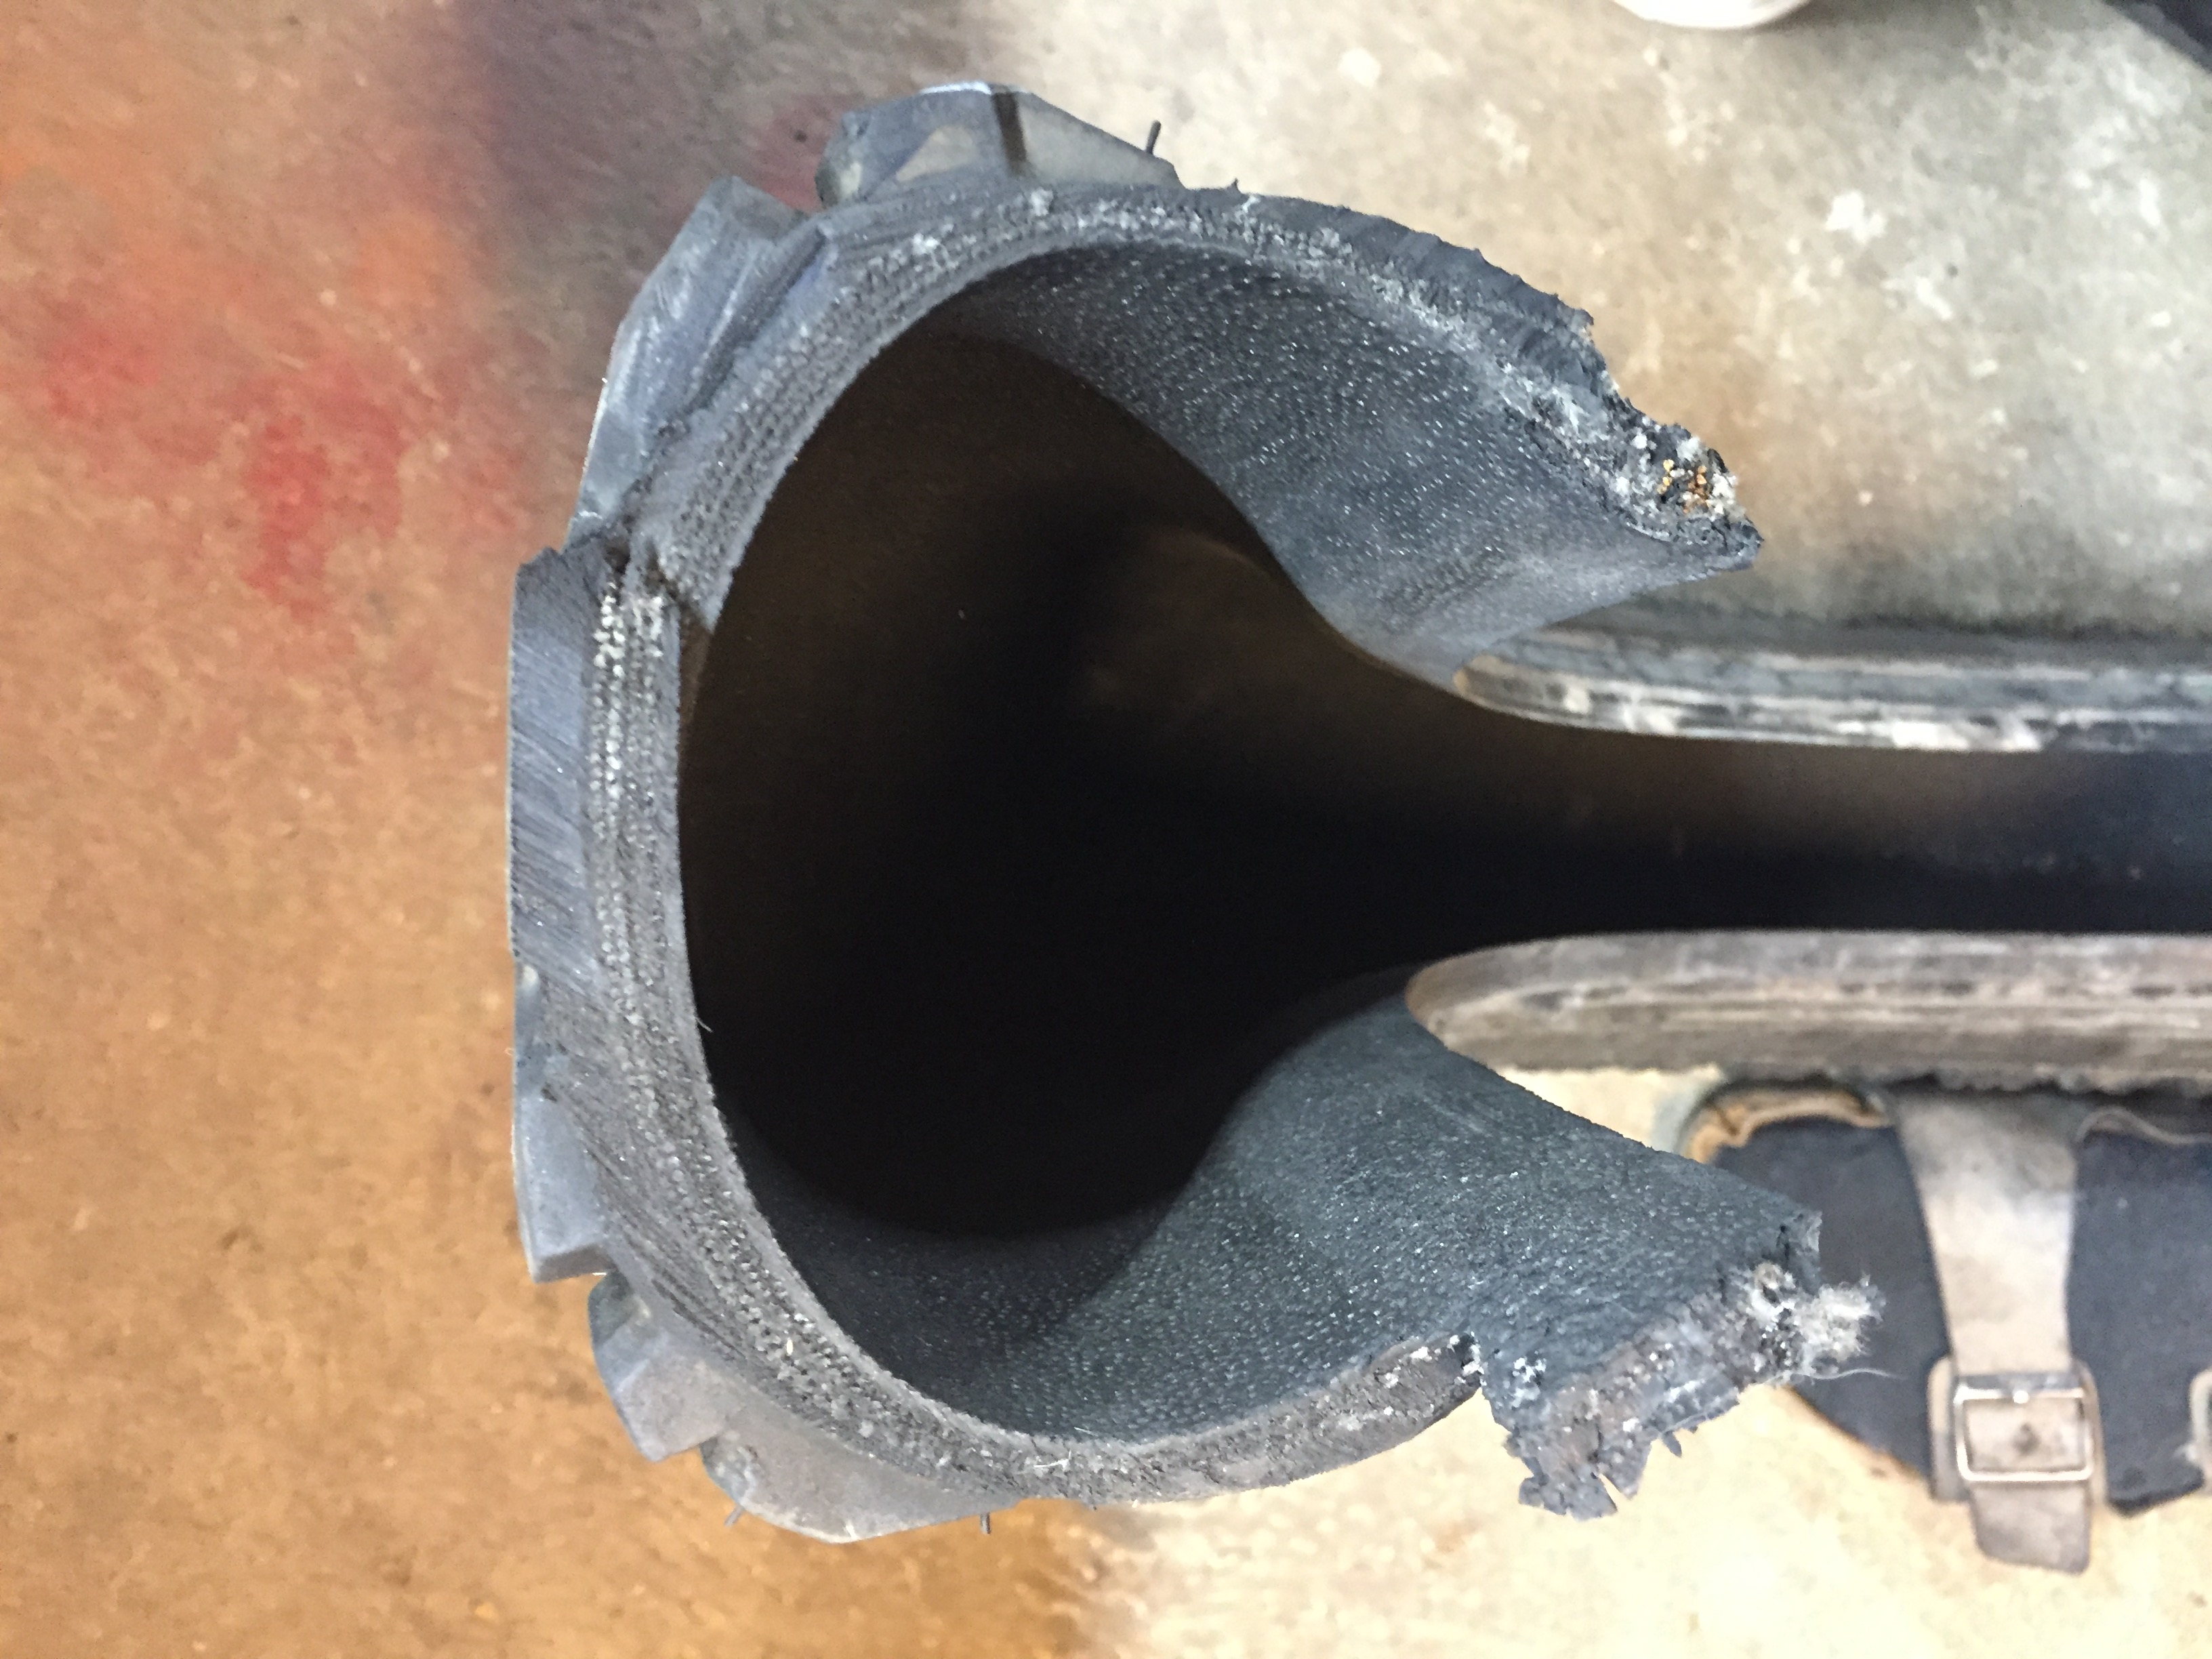
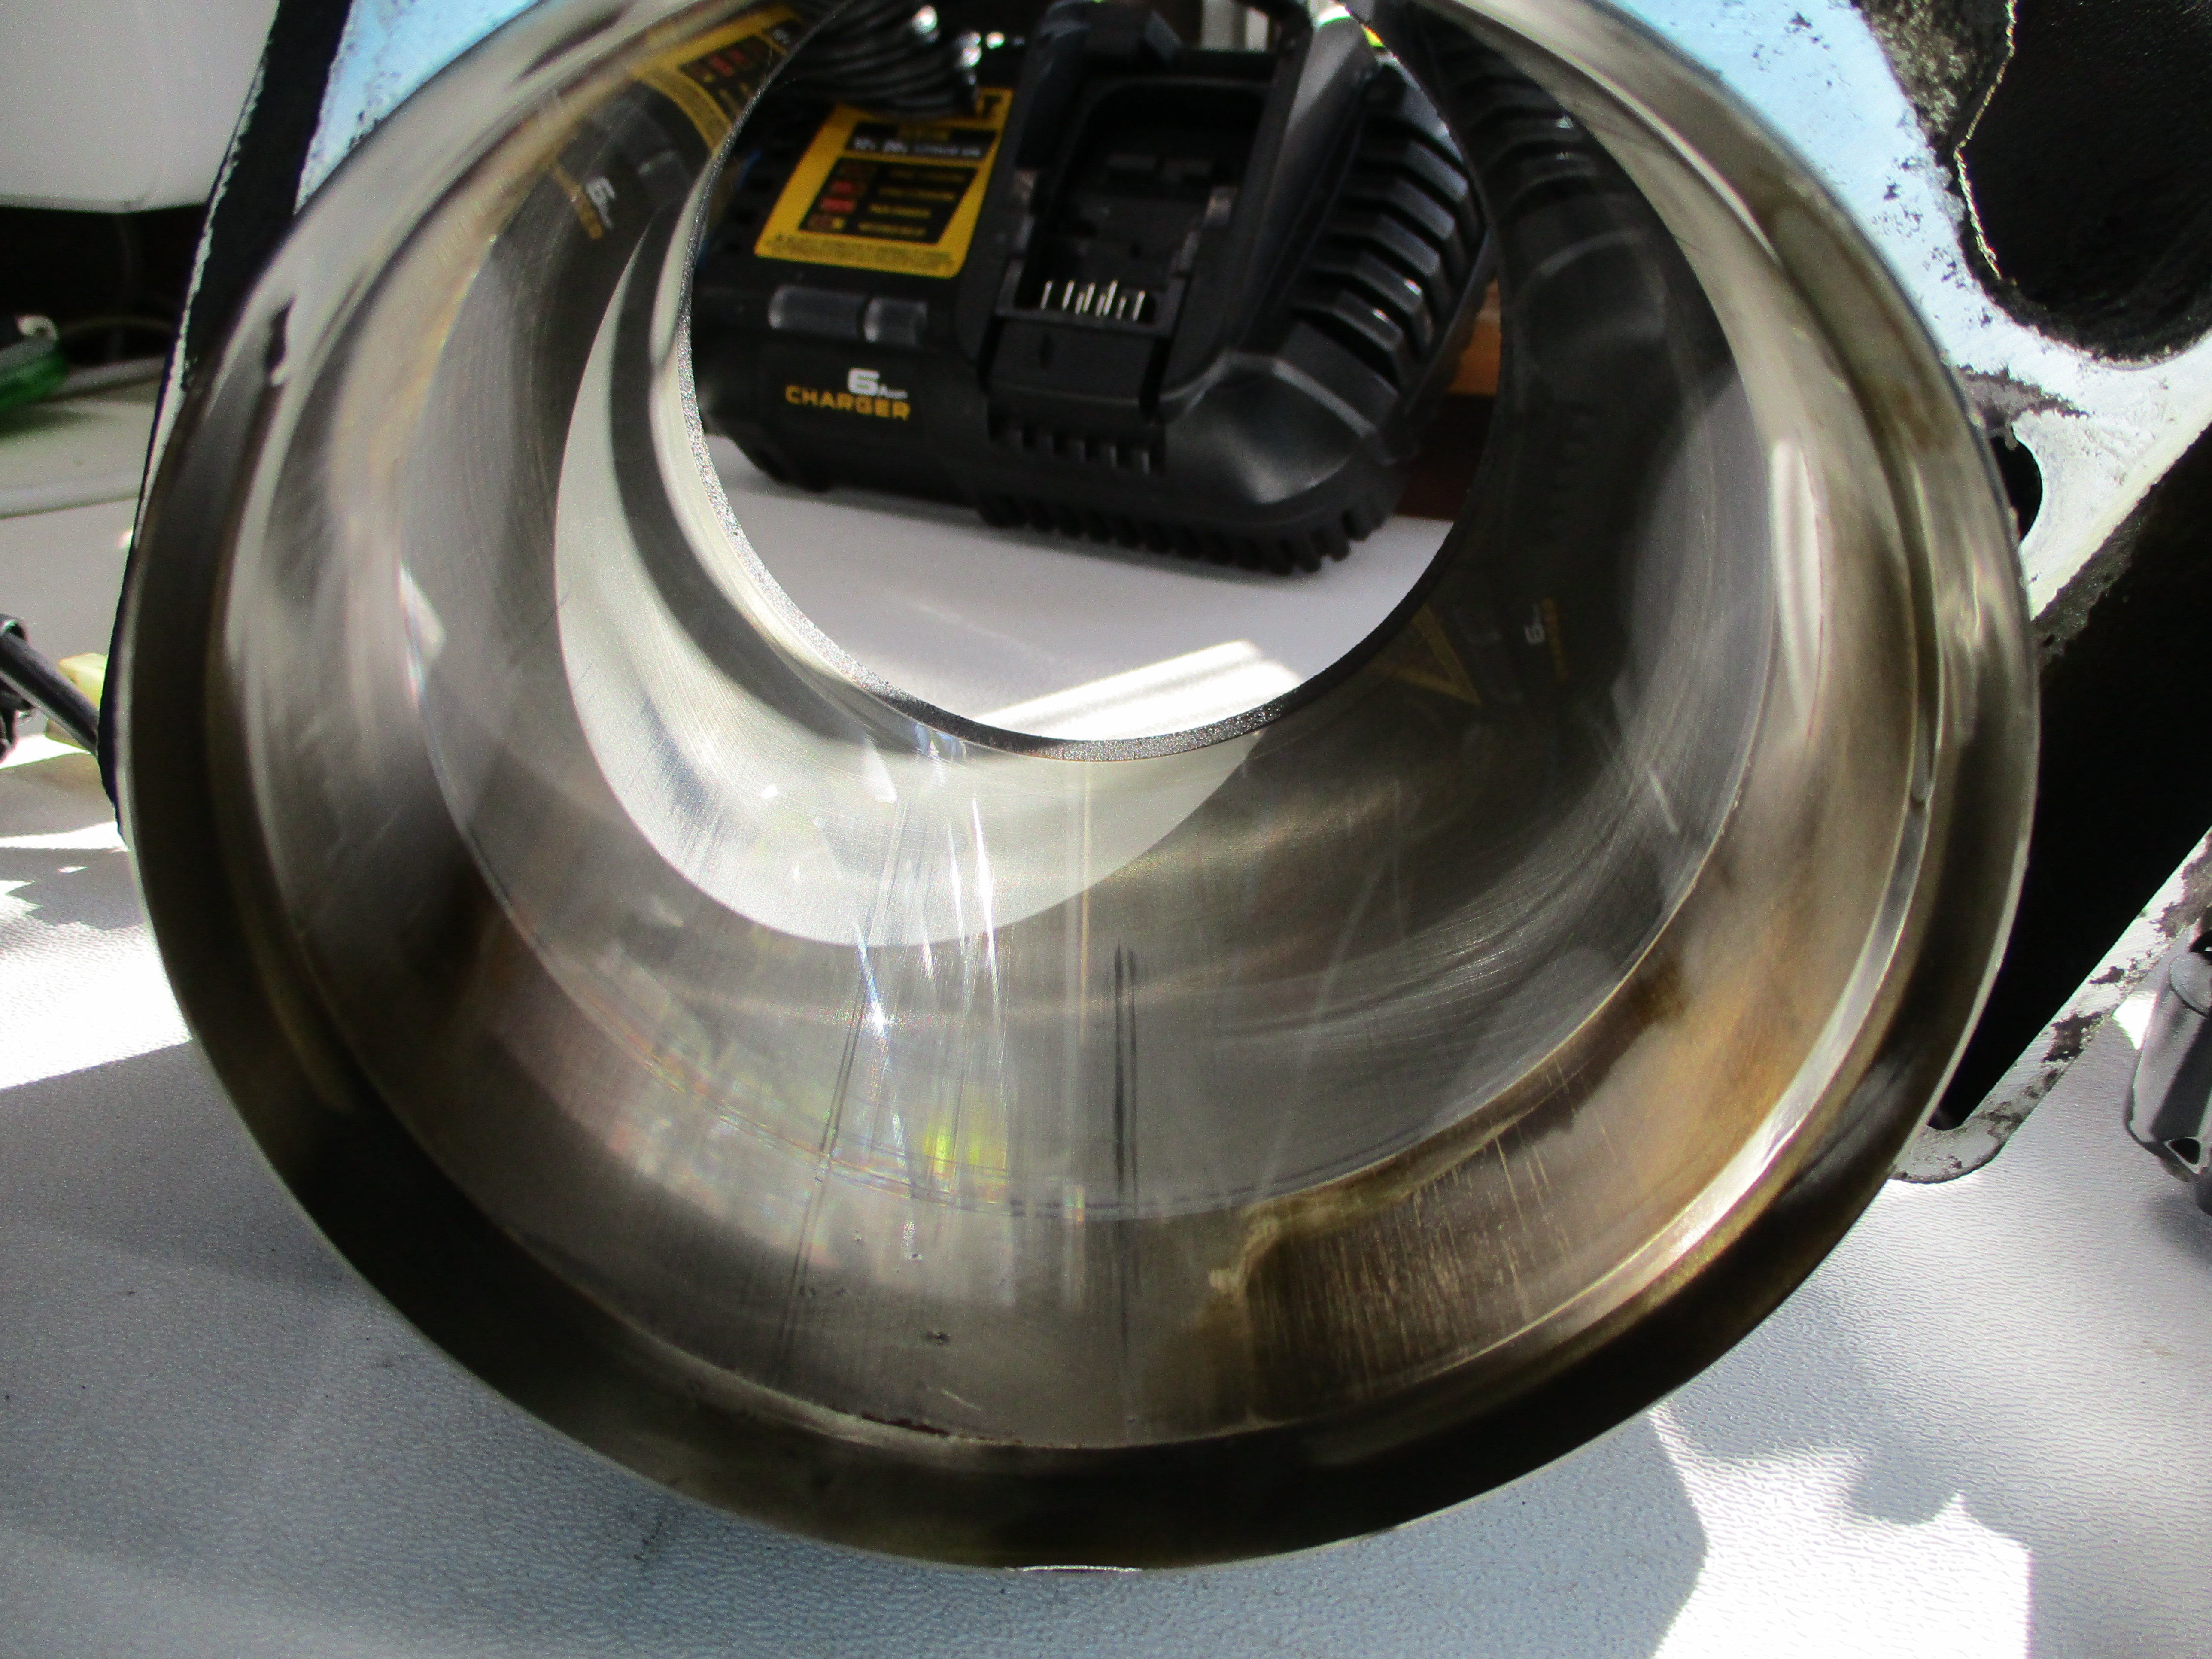
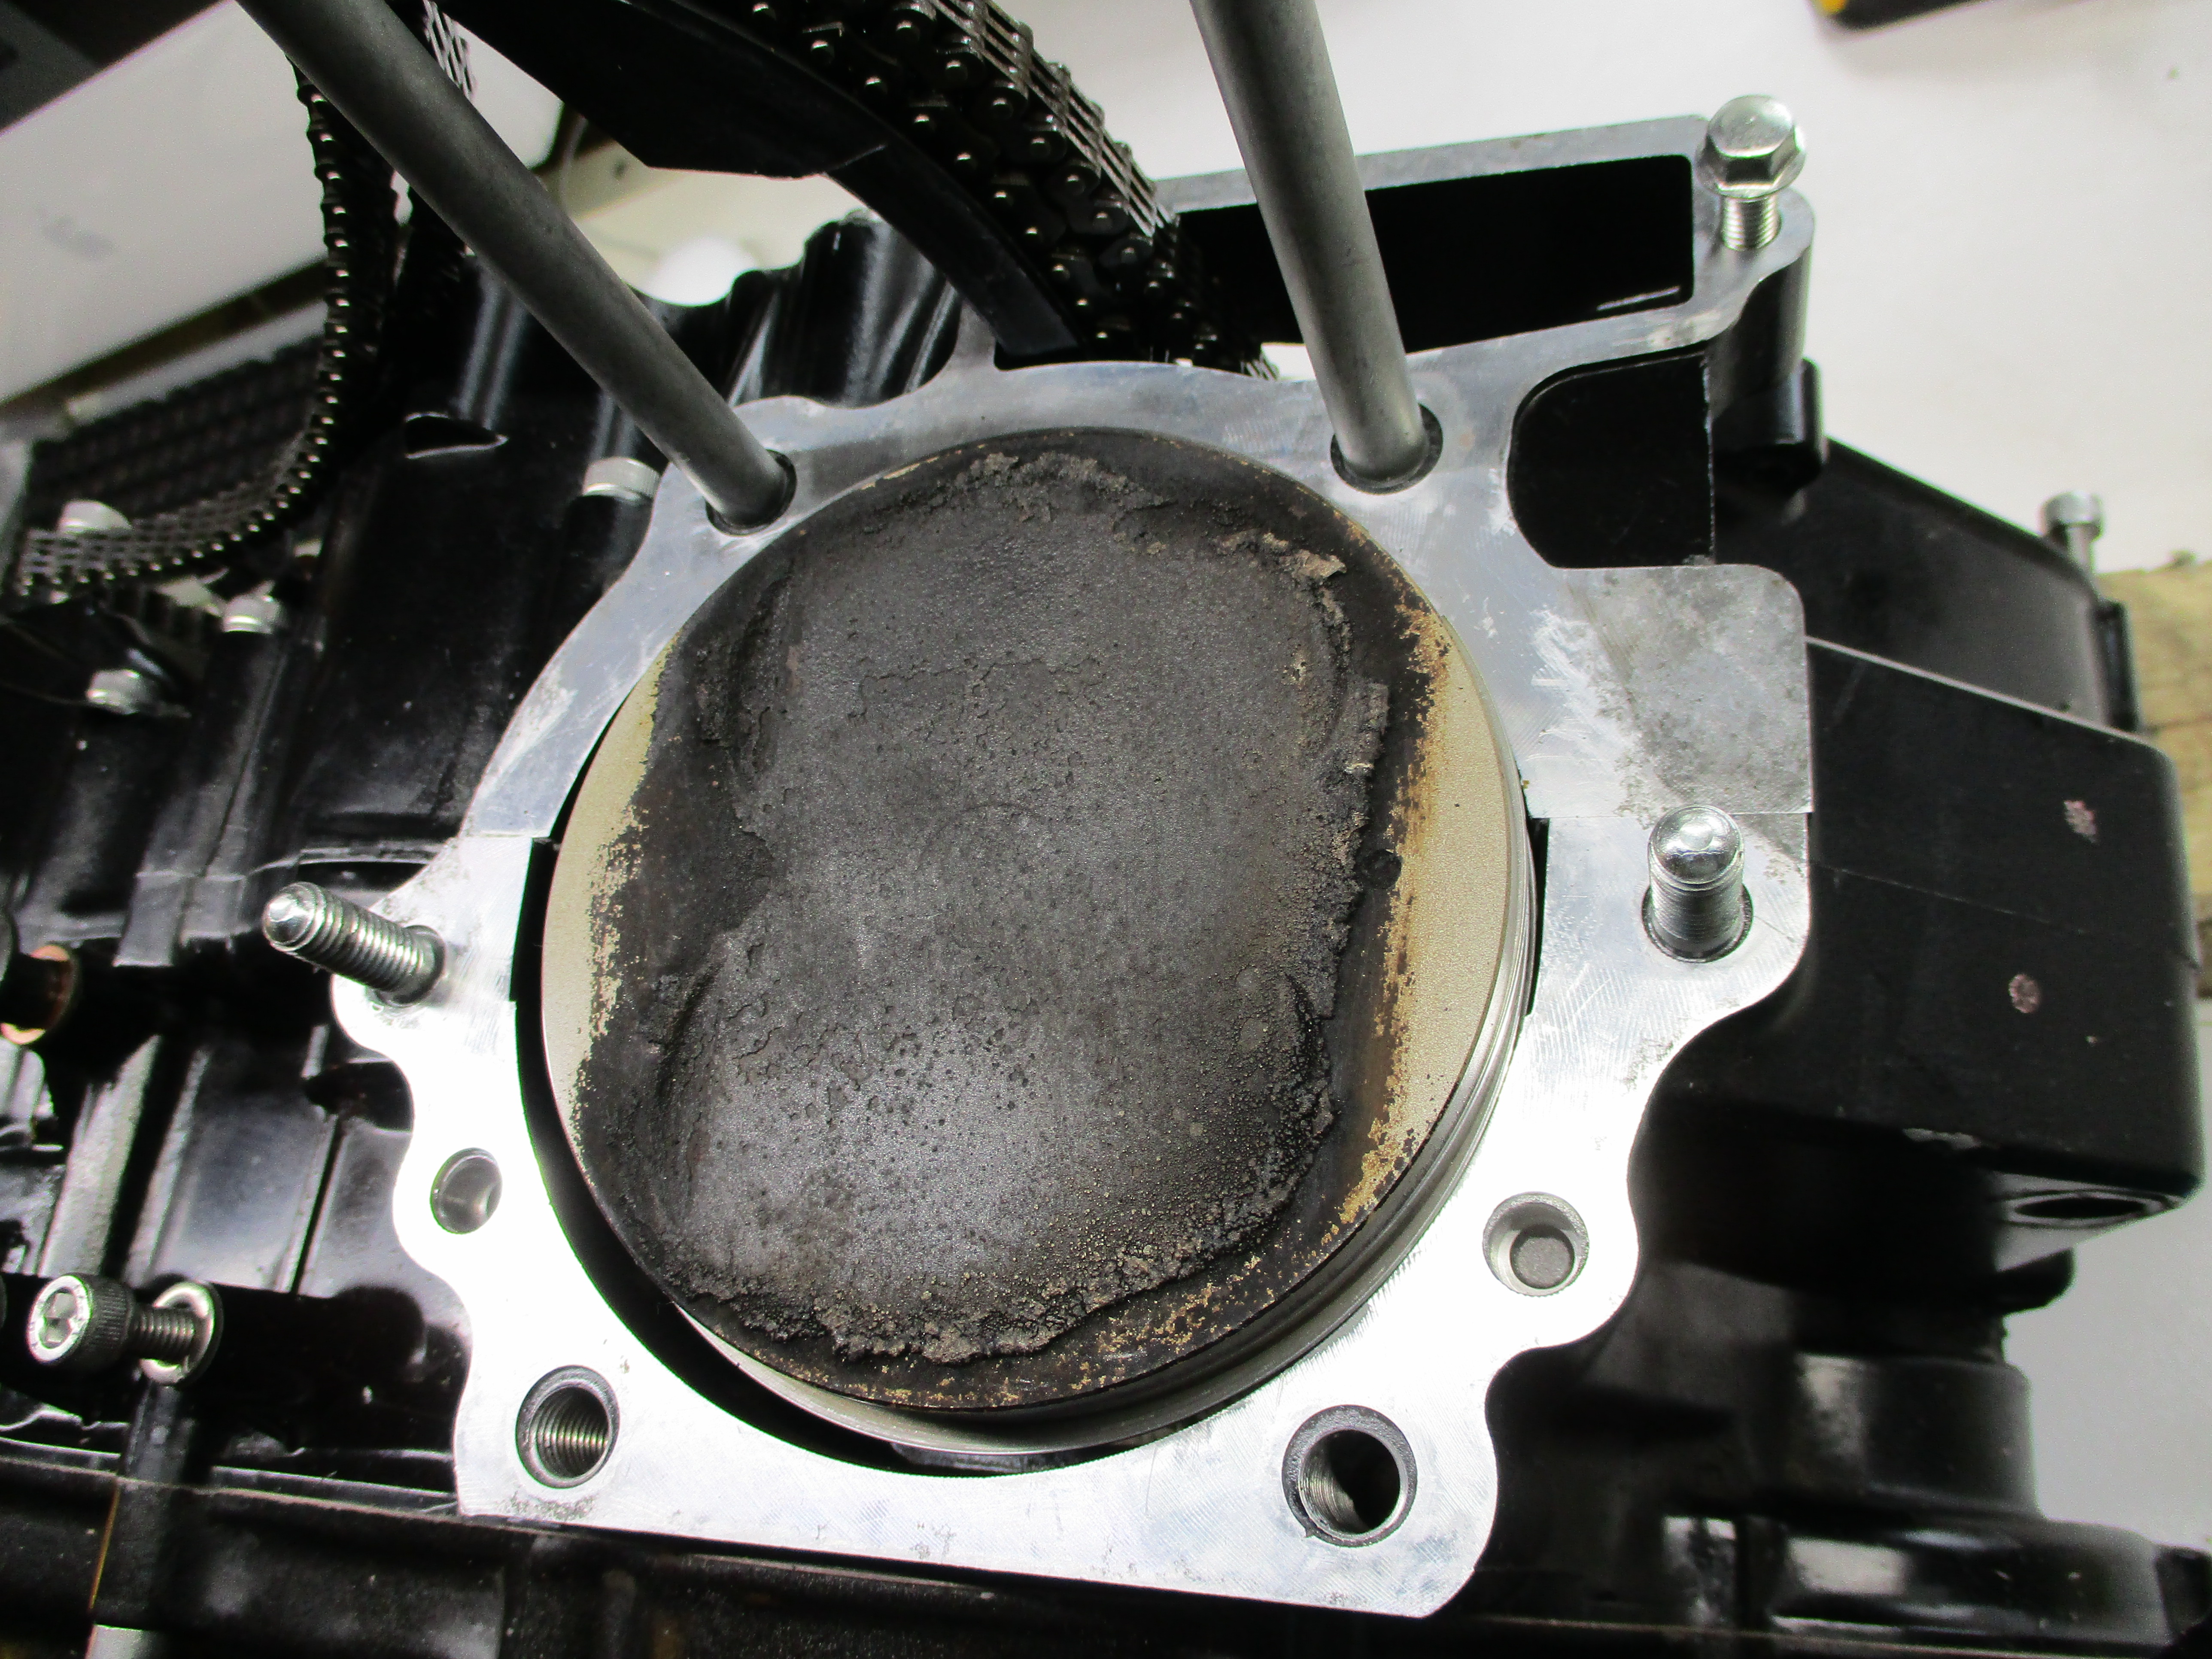
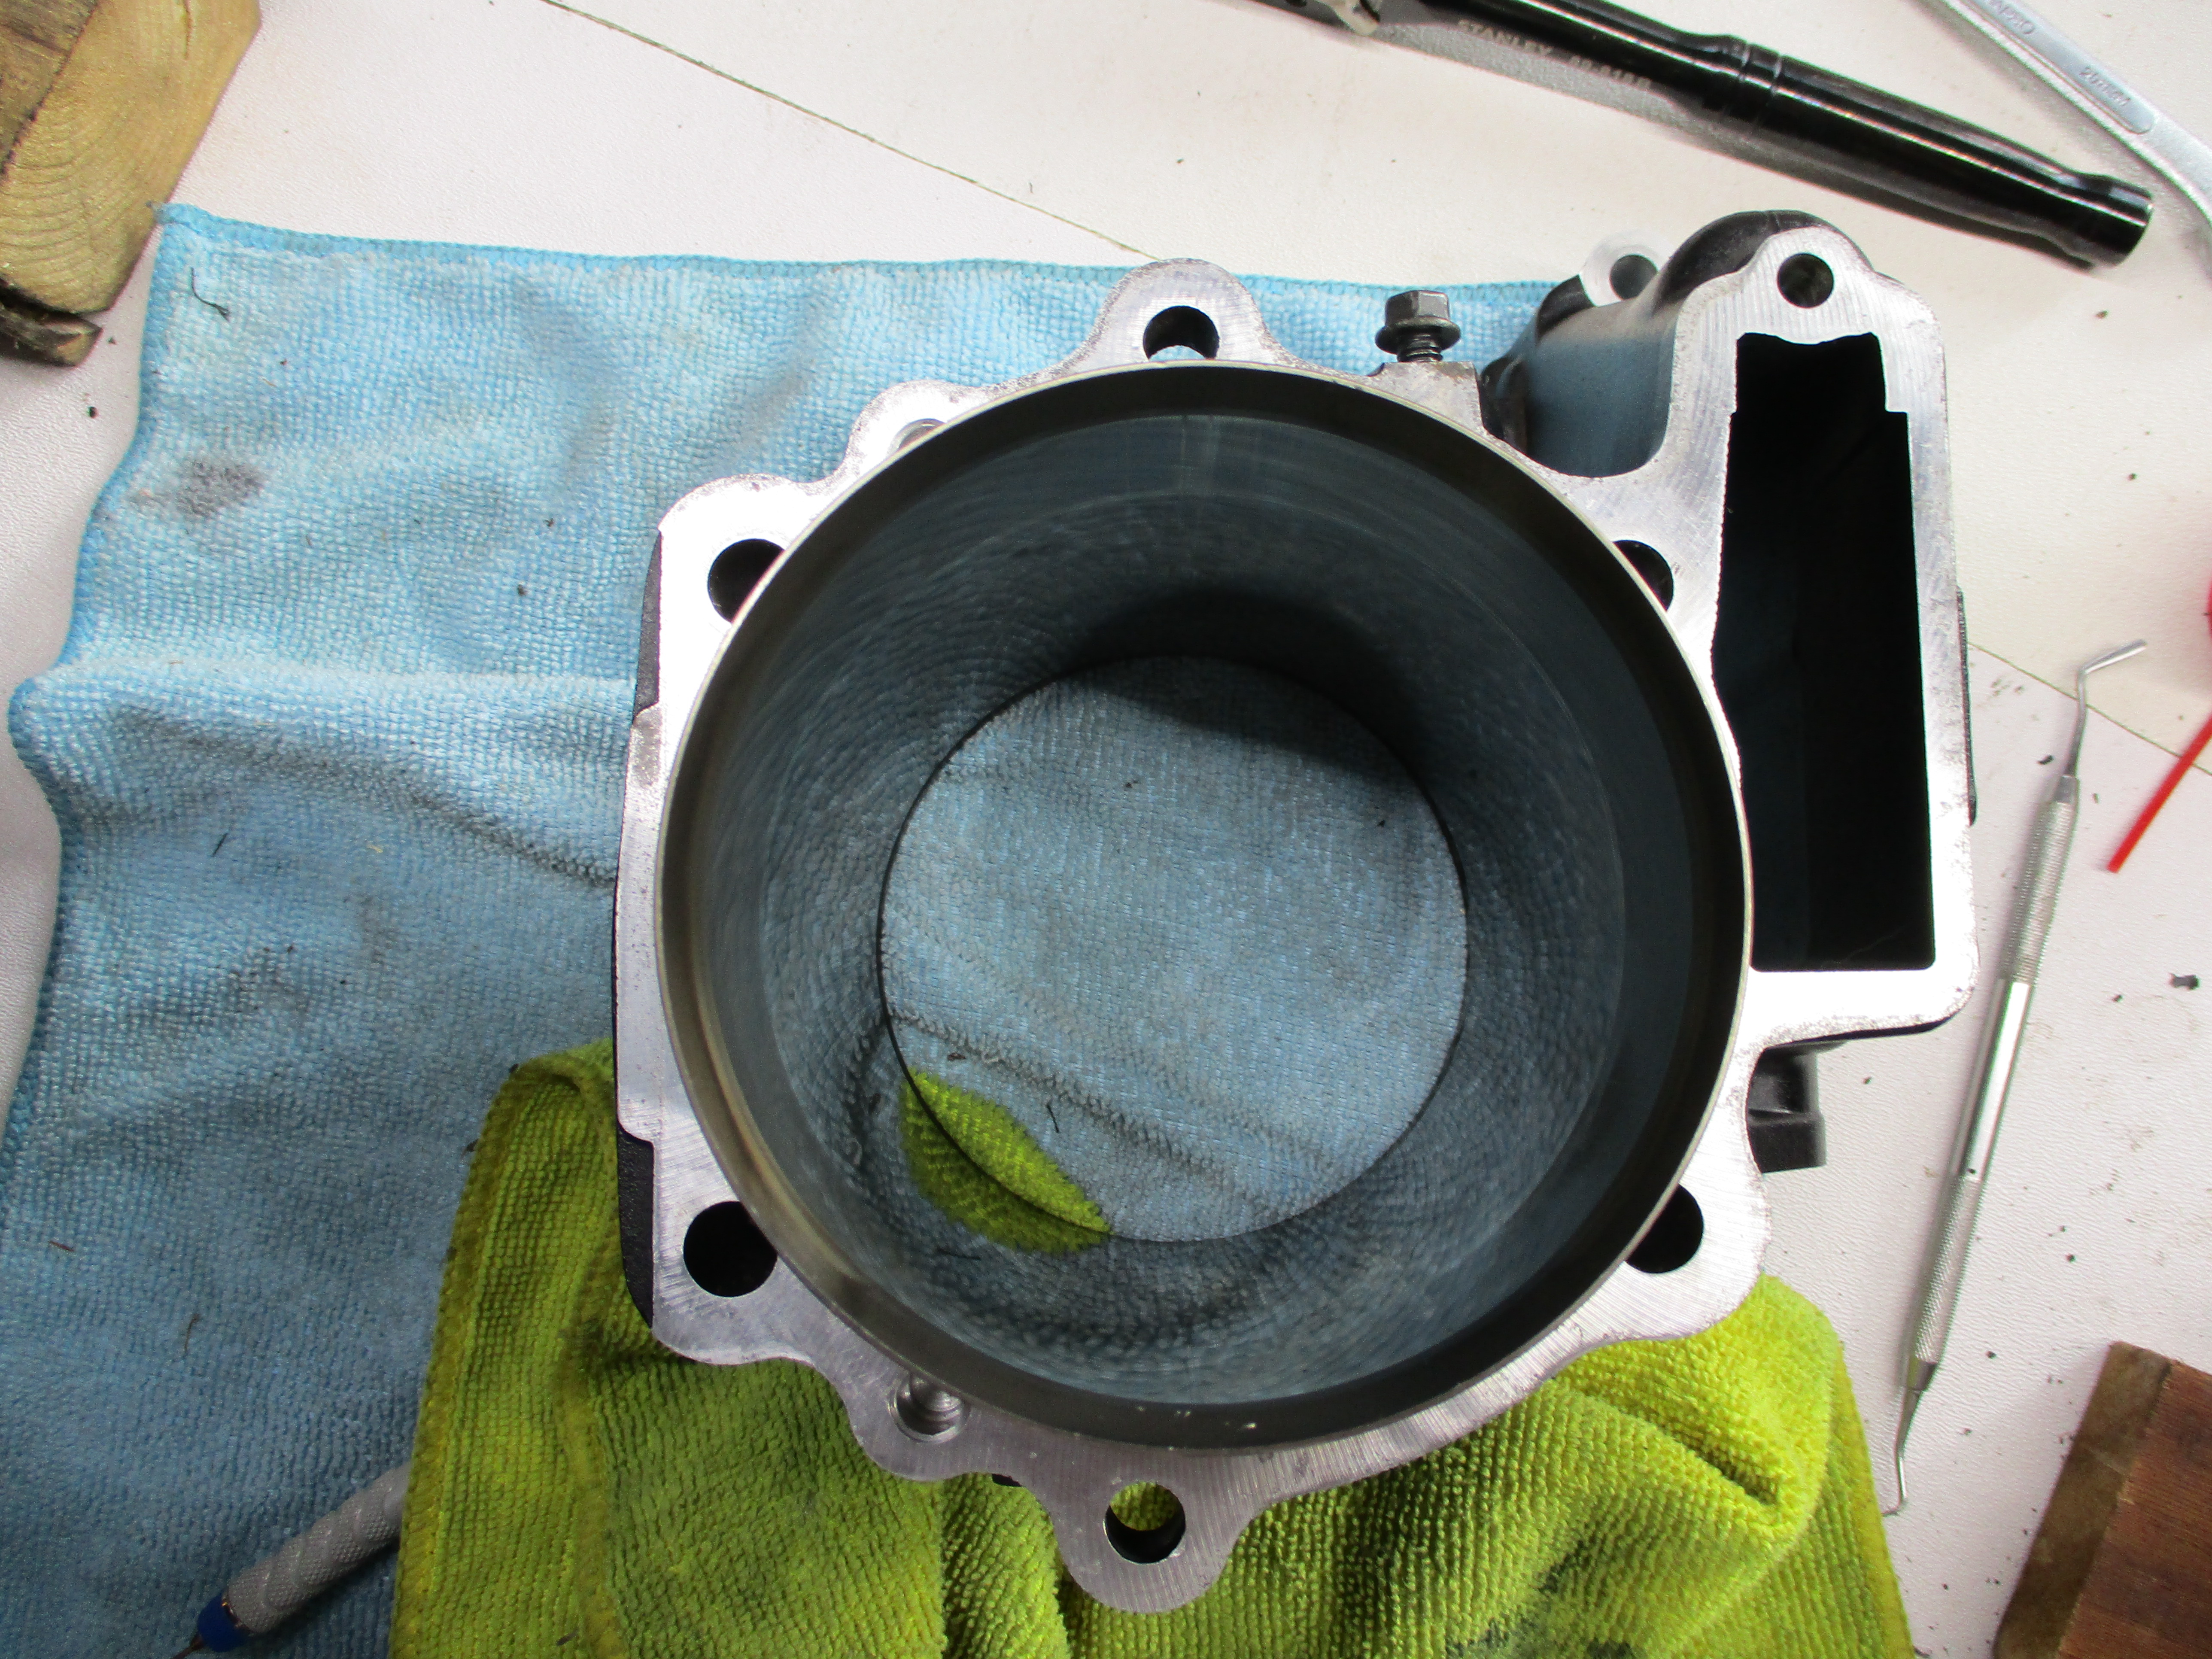
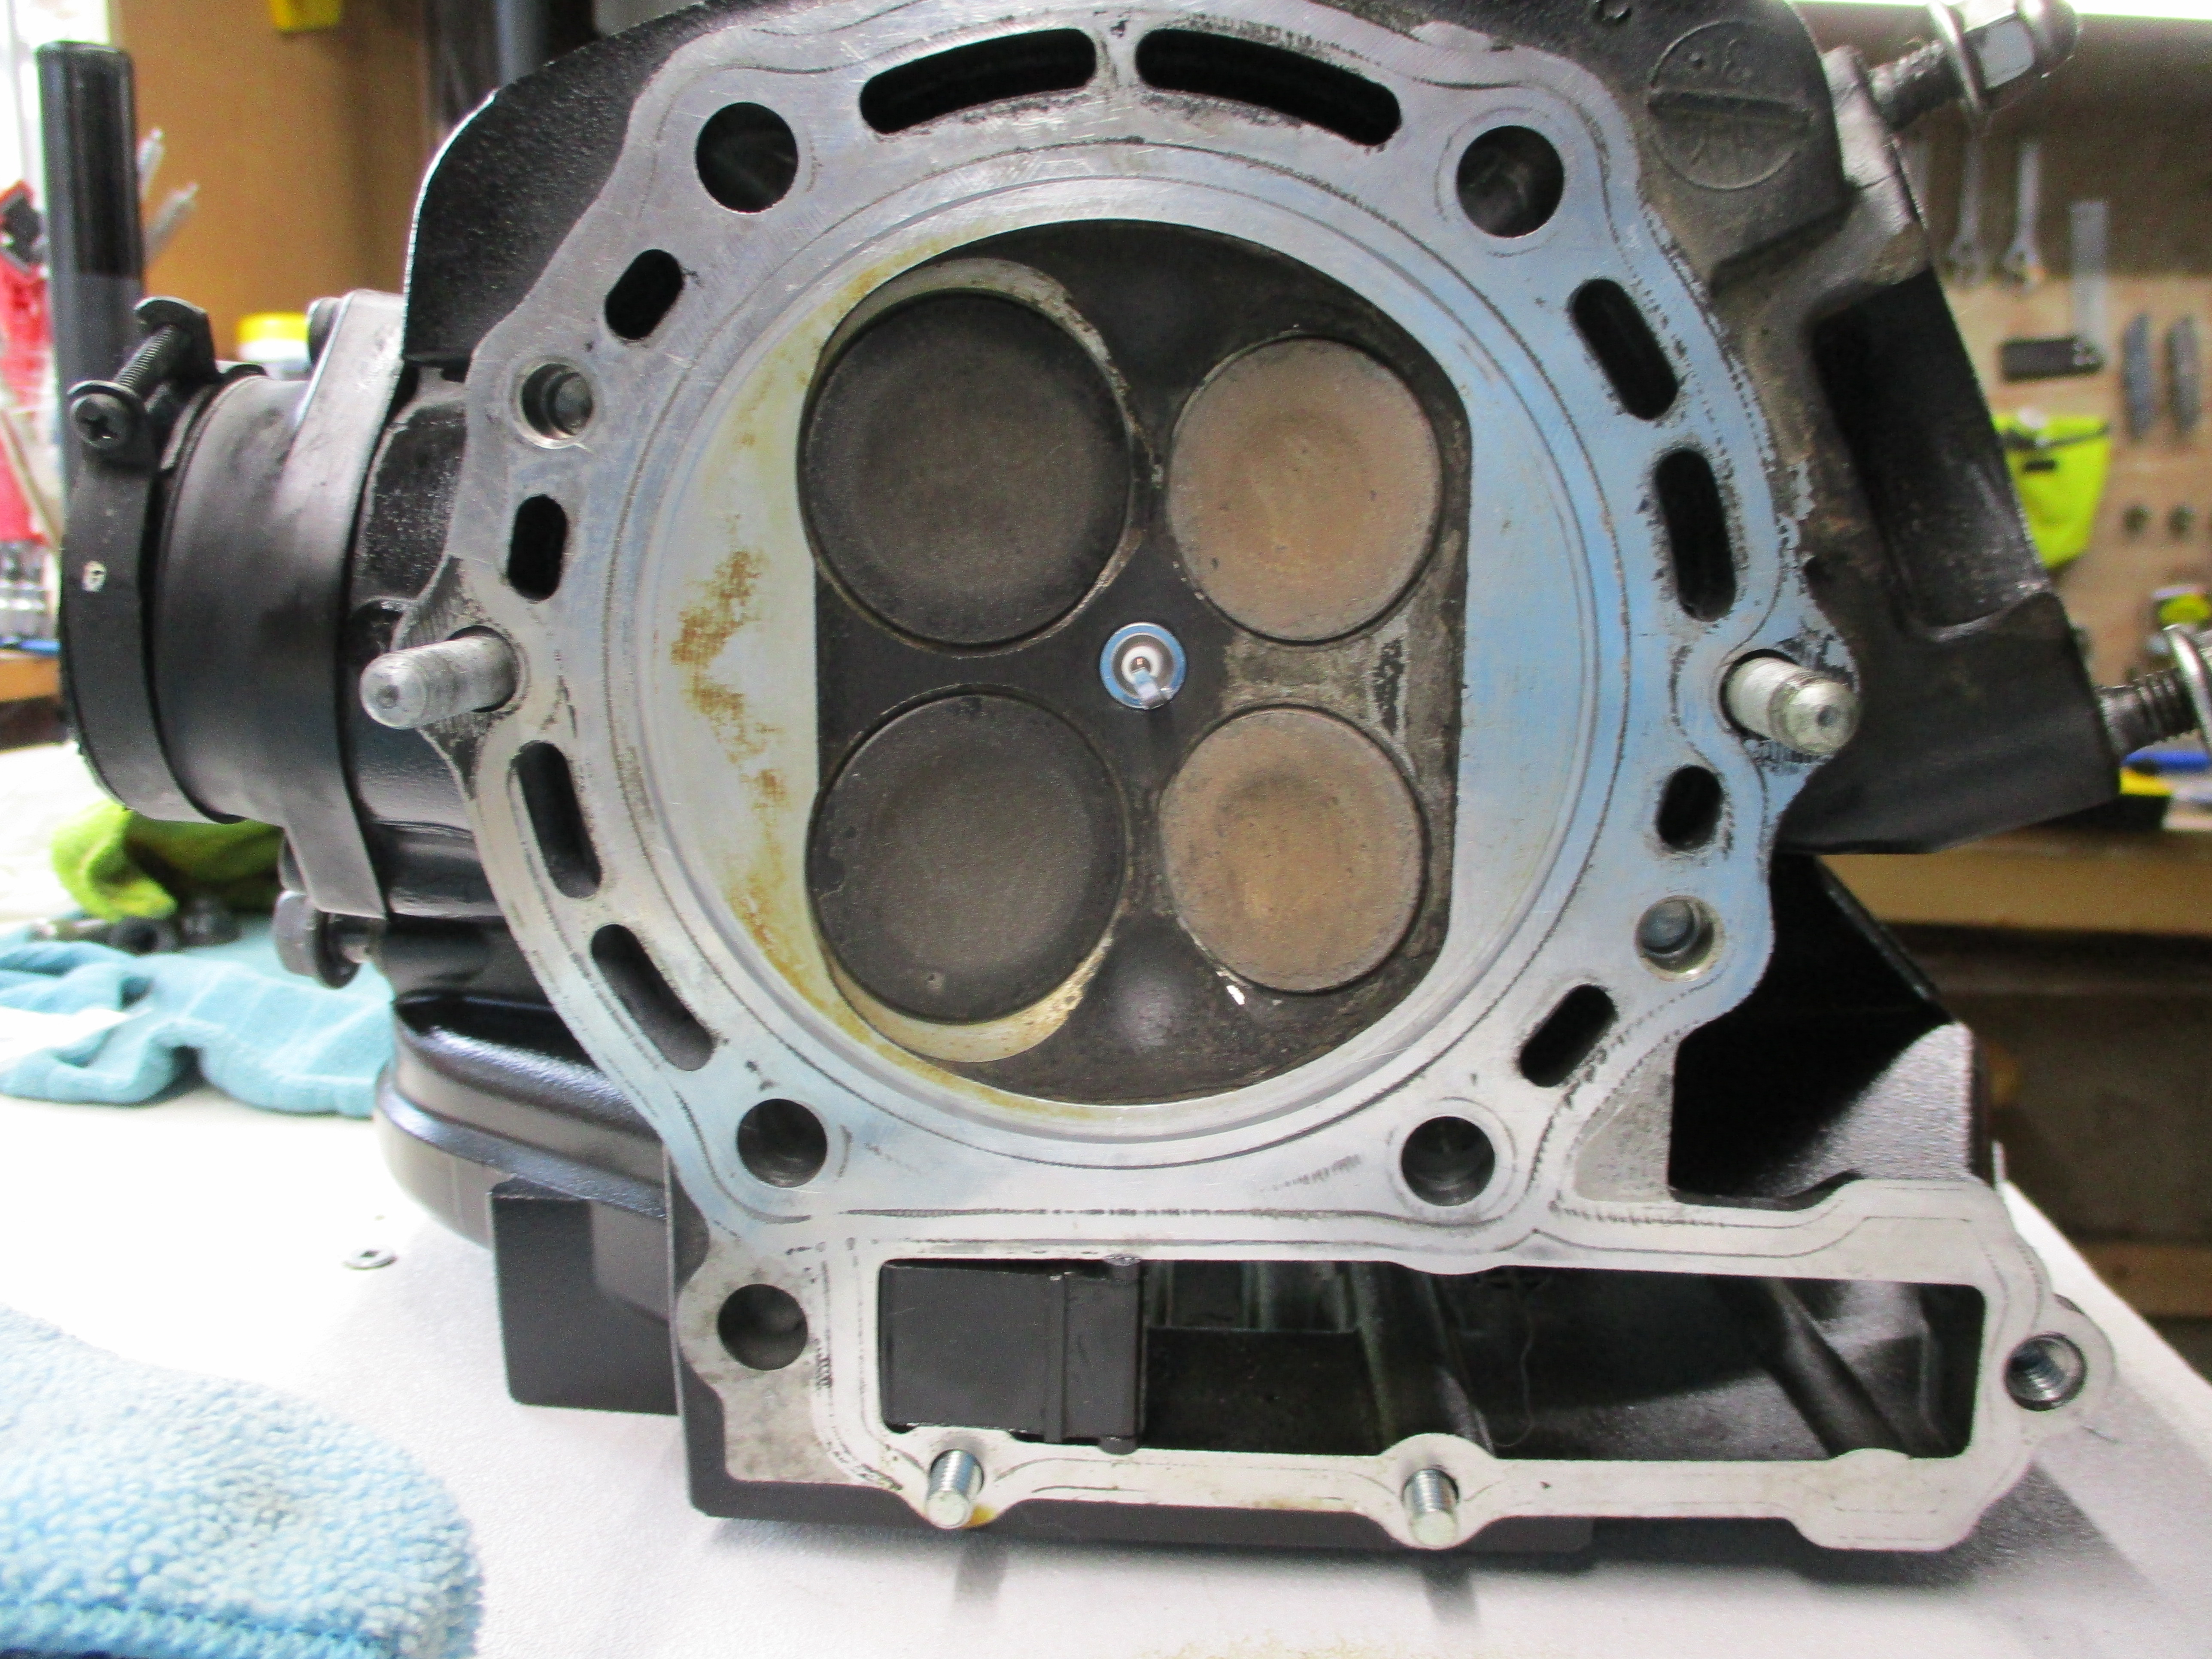
After removal I needed to split the cases. Removing the head bolts is awkward after removal because of the high torque required, next time I may try to loosen them while it is still in the frame. I found some damage on the connecting rod, cases, piston and cylinder caused by the shift dogs bouncing around the crankcase. It was at this moment I knew when this incident occurred. At 73000 km (over 15000 km ago) I had started the motorcycle and put it in gear, and heard a 'ding ding ding ding' lasting maybe 3 seconds. That is what caused the damage I was now seeing.


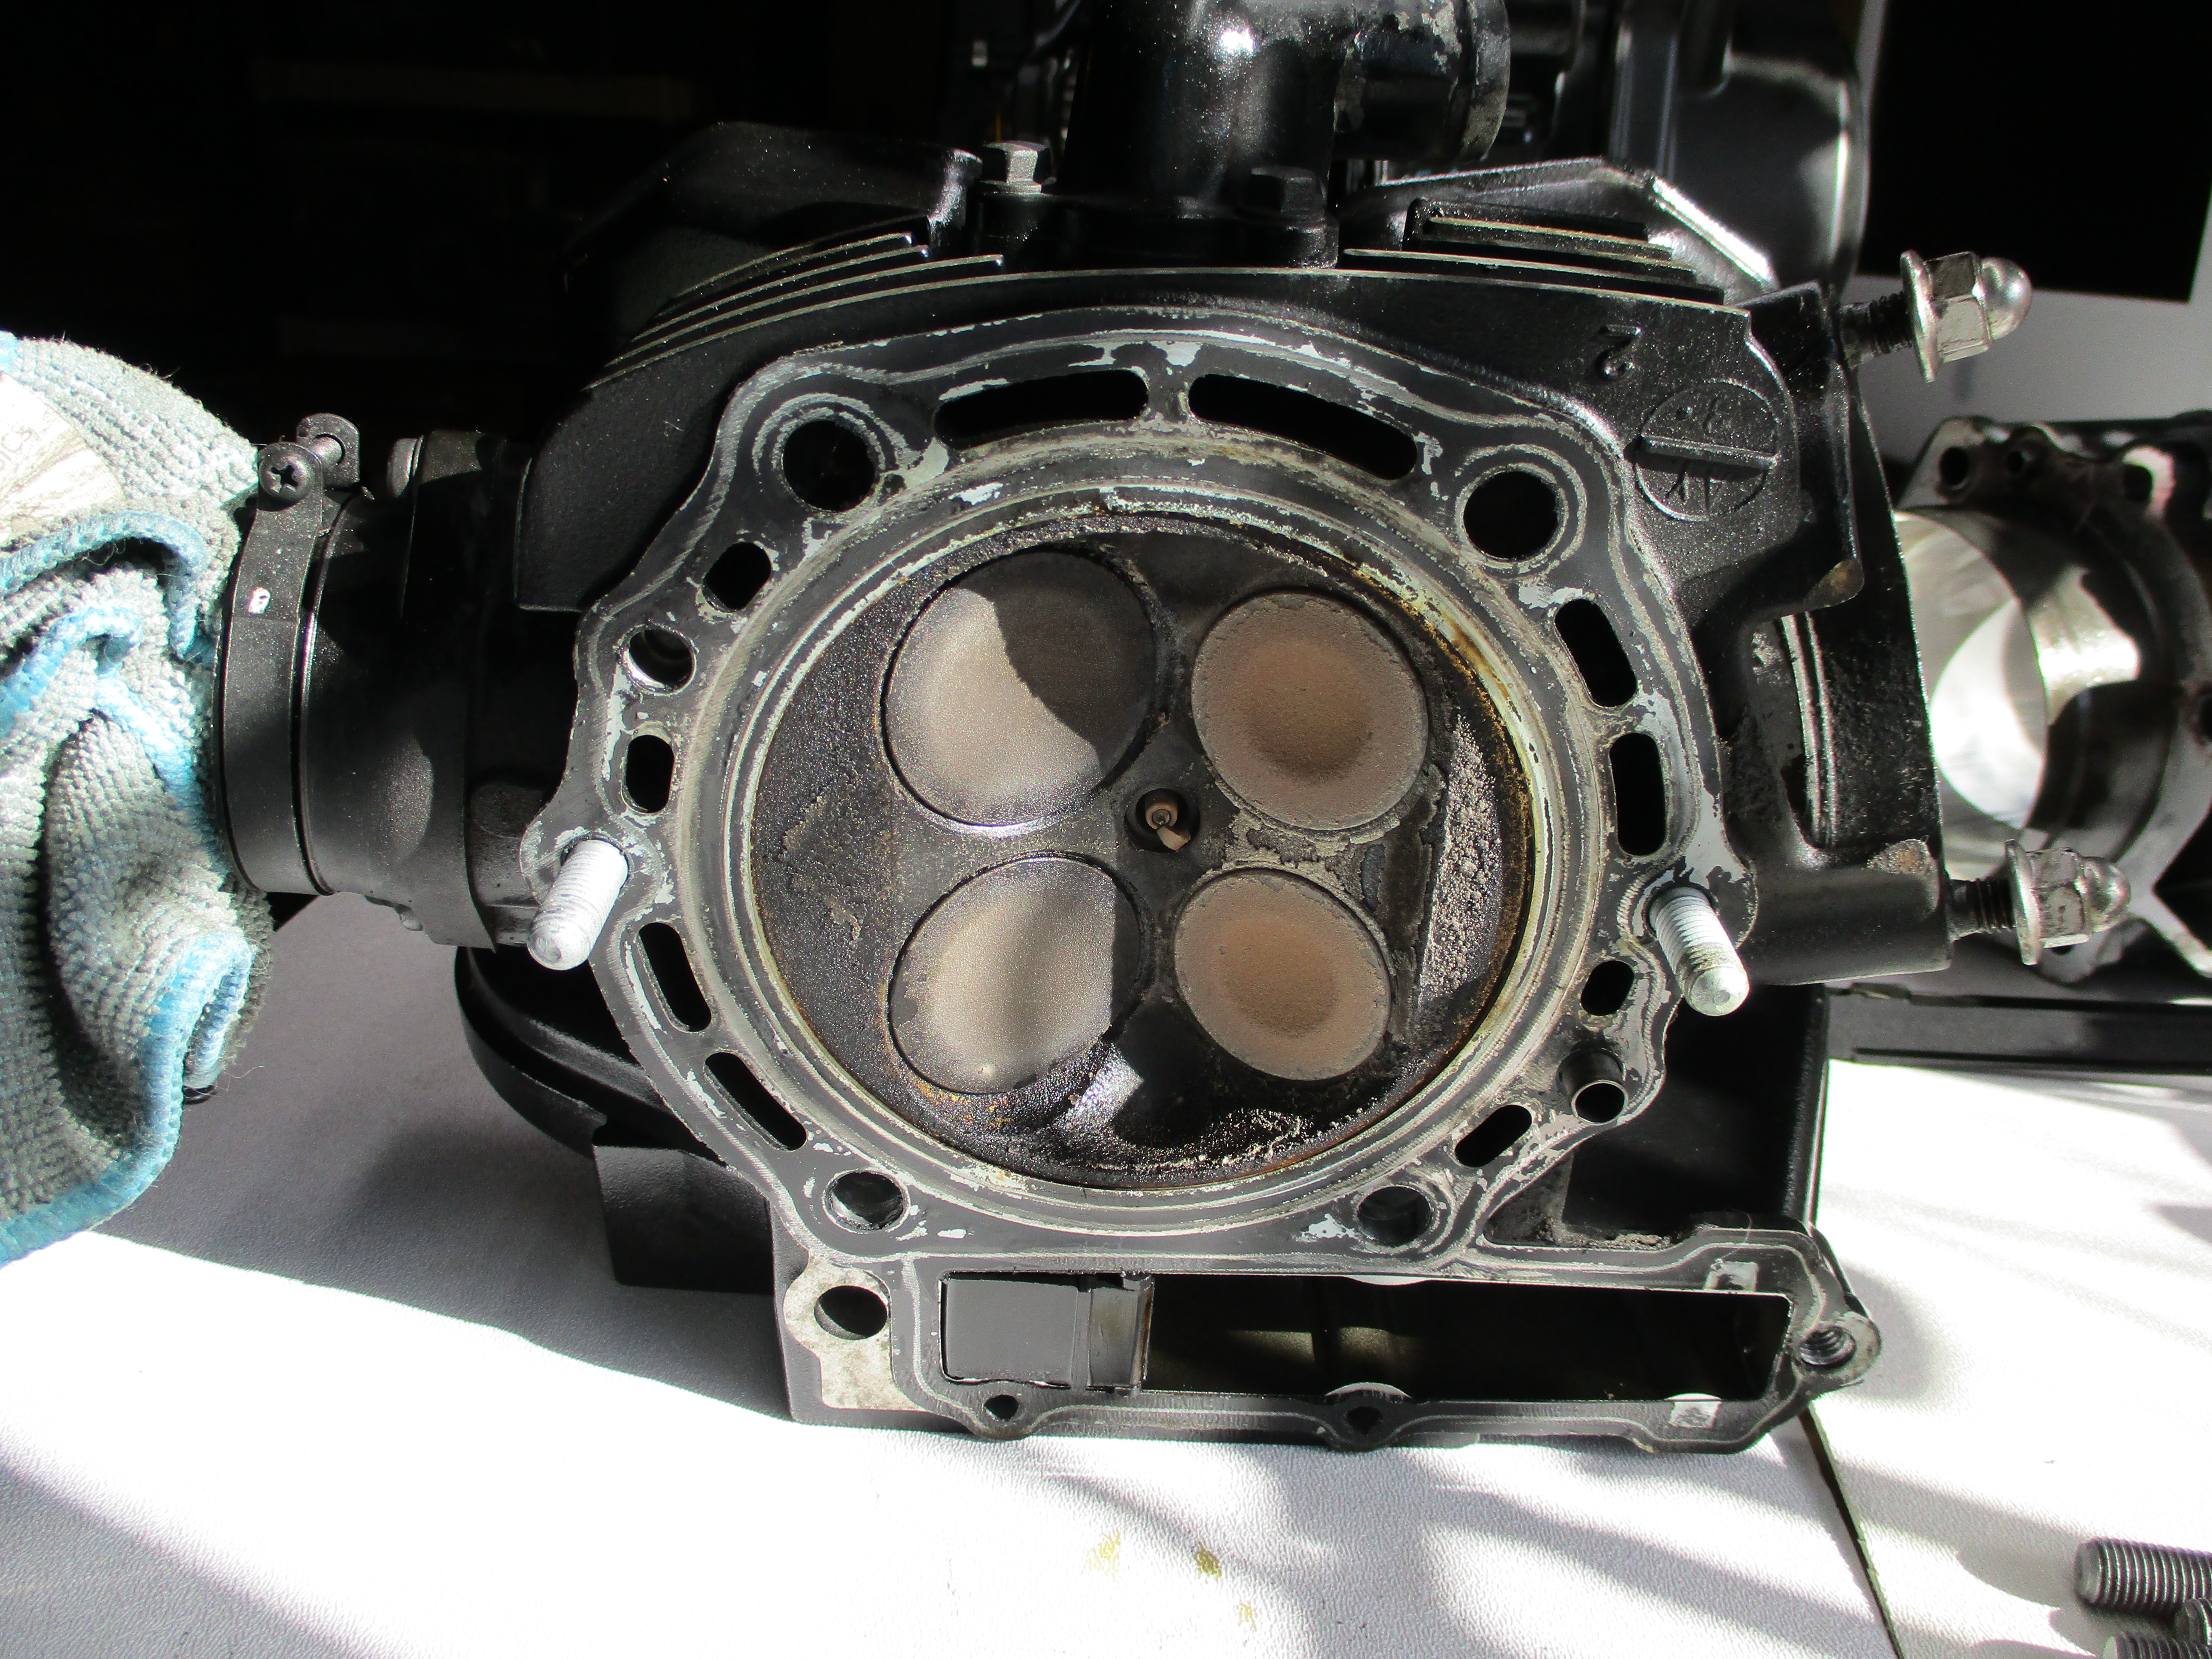
The cylinder head looked ok albeit there was heavy carbon build up. I measured the camshaft journals and lobes and they were in spec.
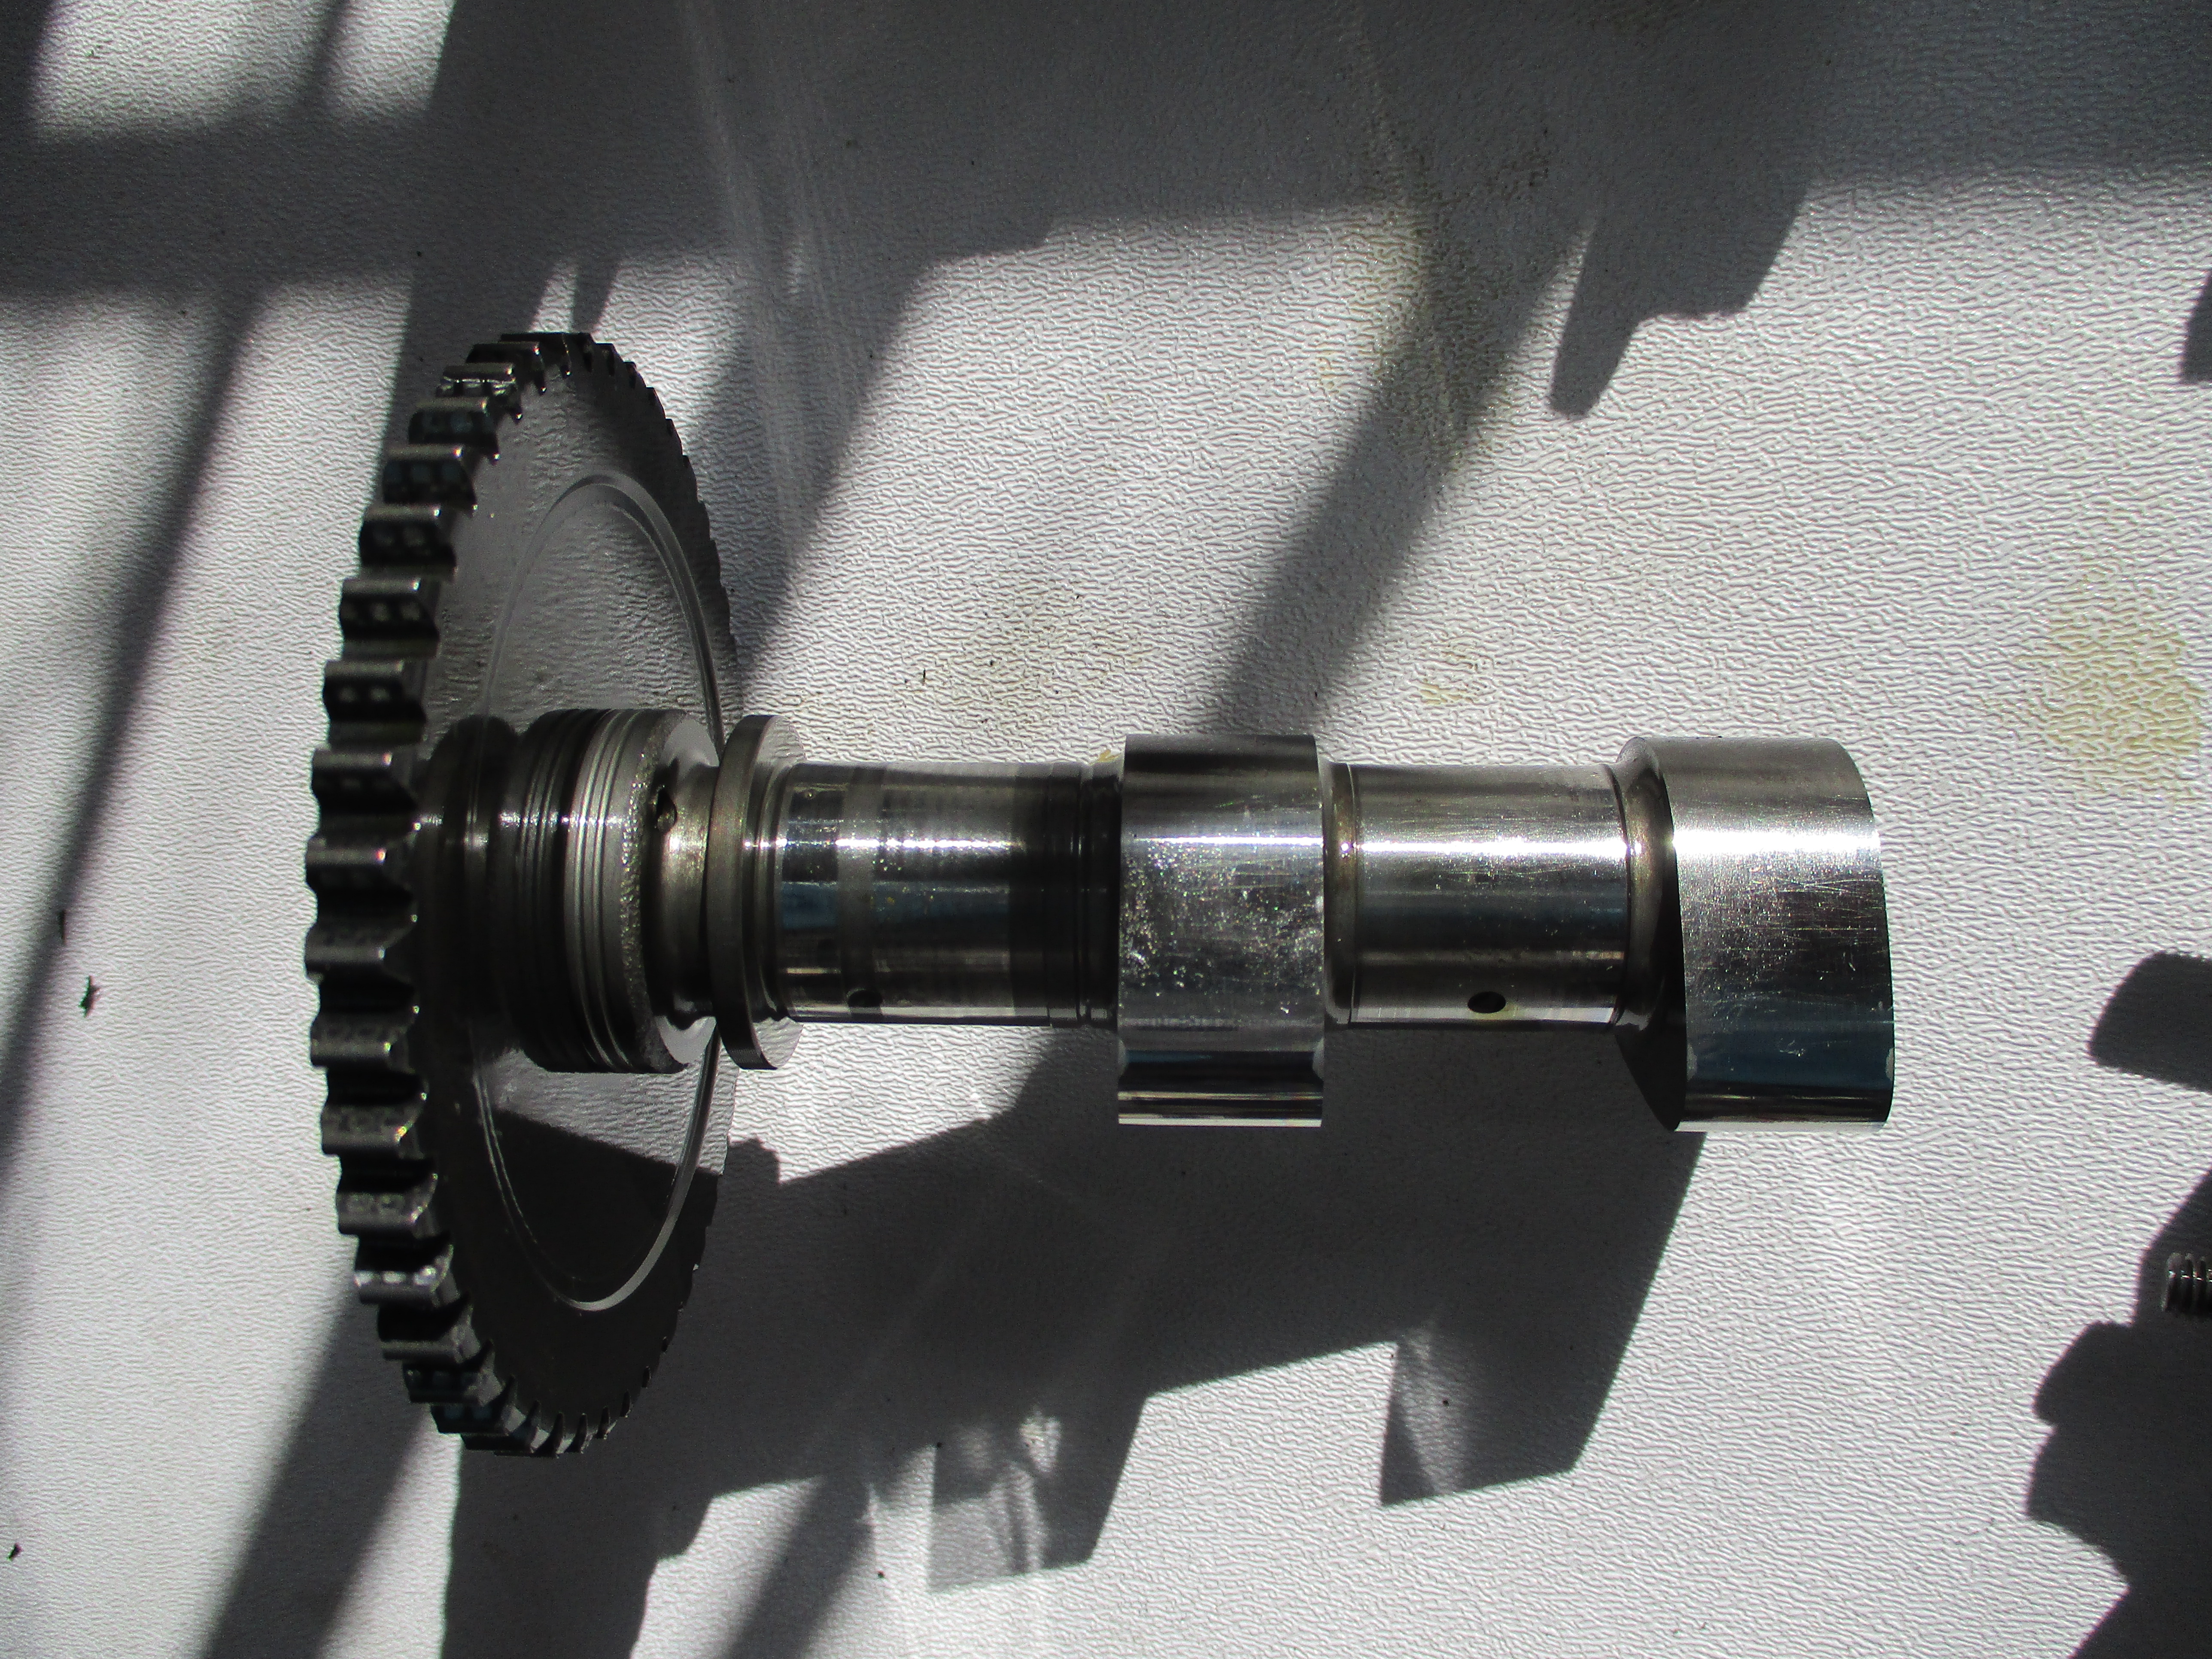
Two special tools are needed to remove the flywheel rotor, an offset wrench and threaded puller. I got mine from eagle mike but they were quite expensive, but probably less expensive than the OEM Kawasaki tools.
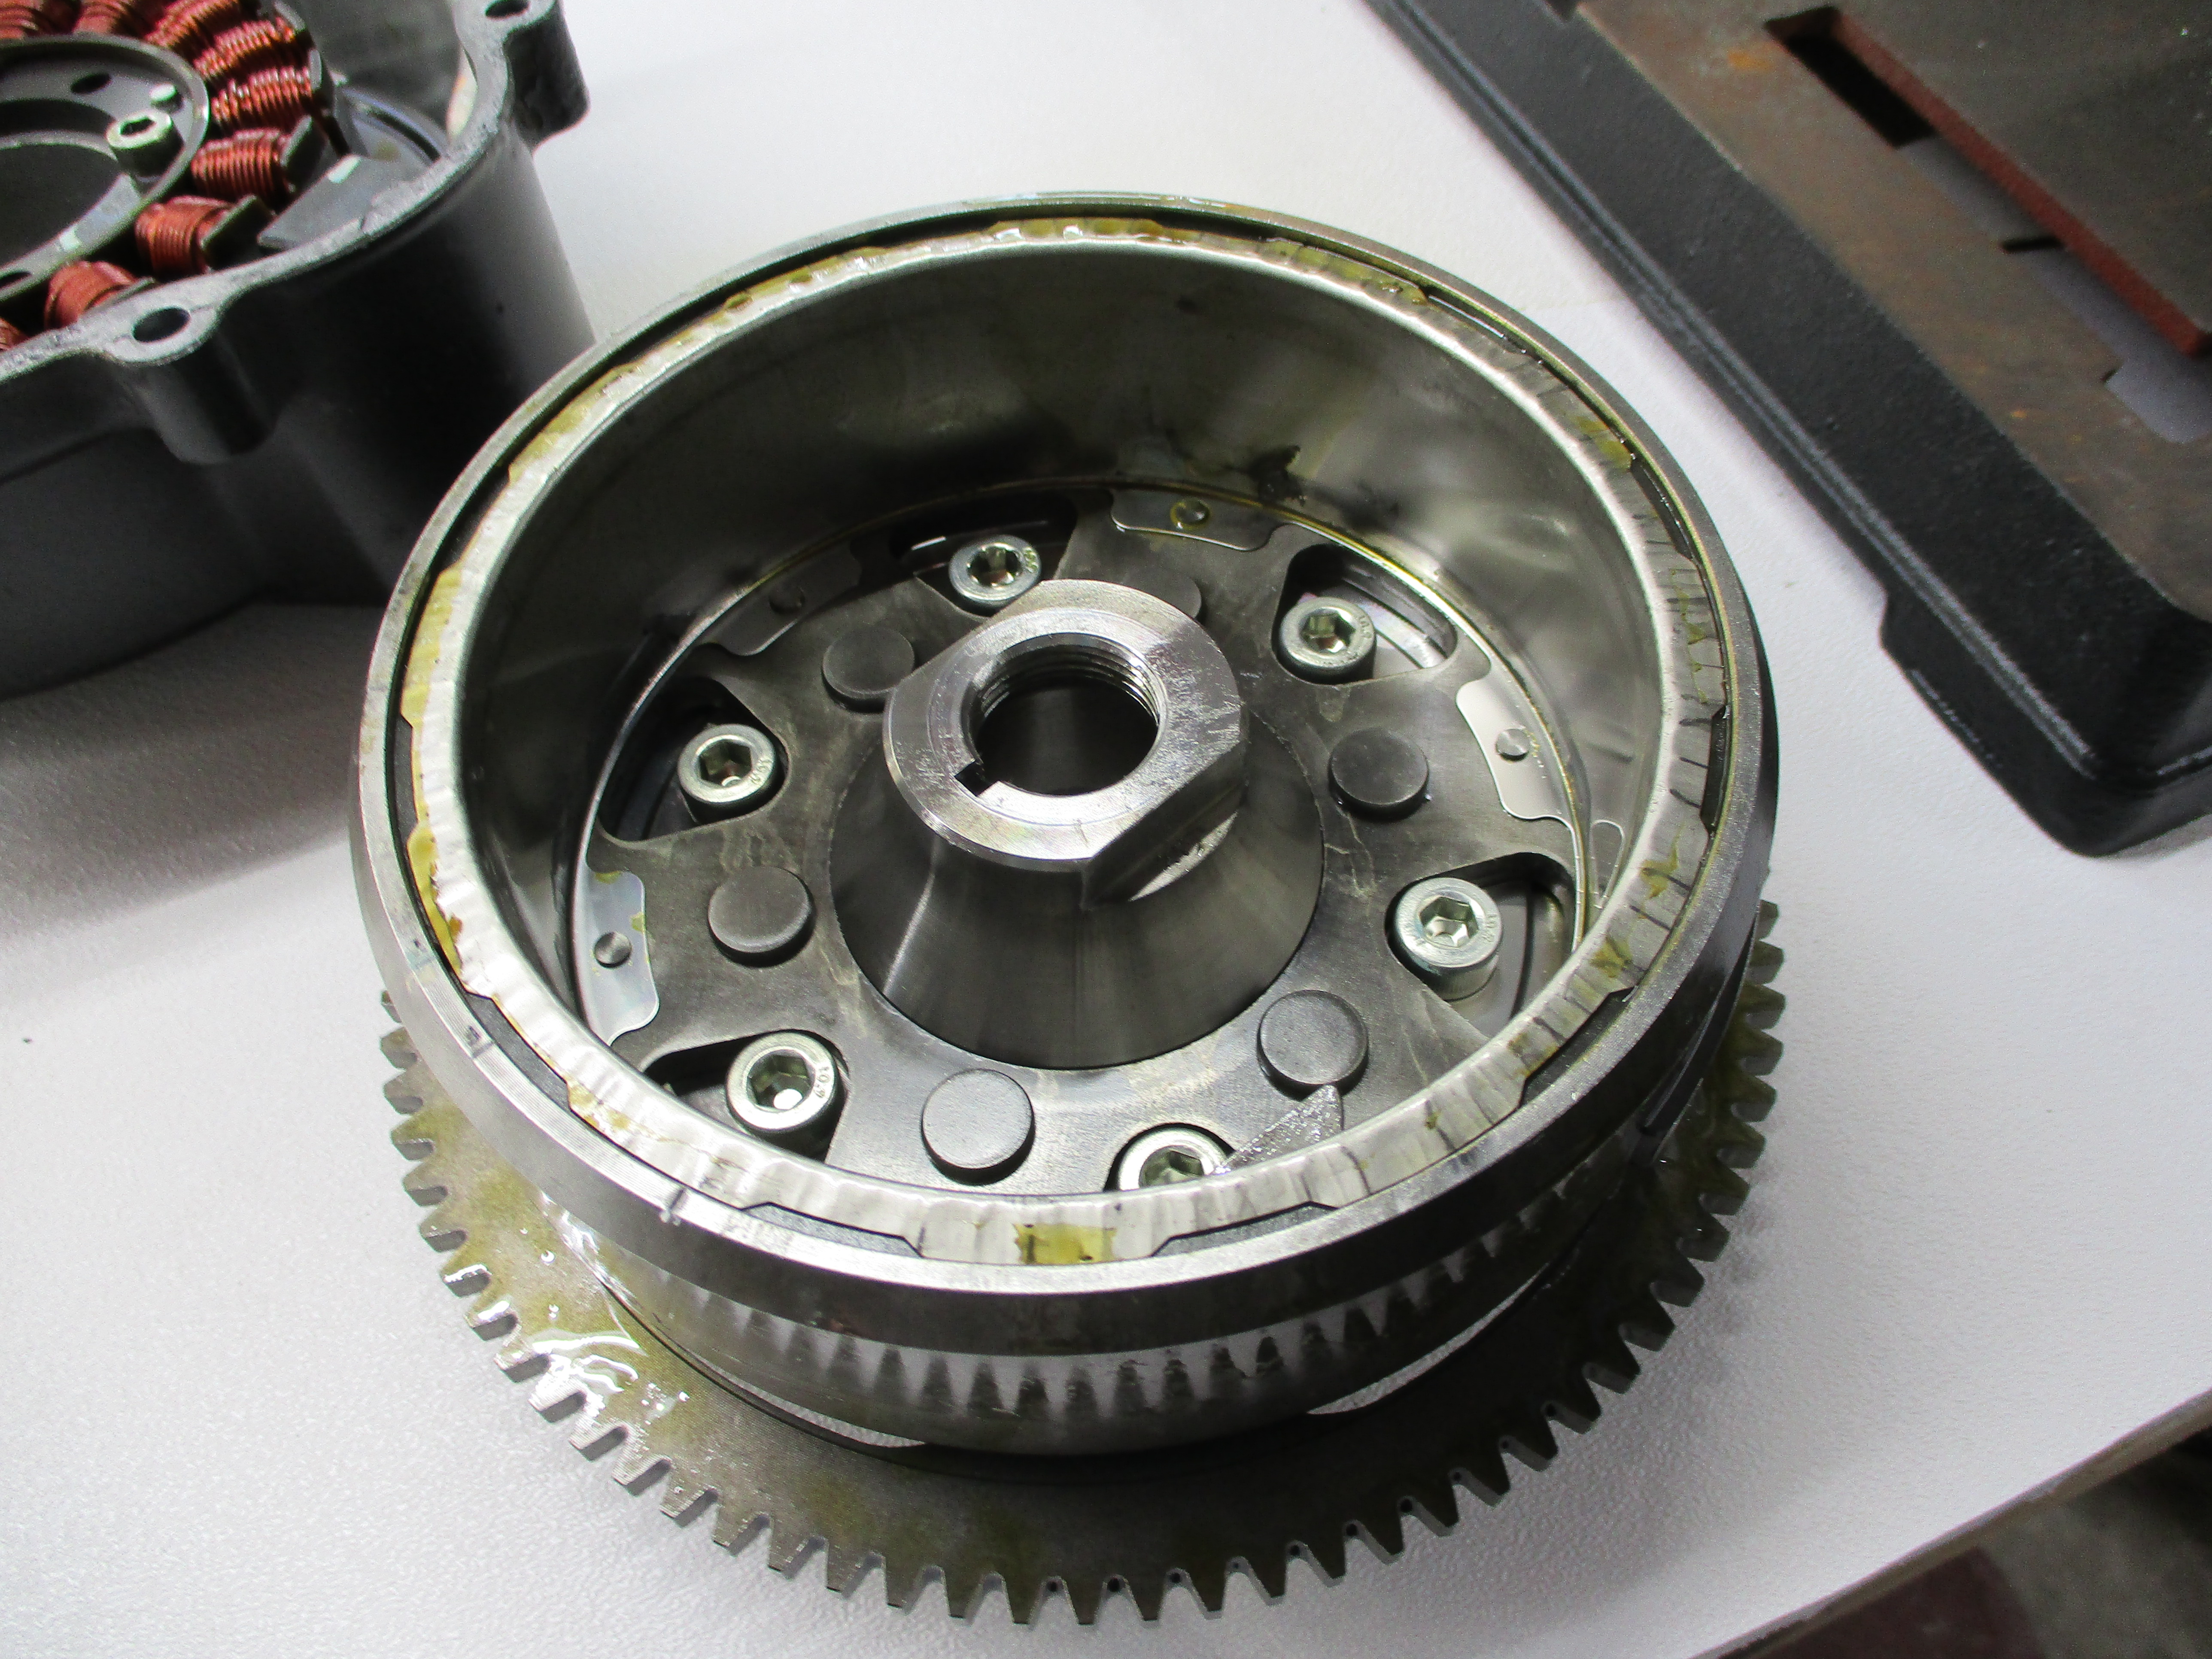
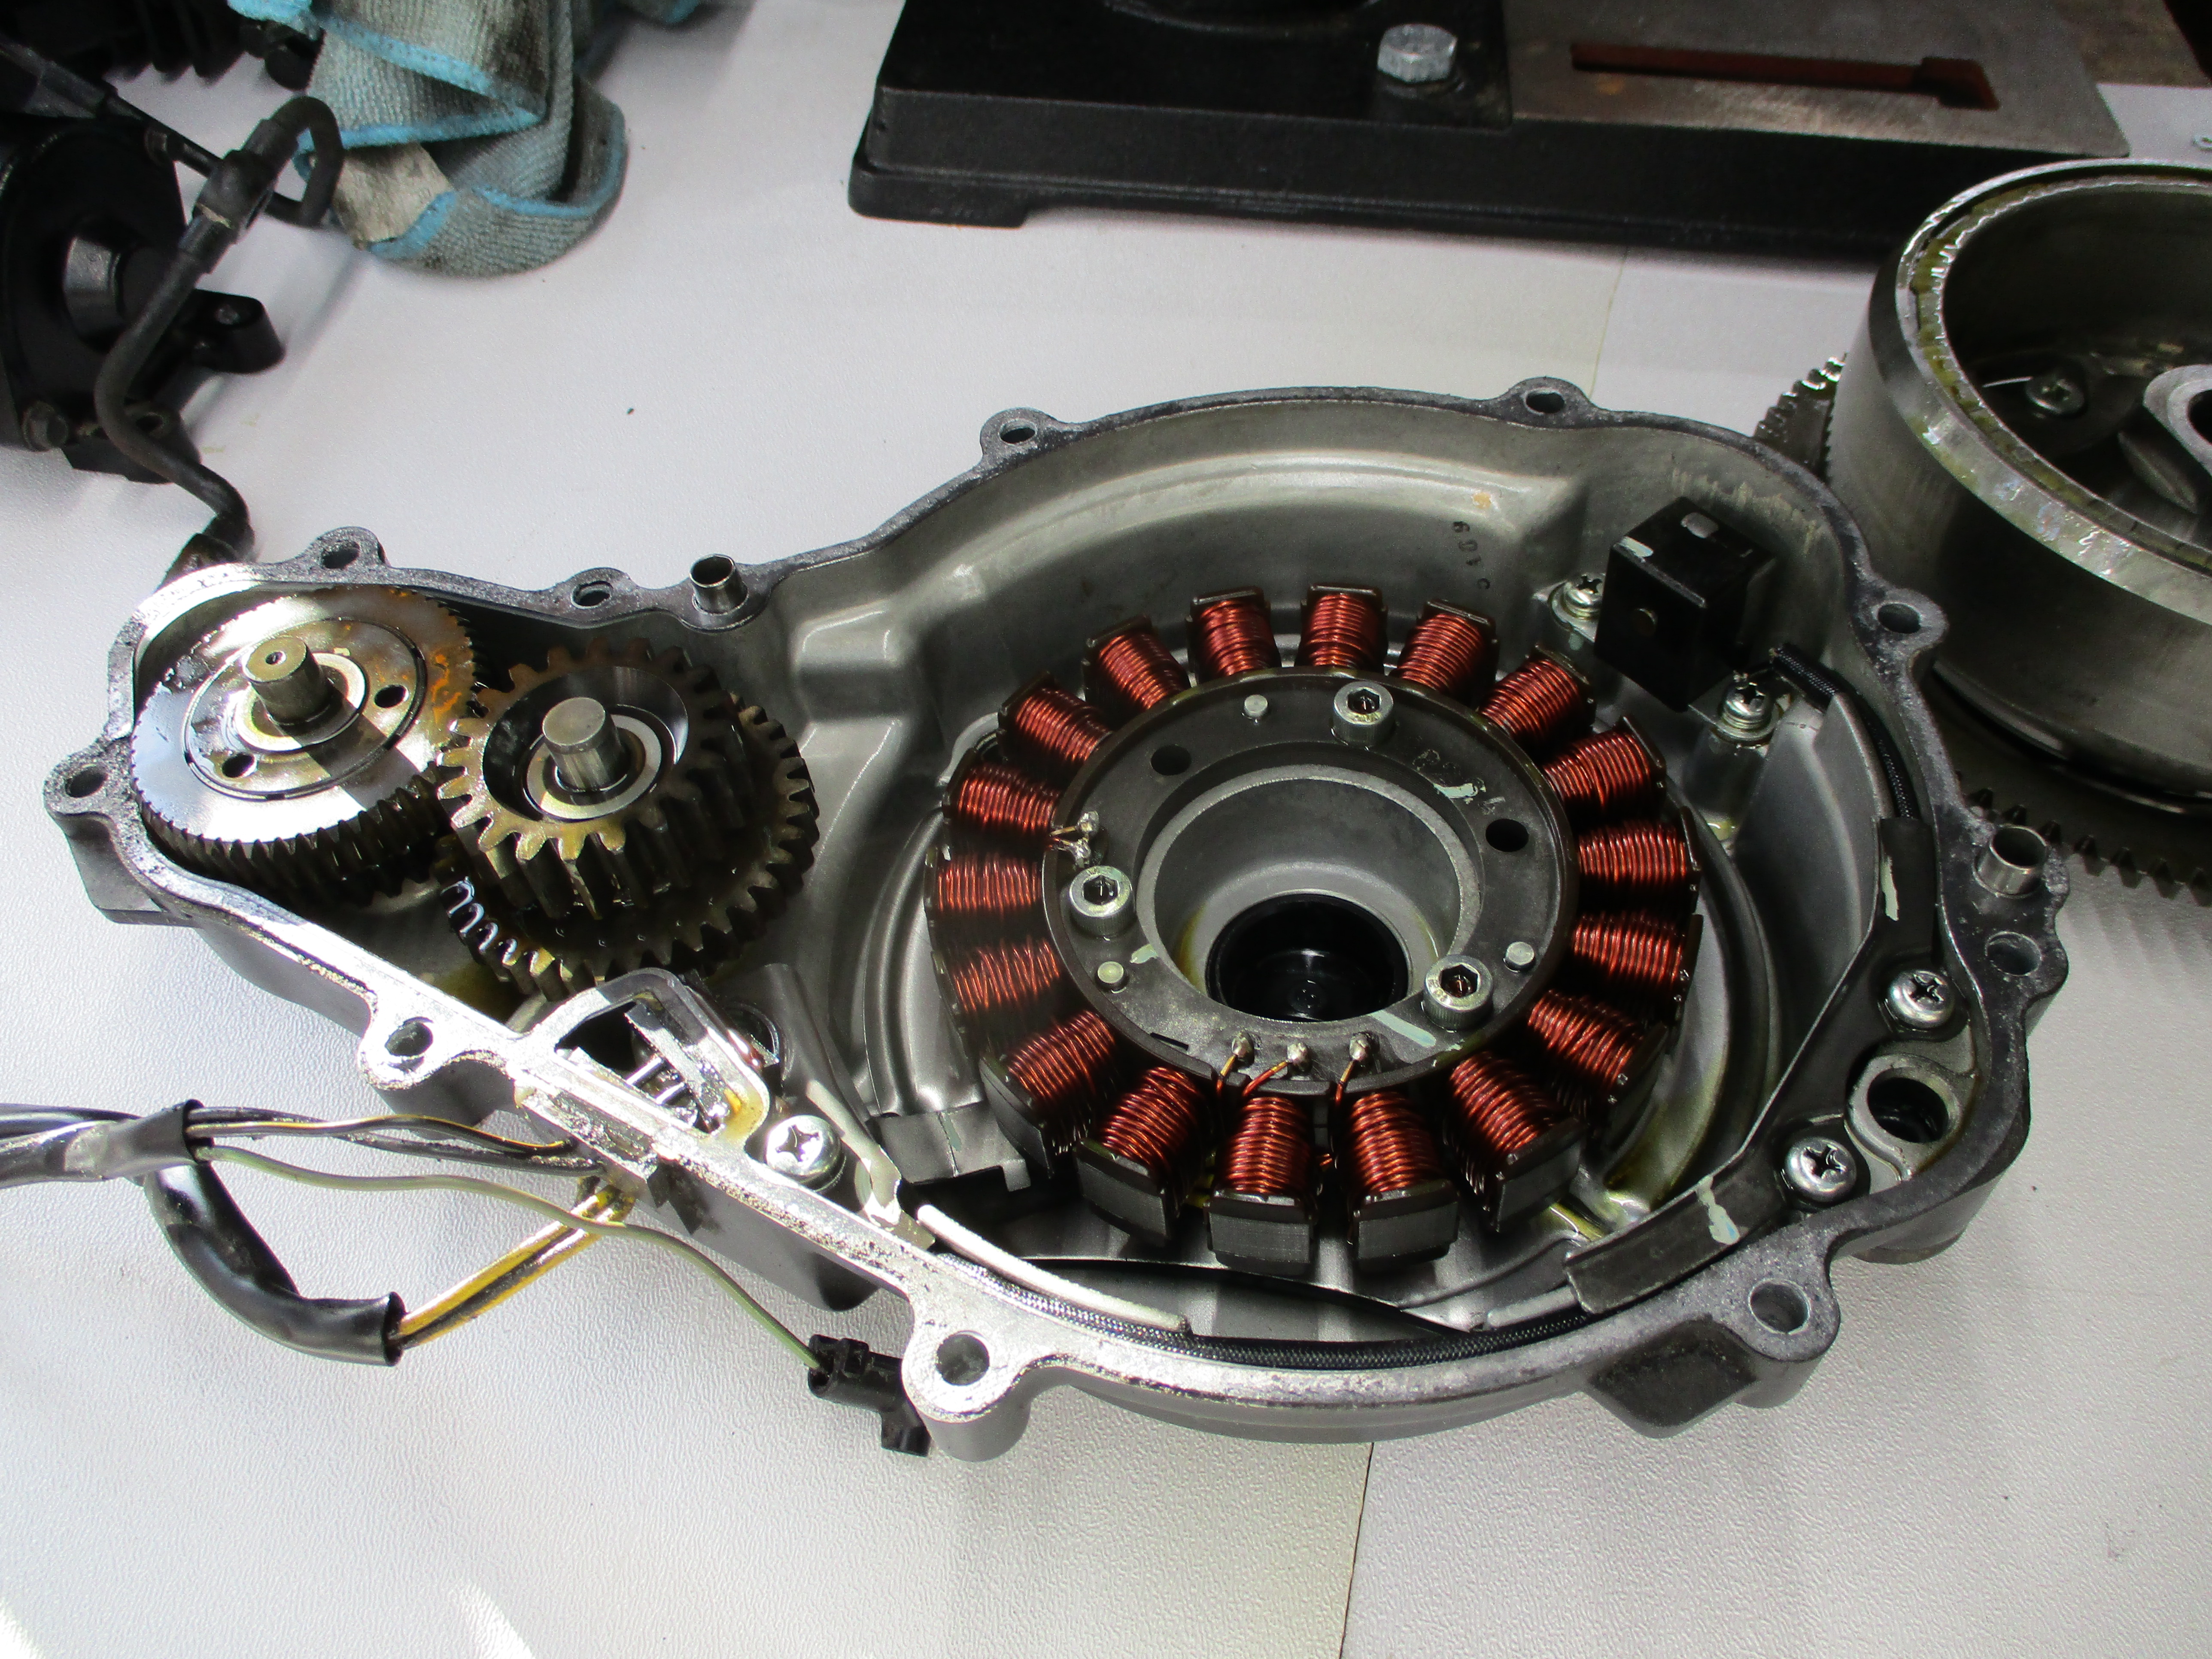
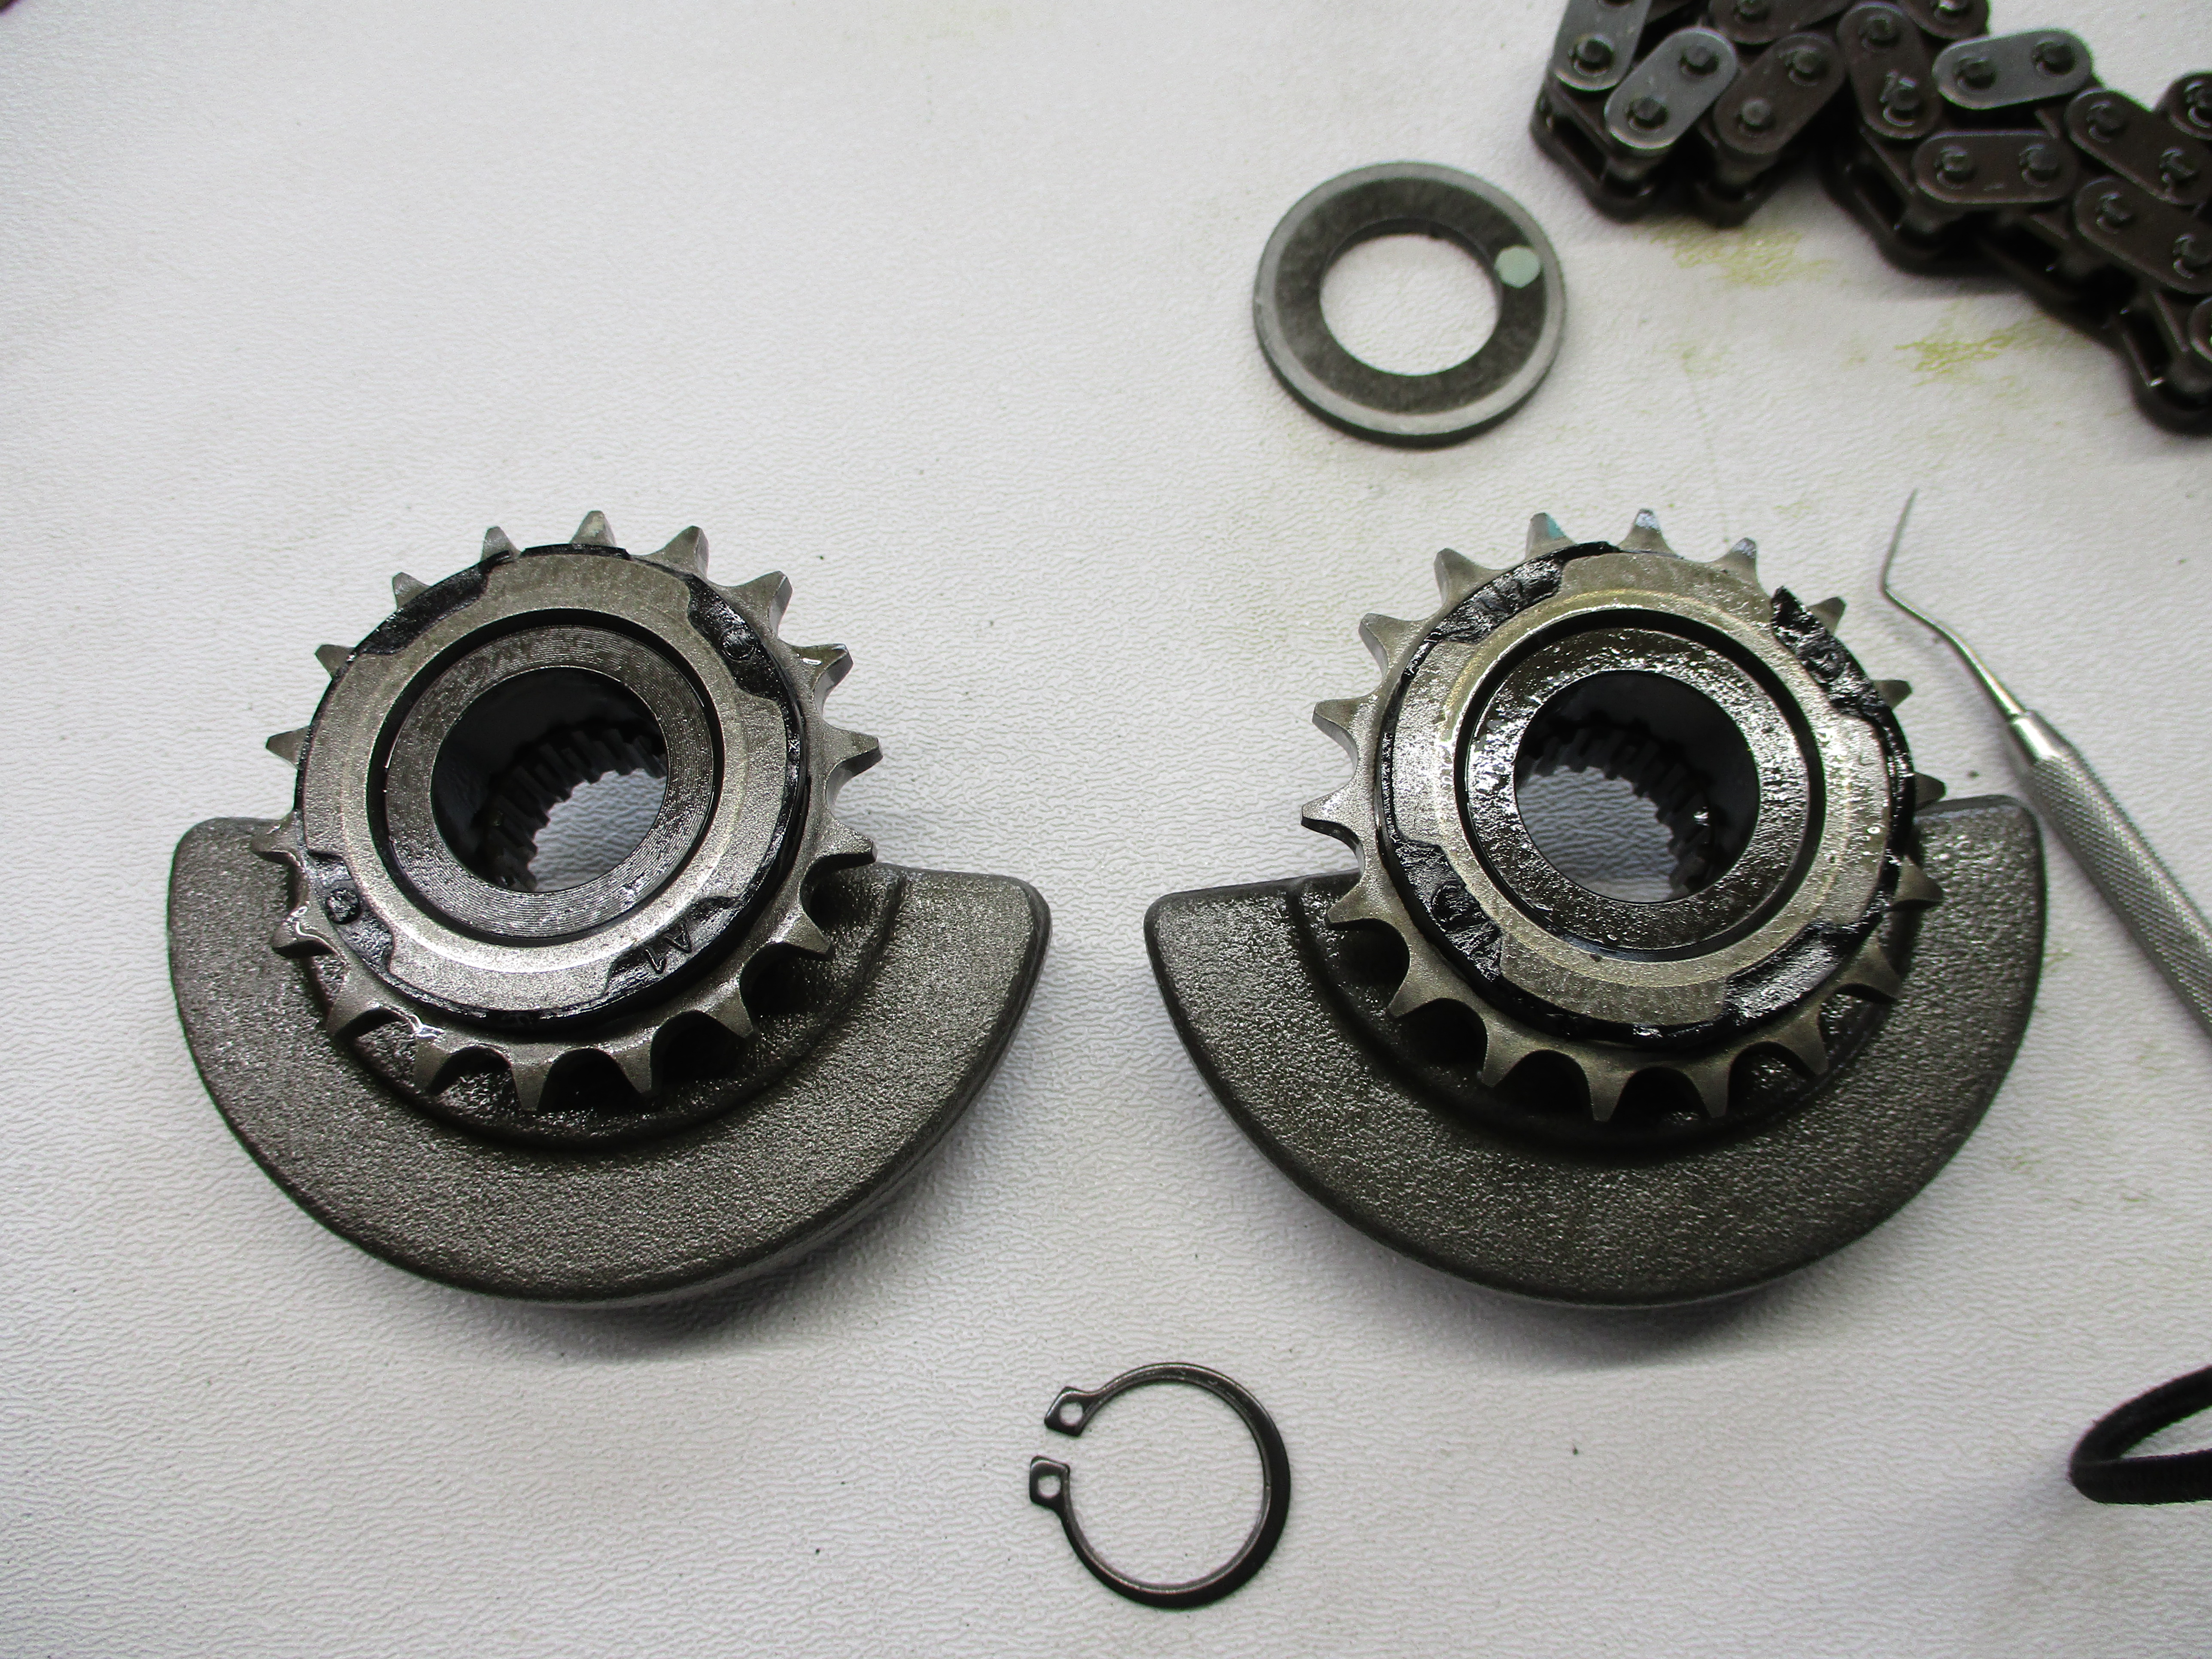
Now, I had never adjusted the balancer adjustment lever on this engine. After reading all of the lore online about it I had decided to not touch it since brand new. With the rotor off I could inspect it now. Everything was still there, but there was slack on the spring. I tried loosening the adjustment bolt and it tightened up fine. Most of the balancer system was in good shape, the chain guides looked ok but there was some wear on the rubber shoulders on the balancer shaft sprockets.
Another special tool is needed to remove the clutch basket, and I bought the Tusk tool. It worked fine for removing the 30mm clutch nut. I measured my clutch springs and they were under the service limit.
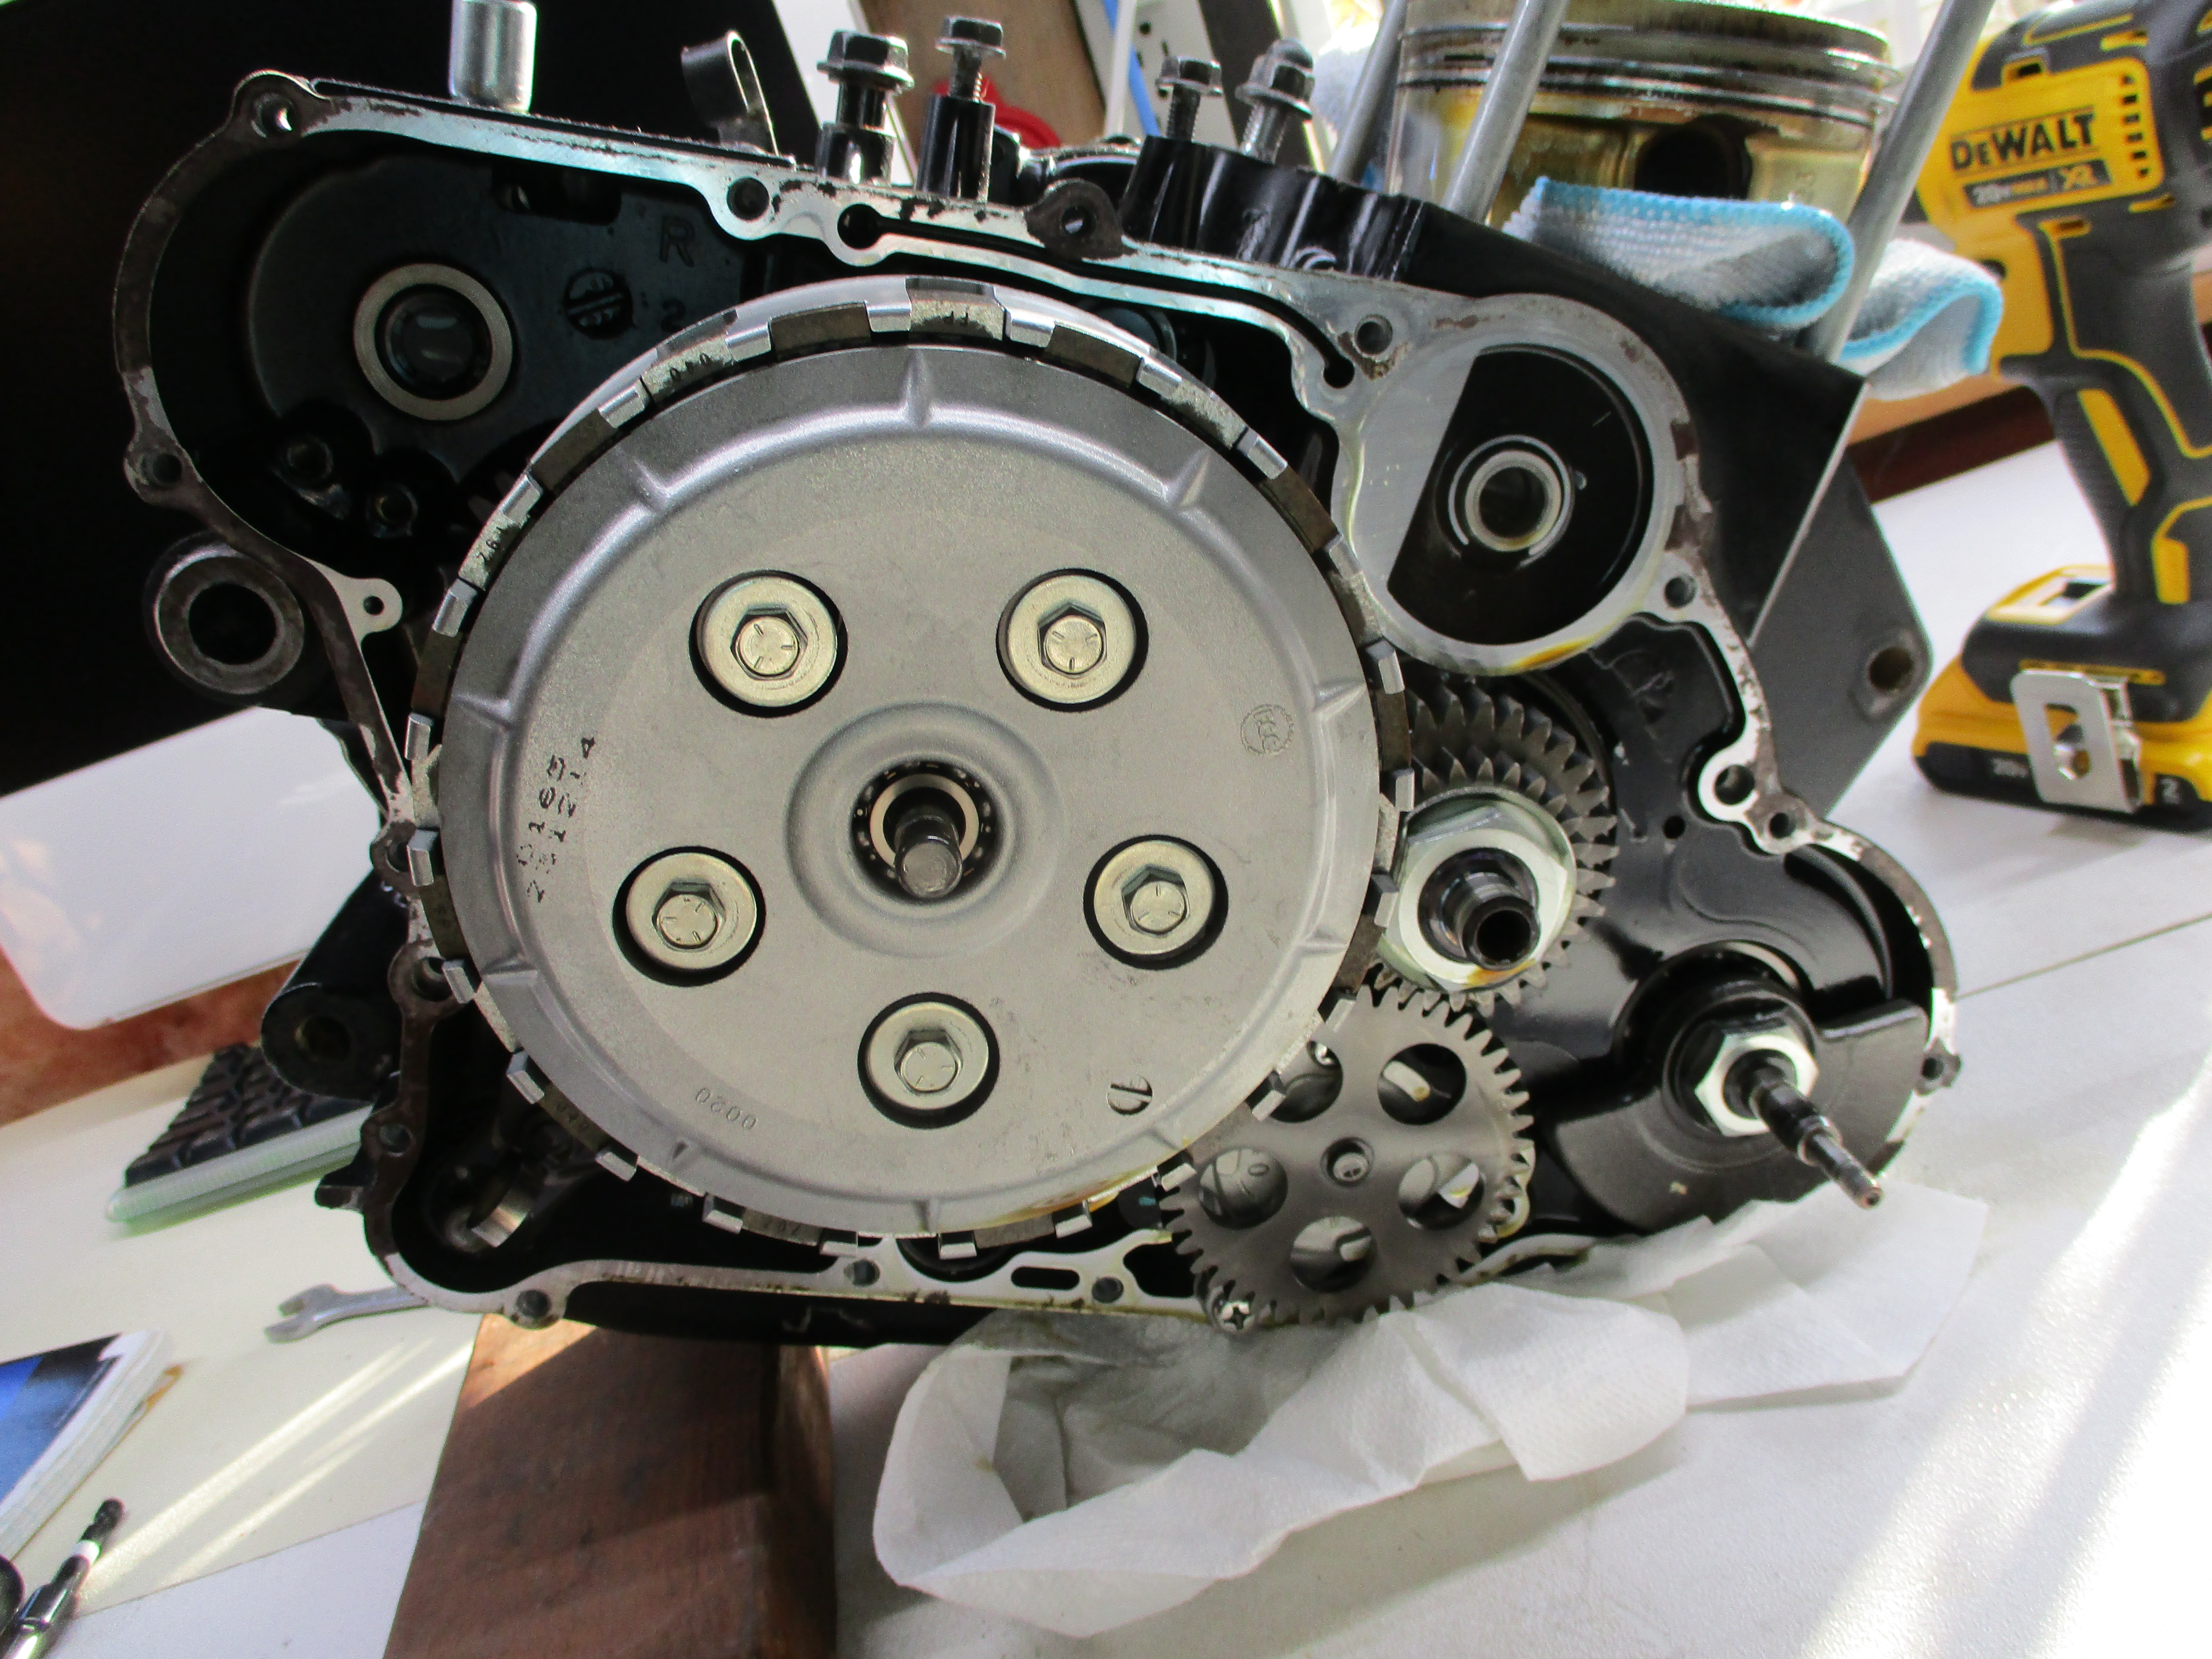
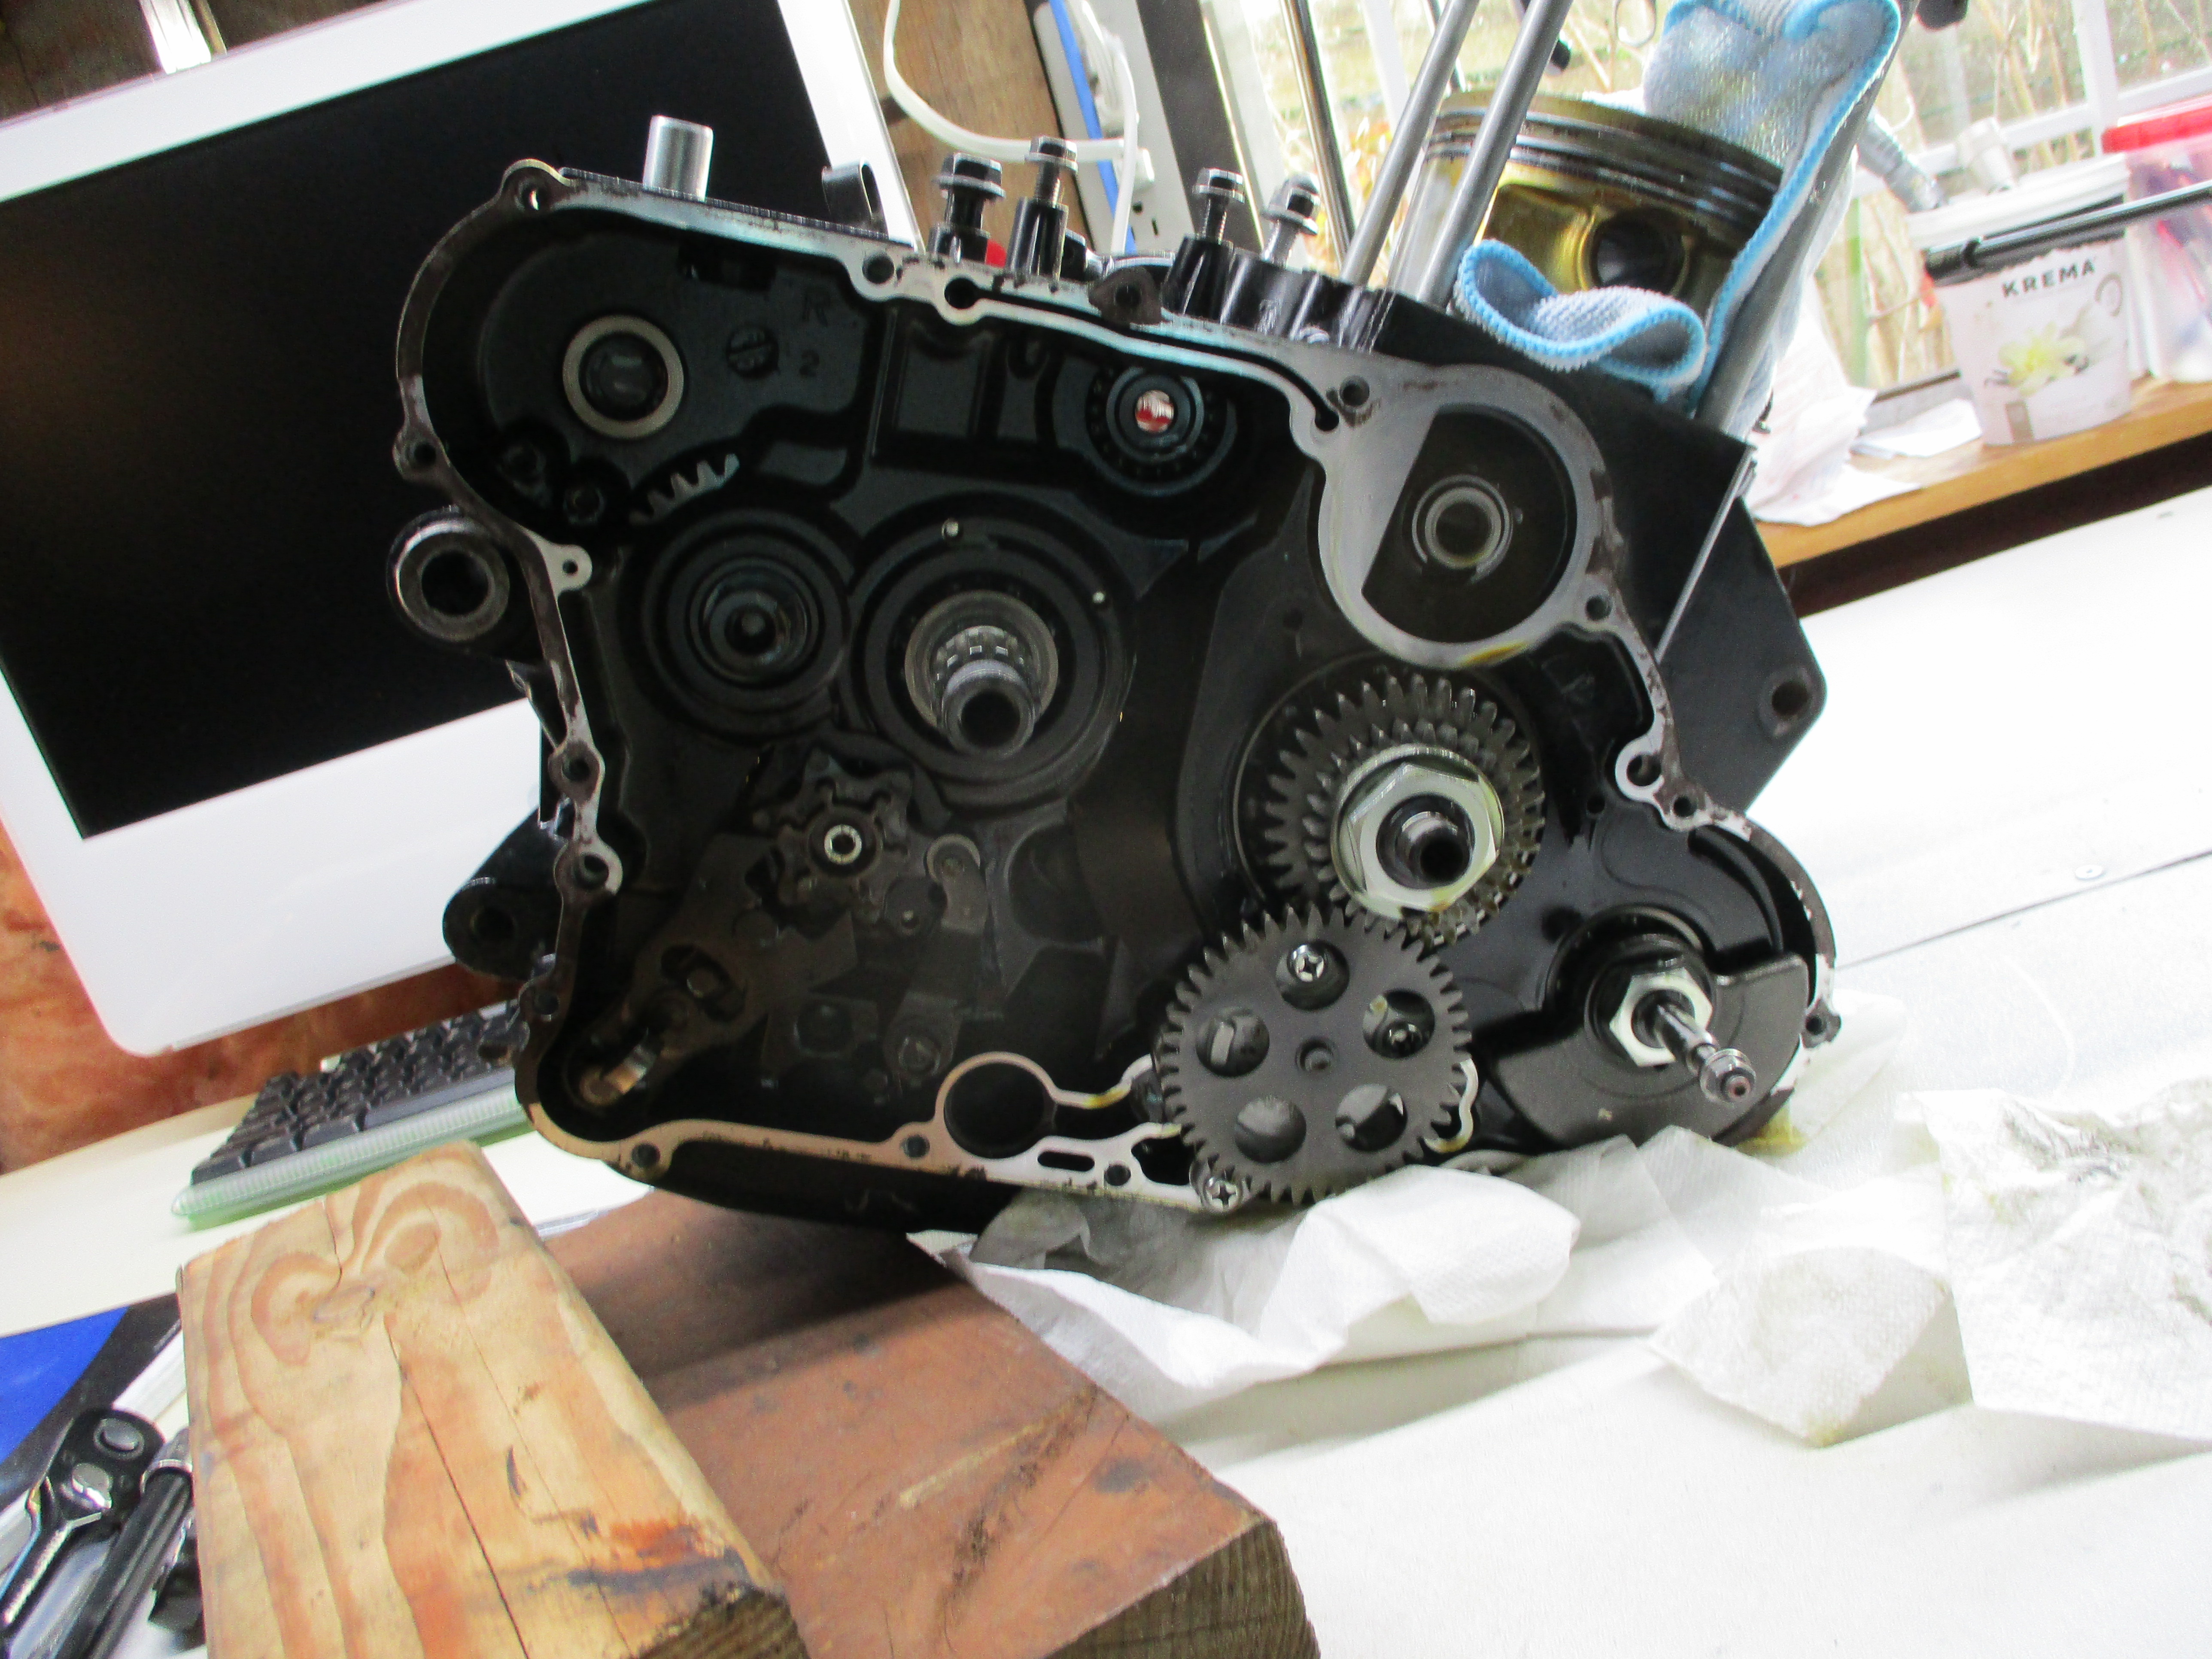
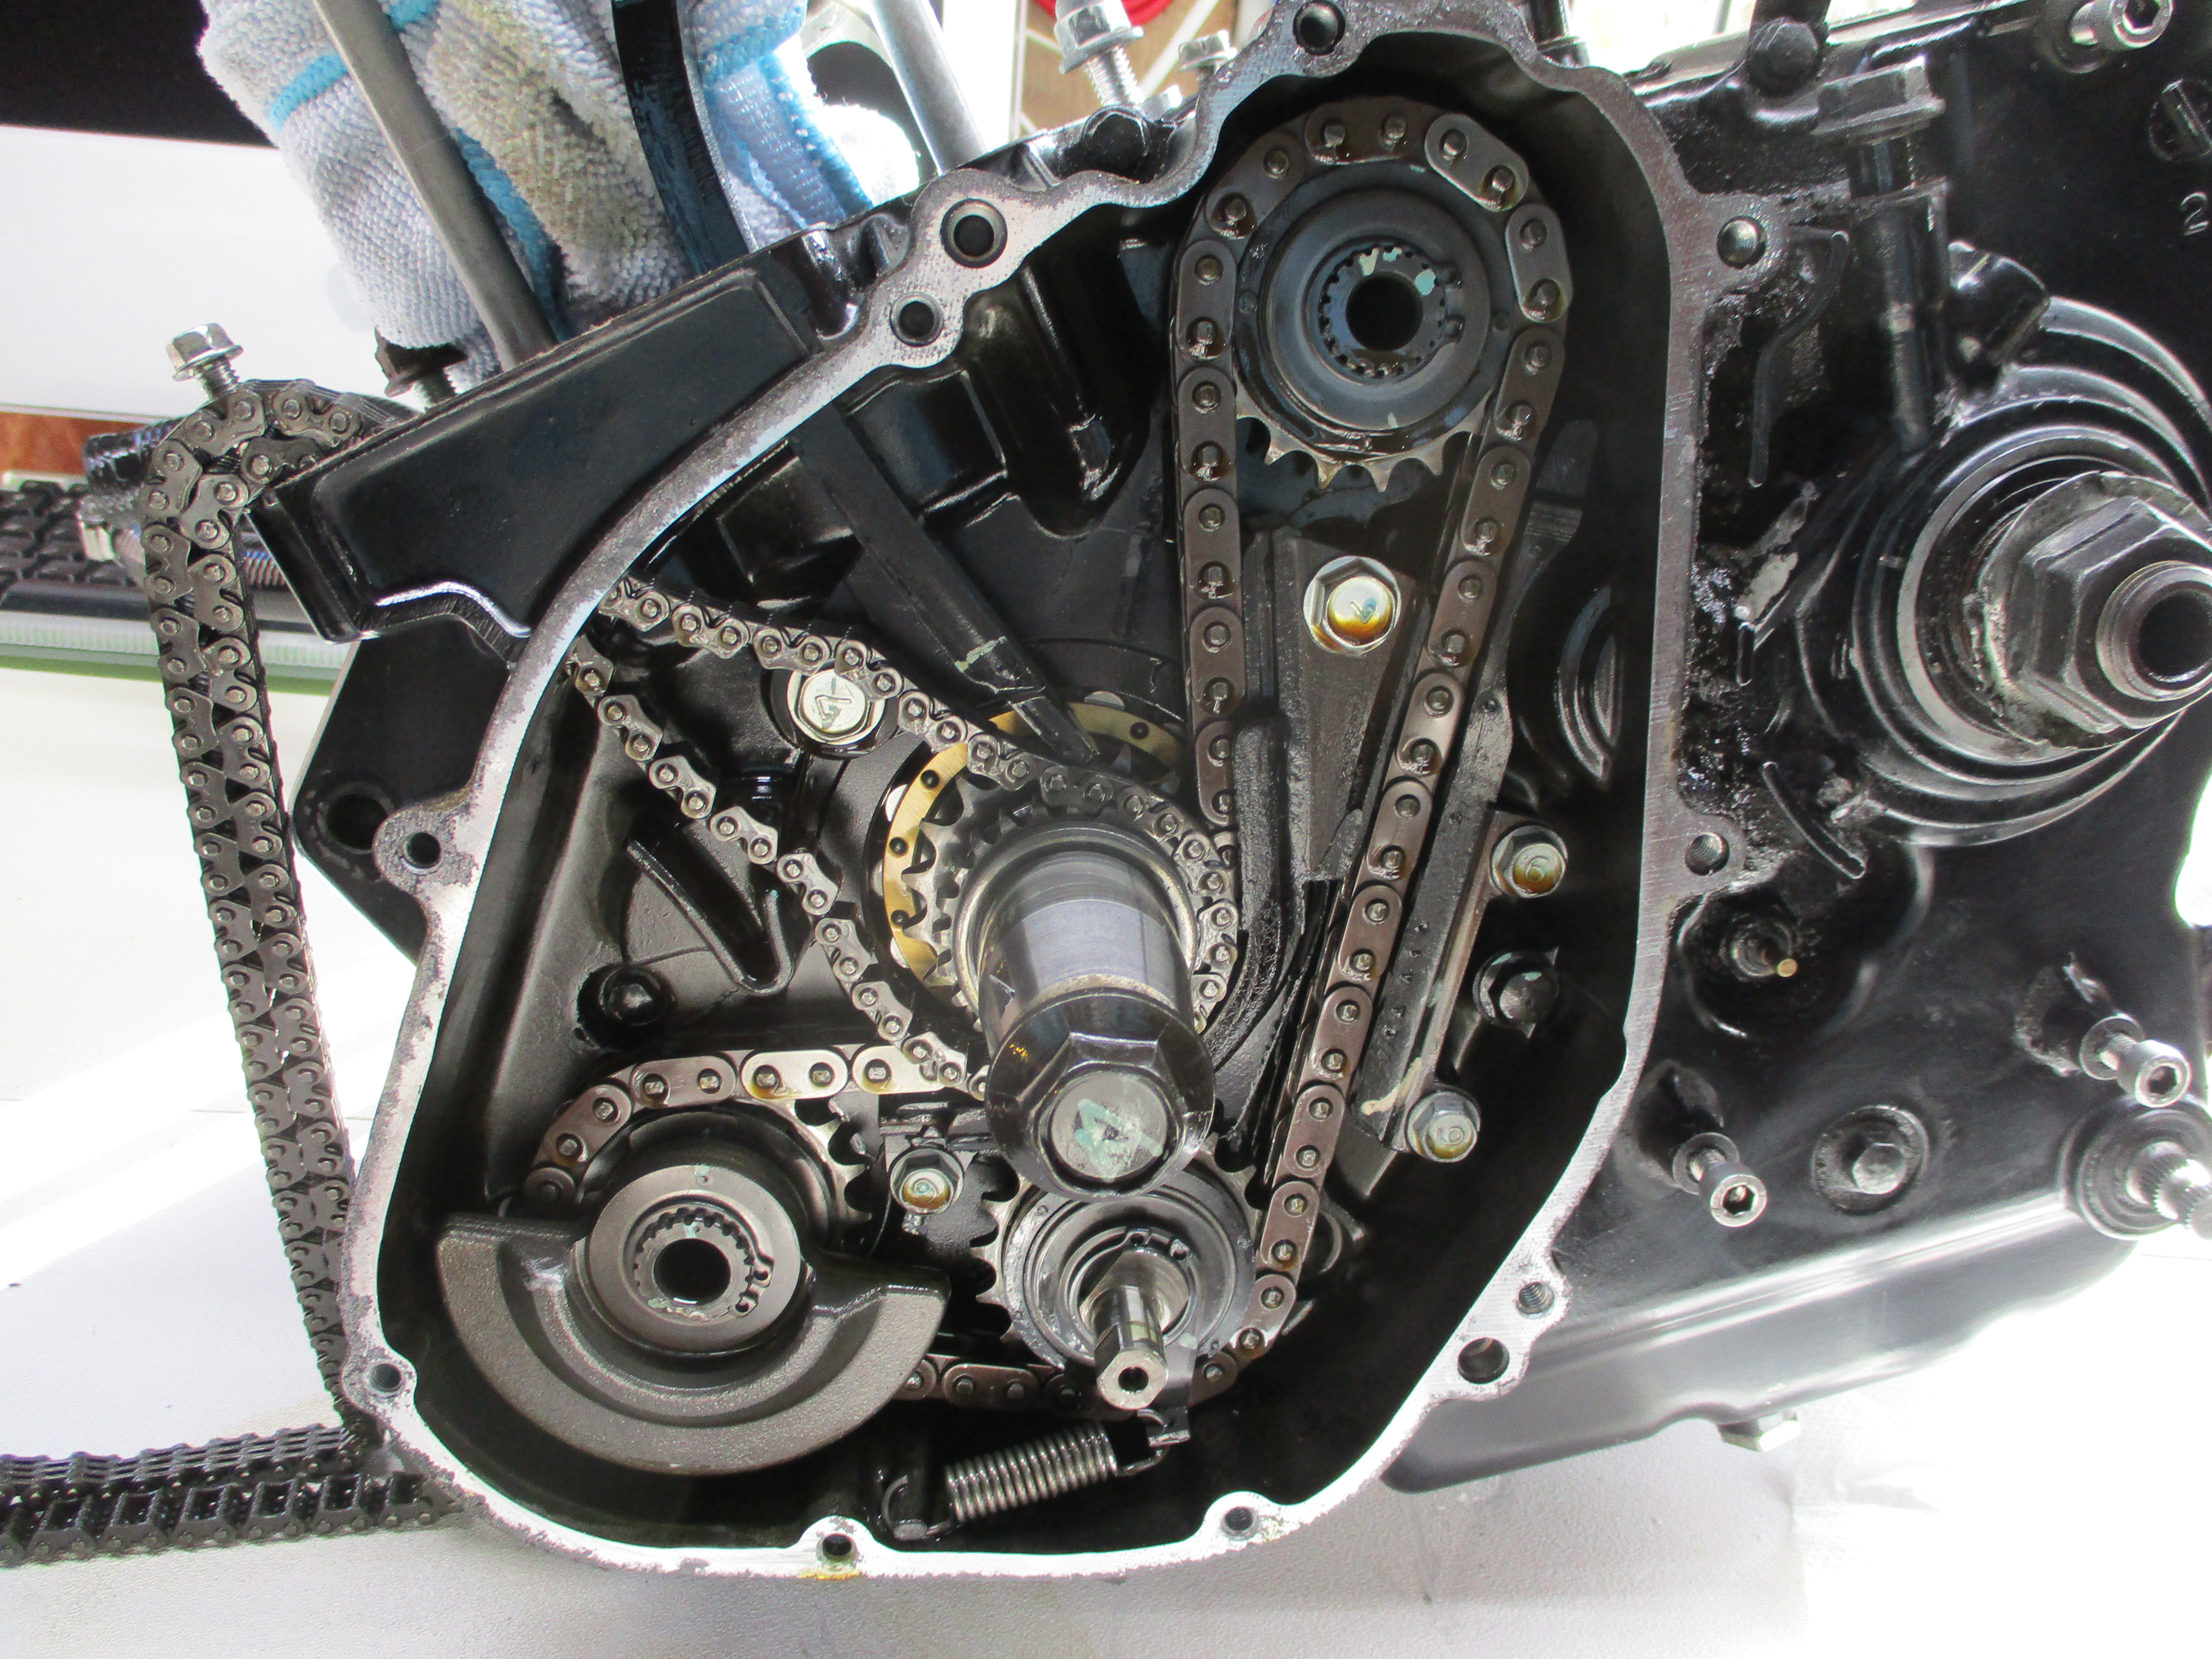
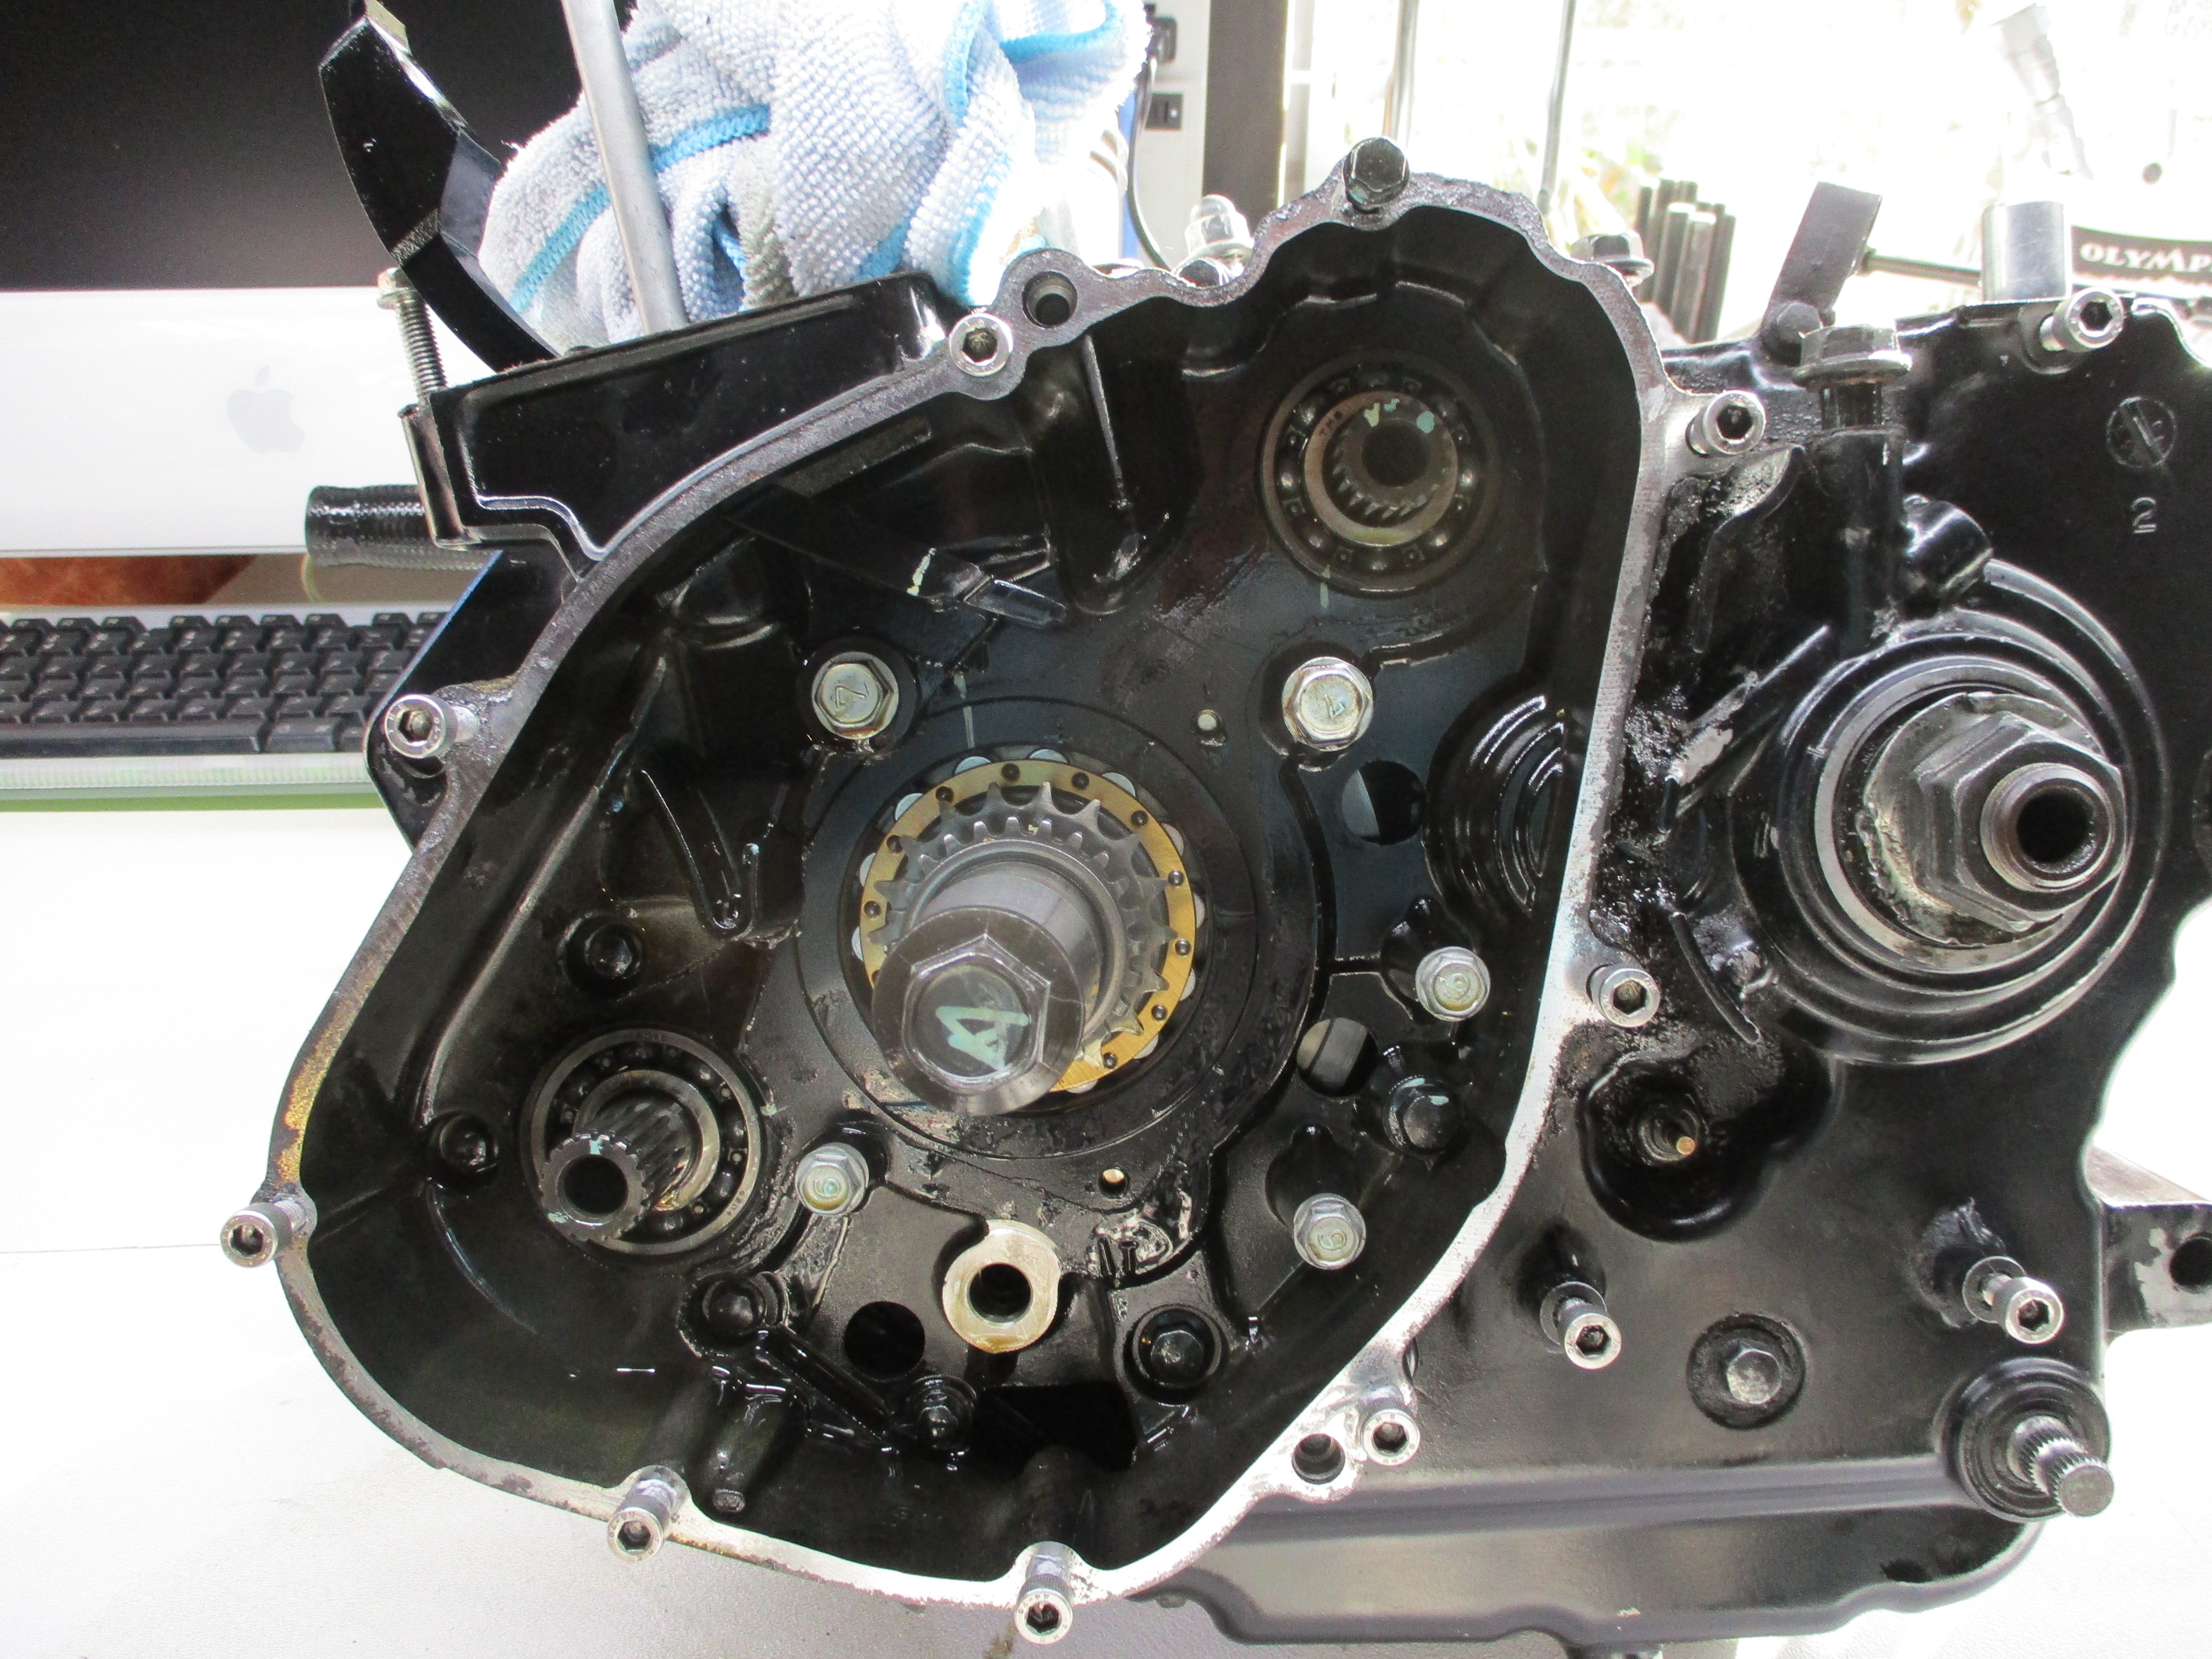
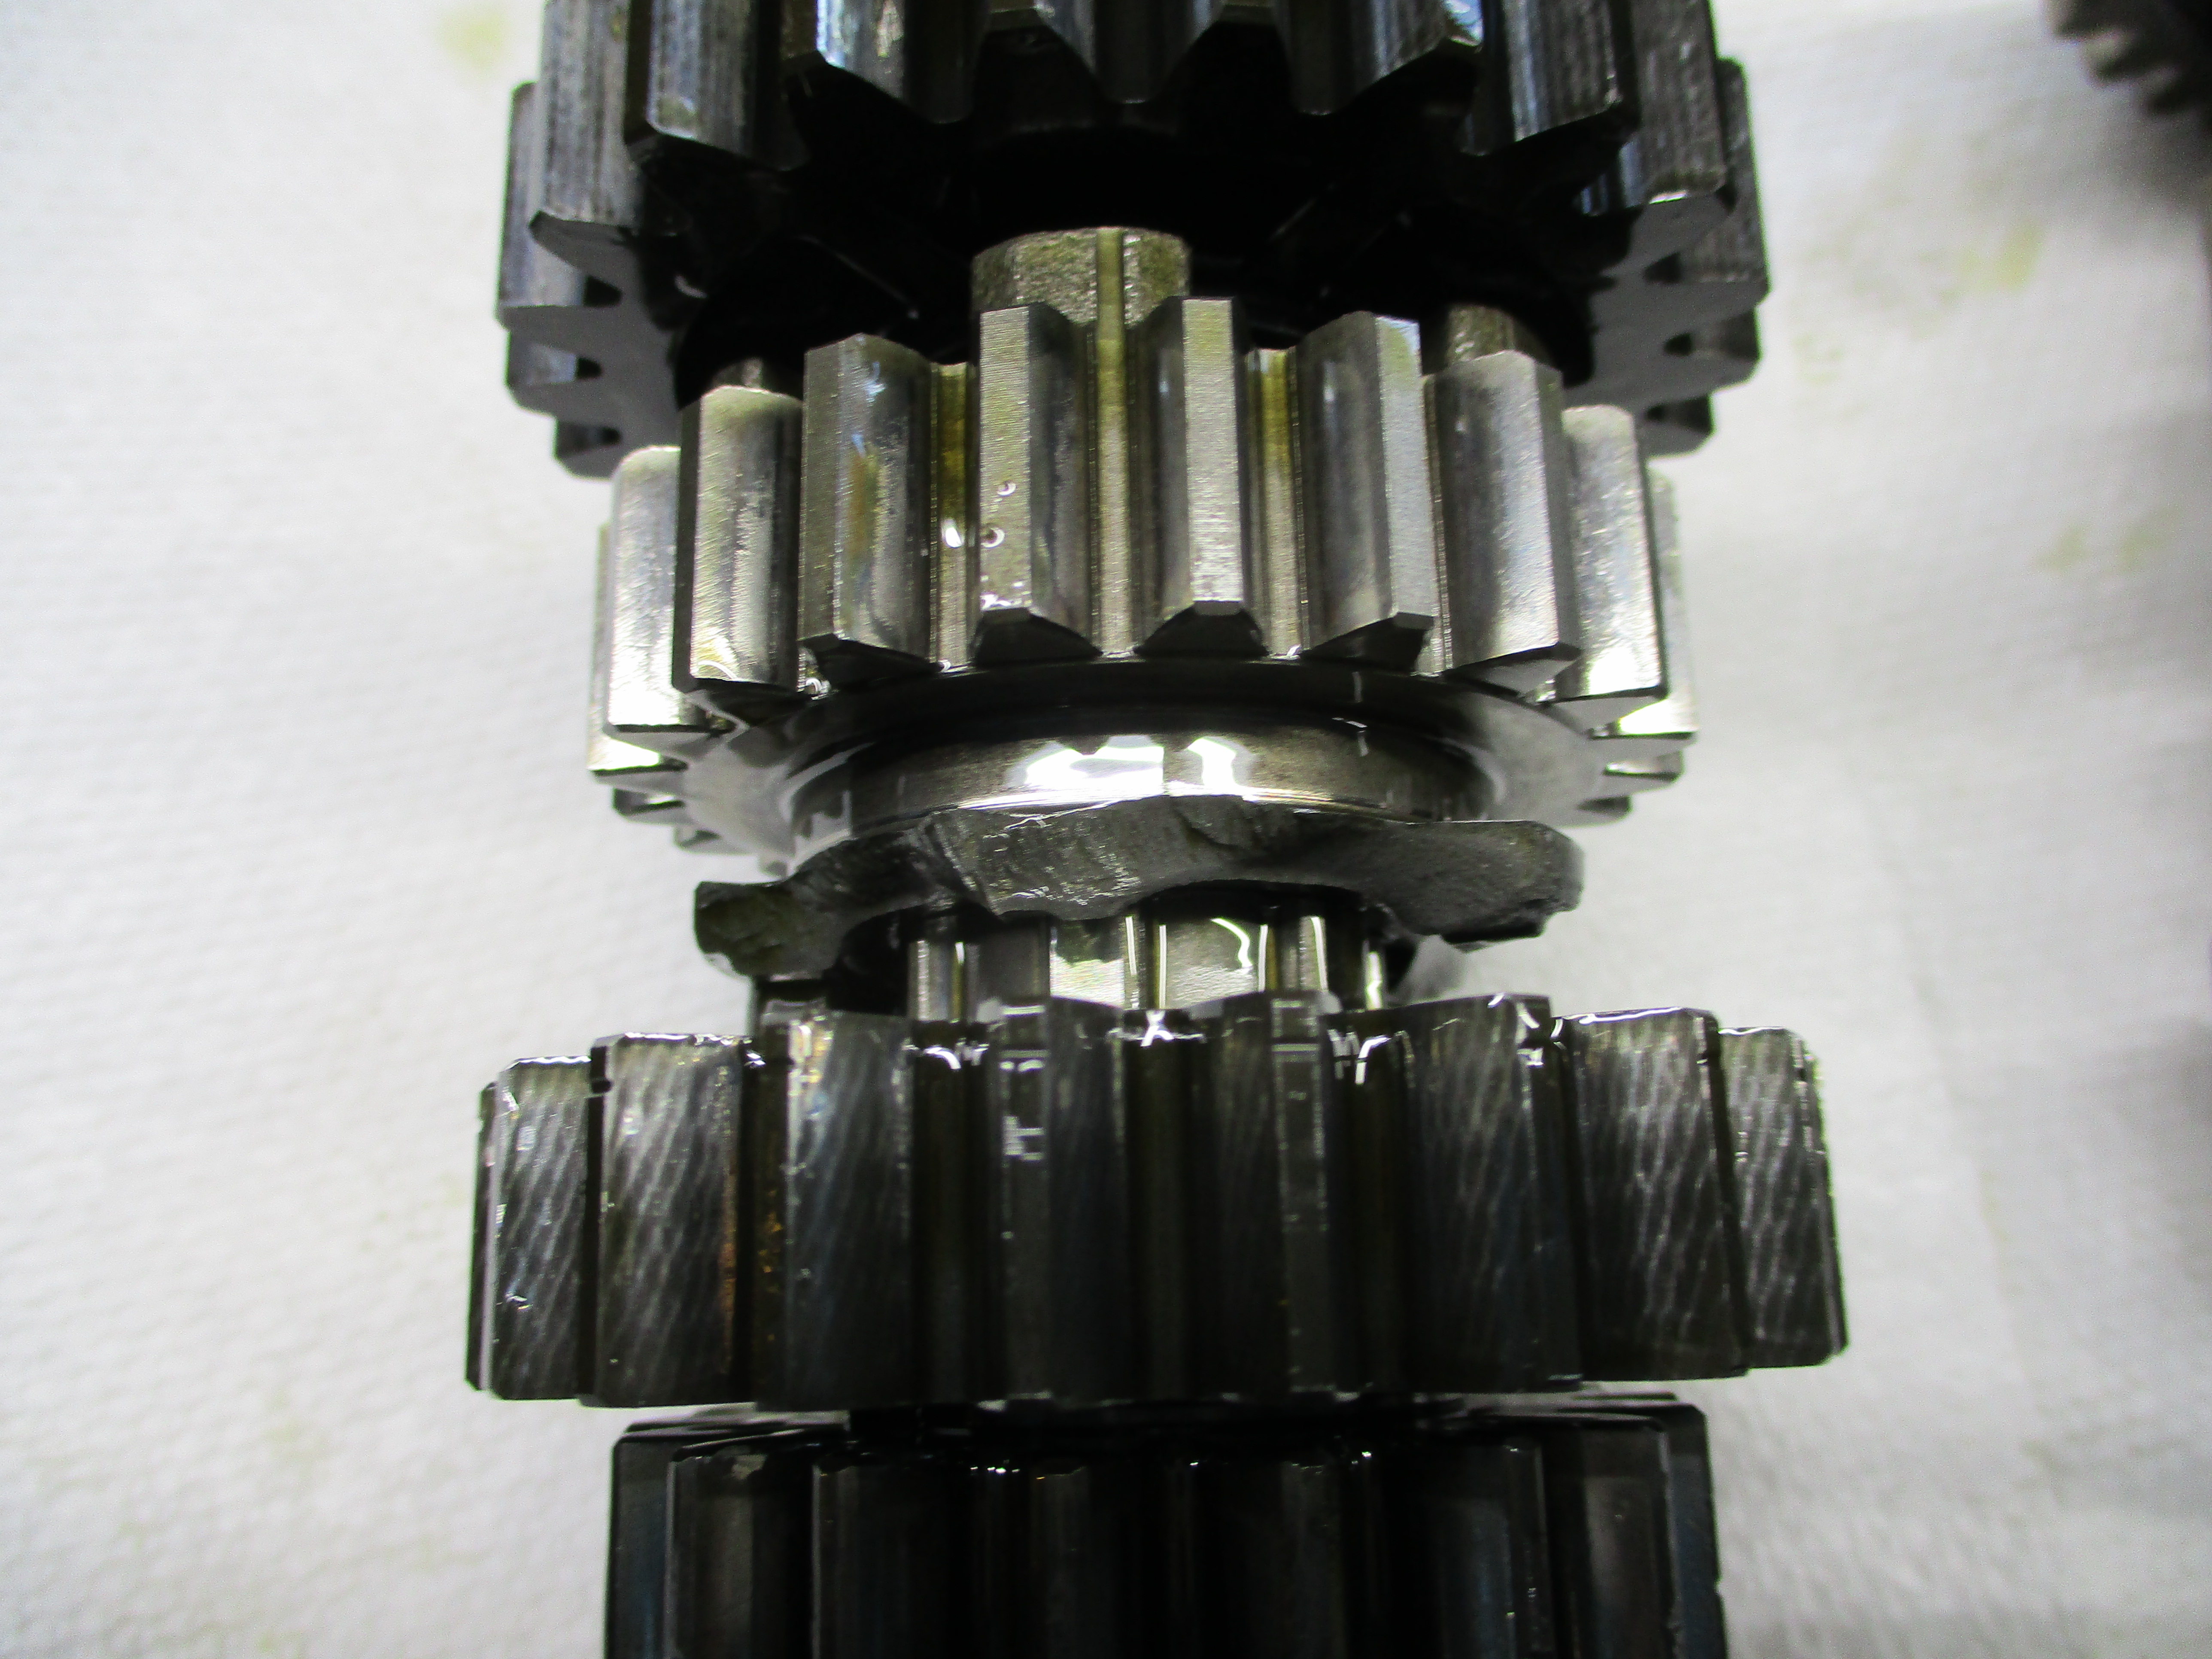
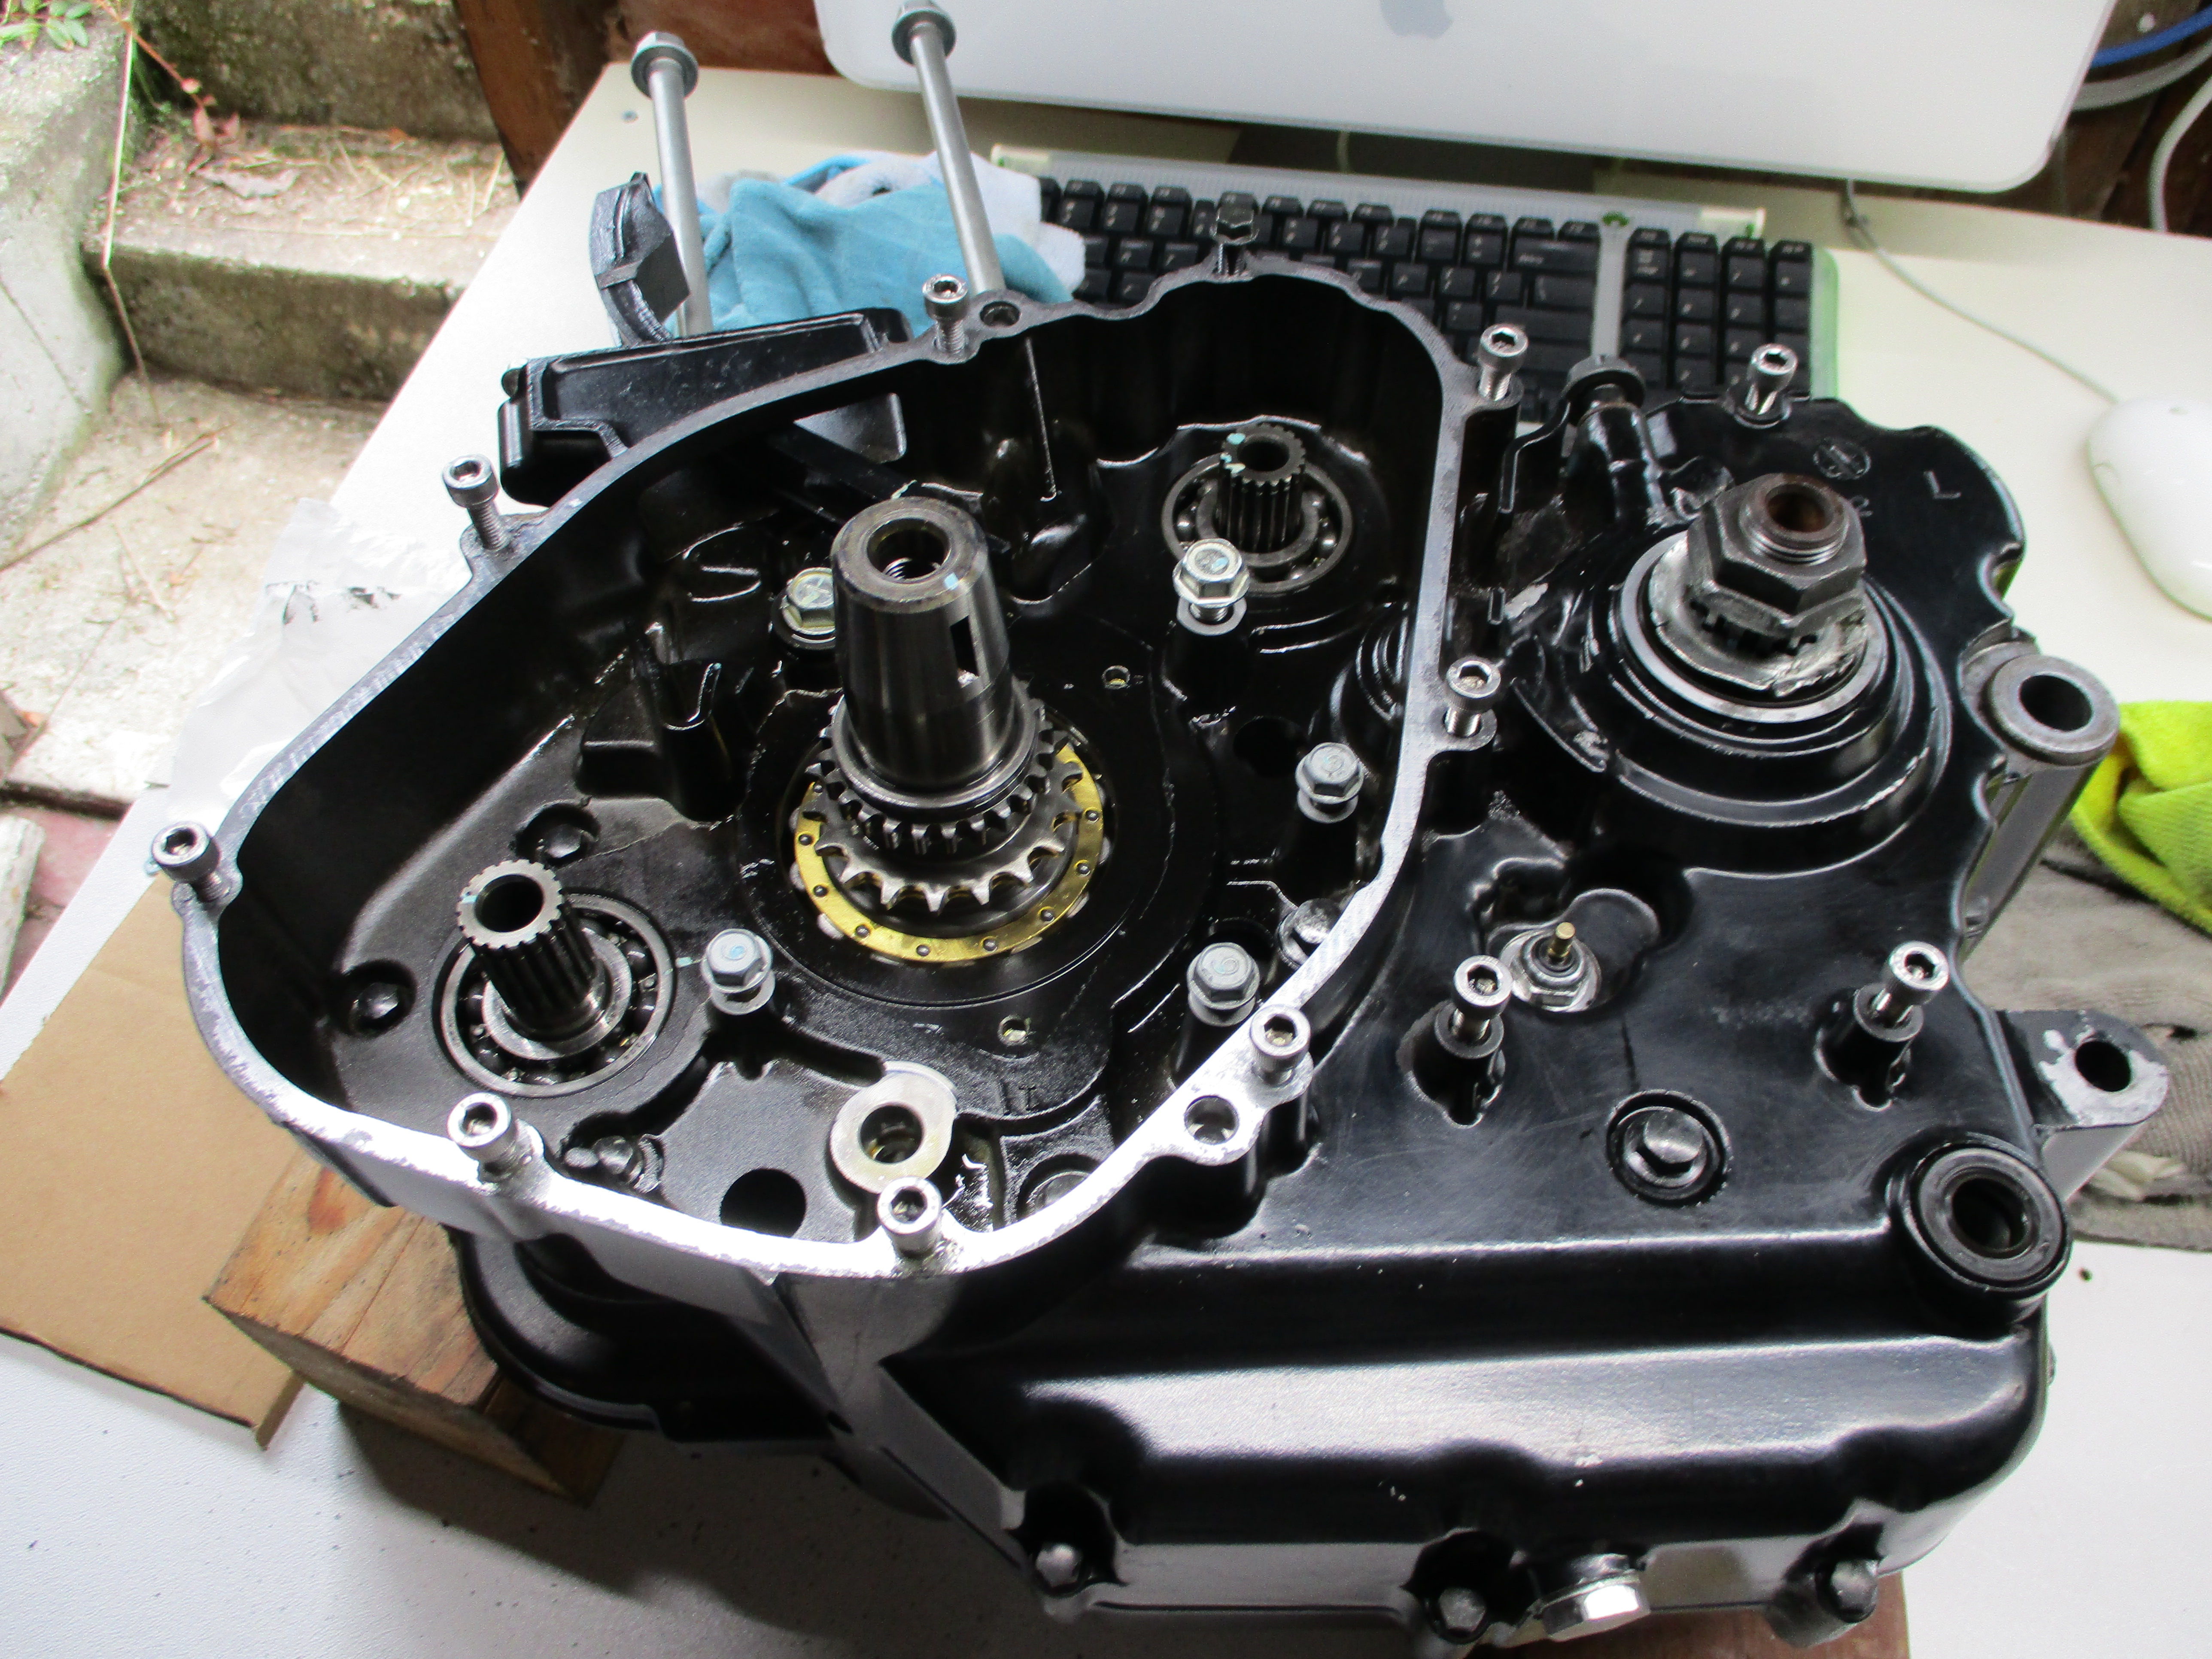
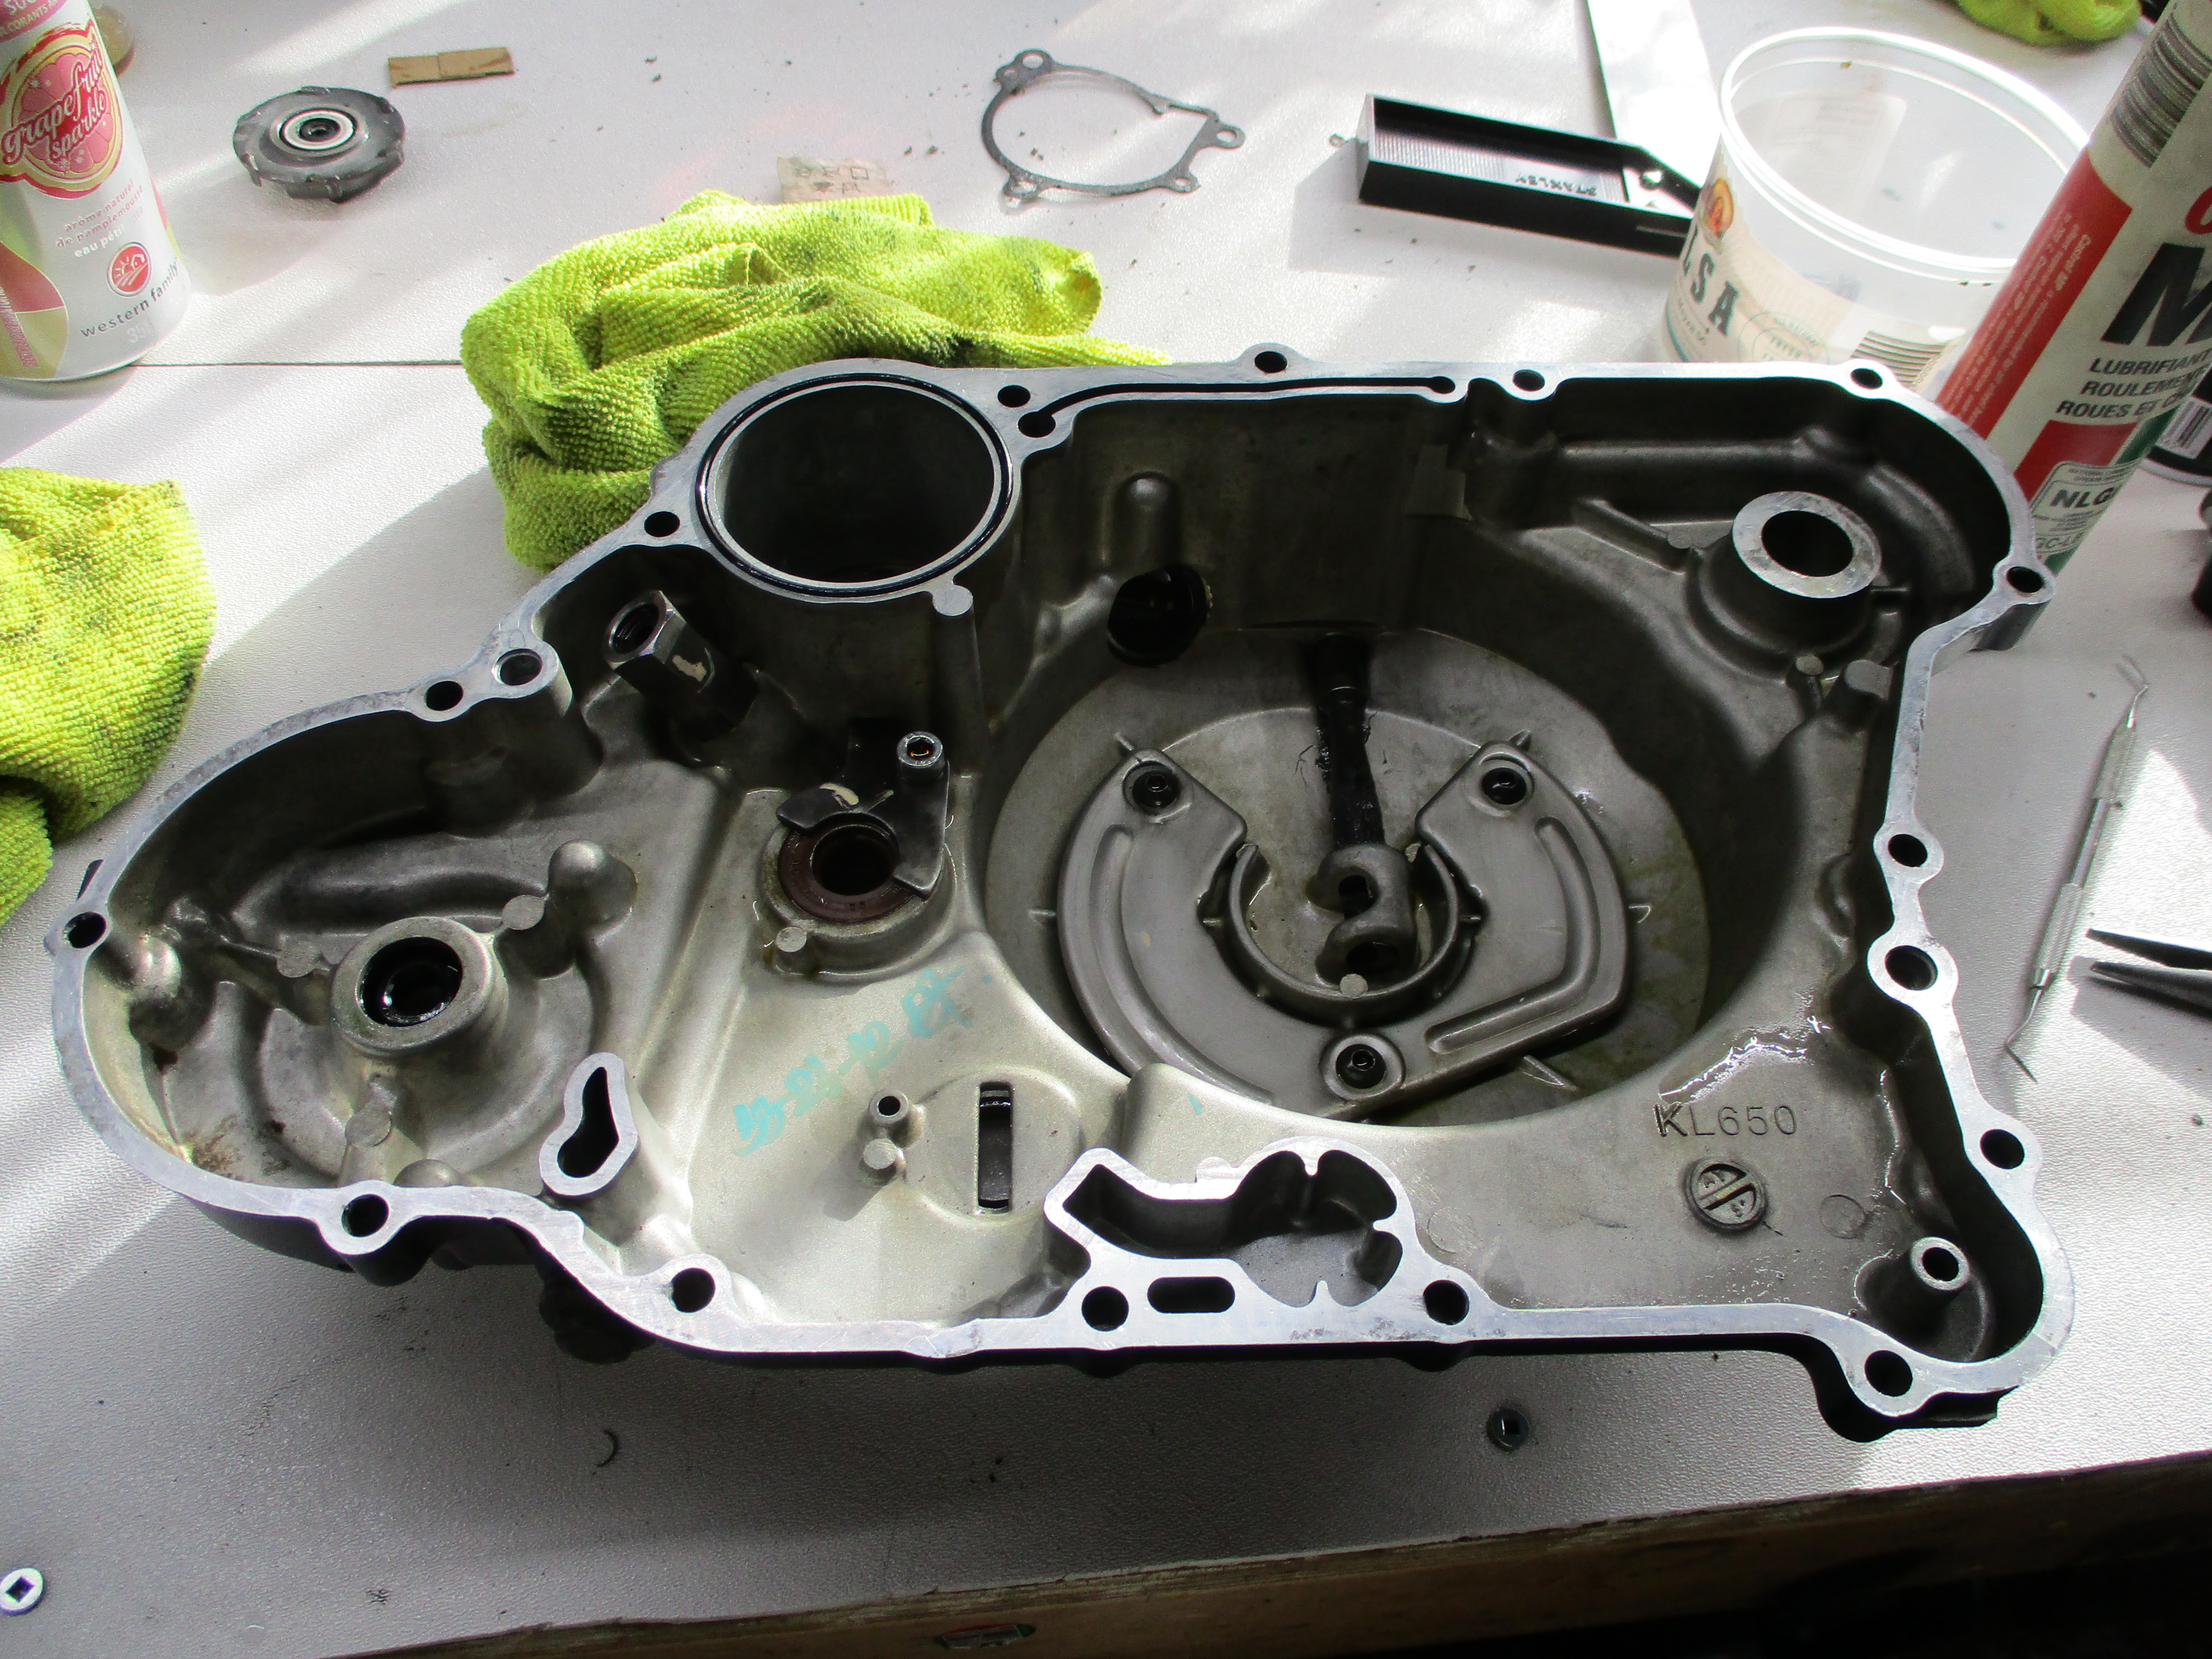
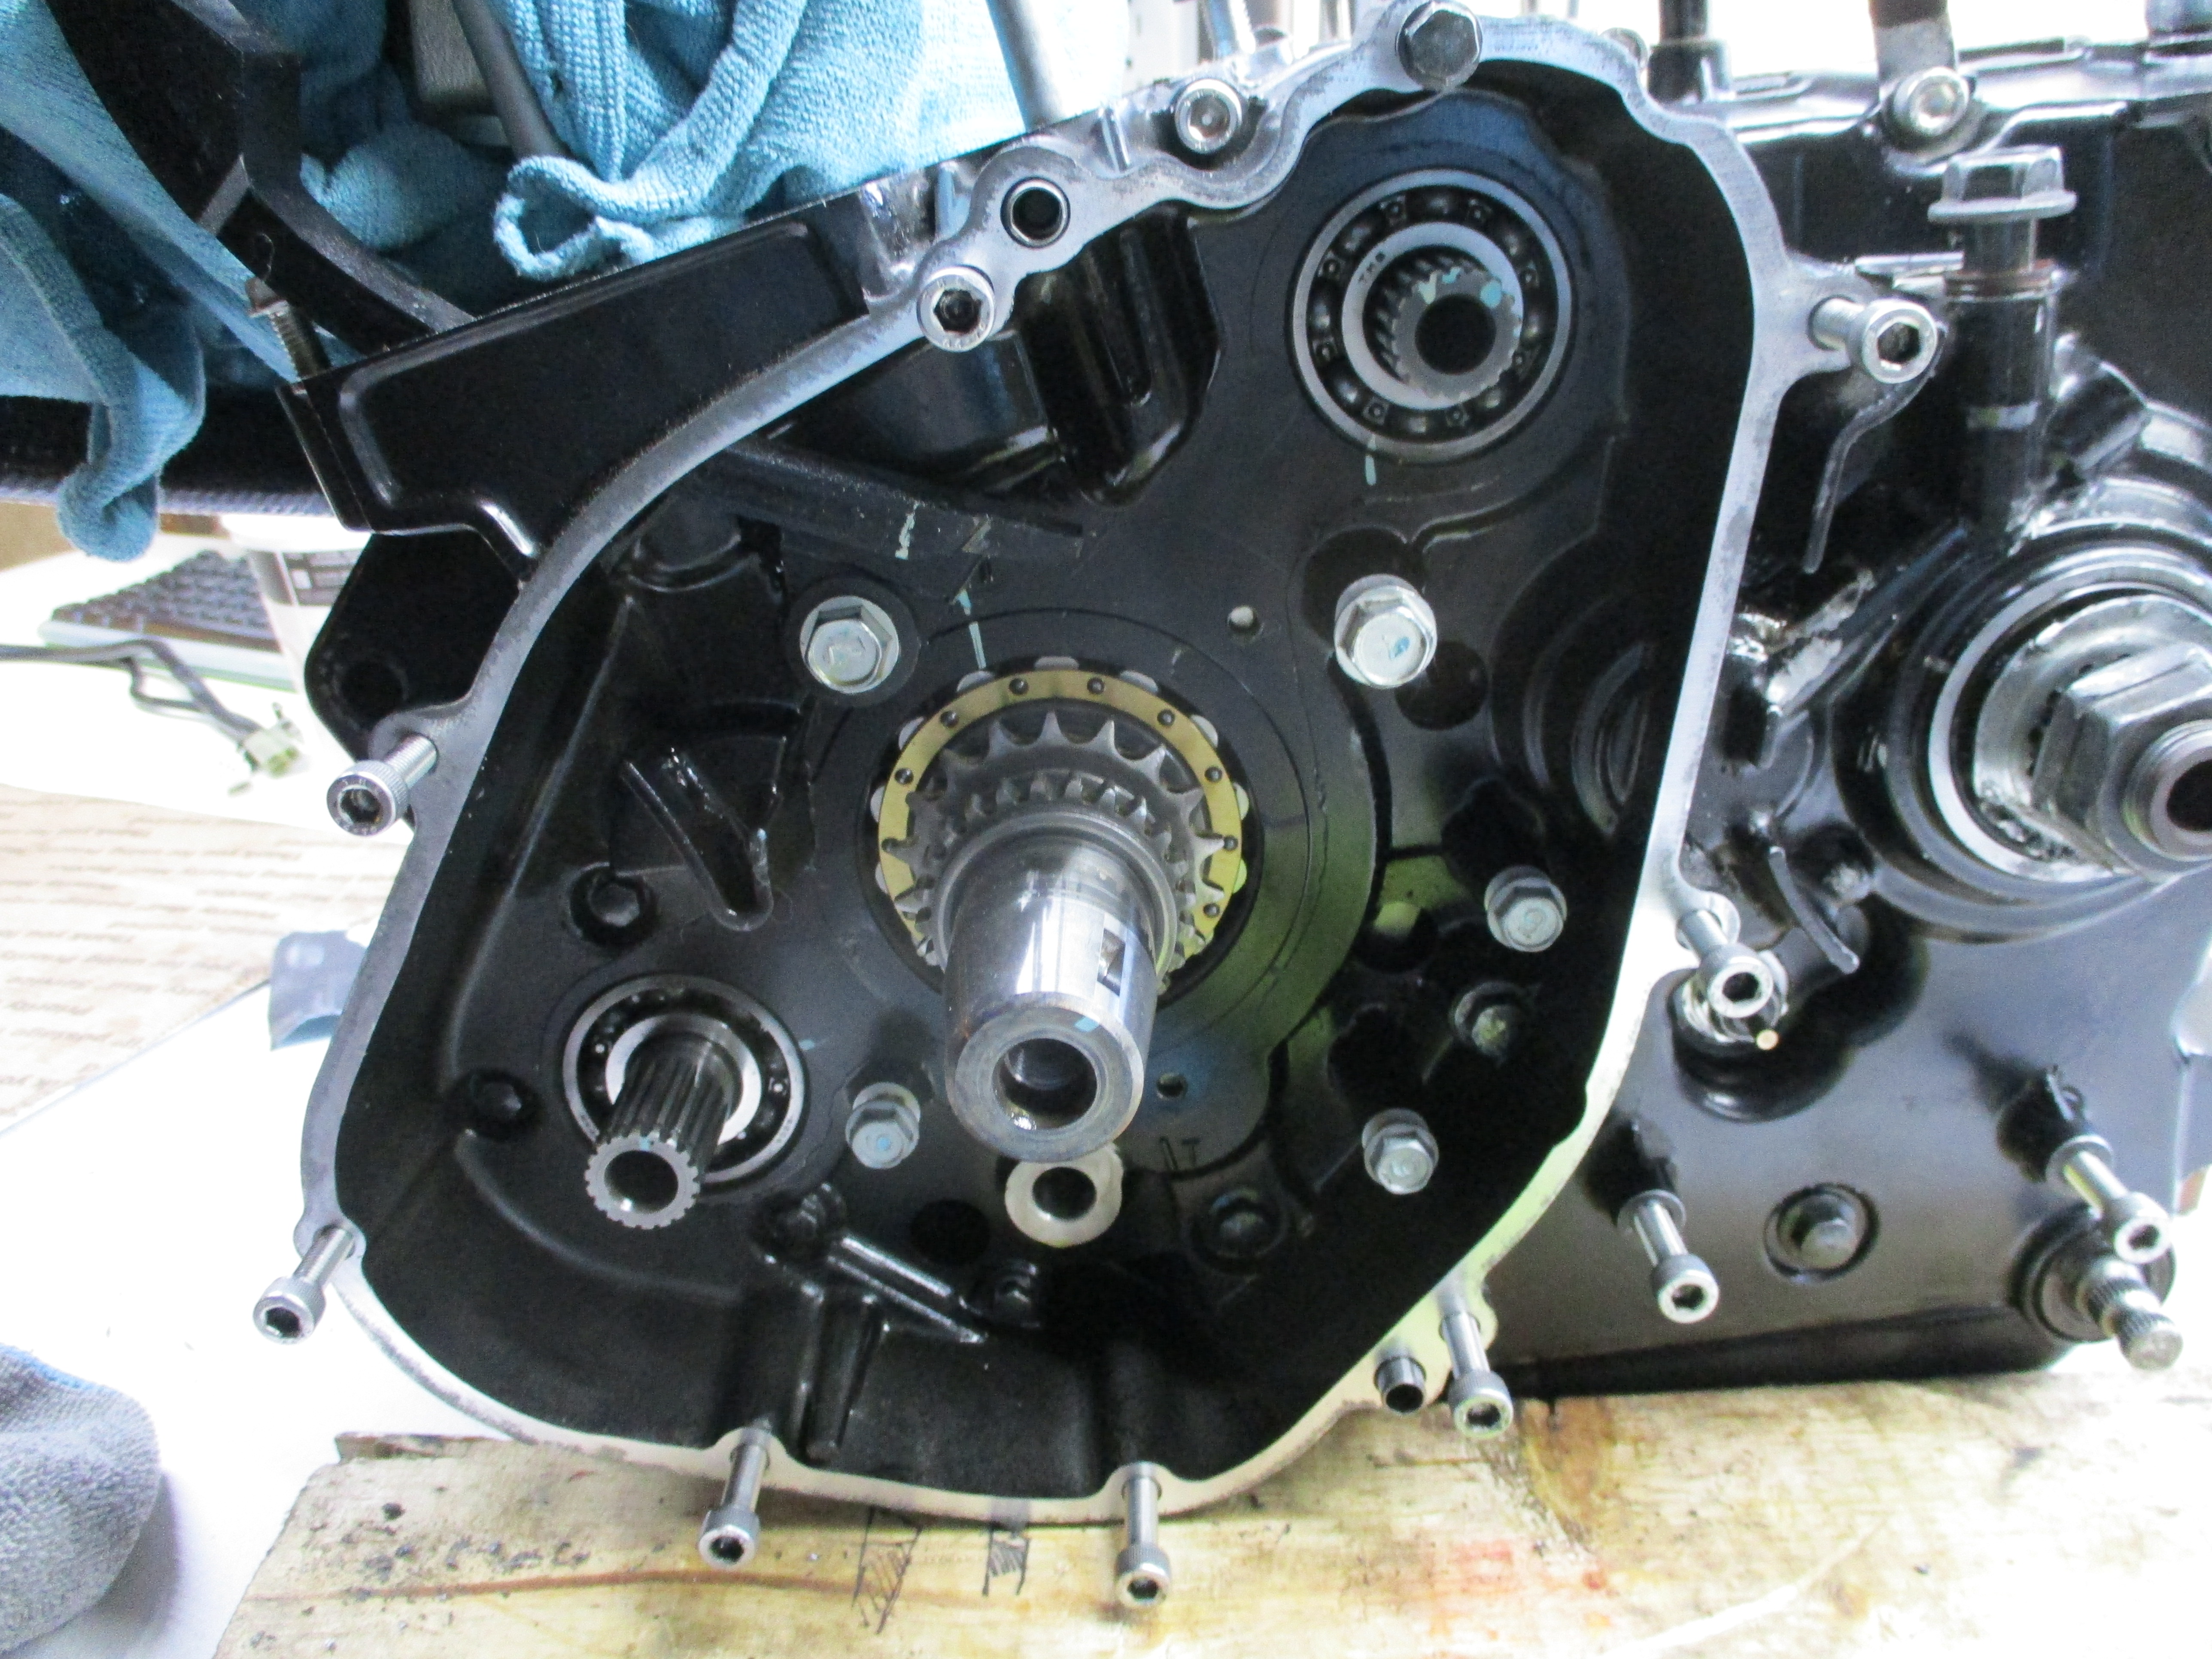
Then I split the cases using the Tusk case splitter, which worked well. As I split the cases another third gear shift dog fell out.
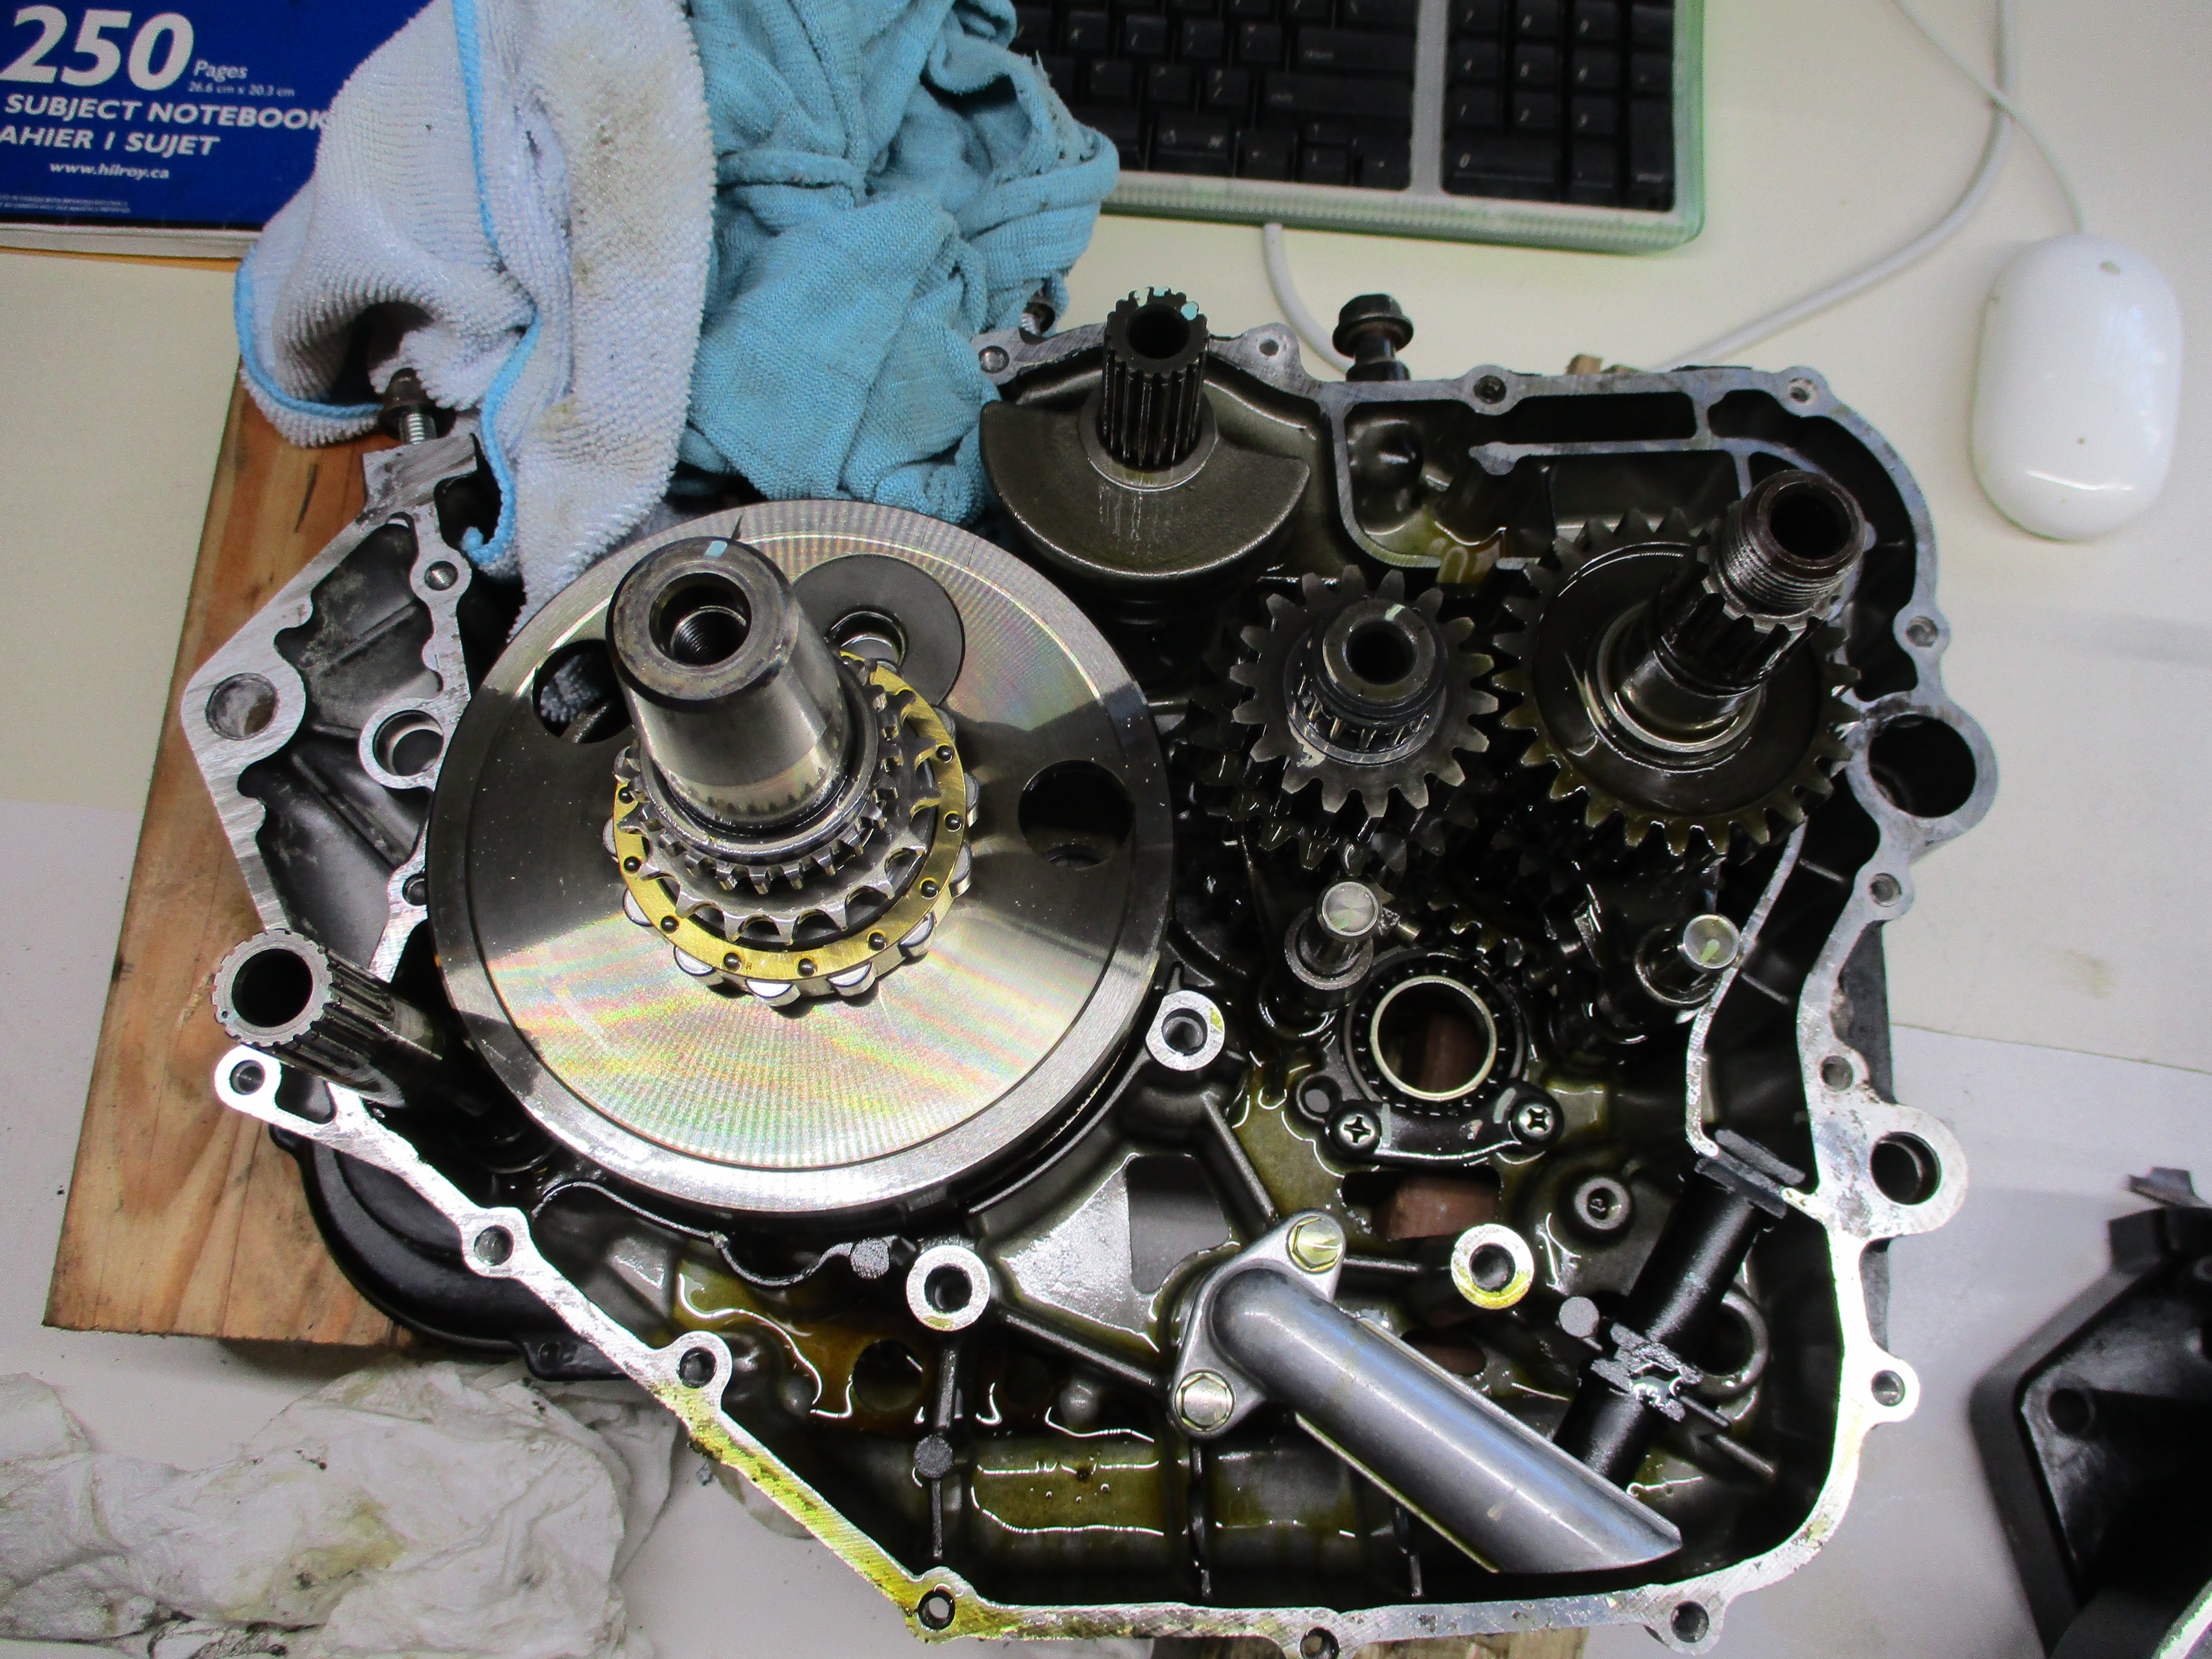
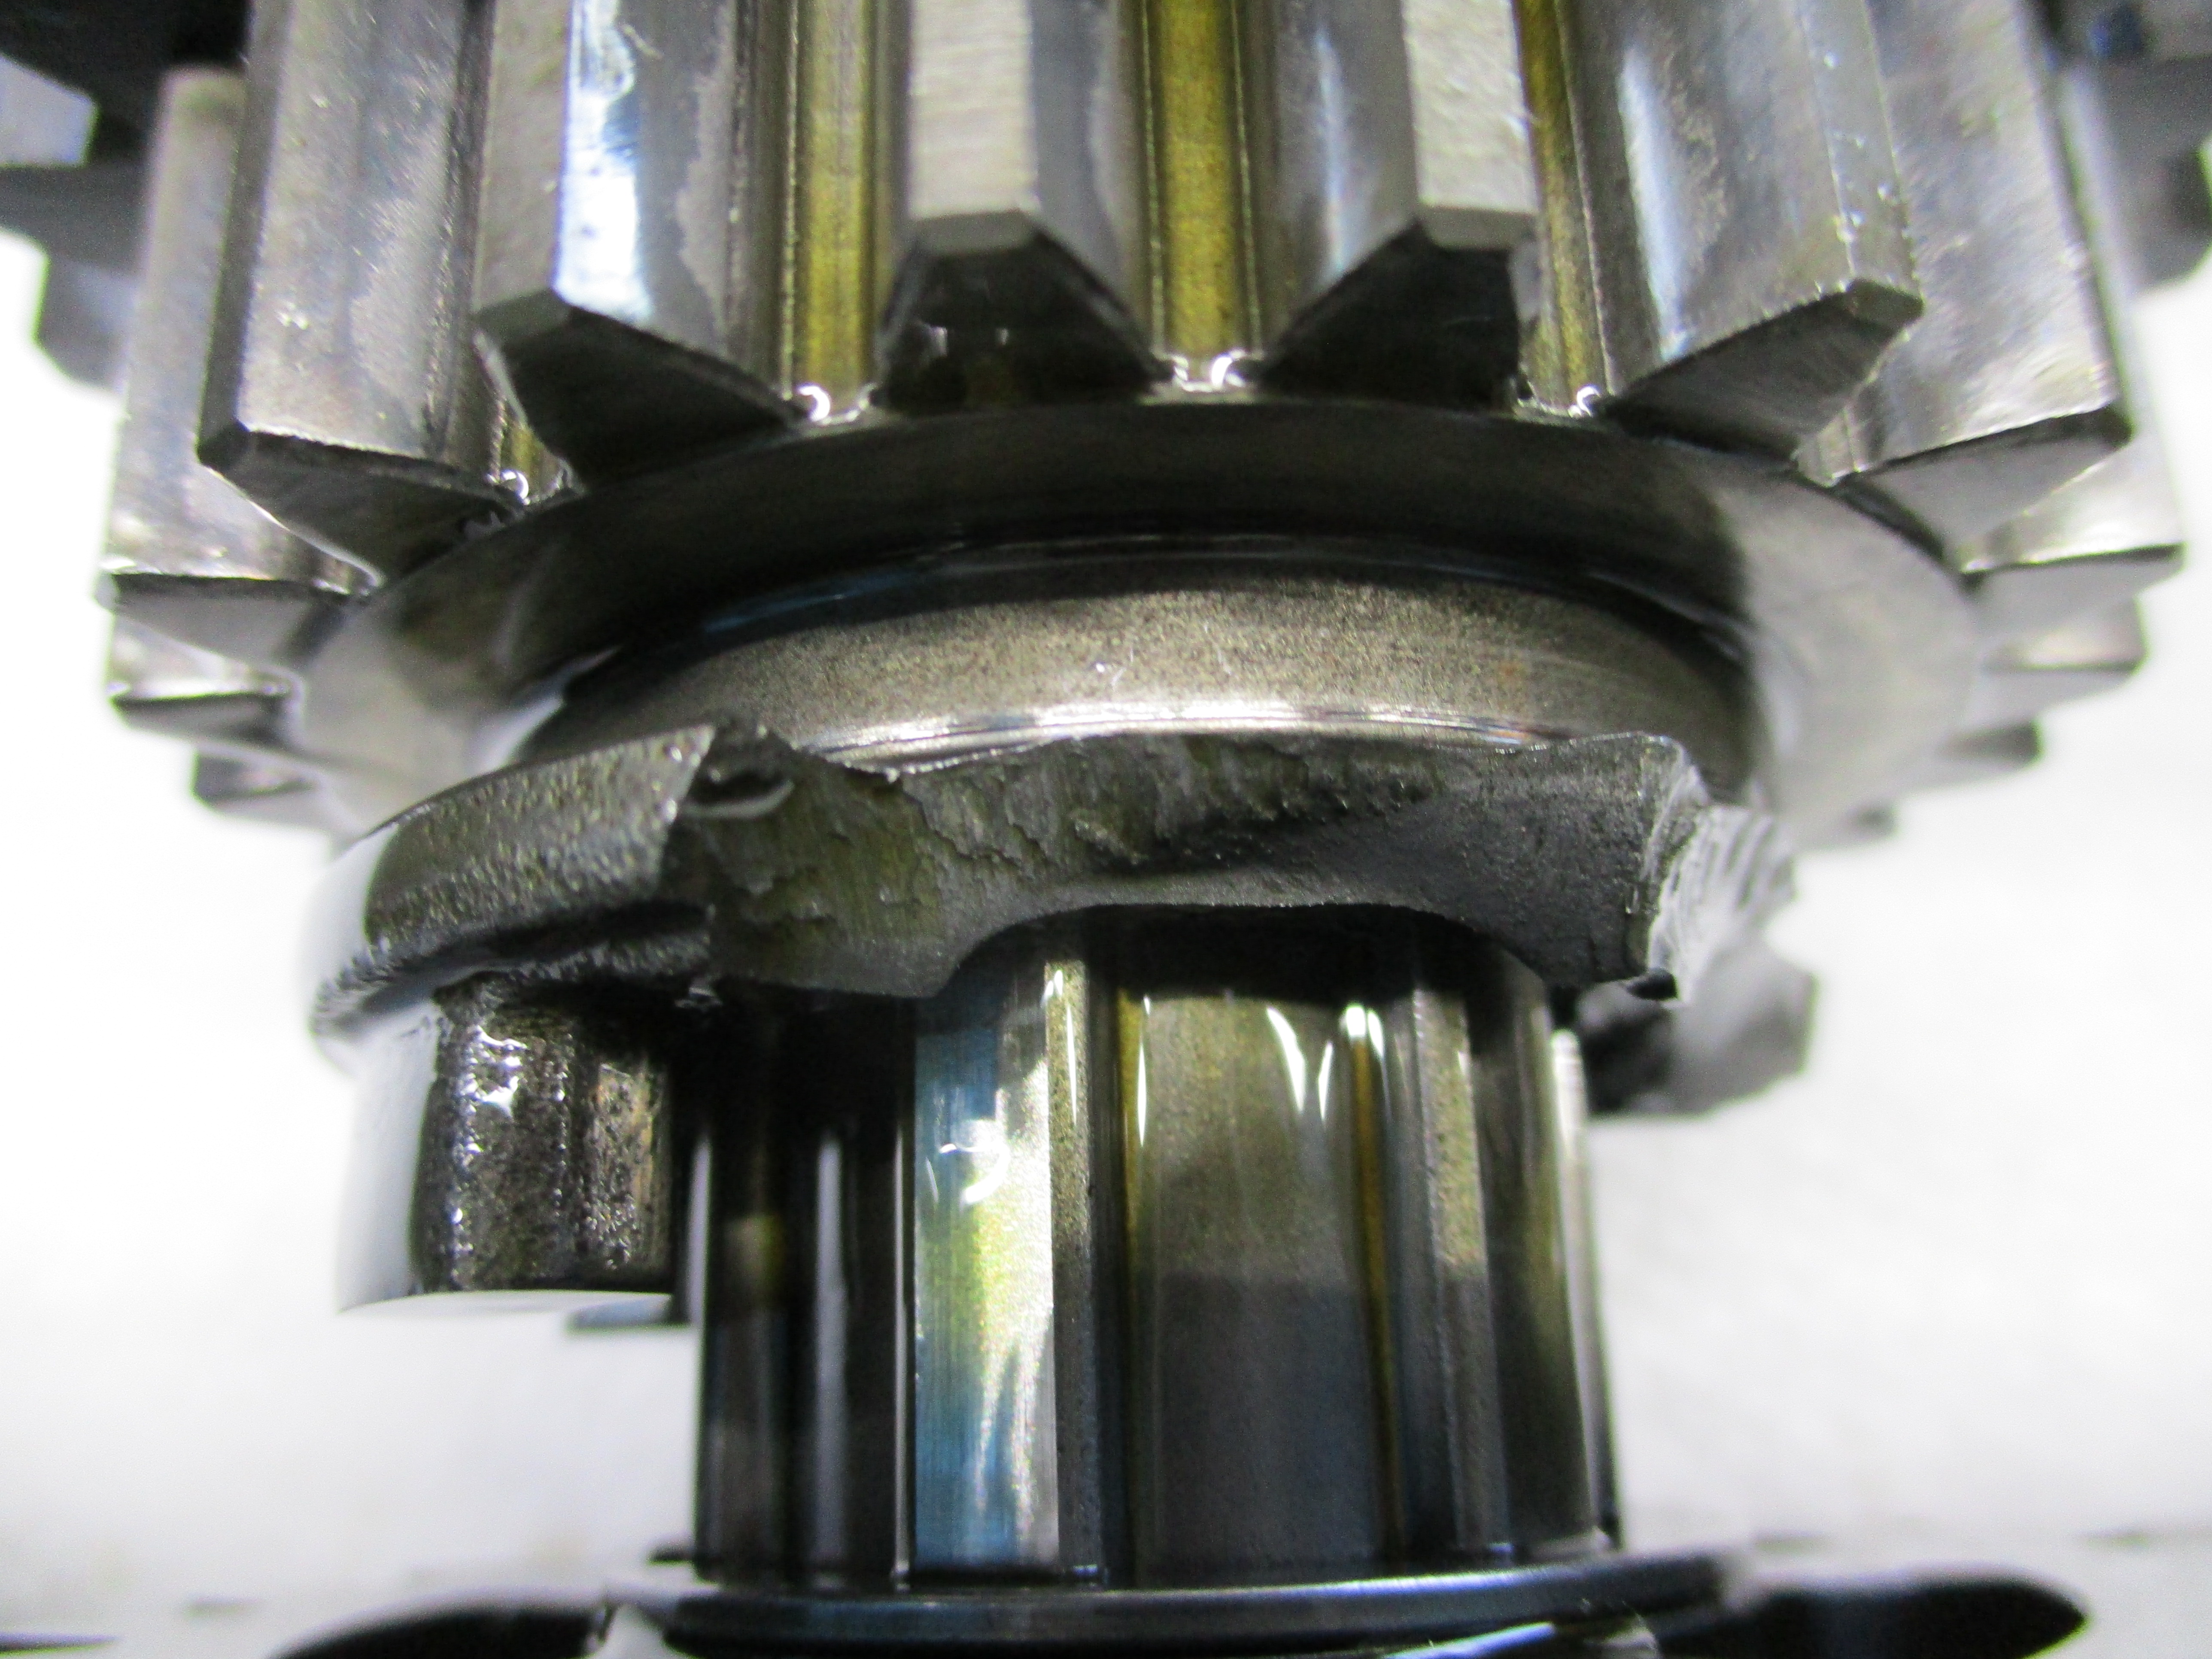
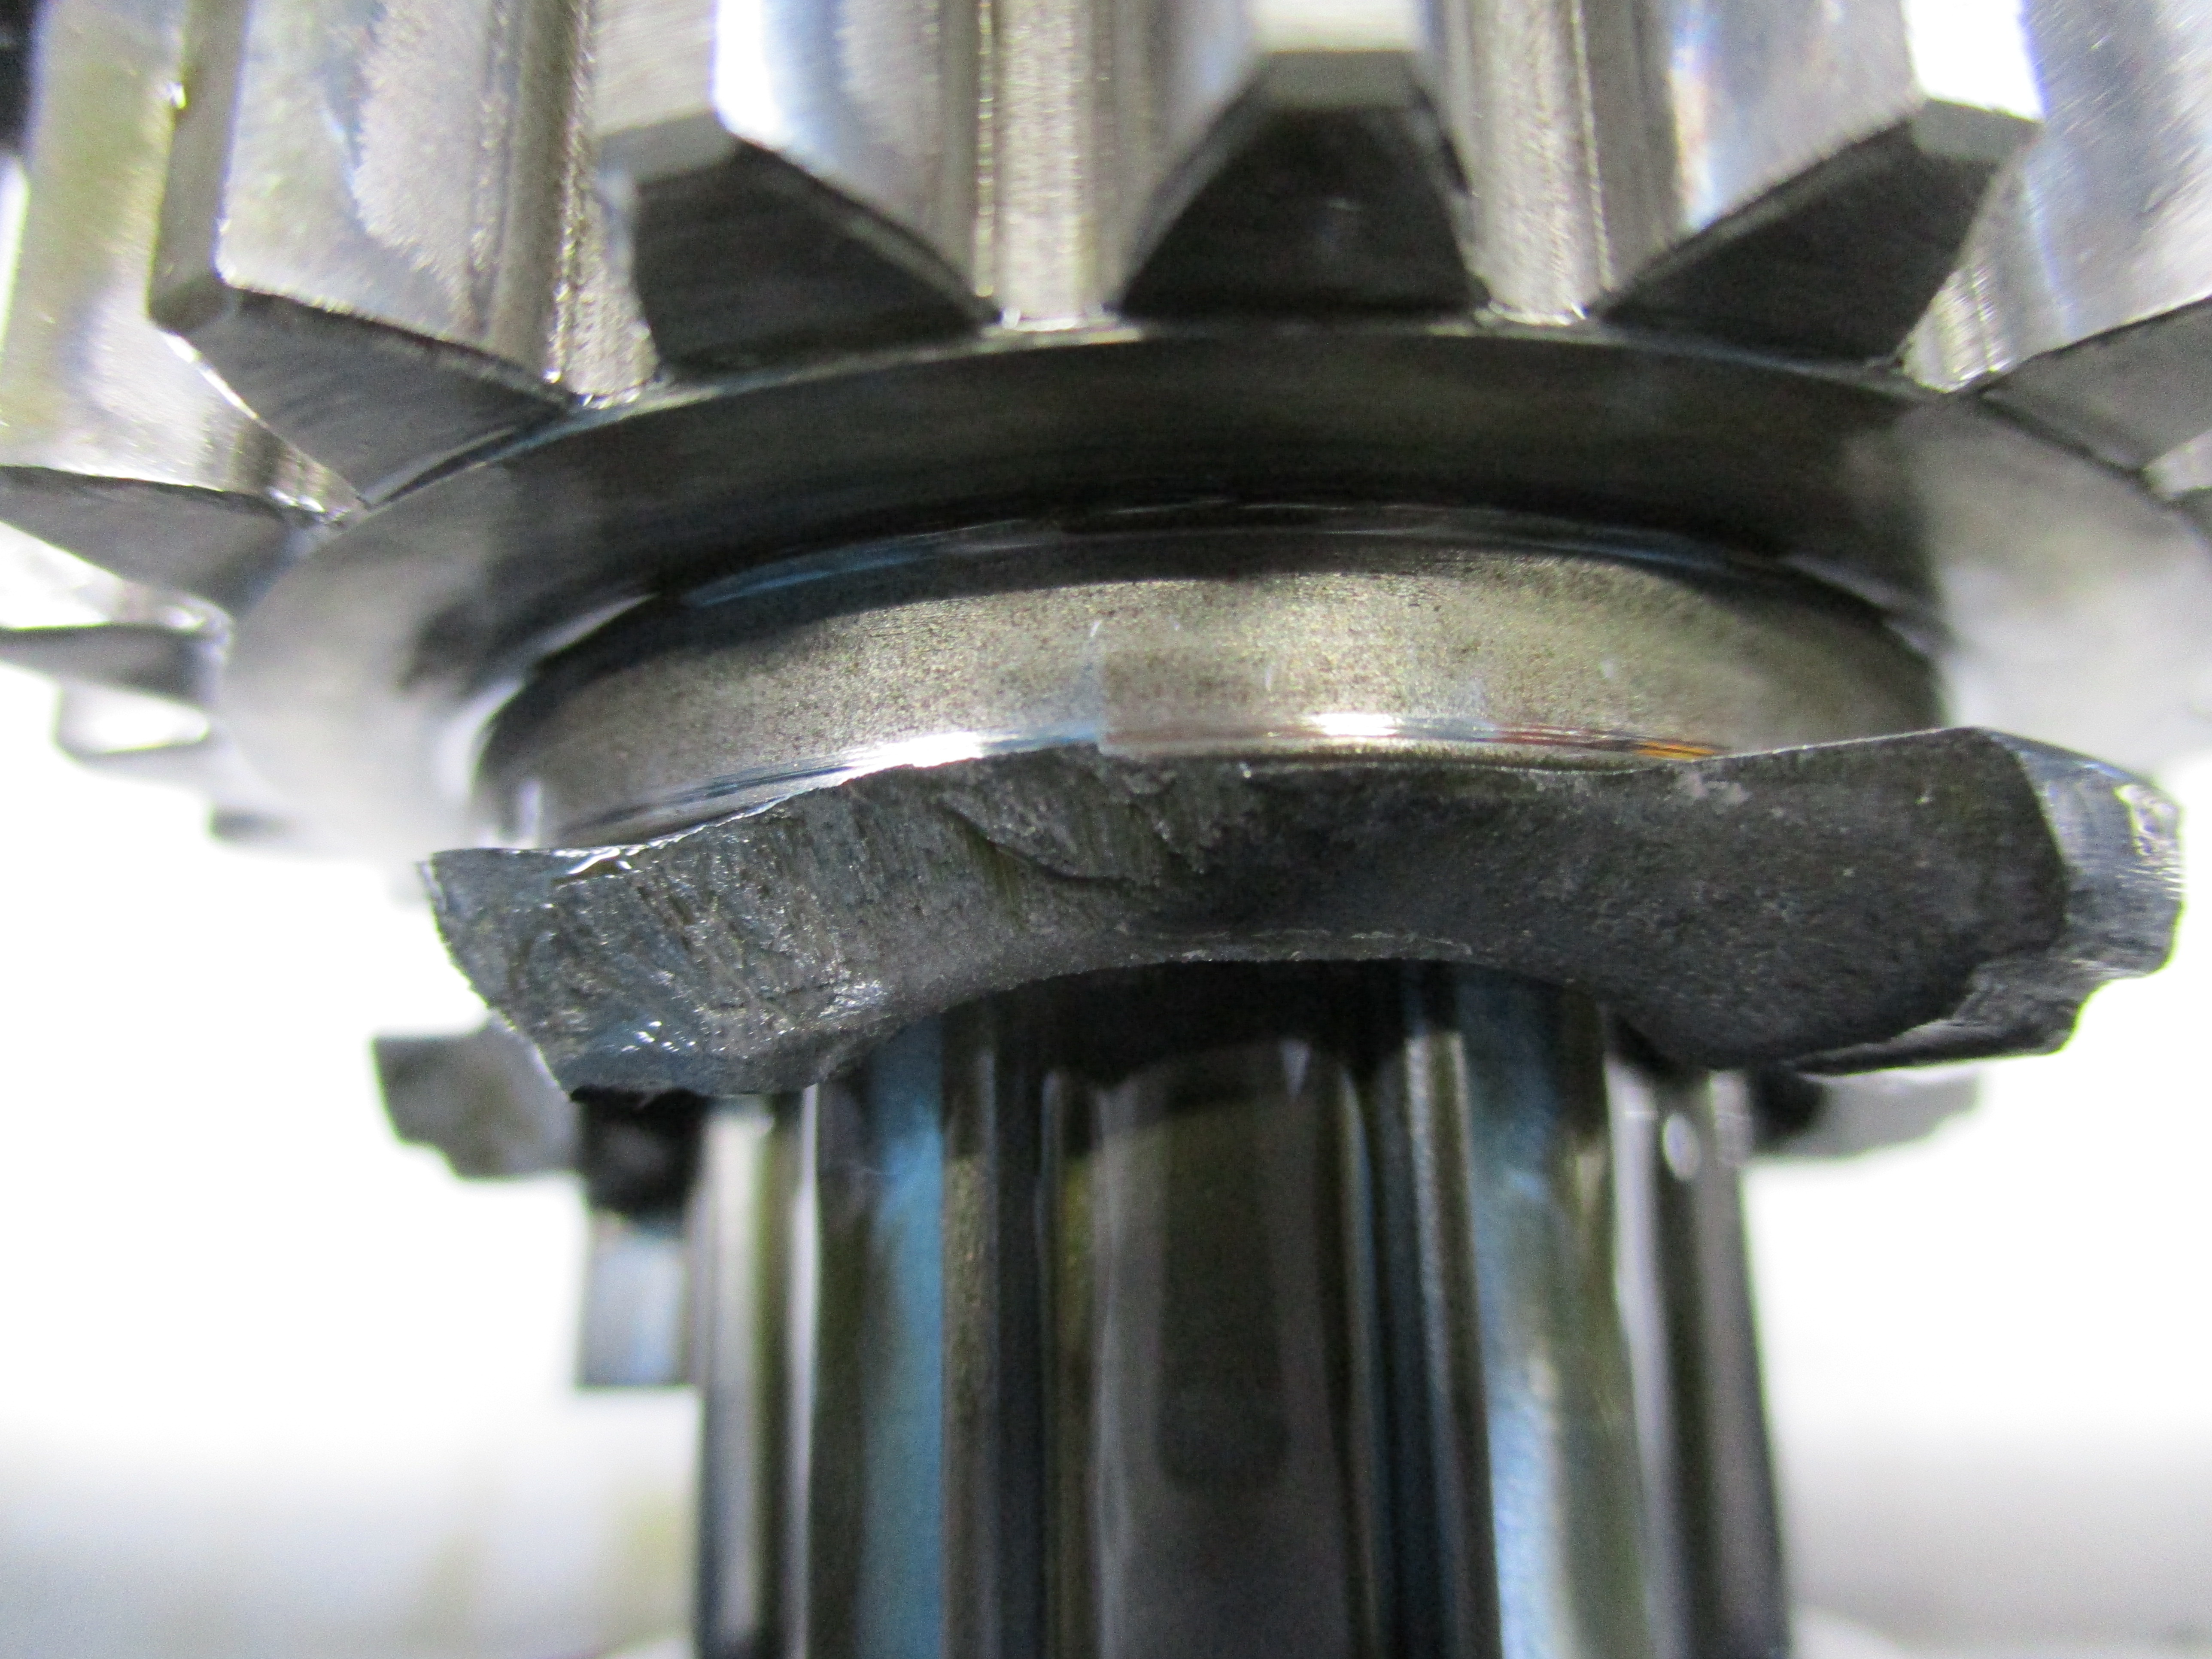
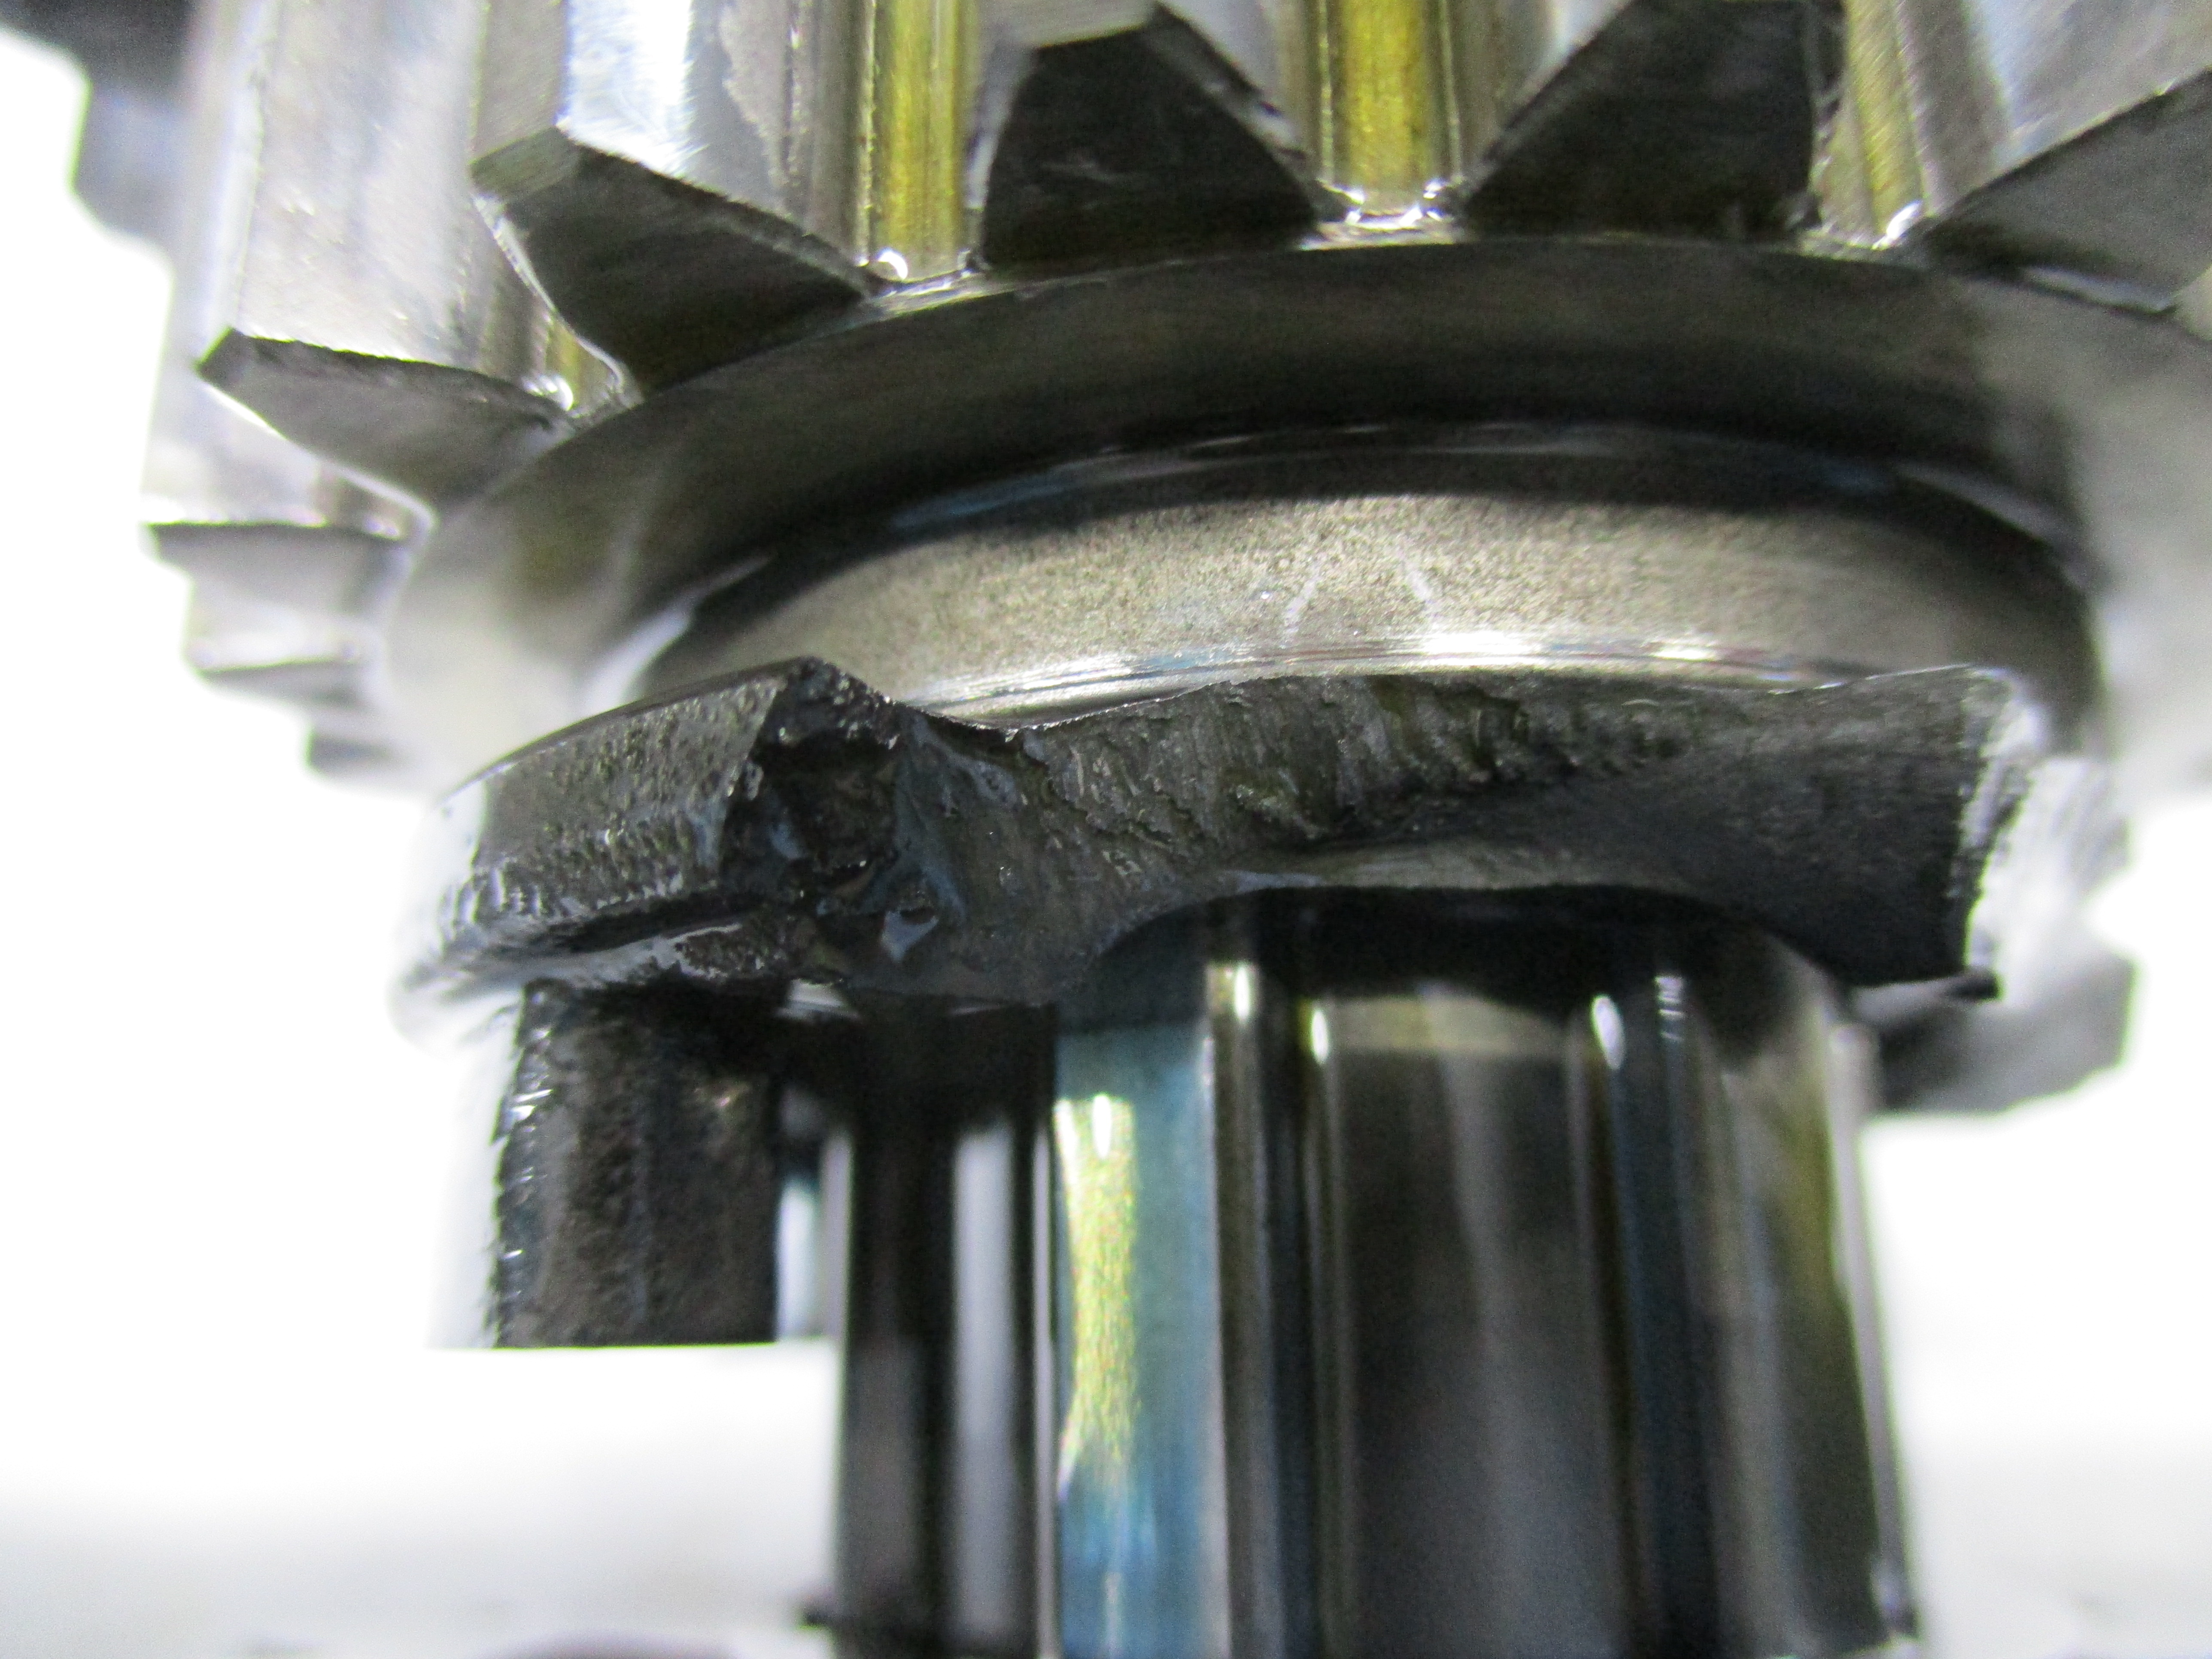
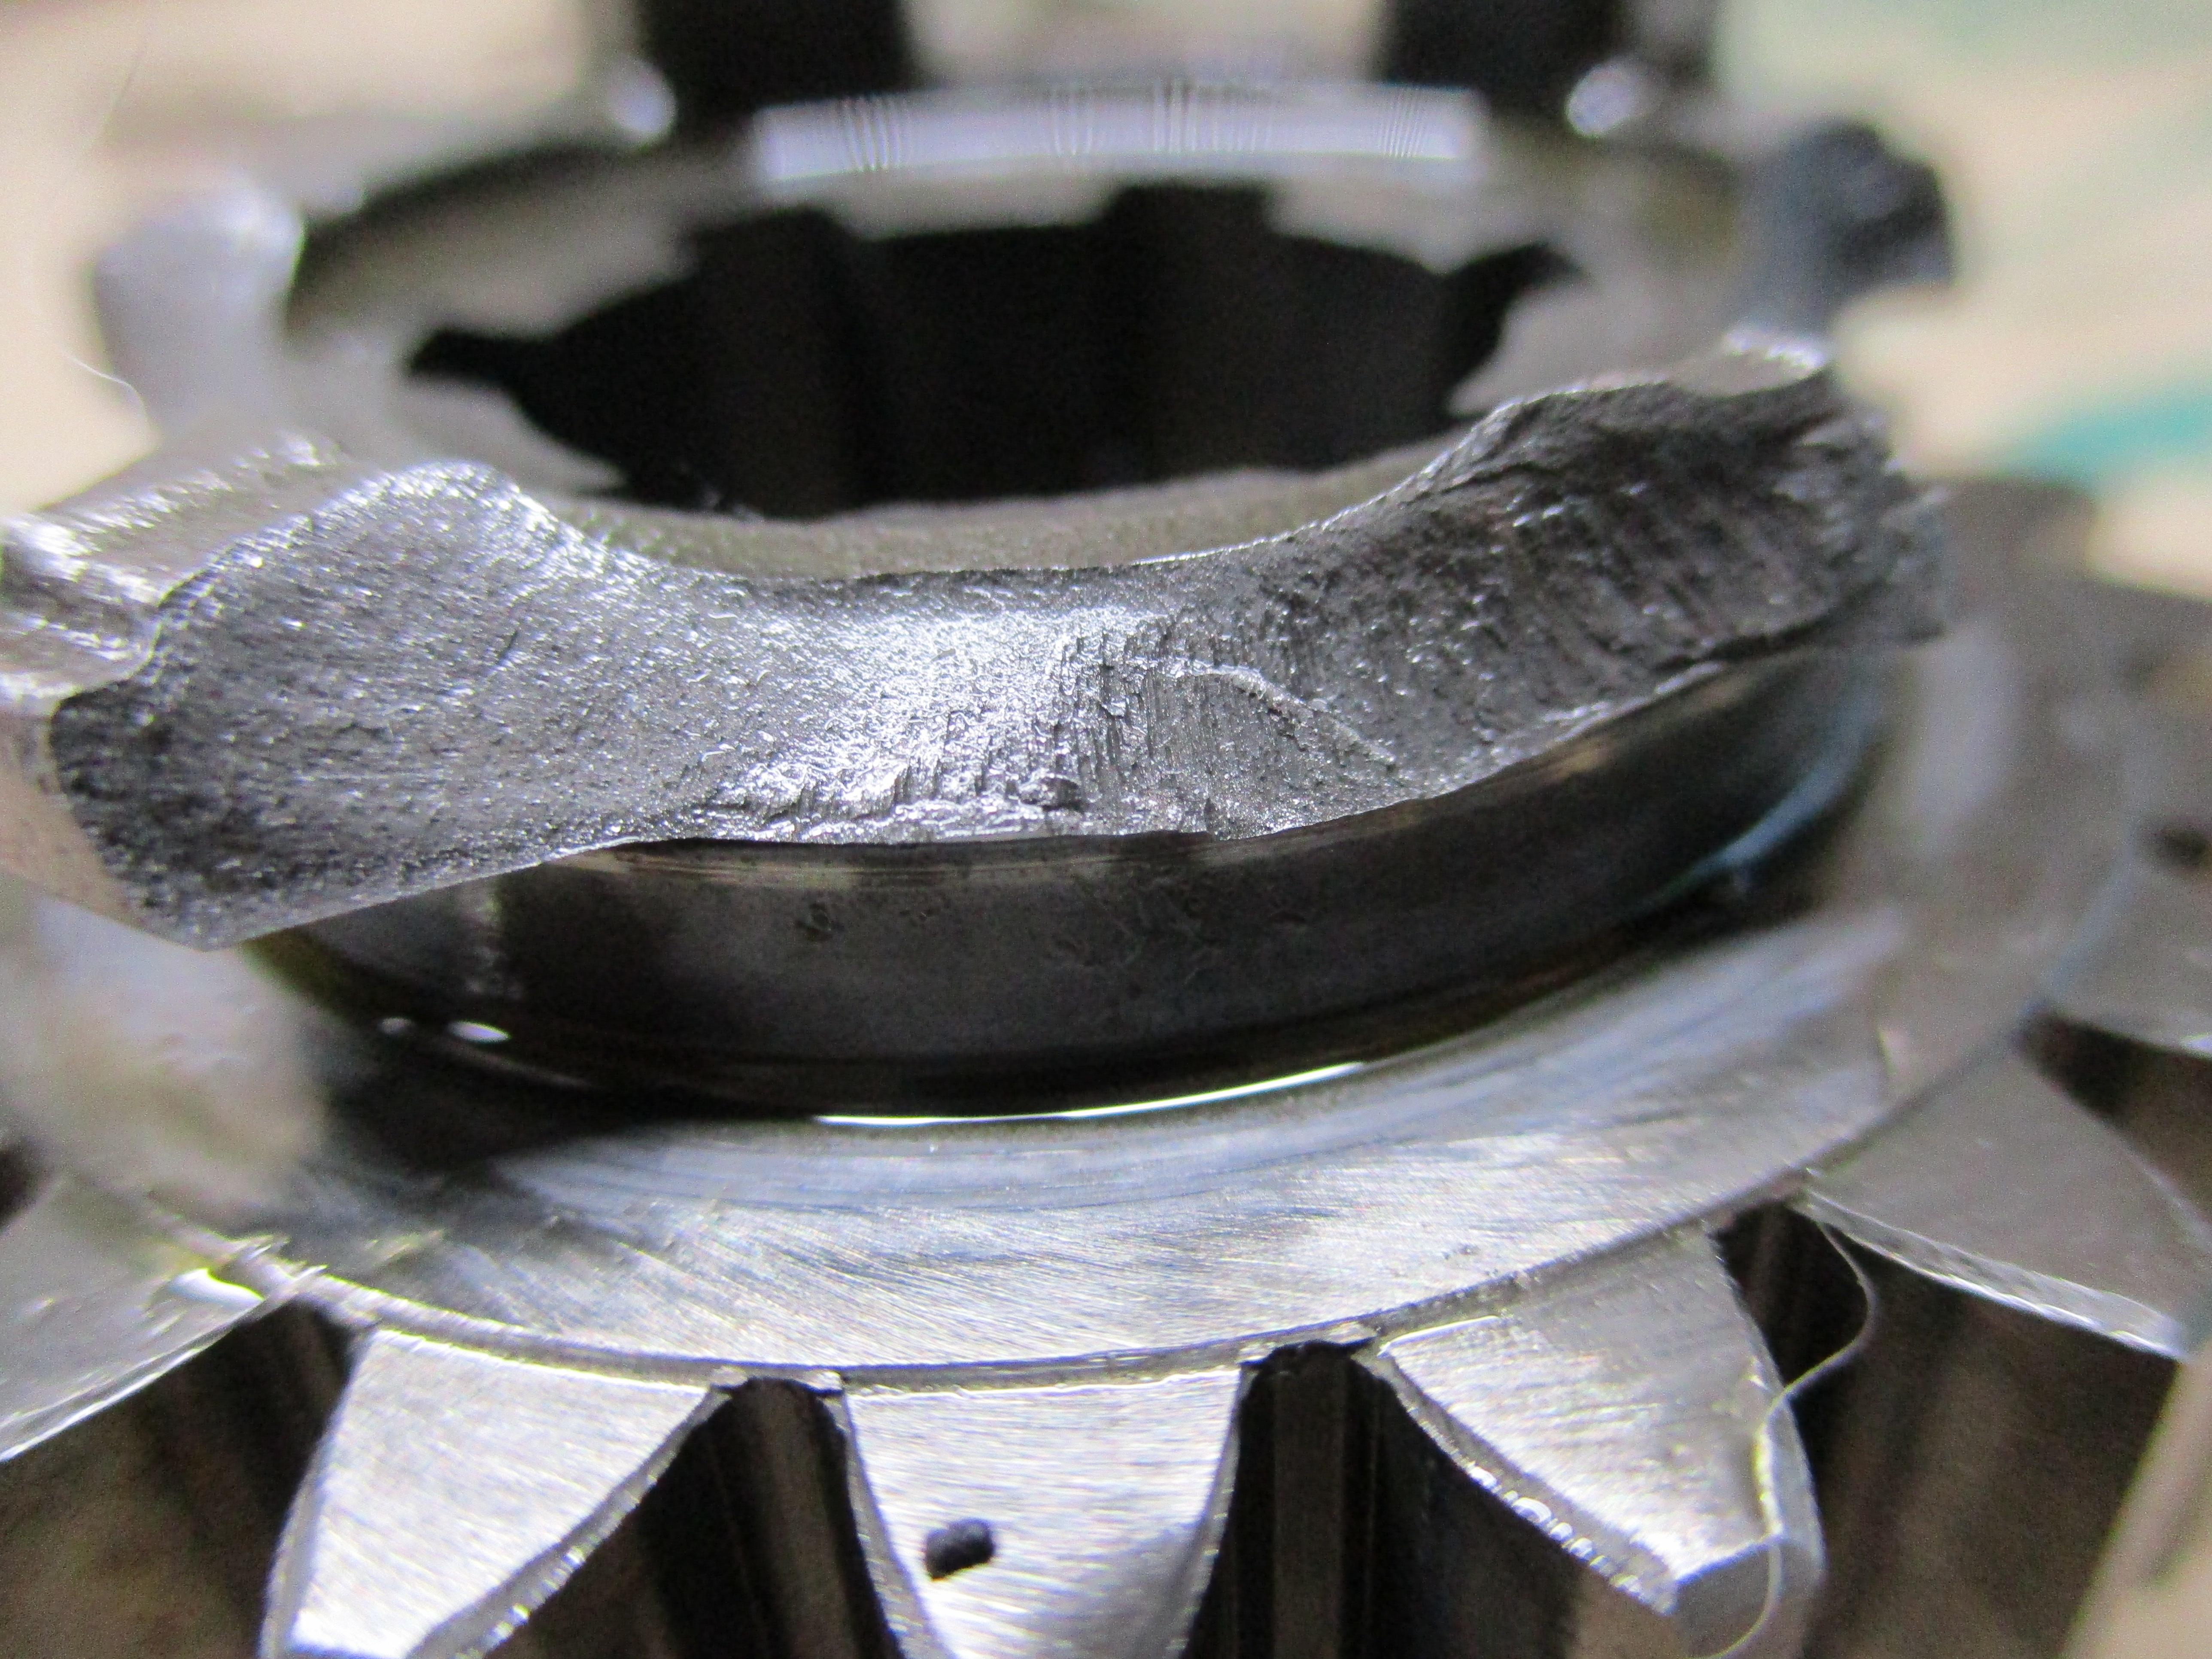
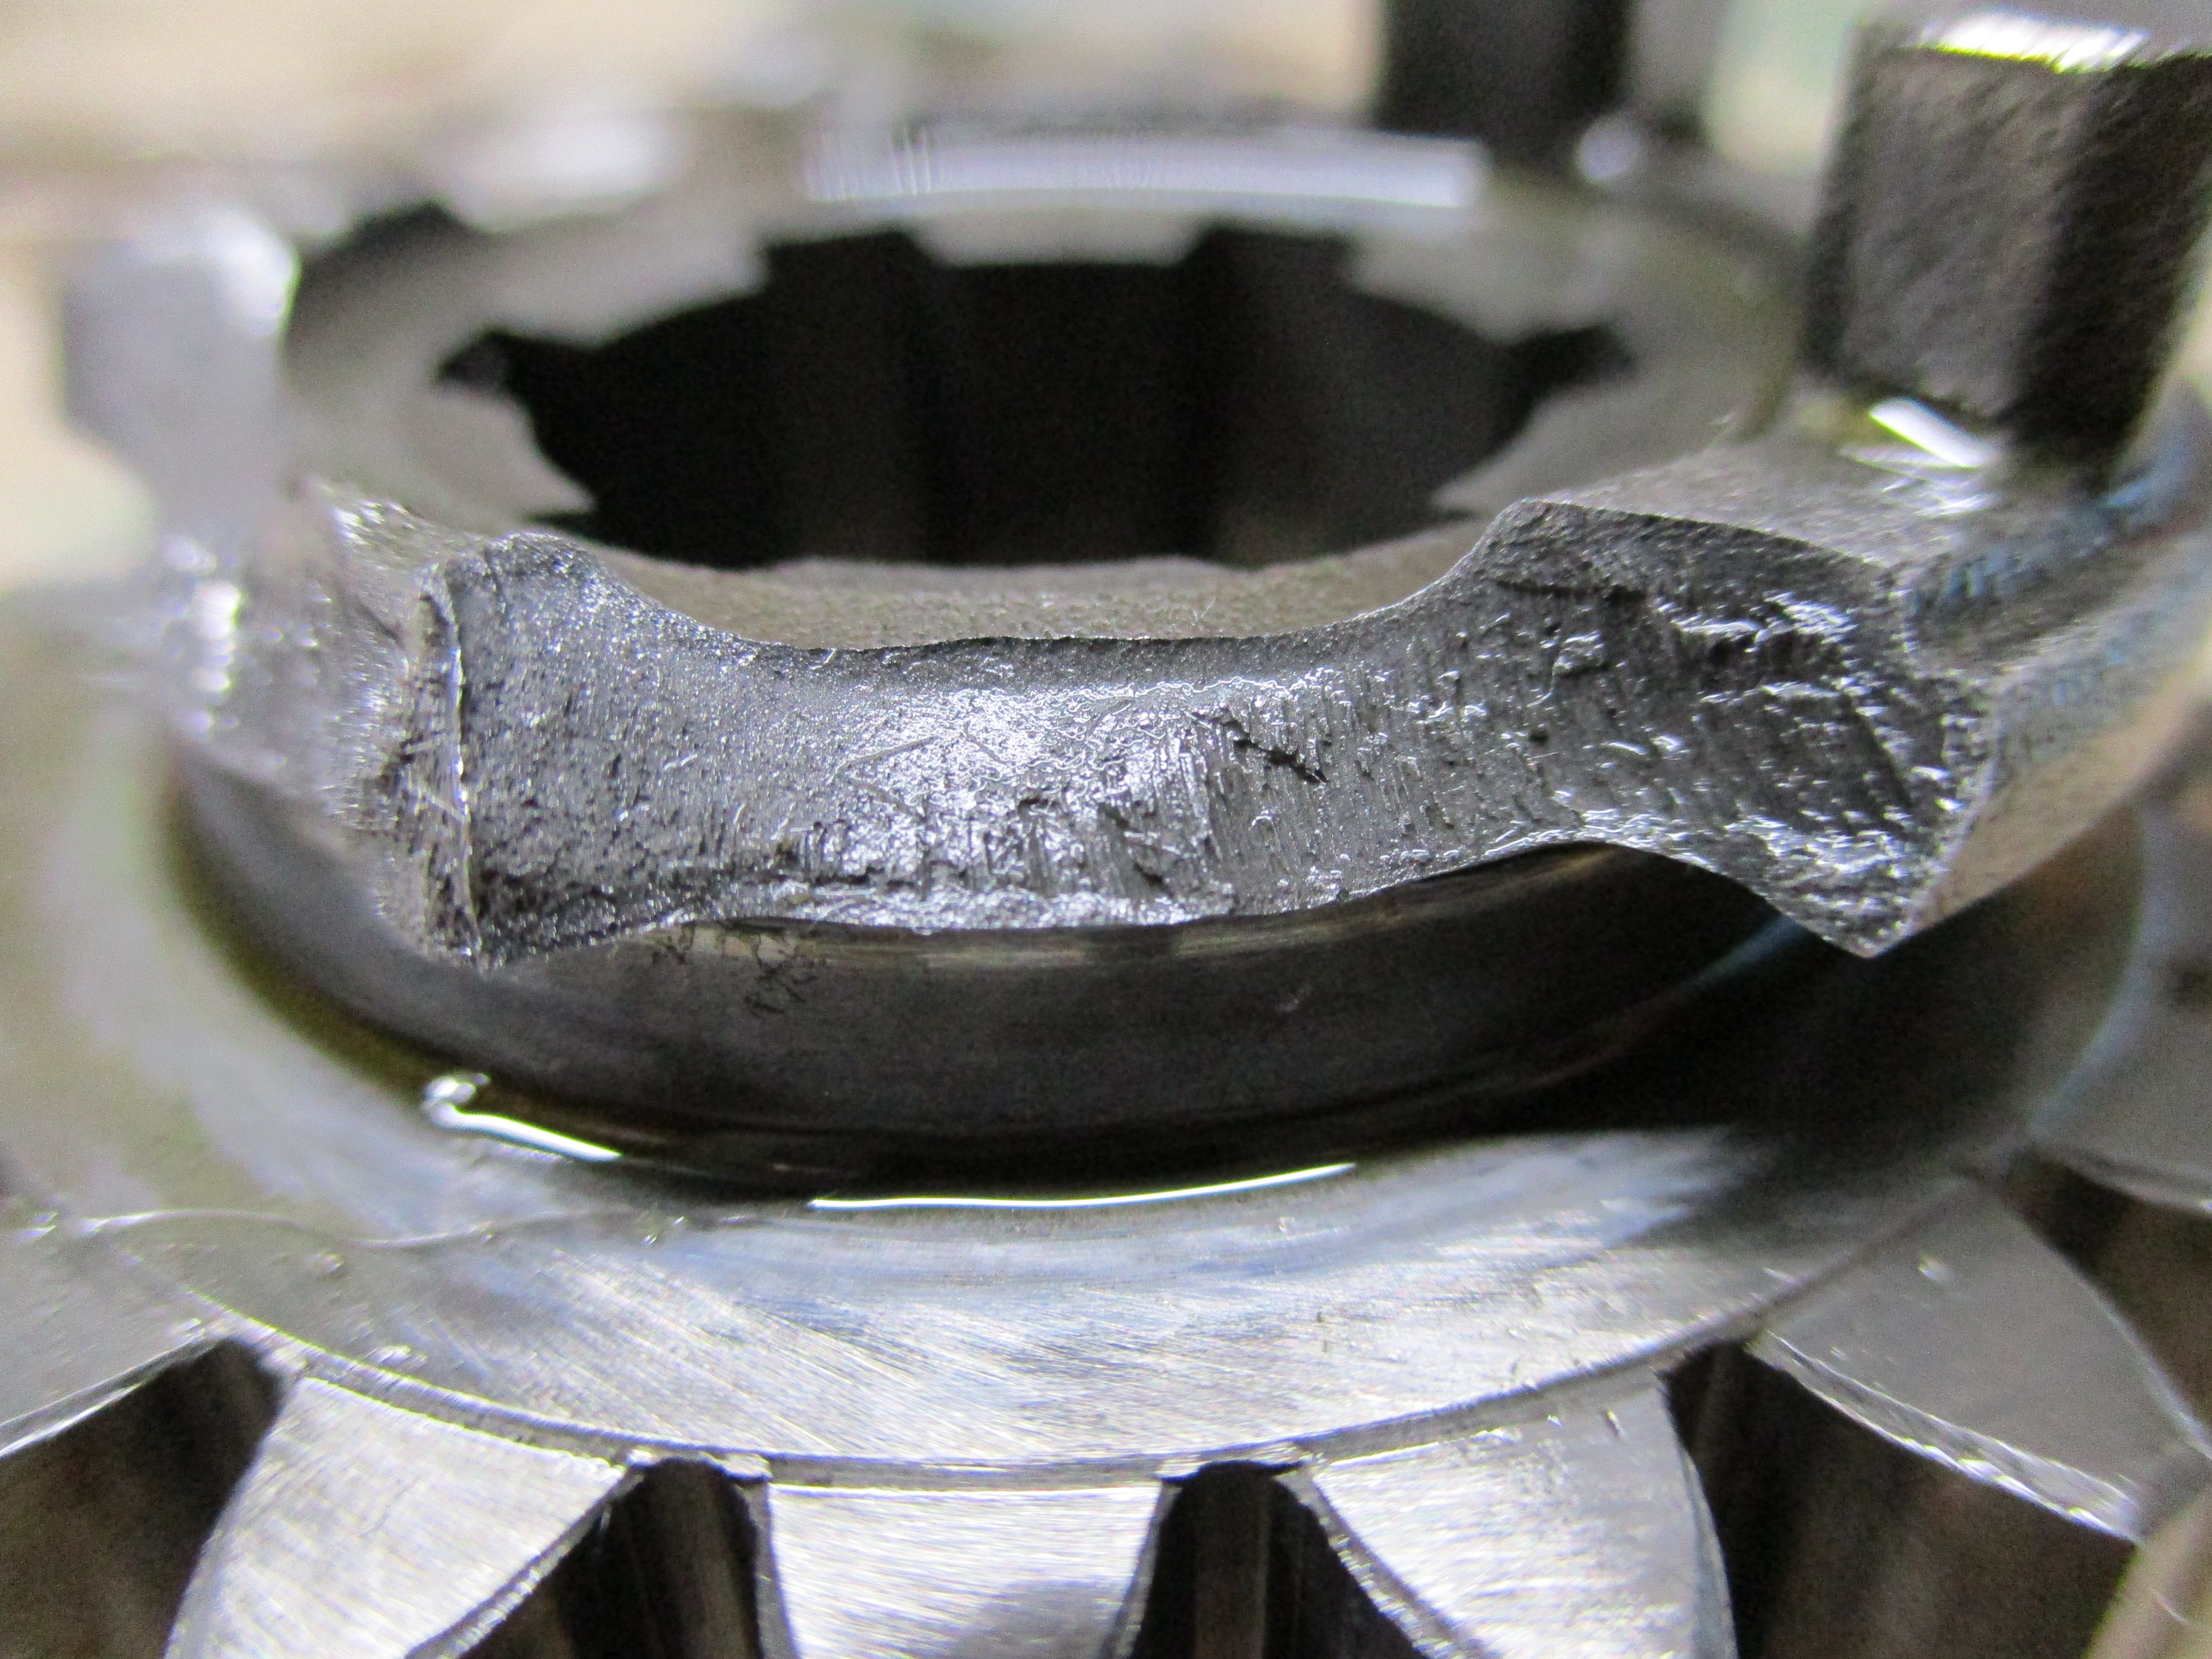
Finally I could remove the transmission and confirm my suspicions. Third gear had lost 3 of its shift dogs, leaving only 2 remaining.
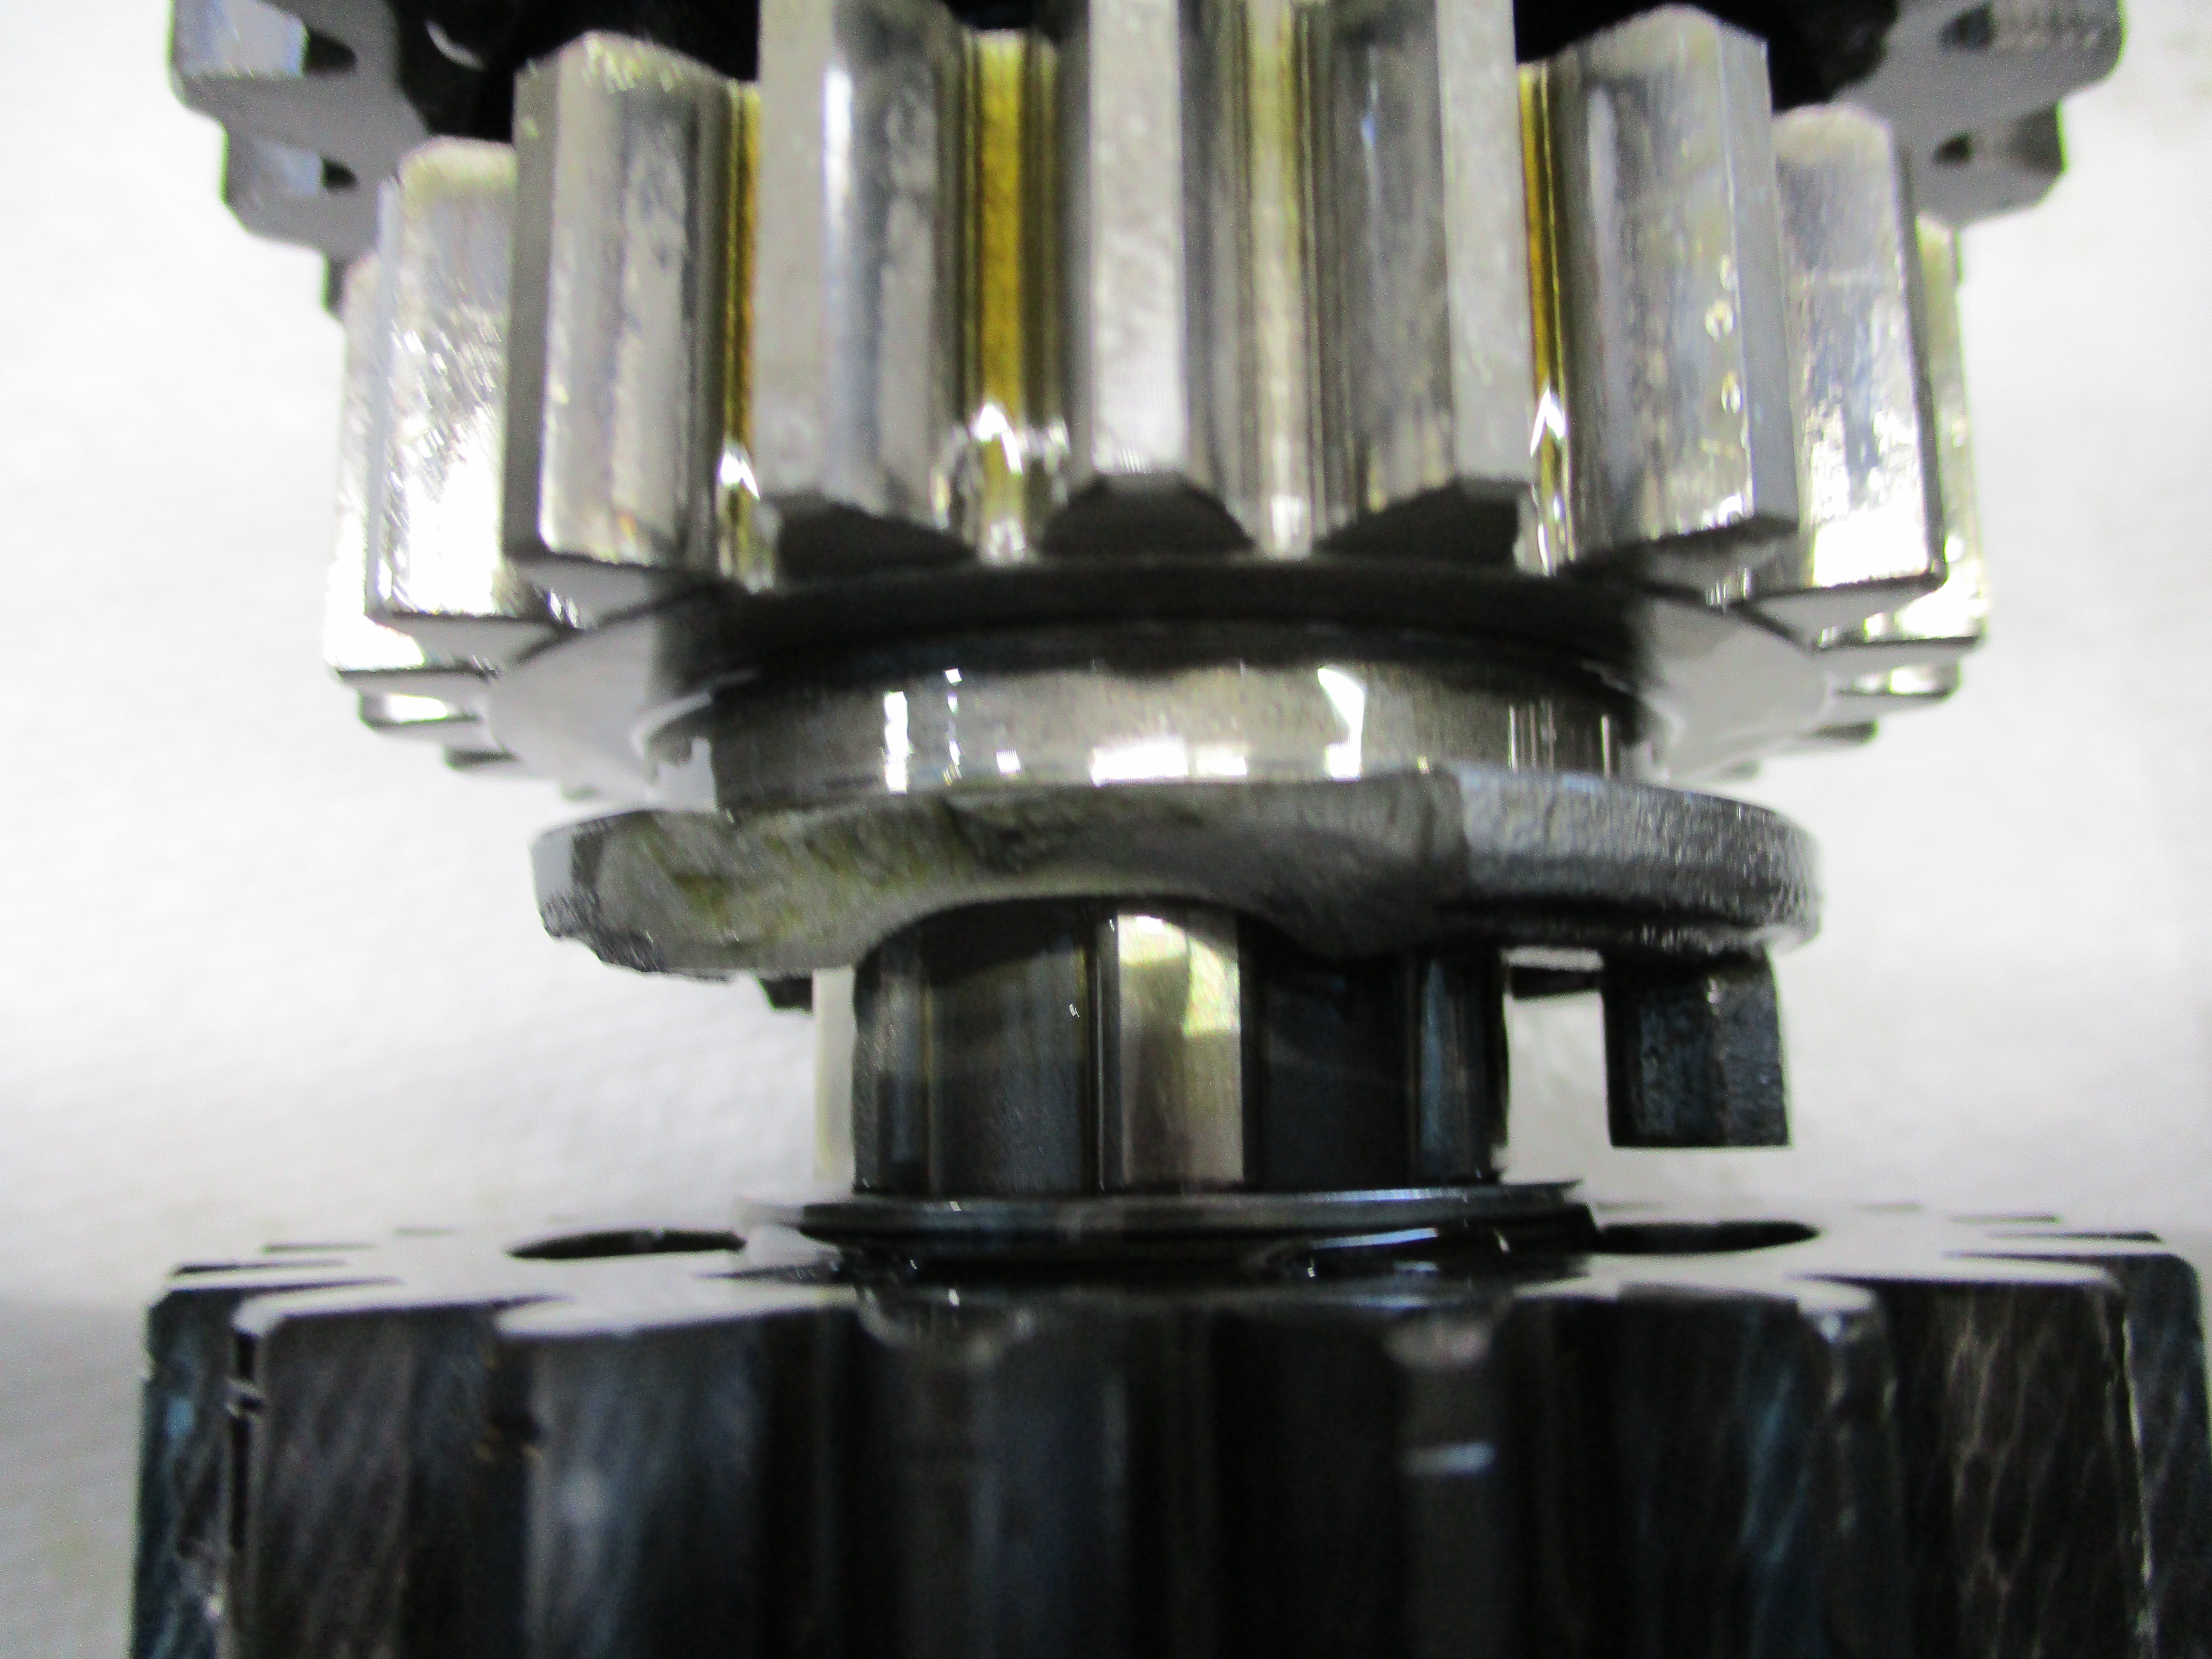
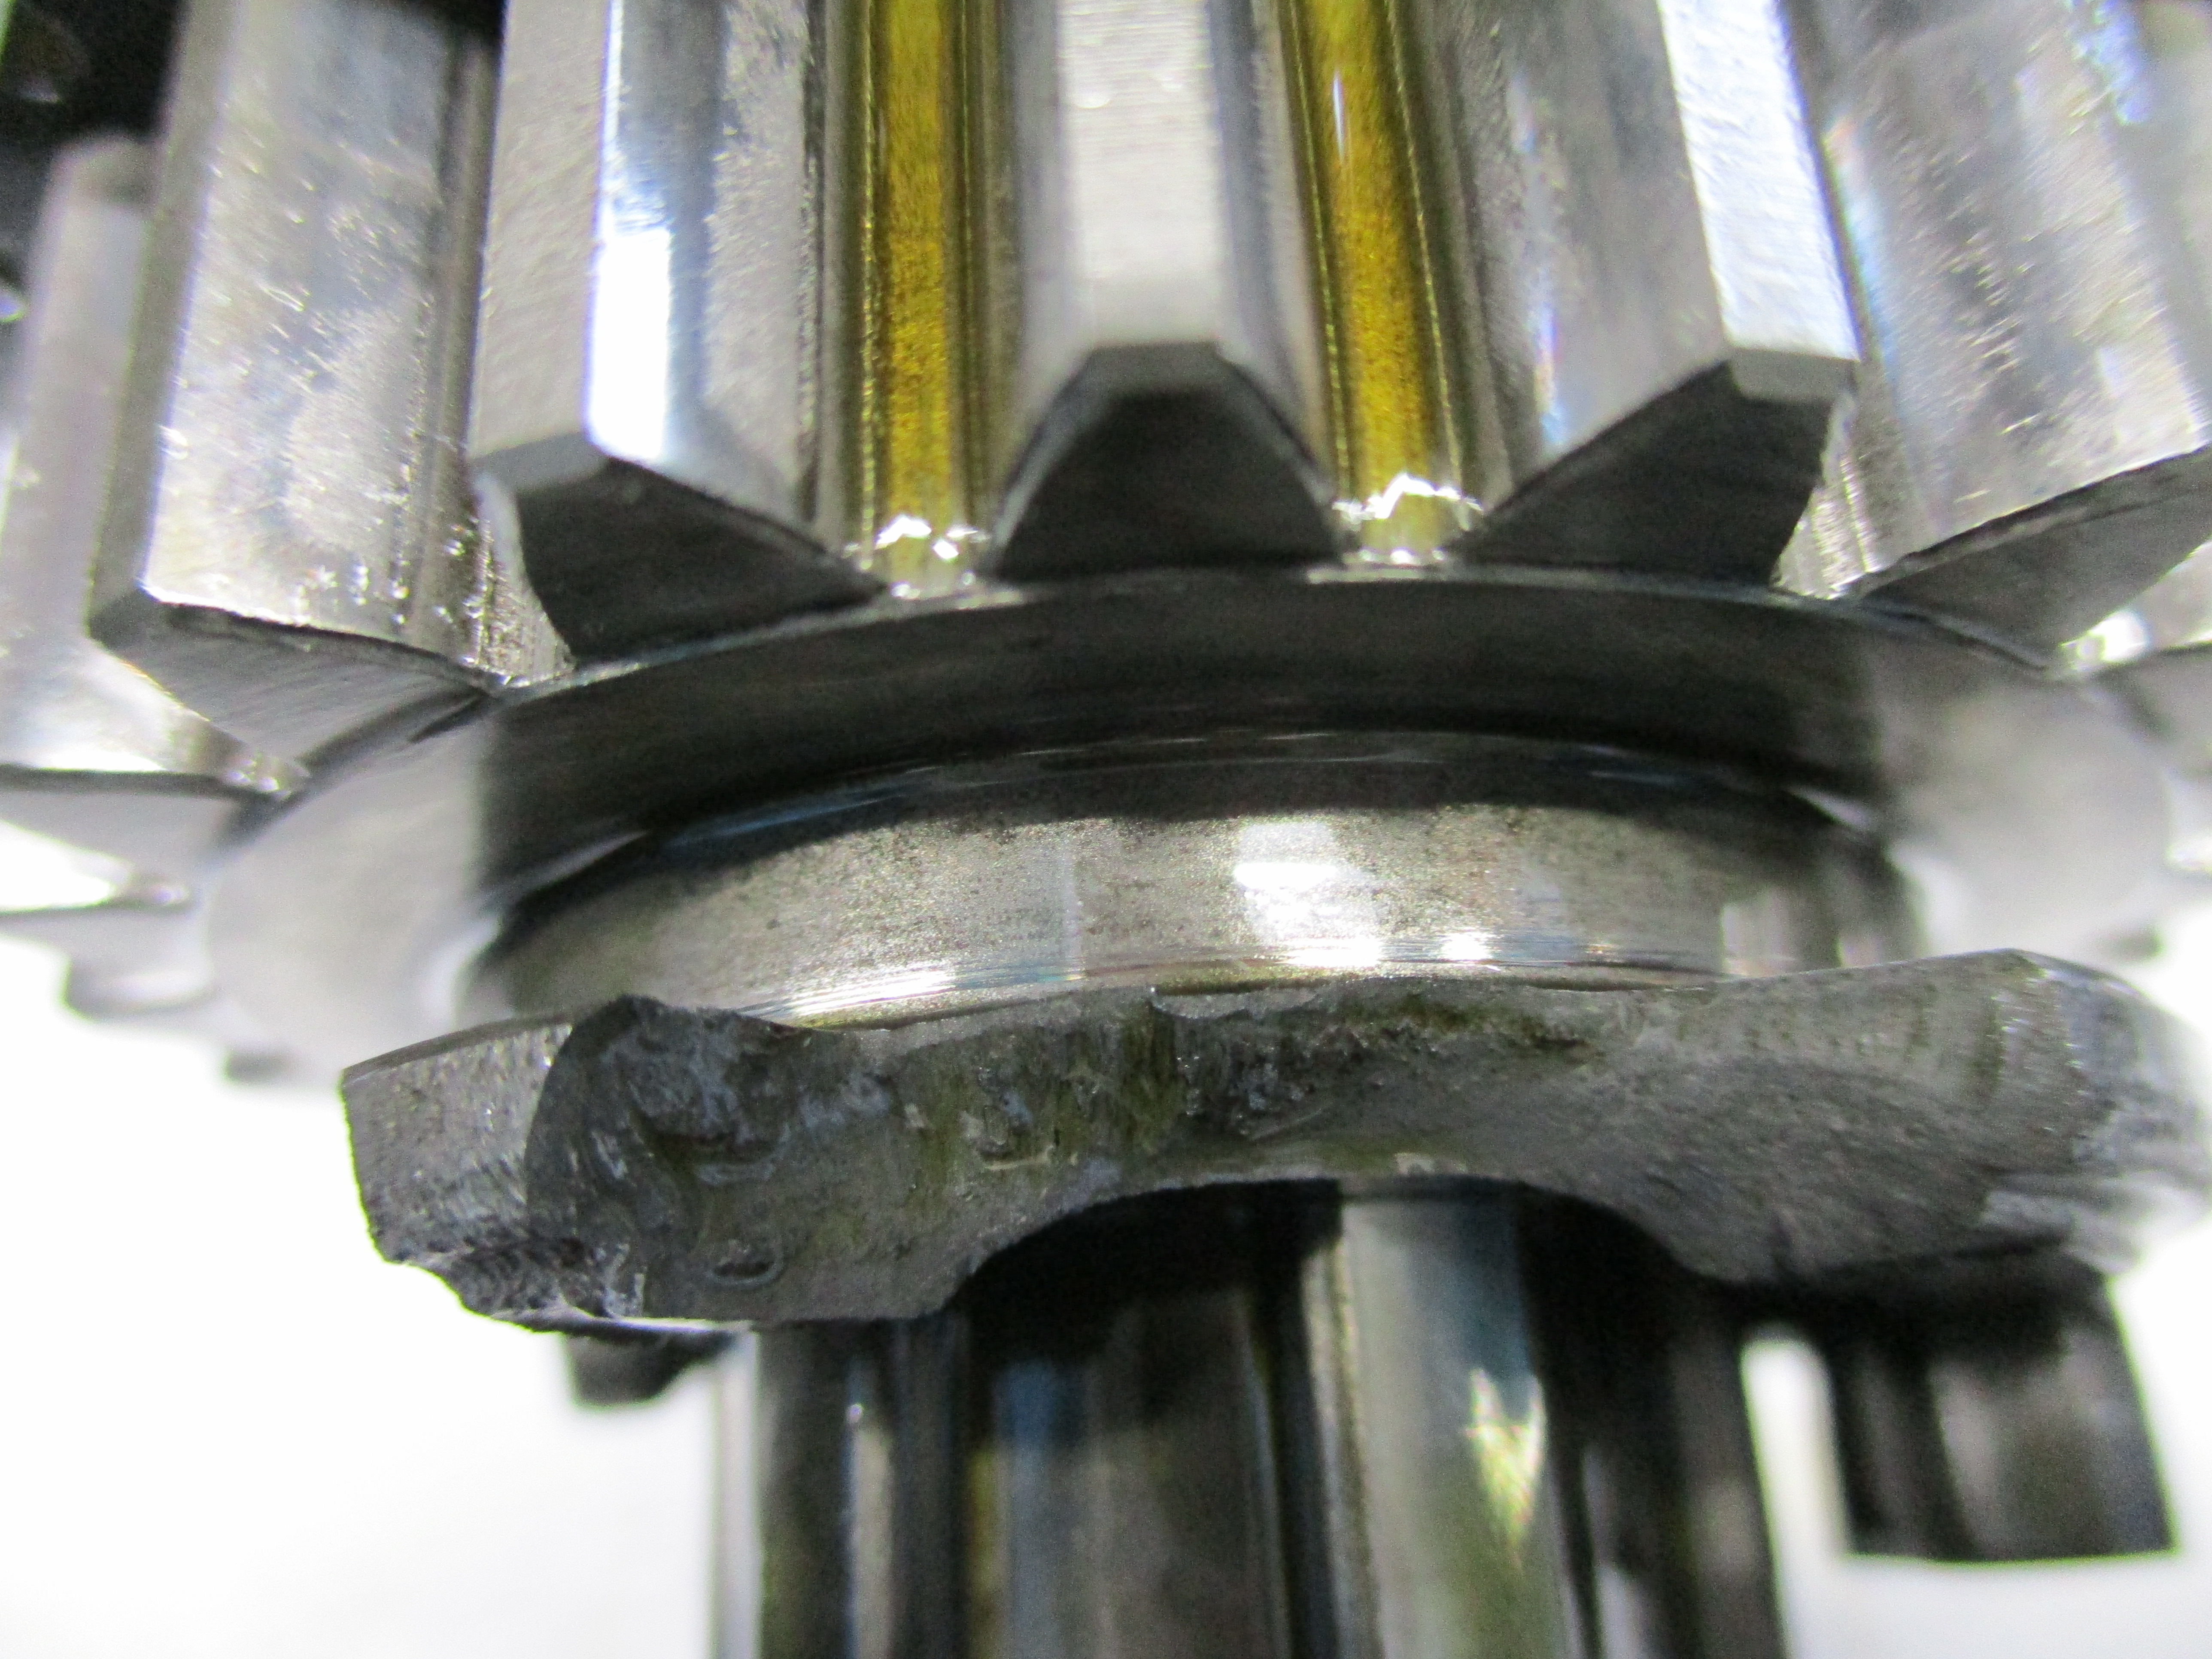
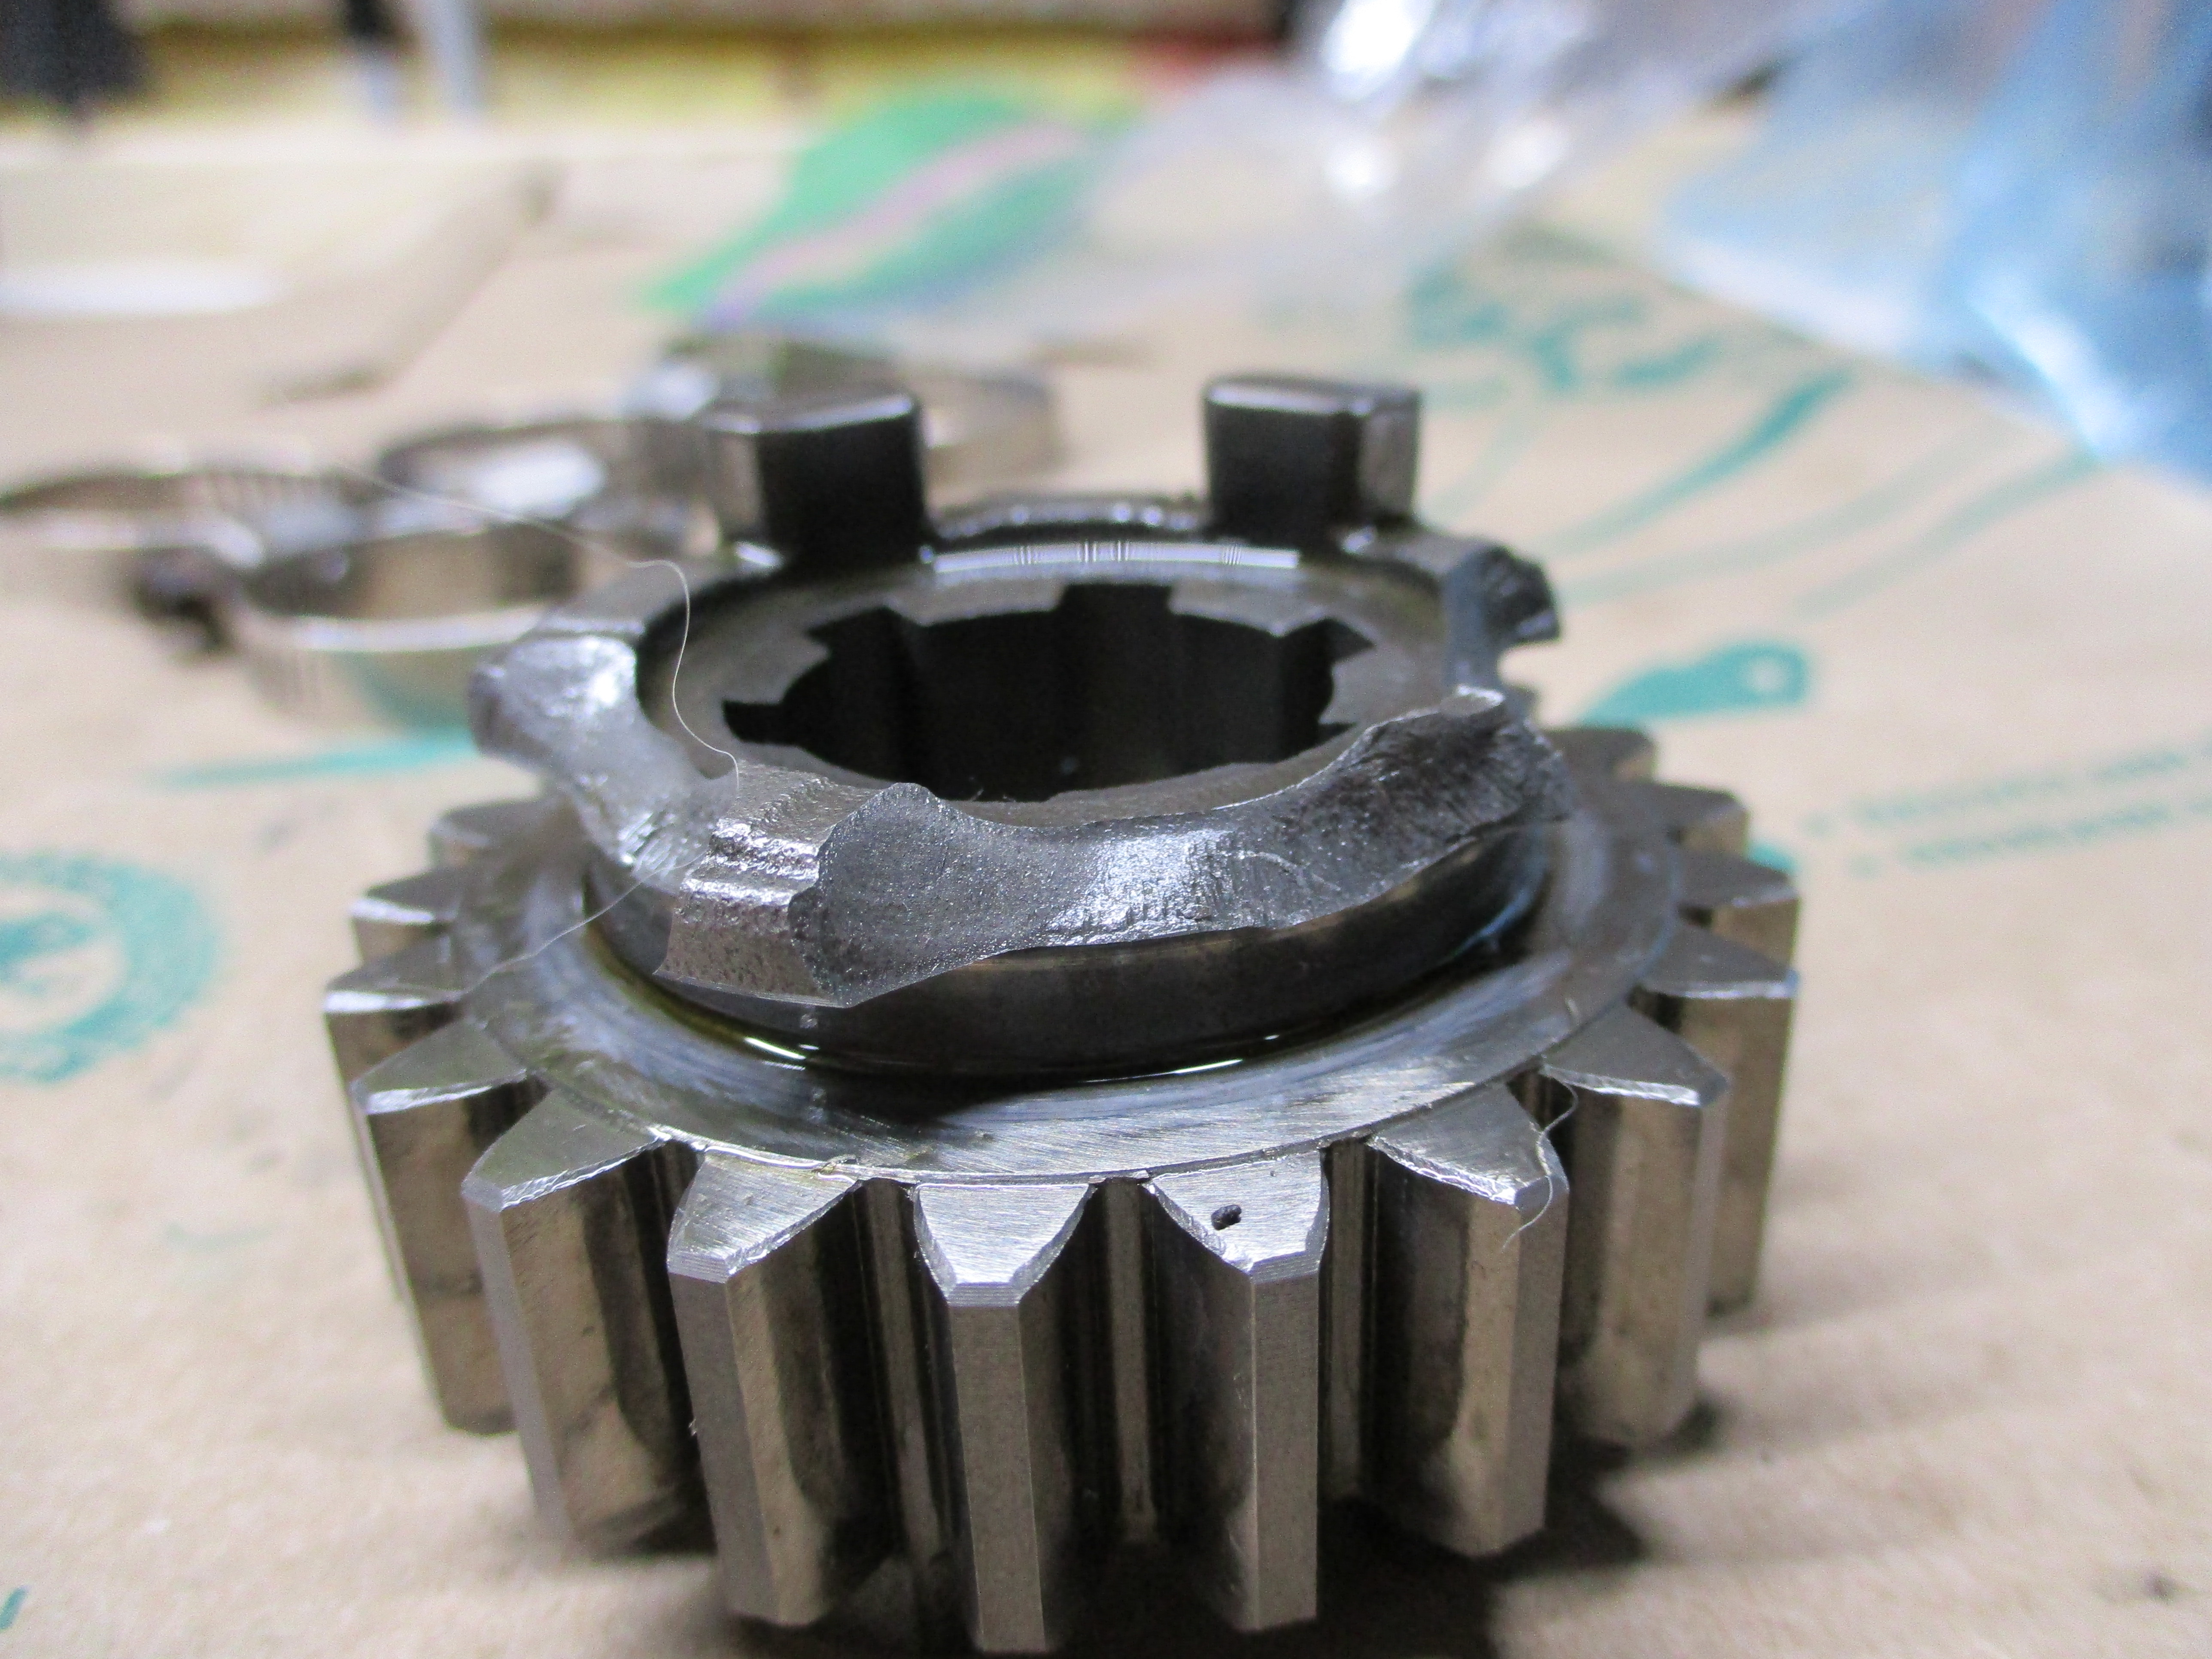

It turns out motorcycle transmissions use many types of clips to hold everything in position and I did not count on this and did not have new ones on hand. Originally I wanted to take the spare third gear and mount it in my original transmission, but instead I just replaced my entire transmission with the spare. Looking at them they seemed identical, right? I could not find anything confirming a 2008 transmission would work in a 2015.
Here are the output and input shafts of the original and spare transmissions. Notice the right side of the input shafts where the clutch mounts, they are slightly different as I was about to find out.


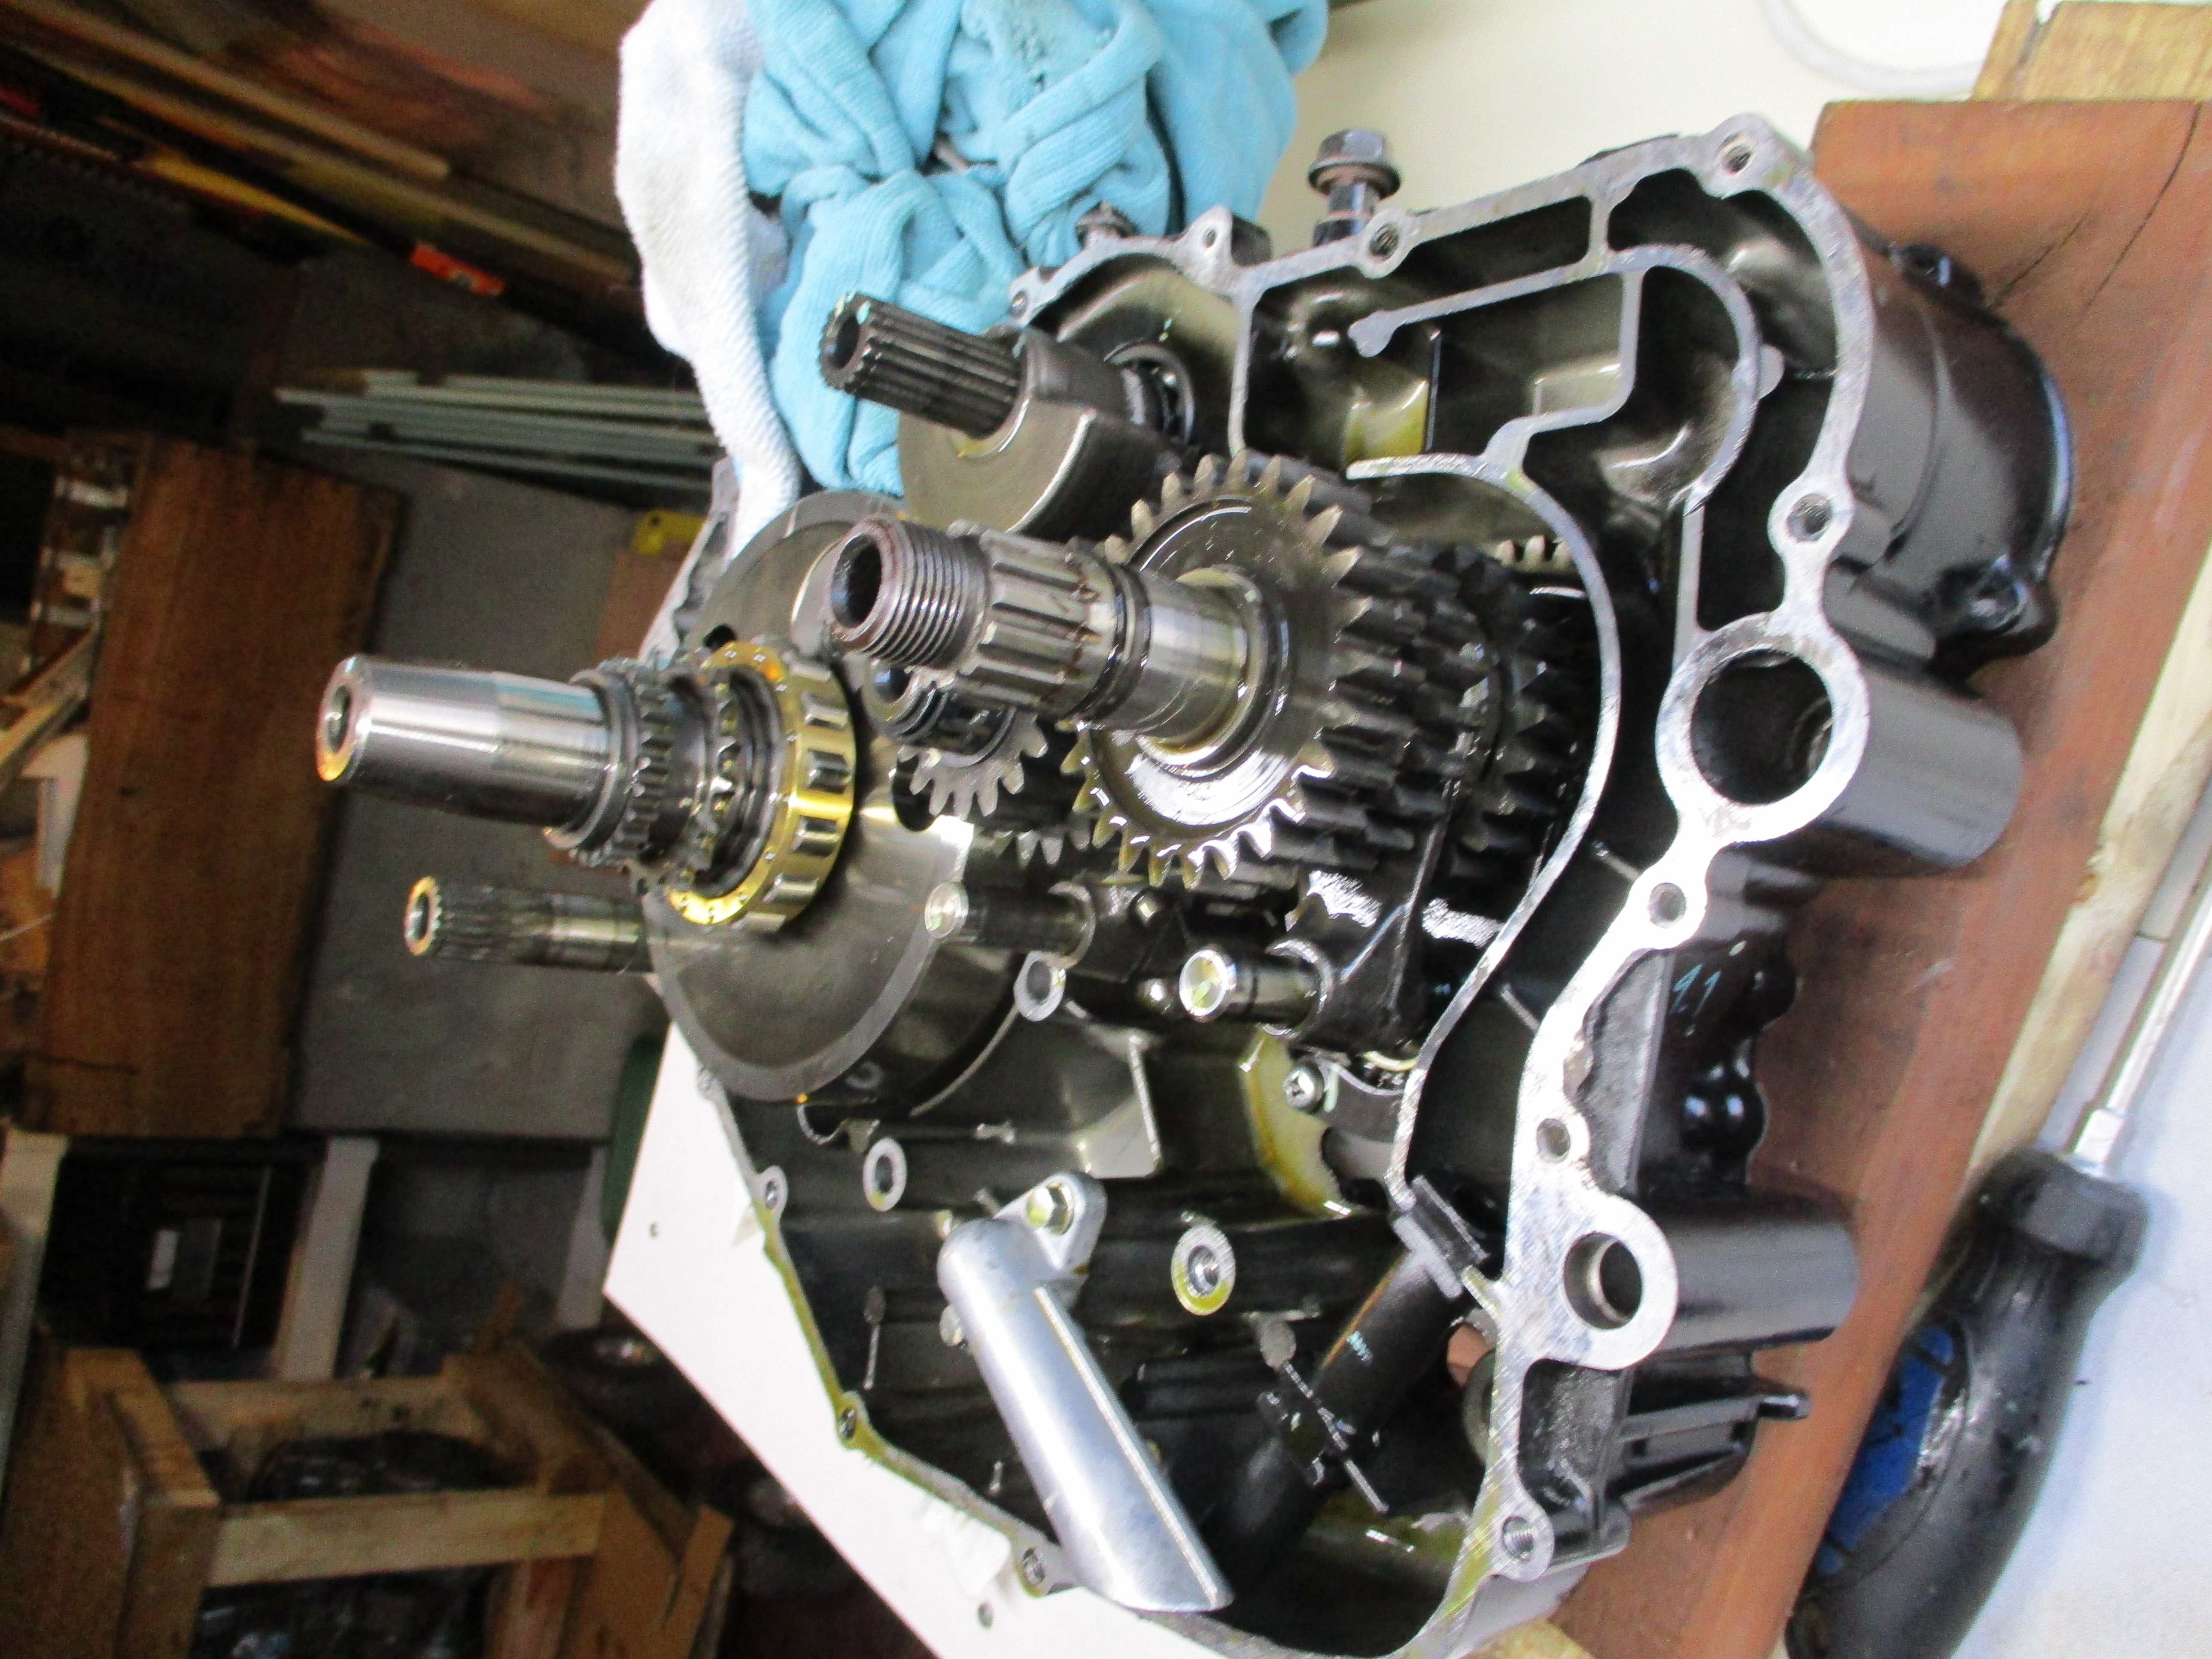
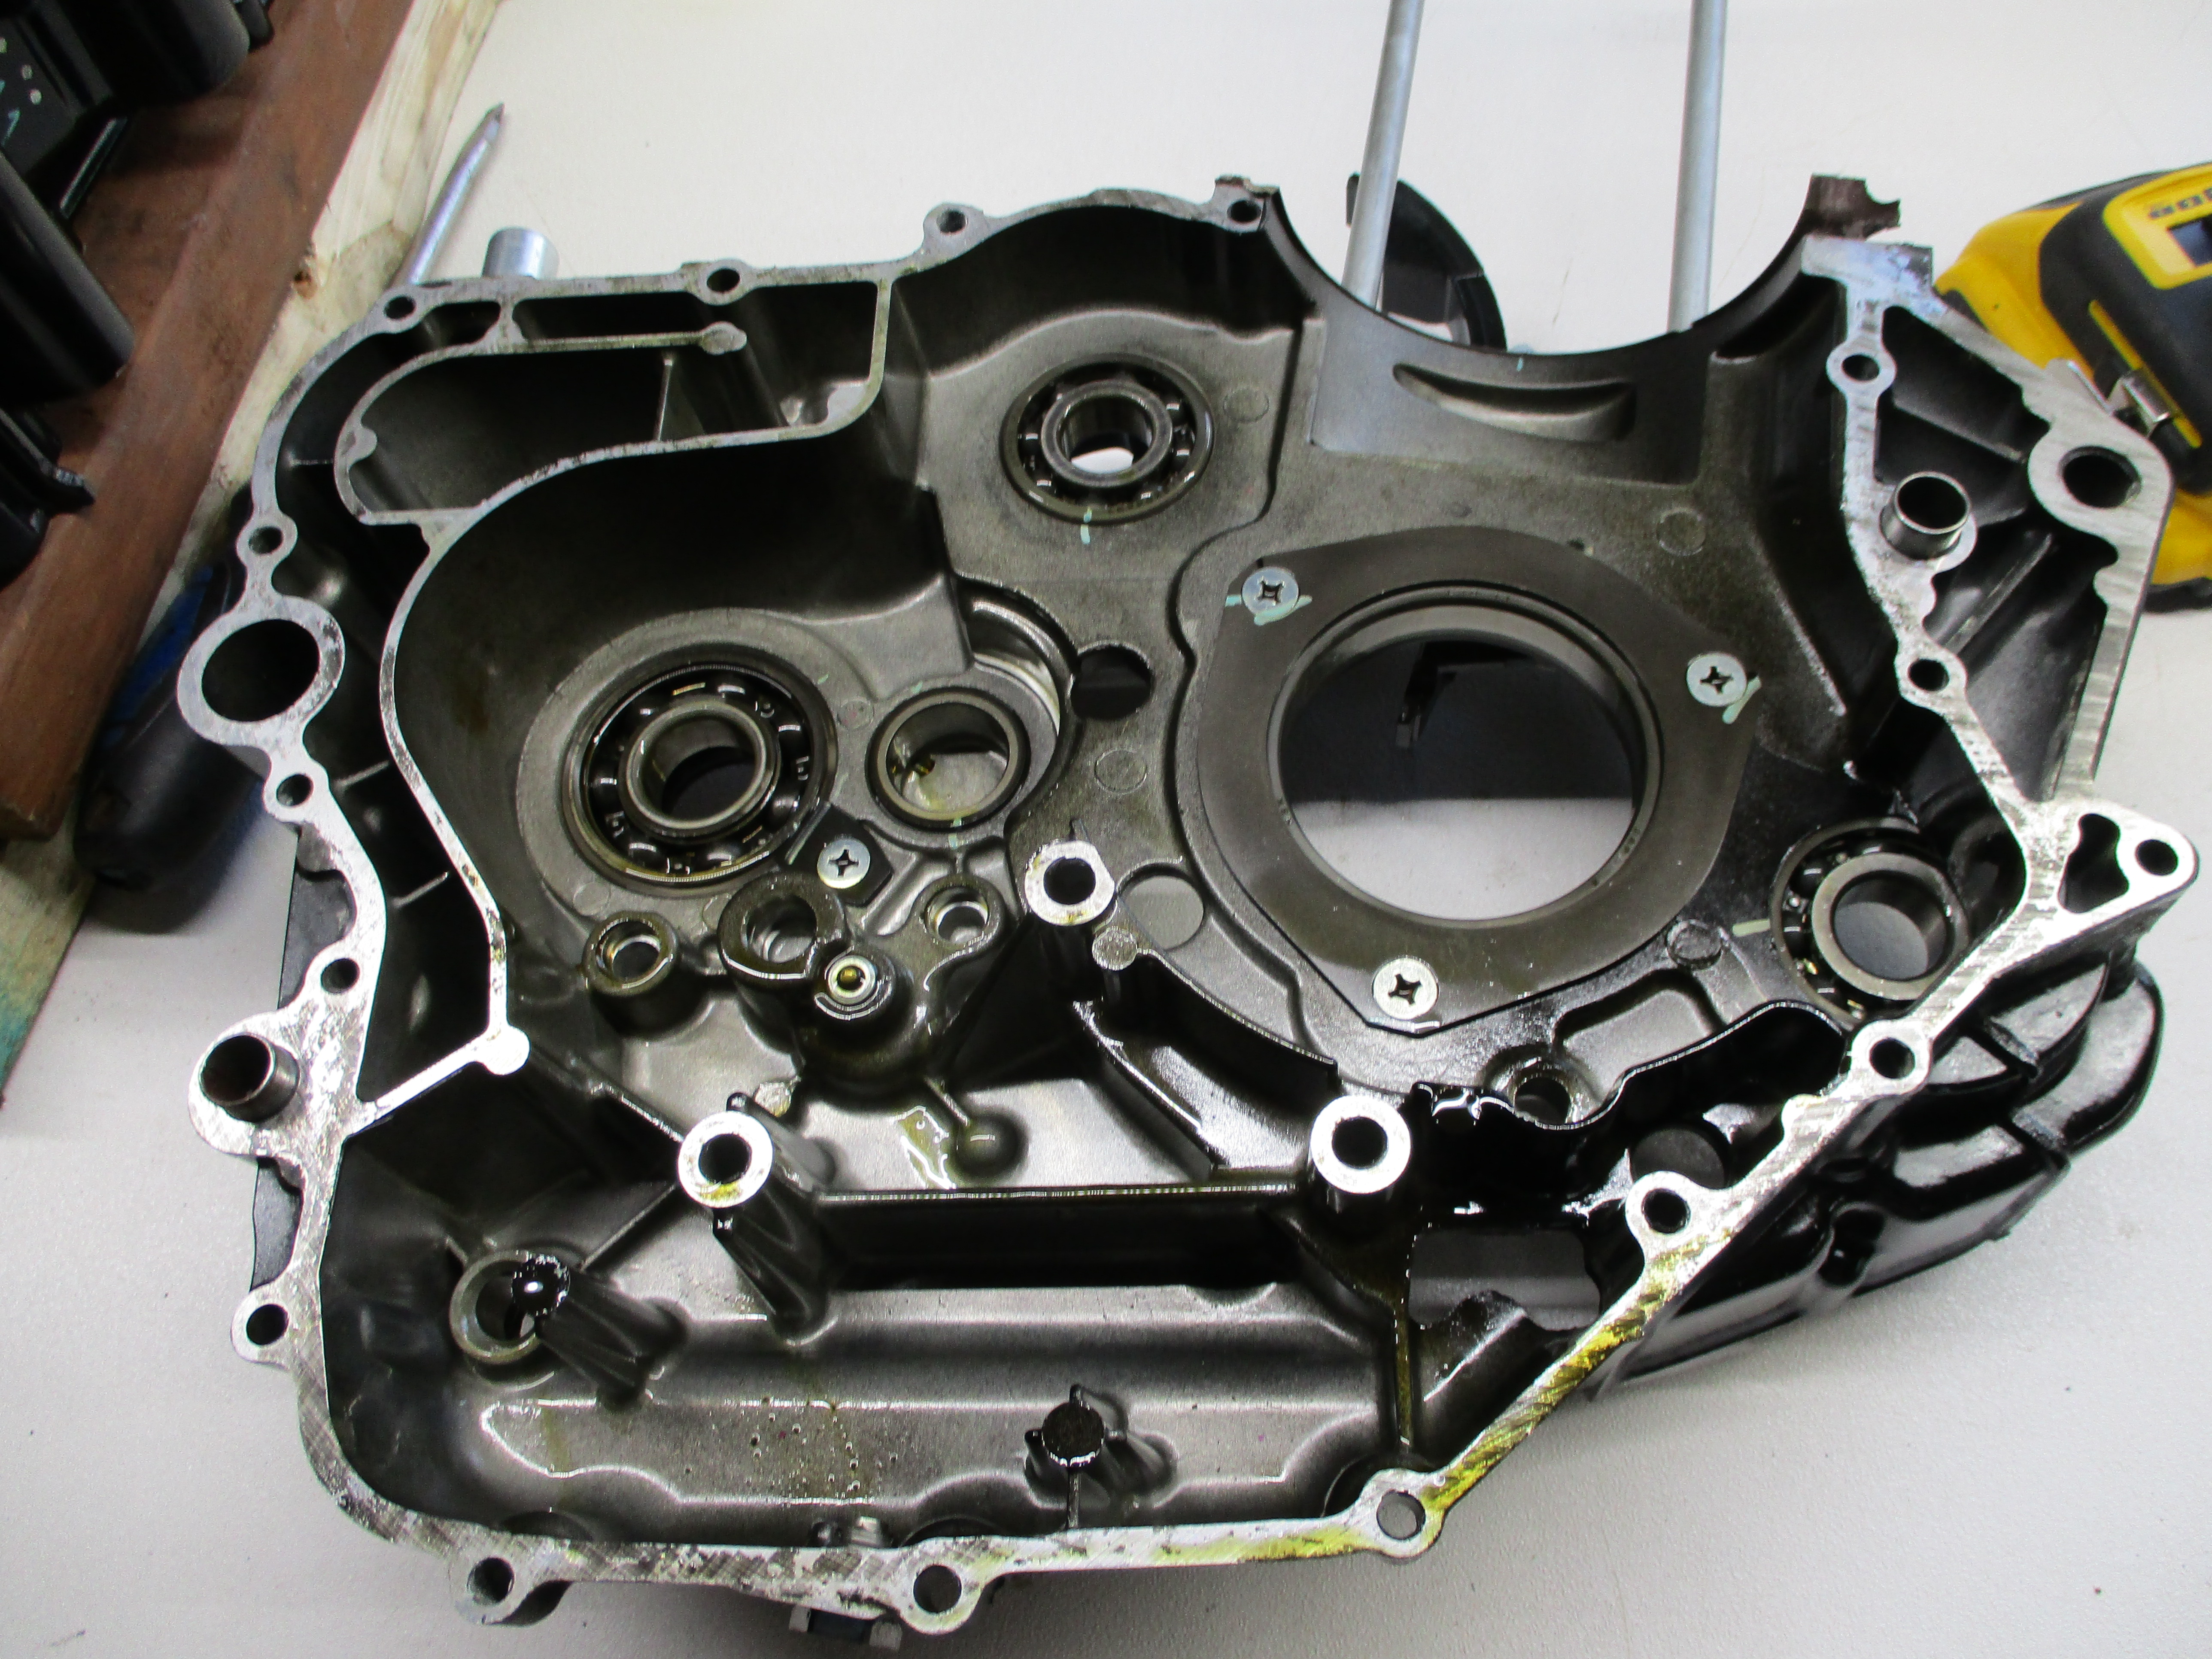
The spare transmission mounted and fitted inside the case fine and I ended up using 2 shift forks from the spare transmission as well because mine were almost worn to spec. I also did some case paint touch up where it had come off.
When I mounted the original clutch I noticed the nut would not thread completely onto the shaft like it had been when I removed it. After some head scratching it became clear that there was a small difference between the 2008 and 2015 clutches (and input shafts). They look very similar but are in fact incompatible. I came to know that KLR clutches have been changed a few times in its production run, and not timed with generation overhauls. Instead I mounted the spare clutch which fitted just like it should on the input shaft, but I was worried that the clutch case geometry was also different. That turned out to be false.
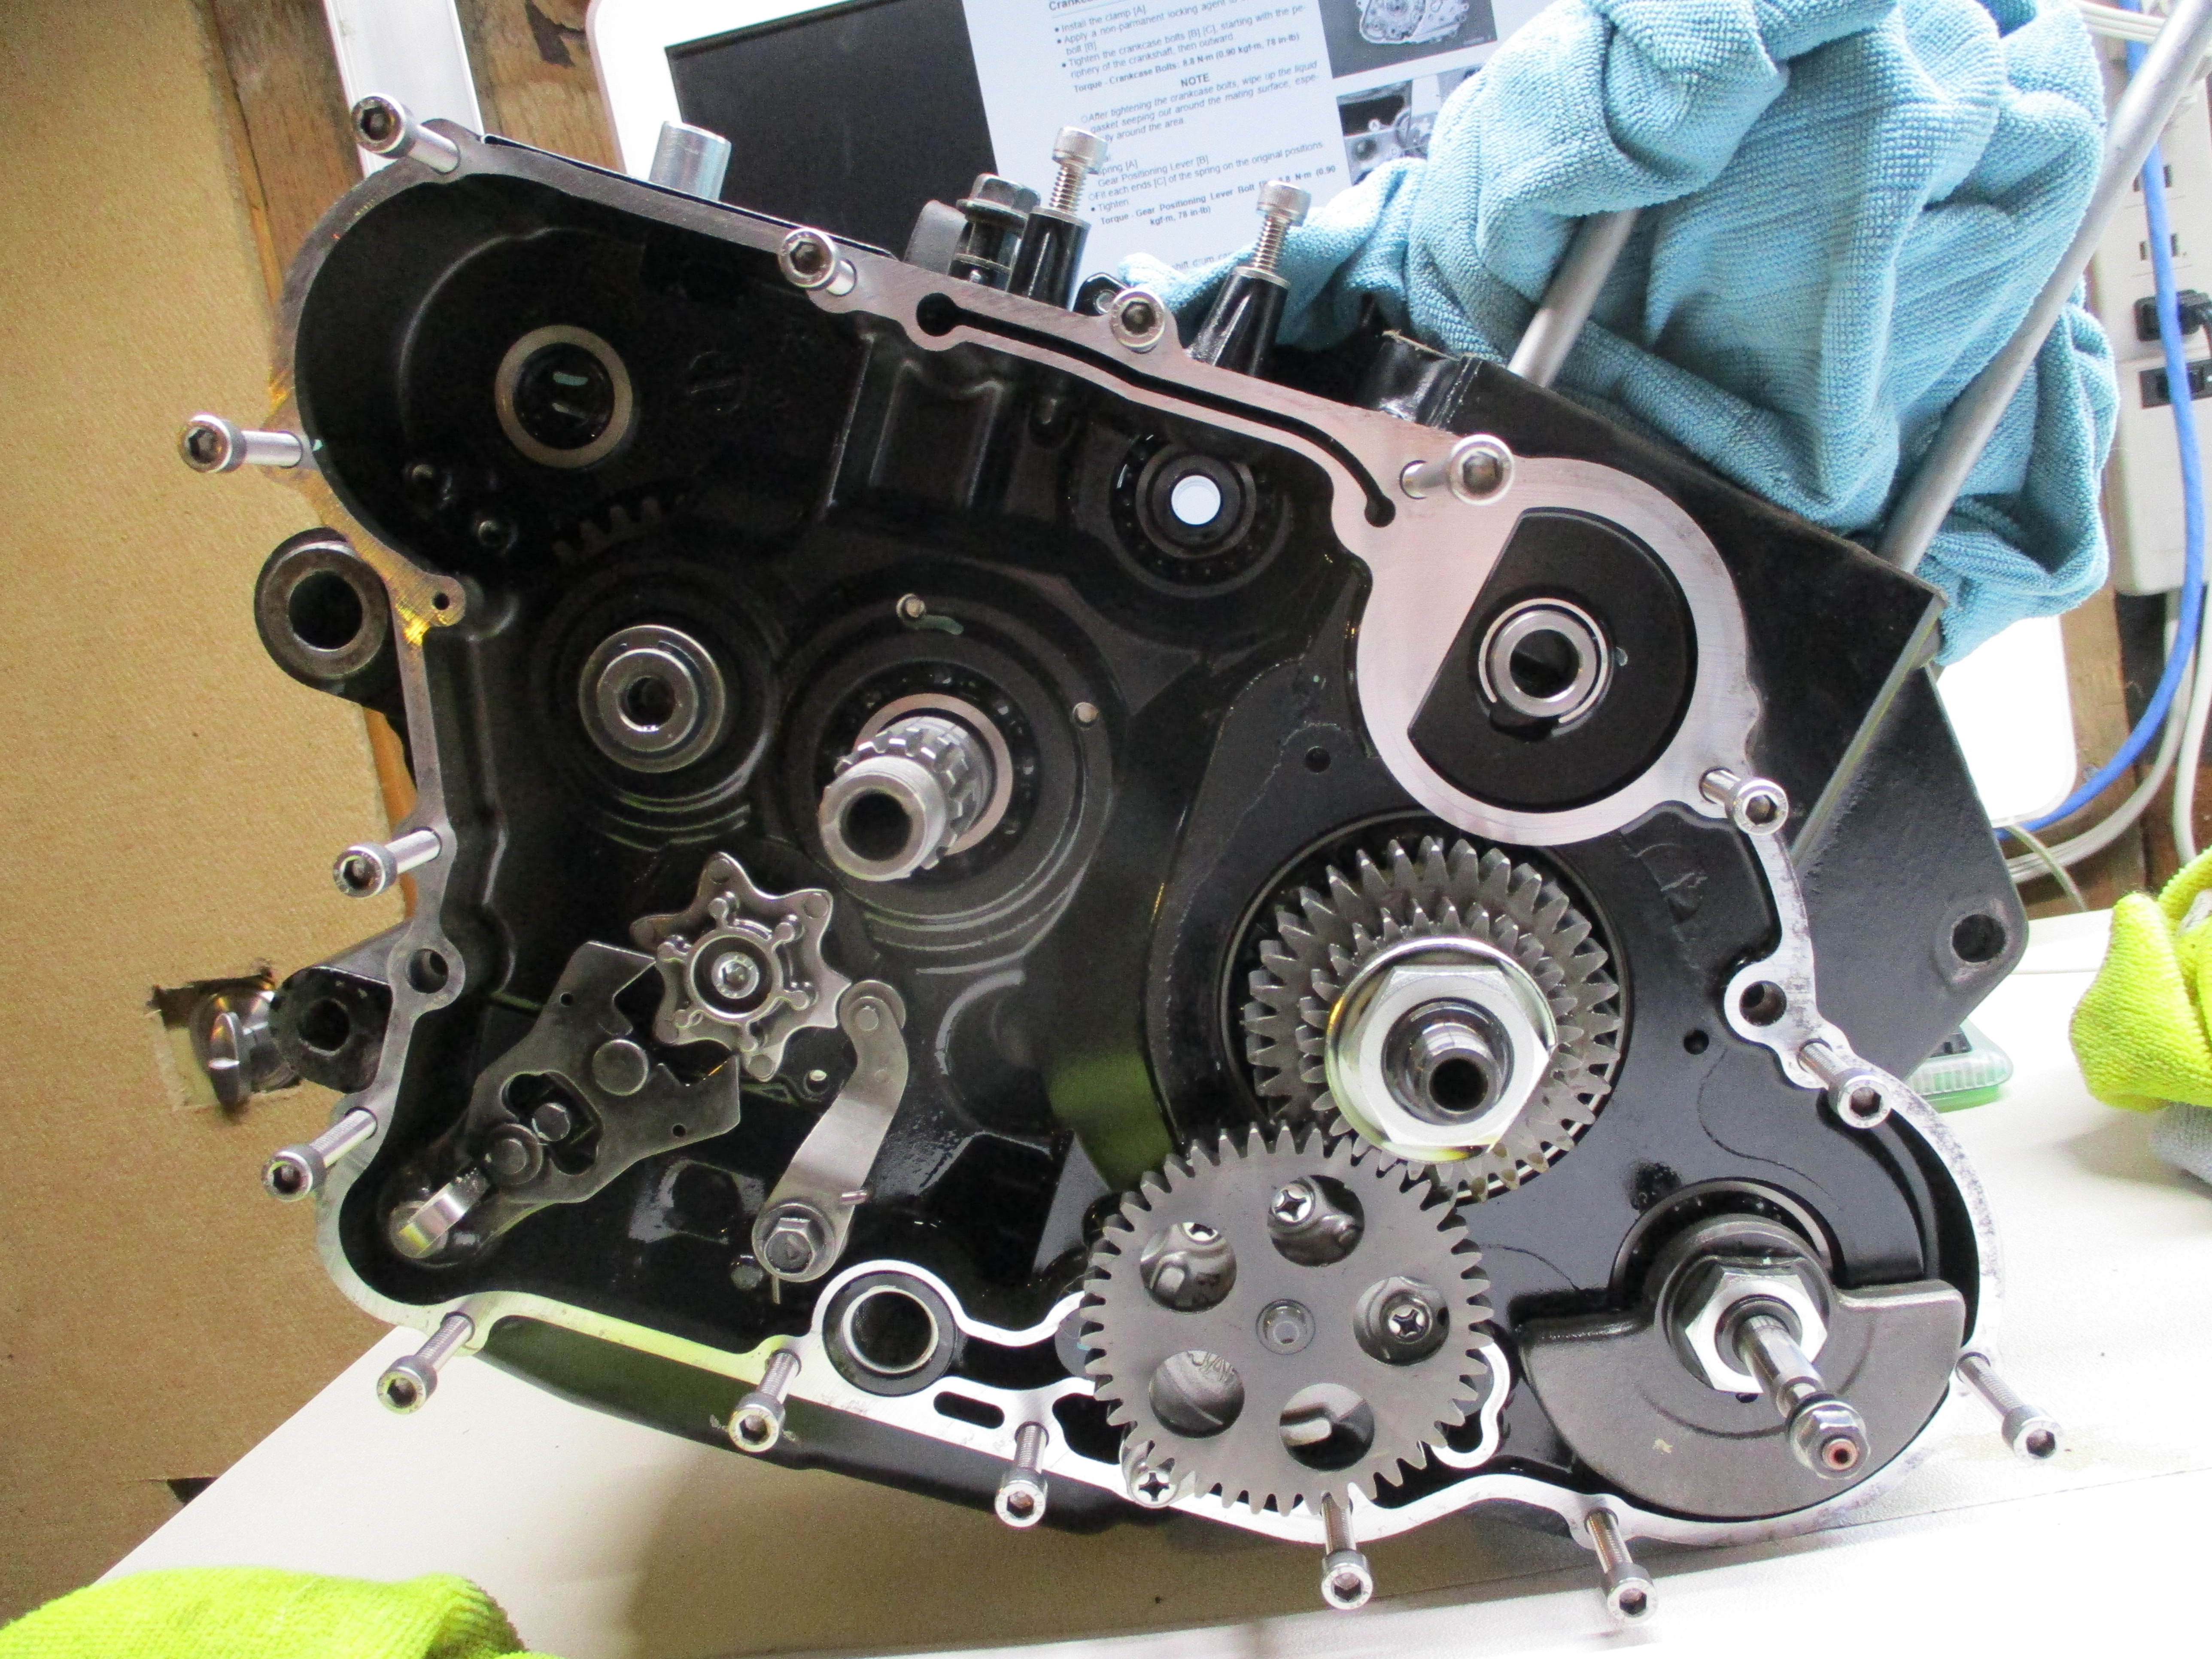
Reassembling the balancer system I ended up using the spare engines front lower sprocket and weight because its rubber shoulders were in better condition that mine were. When I timed the system I also moved everything by one tooth. I had read about this trick online to try and utilize the virgin sprocket shoulder that the chain teeth had not worn. With this trick my stock spring setup looked like it was working well so I opted to not install the eagle mike improved doohickey system that I had on hand.

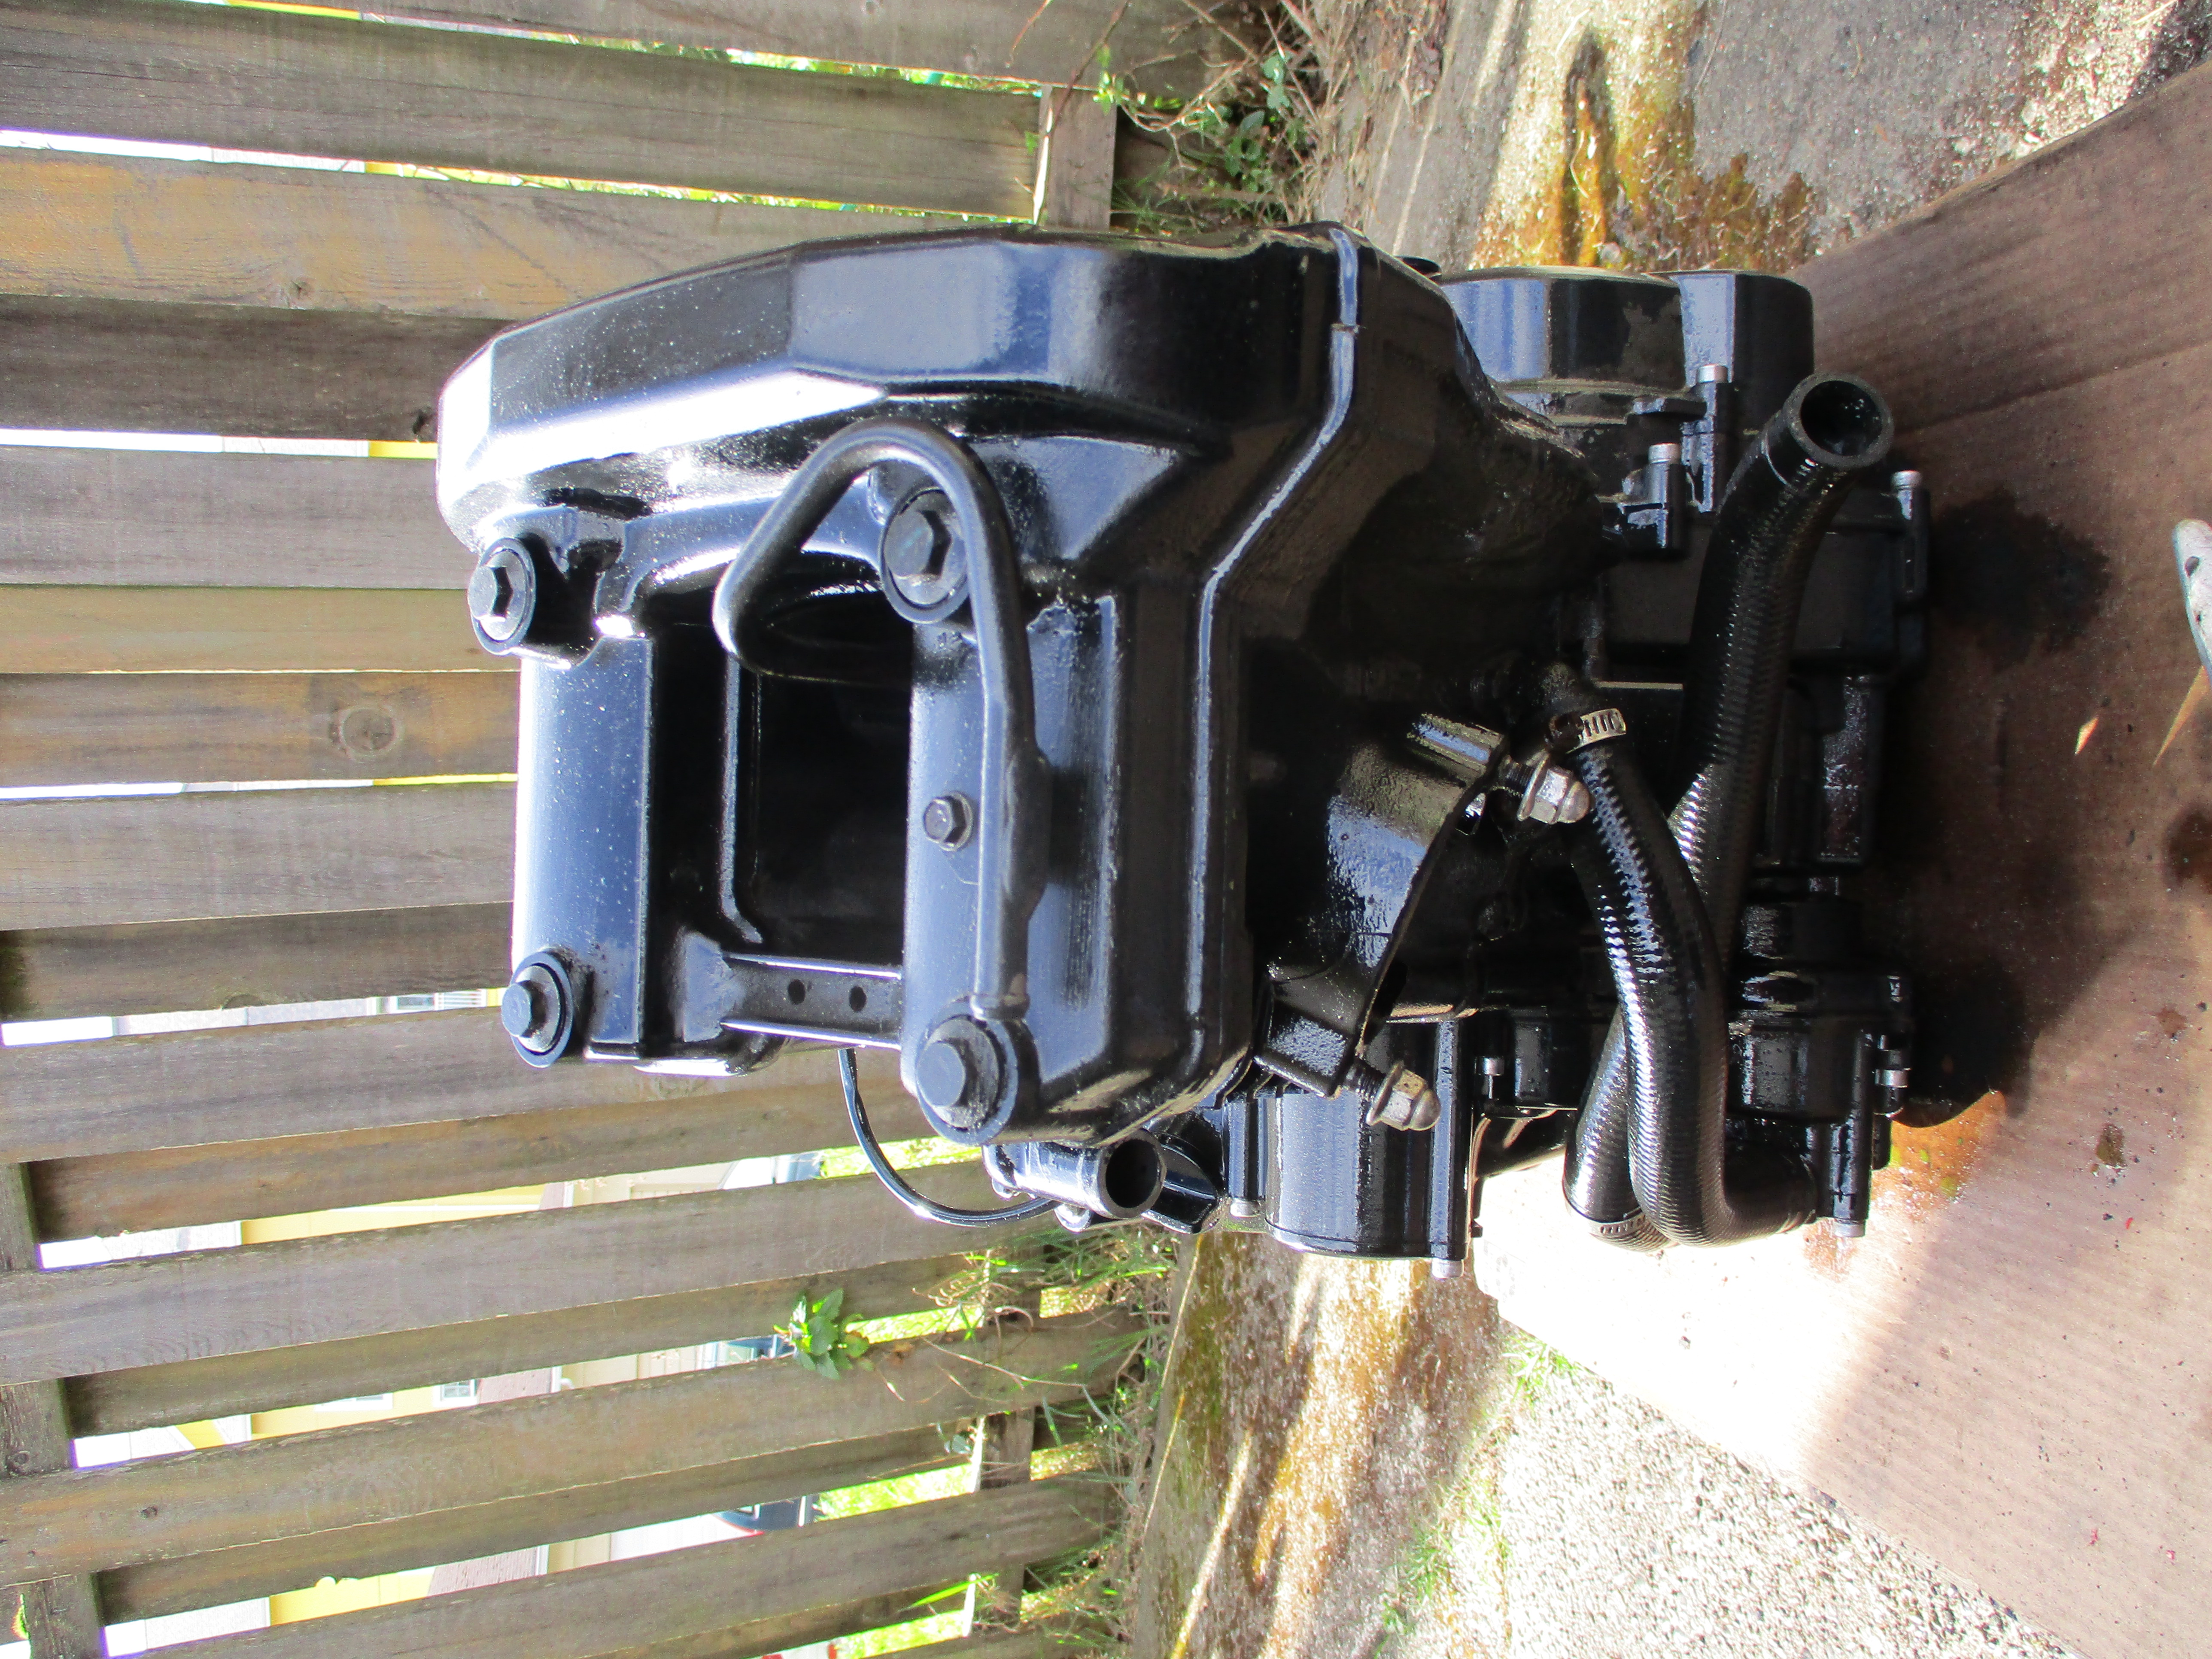
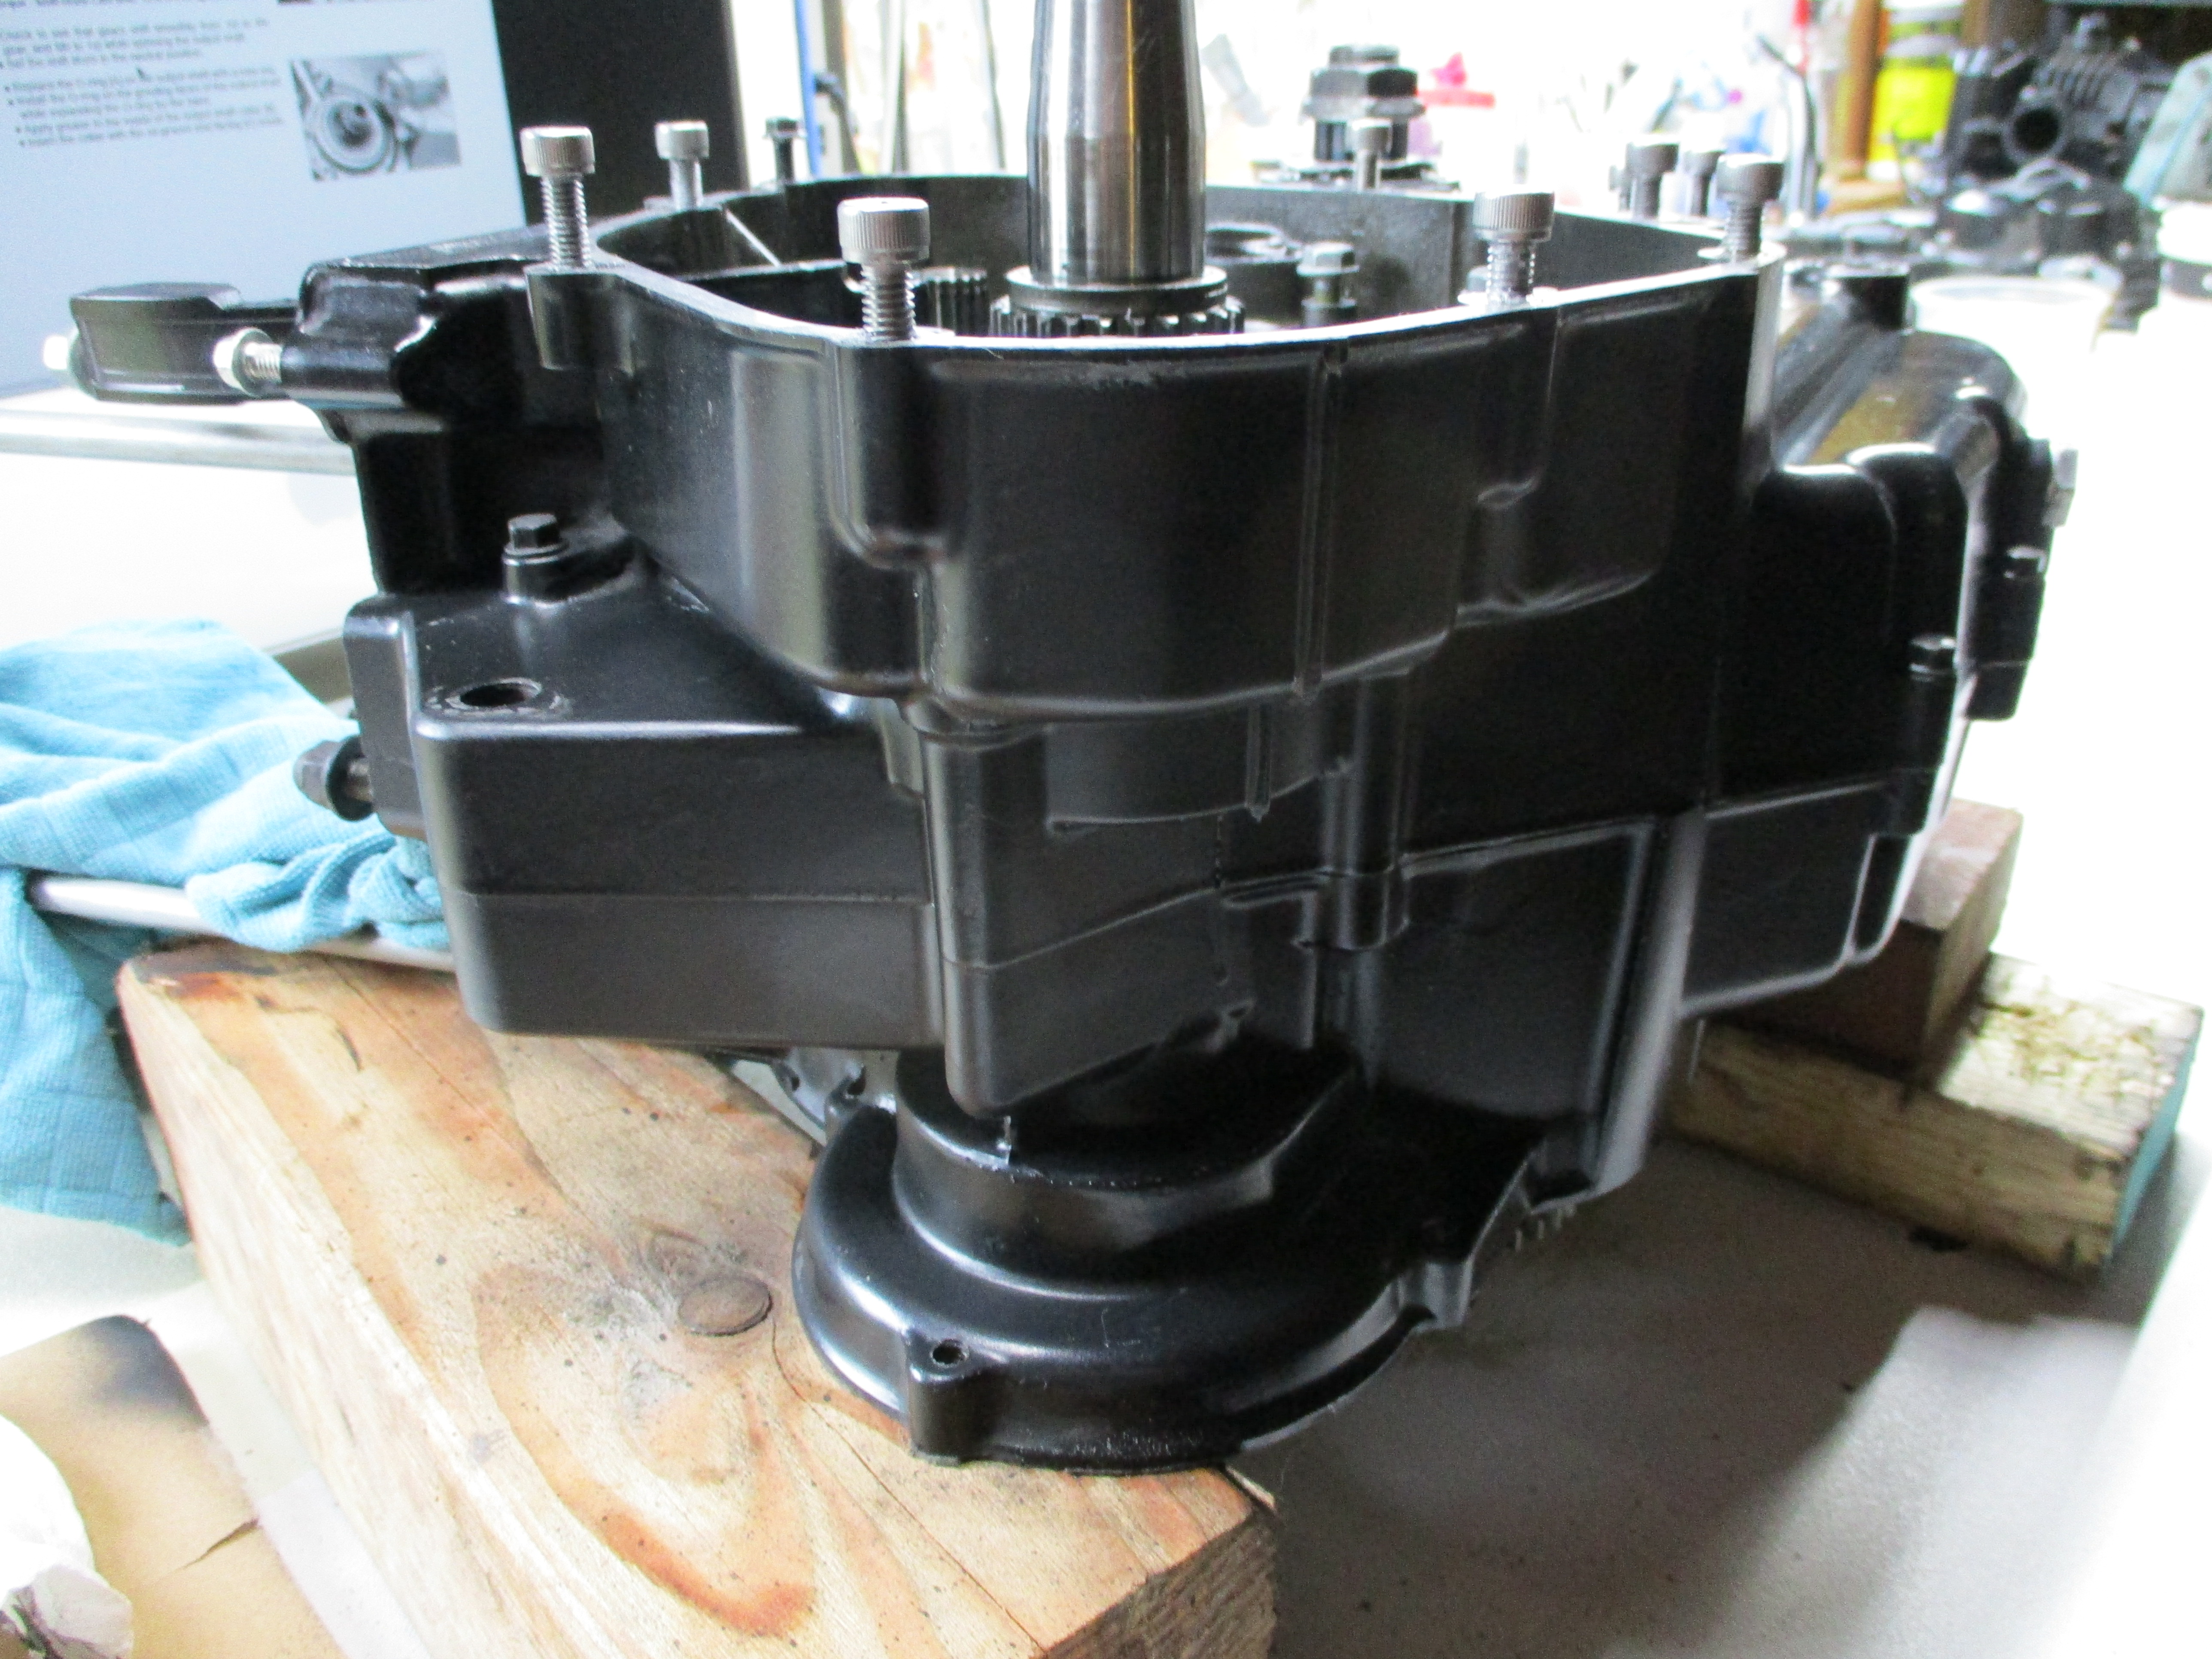
After that I scraped gasket surfaces and reassembled everything.
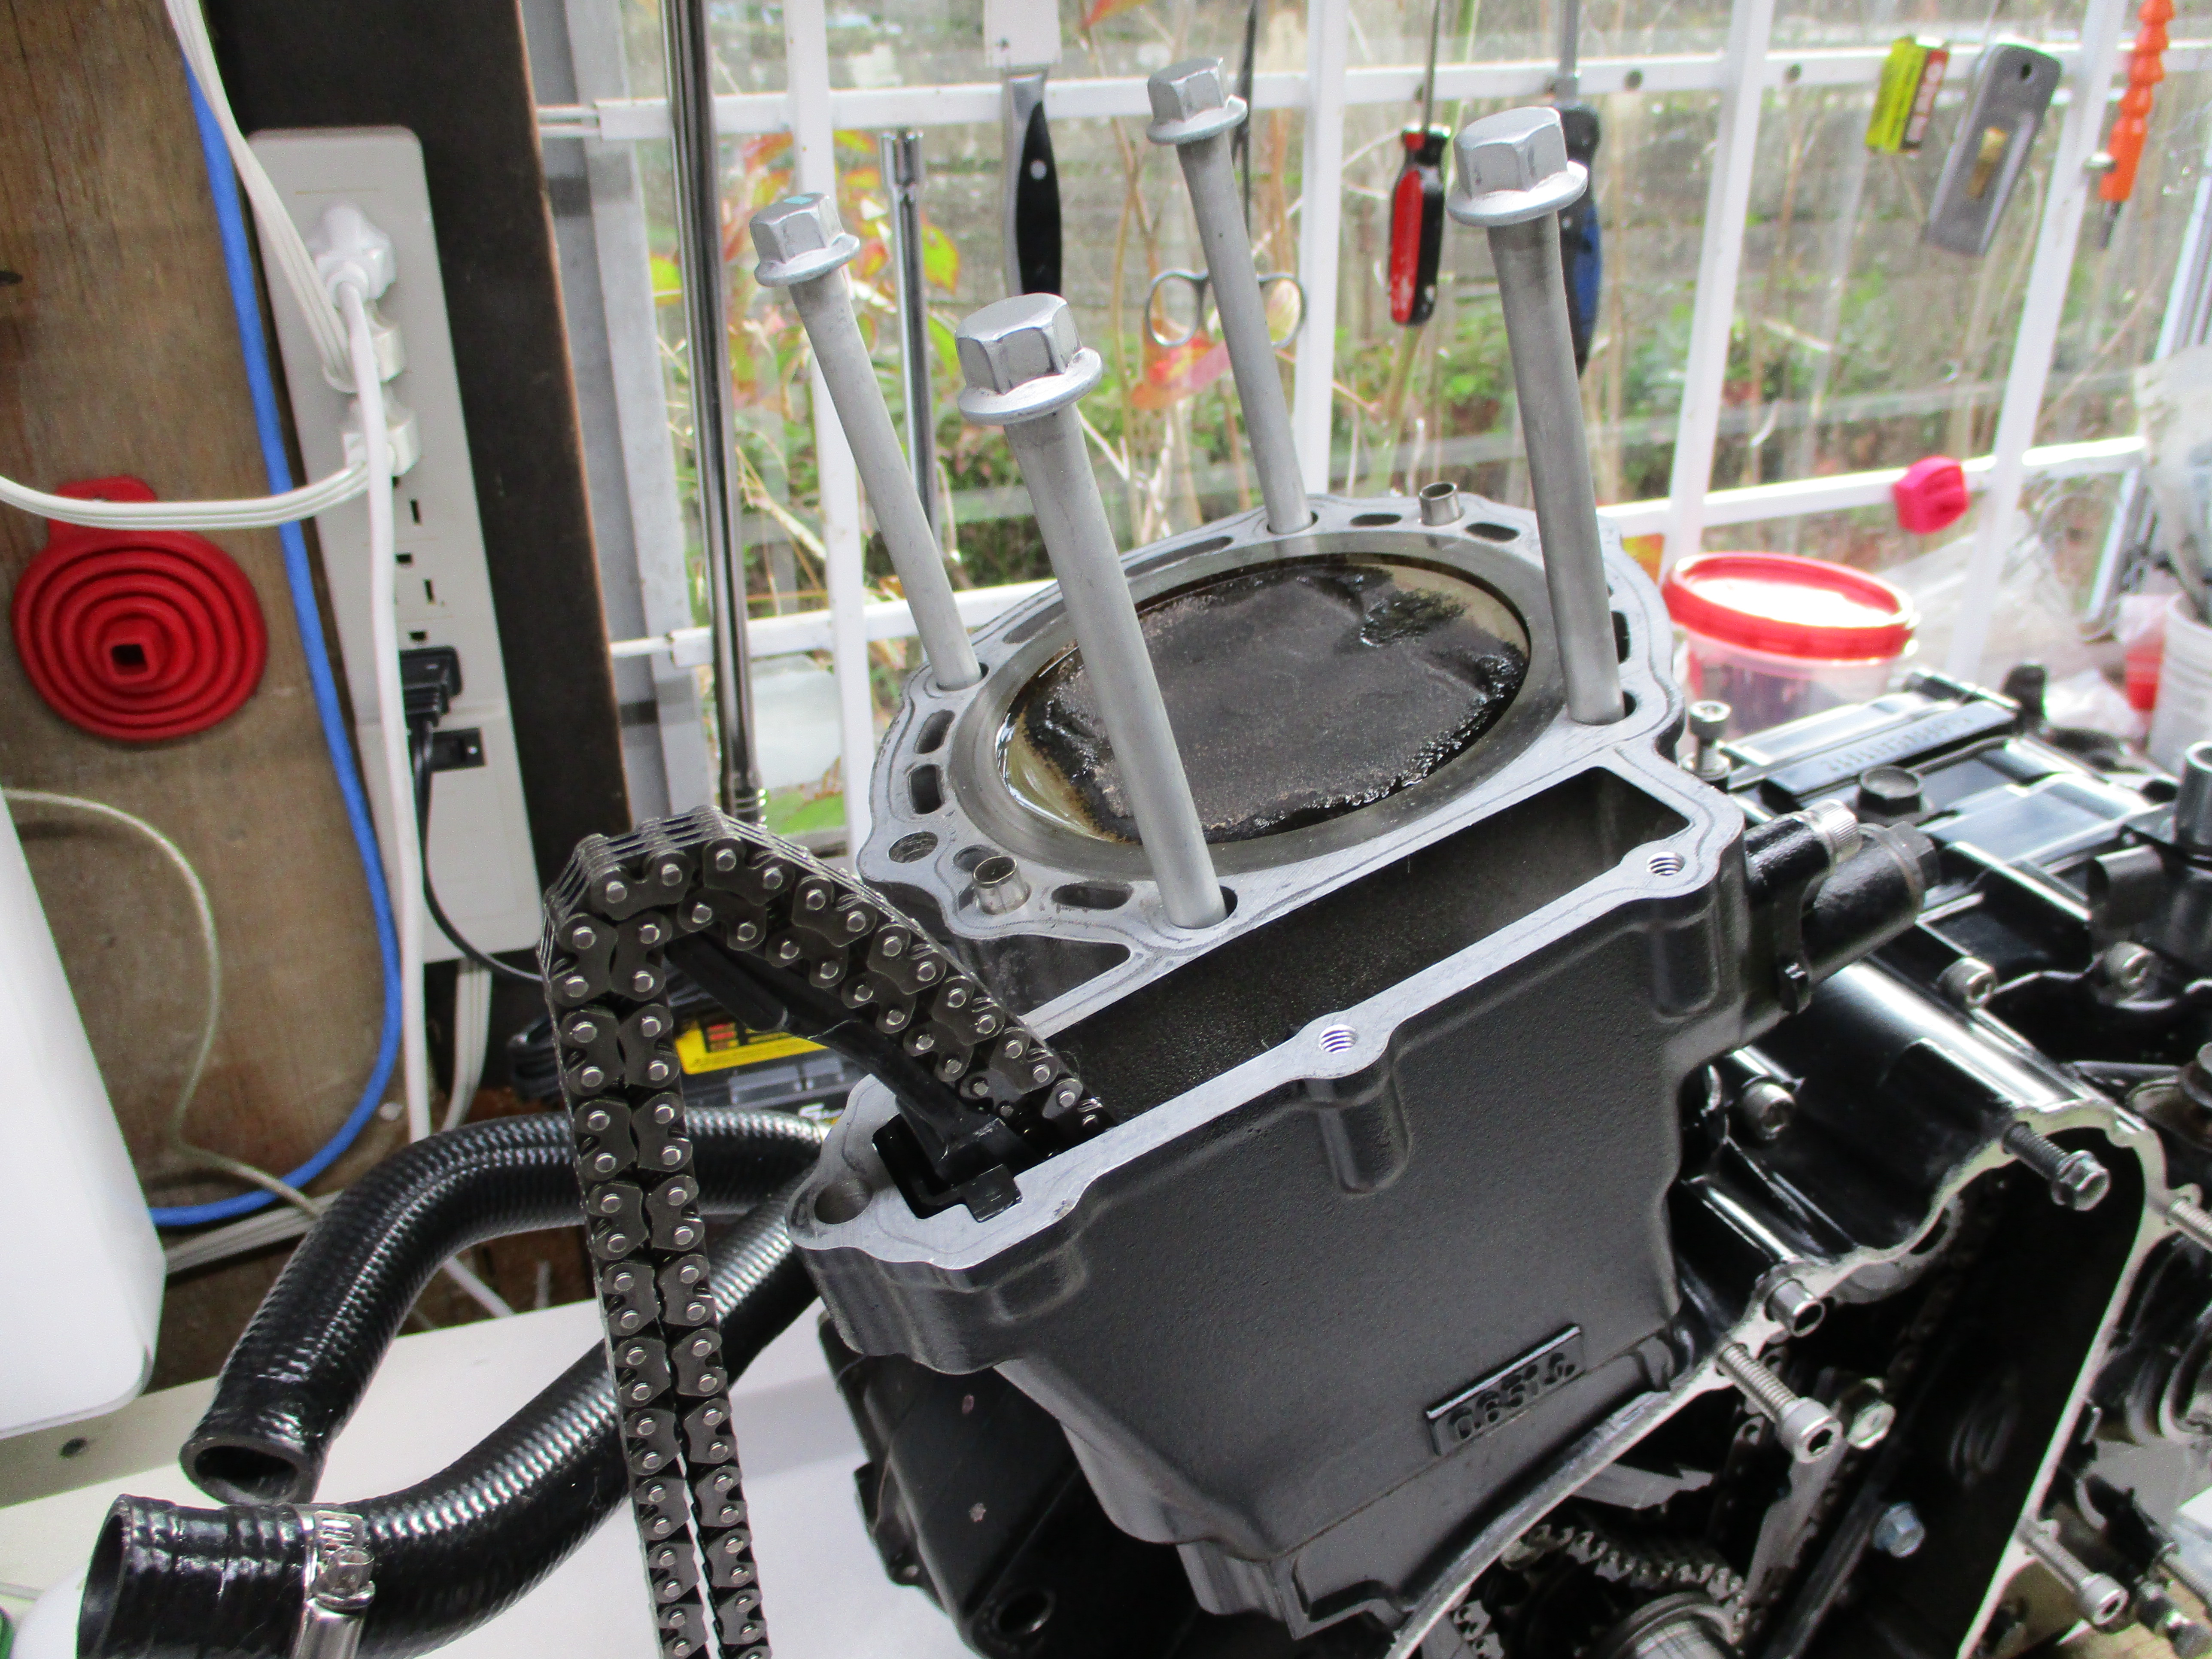
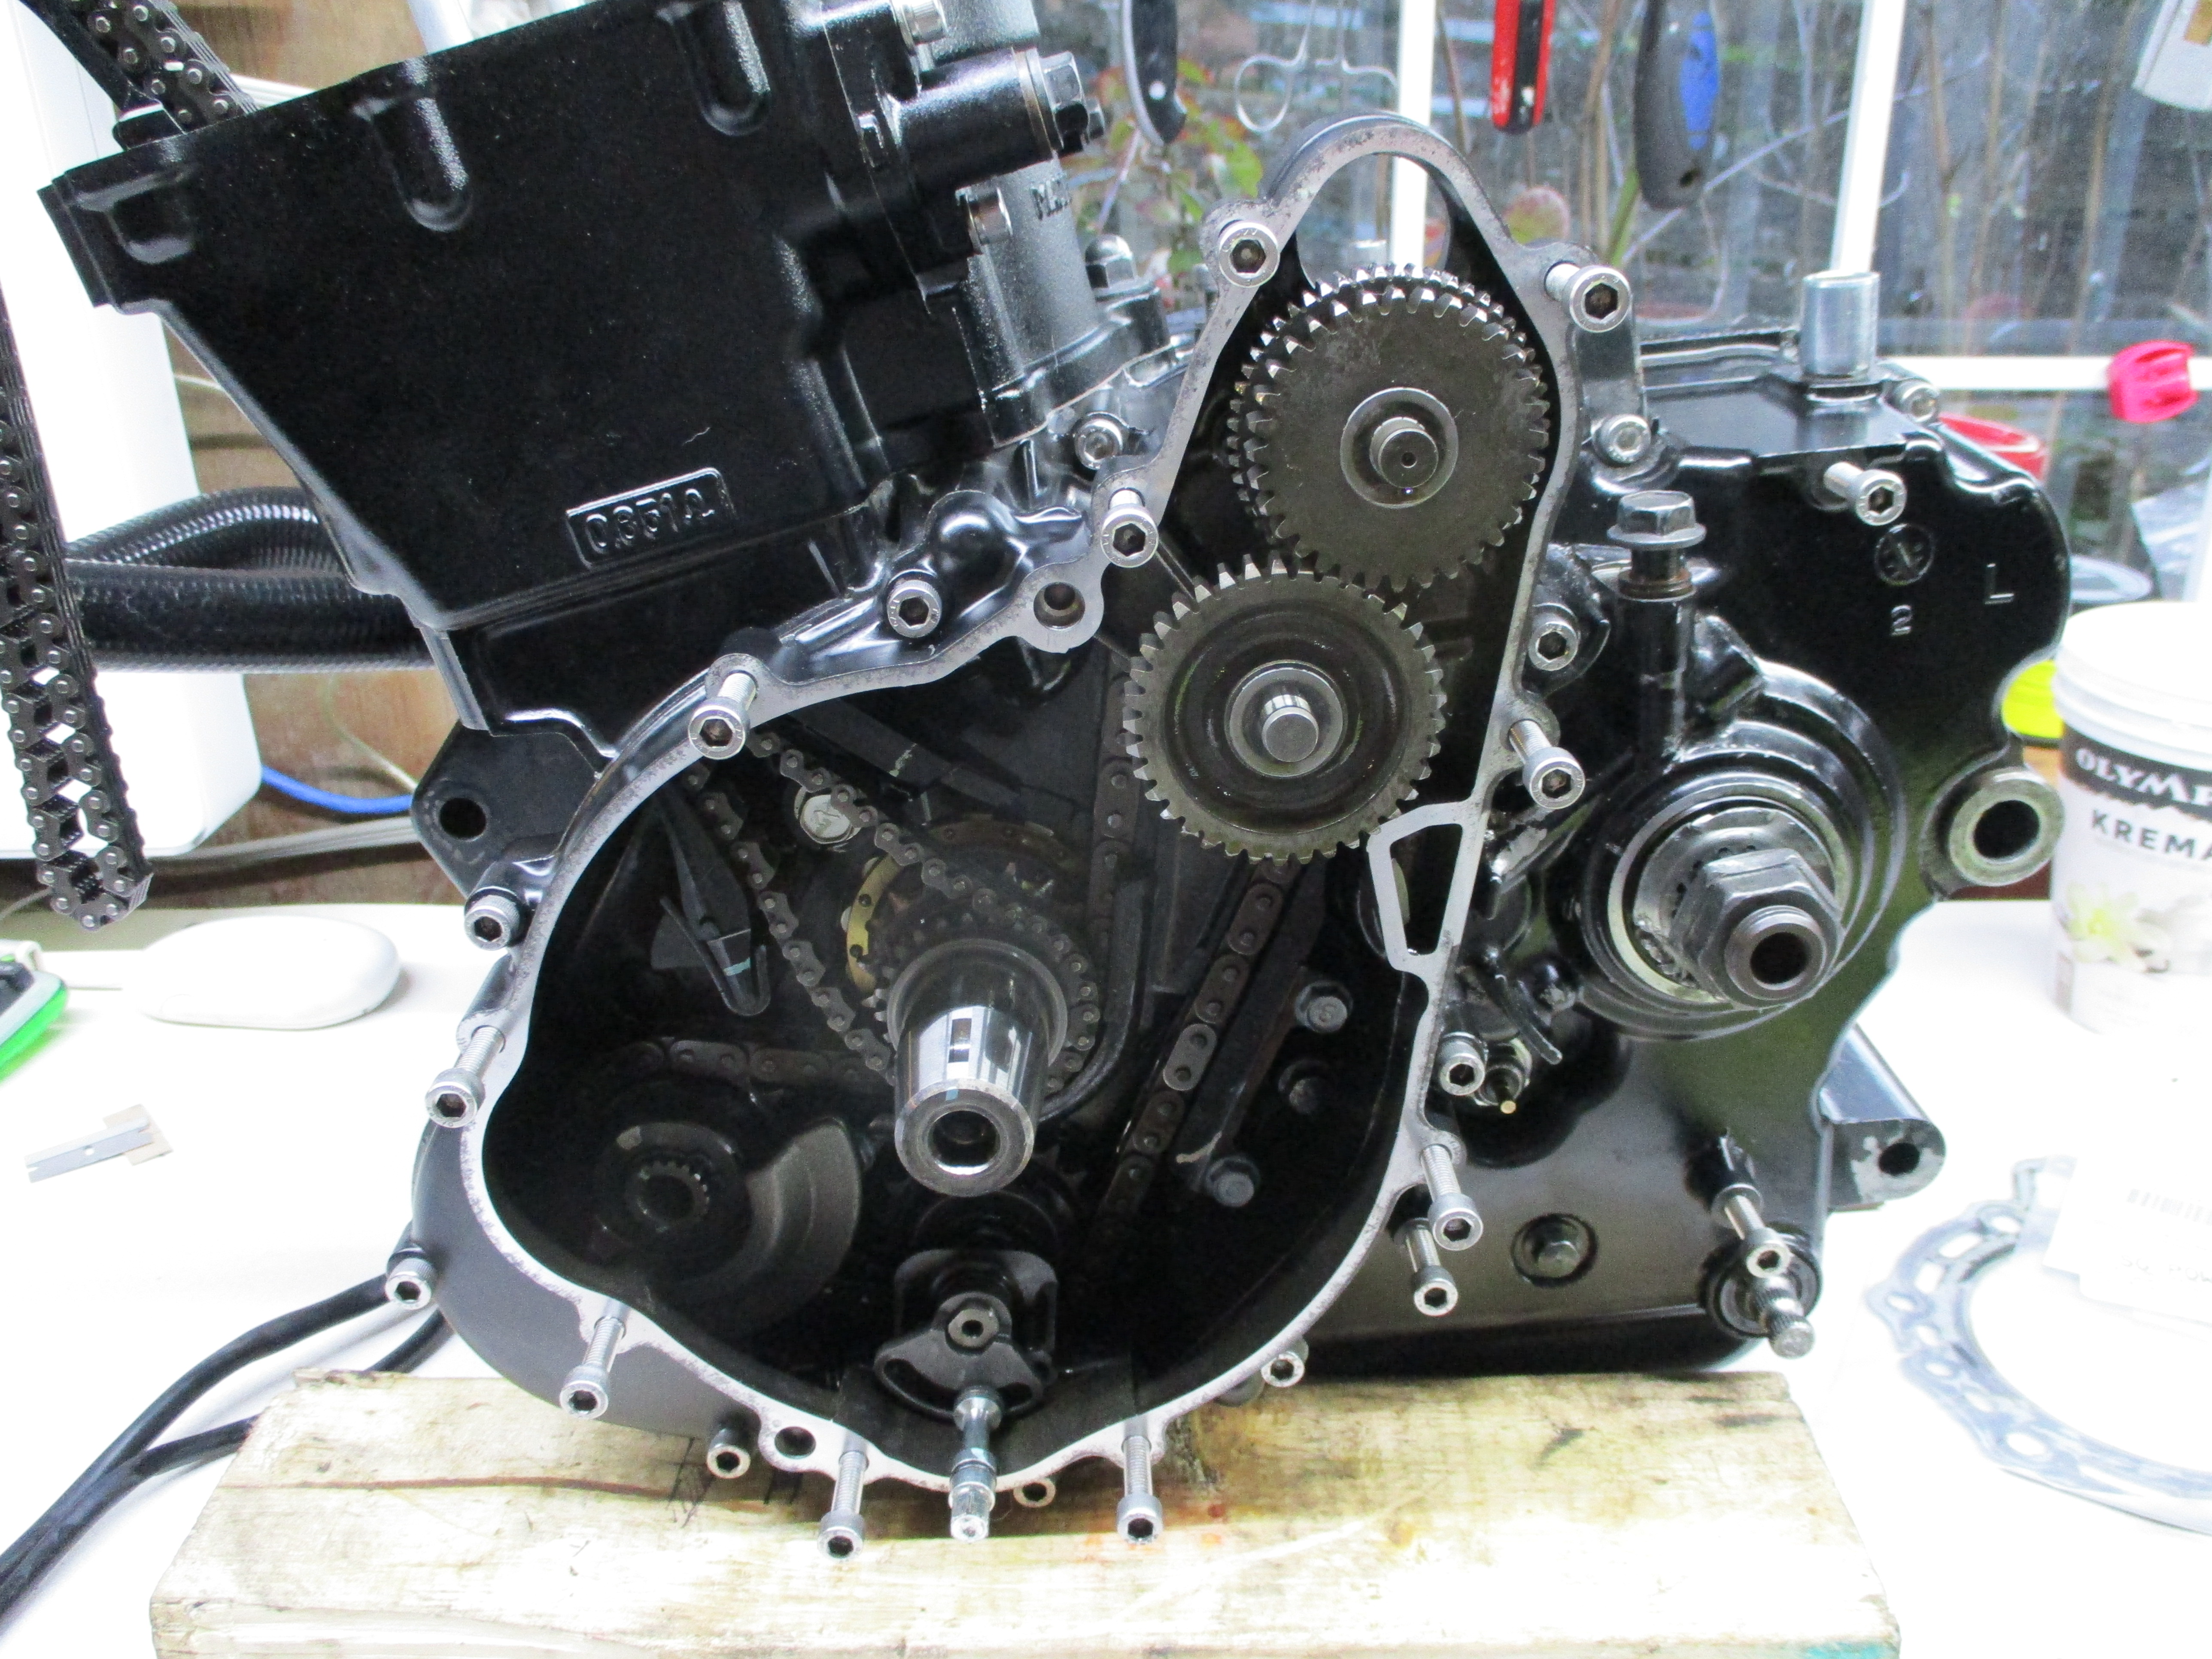

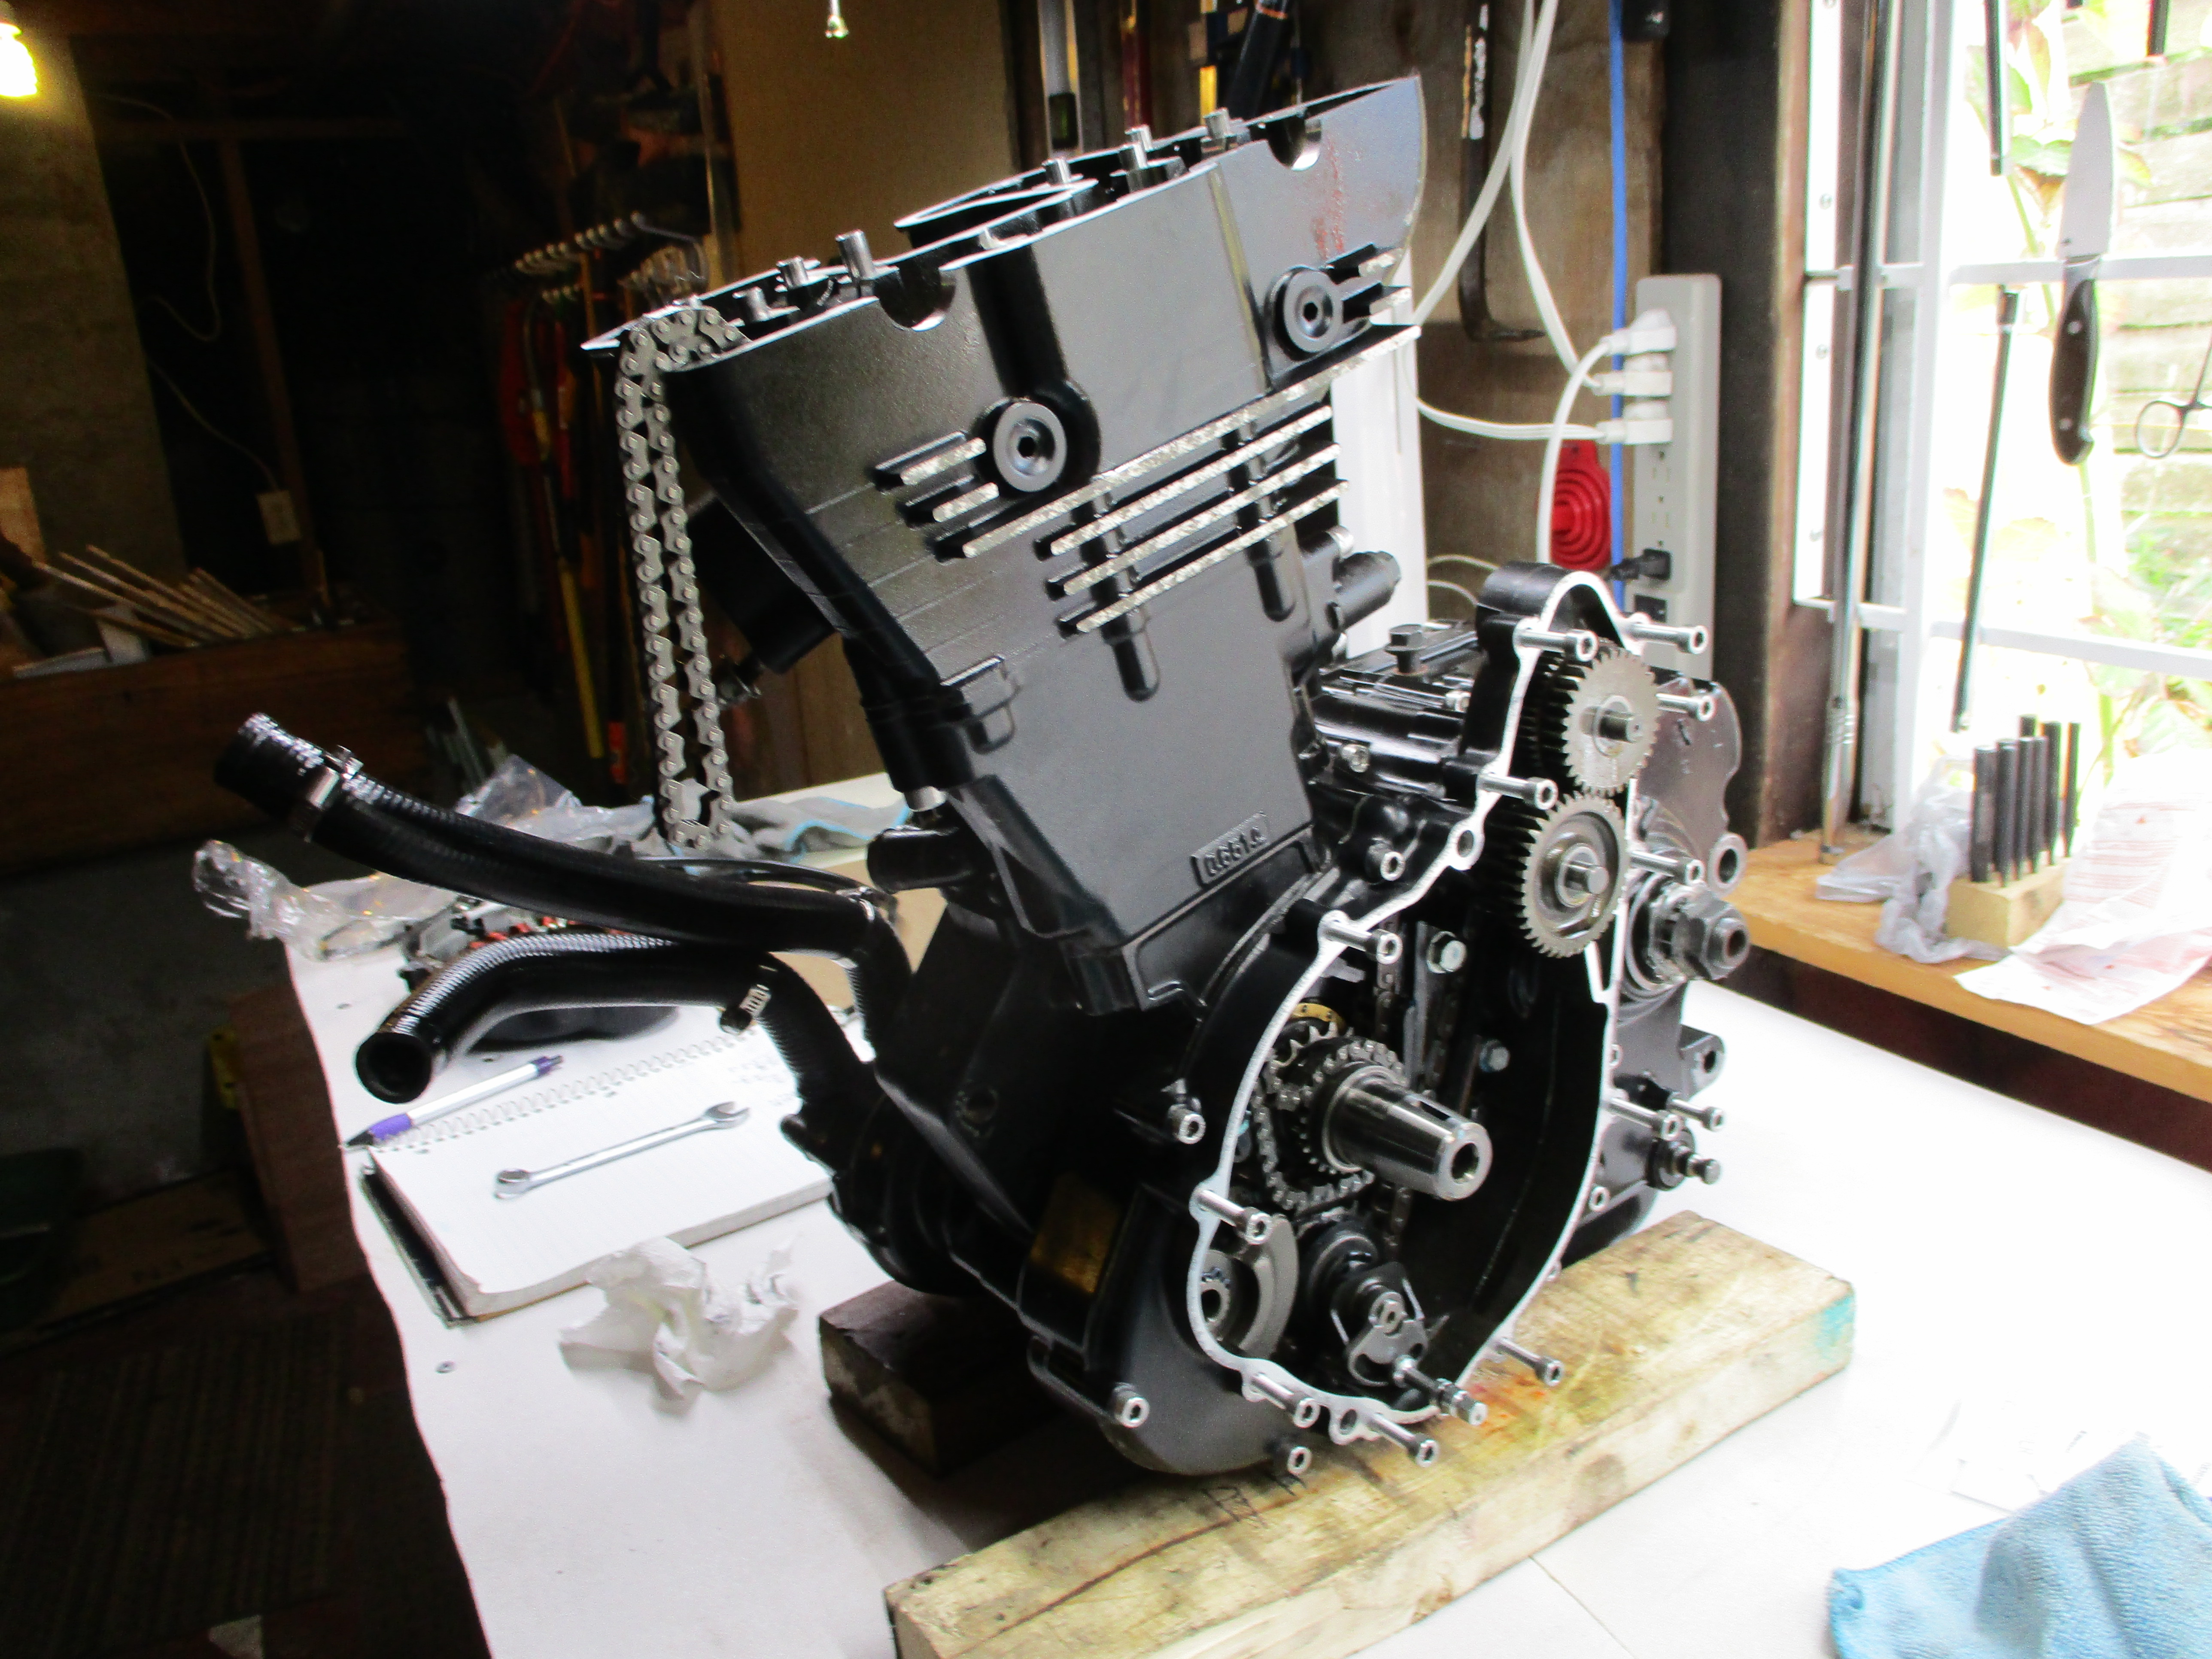
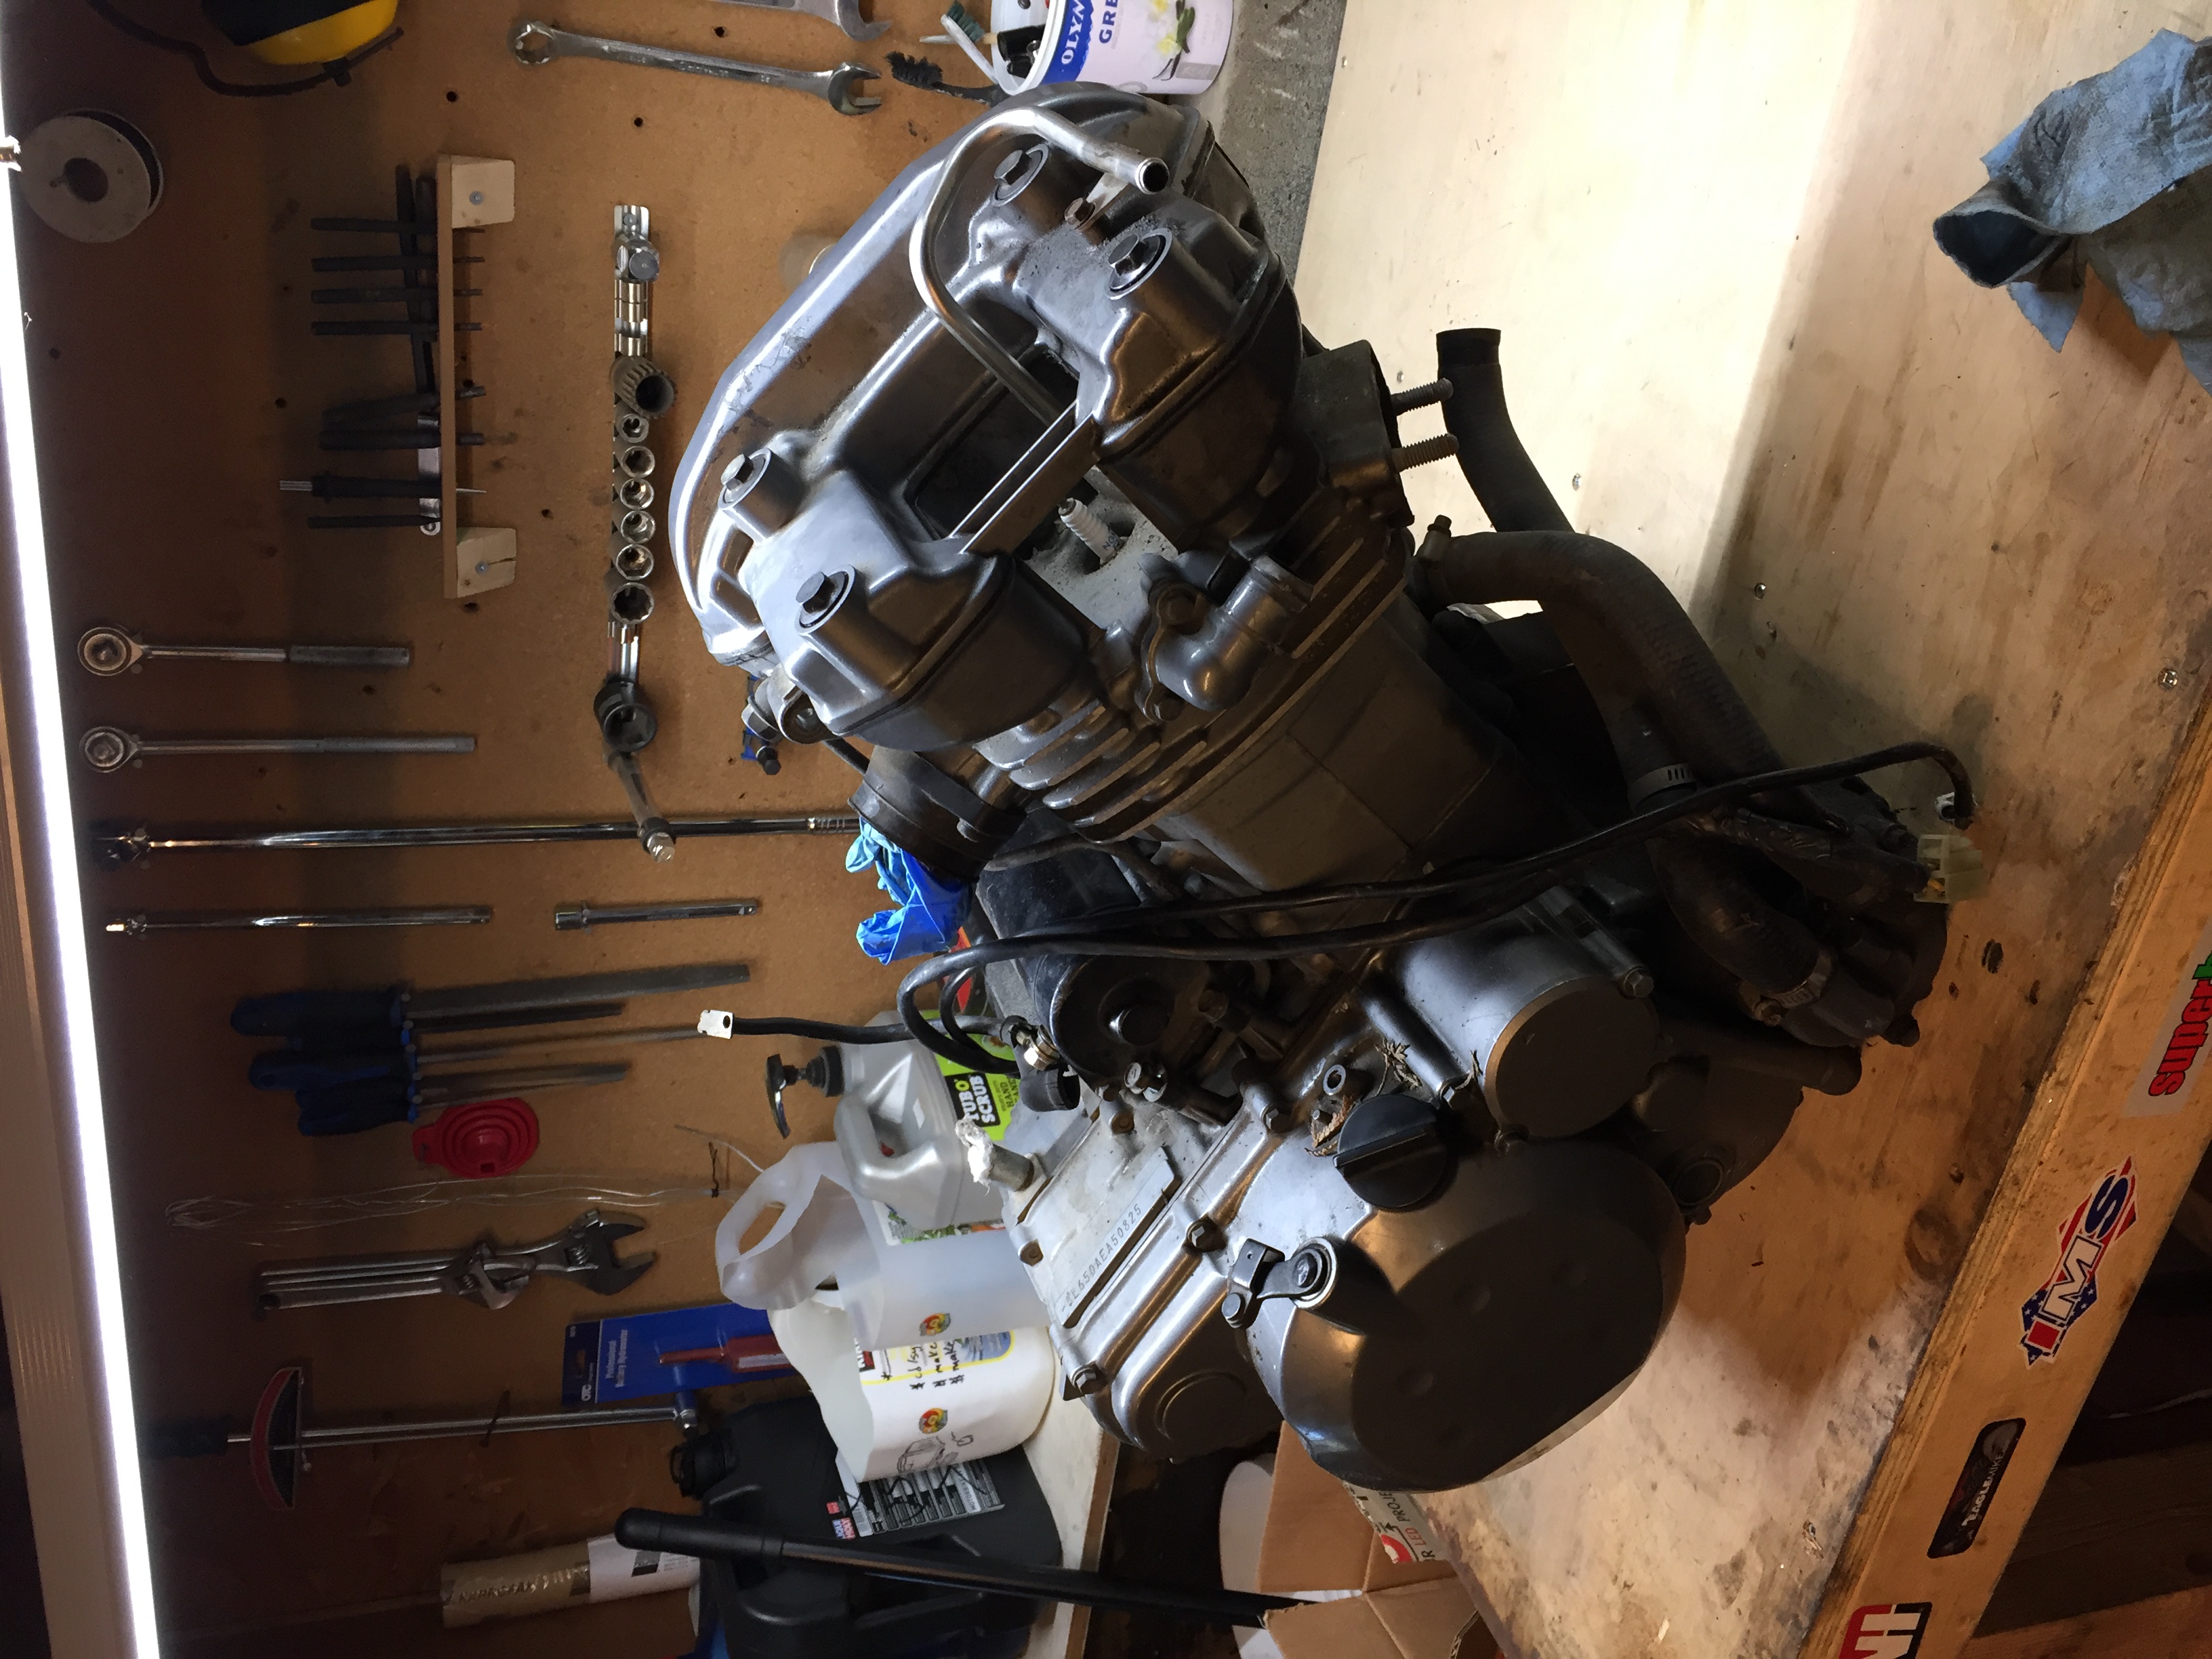
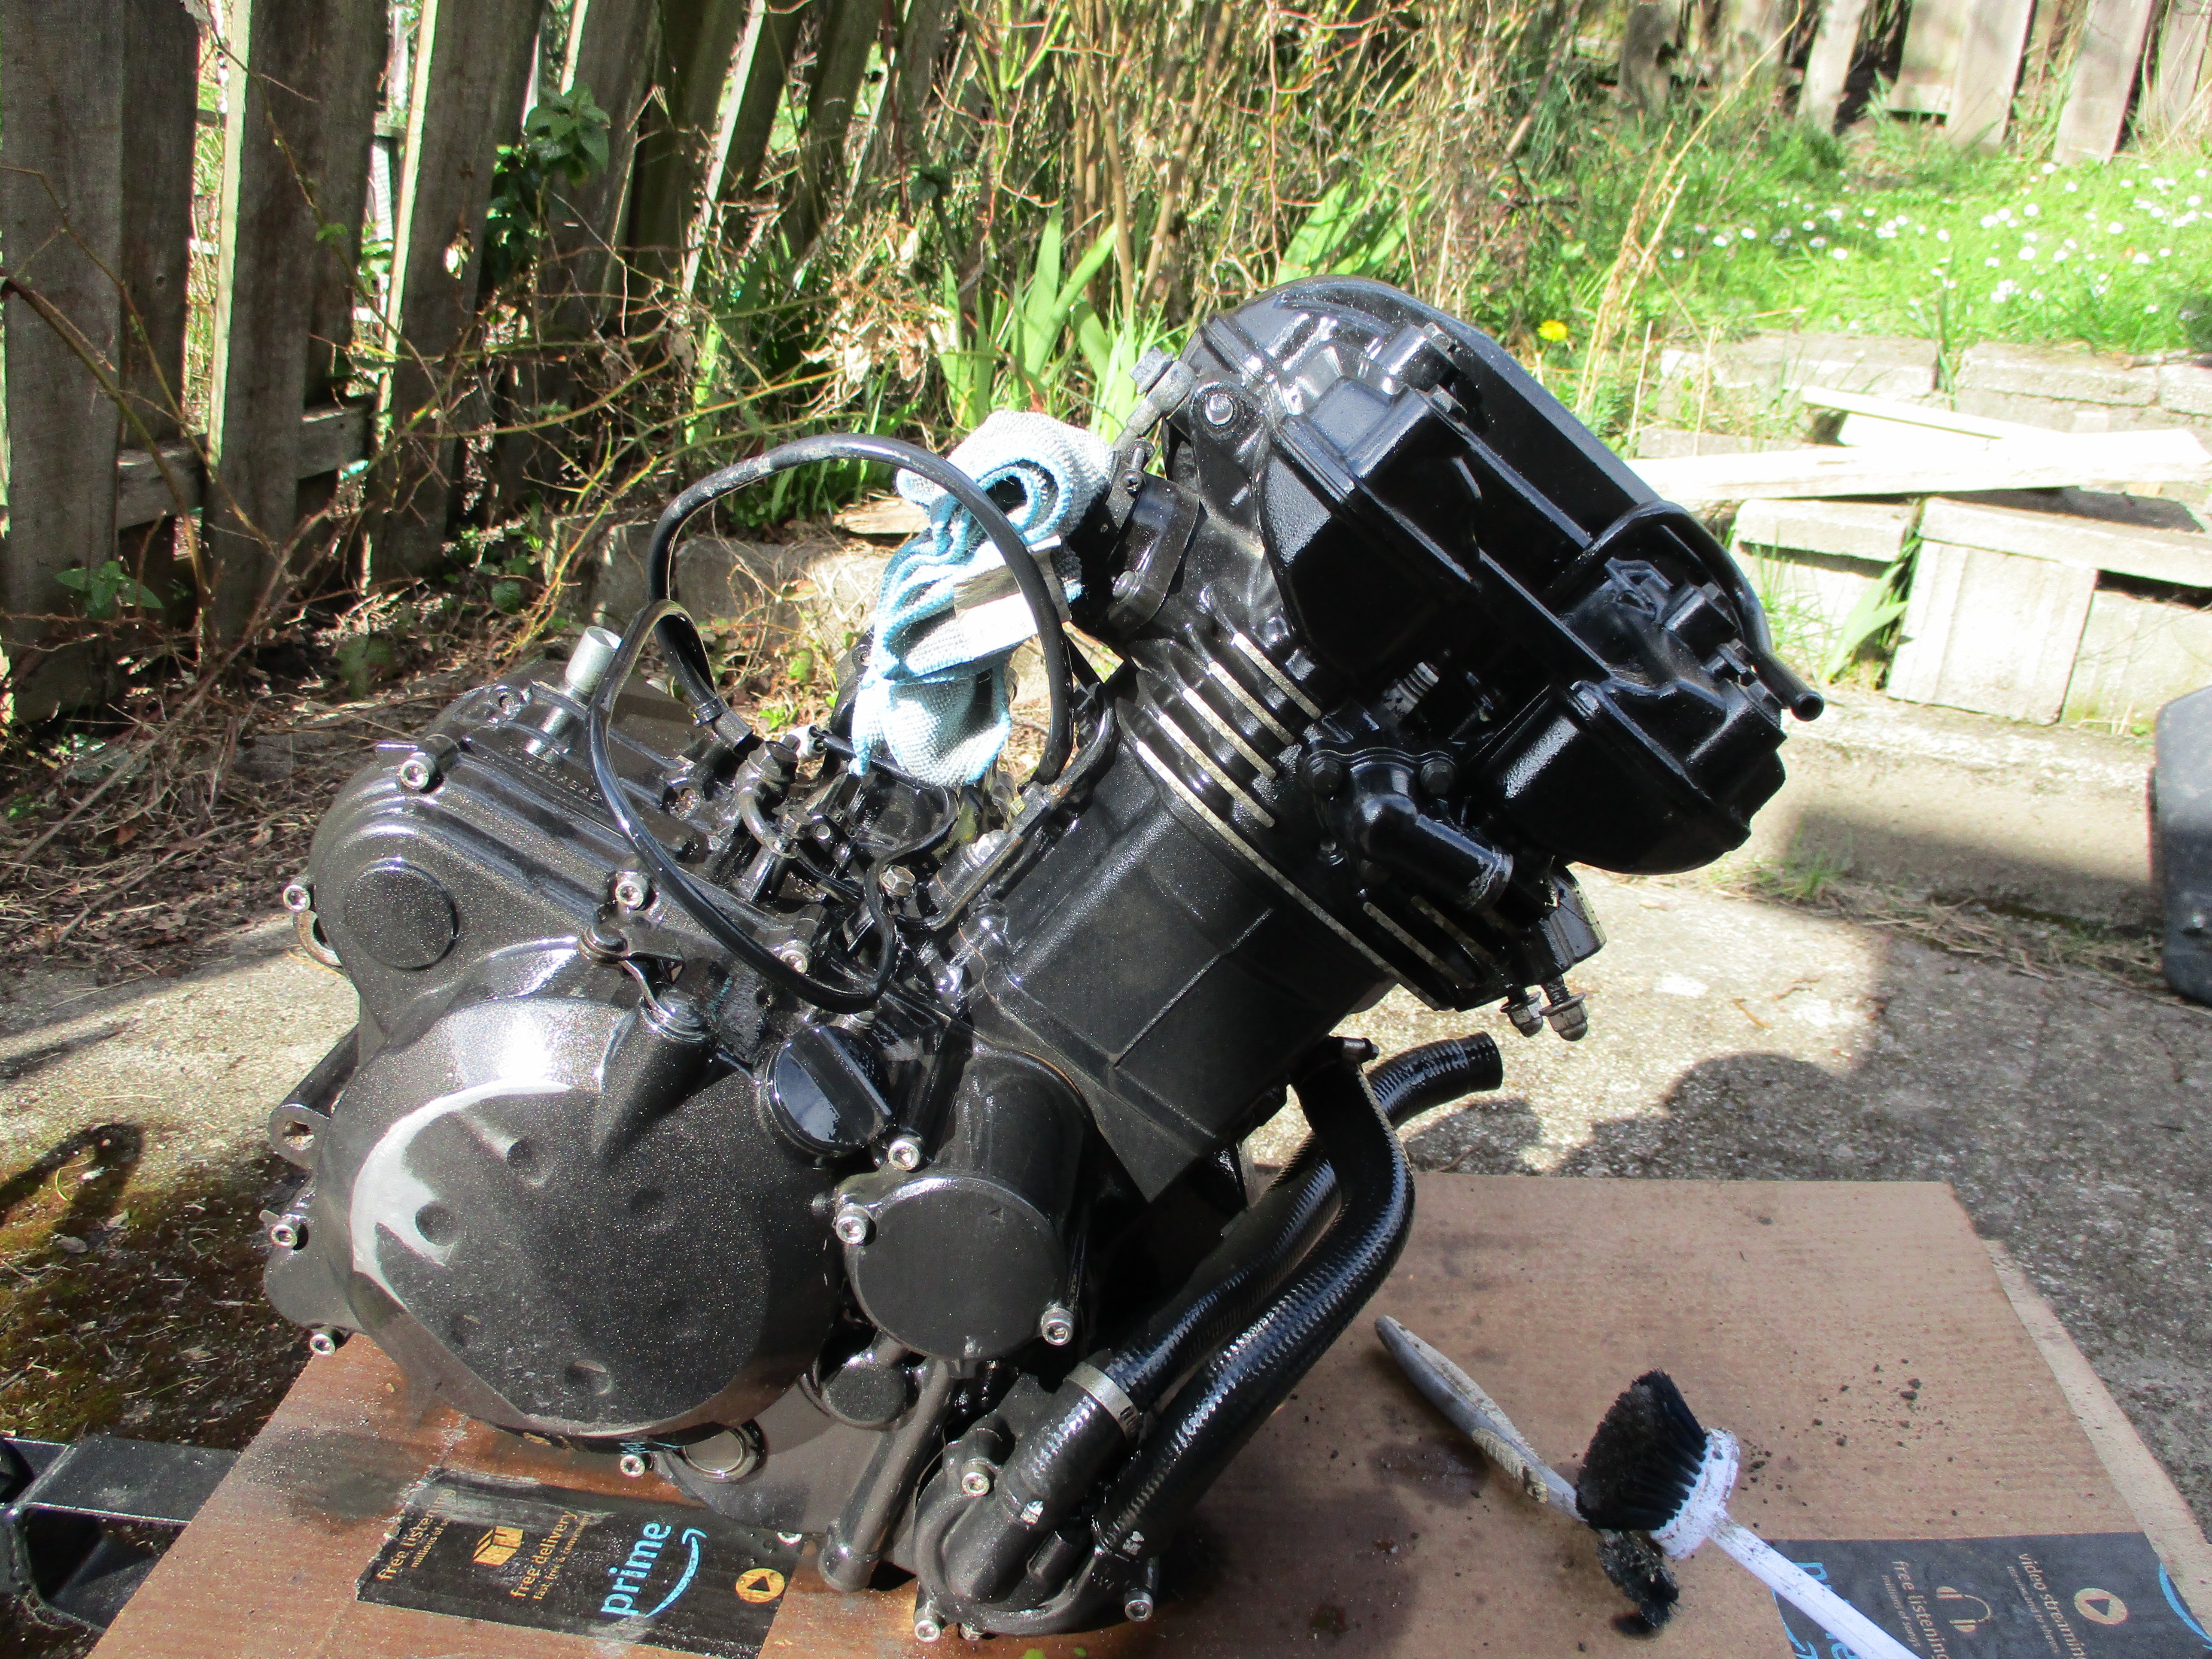
Completely assembled and ready for installation:
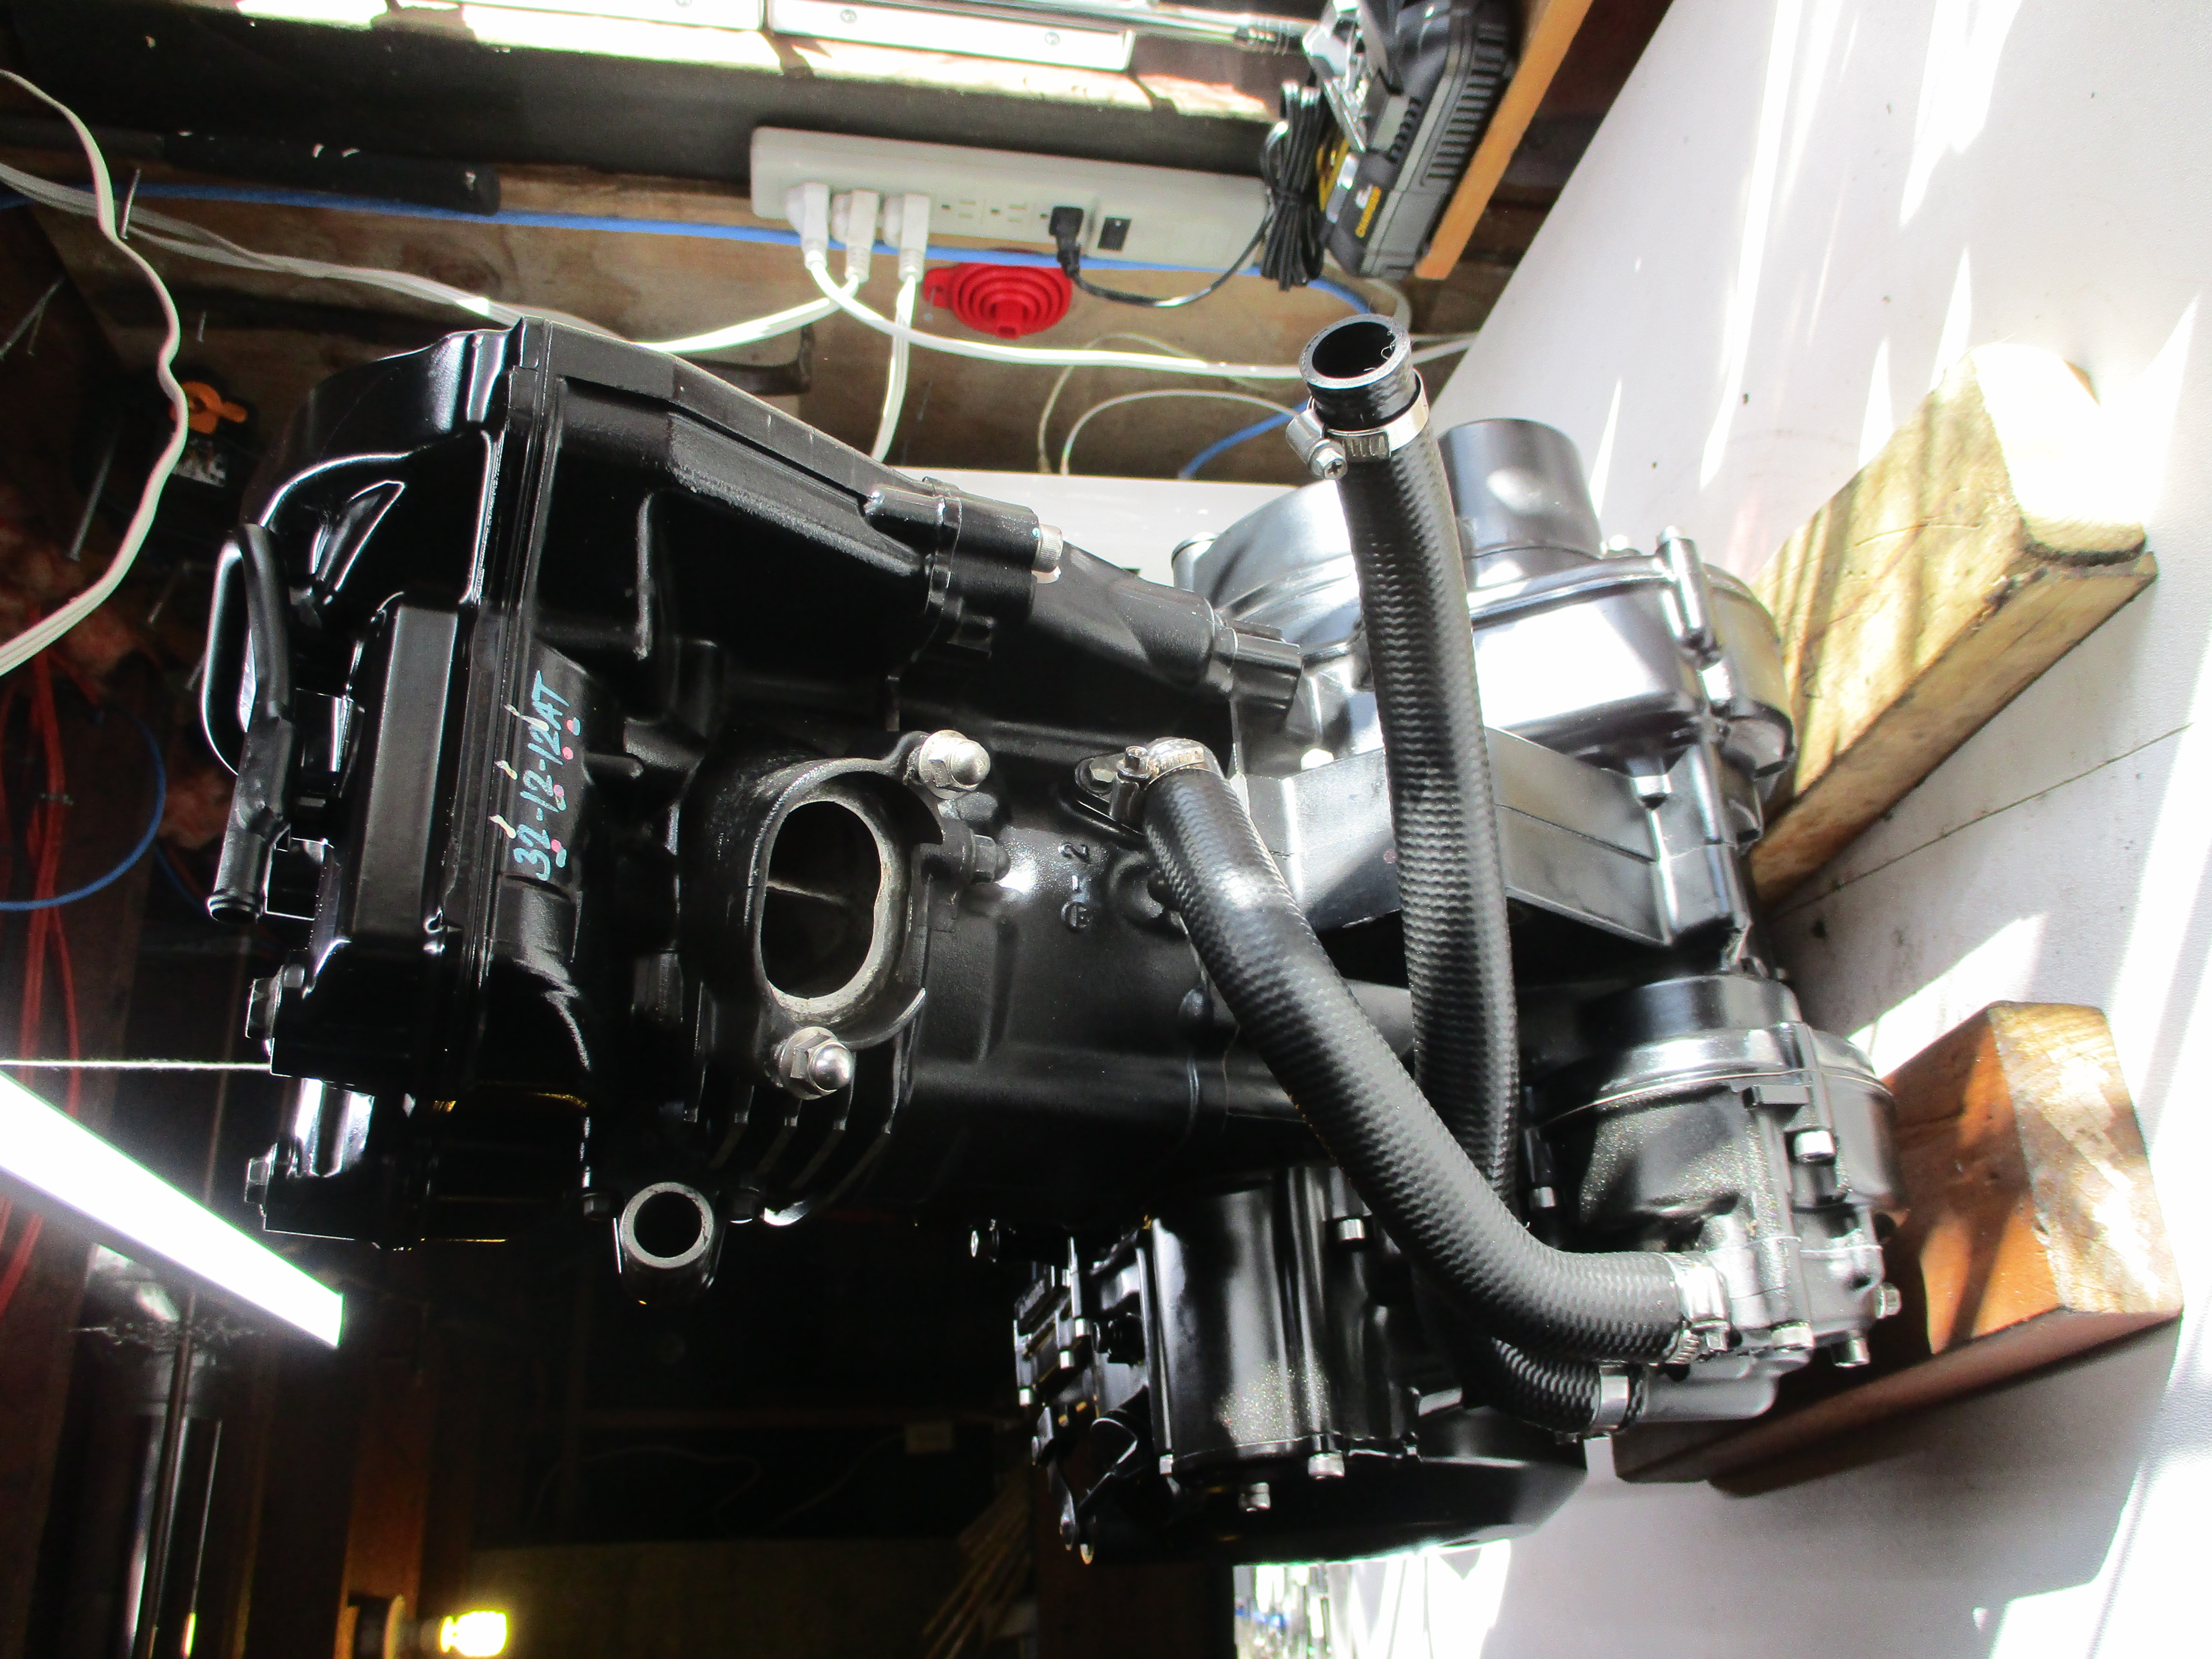
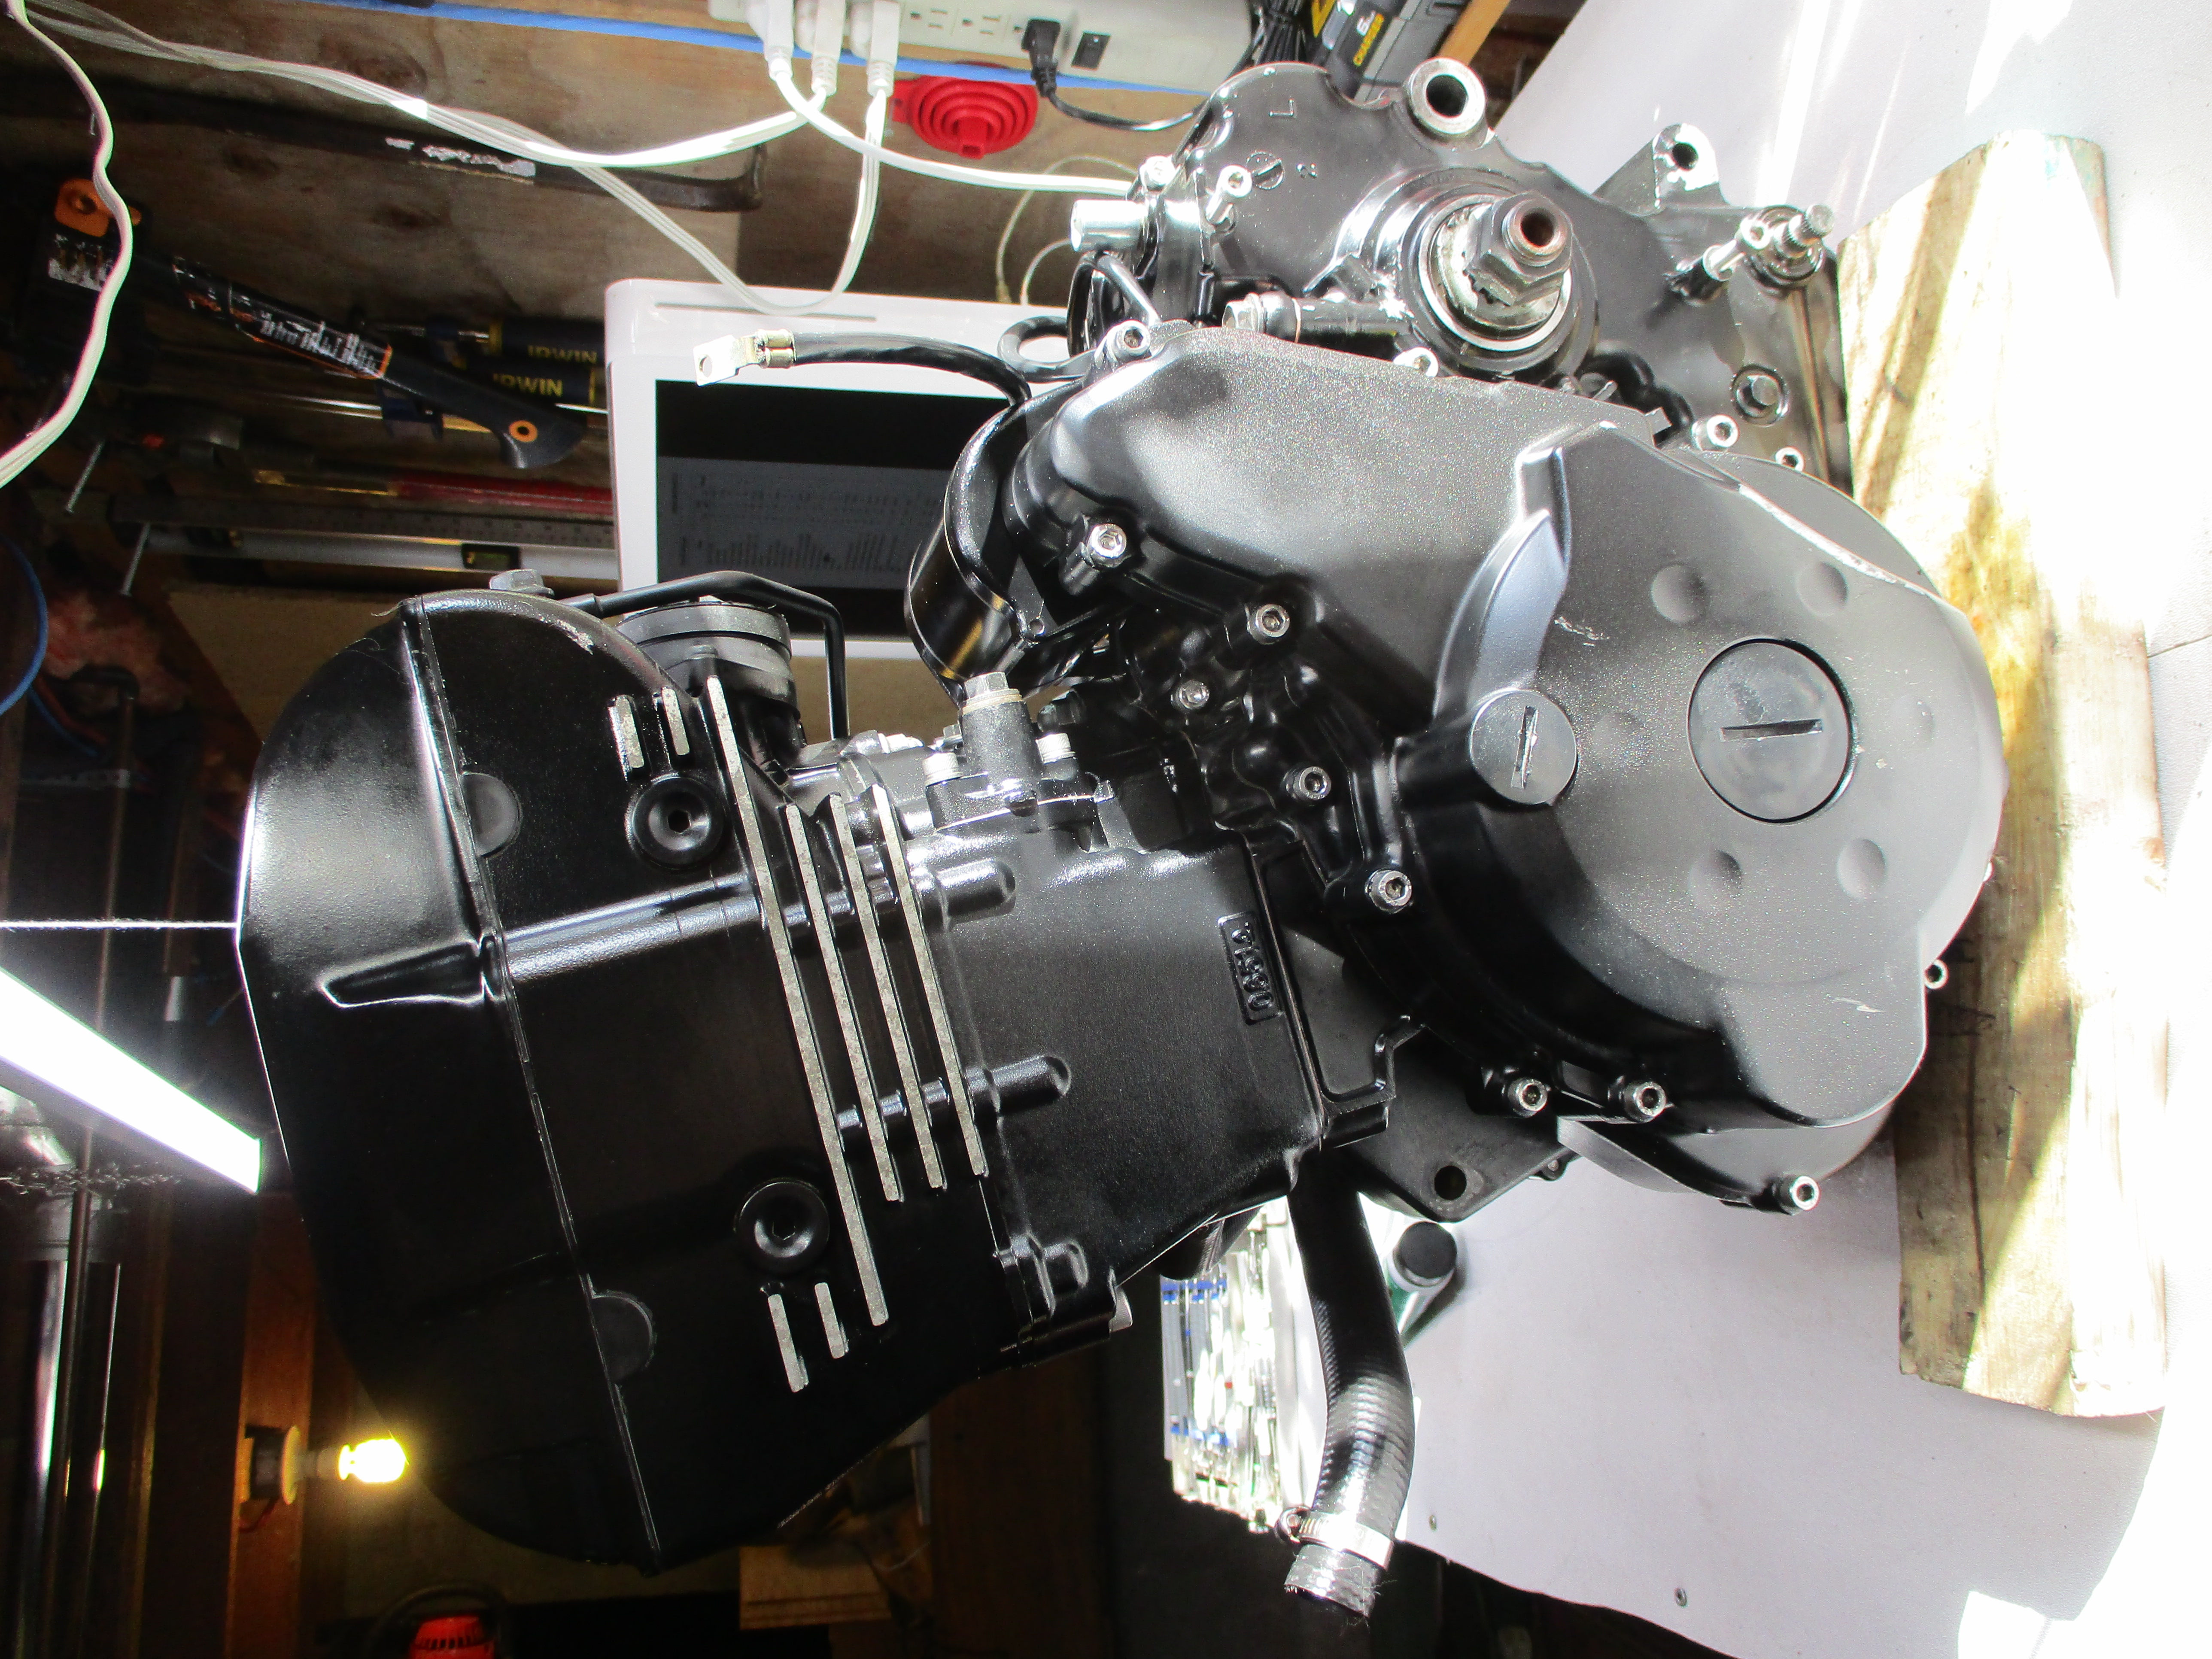
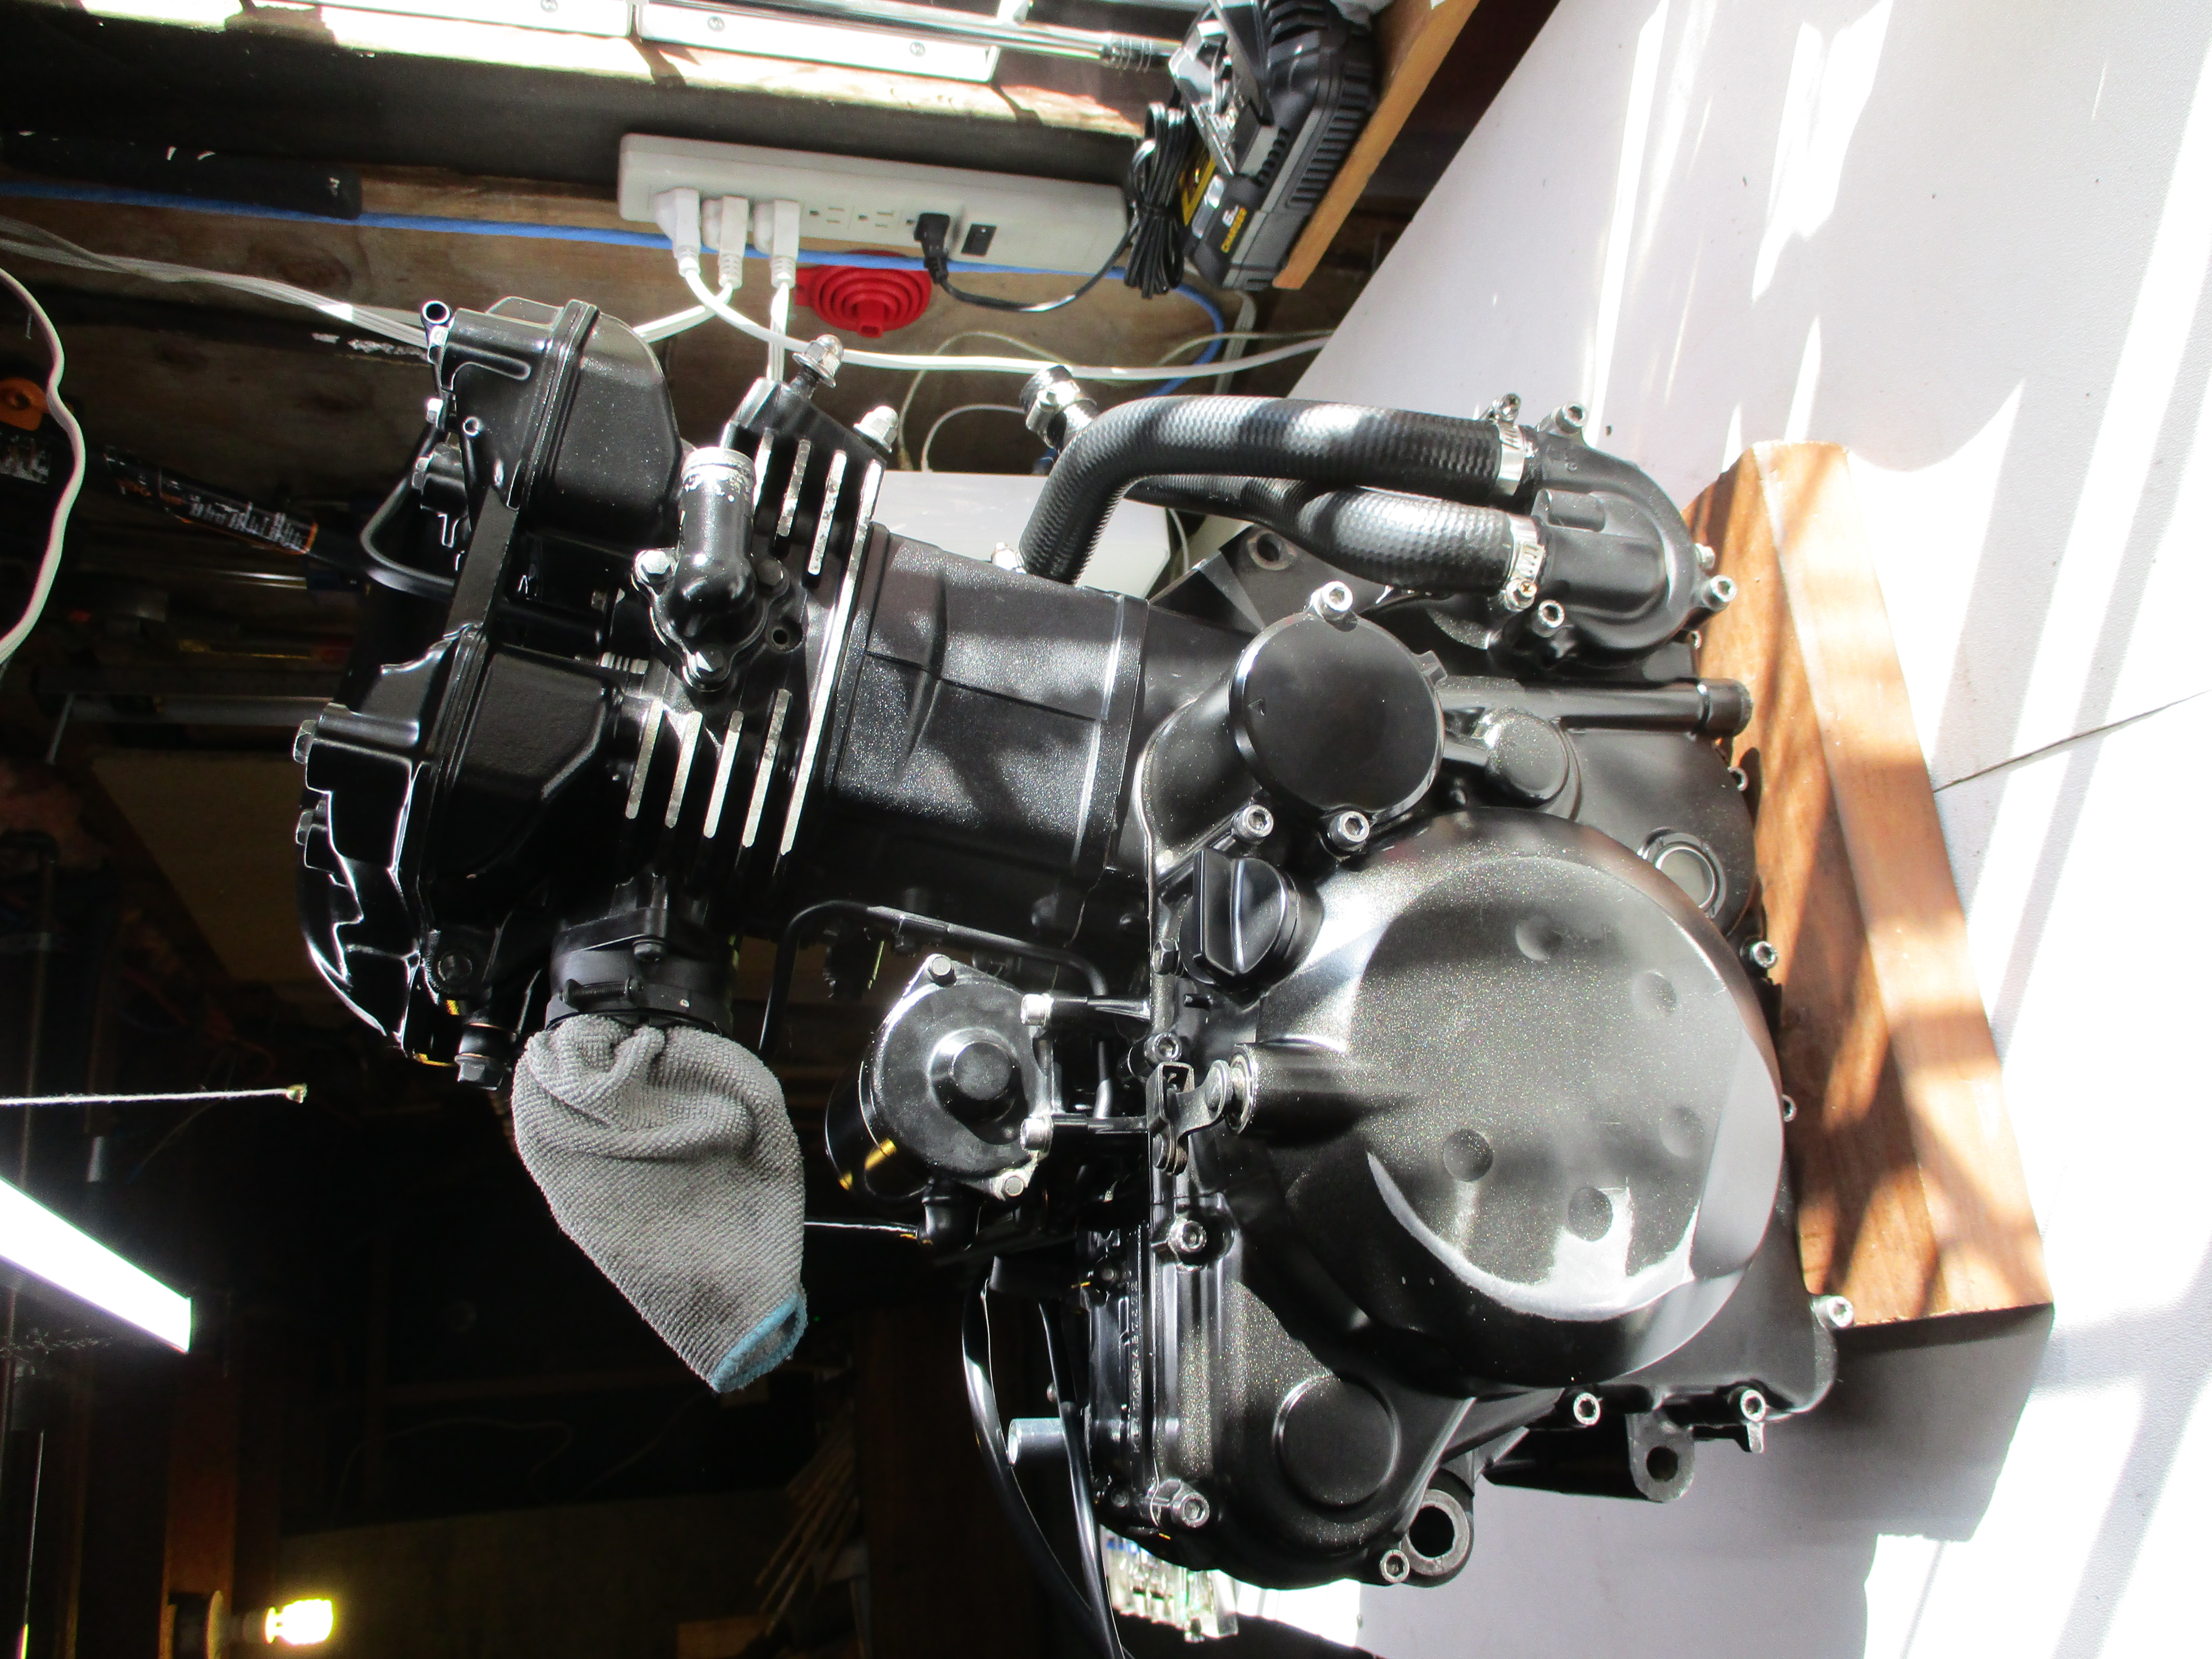
I installed the engine in reverse of removal. With everything hooked back up, I tried starting it. It cranked ONCE and then fired.
| Date: | May 2021 |
| Odometer: | 90000 kilometers |
| Cost: | $20 for switch |
| Time: | 1 hour |
My front brake light switch stopped working. After a futile attempt at cleaning, it was clear I needed a replacement. After searching I stumbled across an article from Souperdoo that suggested an alternative sealed switch.
I bought the Alps Alpine SDDHA10100 from Mouser Electronics for $5 plus shipping. The switch is weatherproof which is the reason why the first one stopped working.
| Date: | August 2021 |
| Odometer: | 95000 kilometers |
| Cost: | $30 for BelRay 10wt |
| Time: | 8 hours |
The fork oil had never been changed so I thought it was a good time to do that. At first I thought the allen bolt in the bottom of the forks was a drain, so I tried undoing it while the forks were still on the motorcycle. Big Mistake.
That allen bolt holds the internal damper rod in position and if you do not remove the allen bolt quickly, with an impact lets say, the damper rod will end up coming loose and spin inside the forks. Now, not a big deal if your damper rod has an internal hex shape at the top but these forks did not. There was really no way to get those allen bolts tight, or out. For the fork oil change I did not need to remove the damper rod, but since I had loosened that screw I needed to tighten it again somehow.
So I ended up holding the slippery damper rod with a broom handle while I drilled out the allen bolts.
Then I disassembled the forks completely, cleaned them as best I could and reassembled. The springs were at the specification limit (14.1"), the bottom fork bushings were about 50% worn on the worst side. The seals looked ok and I reused them.
| Date: | September 2021 |
| Odometer: | 96000 kilometers |
| Cost: | $0 |
| Time: | 4 hours |
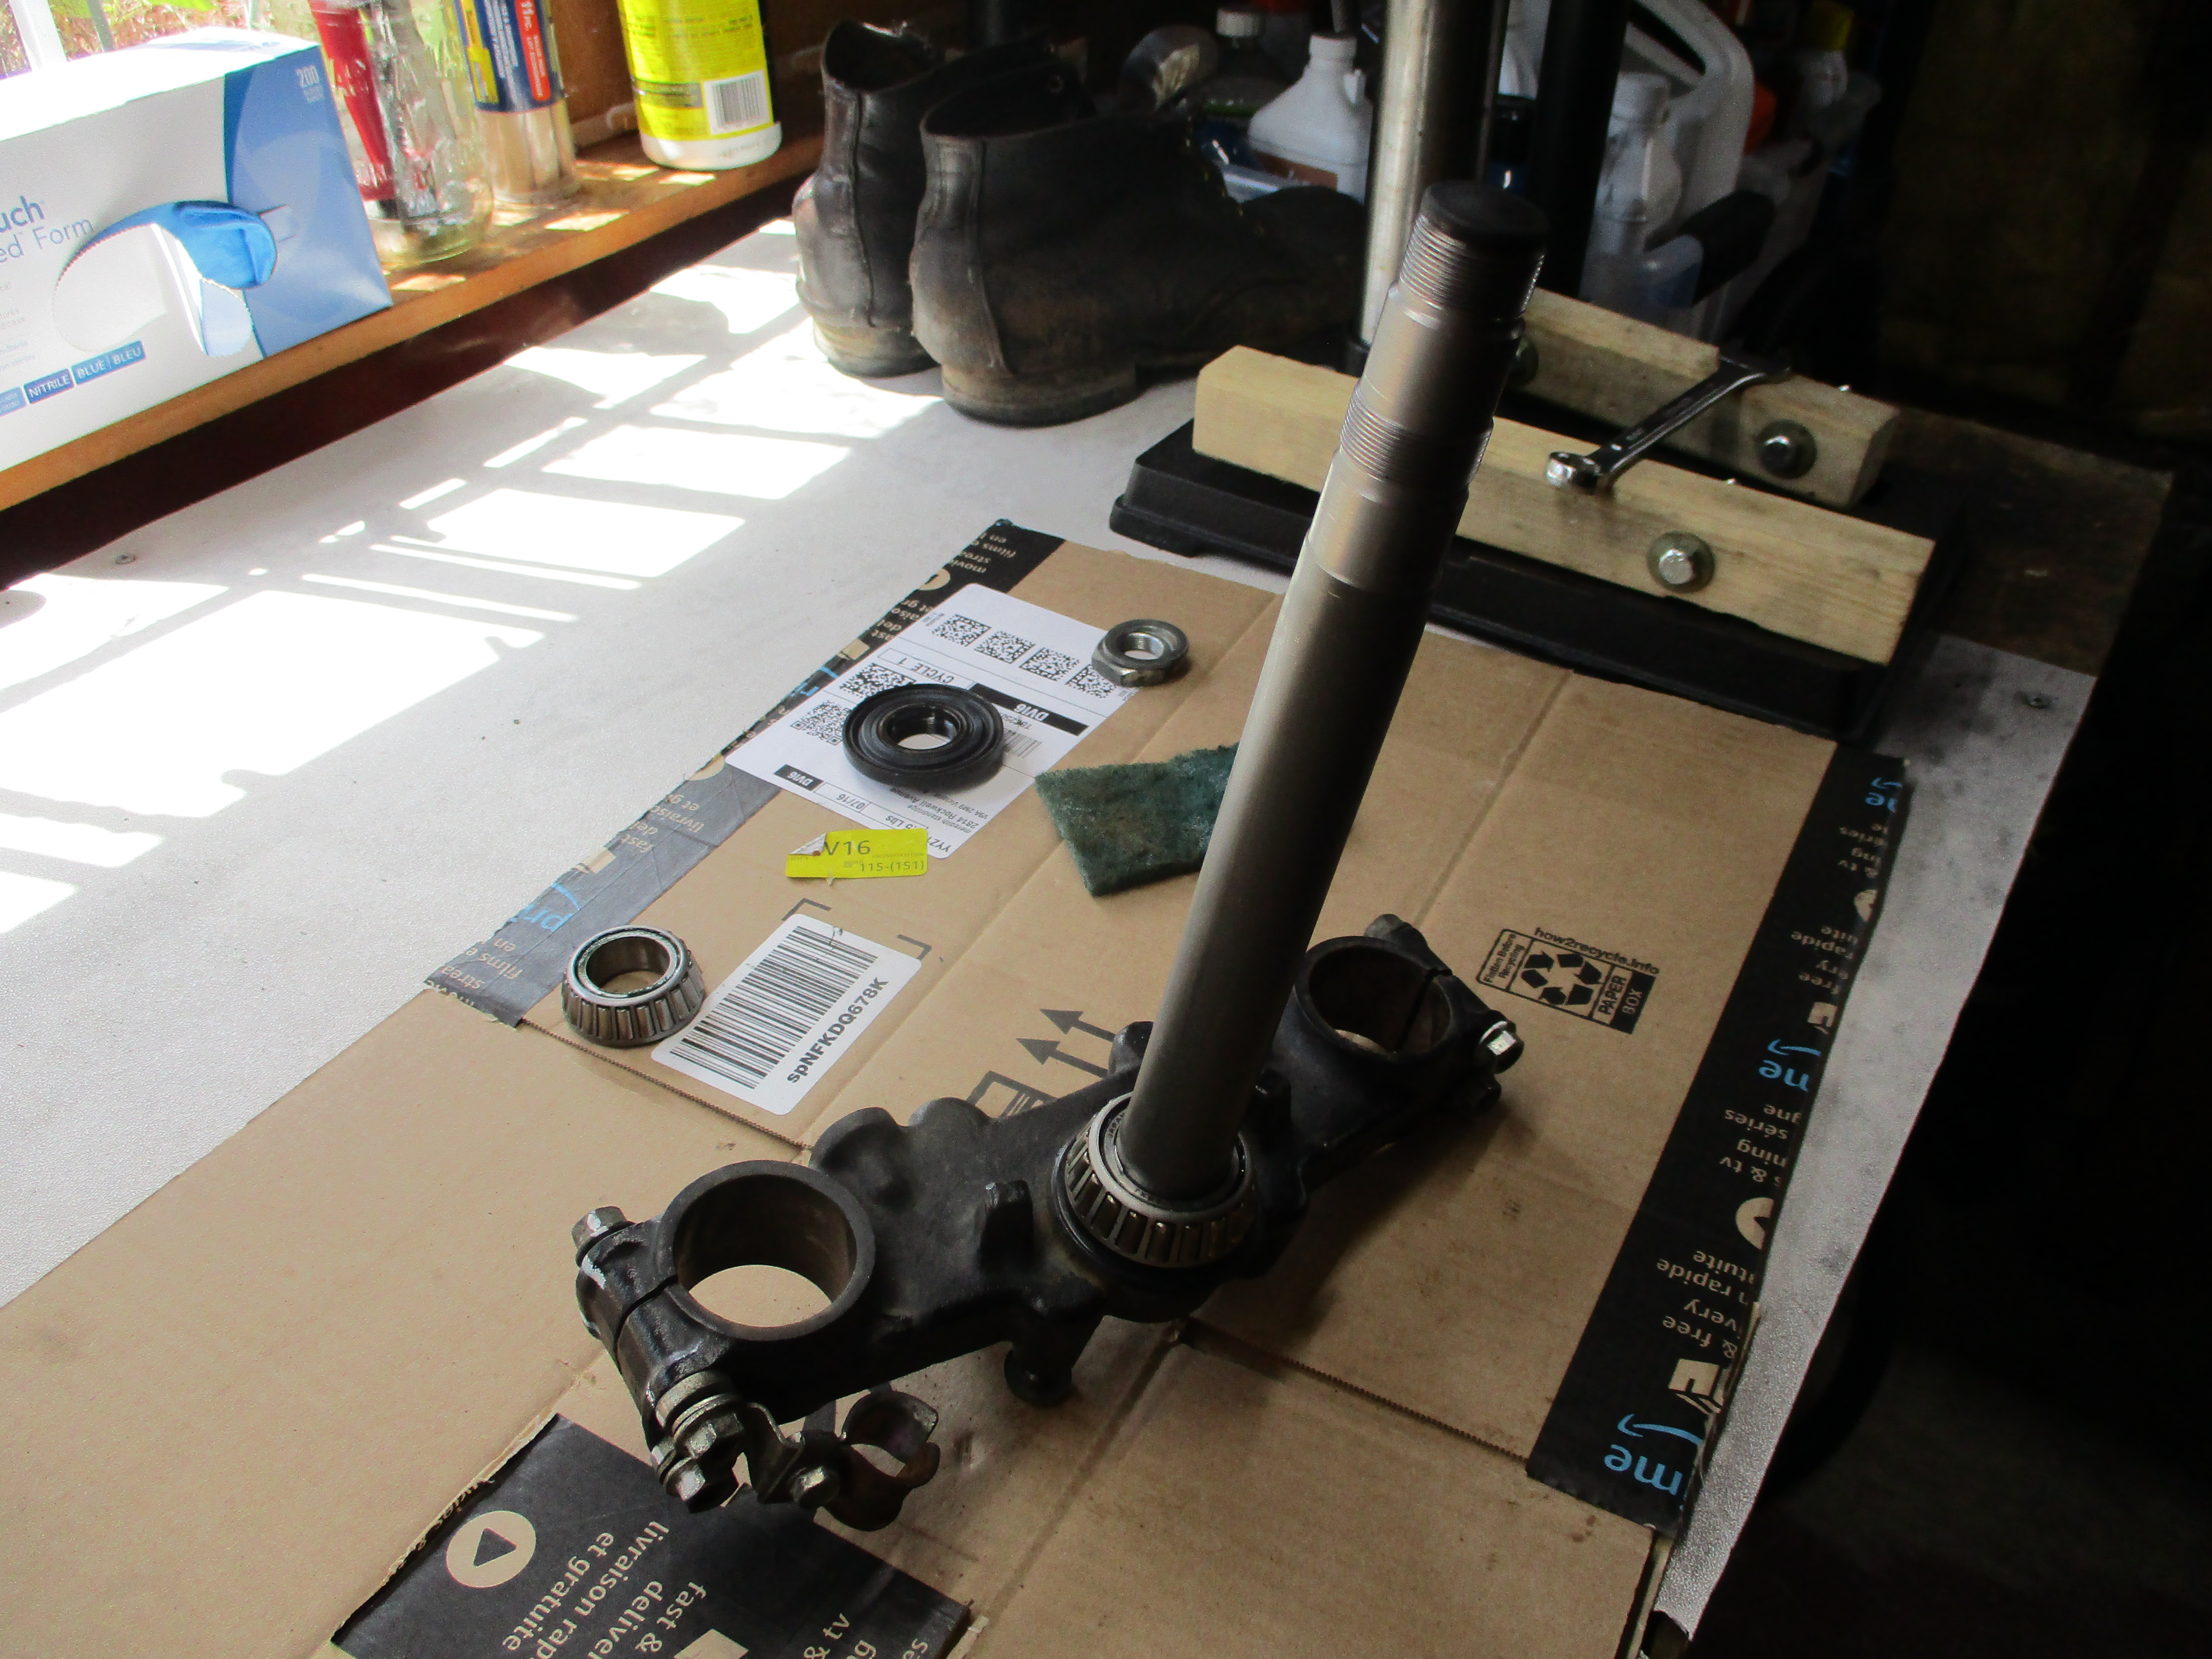
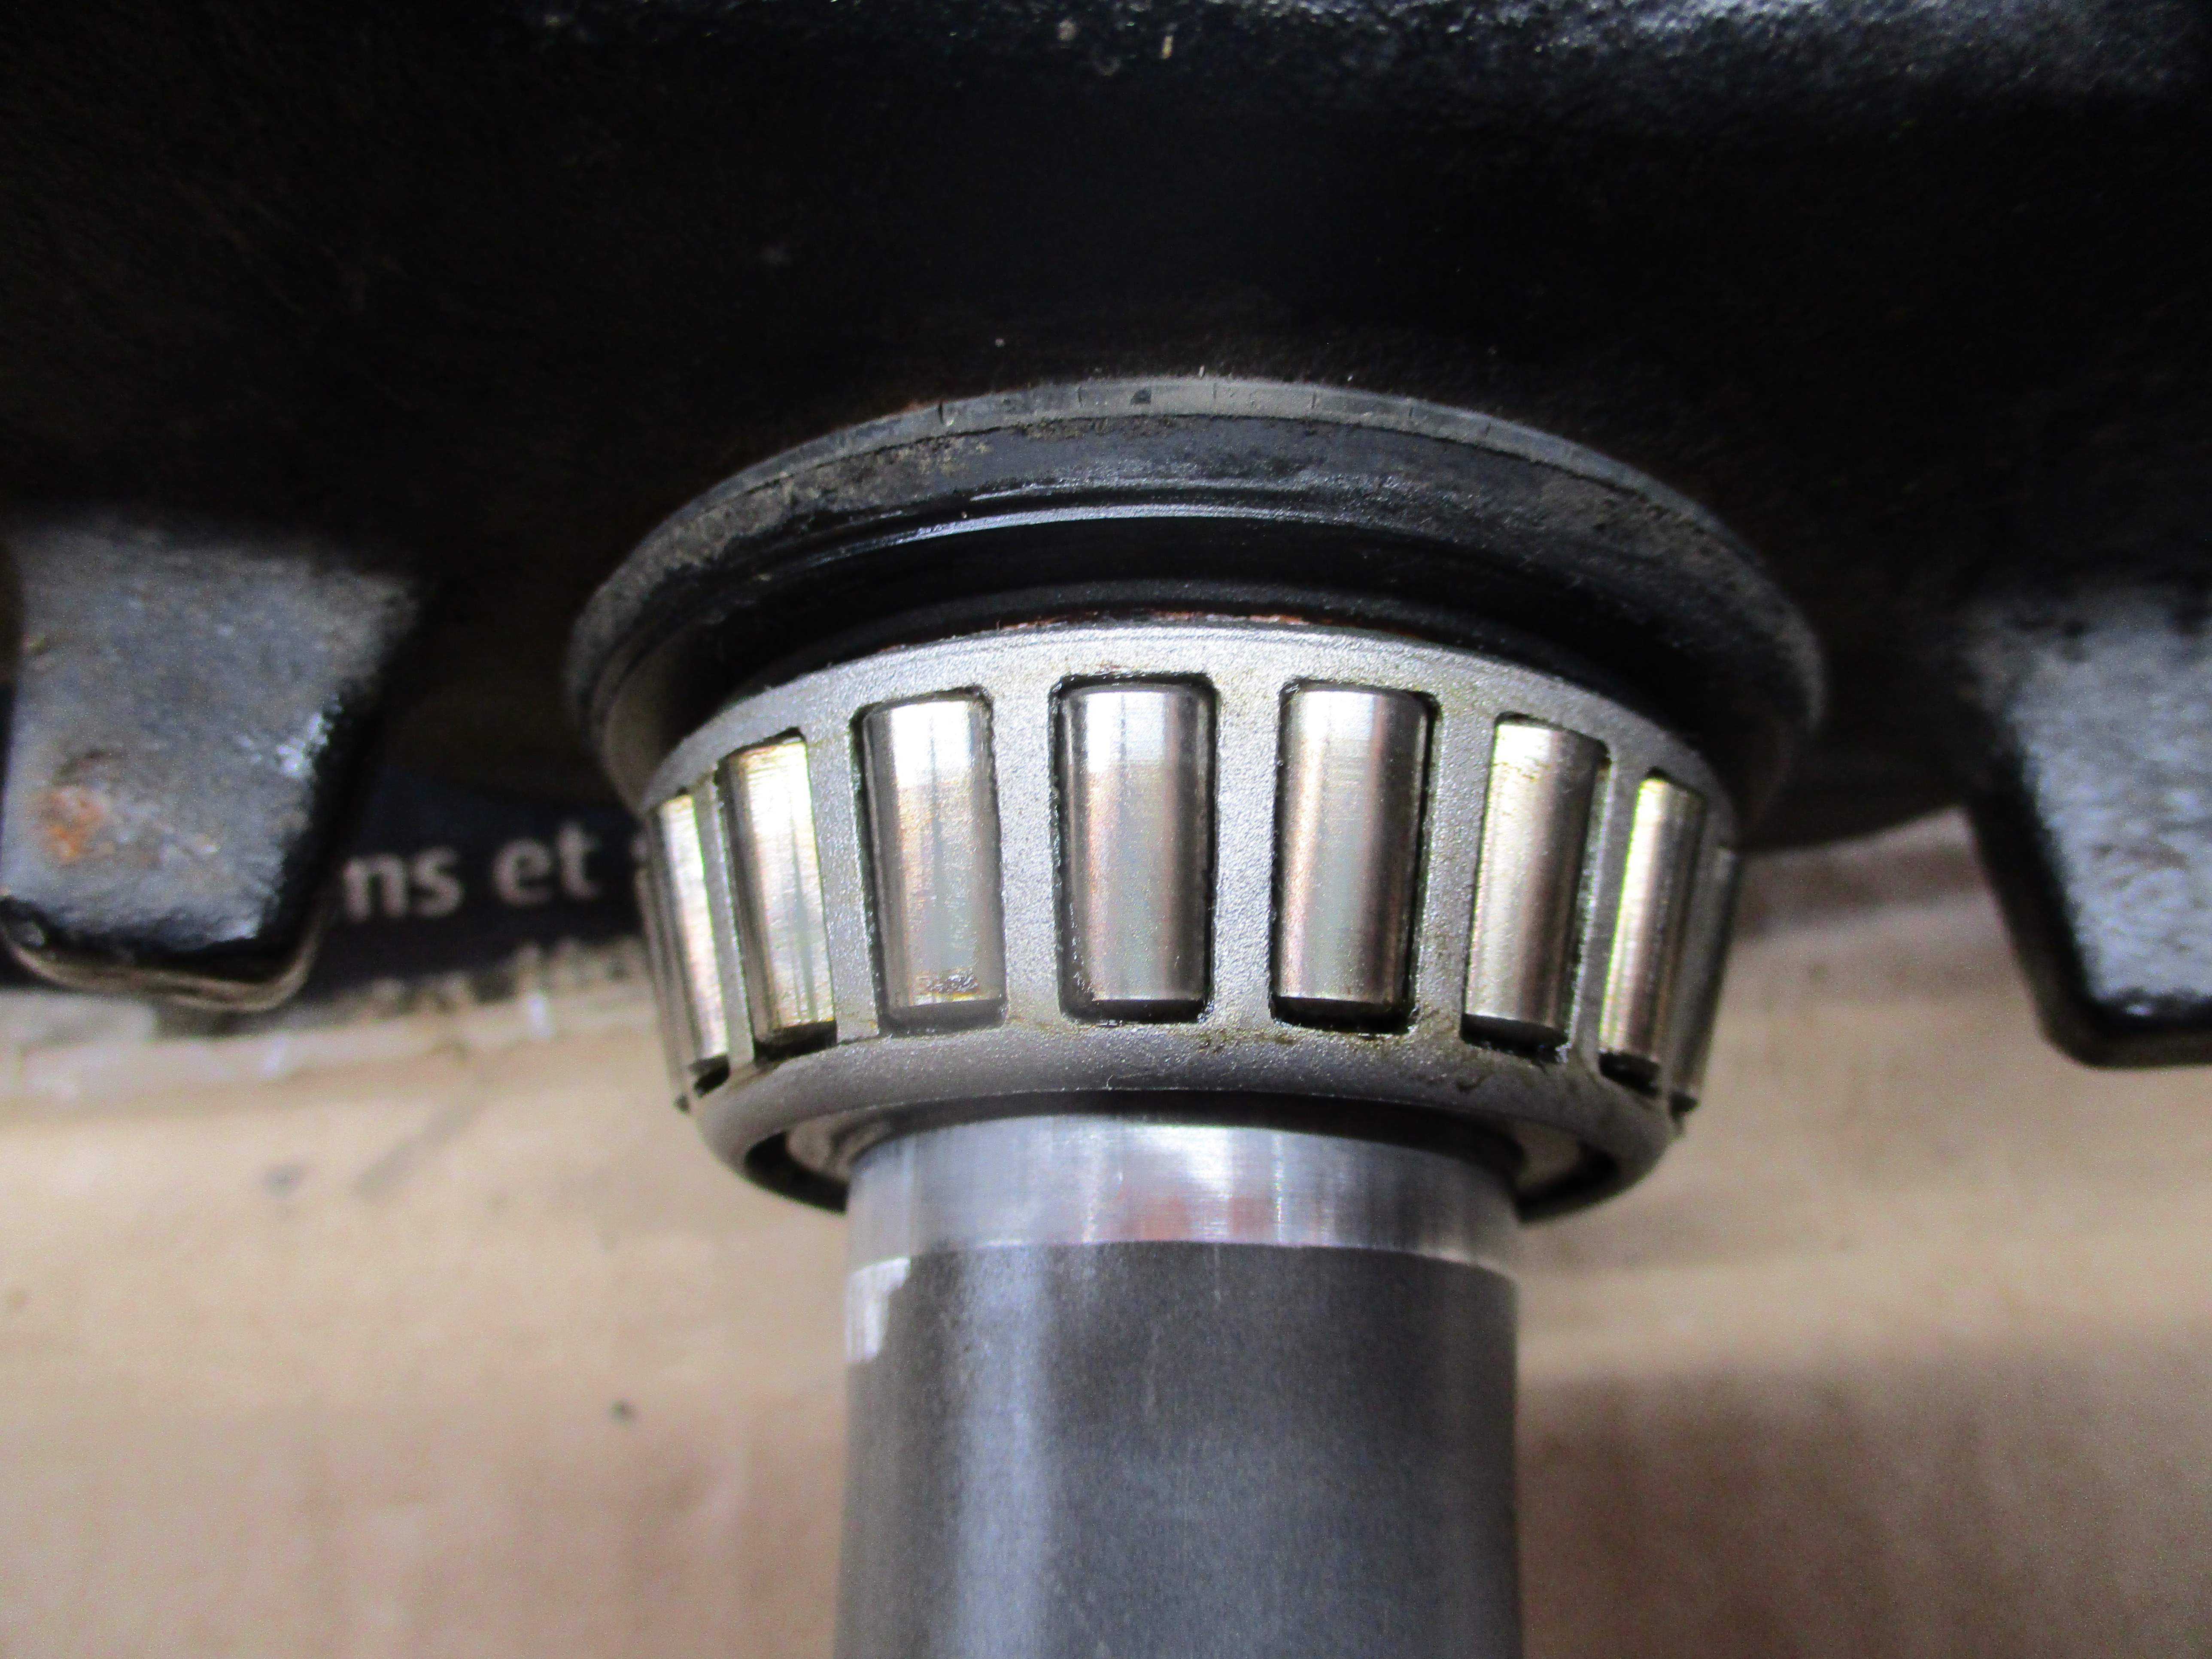
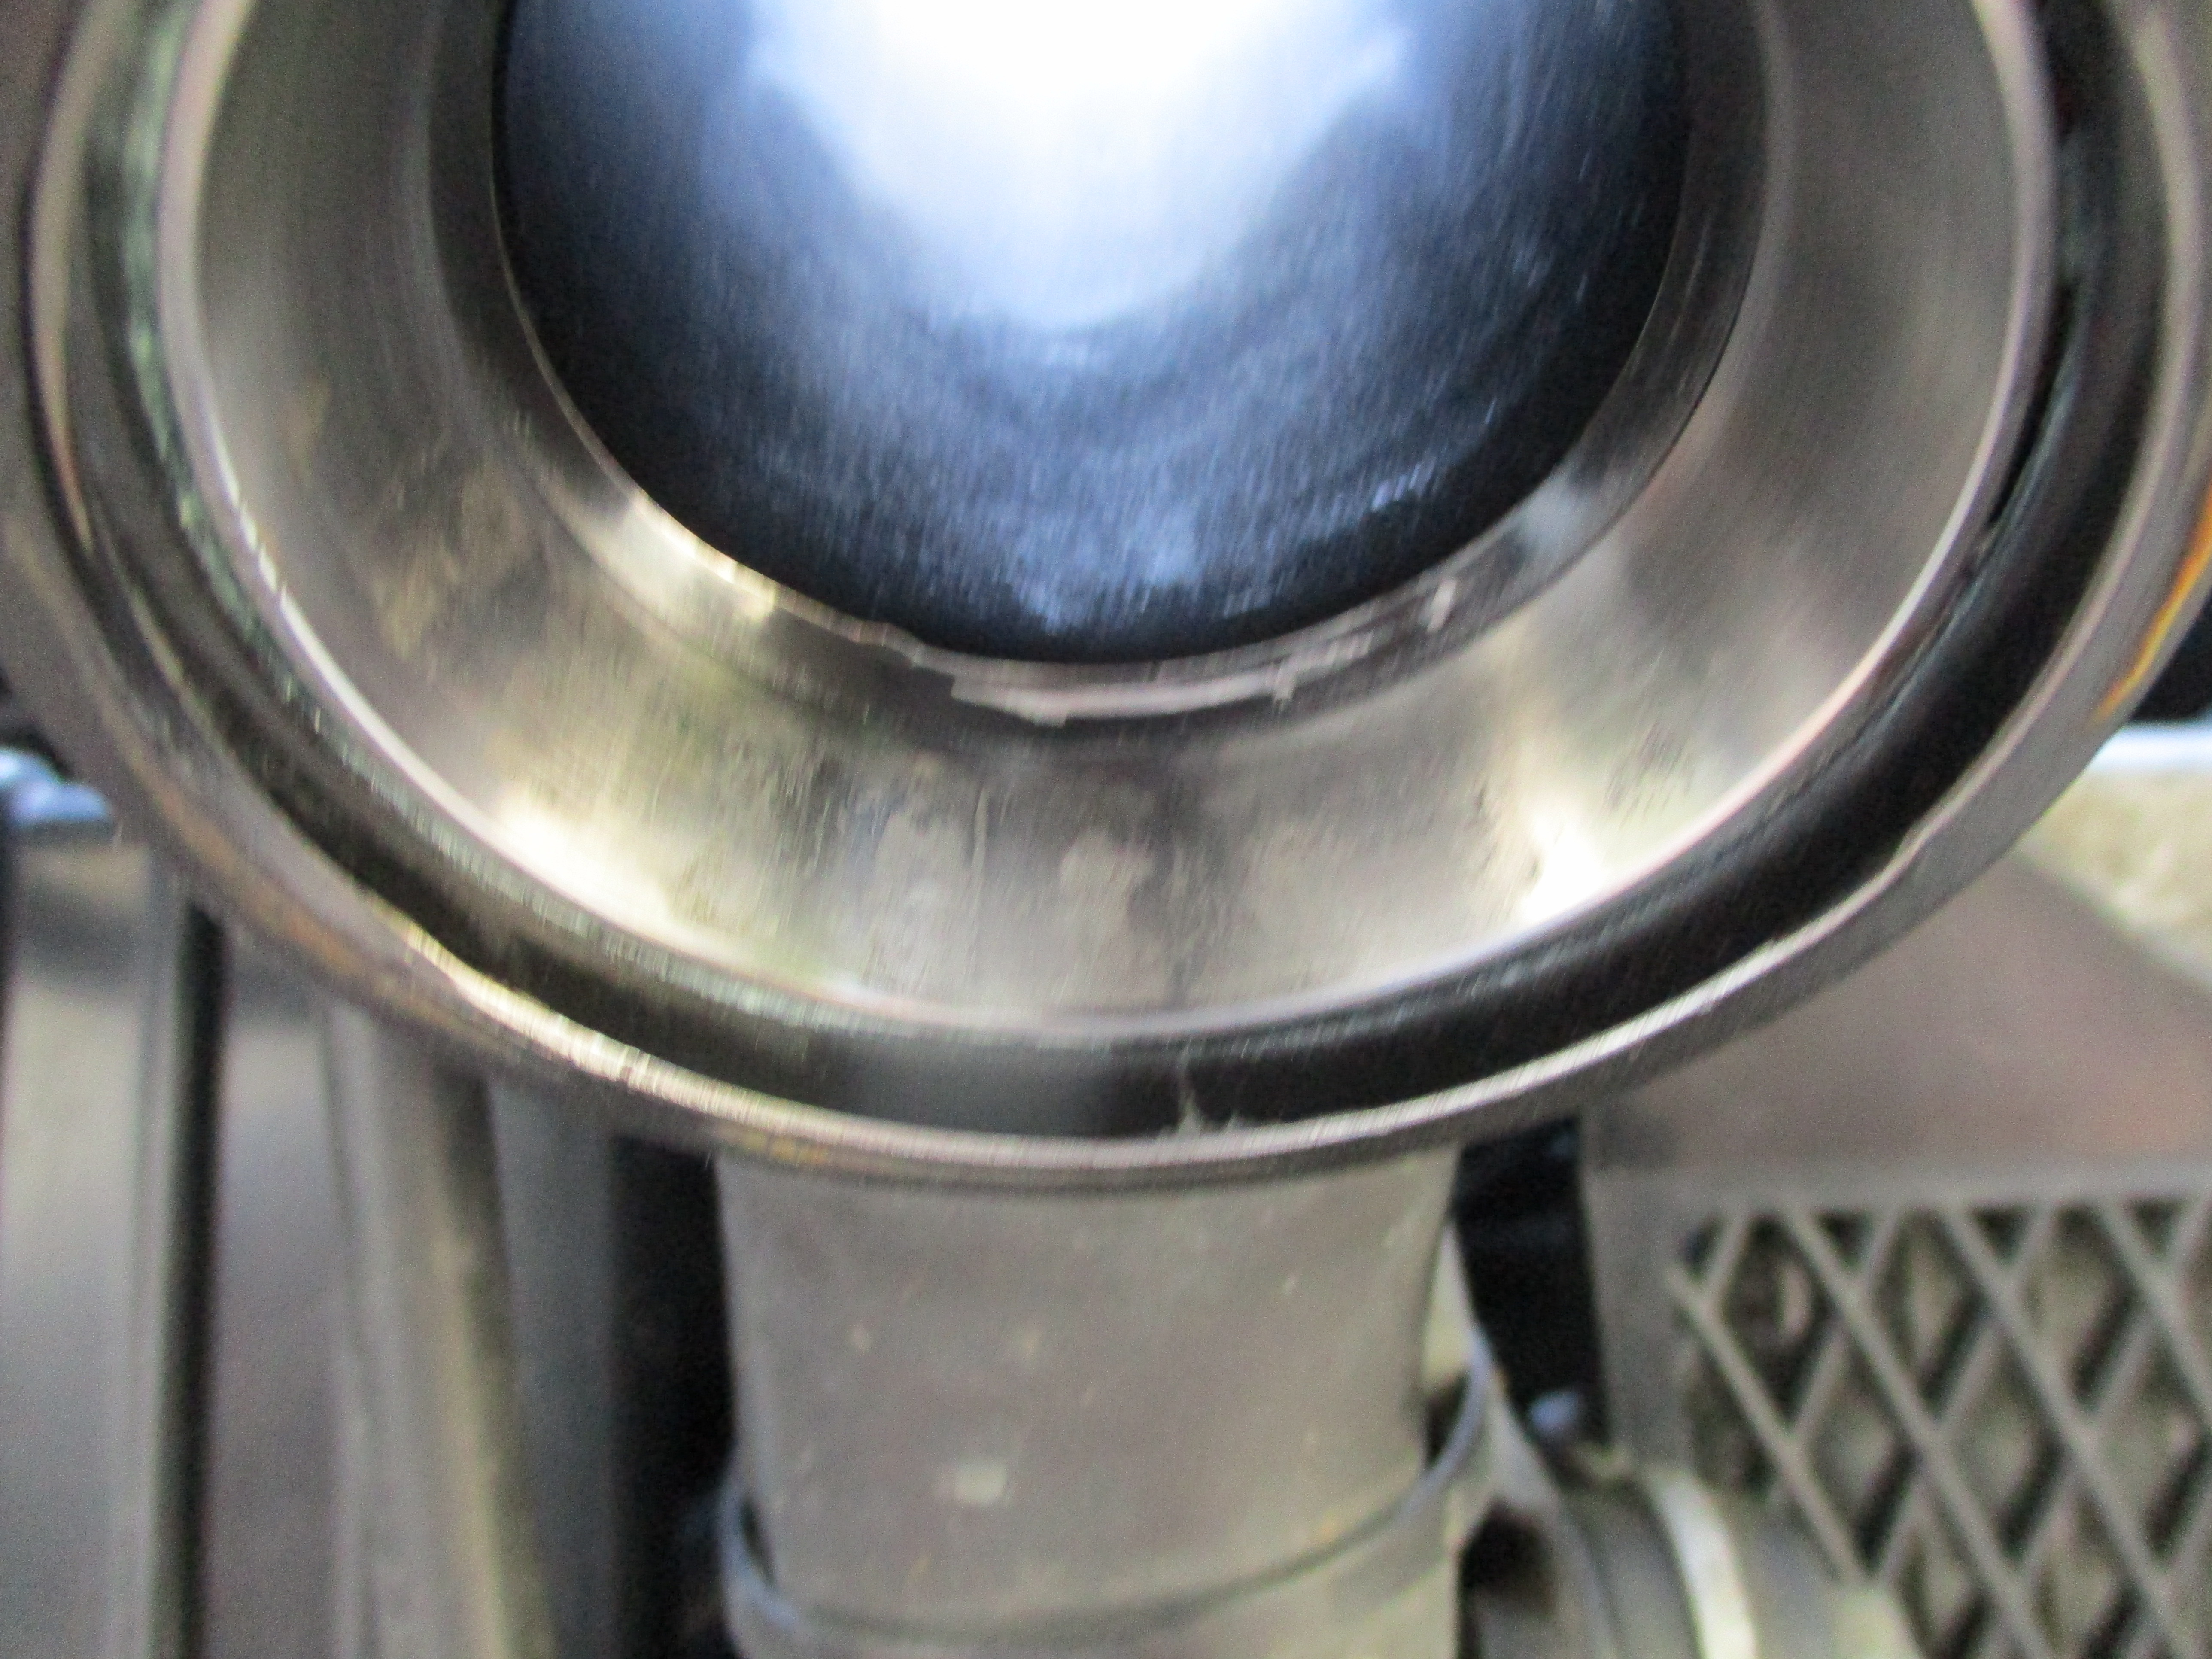
The steering bearings had never been lubricated and they seemed slightly stiff when the front wheel was raised and the handlebars moved side to side.
To lubricate the steering stem bearings the front caliper, front wheel, forks, and top triple tree need to be removed. Then the steering stem can be removed.
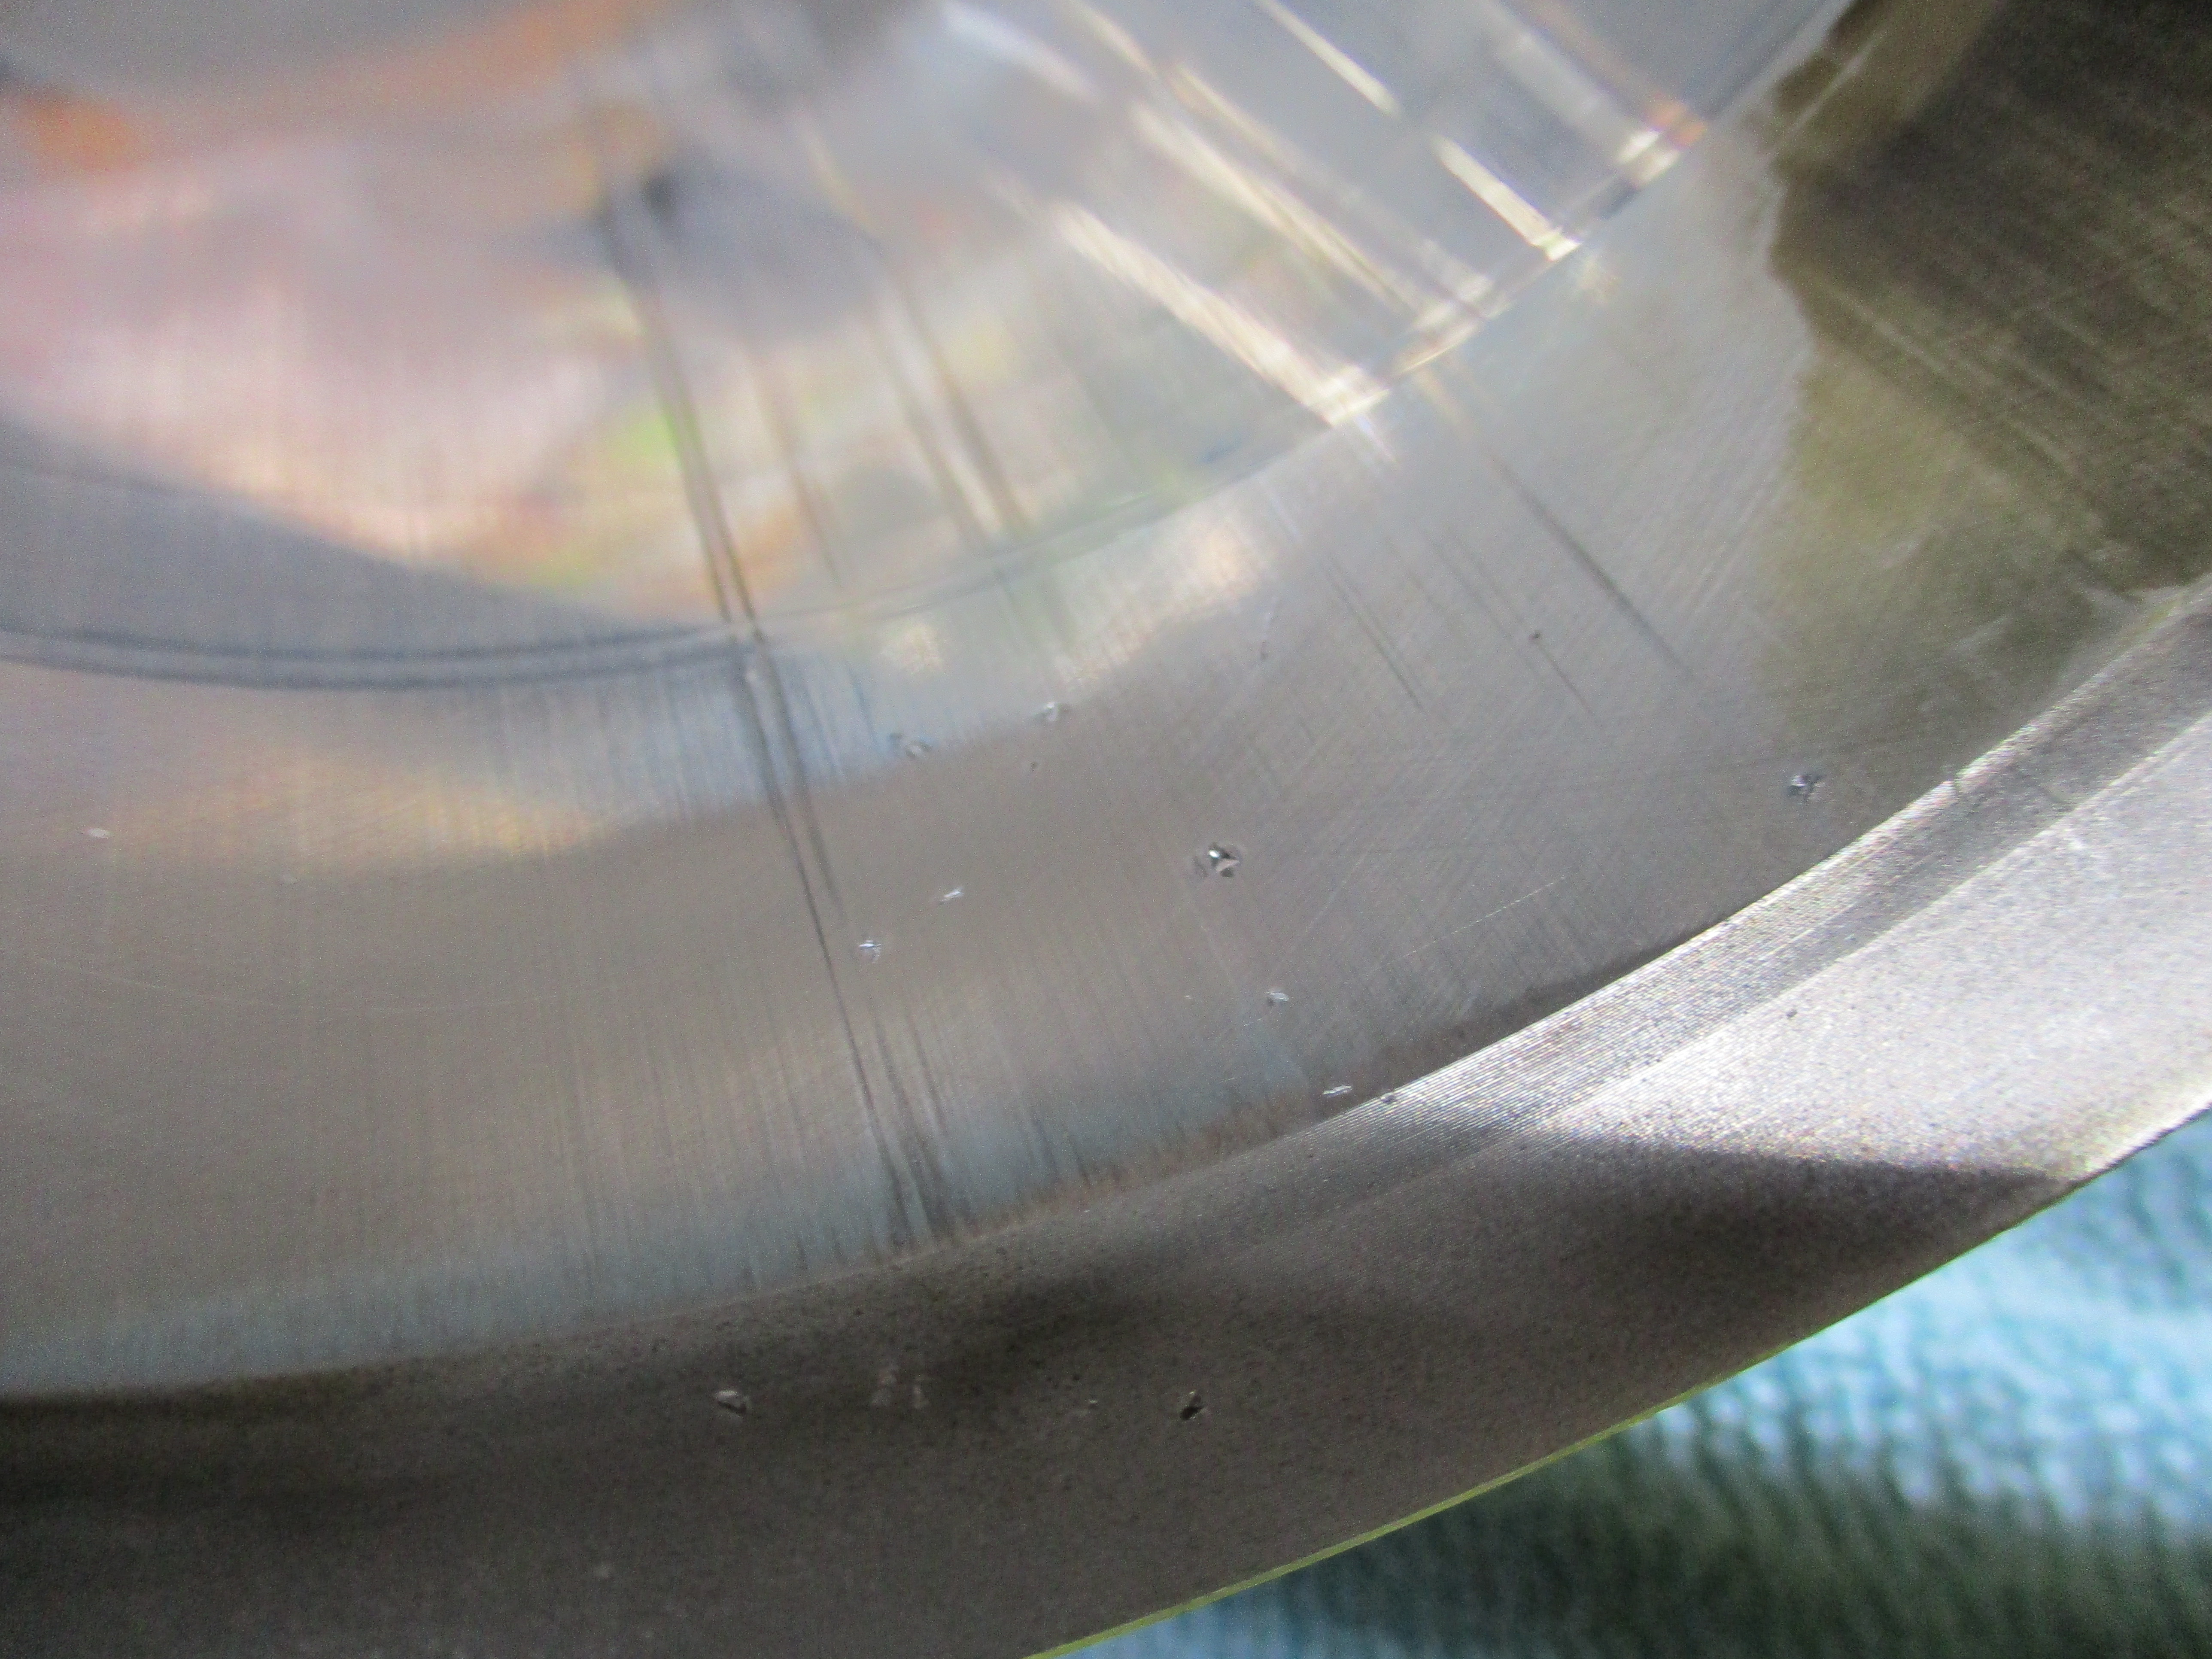
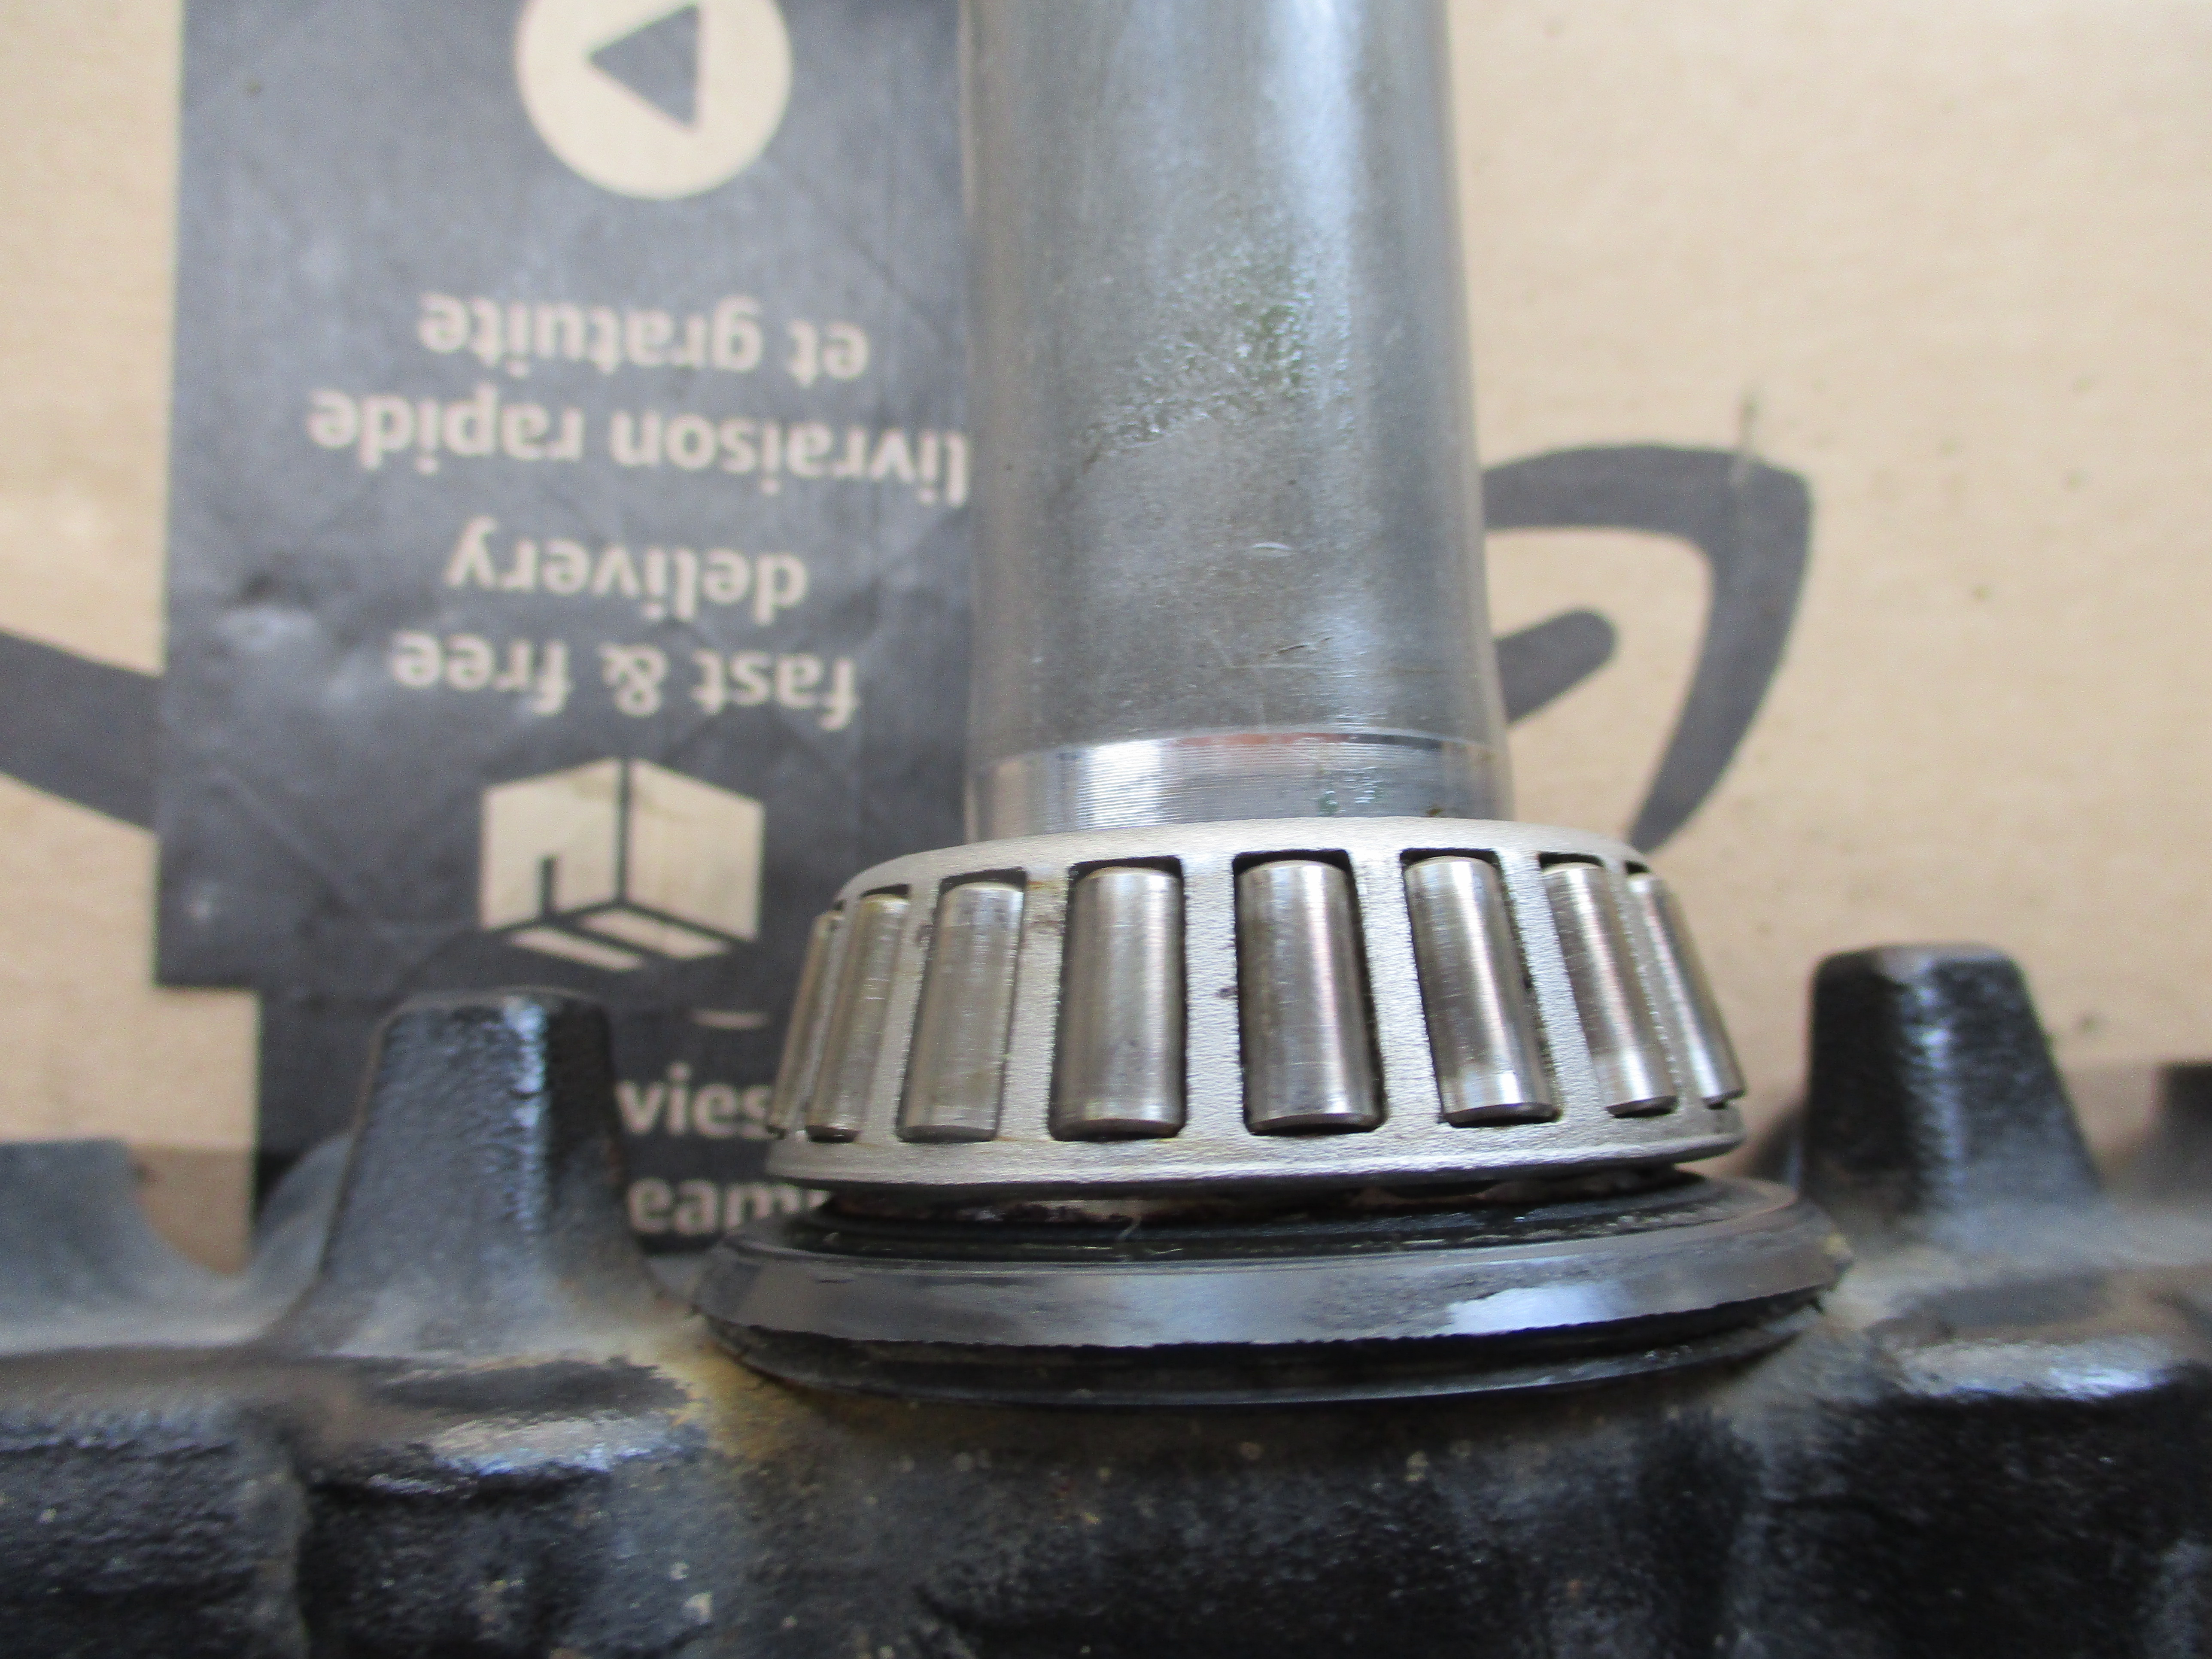
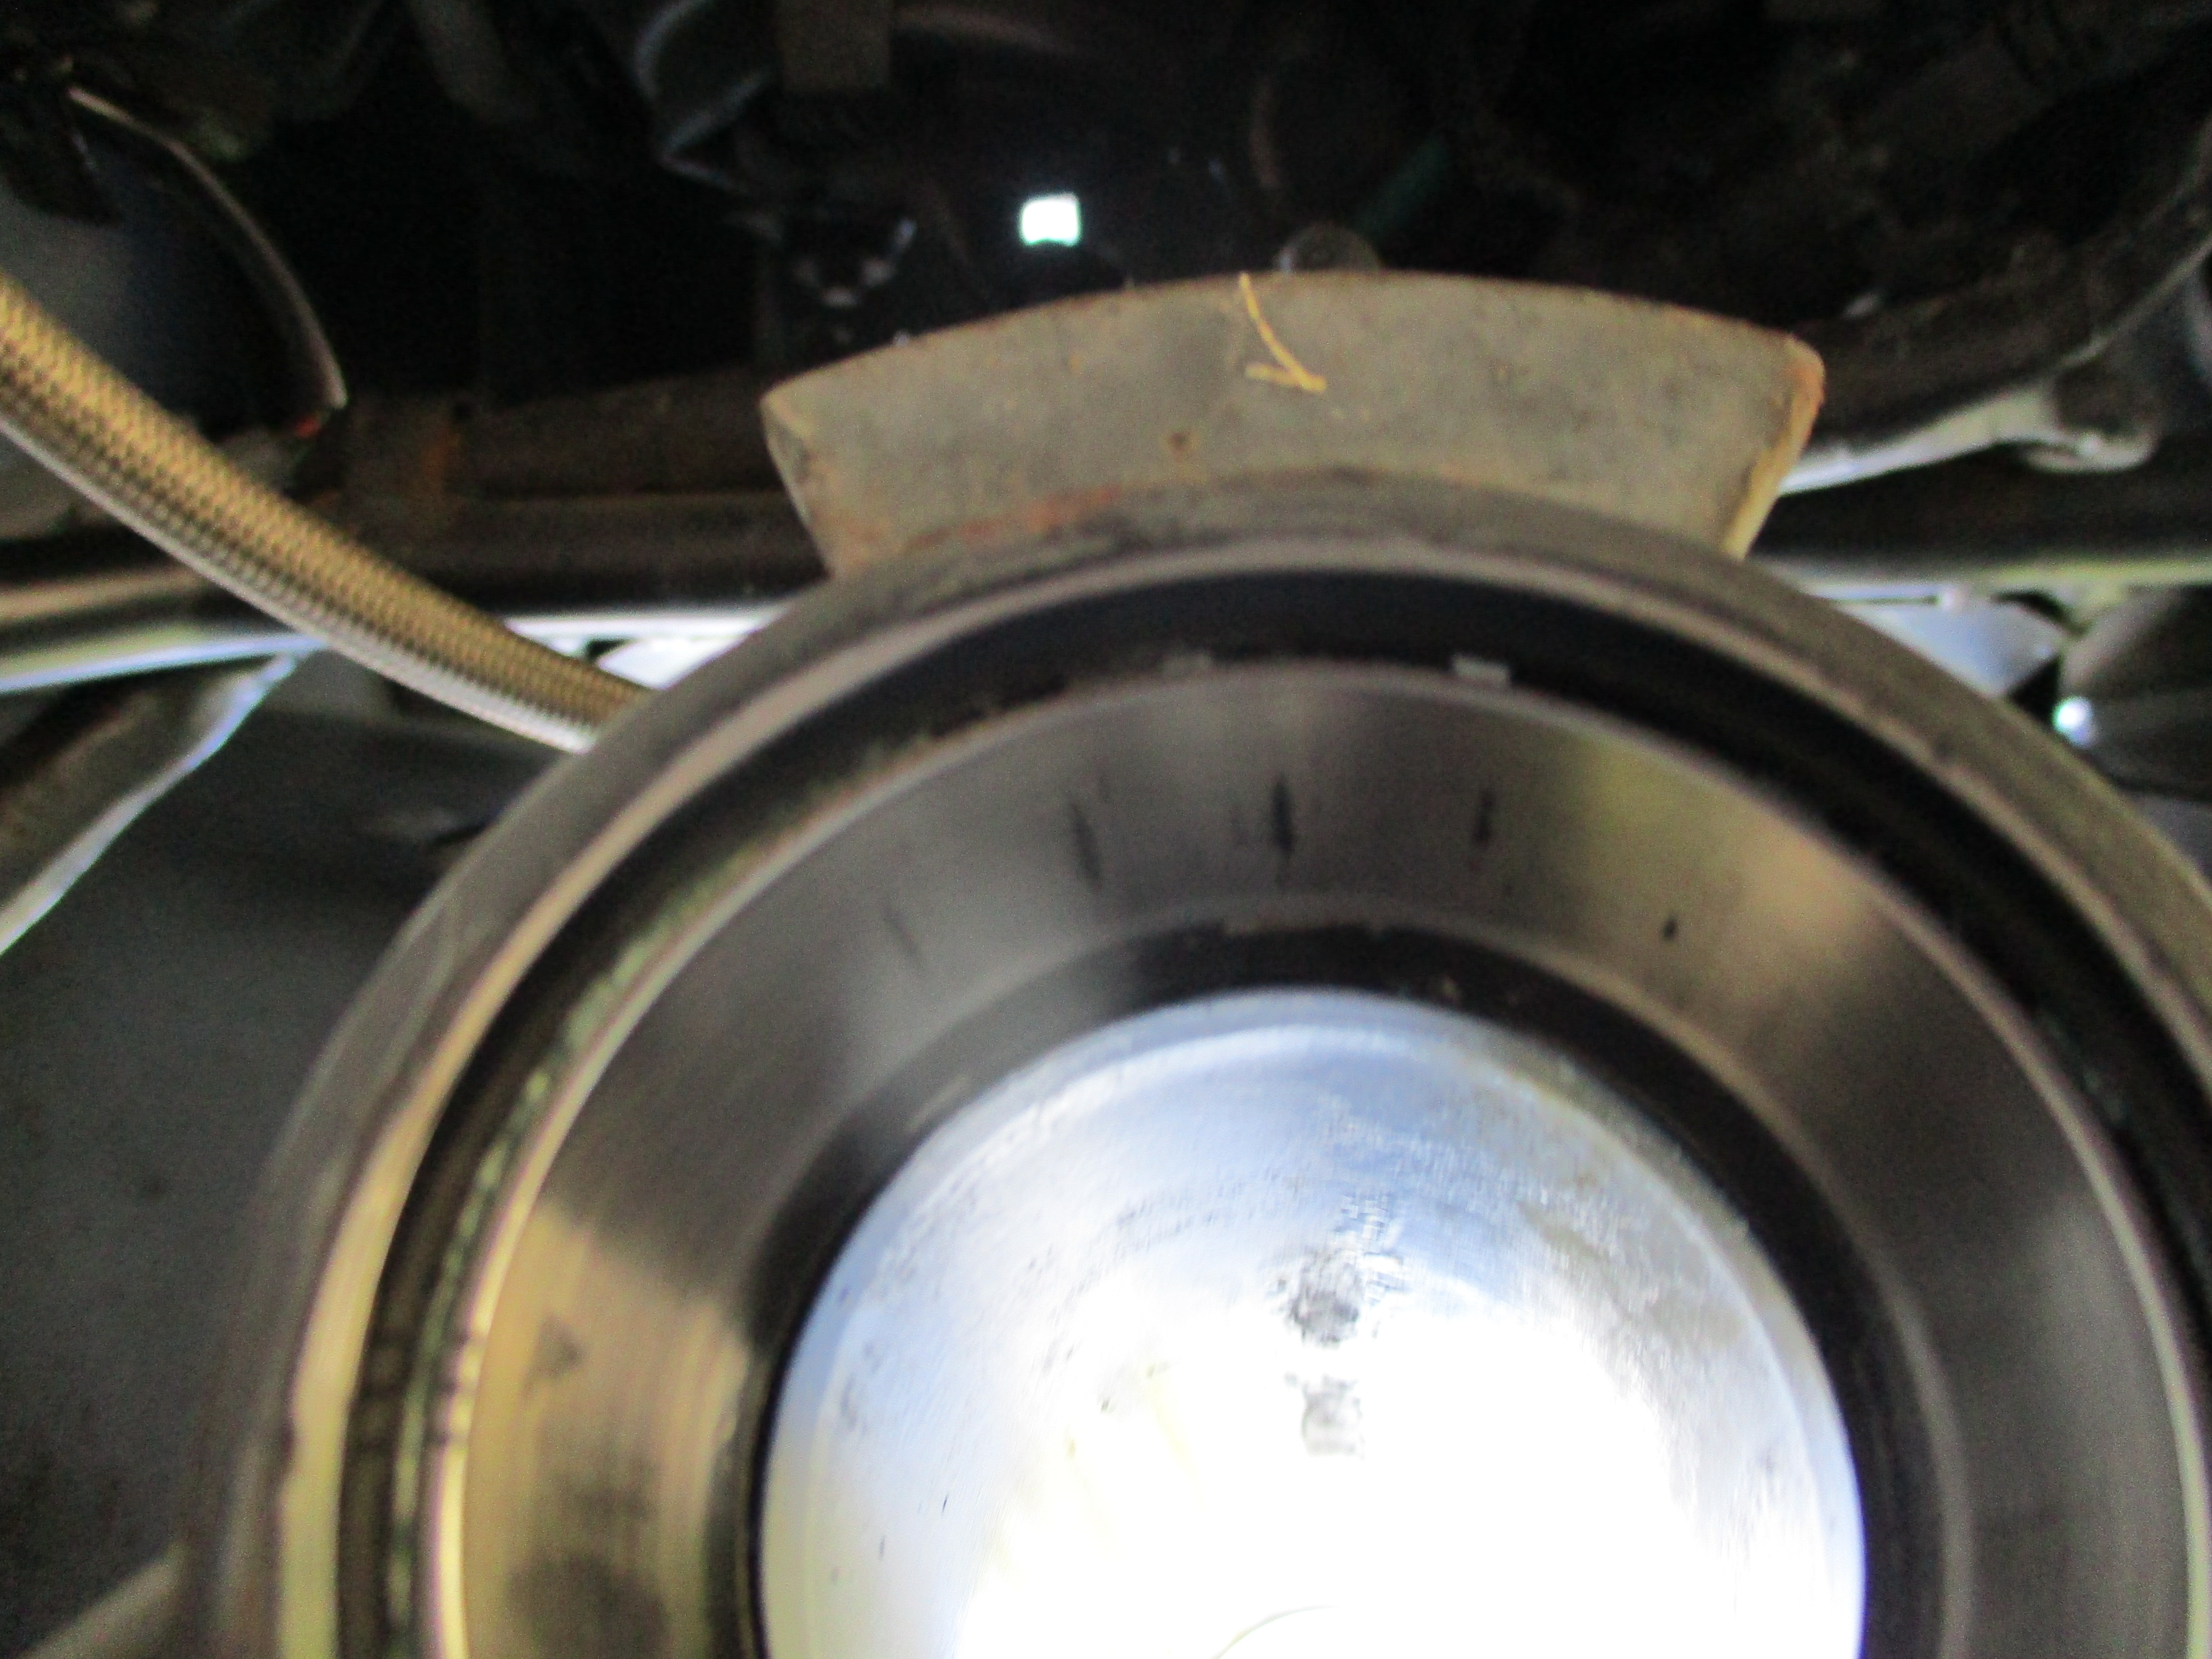
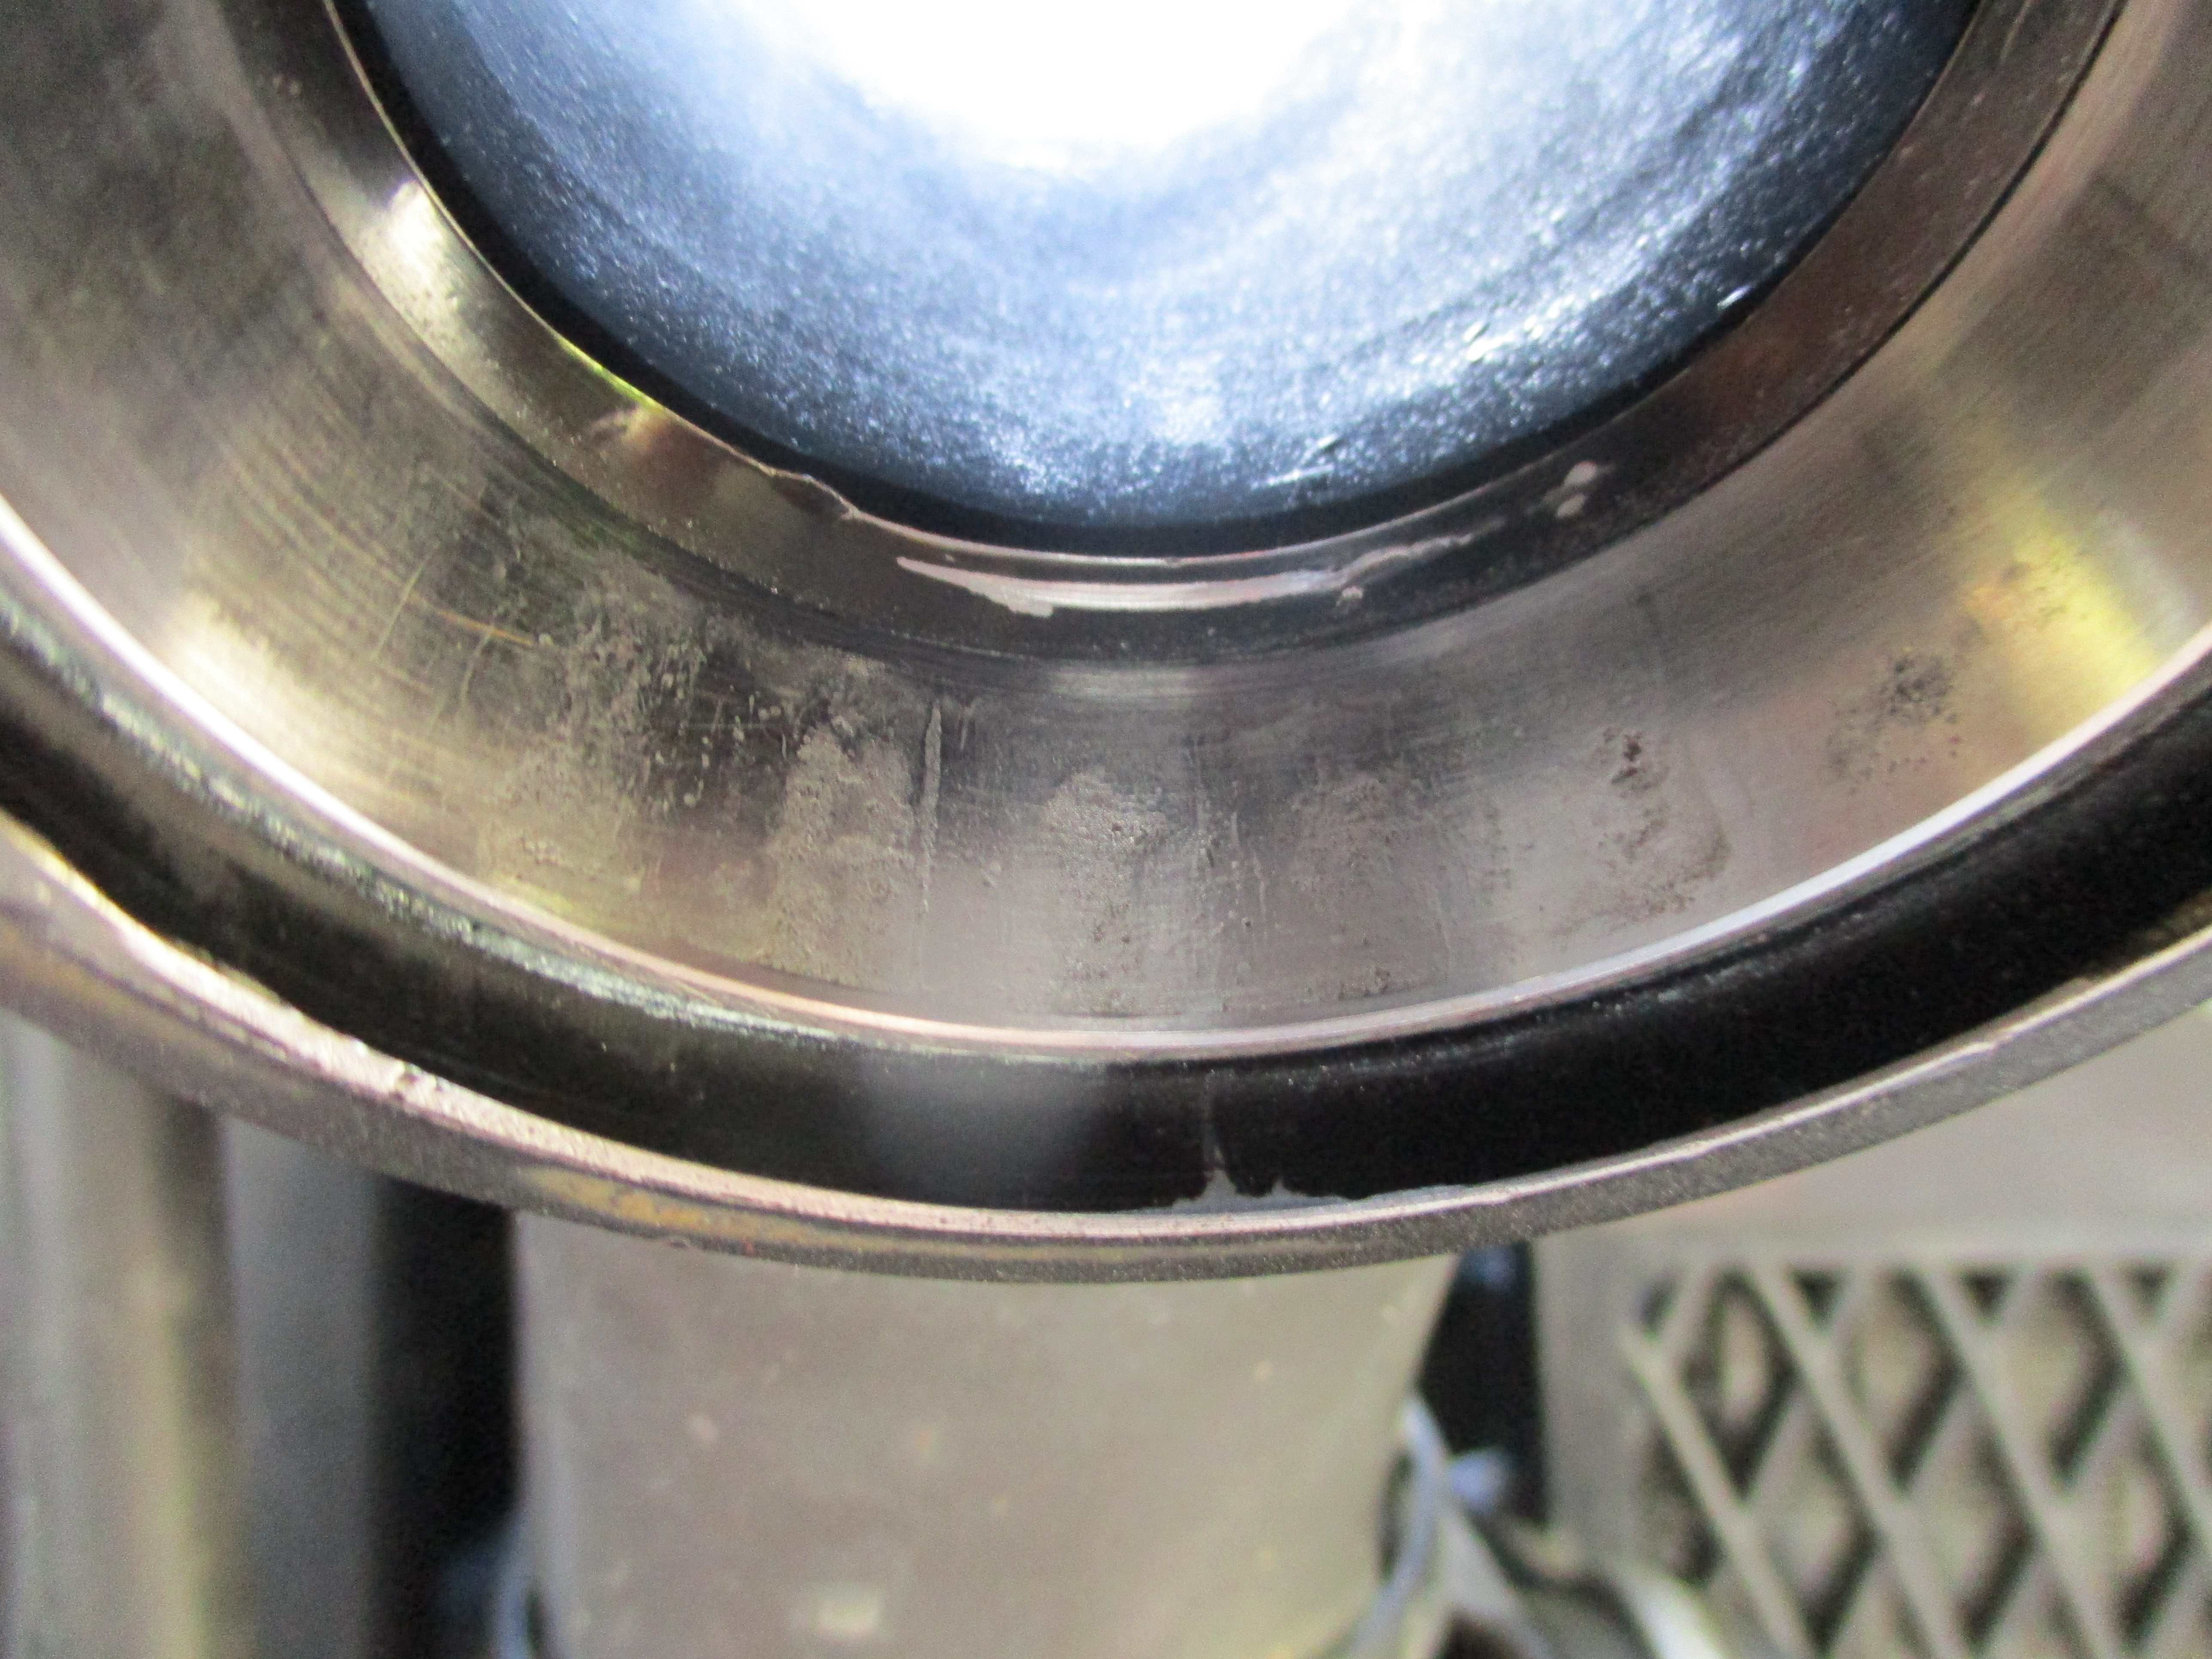
The upper bearing and race looked brand new, but the bottom outer race had some pitting. I did not have extra parts on hand so I polished it up the best I could and put it back together.
I also noticed the bottom bearing dust seal had been installed backwards from the factory. I will fix that when I replace these bearings.

| Date: | January 2022 |
| Odometer: | 97000 kilometers |
| Cost: | $66 for DOT4 brake fluid and FA228 EBC pads |
| Time: | 2 hours |
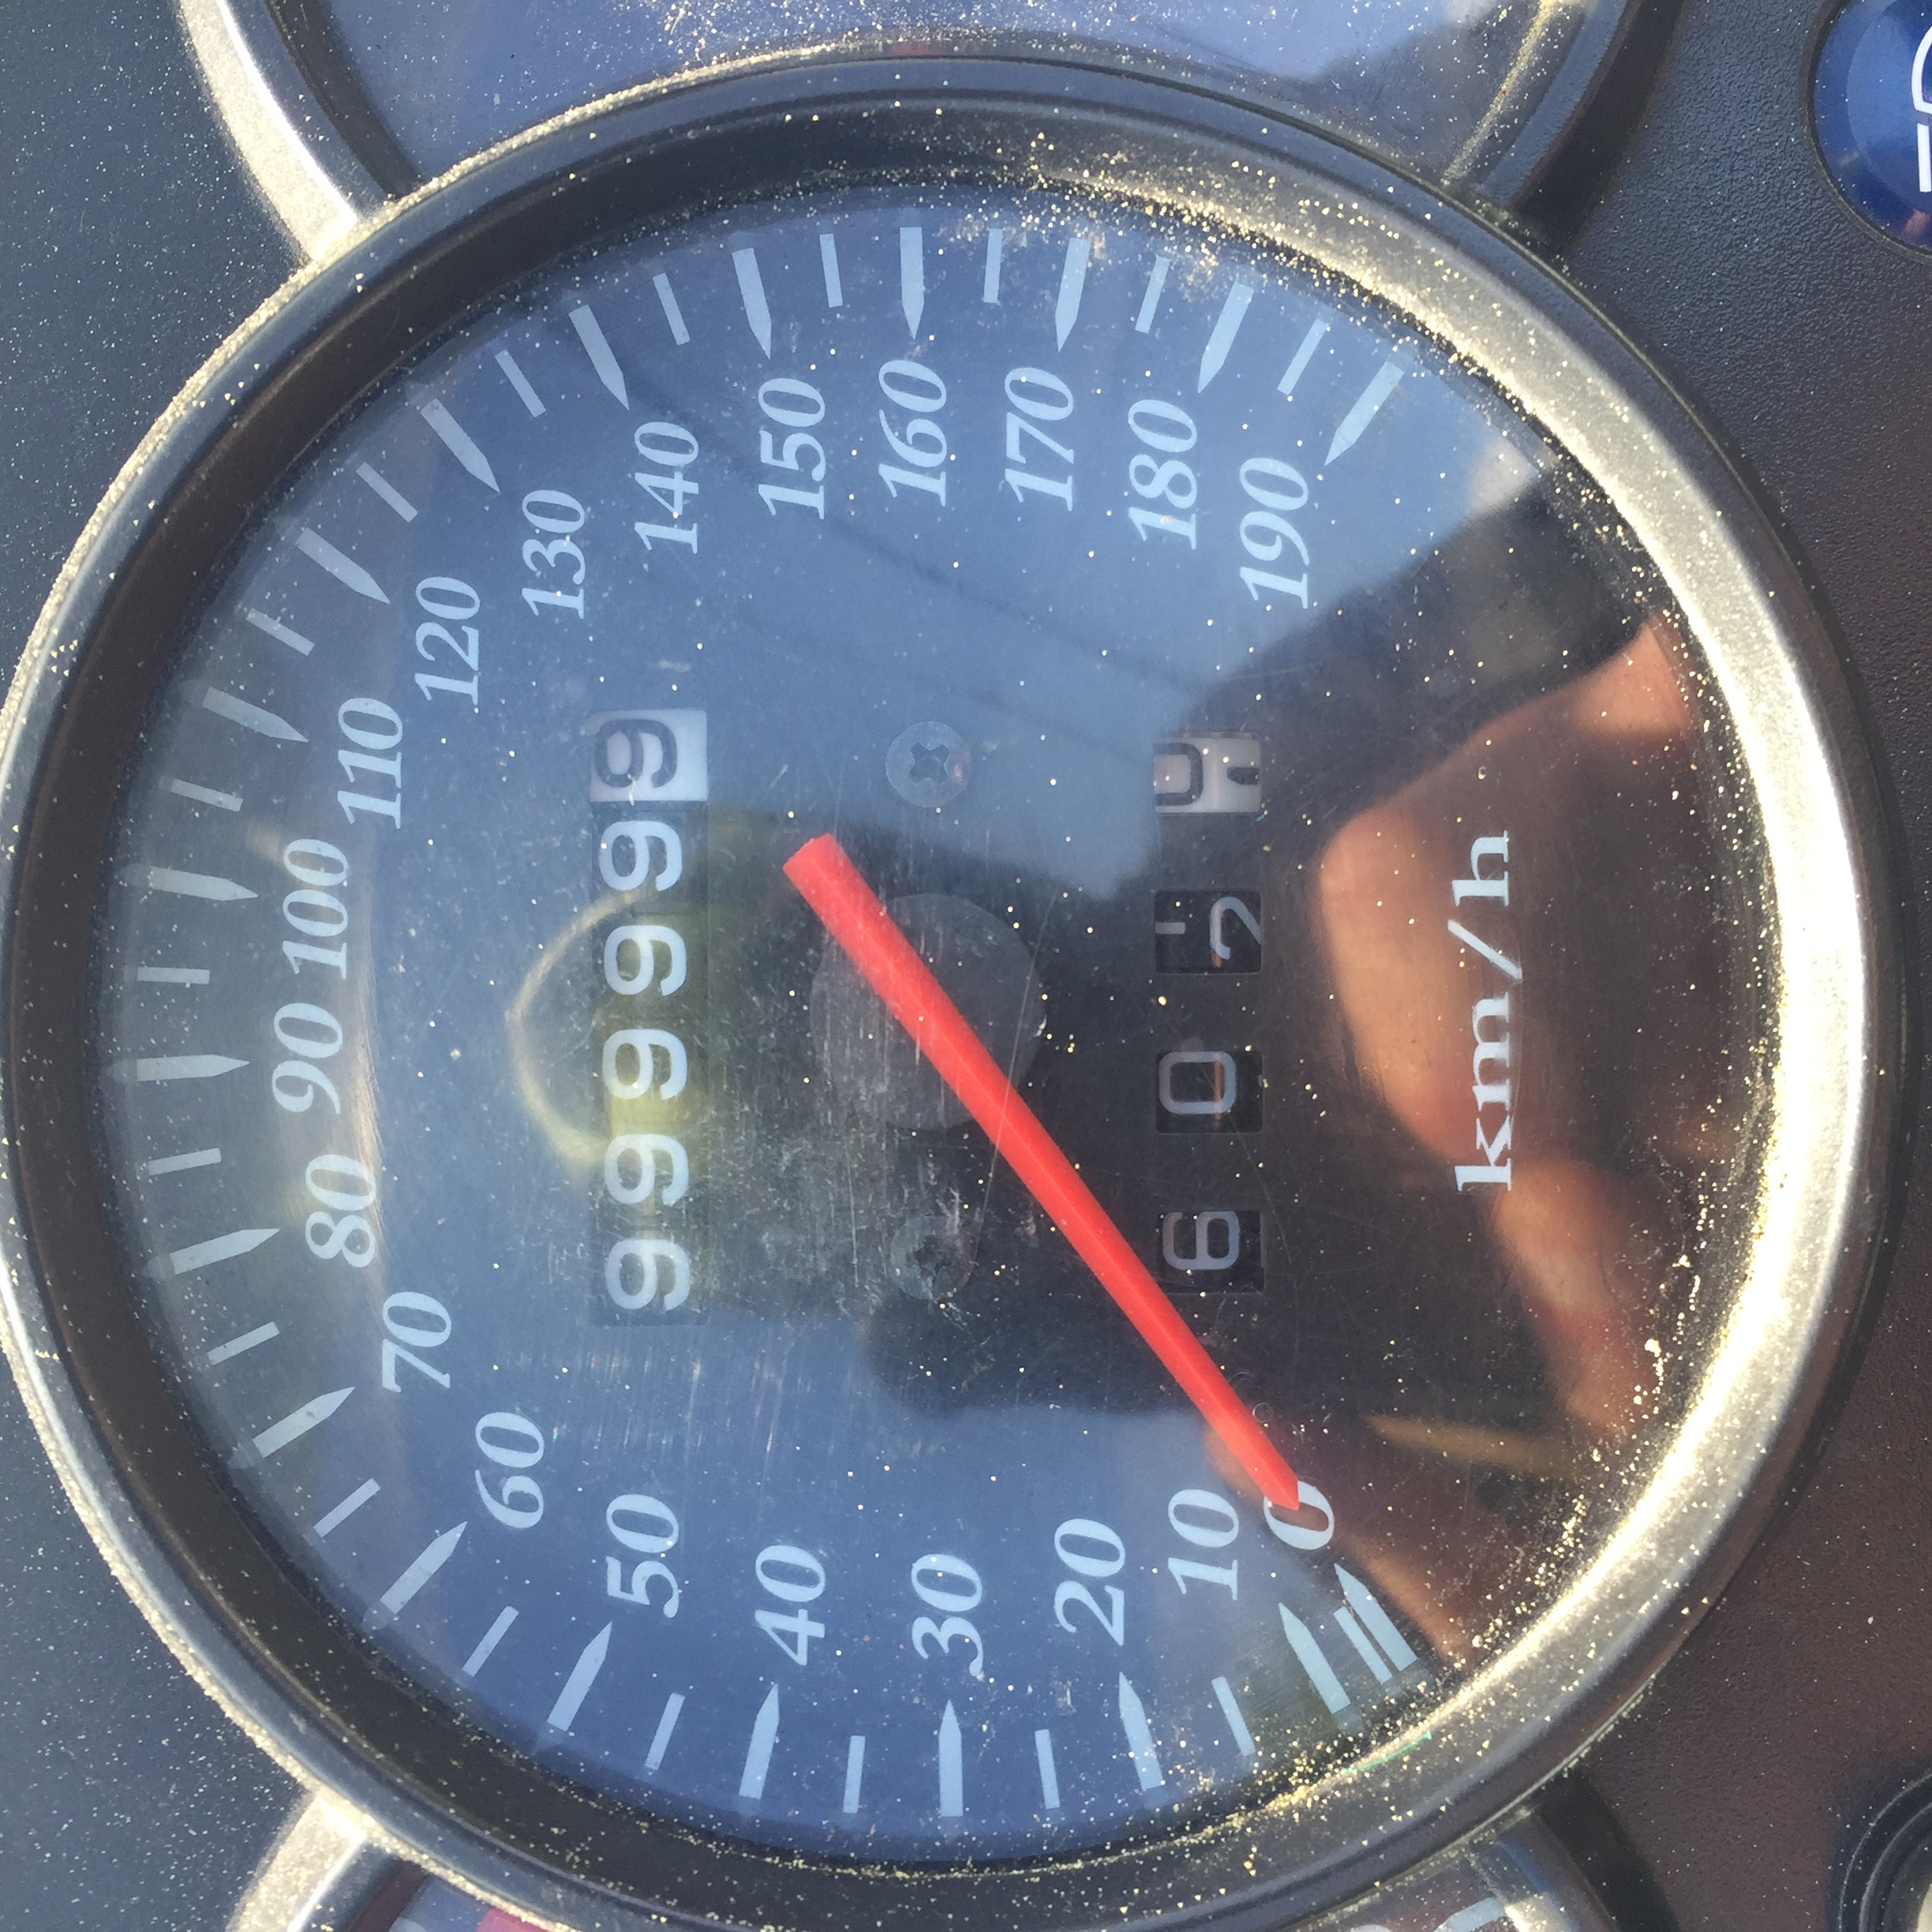
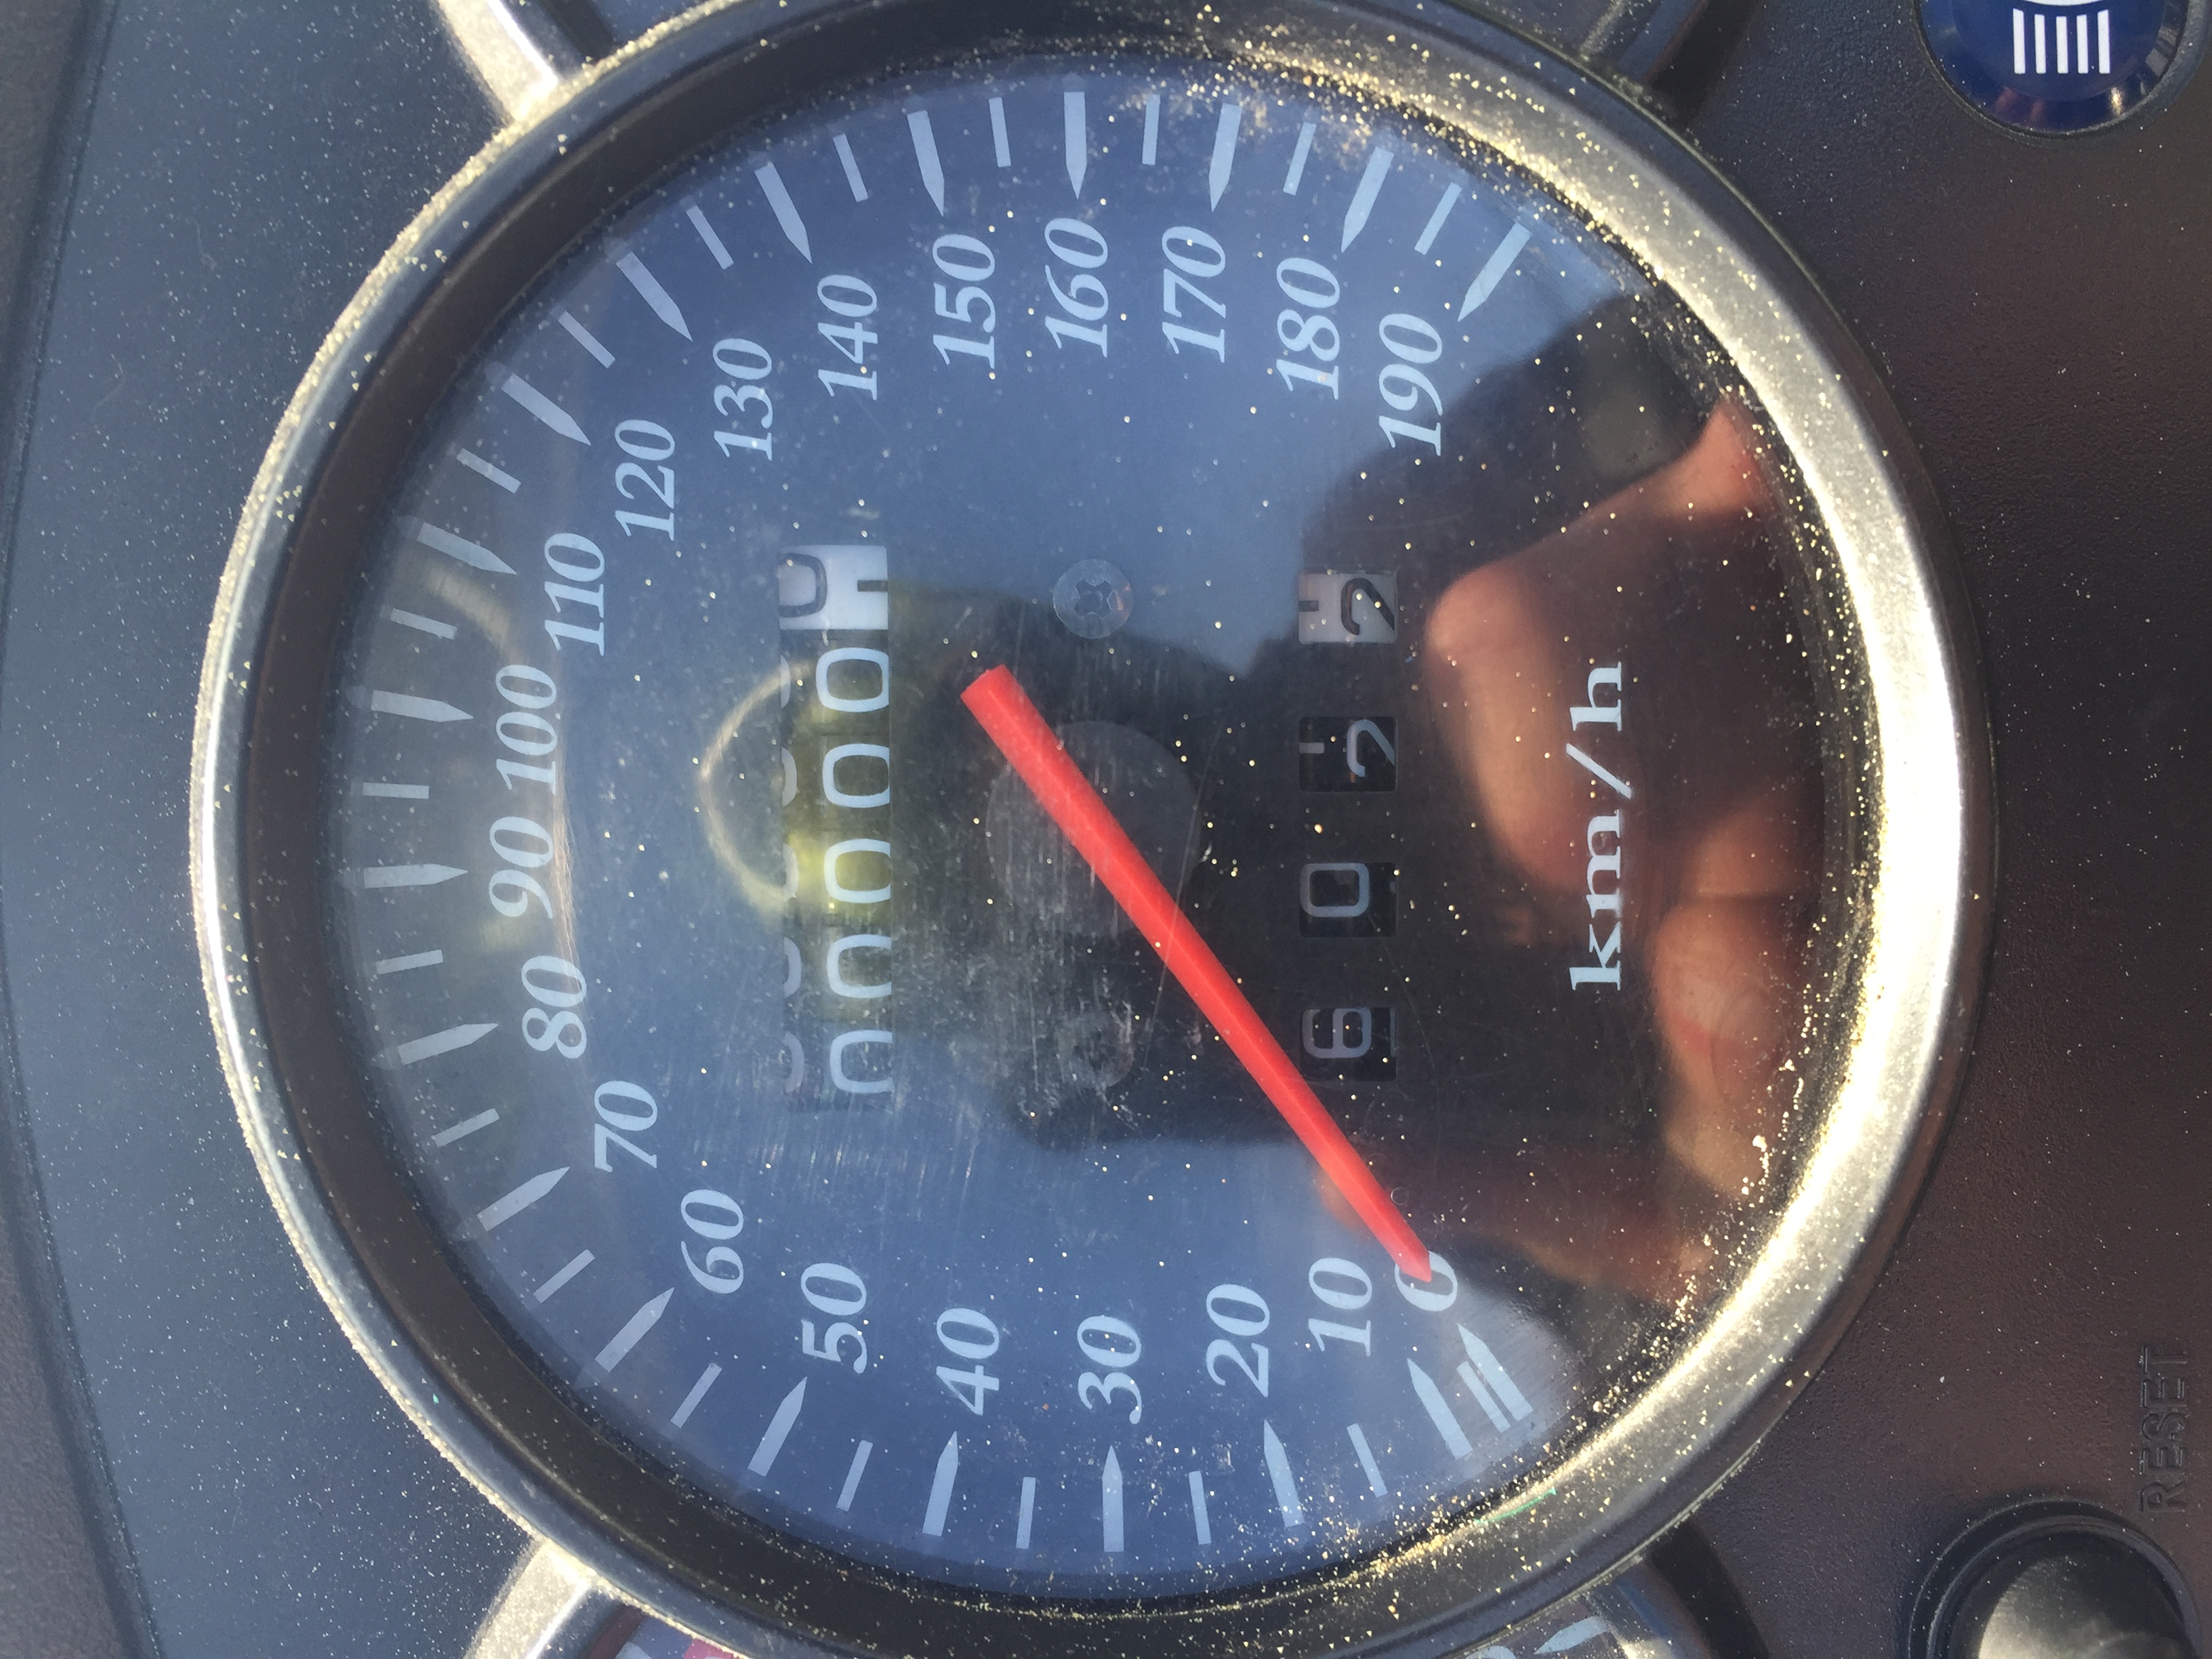
| Date: | May 7 2022 |
| Odometer: | 99999 kilometers |
| Cost: | $0 |